STEPS
TOOLS
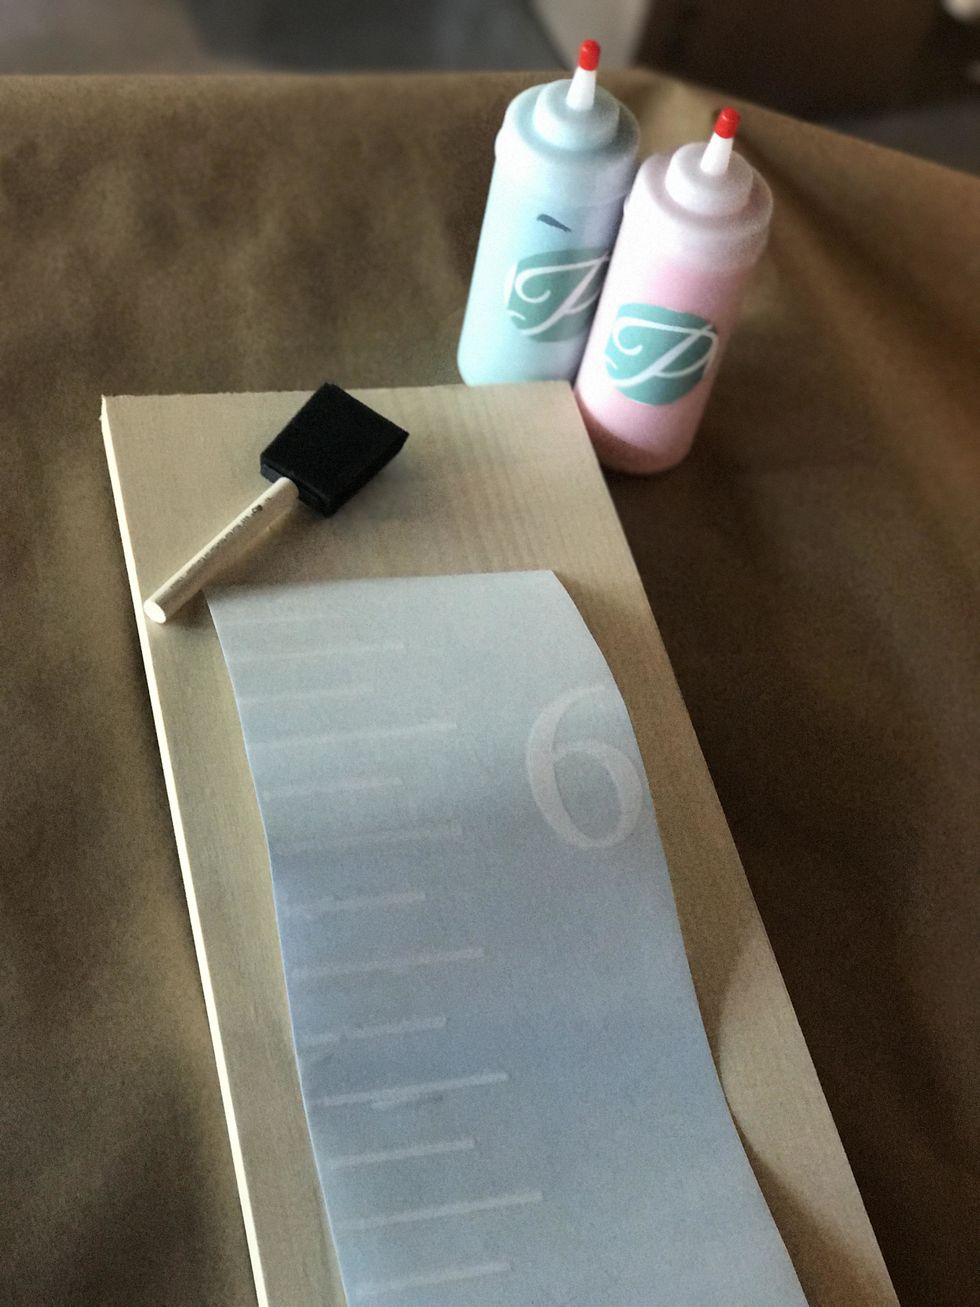
Put on protective apron. Choose desired paint from the available options for this project. Adding about 1/3 water to 2/3 paints will make the paint look like a stain and wood grain will show.
Choose which side of the board will face forward. If you are distressing the board, you only need to distress the front facing edges. Use a hammer to hit the edges to cause imperfections.
Some areas of the board may be rough and will not distress, that is fine. If a section splinters, simply tap down or use sandpaper to smooth.
Paint the board to include edges. For best results, use a foam brush for the background paint.
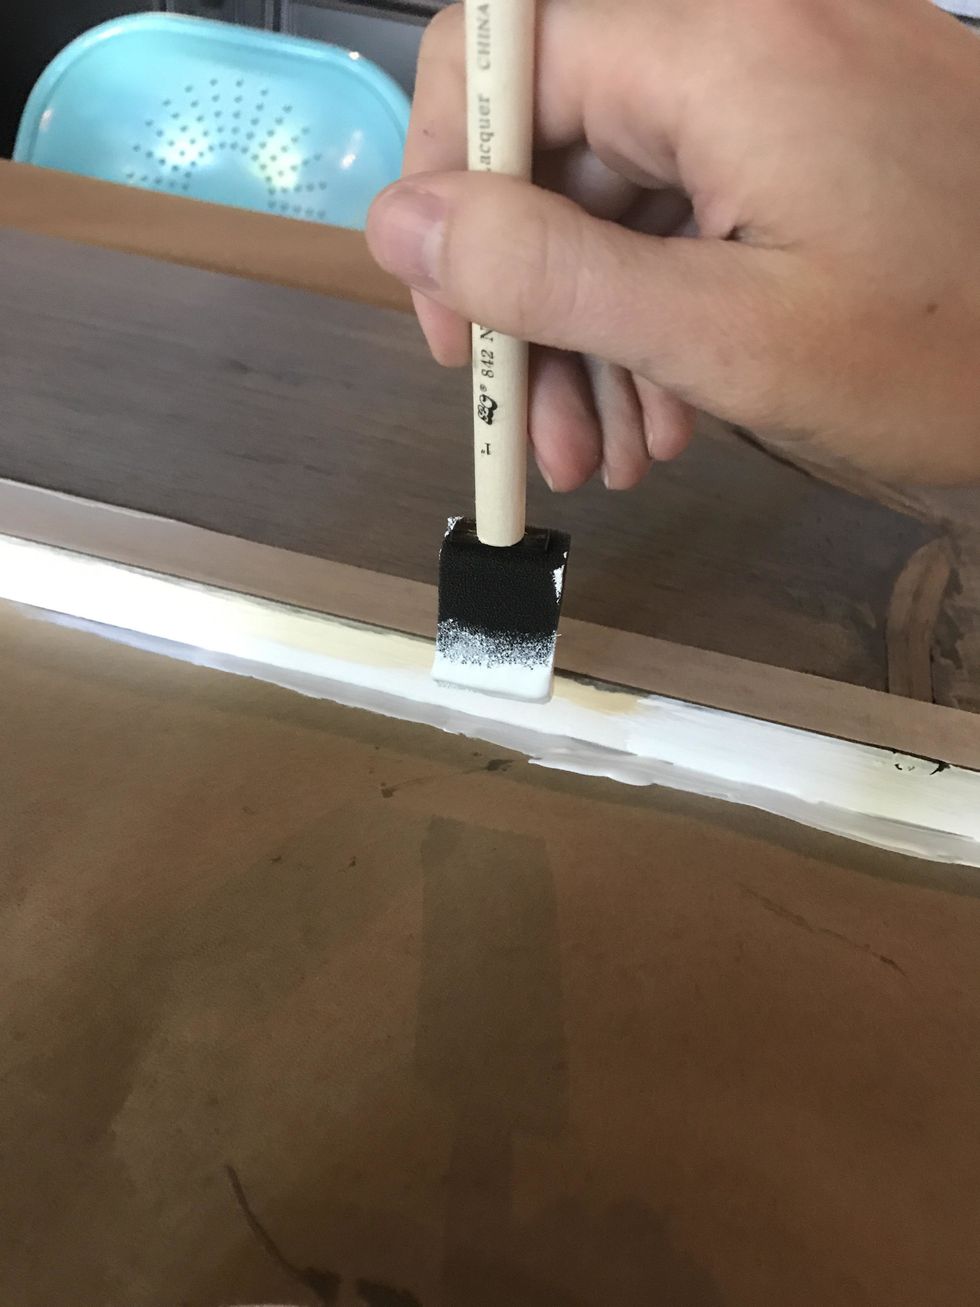
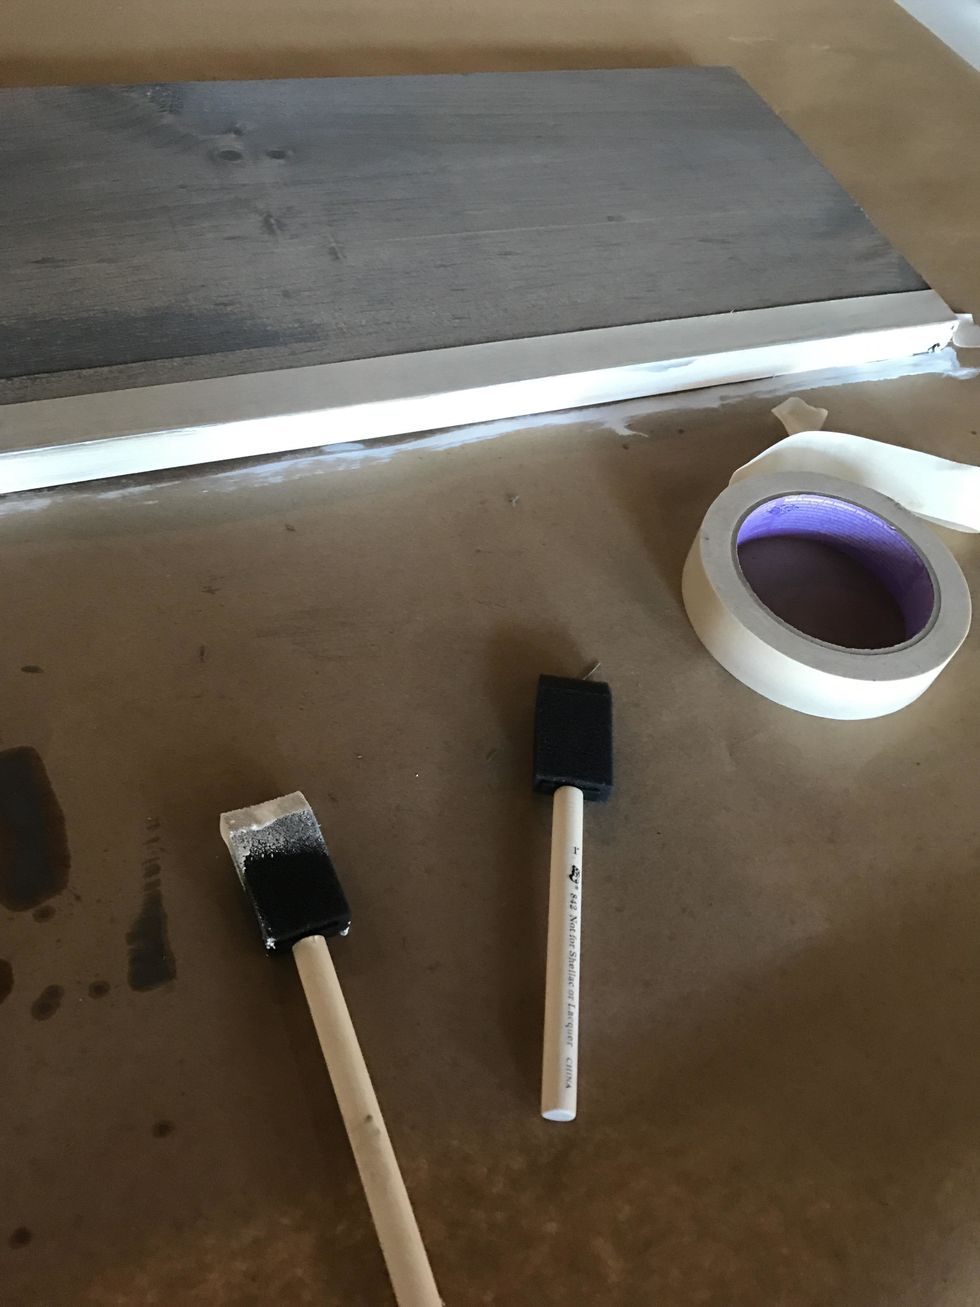
Set aside to dry and prepare to apply vinyl
Determine the placement of your stencil. Keep in mind that you will hang the board up the wall at the one foot mark. Therefore, the number is at the bottom of the ruler wood.
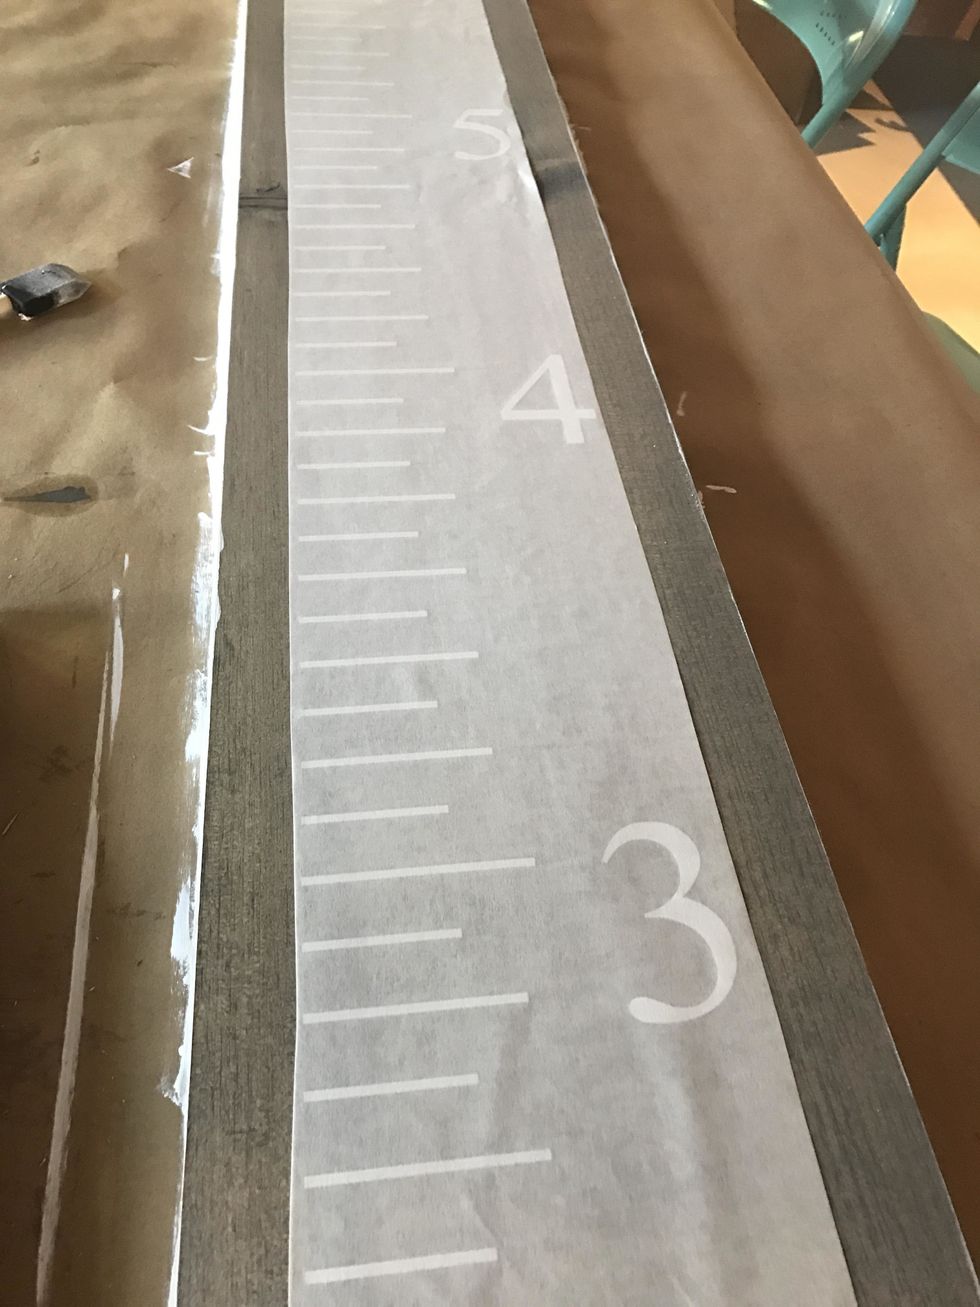
Slowly peel away the grid sheet layer from the corner. Press it face down and rub to transfer with a kraft stick. Works slowly and be sure to rub the entire surface of the vinyl.
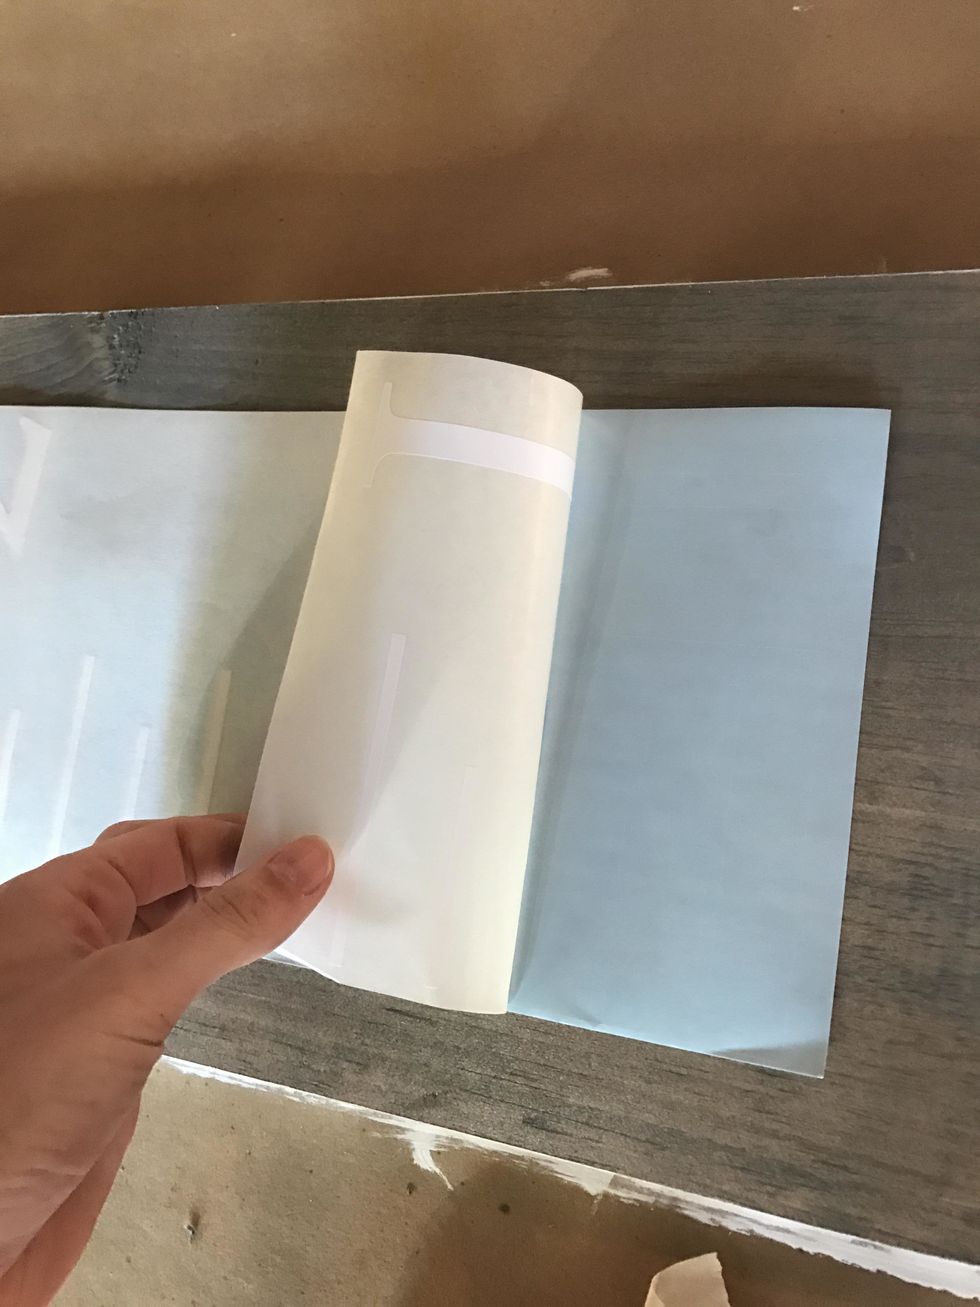
If some of the vinyl lettering doesn't transfer, simply fold the paper back over and rub some more.
Work until the entire vinyl ruler has been applied. If desired, you can paint or stencil on a name.
To stencil, use a foam dauber. Apply paint within stencil openings using an UP and Down motion (not SIDE to SIDE). Allow to dry. Once partially dry (10 minutes) remove each piece of stencil.
Apply any adornments such as gems or seashells, with glue as desired.
Staff Use Only: Large ruler wood and vinyl in wood area.
- apron
- stencils
- paint or stain
- sponge brush
- scraper tool
- vinyl and scraper
- sand paper
- hardware