The Conversation (0)
Sign Up
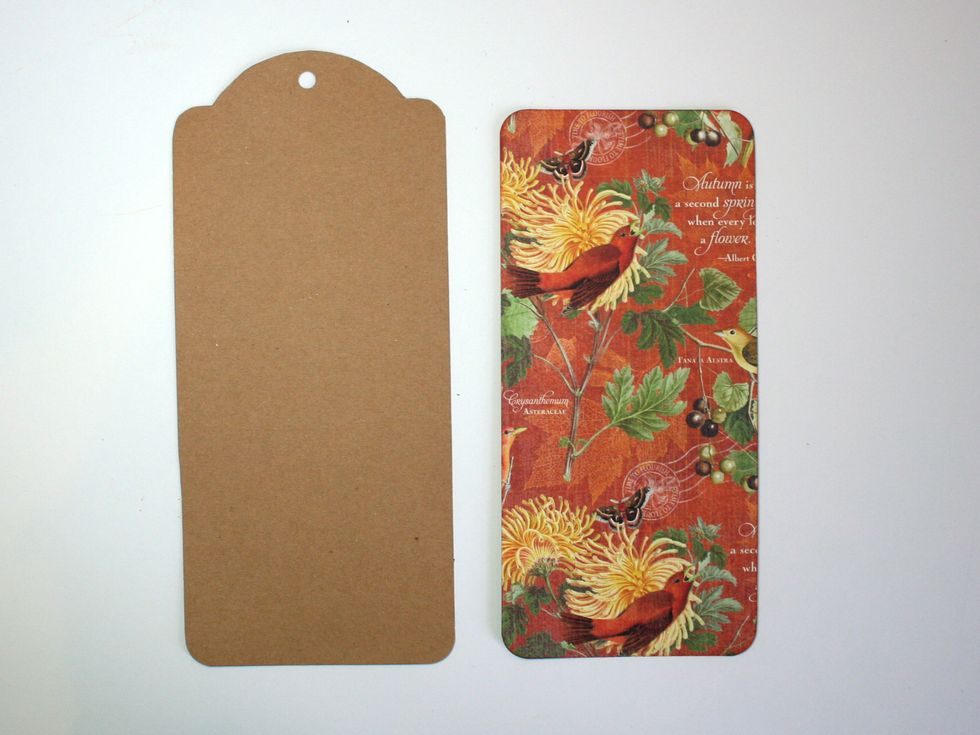
Either use a G45 kraft tag or cut your own from cardstock. Cut a 3 5/8"w x 7 3/4"h rectangle from November Flourish paper and round the corners.
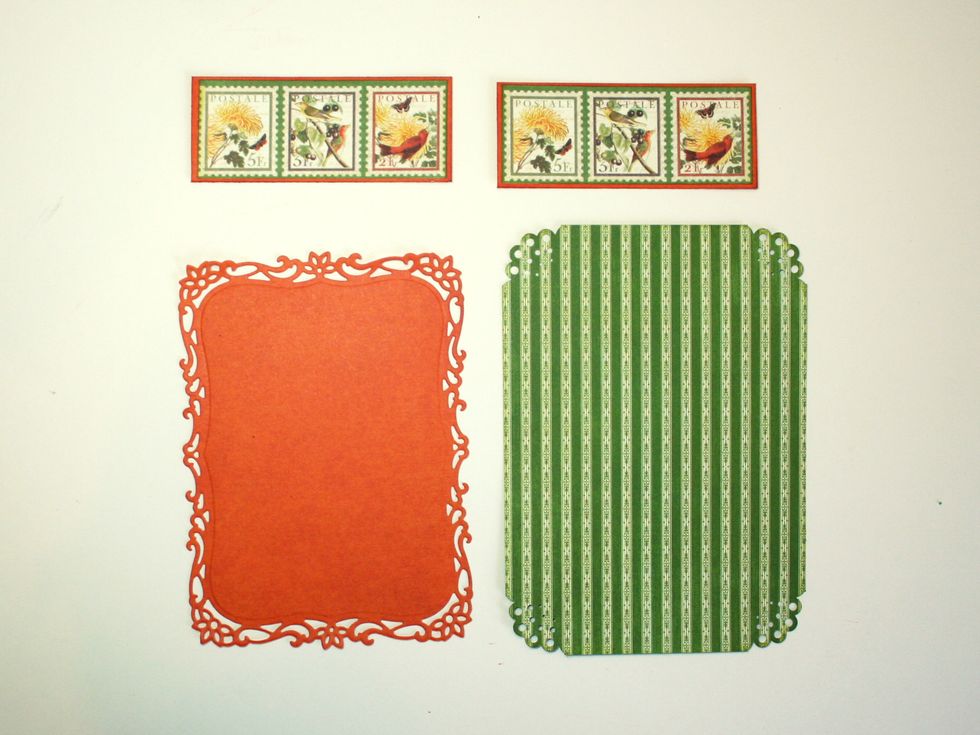
Cut a rectangle from green stripes 4 1/4'w x 6" h and use a corner punch on the corners. Cut a large rectangle frame from solid orange, about 4" w x 5.5" h. (con't next page)
I've used Spellbinders Decorative Labels 8 for my frame. Locate & cut the stamps out on the November cut apart page. Cut into two pieces as shown, and mount on cardstock.
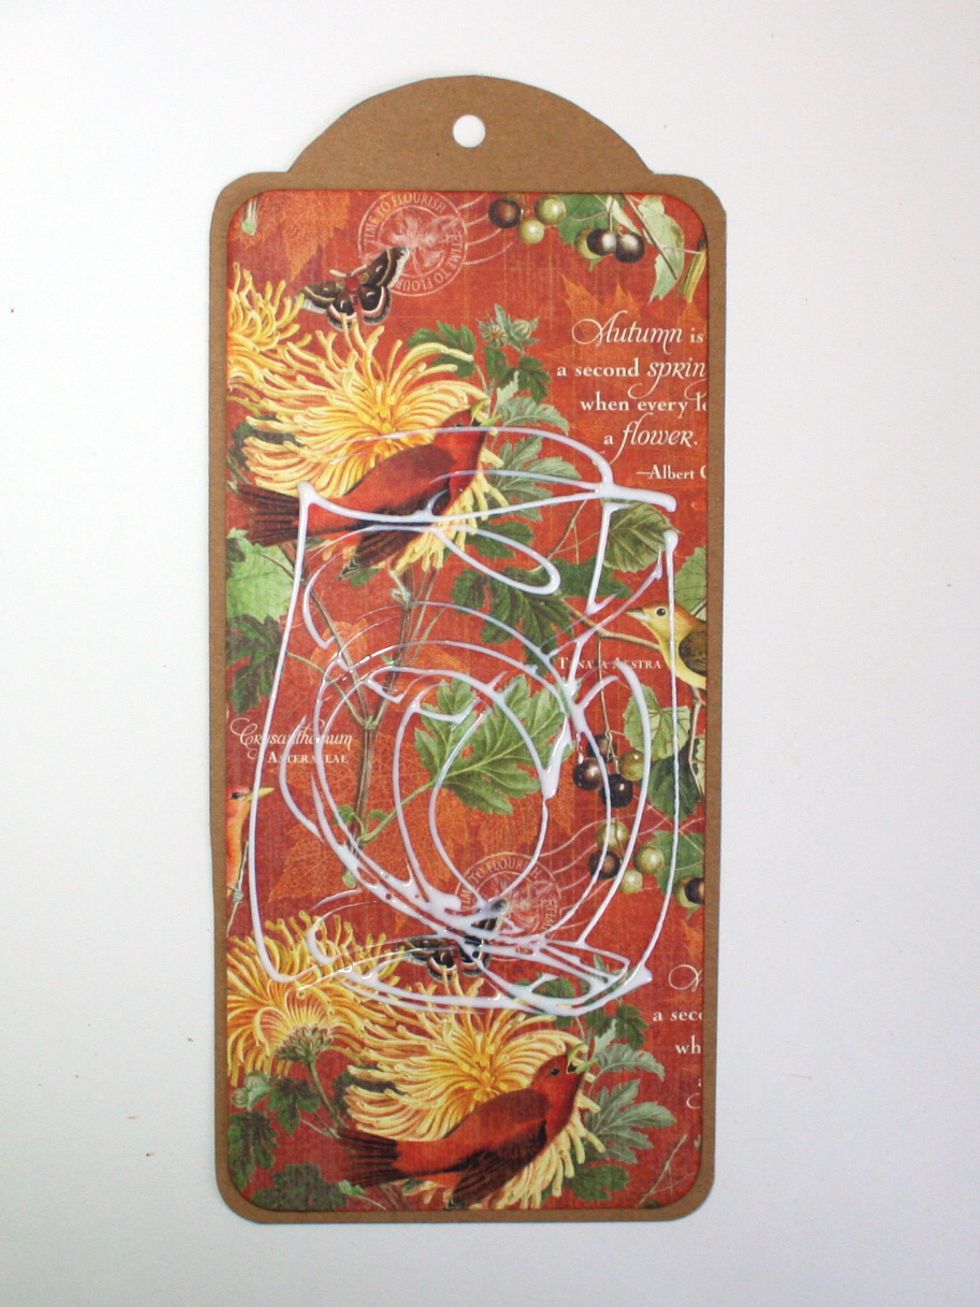
Glue the November Flourish rectangle to the base tag. (I had already applied glue for the next layer when I snapped this photo, oops!)
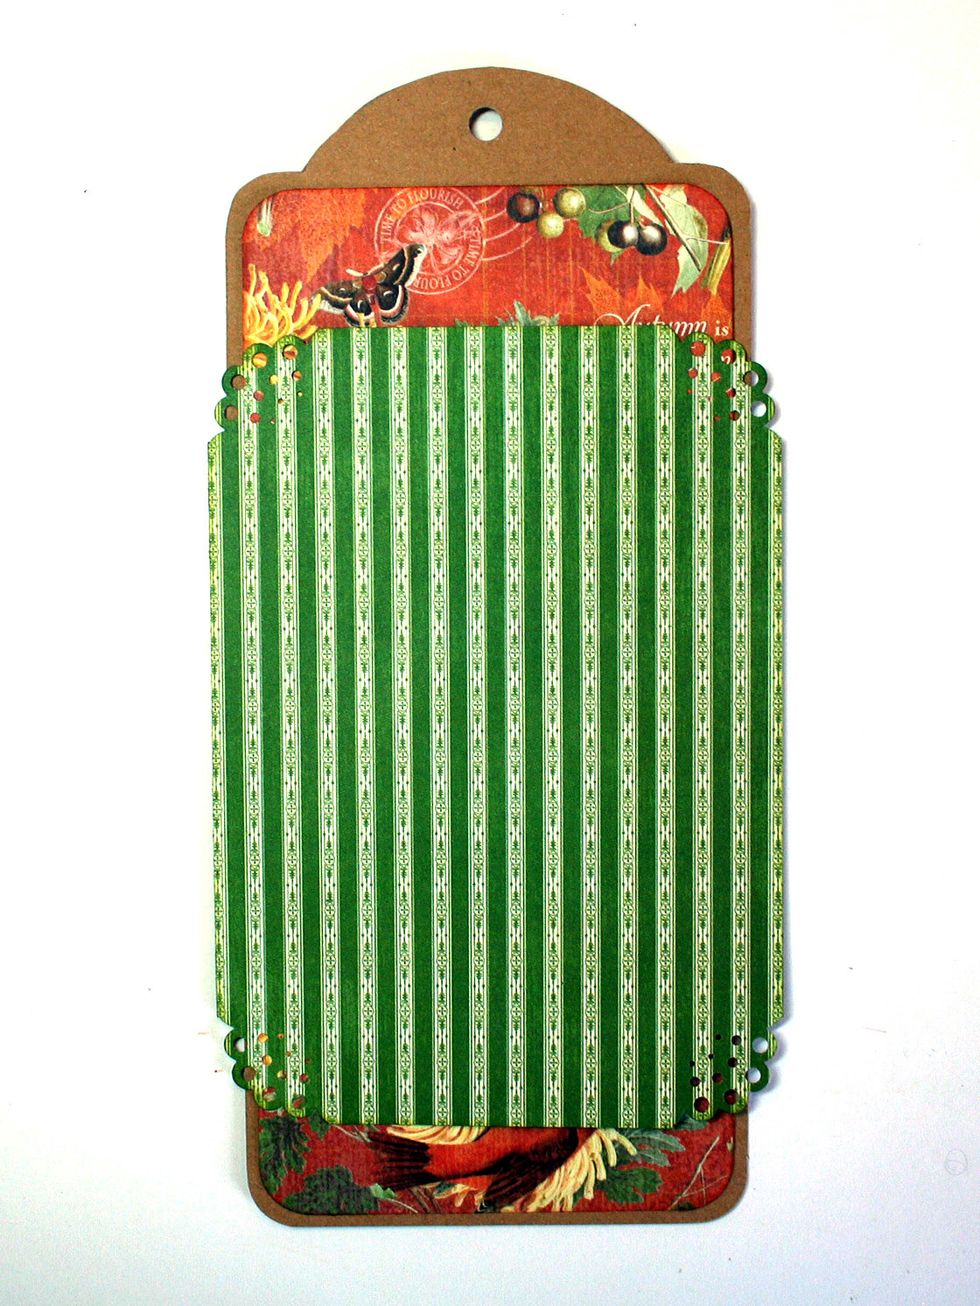
Glue the green striped piece onto the tag as shown about 2" from the top.
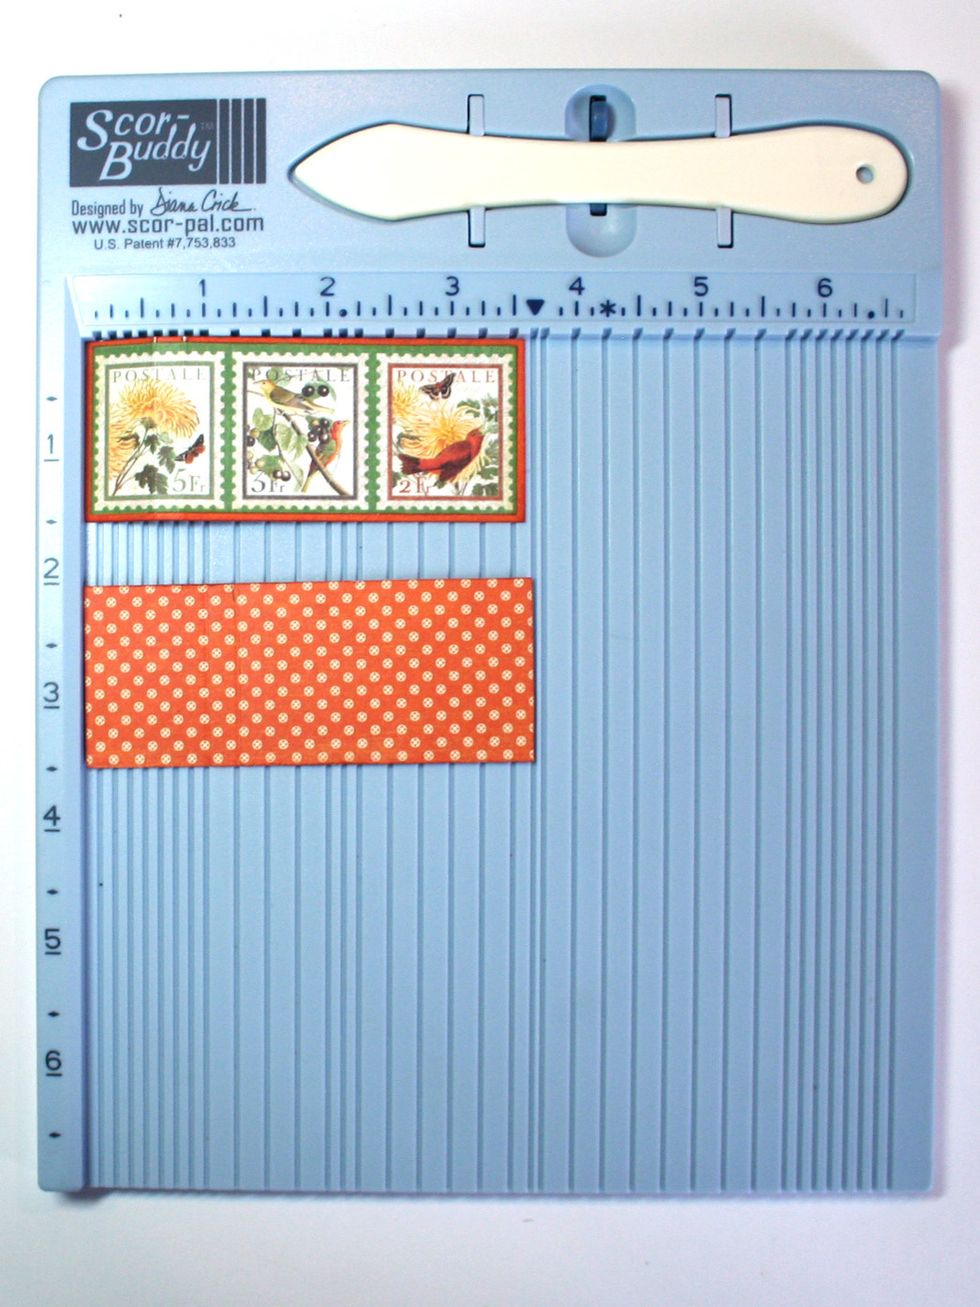
Score one of the stamp strips at 5/8" and 7/8". This will be the left side strip. Turn the other strip over and score at 1" and 1.25".
Note: I have allowed 1/4" thickness in my scores so that the bands will wrap neatly around my seed packets. If your seed packet has tiny seeds you may need only 1/8" or even less.
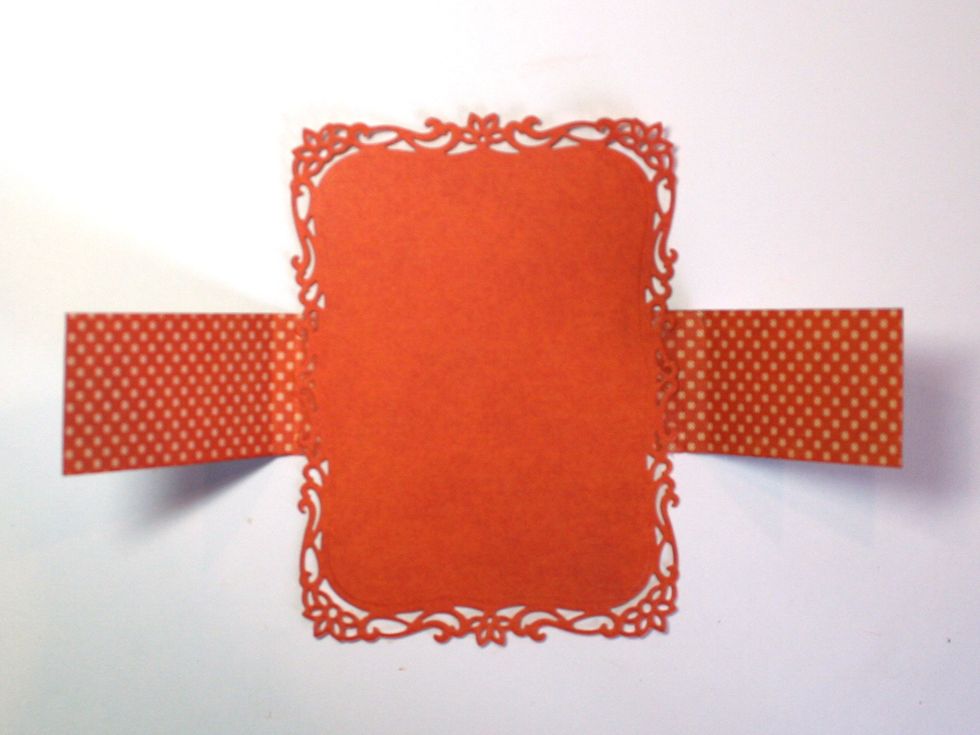
Now glue the short ends of the stamp strips to the back of the frame just beyond the scores. These will fold over and form a holder for your seed packet.
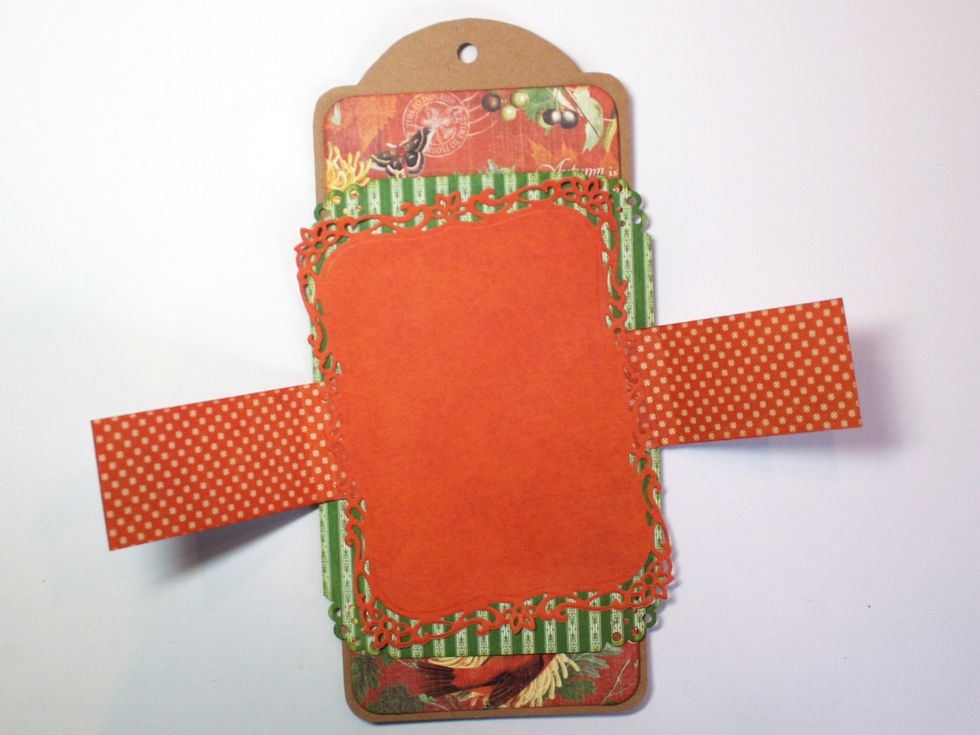
Glue the frame with the strips onto your tag tilting it a bit.
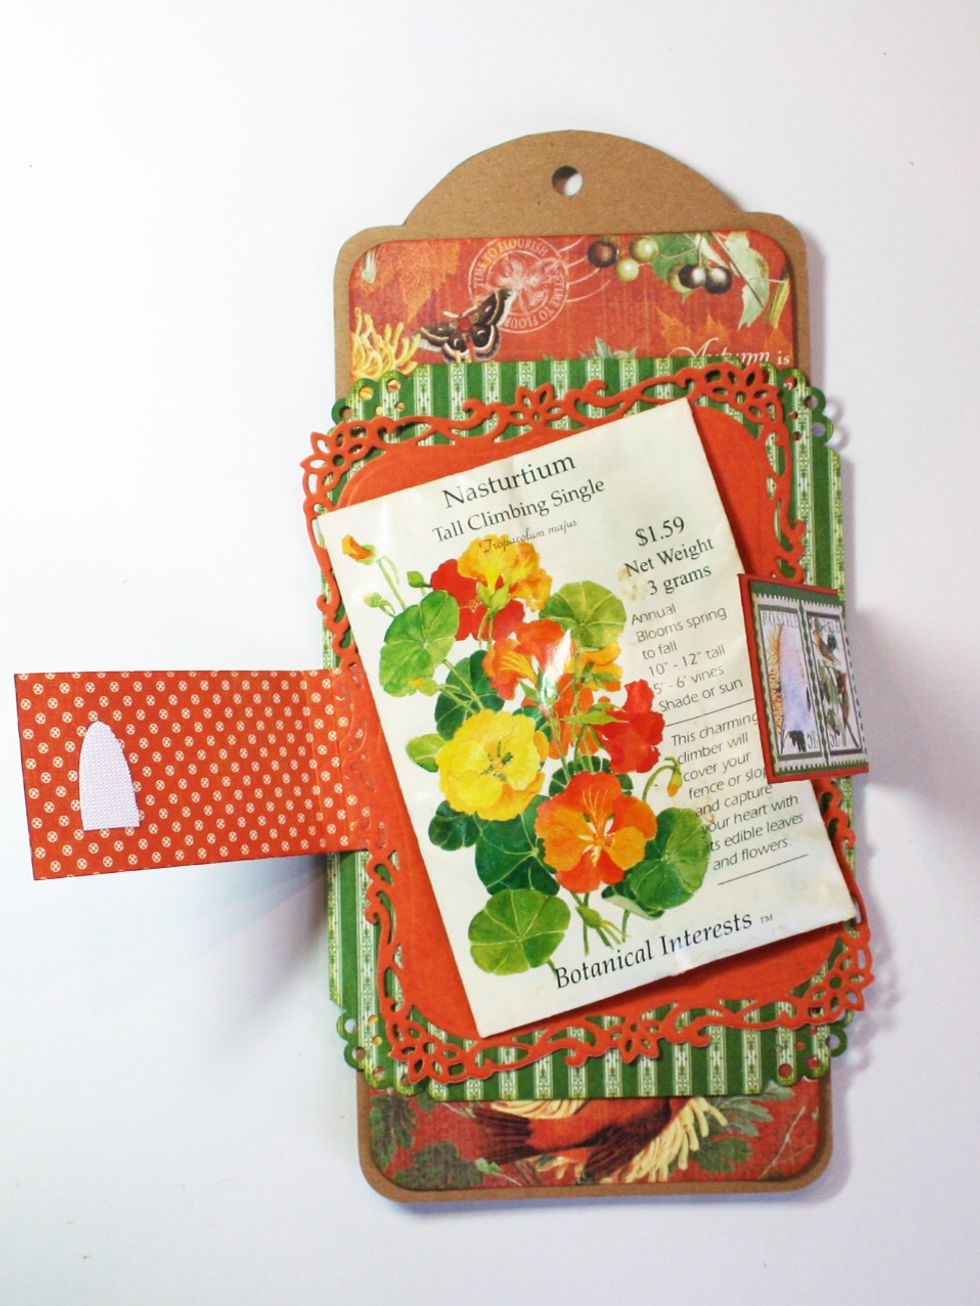
Add a velcro closure on the stamp strips.
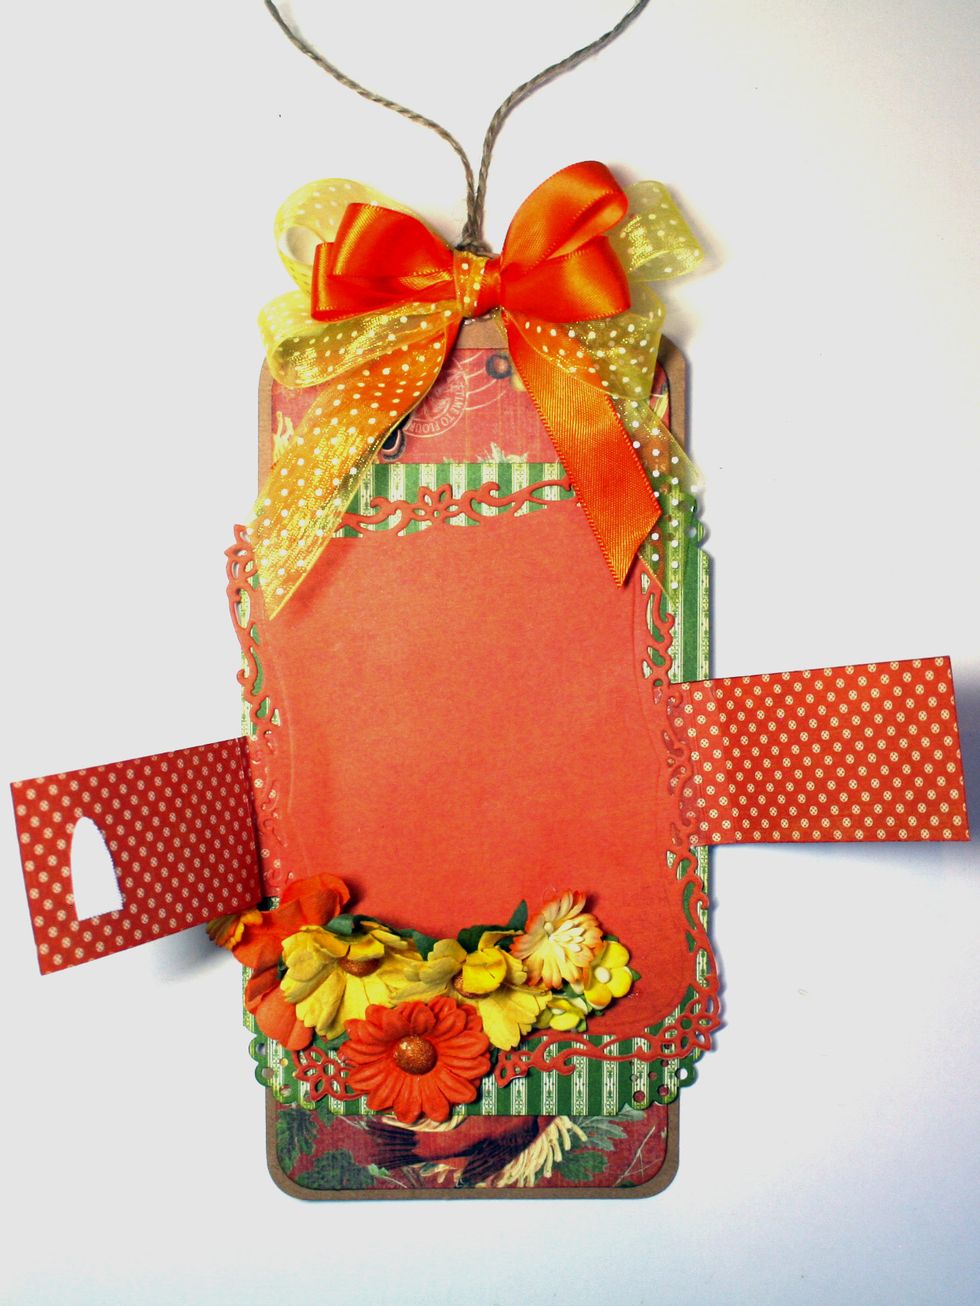
Add a ribbon at the top and some flowers near the bottom that will serve to keep the seed packet from sliding through the bands and will embellish your tag.
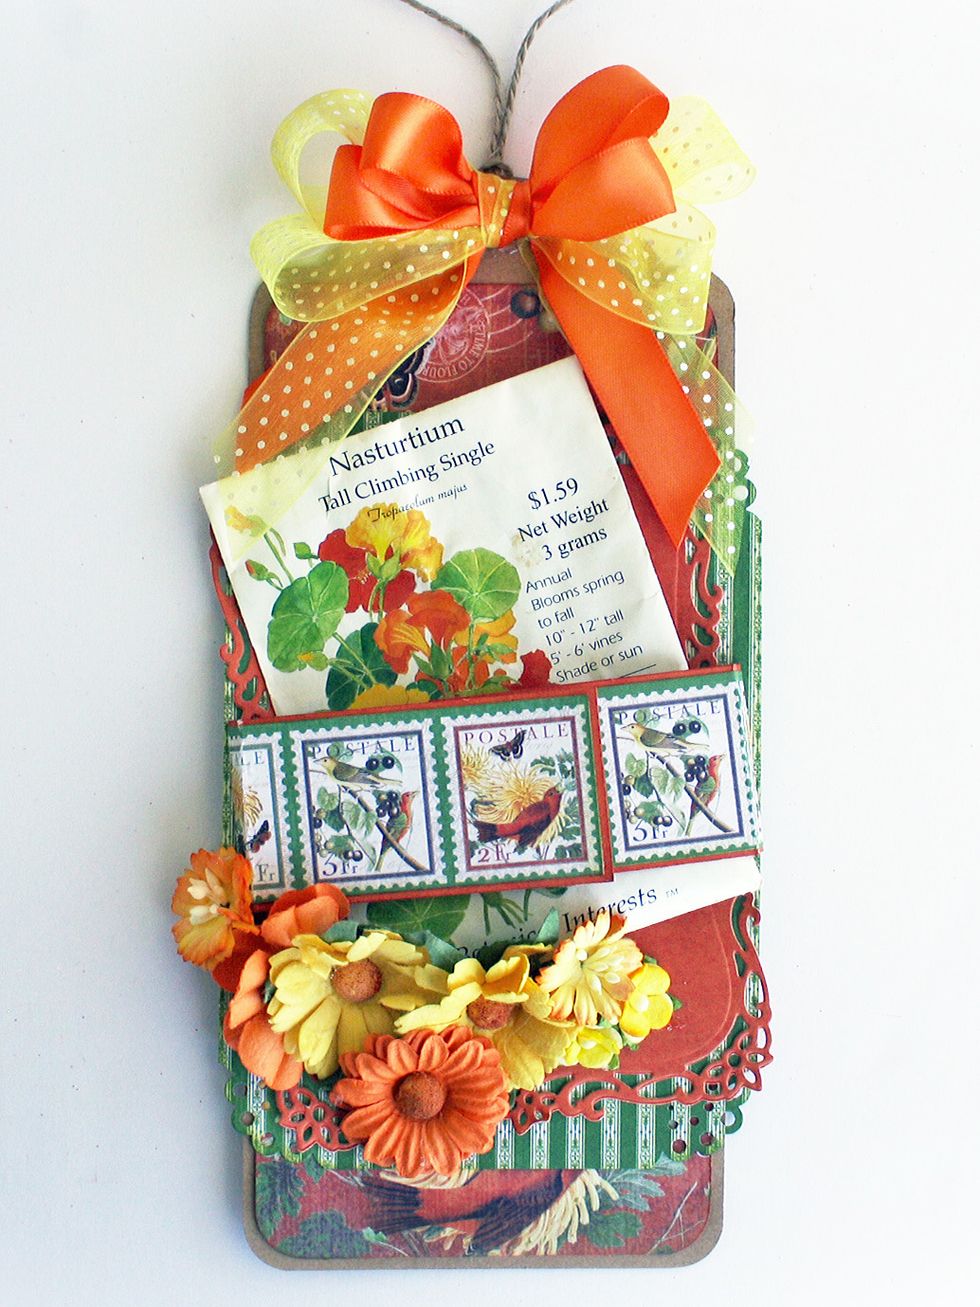
Finished tag. Already to attach to a gift. This would be a great tag to add to a plant for a housewarming or hostess gift. Great for a Mom that likes to garden too!