The Conversation (0)
Sign Up
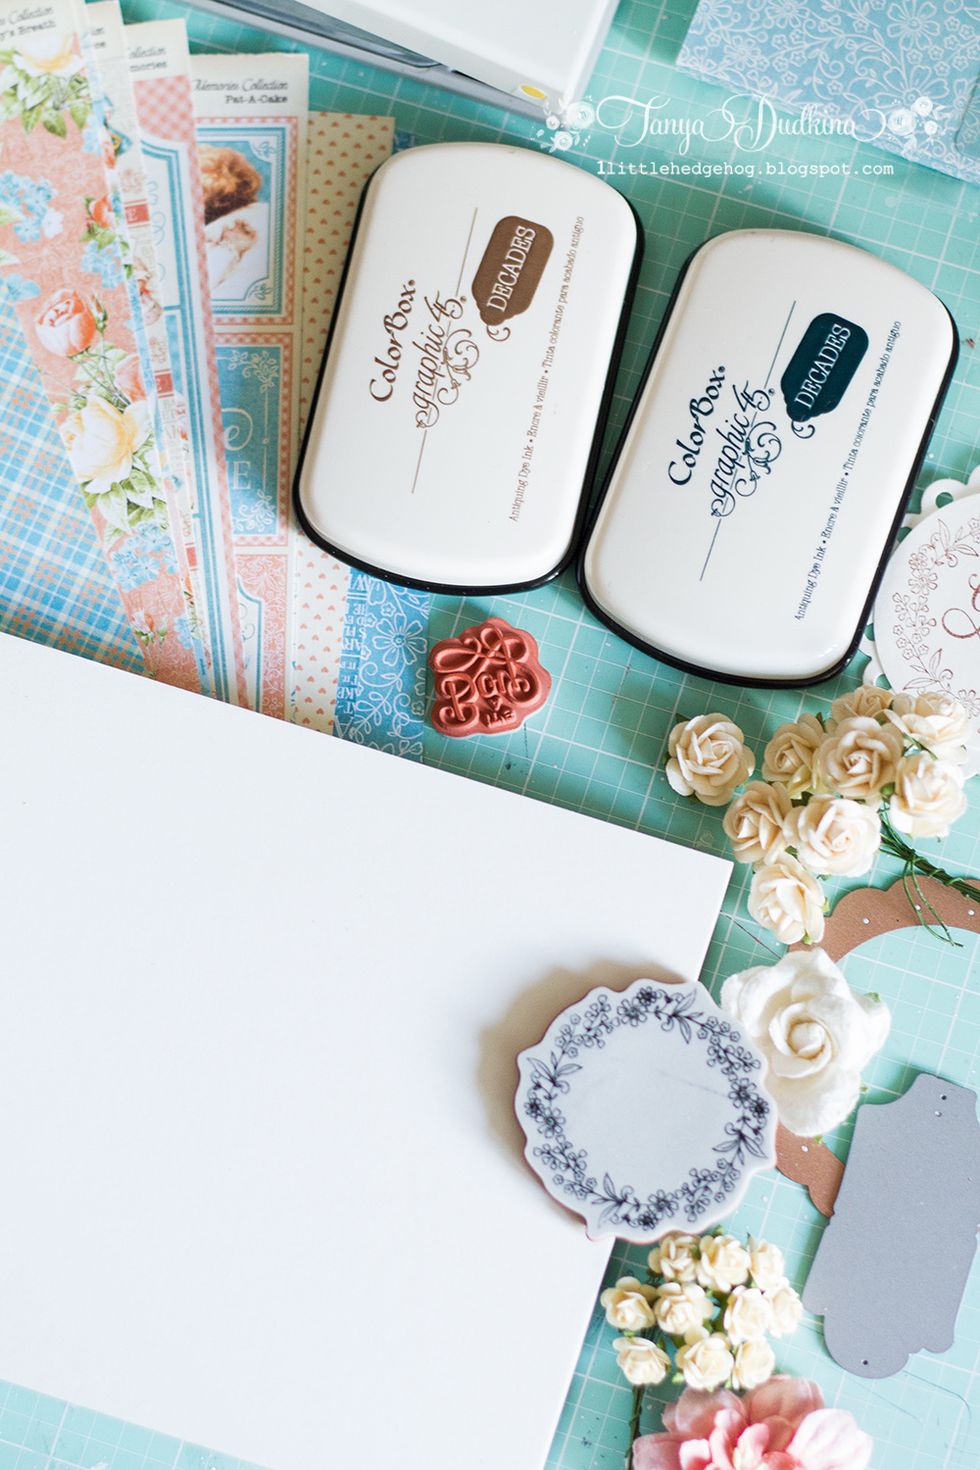
Hi! Today I want to share with you little tutorial how to make a sweet baby card. I chose Colorbox G45 decades inks and G45 stamps to make nice embellishment for my card.
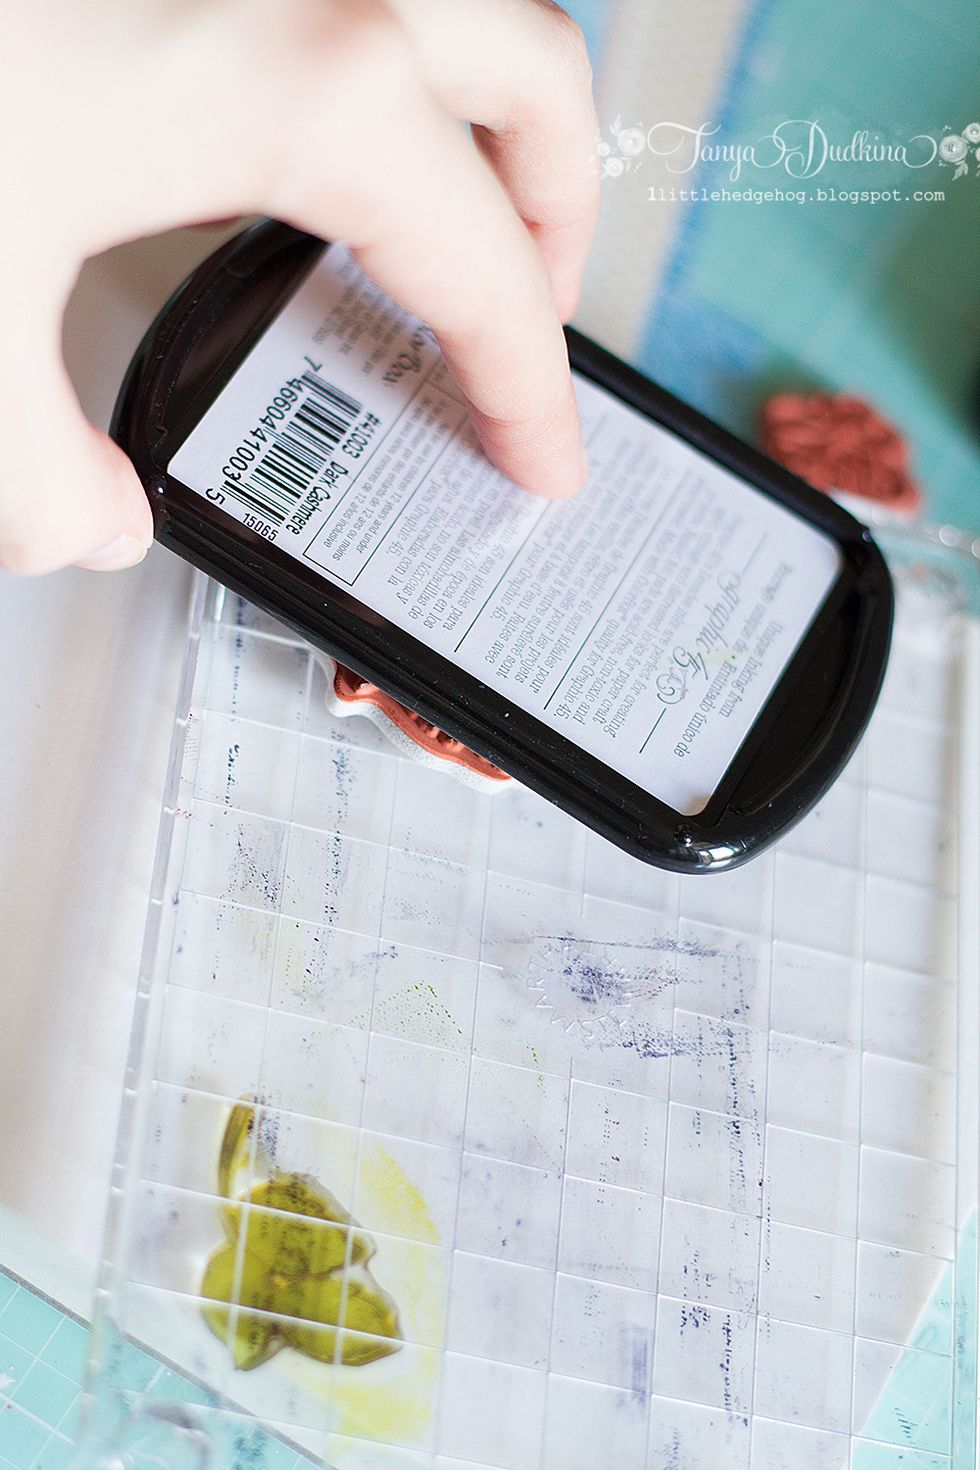
Apply some Colorbox Graphic 45 Decades ink on your wreath stamp. I picked 'Dark Cashmere' and 'Bon voyage blue' colors
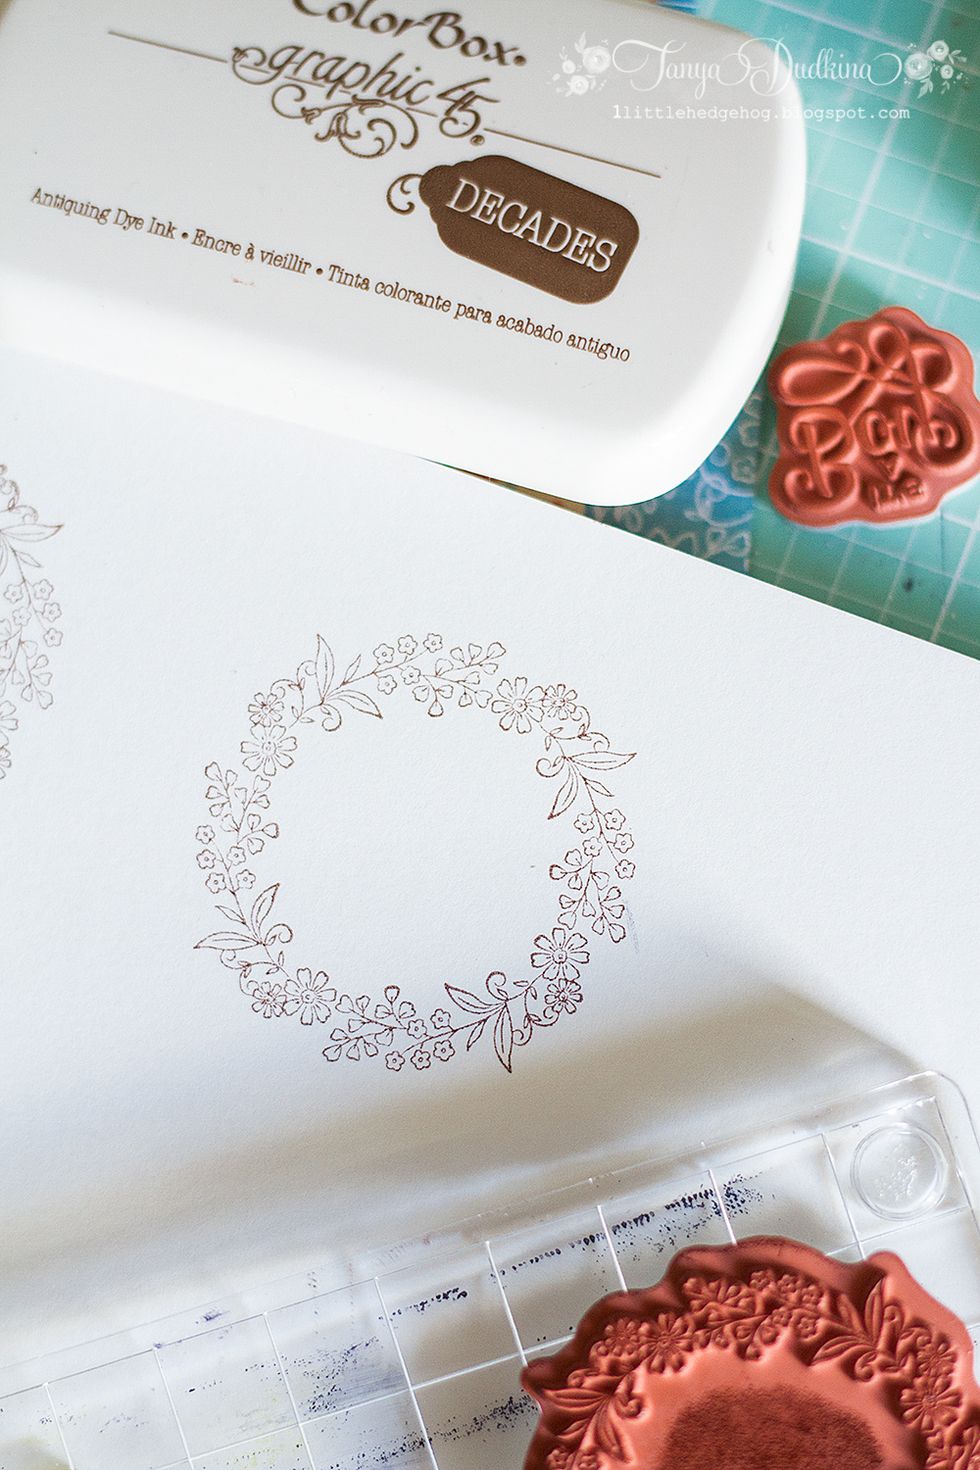
So cute, isn't it?
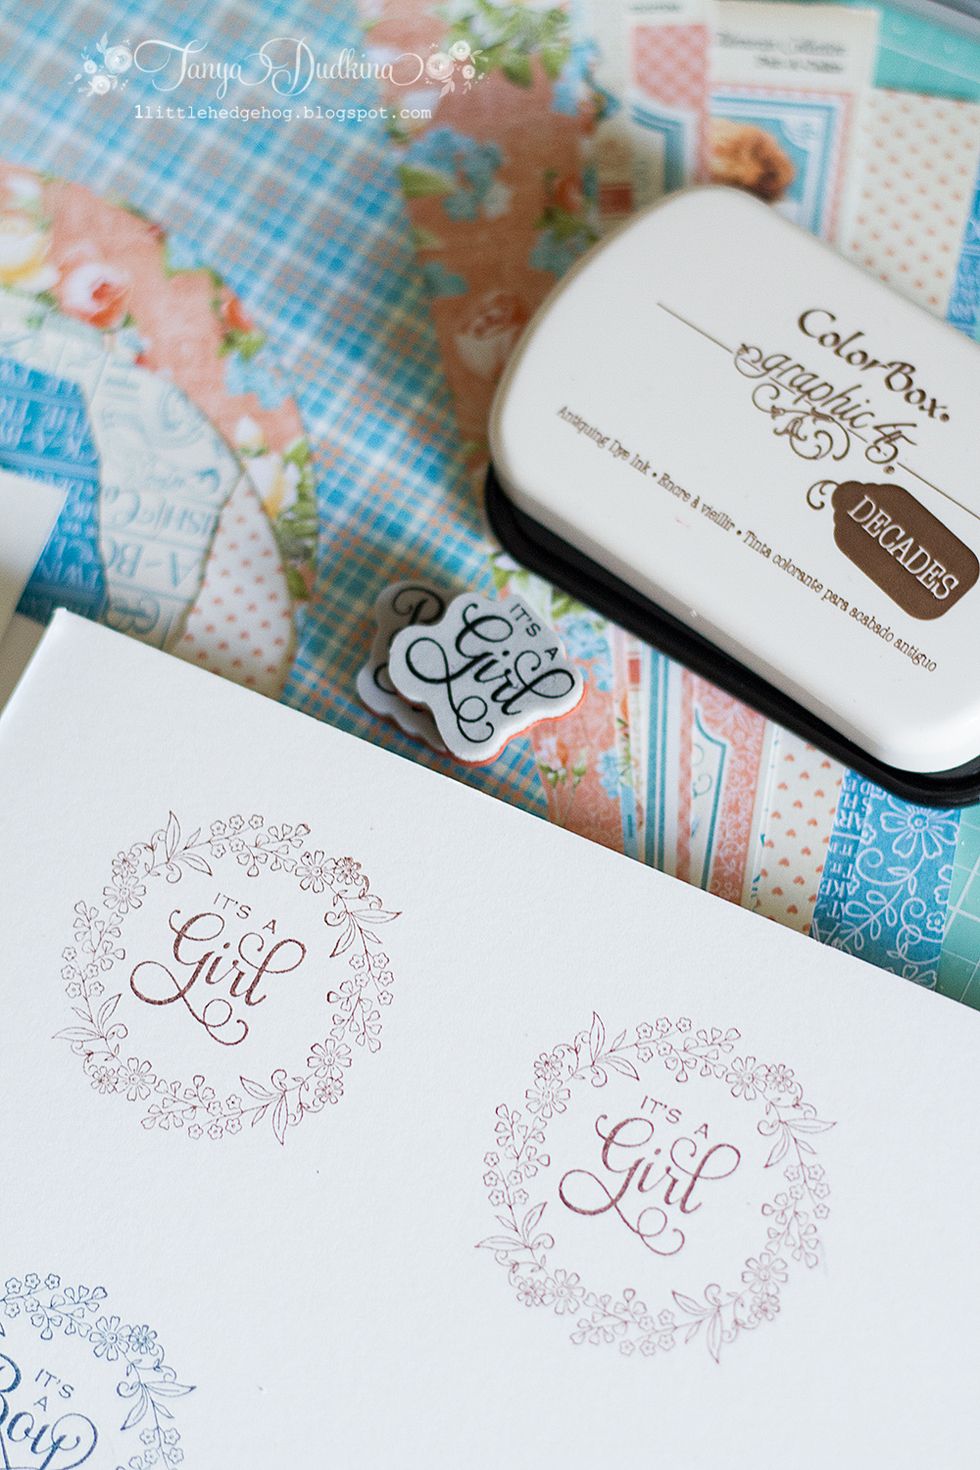
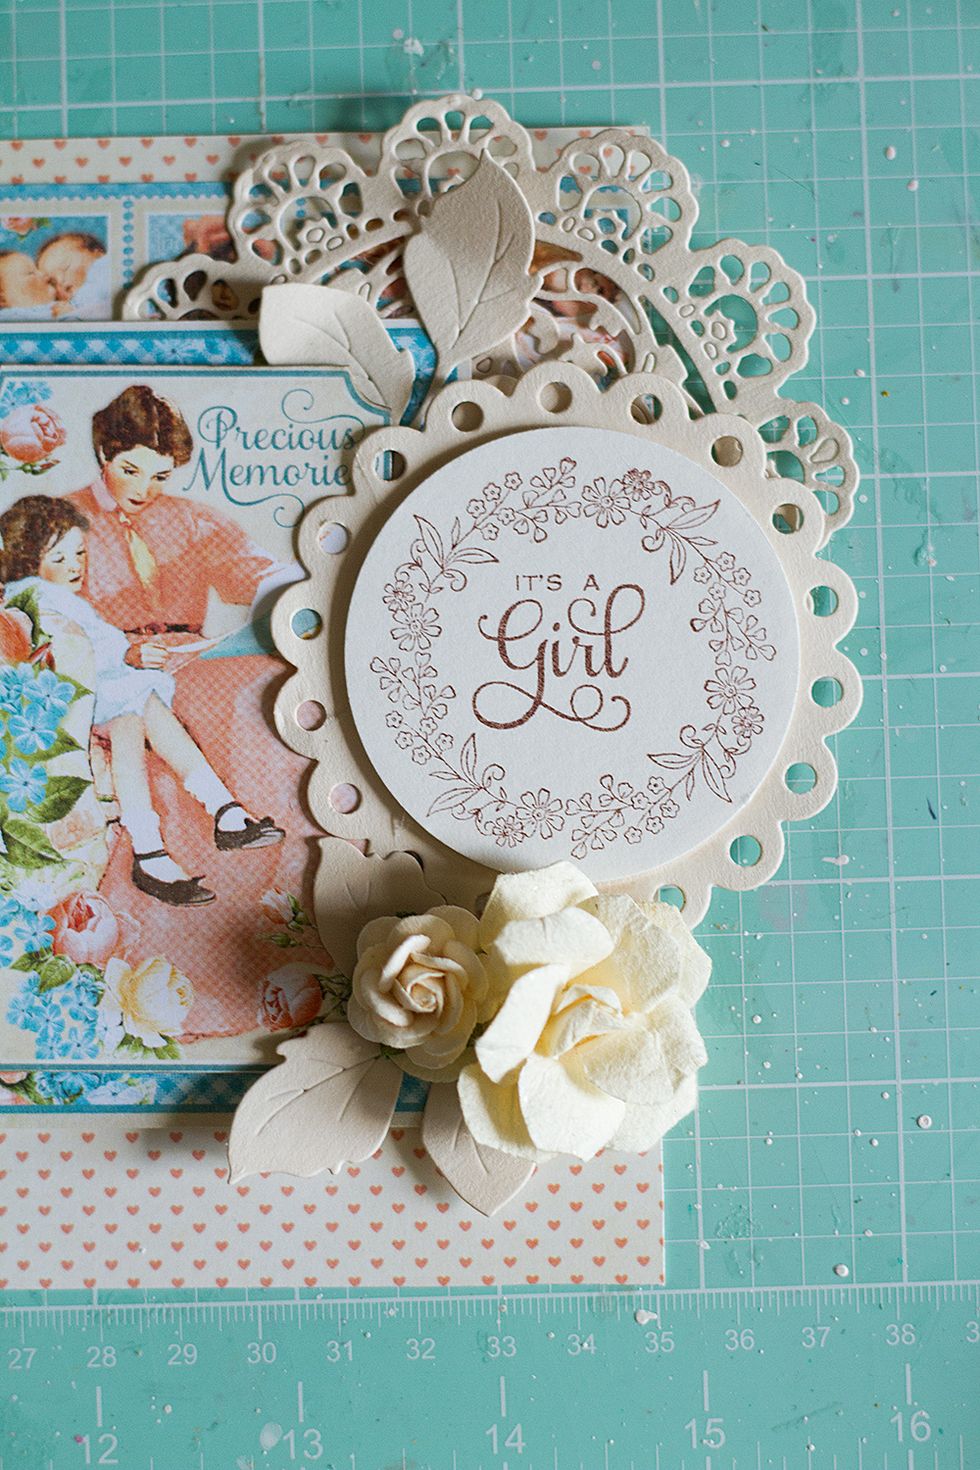
Let's add some title inside the wreath.
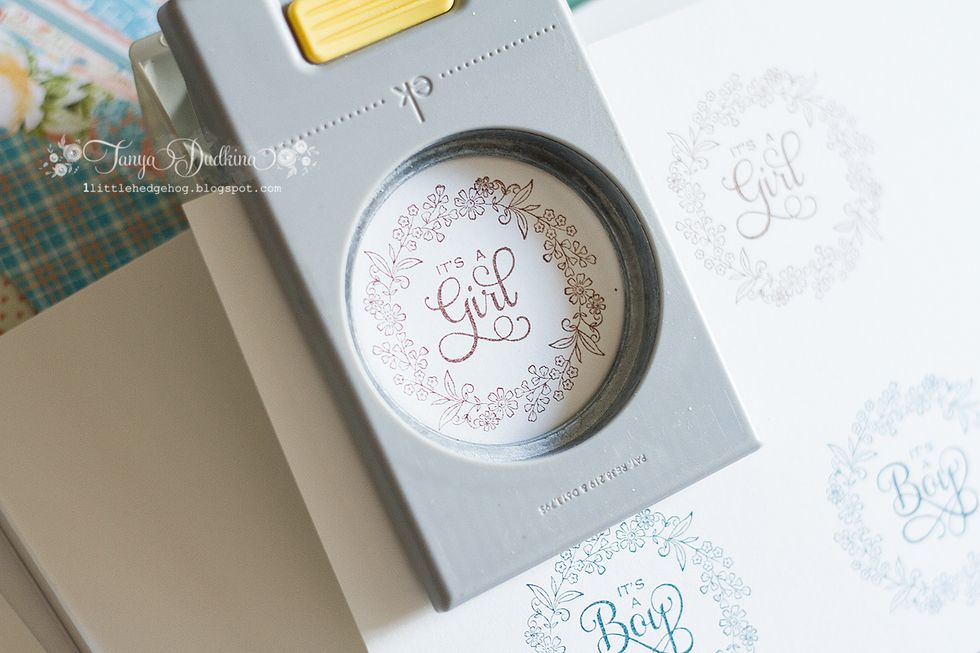
I use EK success 2.1/4" punch which perfectly fits the wreath stamped picture.
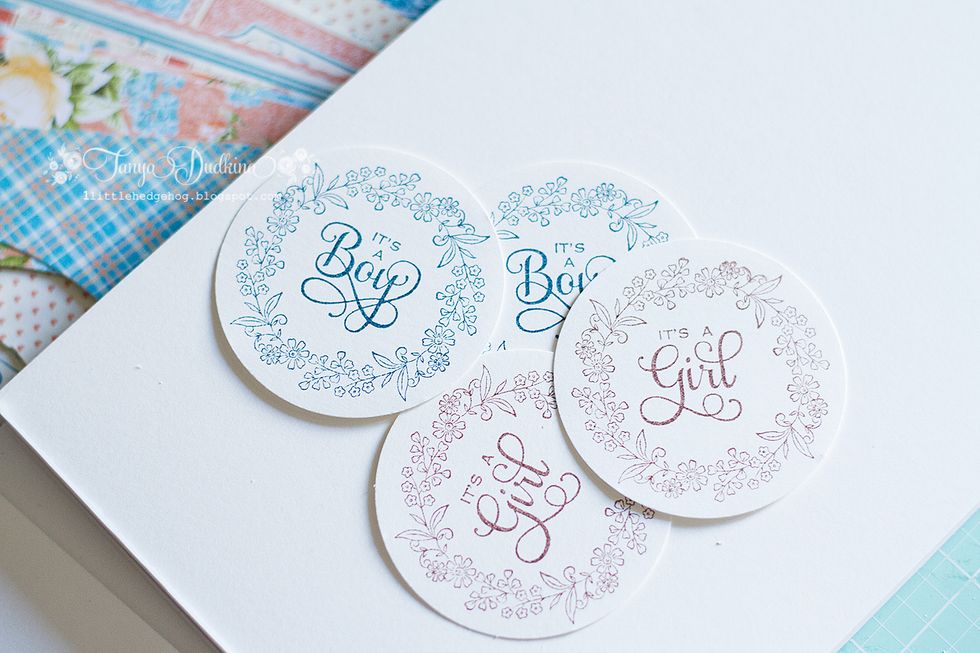
My little labels are ready and we can start to make a card finally!
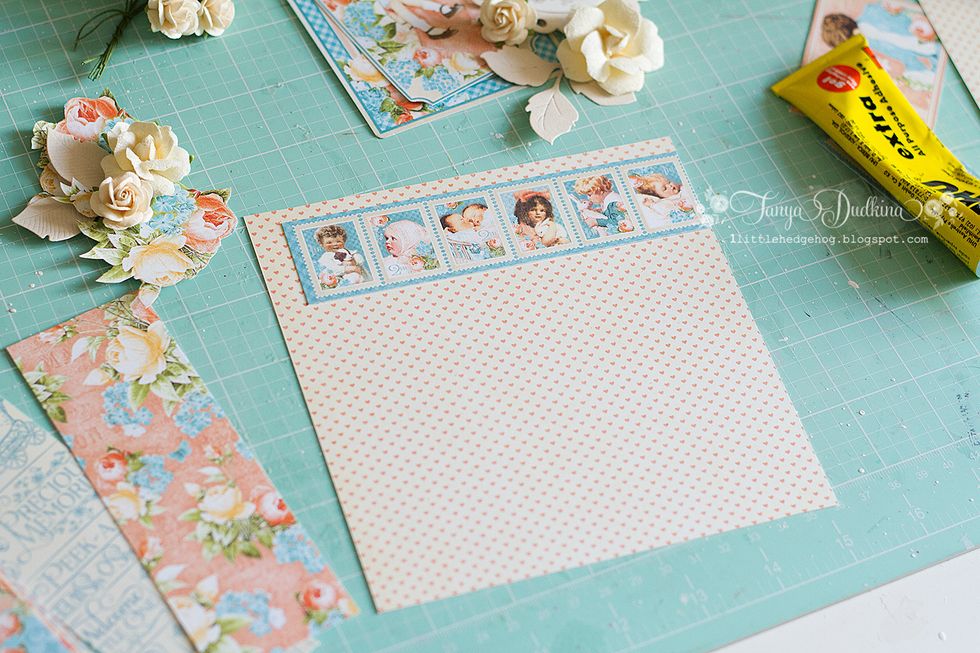
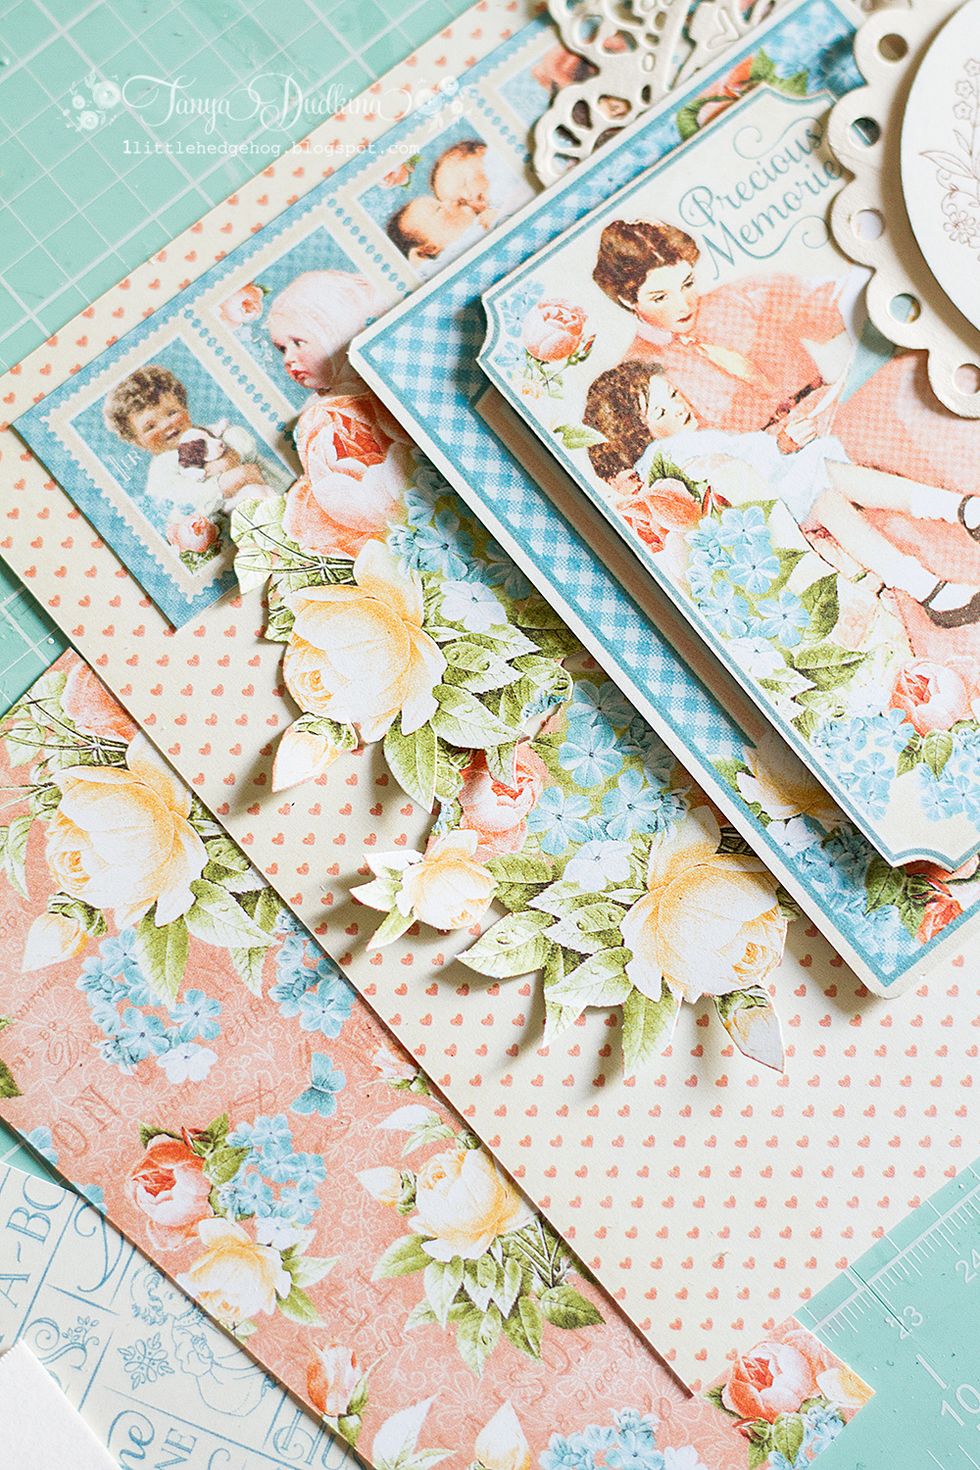
I chose Precious Memories collections. The size of my card is 6 by 6 inches. I apply adorable border from the borders paper sheet.
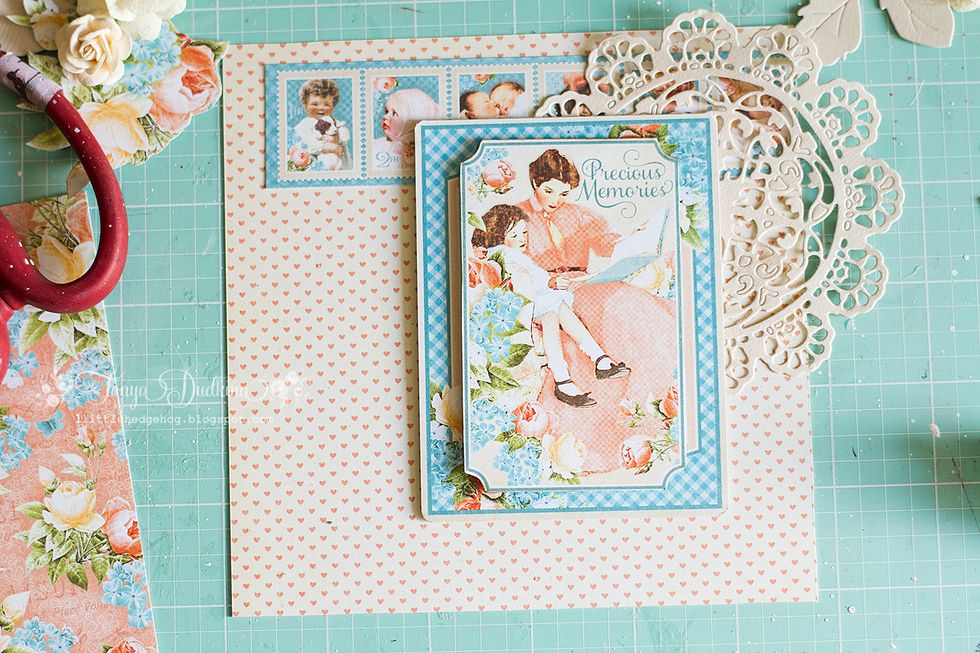
Let's add some doilies. Love this doily die which makes card look more tender. I also use an ephemera card and a journalling card from the paper pad. Add some volume with the help of adhesive tape.
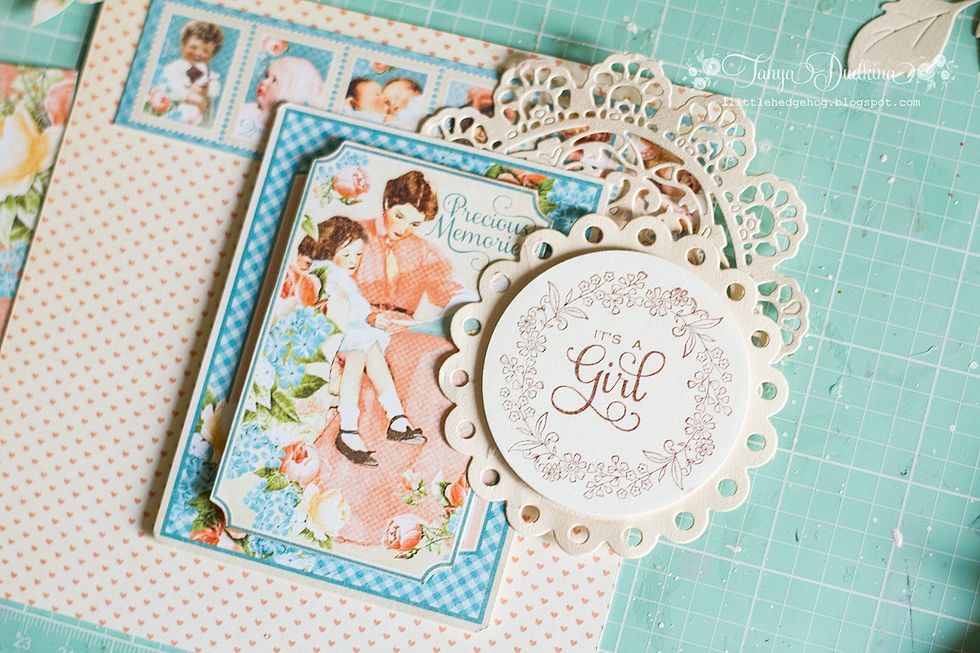
Add our circle label to the card
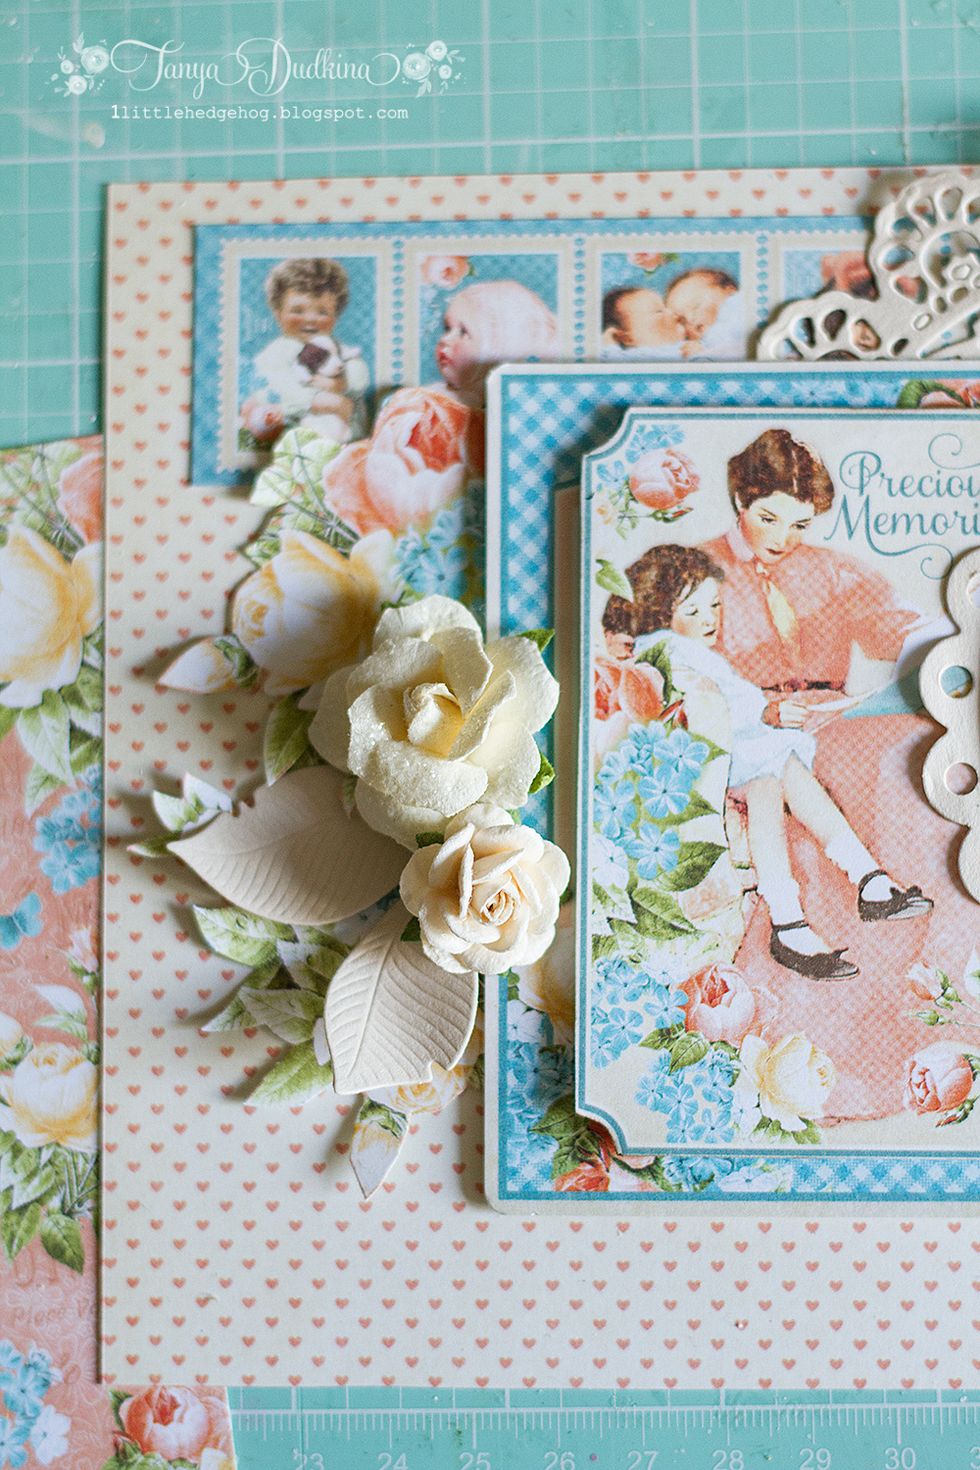
Ho about more flowers? I love these roses and little leaves. Each detail makes your card more interesting and fascinating
More leaves and flowers from the other side. Let's keep balance on the both sides of card.
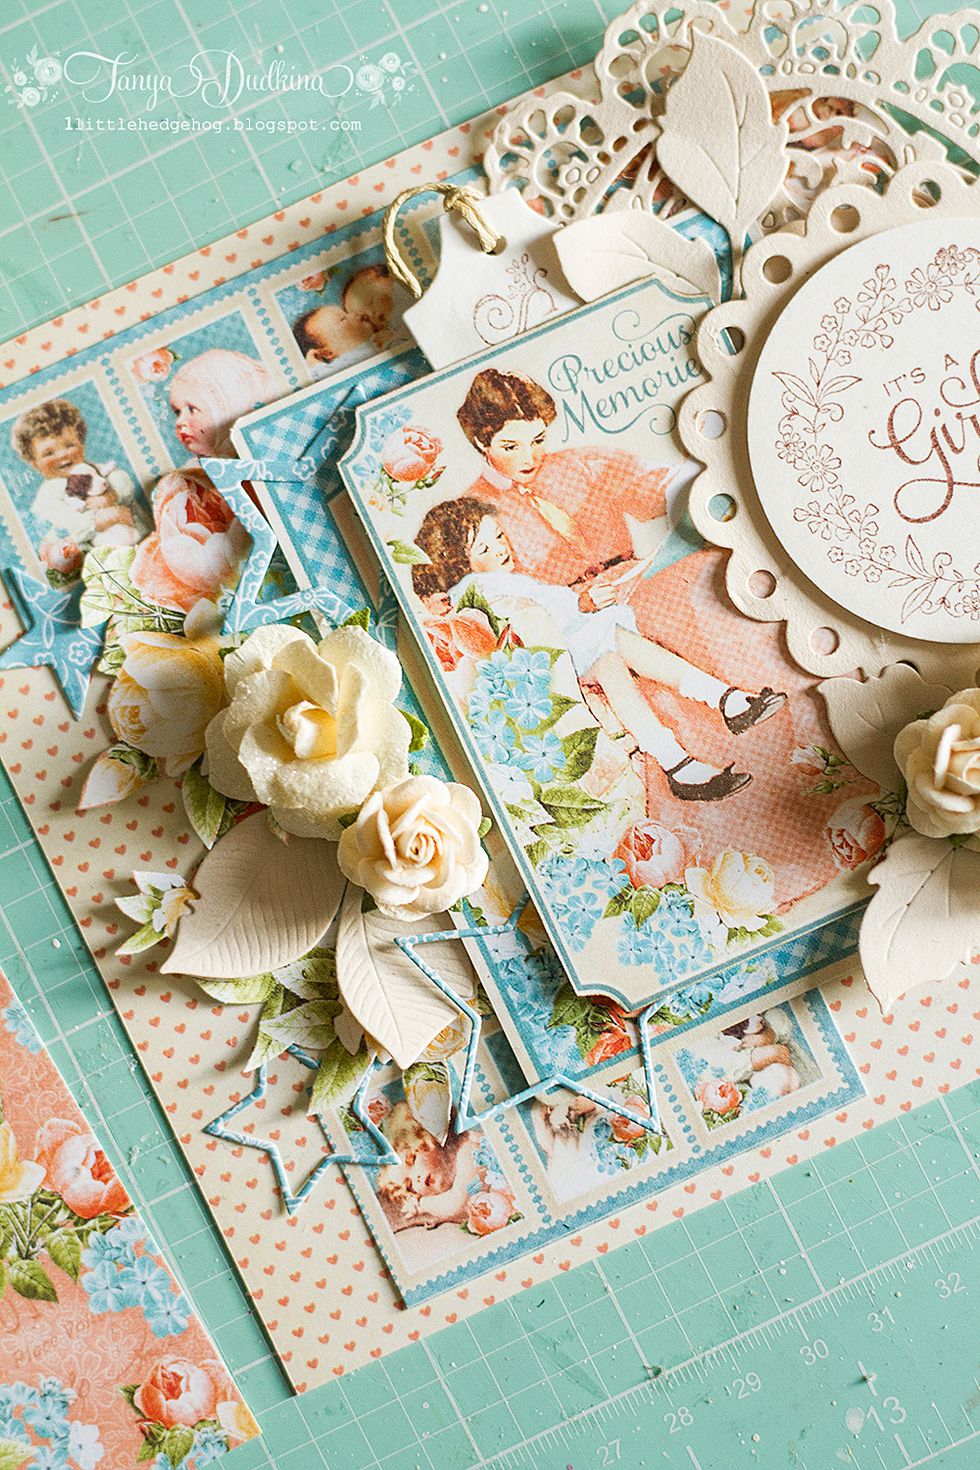
Final touches with starry die-cuts and tiny tag on the top of the card.

It's ready! Hope you enjoy it!
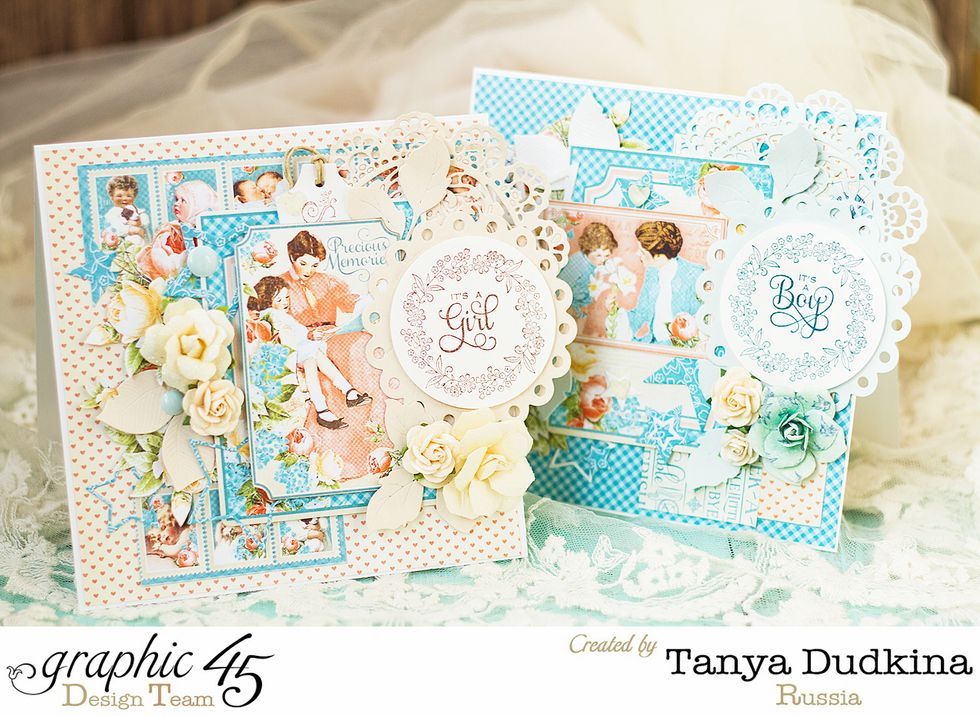
I made boy and girl cards to show my favorite technique of adding stamped labels on a card.
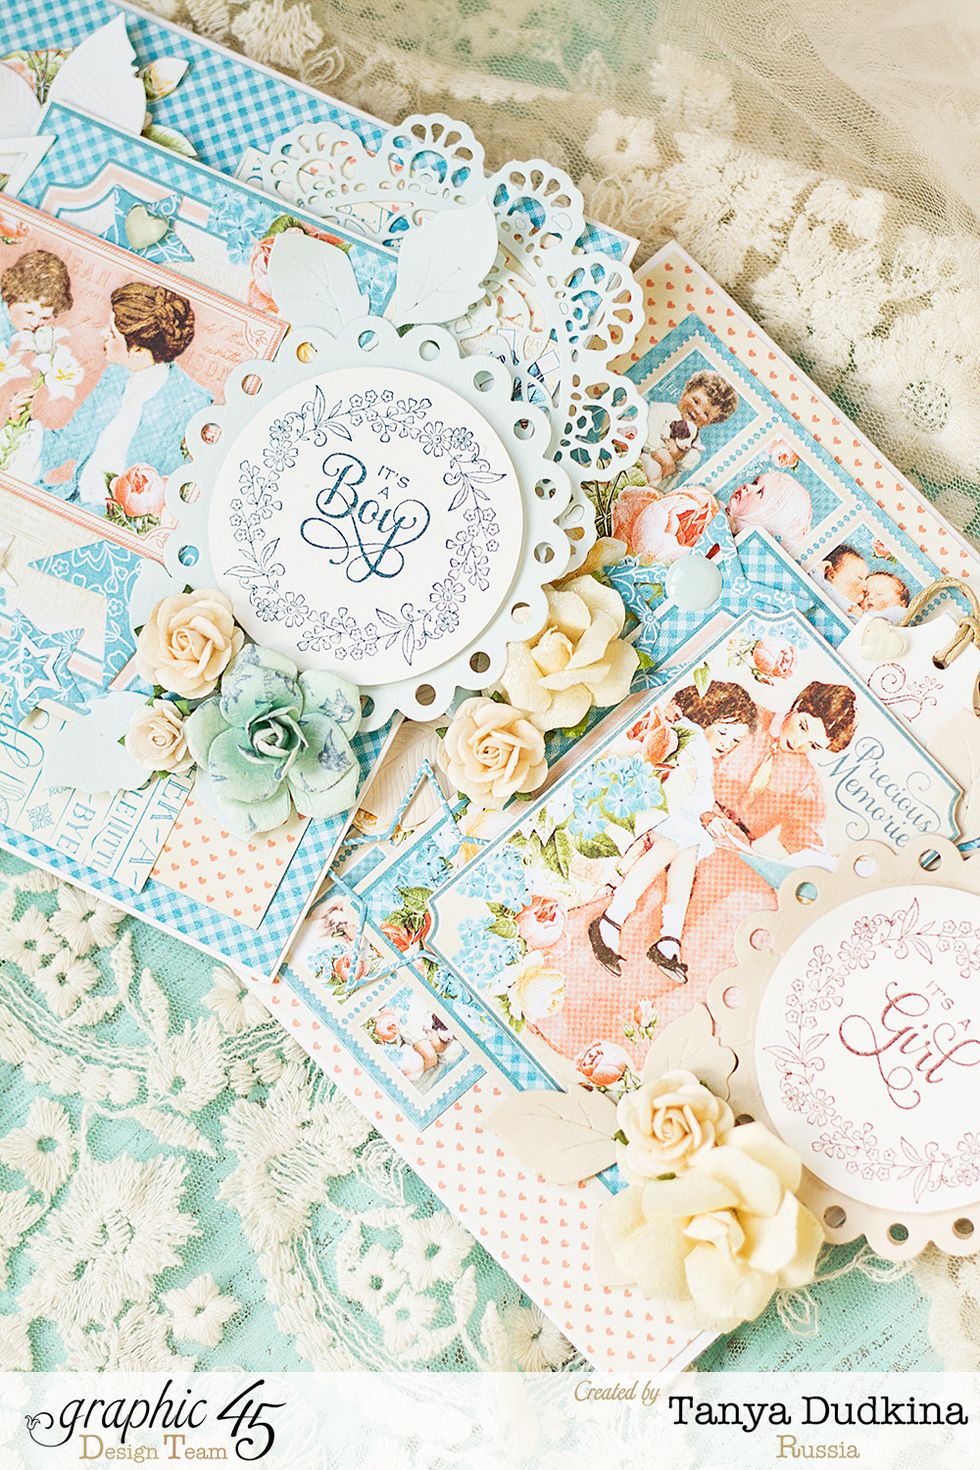
Details. You can also add some little enamel dots or crystals.