The Conversation (0)
Sign Up
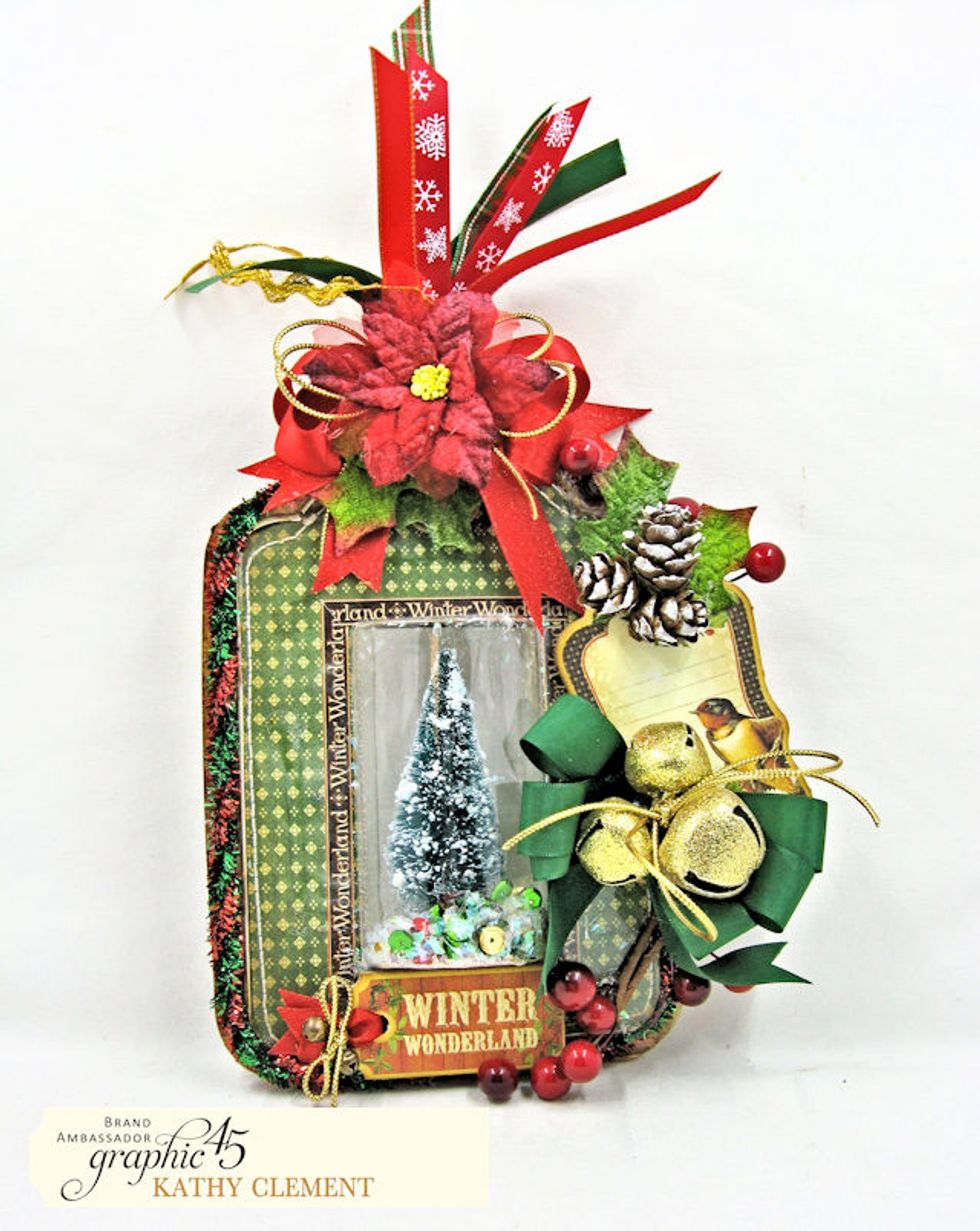
You can turn G45 Washi Tape packaging into a stylish, shimmering dimensional shaker tag or ornament. I'll show you how to build the base elements then you can decorate as you desire.
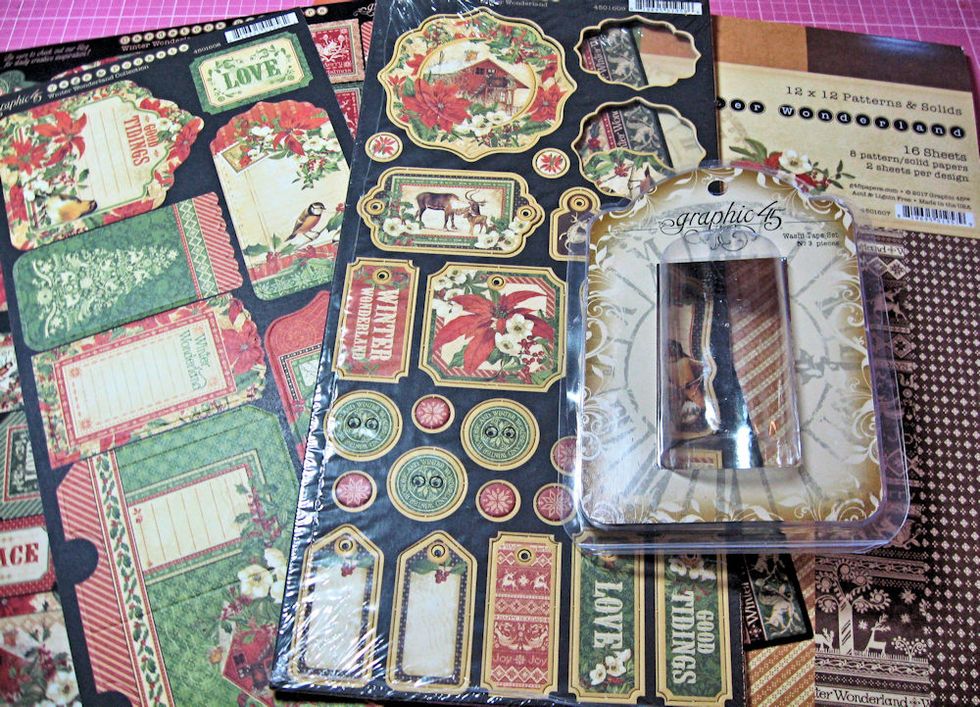
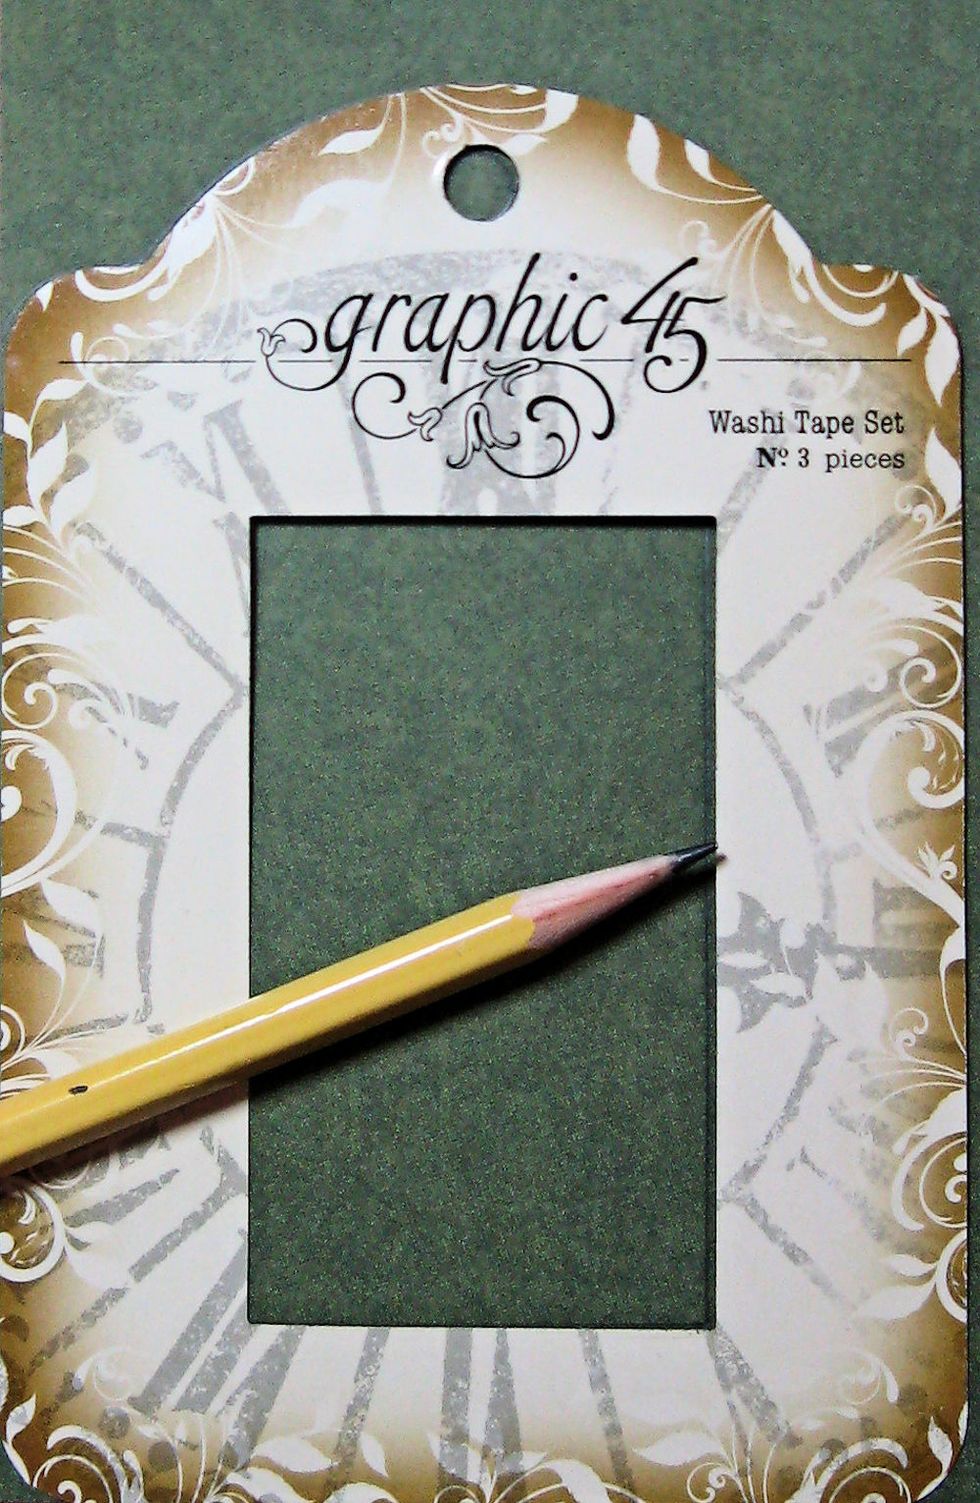
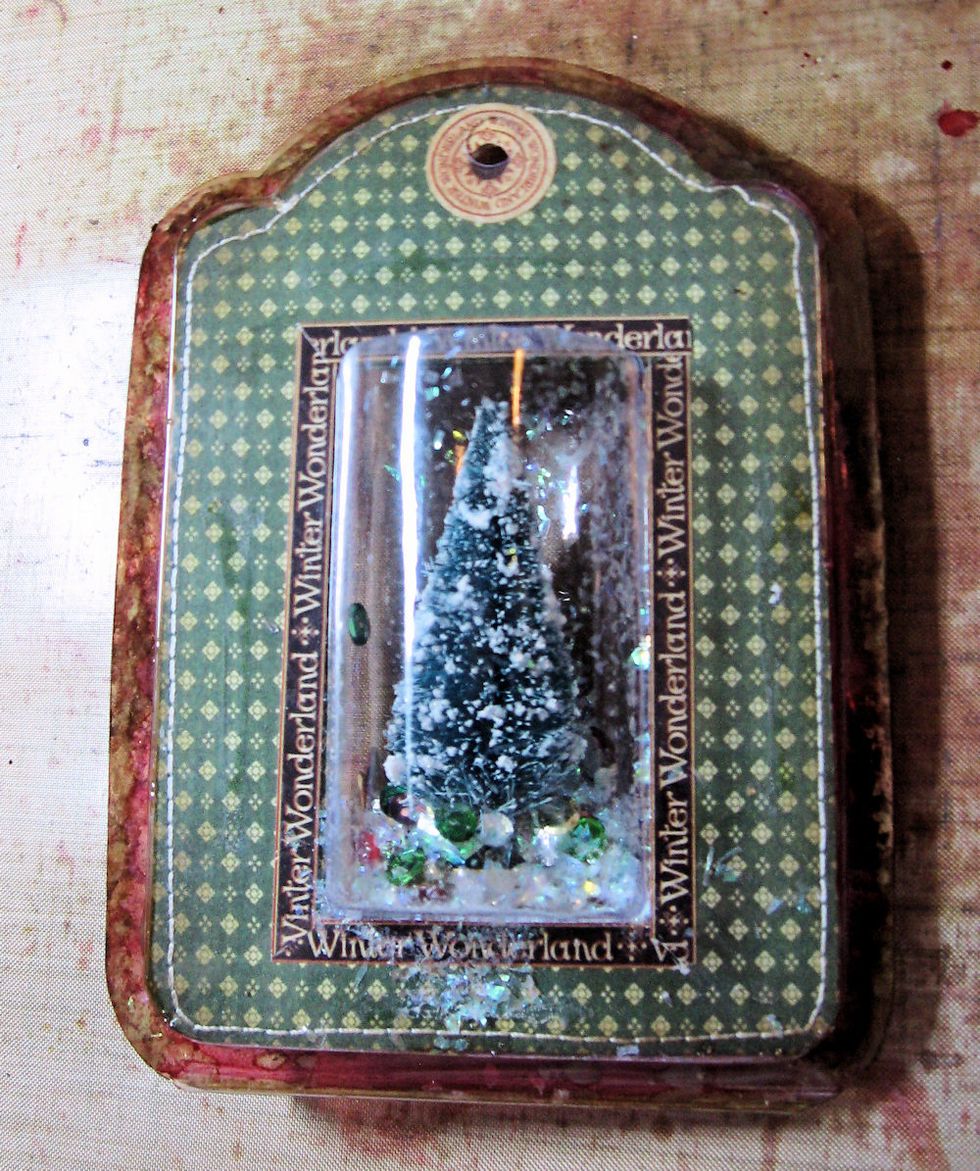
Begin by gathering the materials on the supply list. Open the washi tape and remove the G45 cut out tag. This will be our template.
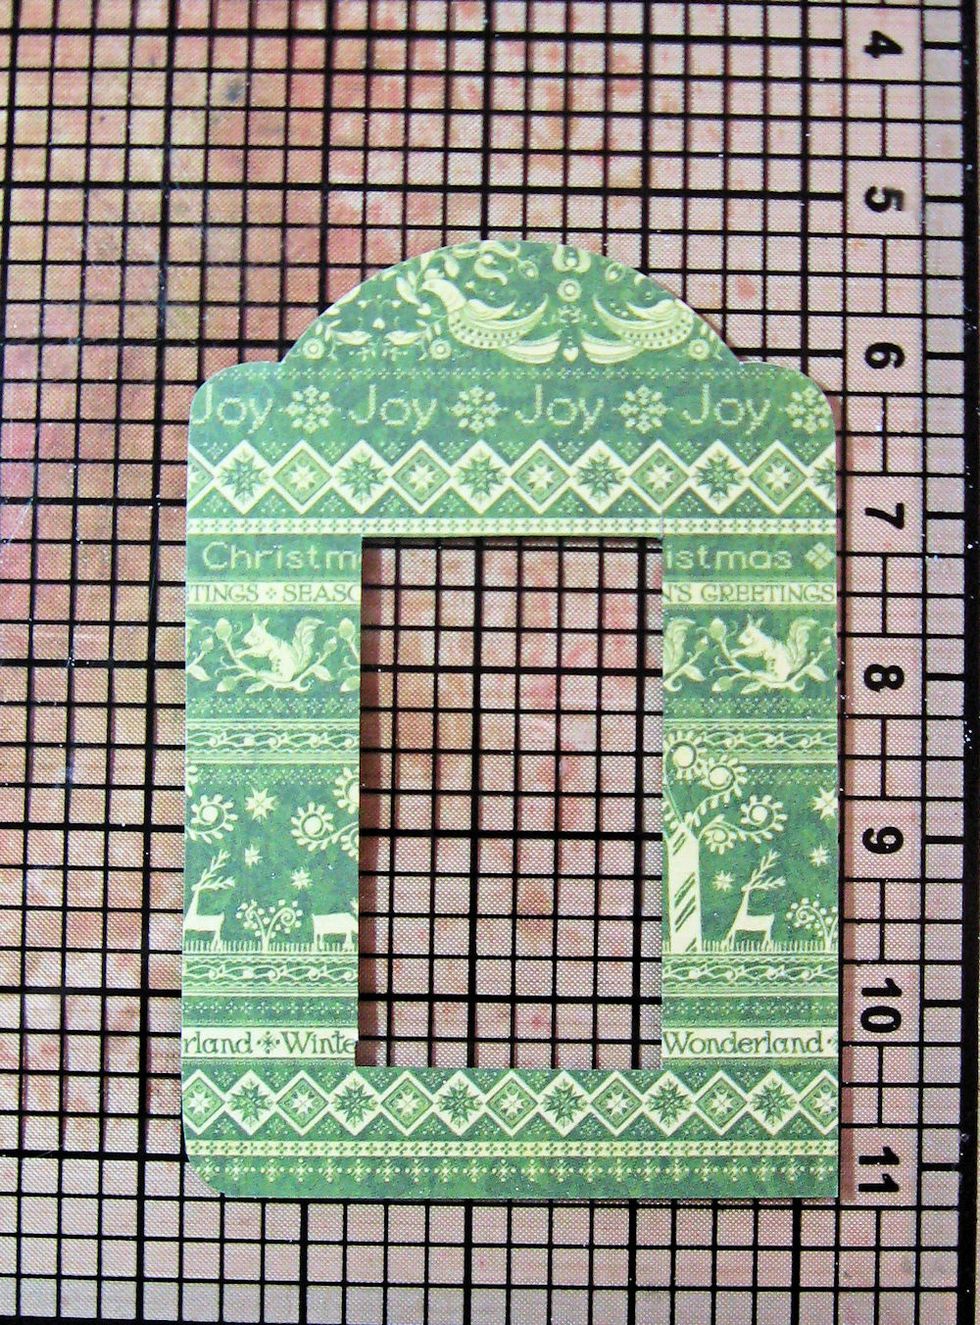
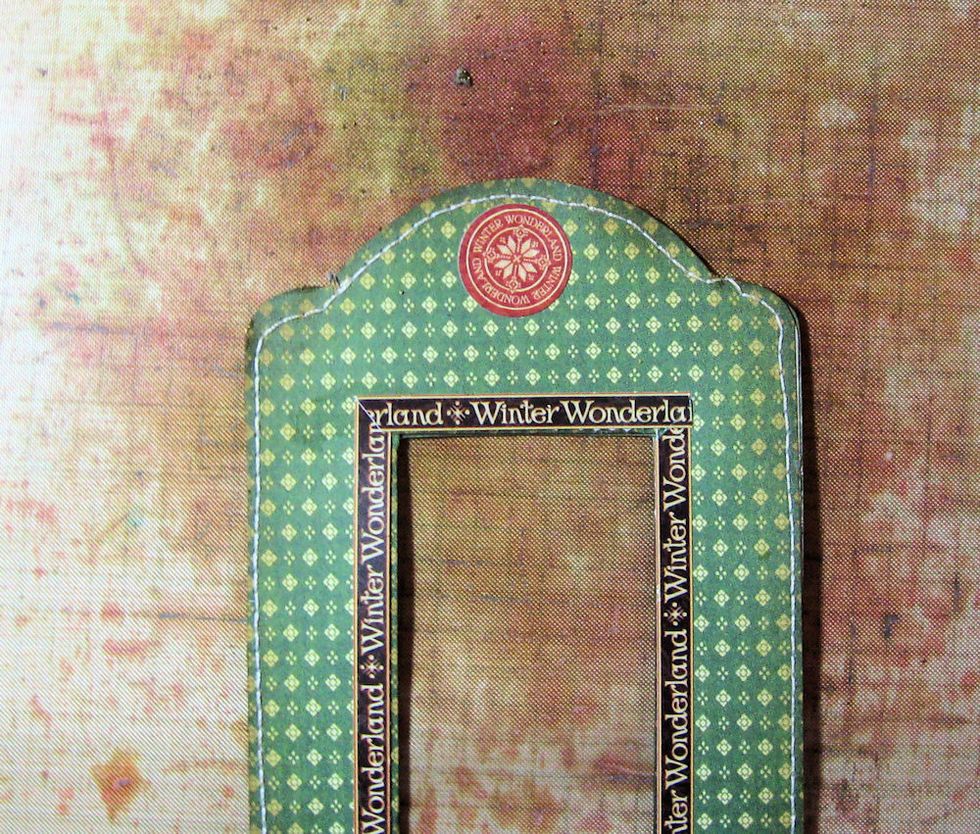
Trace both the front and back of the tag onto Winter Wonderland 12x12 Patterns and Solids paper. Be sure to trace the window opening. Then cut the tags out with scissors. Cut inside with craft knife
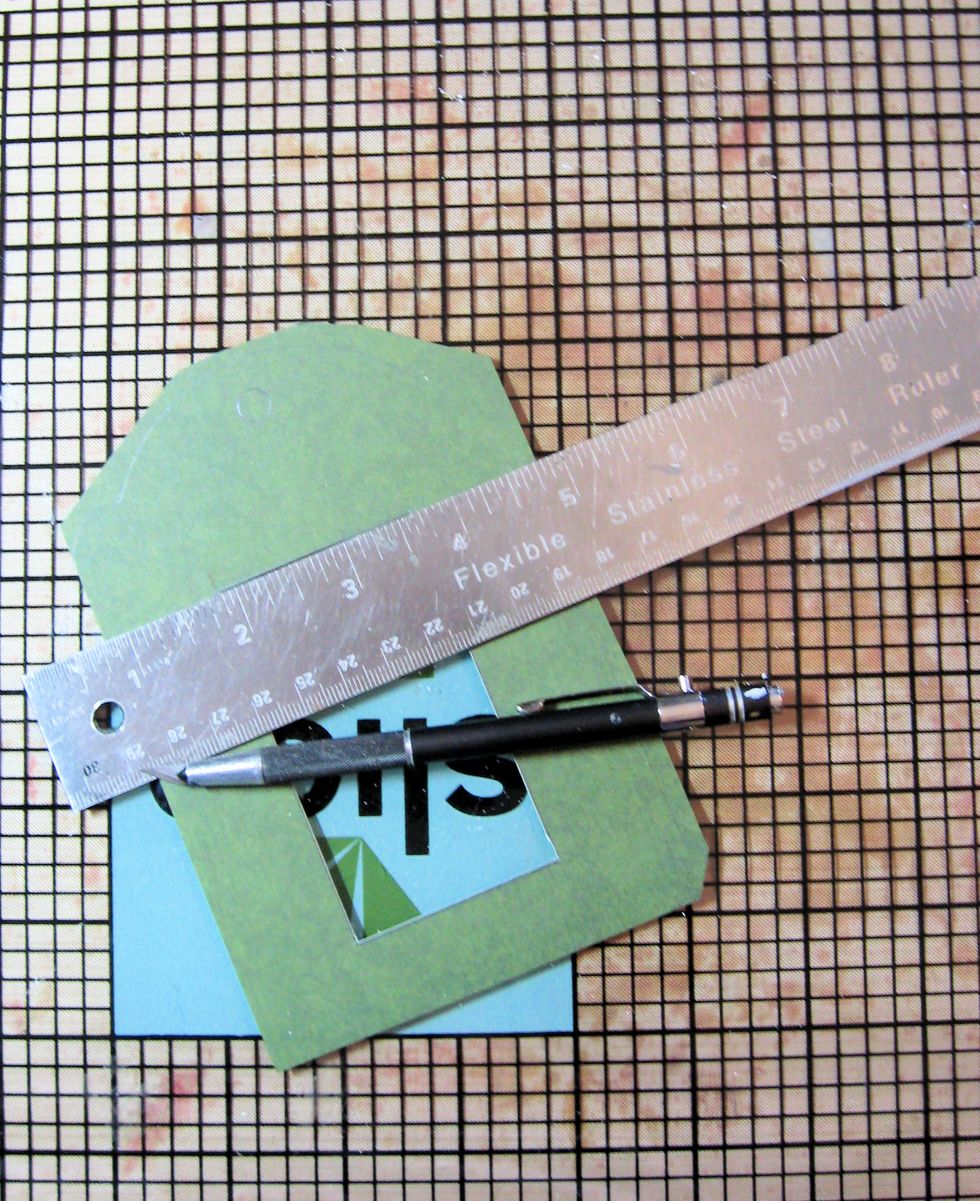
To cut the inside window area, use a craft knife and a ruler on a glass cutting mat. The glass makes the craft knife glide. If you don't have glass mat, use glass from an old picture frame.
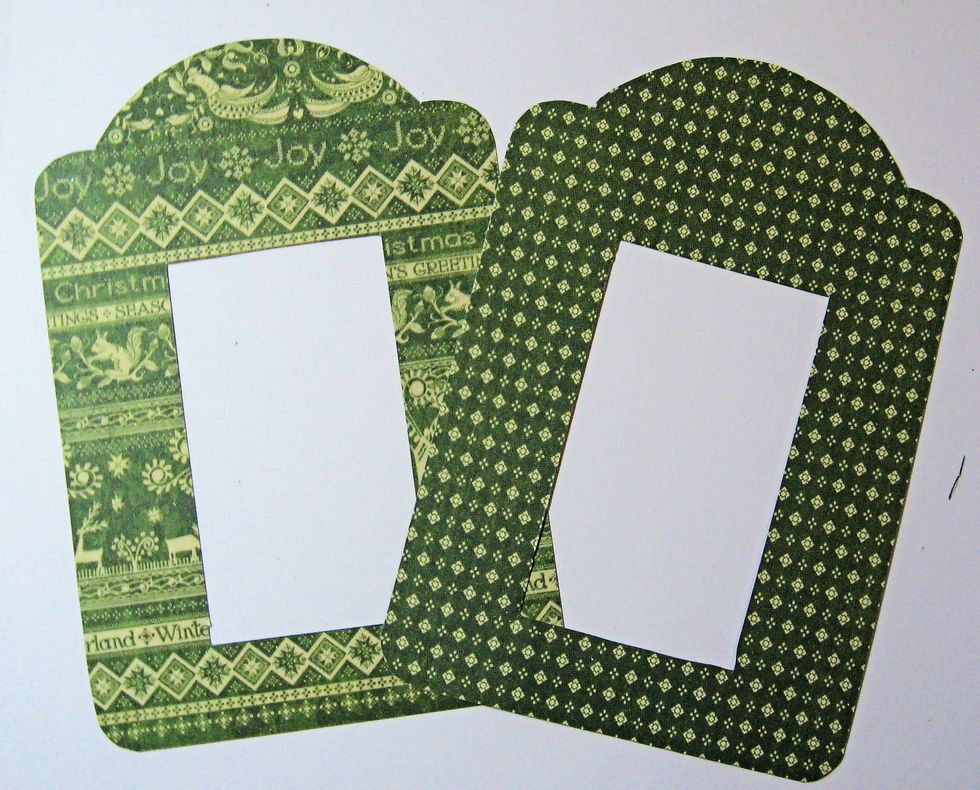
This is what the tags will look like when they are cut out.
Check to make sure the cut out tags fit perfectly over the base tag. Trim and make adjustments if necessary.
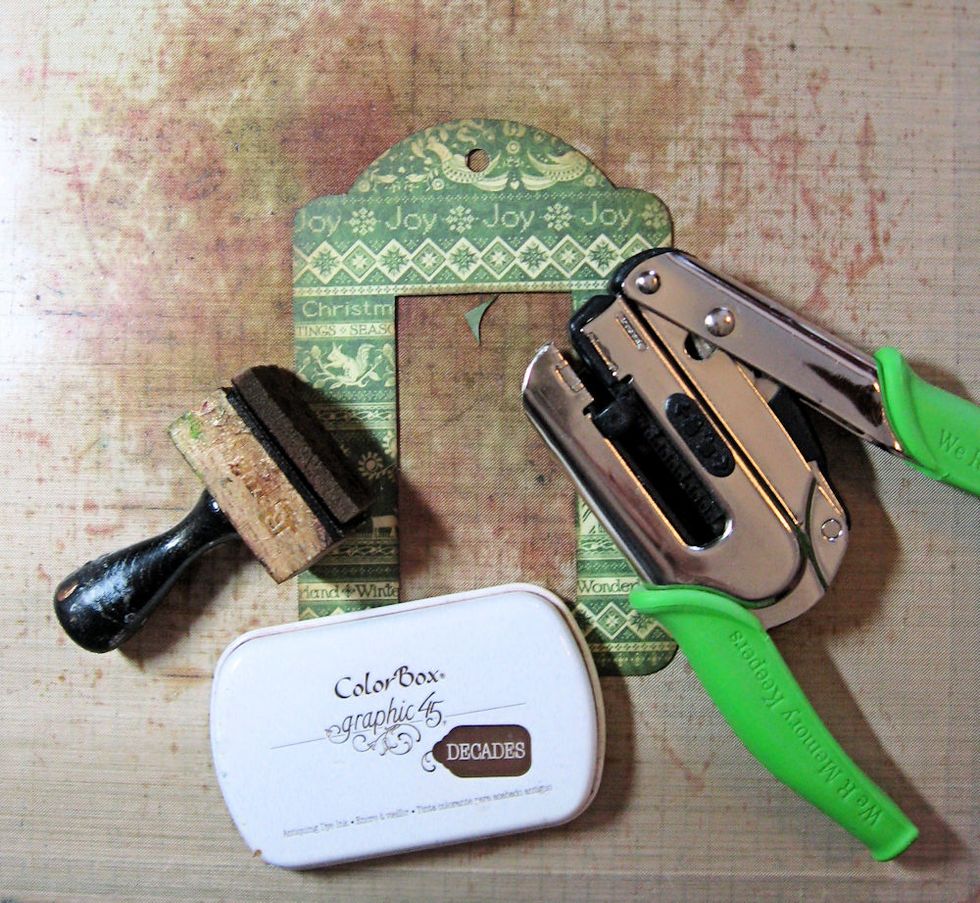
Ink all edges with Graphic 45 Photogenic Decades Ink. Punch a hole in the top of the tag.
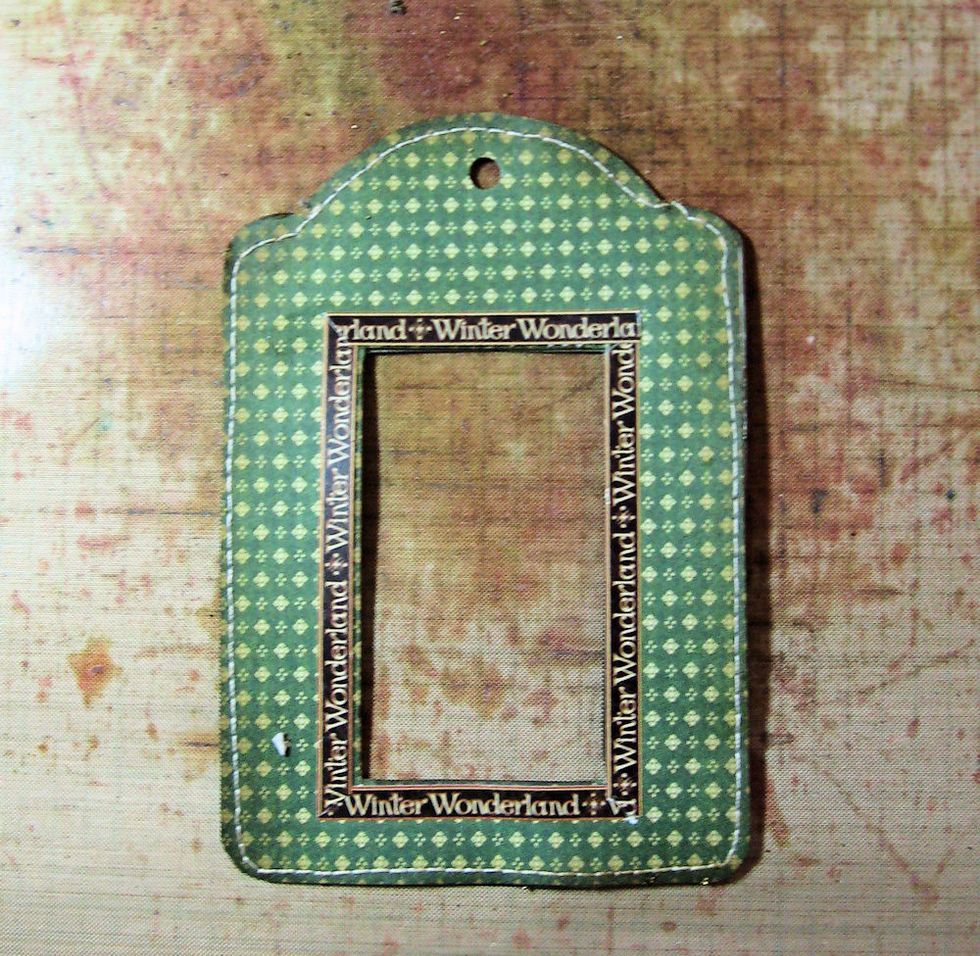
Machine stitch (or glue) the tag layers together. Then add a sticker border from Winter Wonderland Sticker Sheet.
Add a circle sticker over the hole and punch again.
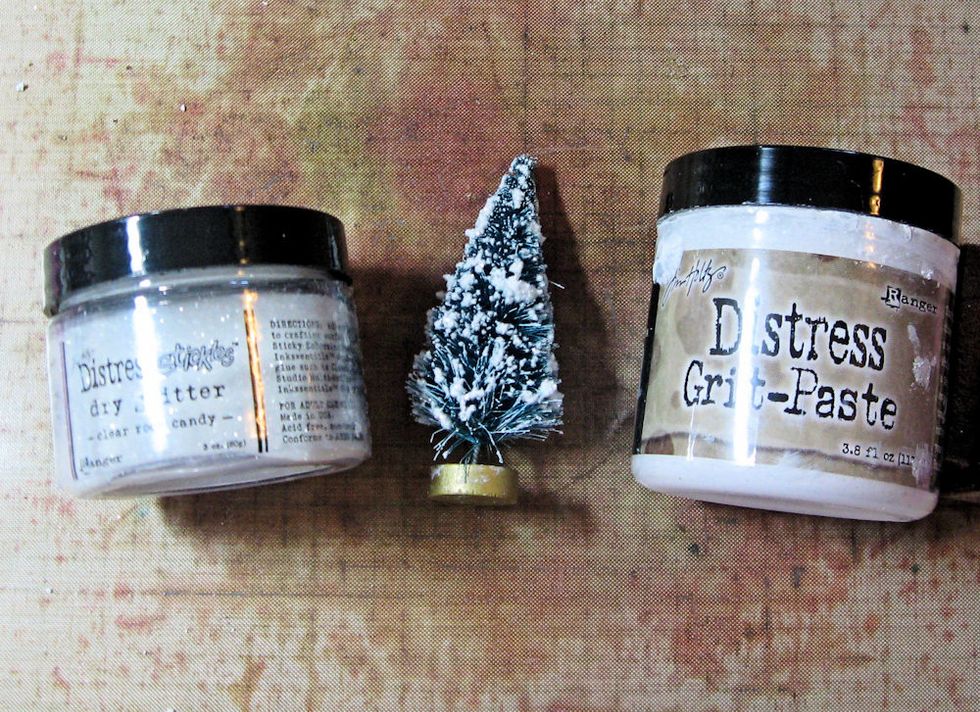
Use your finger to tap Distress Grit Paste onto the branches of a green bottle brush tree. Then dip the tree into Rock Candy Distress Glitter to add sparkle and shine.
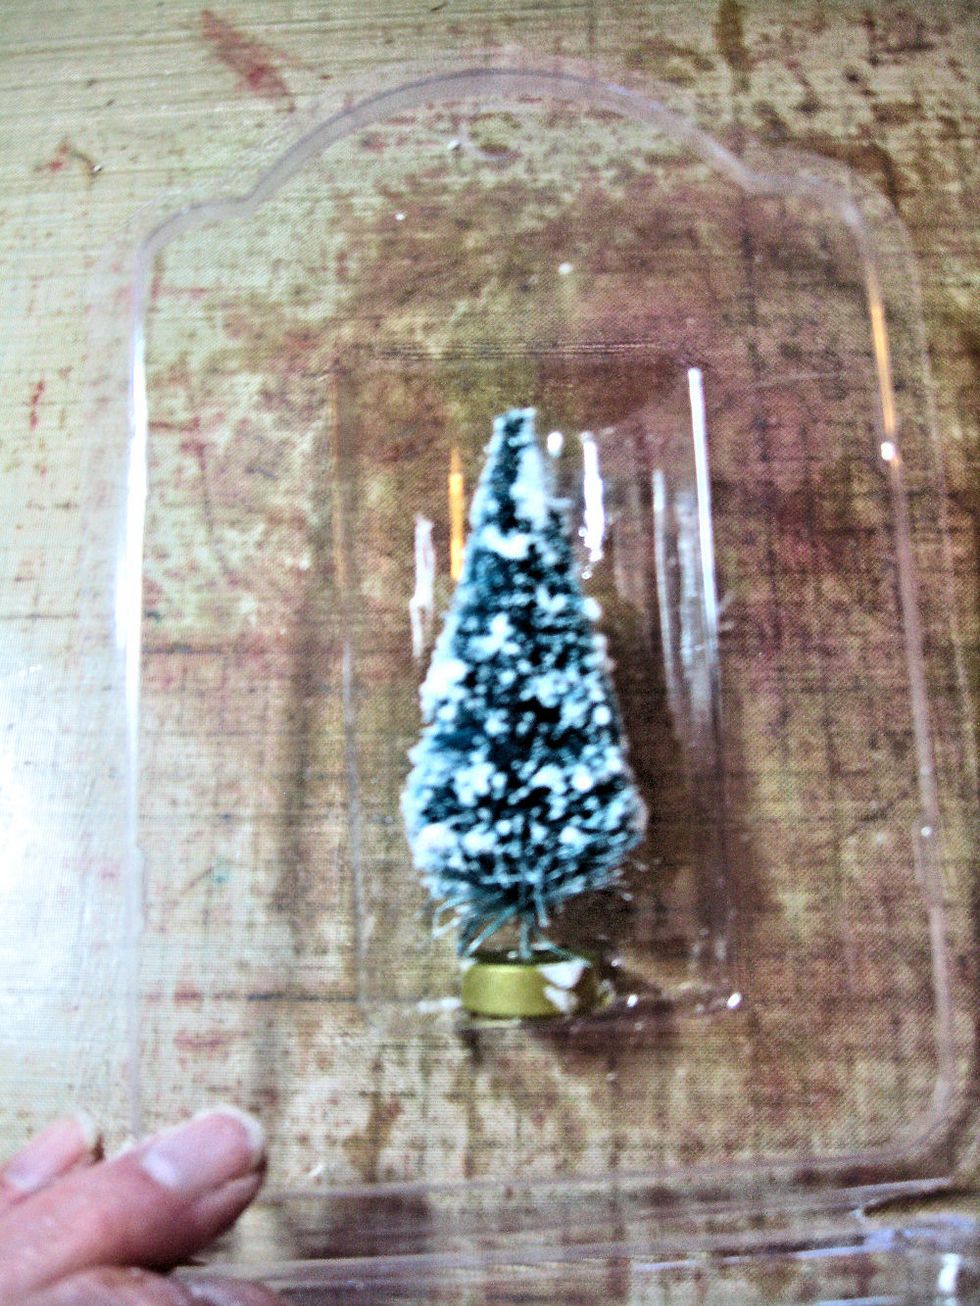
Open the washi tape packaging and glue the tree in place. I used hot glue.
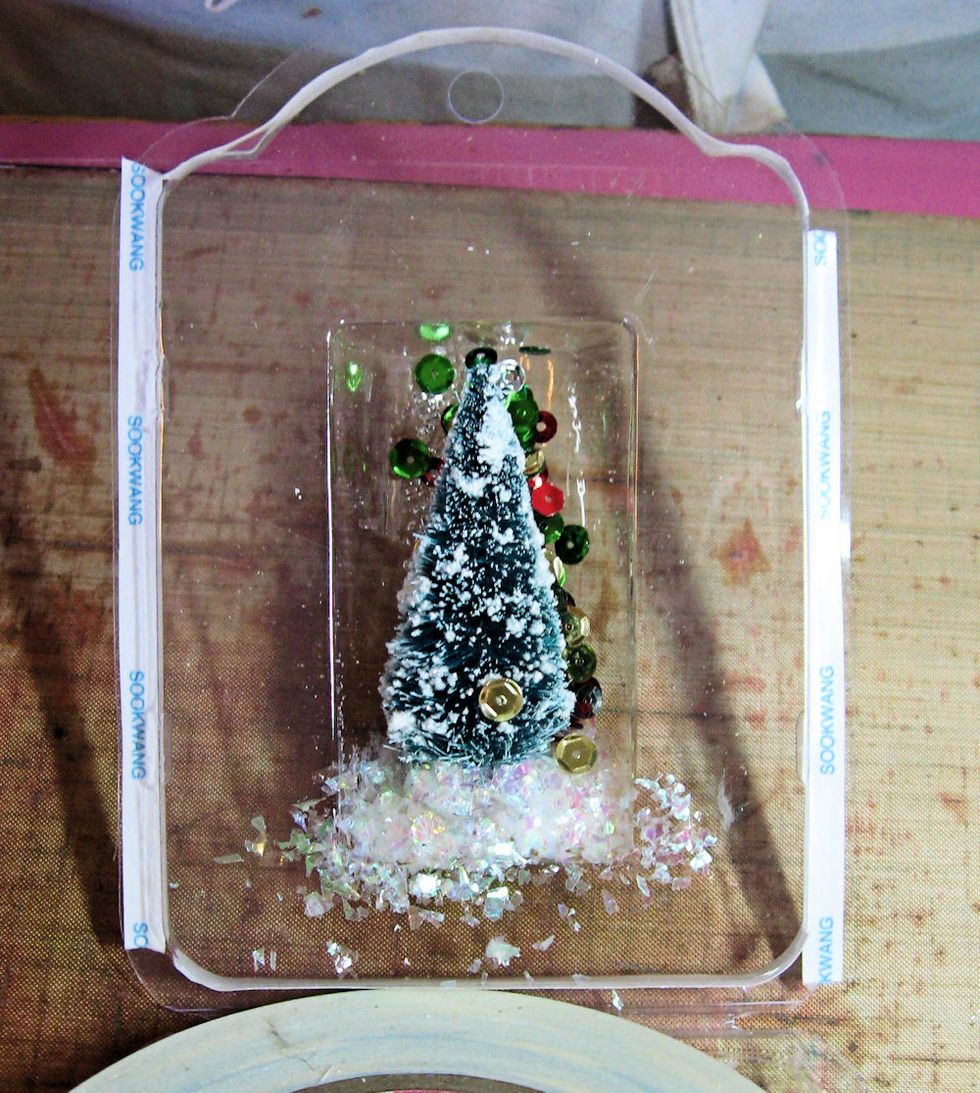
Run a line of 1/4" Scor-Tape all the way around the outside edge of the packaging. This will keep the glitter from falling out. Add Stampendous Shaved Ice, glitter, sequins and beads to the cavity.
insert the decorated window tag. Peel off the tape liner and carefully press the the packaging shut. Tap the edge with Red Pepper, Pesto and Gold Alcohol Ink, if desired.
Twist red and green pipe cleaners together to form tinsel. Hot glue to outer edge of packaging.
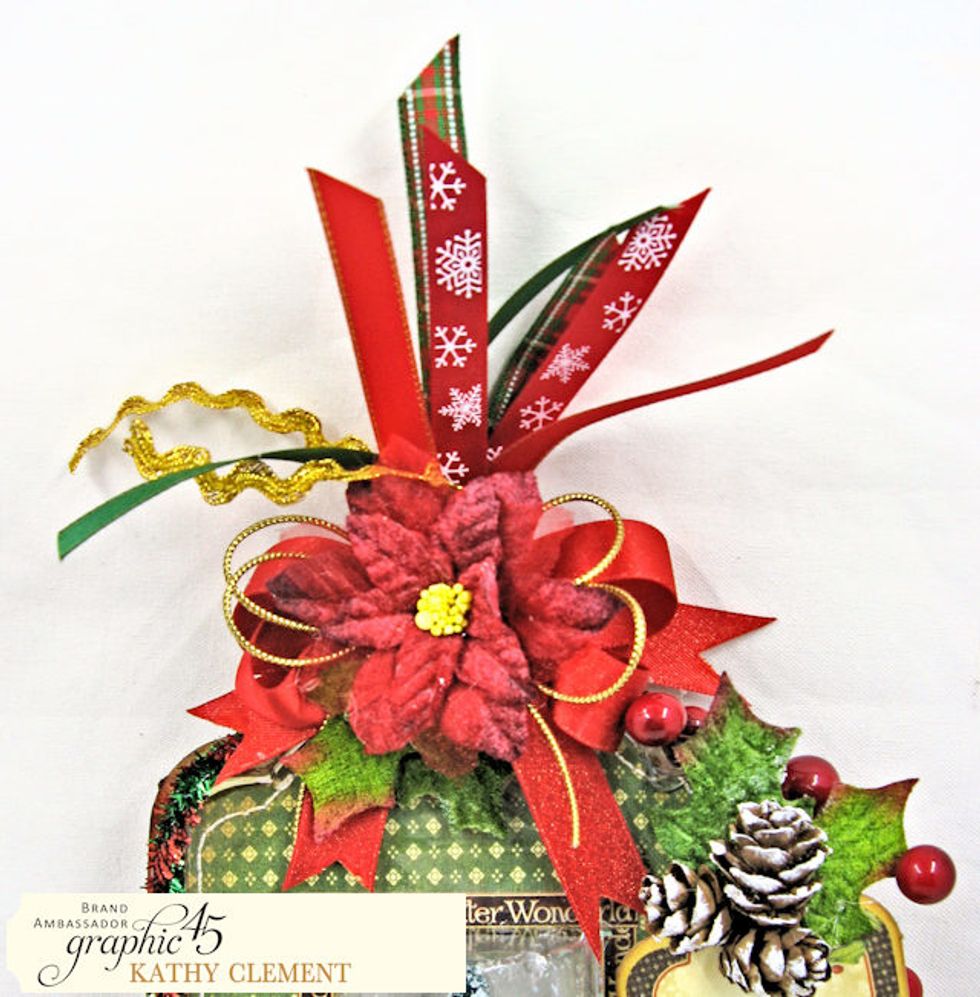
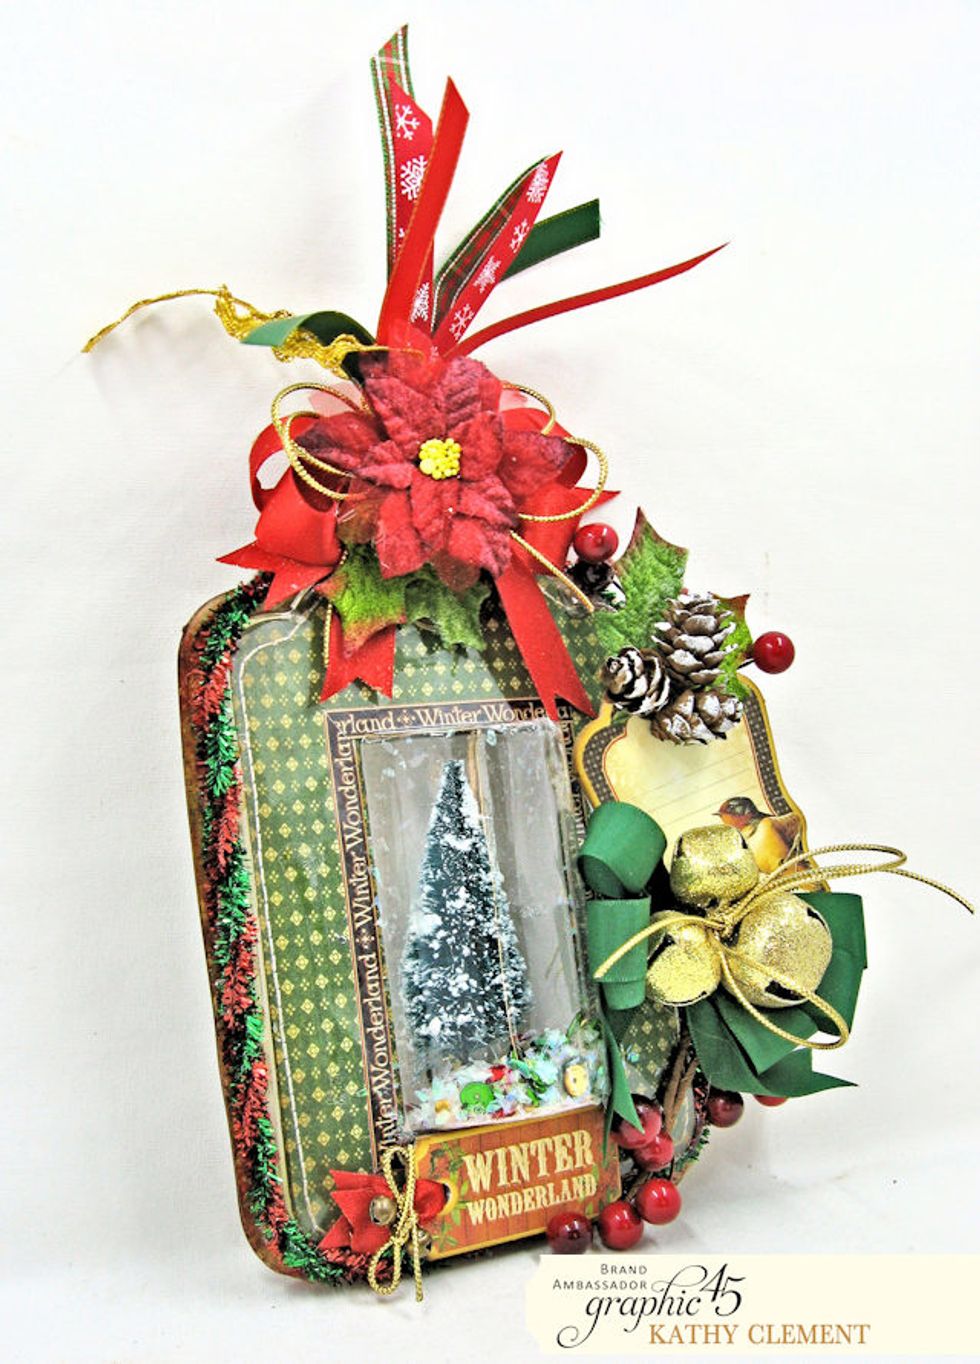
Add ribbon and flower through the hole at the top of the tag.
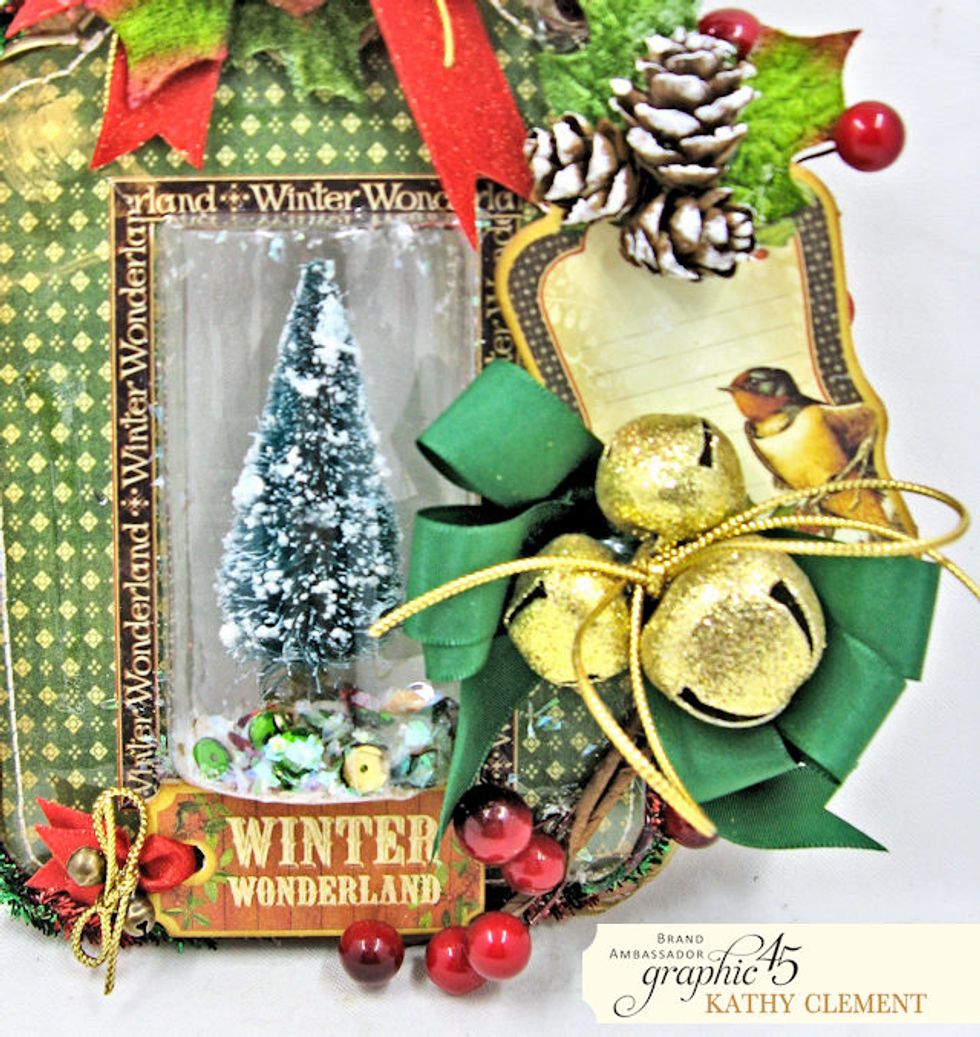
Create a chipboard embellishment to add to the side of the tag. Tuck red berries behind for a flash of color.
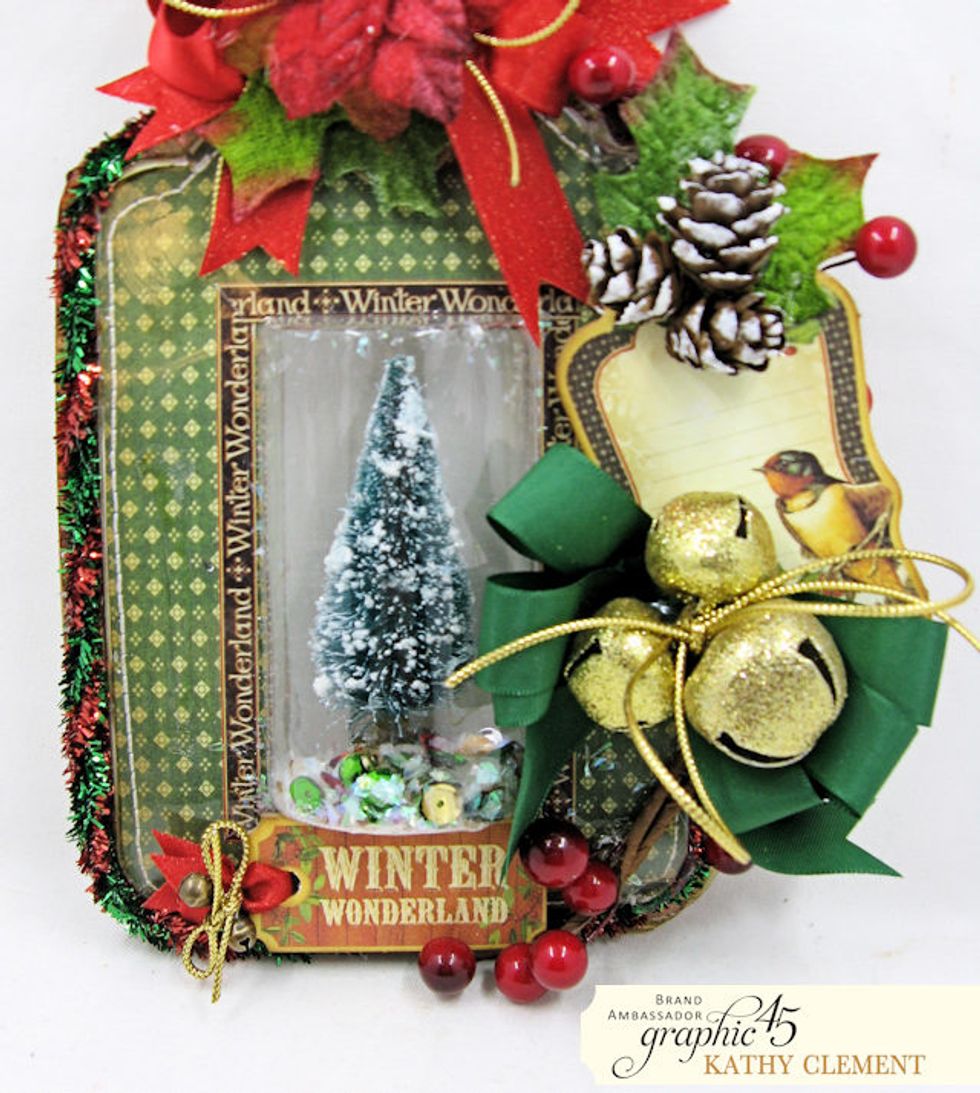
Use foam tape to secure the Winter Wonderland Chipboard Tag to the base of the packaging. Now the tag is finished and ready to hang on the tree, display in your home or add to a gift package.