The Conversation (0)
Sign Up
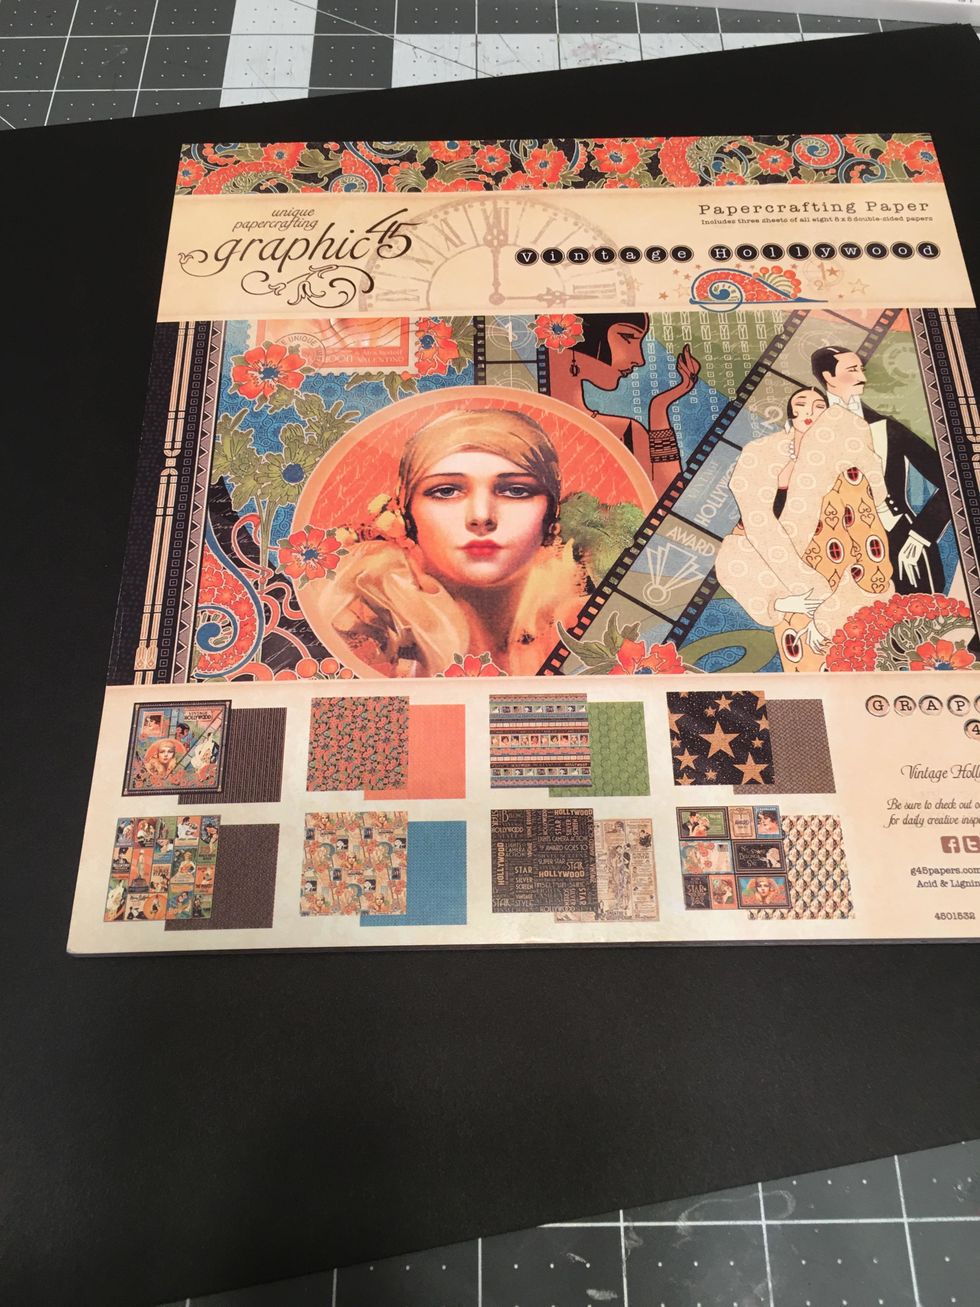
You will need your trimmer, score-board, scissors and adhesives for this project.
When cutting patterned papers, the W or Wide measurement should be cut with the top of the patterned paper along the ruler of your trimmer while looking at the patterned paper design.
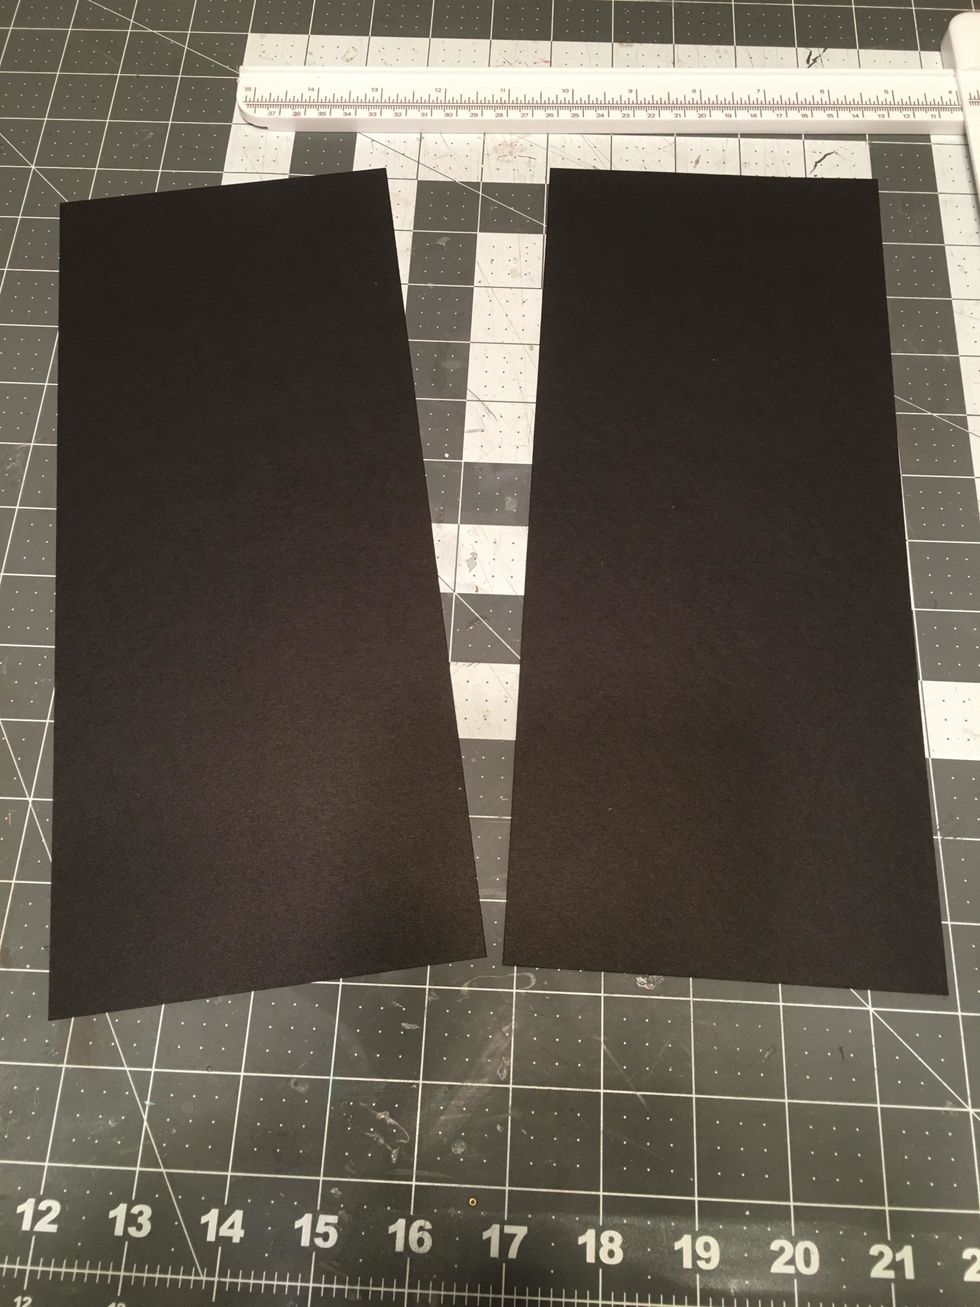
Cut 2 pieces of black cardstock 5" x 12"
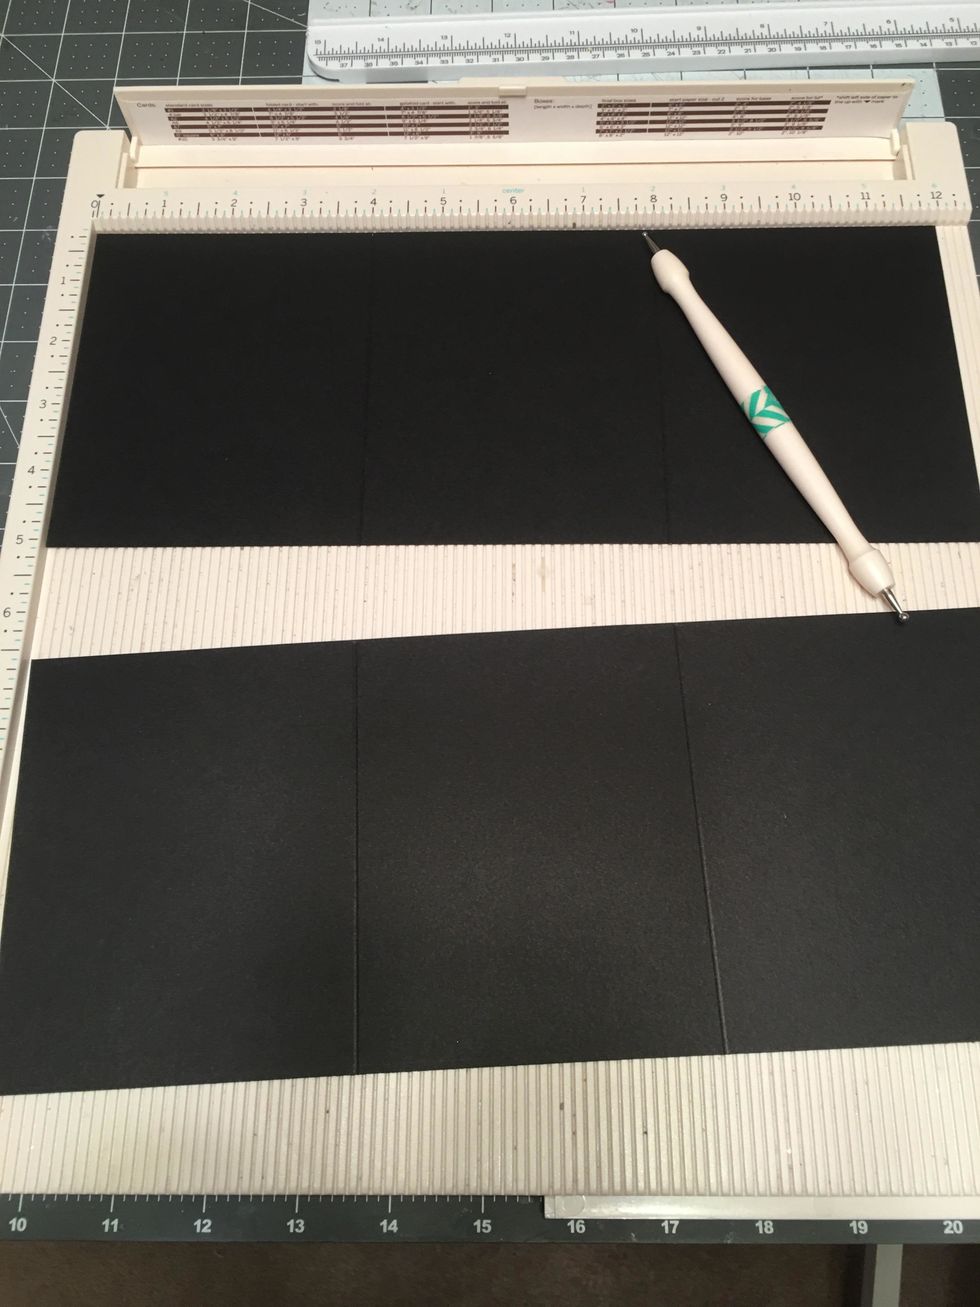
Score the 12" side at 4" and 8" on both 5" x 12" pieces of cardstock.

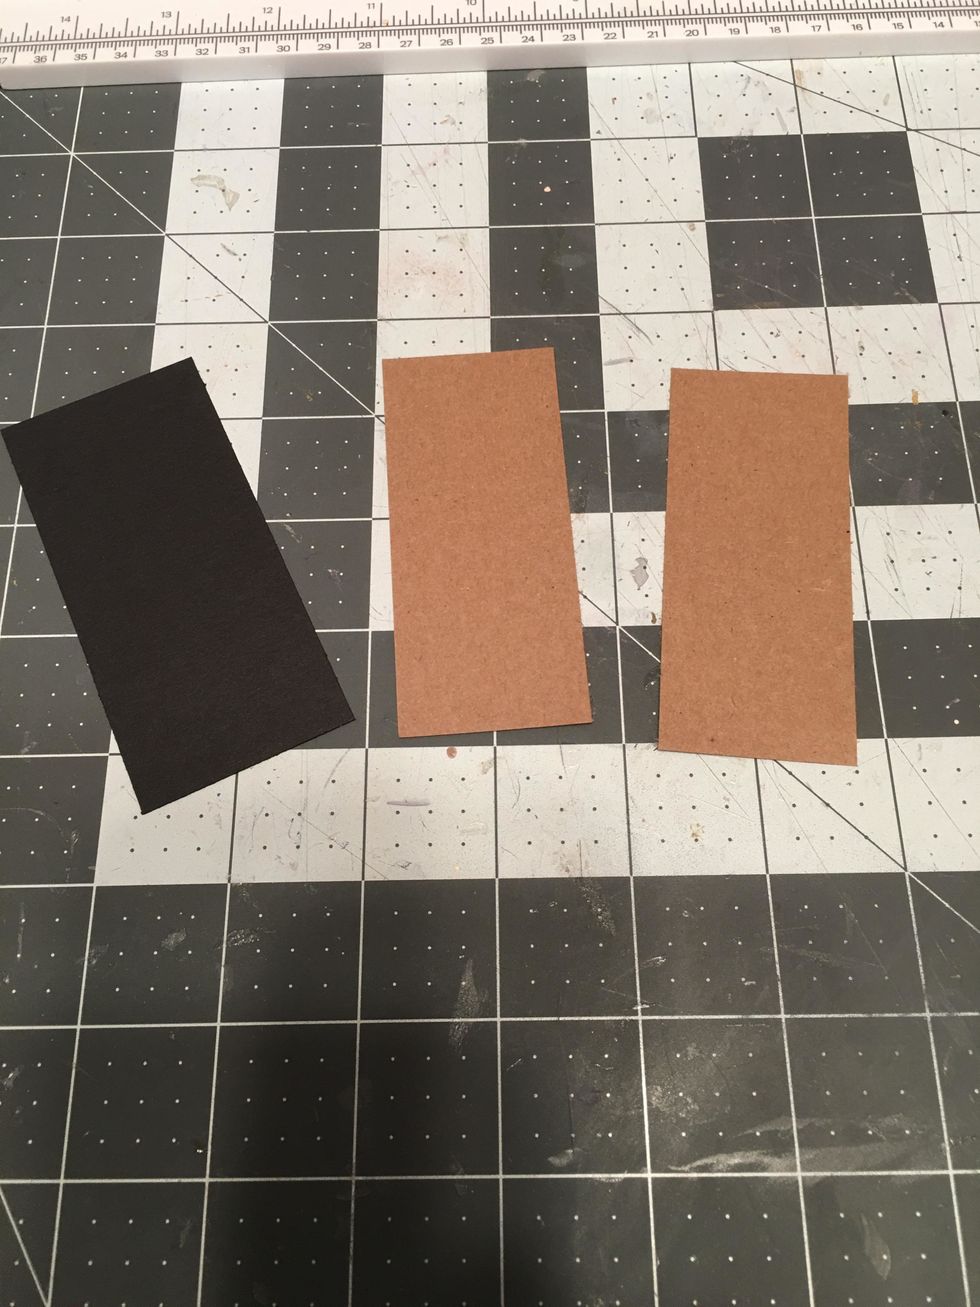
For the hinge of your album, cut 1 piece of black cardstock 5" x 8 1/2"
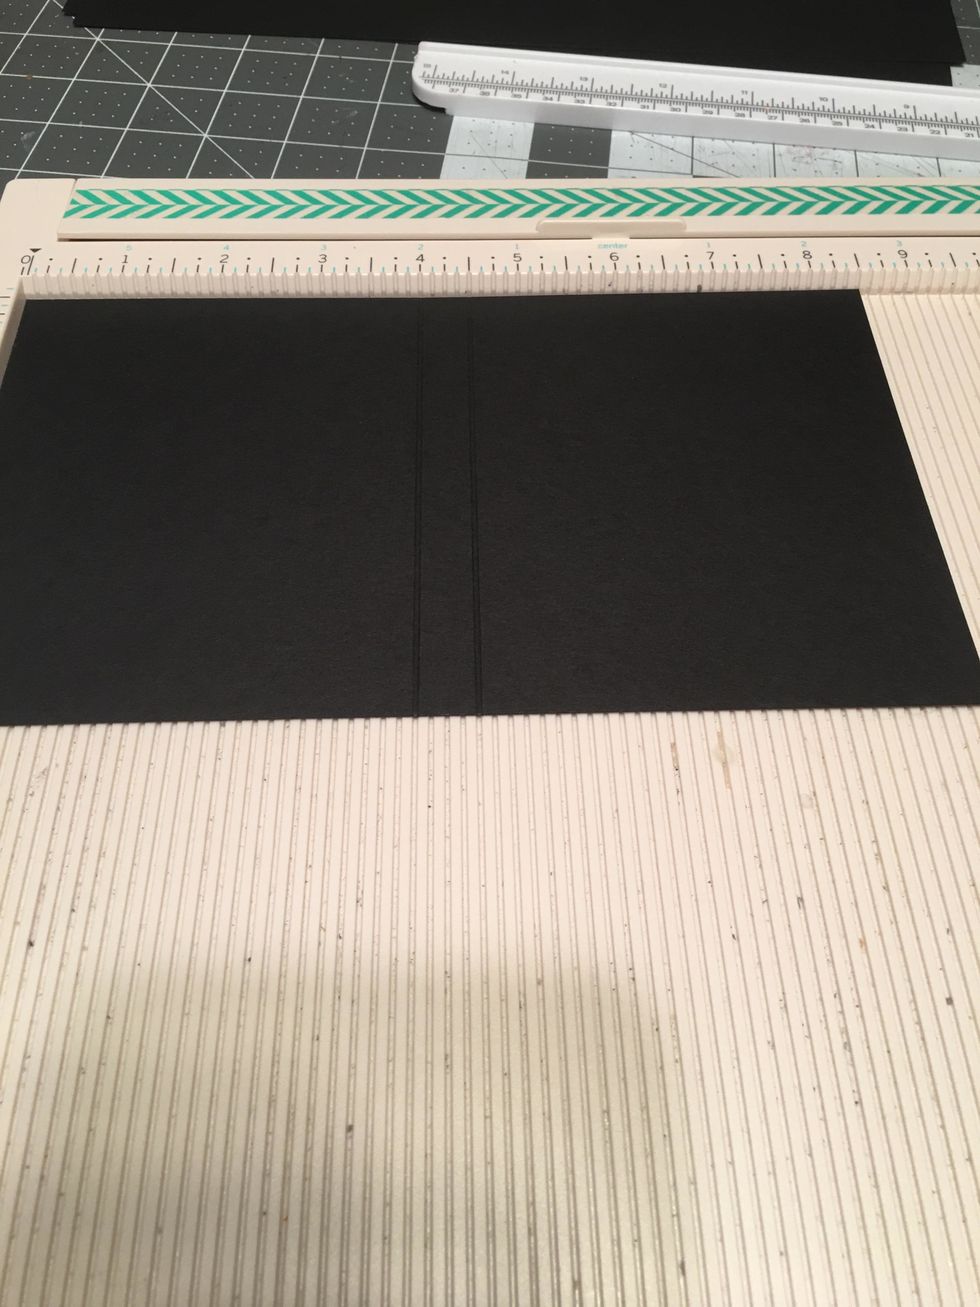
Score the 5" x 8 1/2" piece on the 8 1/2" side @ 4" and 4 1/2"
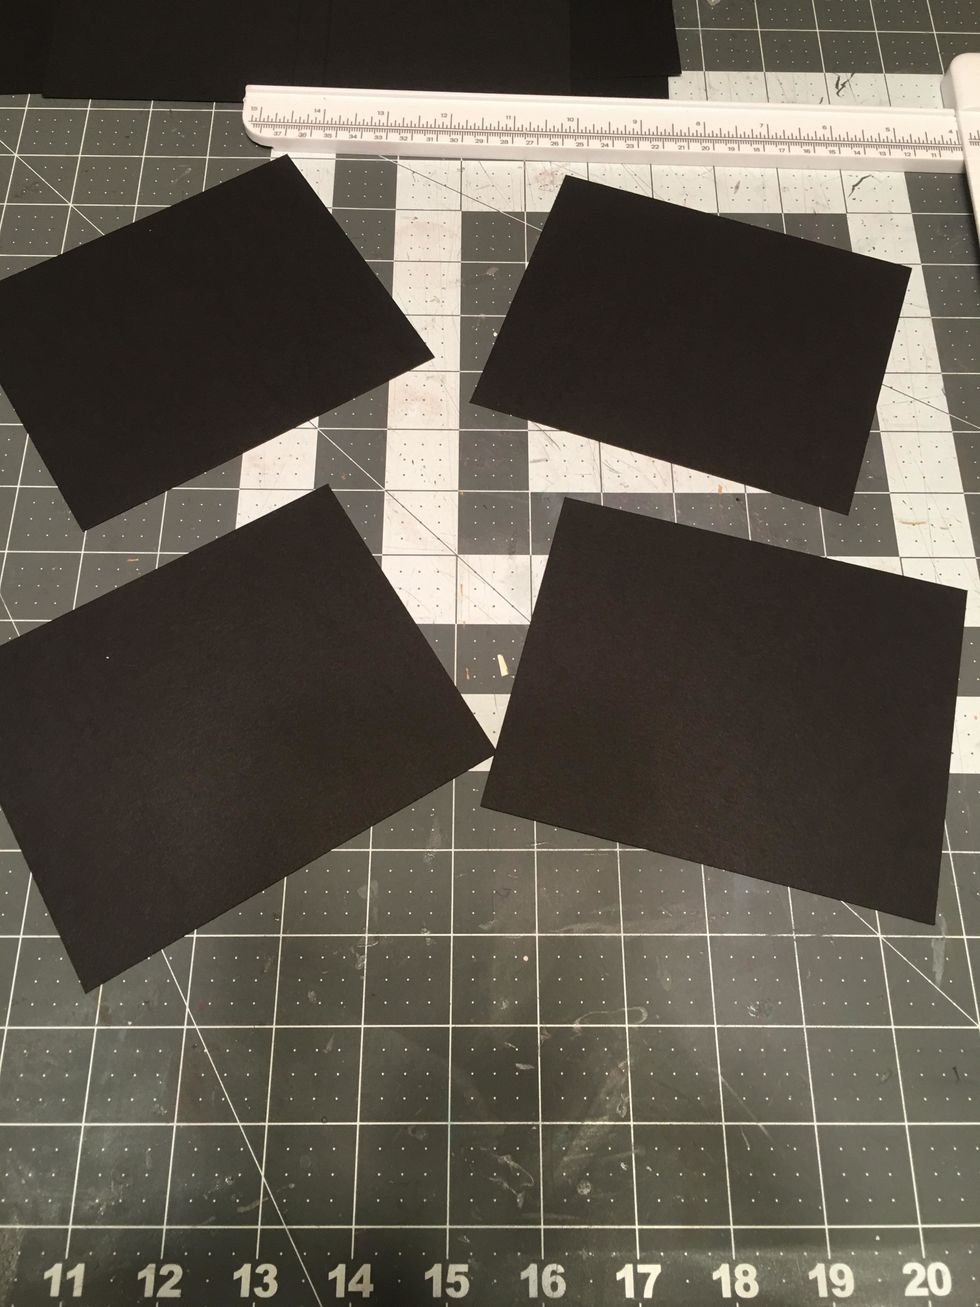
For the album covers, cut 4 each 4 1/2" x 5 1/2" out of black cardstock.
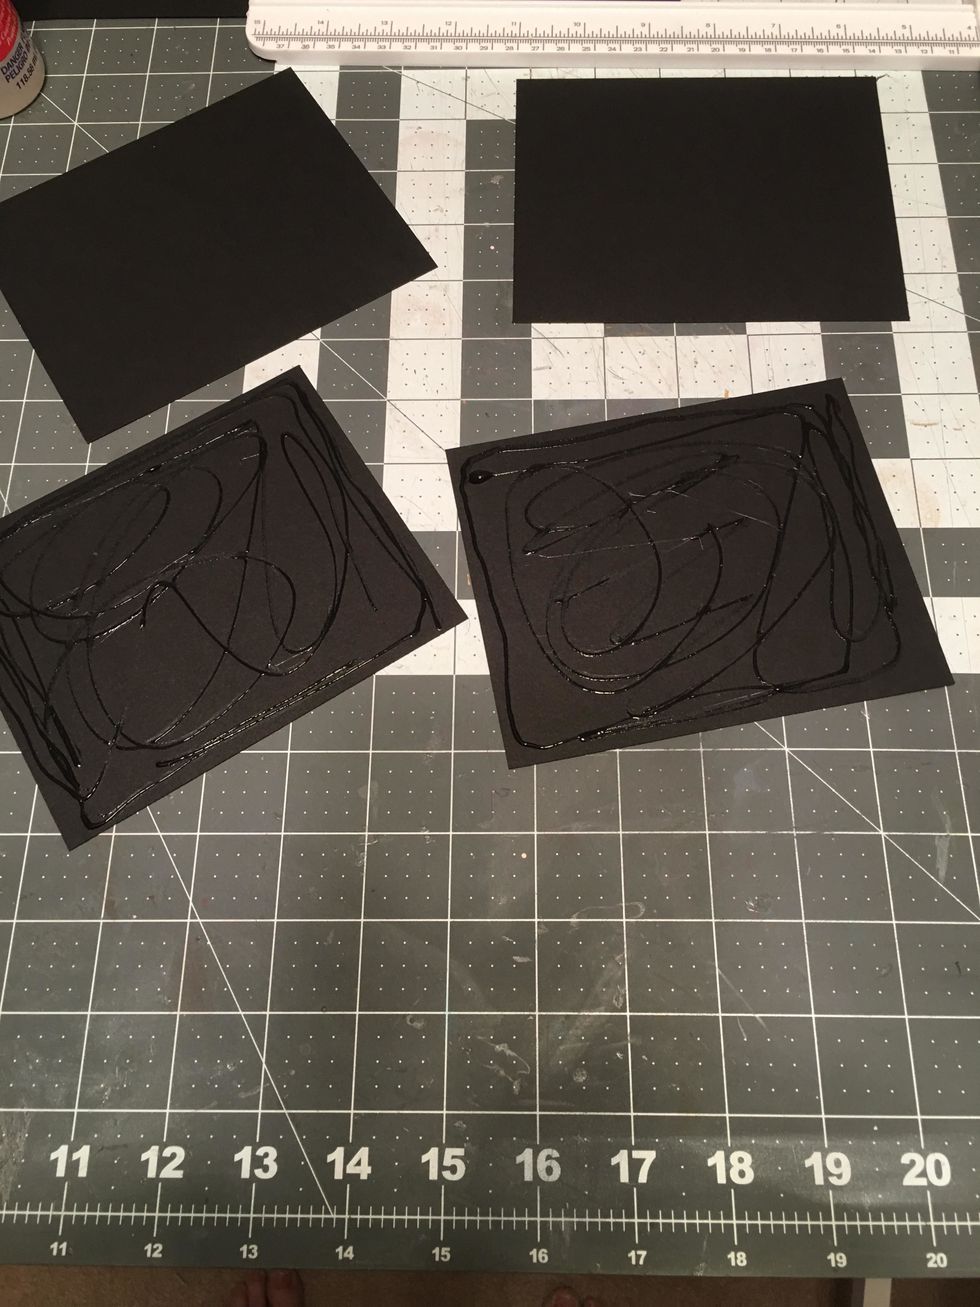
Apply glue to 2 pieces 4 1/2 x 5 1/2 of the four you just cut and glue each to the other cover pieces to create 2 covers. Make sure you glue these on straight on all 4 sides.
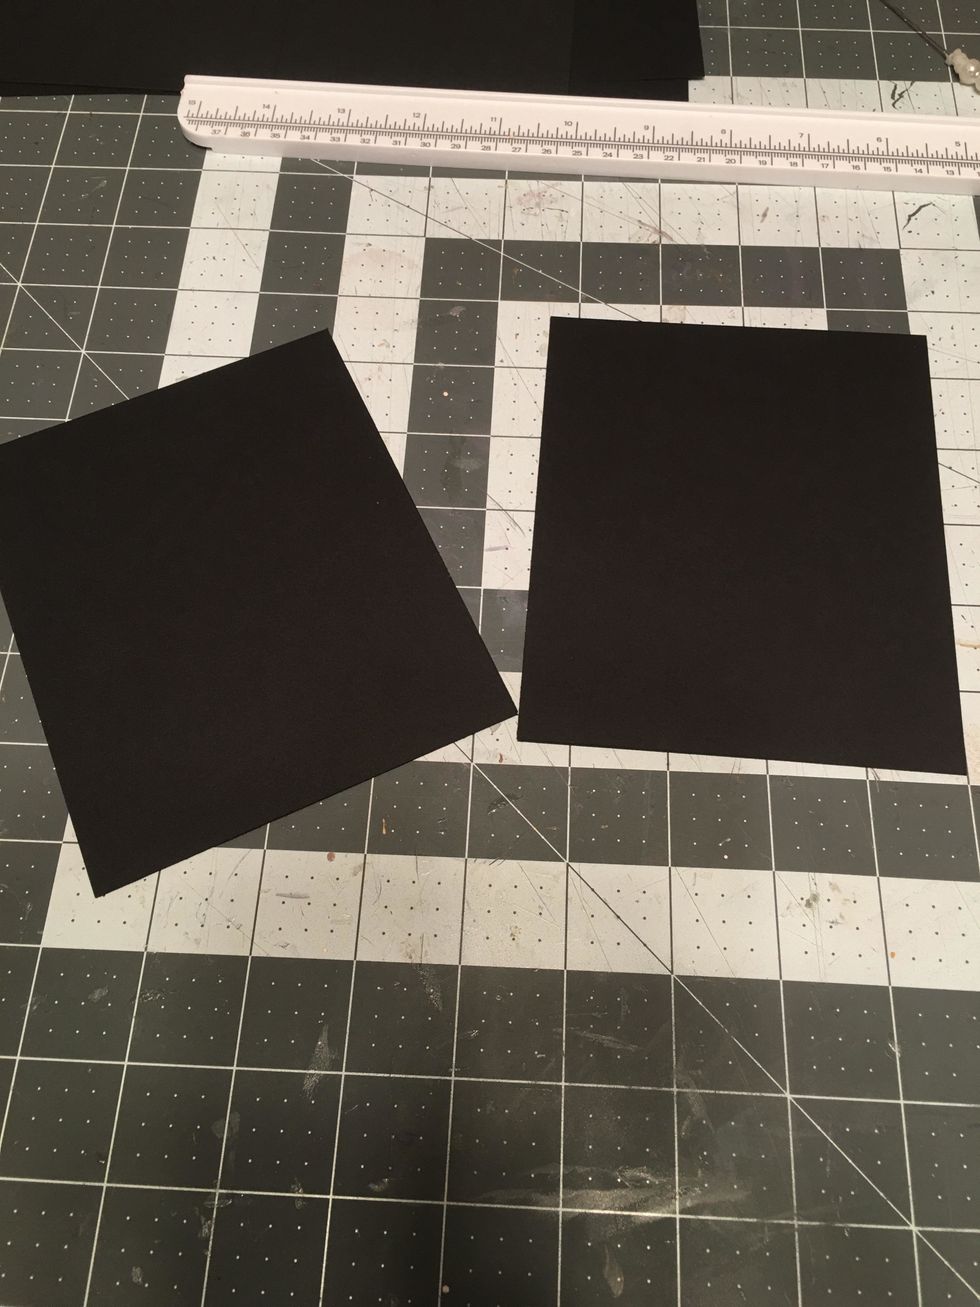
You now have 2 covers out of double cardstock. Set aside for later.
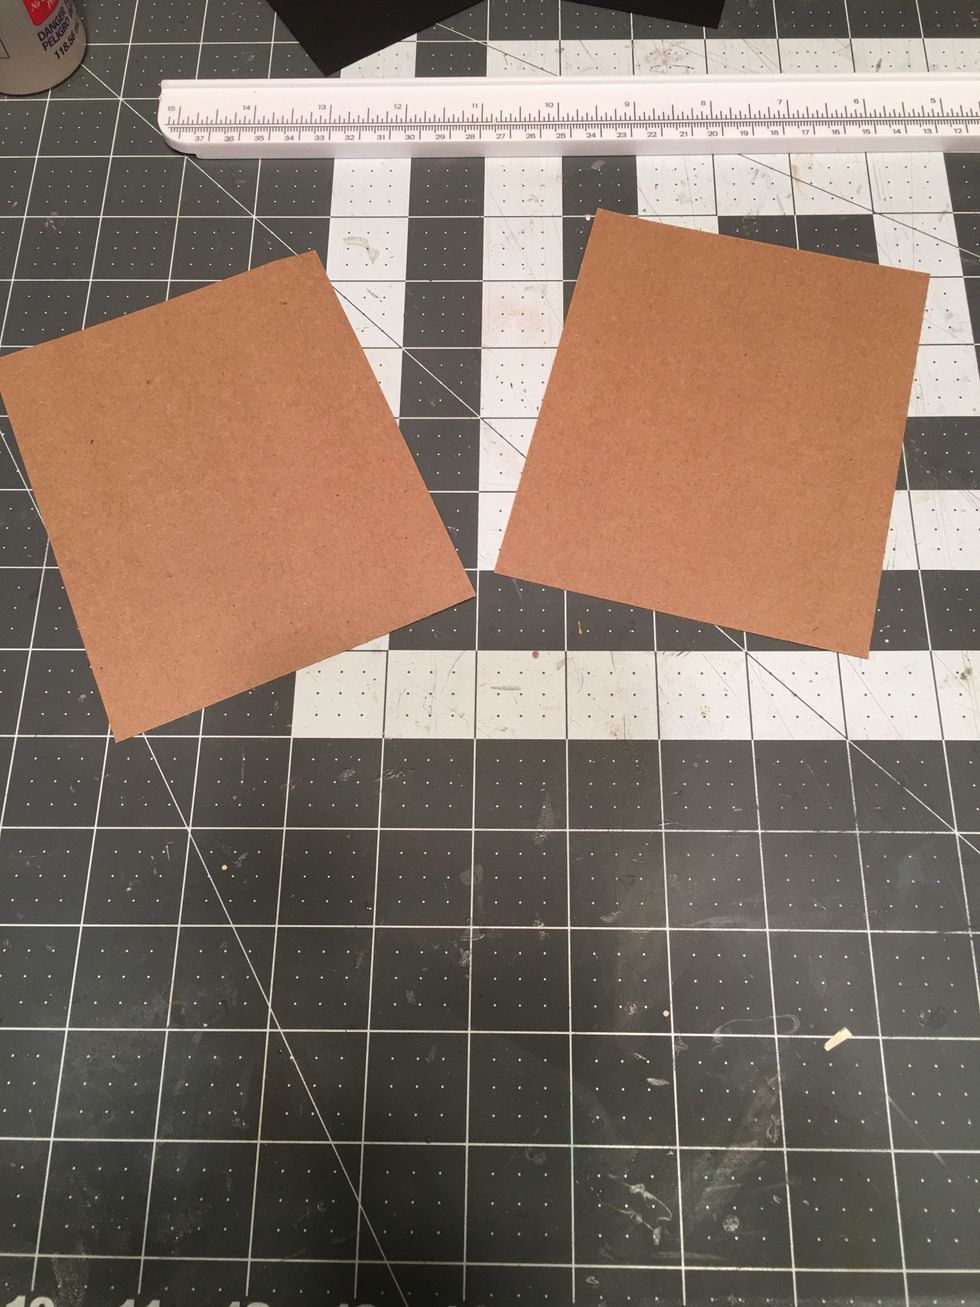
Cut two pieces of Kraft cardstock 4 1/4" x 5 1/4" Set aside for later.
For your album closure piece, cut 1 black cardstock 3 3/4" x 1 3/4" and cut 2 each kraft cardstock 3 1/3" x 1 1/2" Set aside for later.
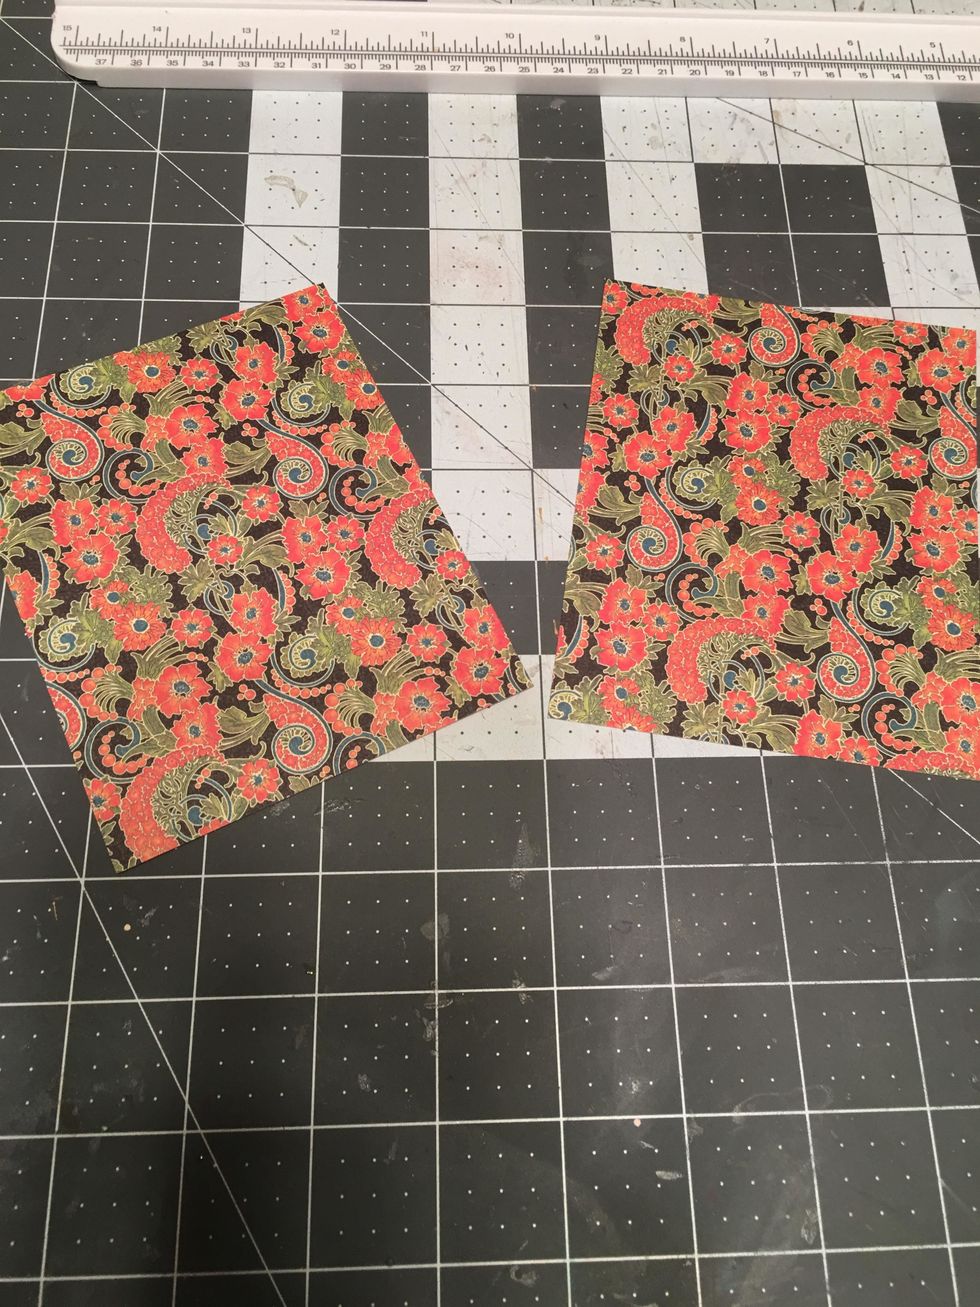
From "Delightful Debut" cut 2 @ 4" wide x 5" tall for the covers. Set aside for later.
For the closure piece, cut 2 out of "Delightful Debut" 3 1/4" wide x 1 1/4" tall. Set aside for later.
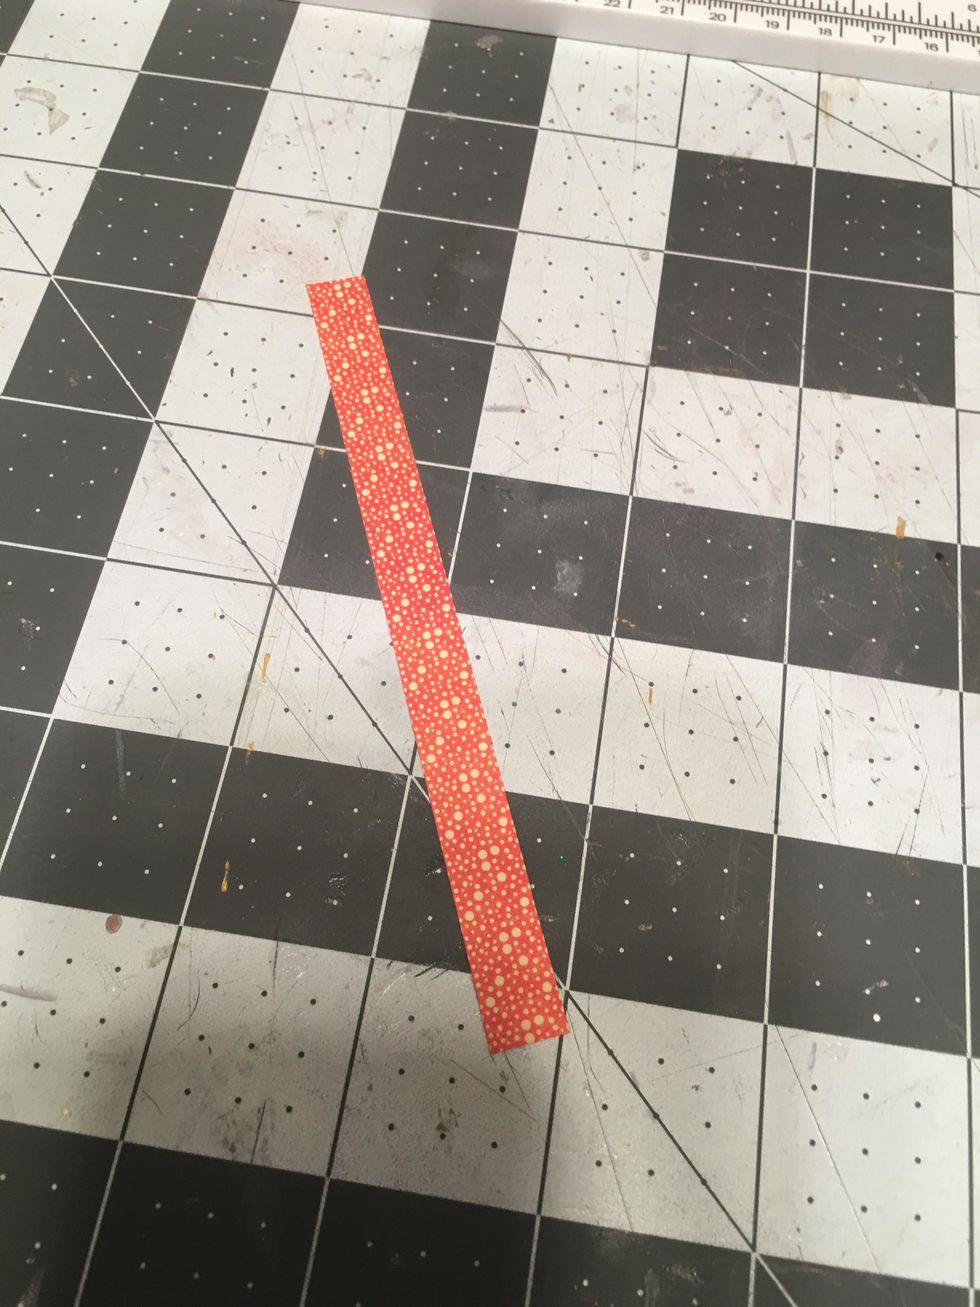
Also from the "Delightful Debut" cut 1 piece 3/8" wide x 5" tall. Set aside.
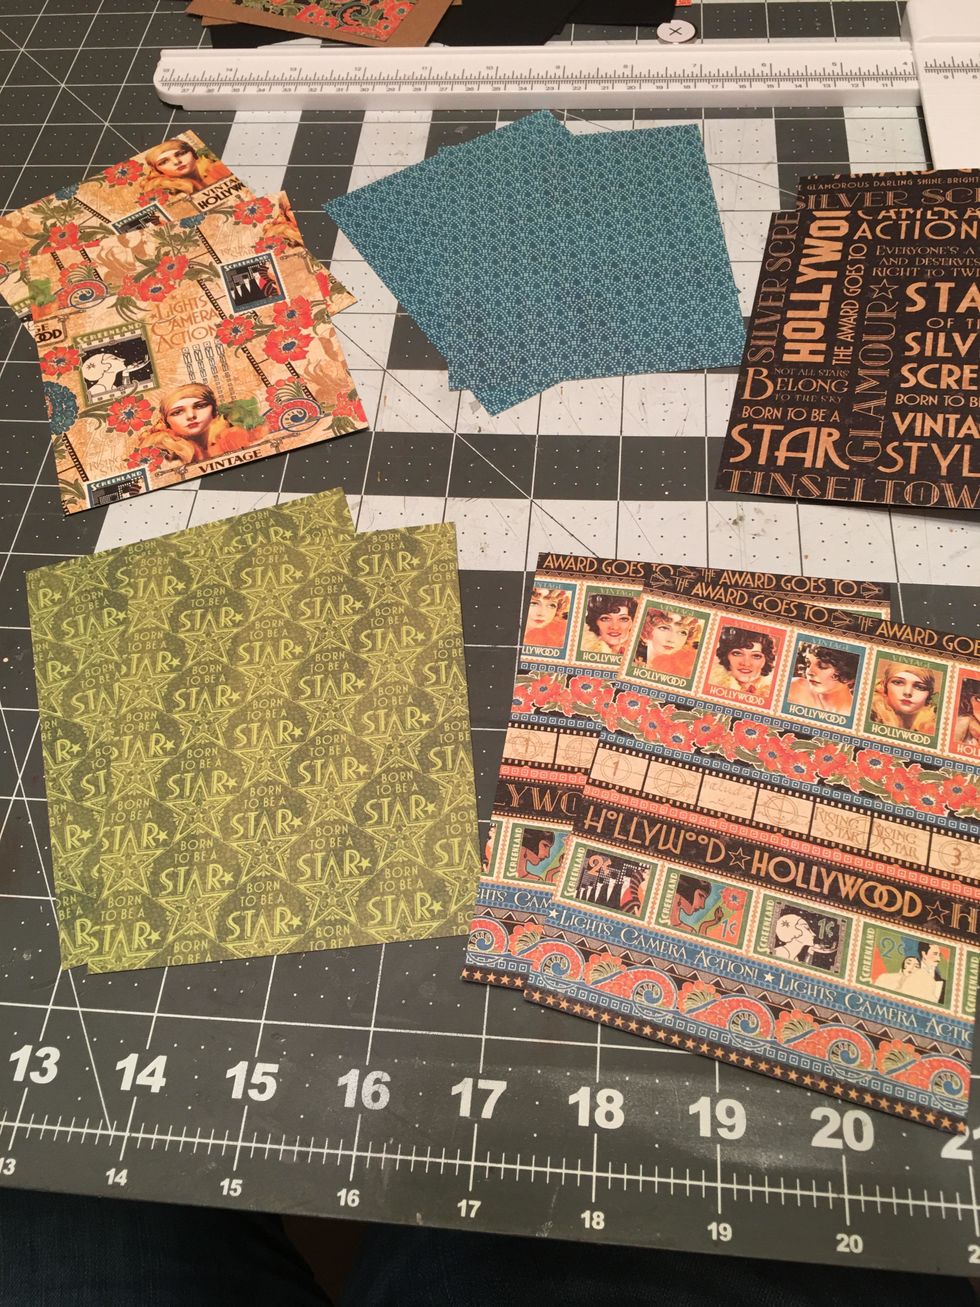
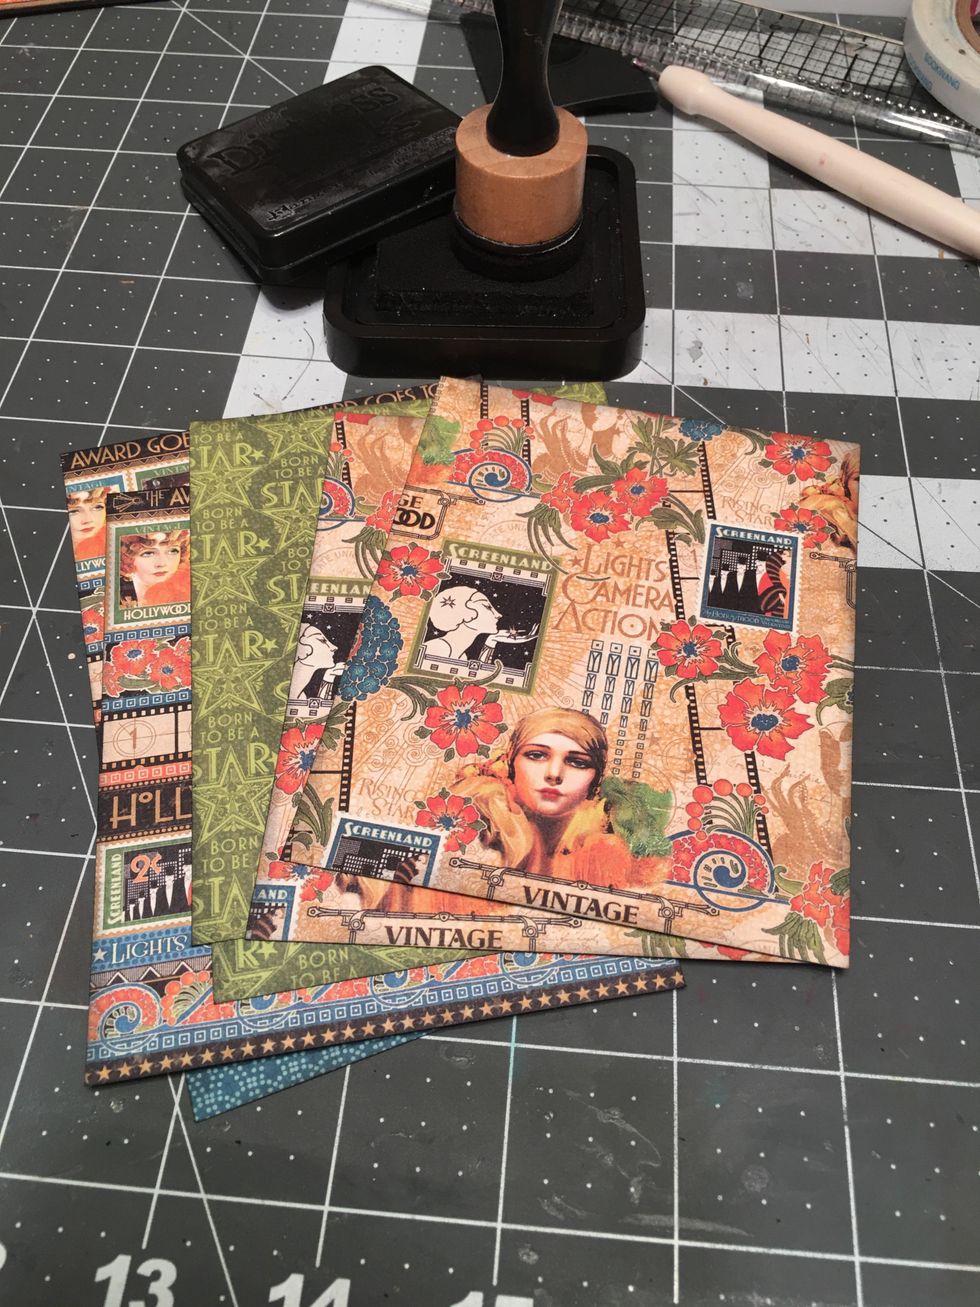
Cut 2 each 3 3/4" wide x 4 3/4" tall out of each of the following prints: Dazzling Diva, Dazzling Diva(Blue), Glitz & Glamour(Green), Glitz & Glamour and Silver Screen for the album pages.

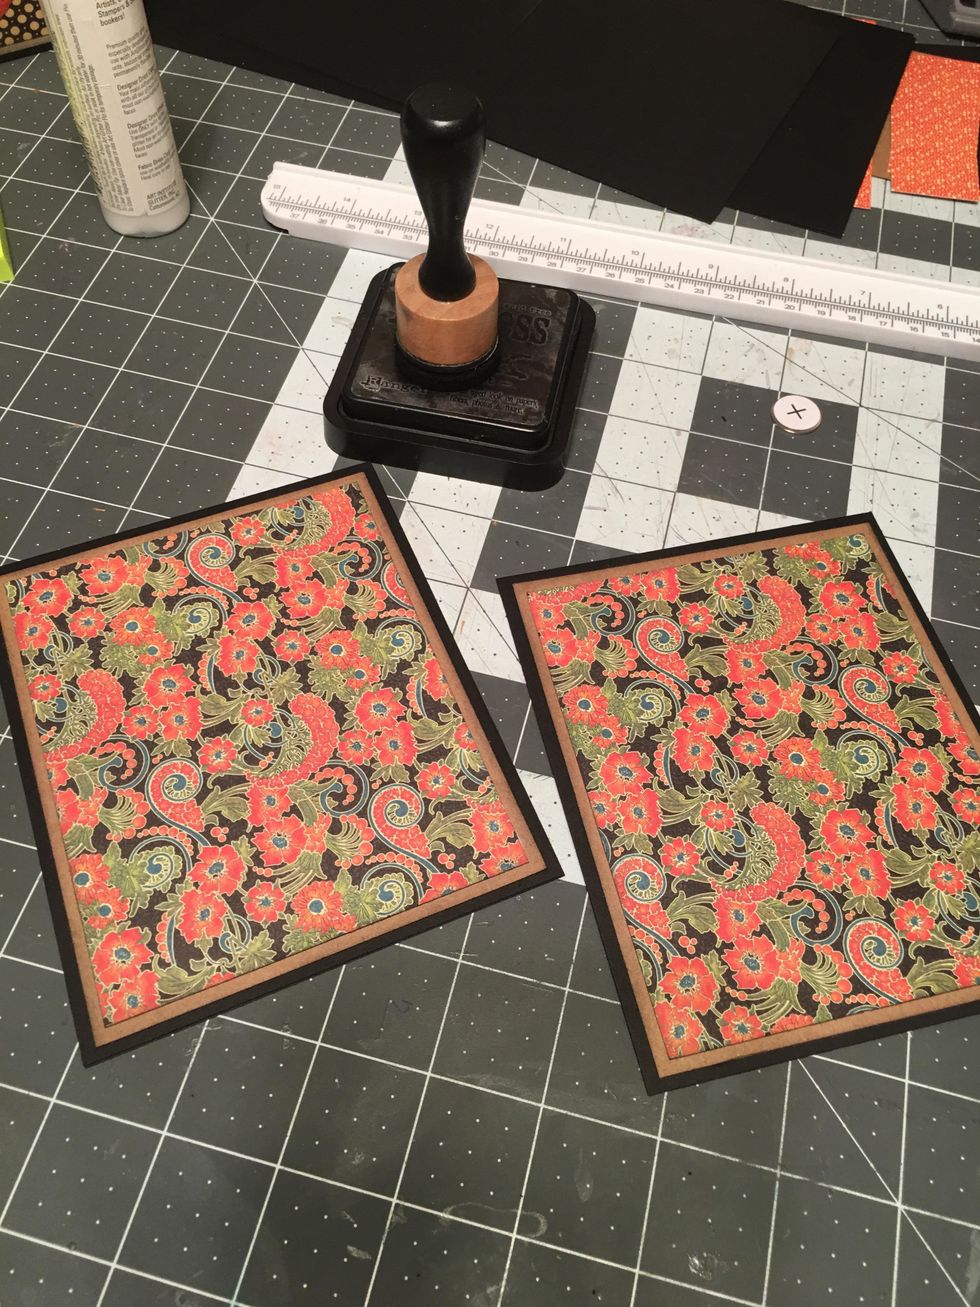
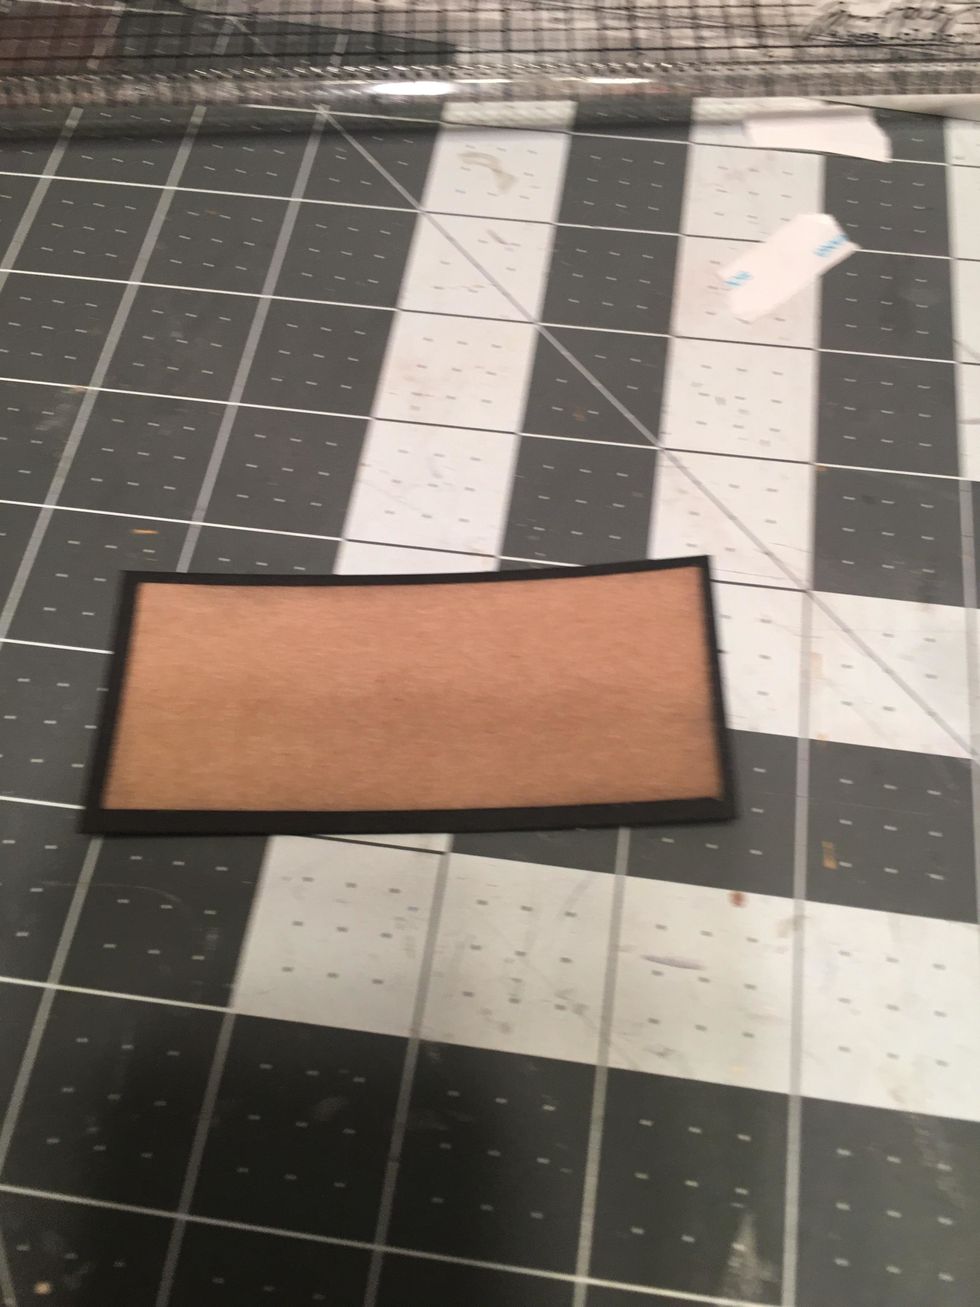
Ink the edges of the kraft paper cut for the album covers with black distress ink.
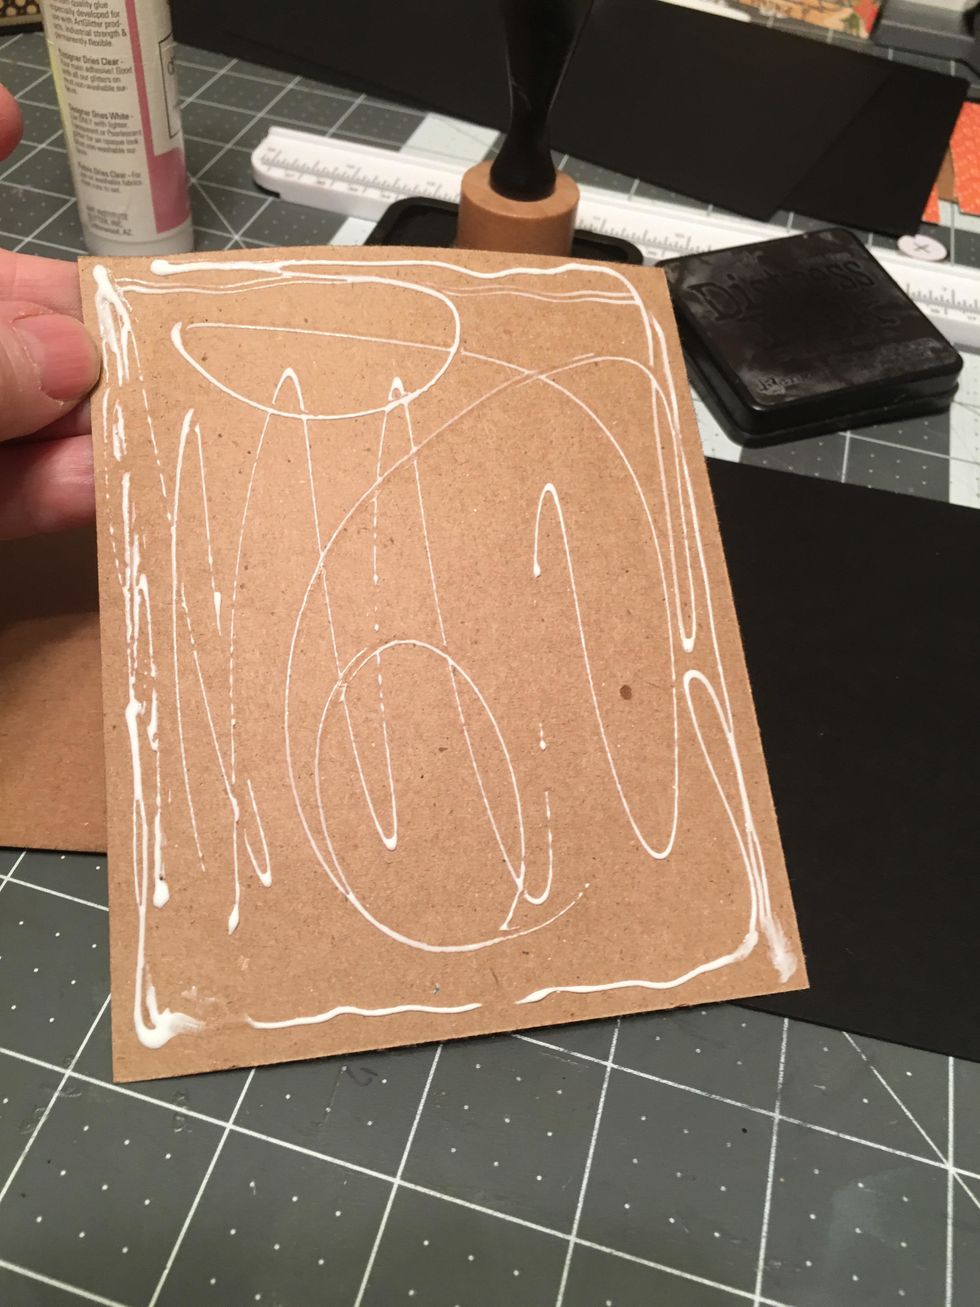
Apply glue to the back side of the kraft paper and clue to the black covers.
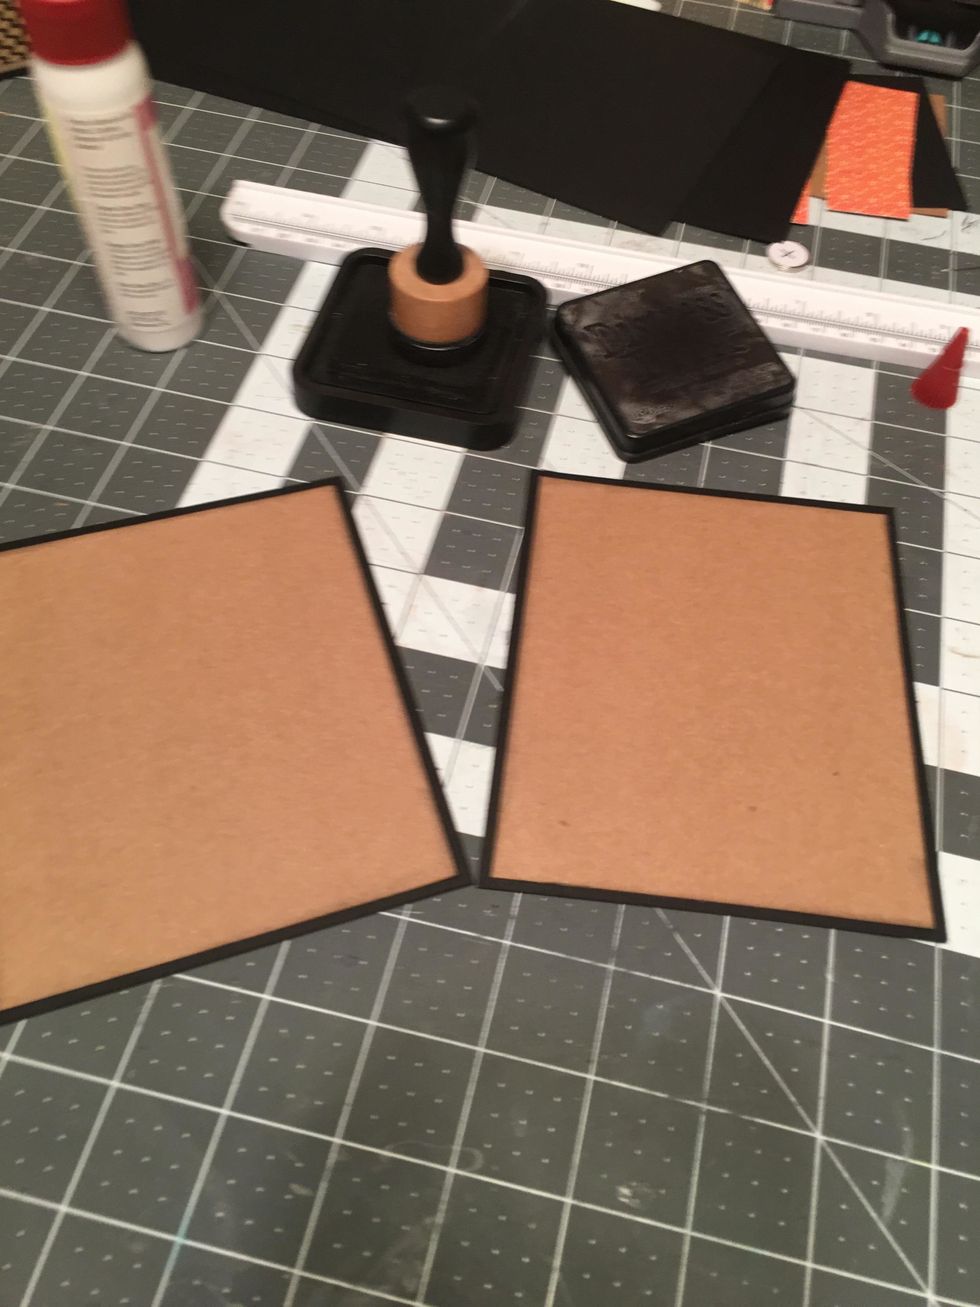
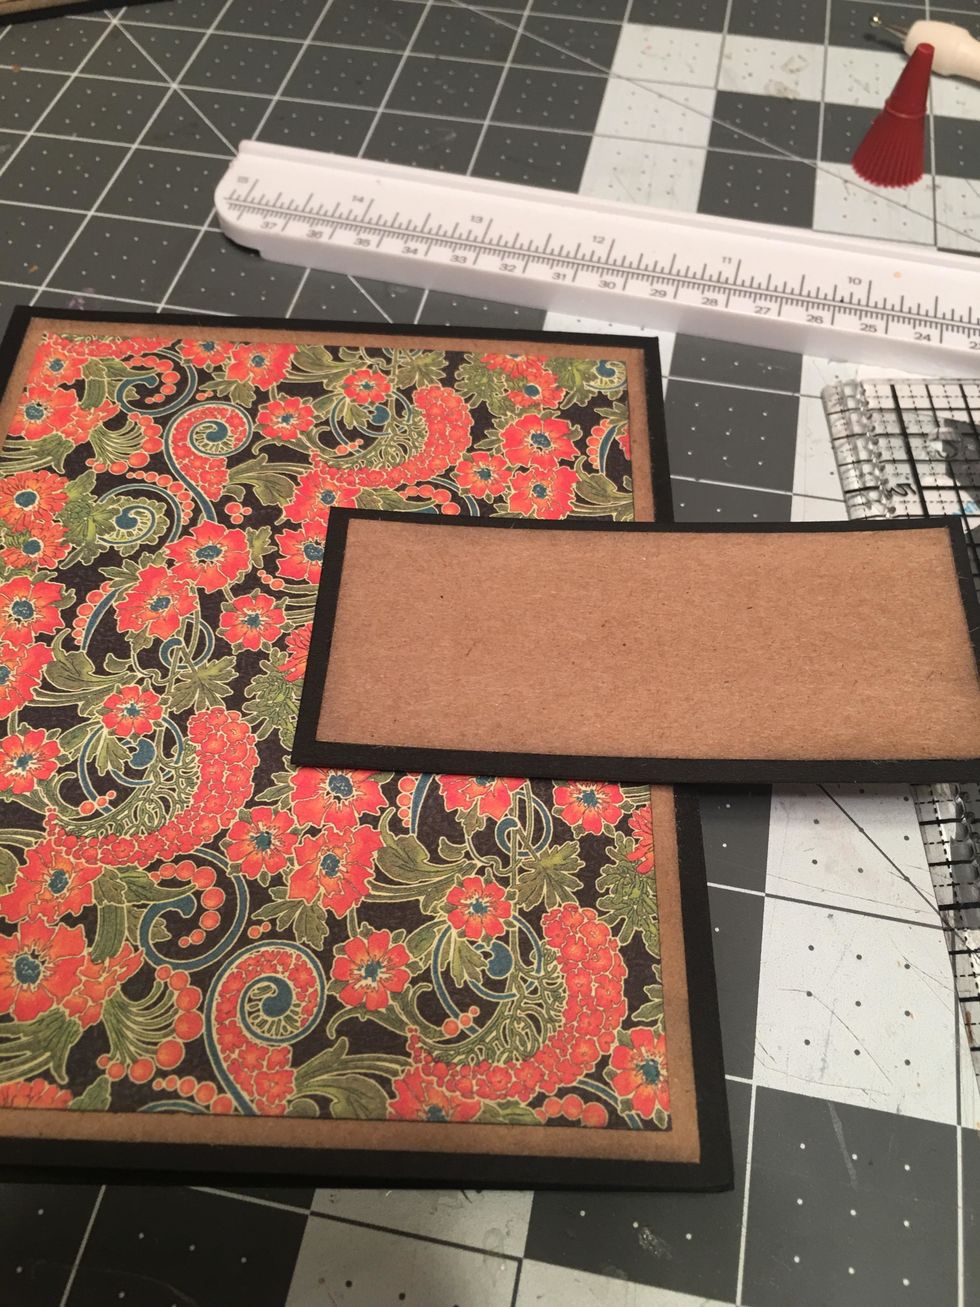
Your covers will look like this before being attached to your album. Set aside for now.
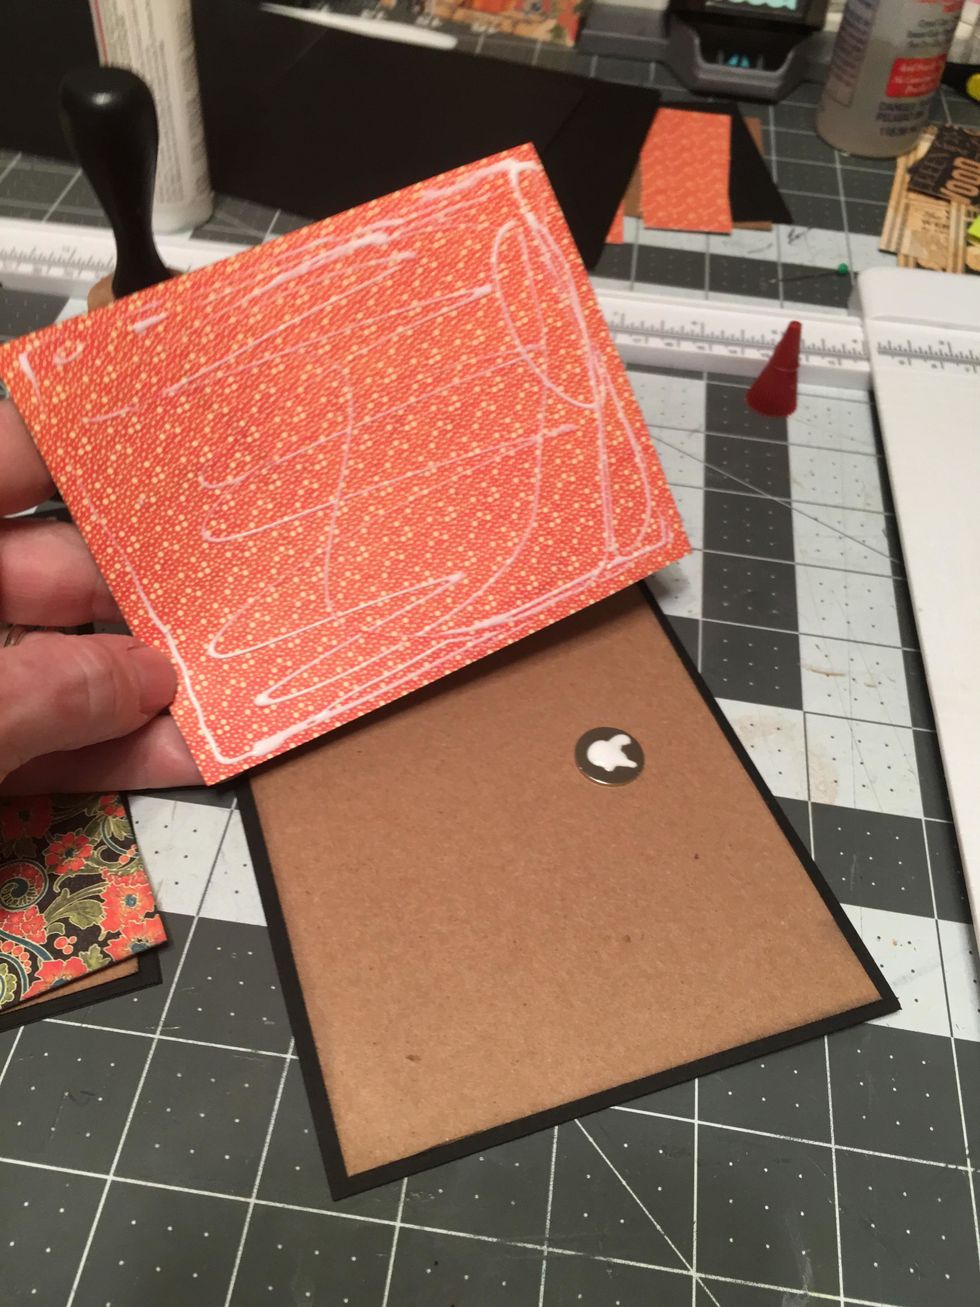
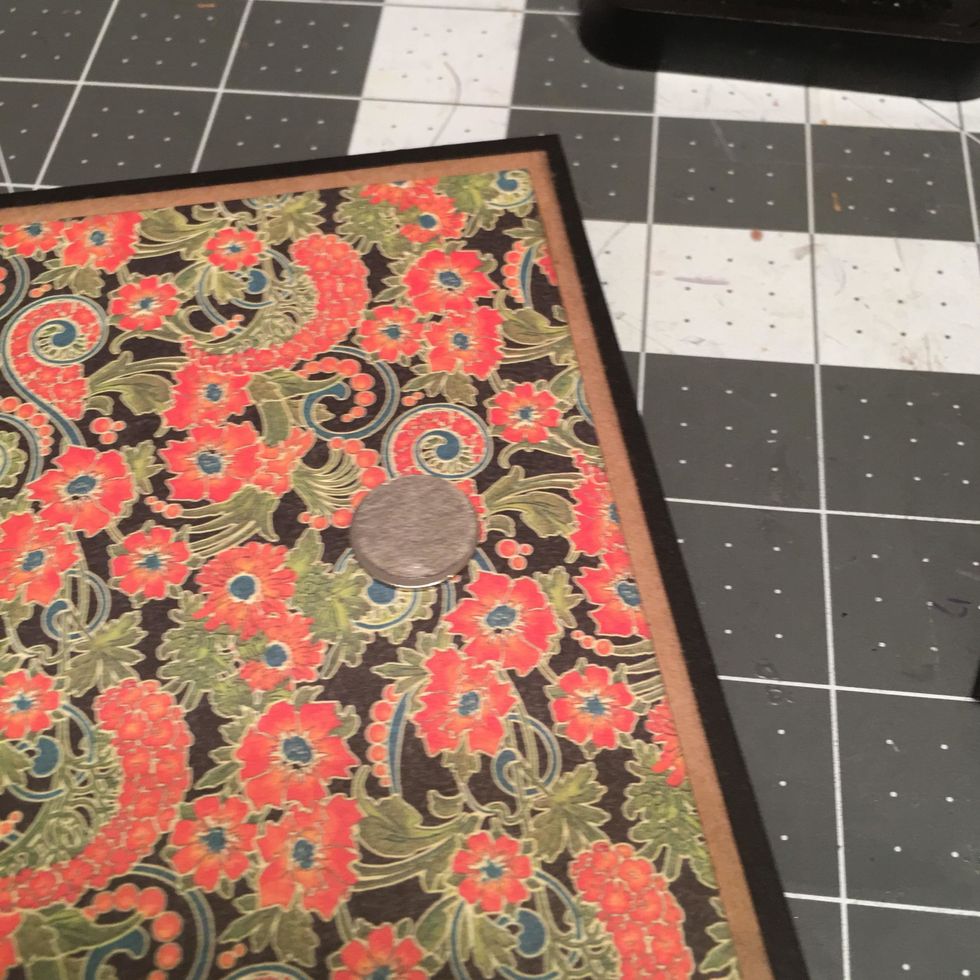
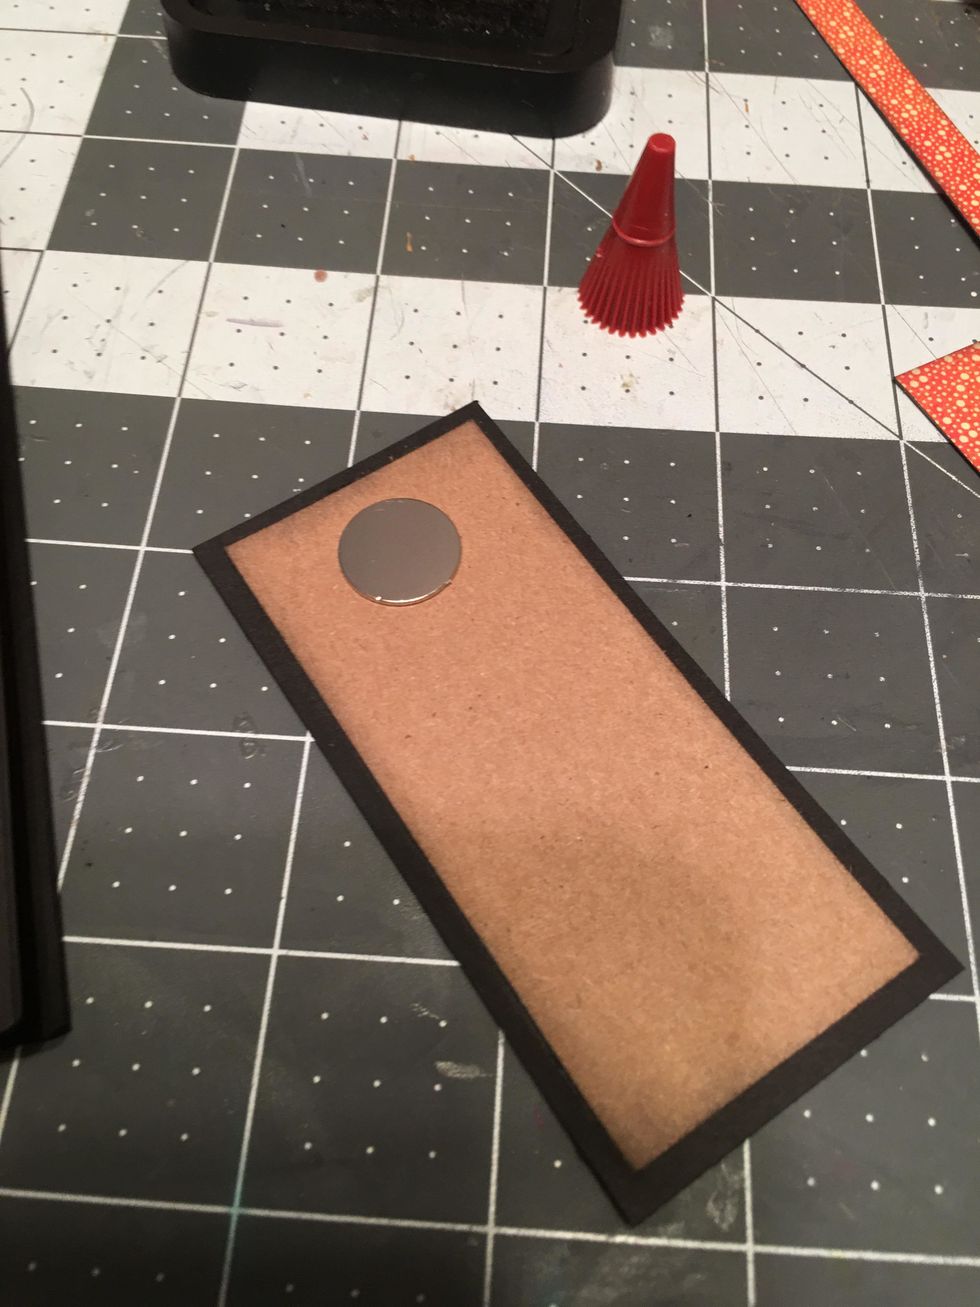
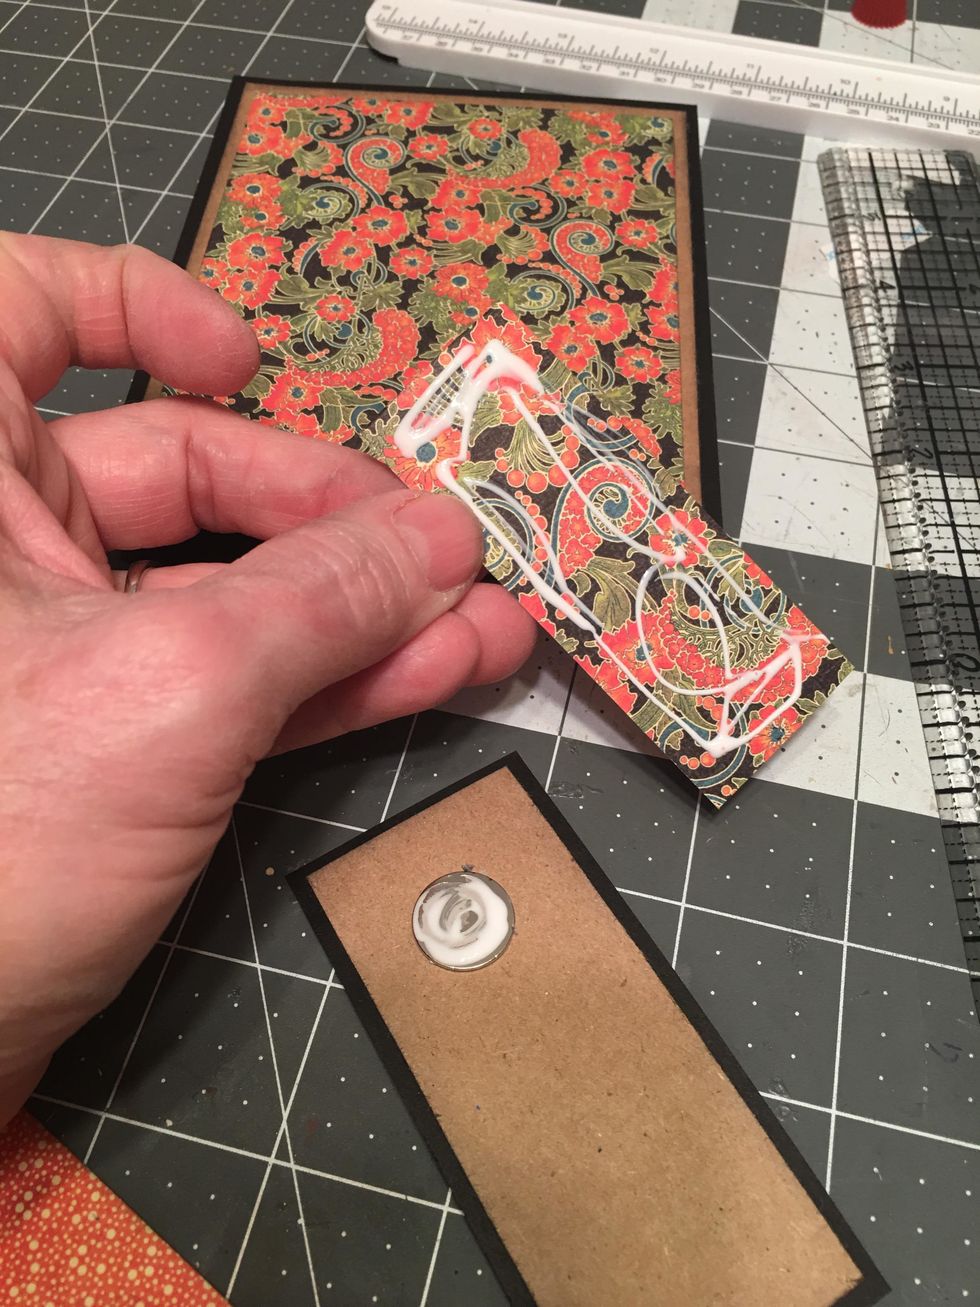
On the kraft side of one of the covers, attach one magnet to the right side, centered and about 3/4" from the edge. Apply glue to the patterned paper for the cover and to the magnet.
Cover both the front and back covers with the patterned paper.
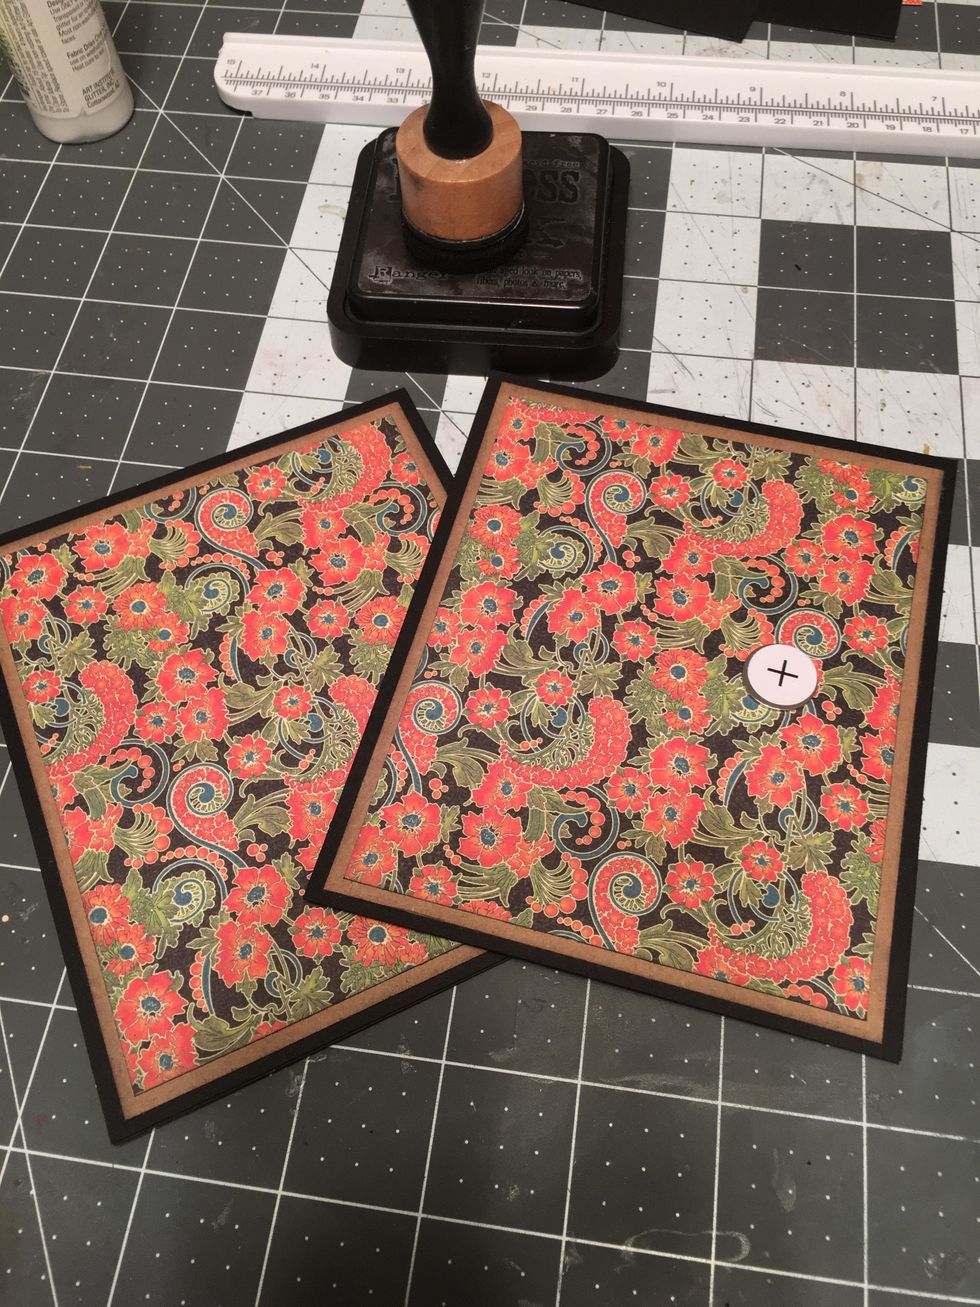
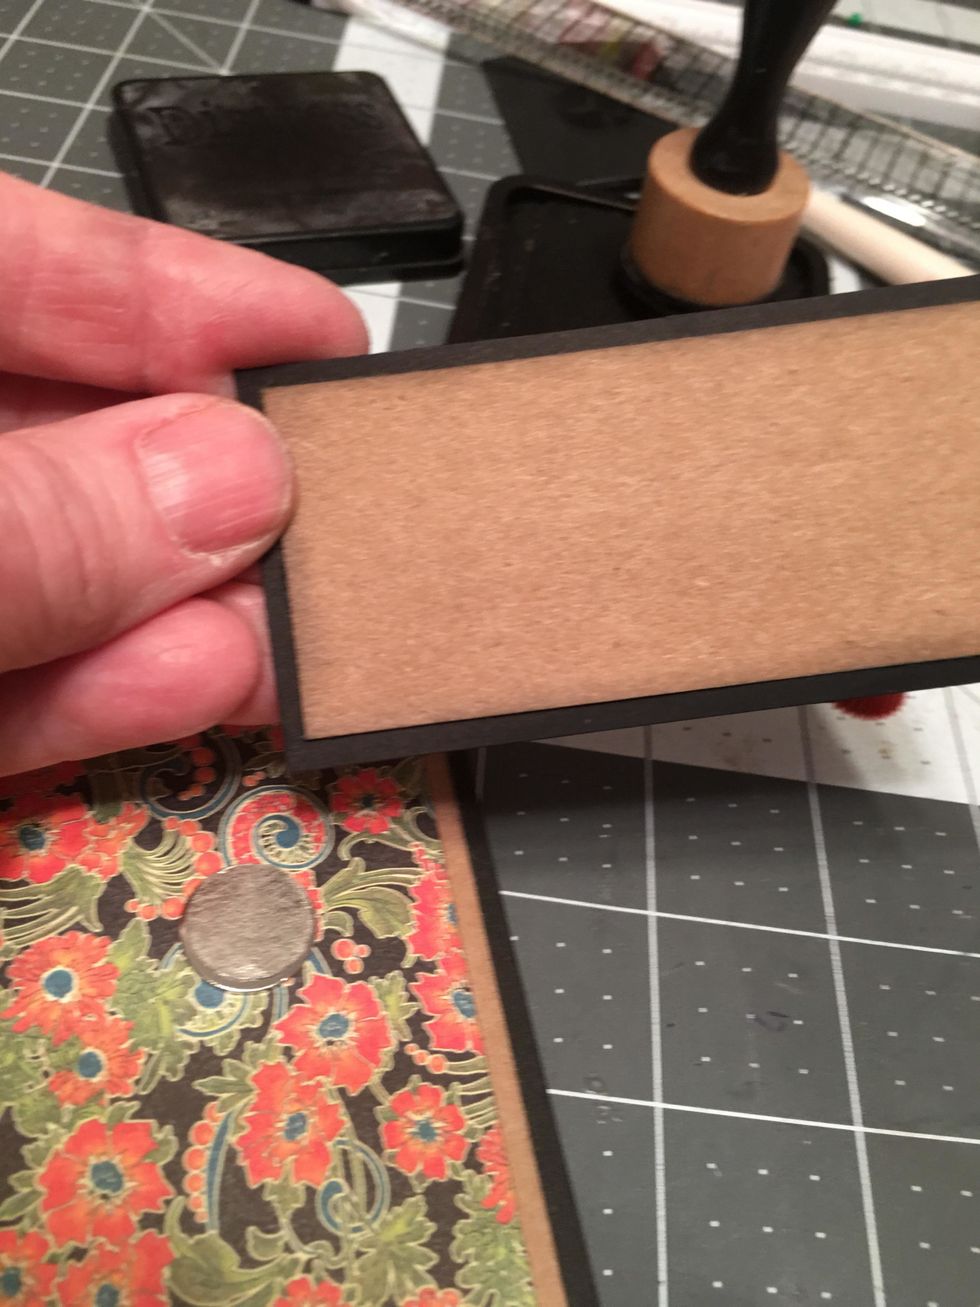
Place the other magnet on to the magnet of the front cover.Do NOT glue down. For now you just want the placement for the magnet that will later be attached to the closure piece. Set the covers aside.

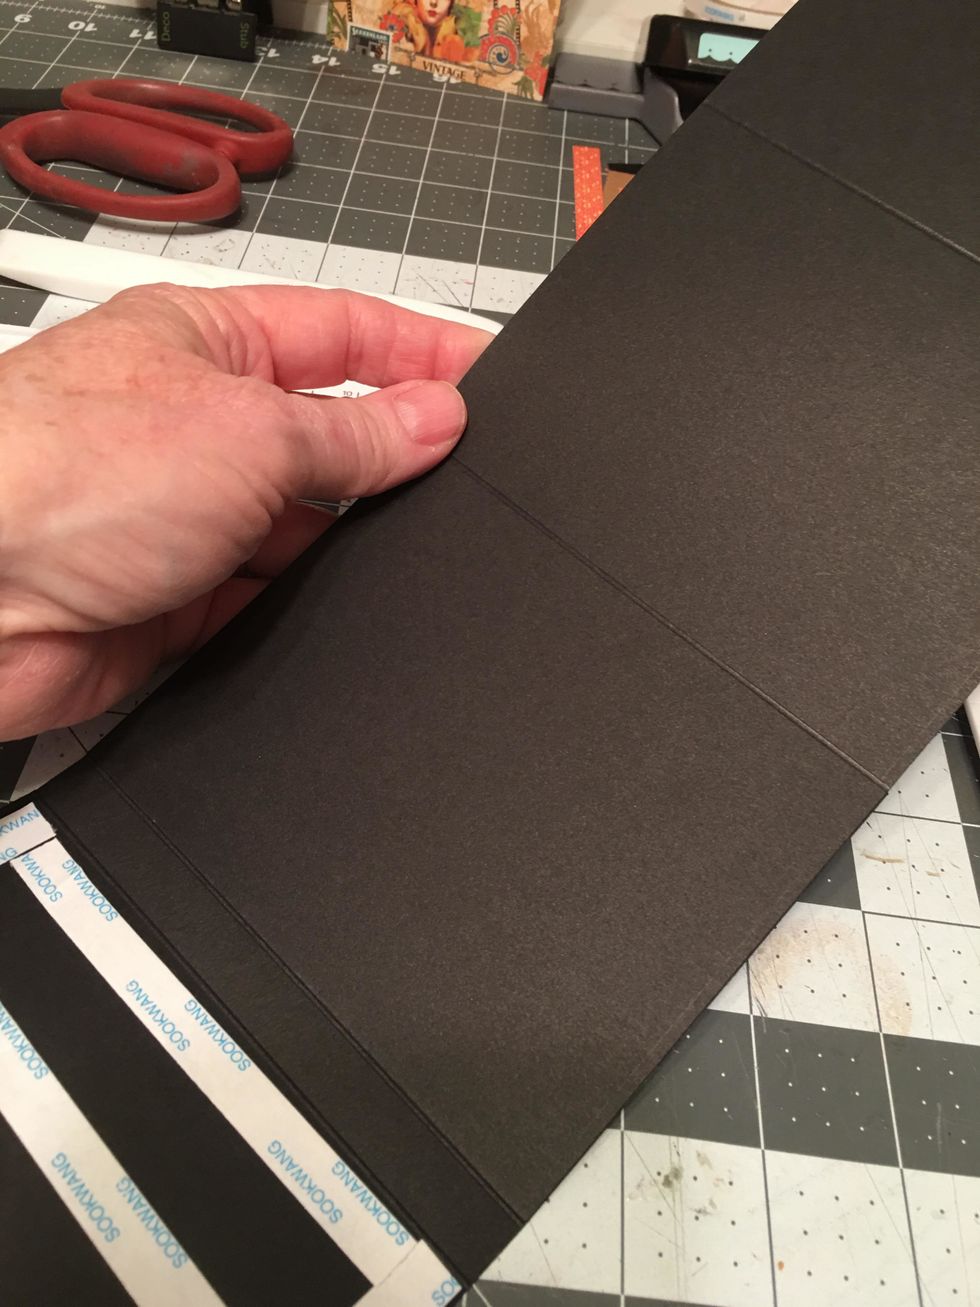
Fold and burnish the center fold lines of the hinge piece so that you have a 1/2" spine in the center.
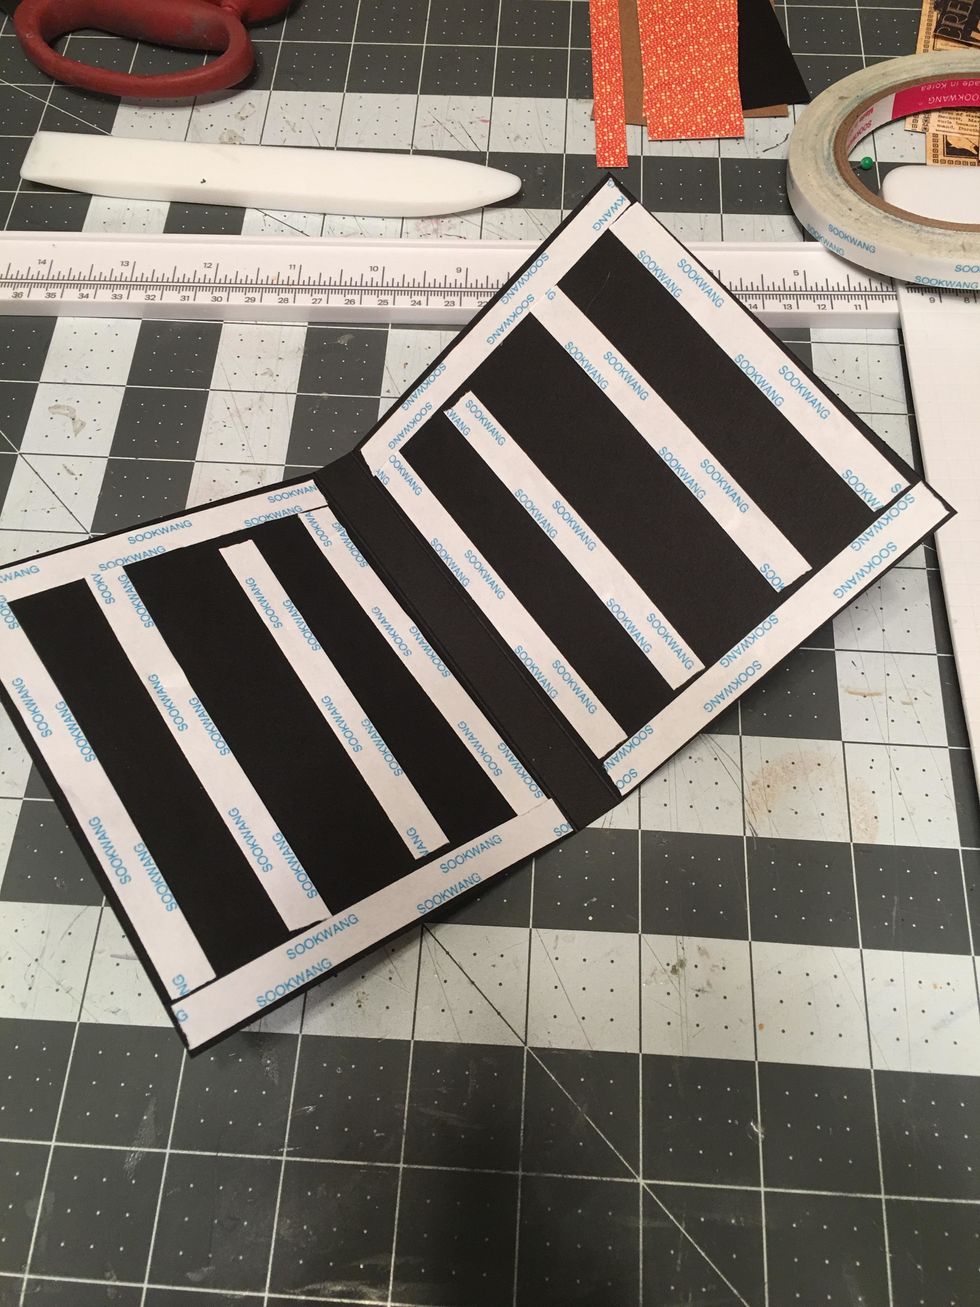
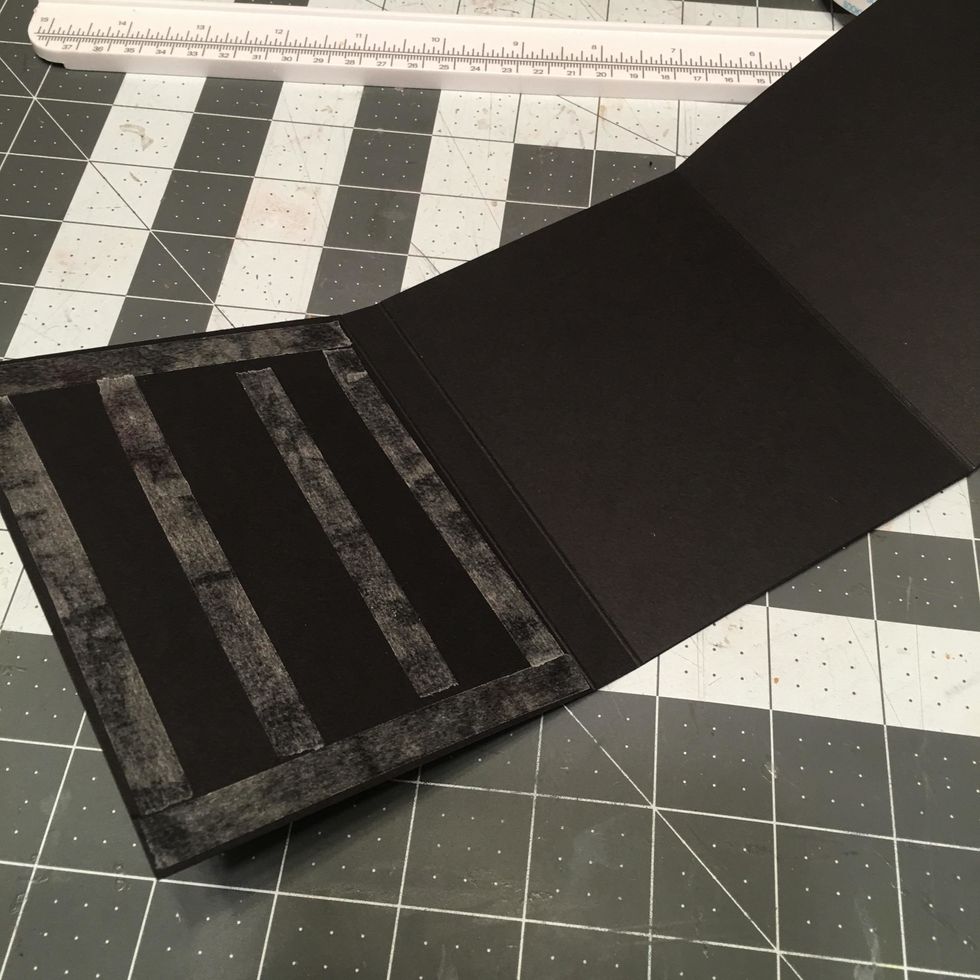
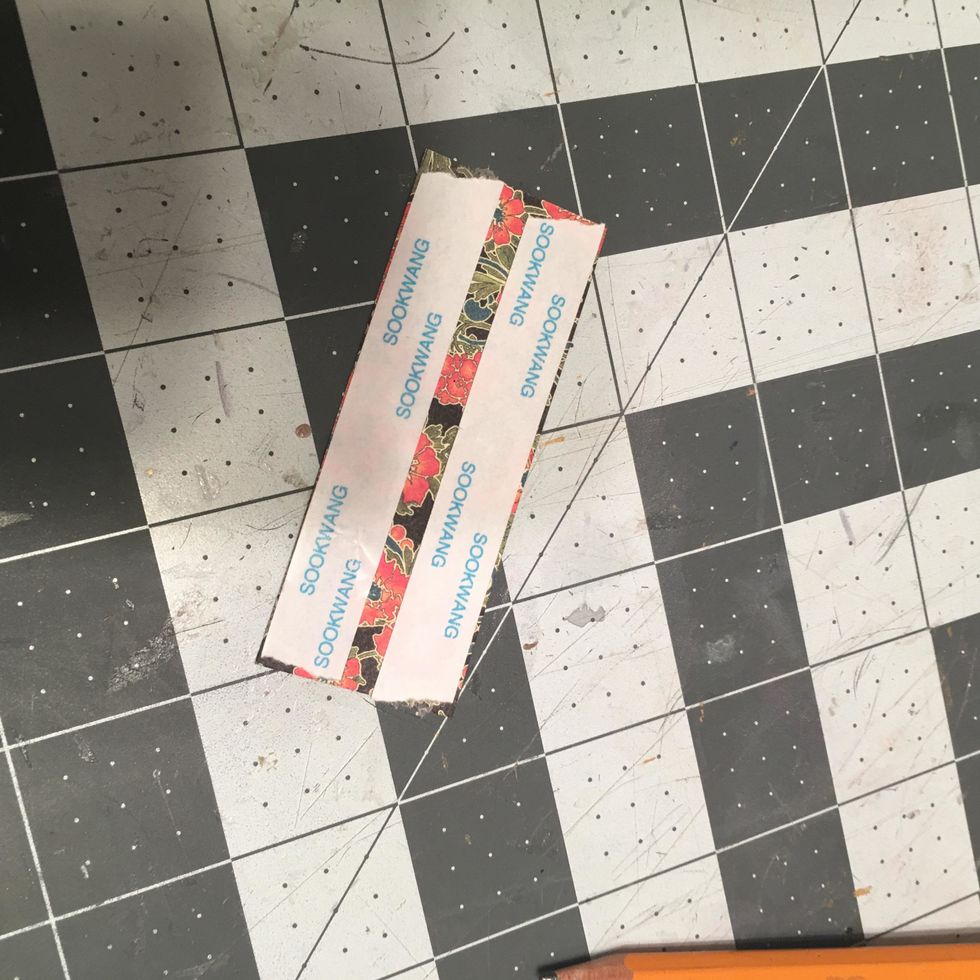
Apply scor-tape to both sides of the hinge piece. Do NOT put any tape or adhesive in the 1/2" spine area in the center.
Peel the tape backing off of ONE side of the hinge piece.
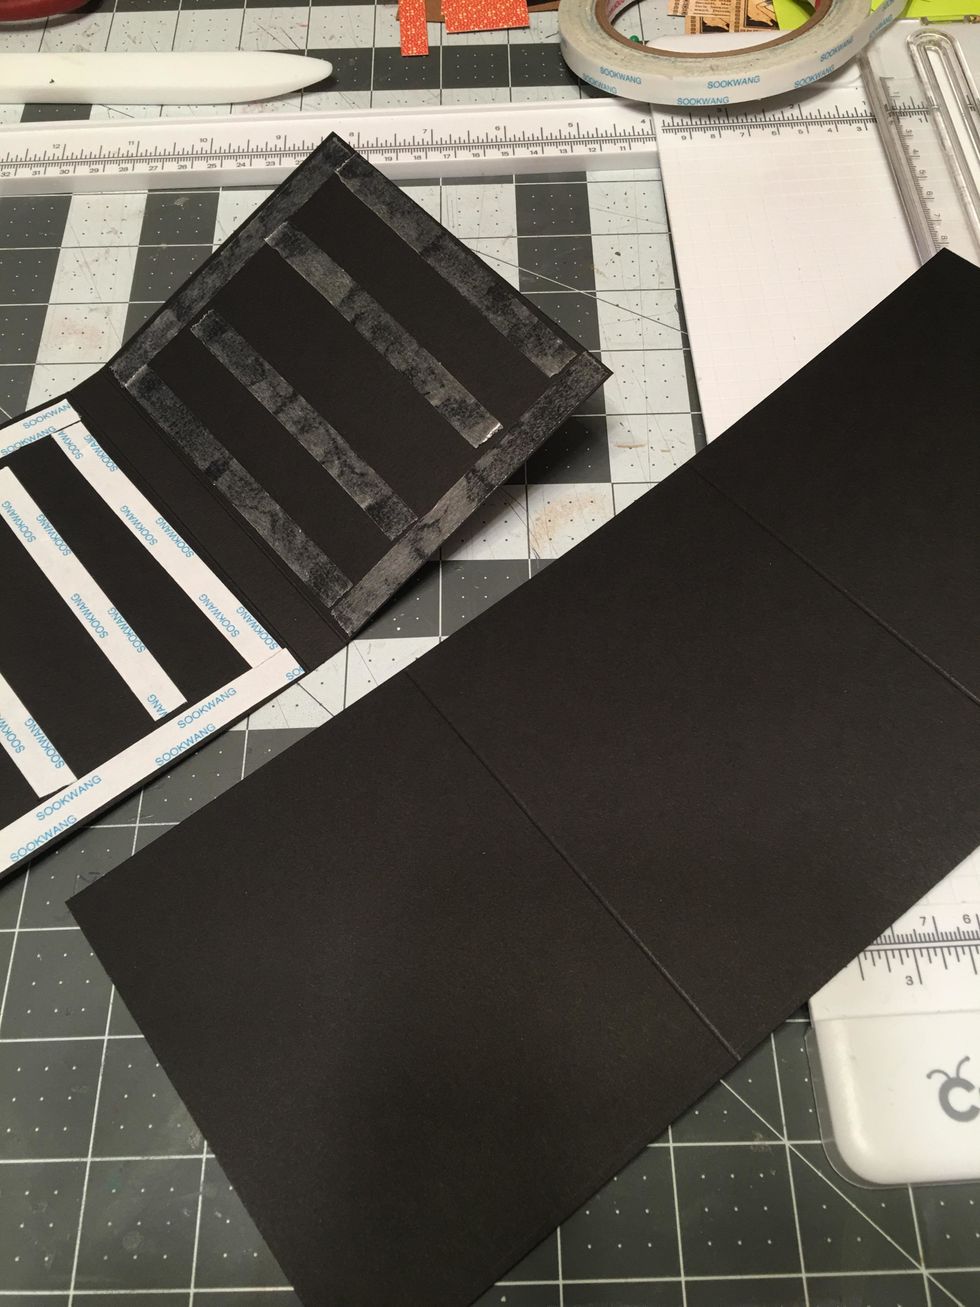
Carefully attach ONE of the long fold out page sections to the hinge piece as shown. You will attach only one end section. Make sure to line it up on all sides.
Repeat for the other hinge side by removing all the tape backing.
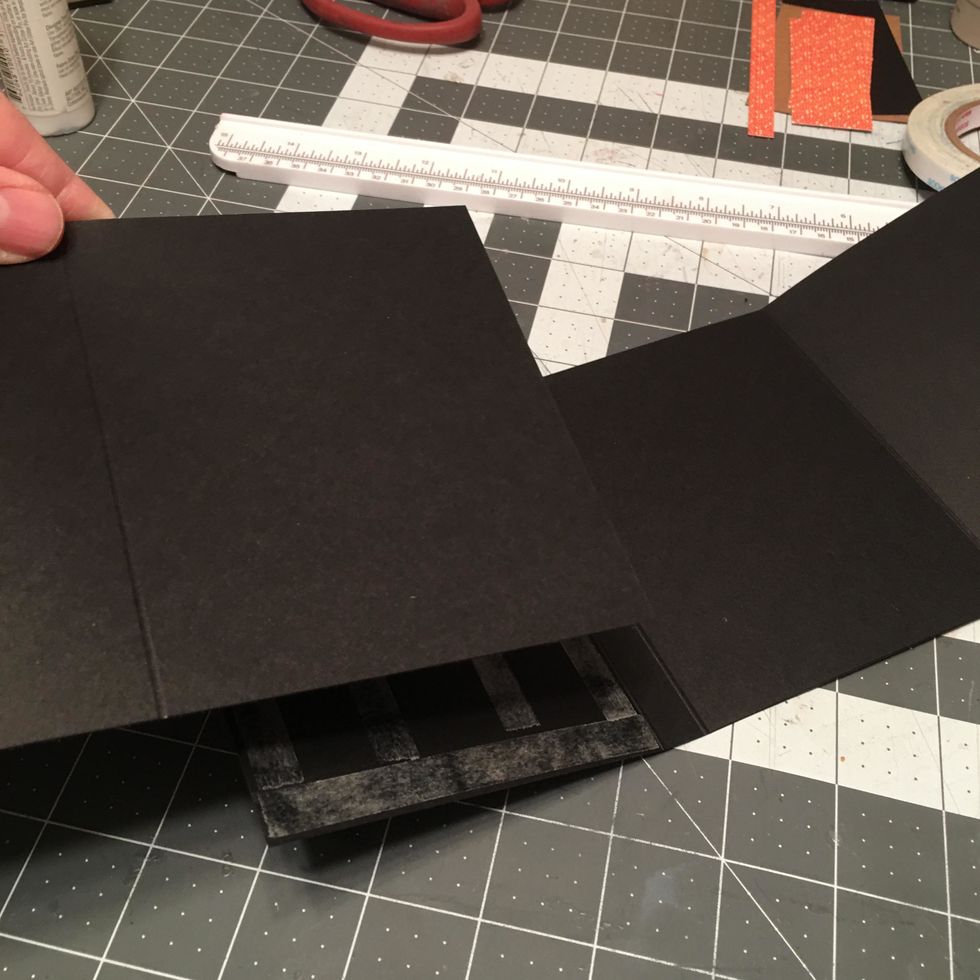
Align and attach down one section of the other long page fold out section. Be careful to line it up on all sides.

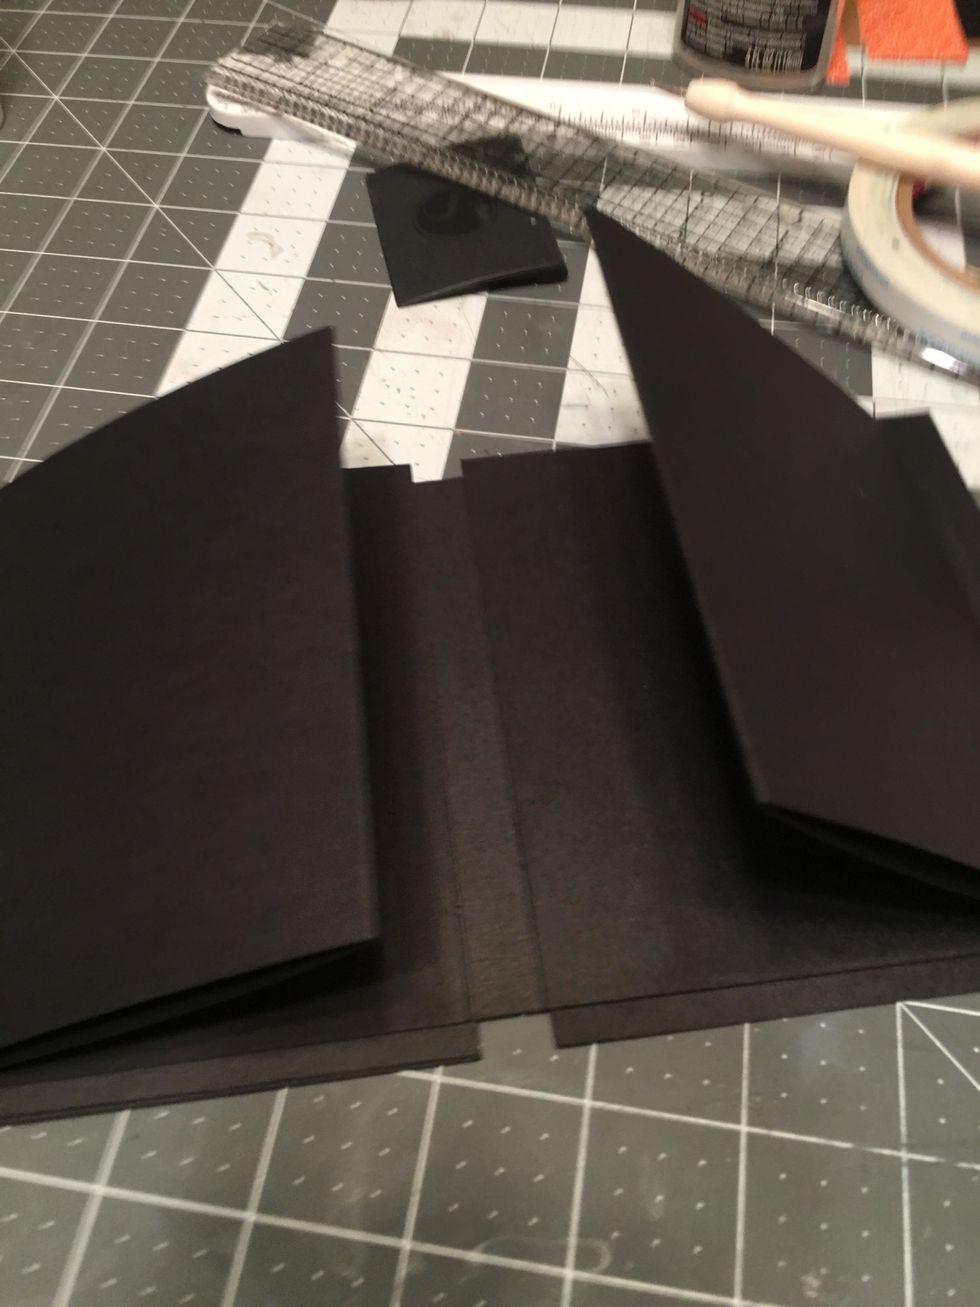
Fold and burnish the score lines of the long page section so that each side folds into the hinge piece with the 1/2" spine section in the center.
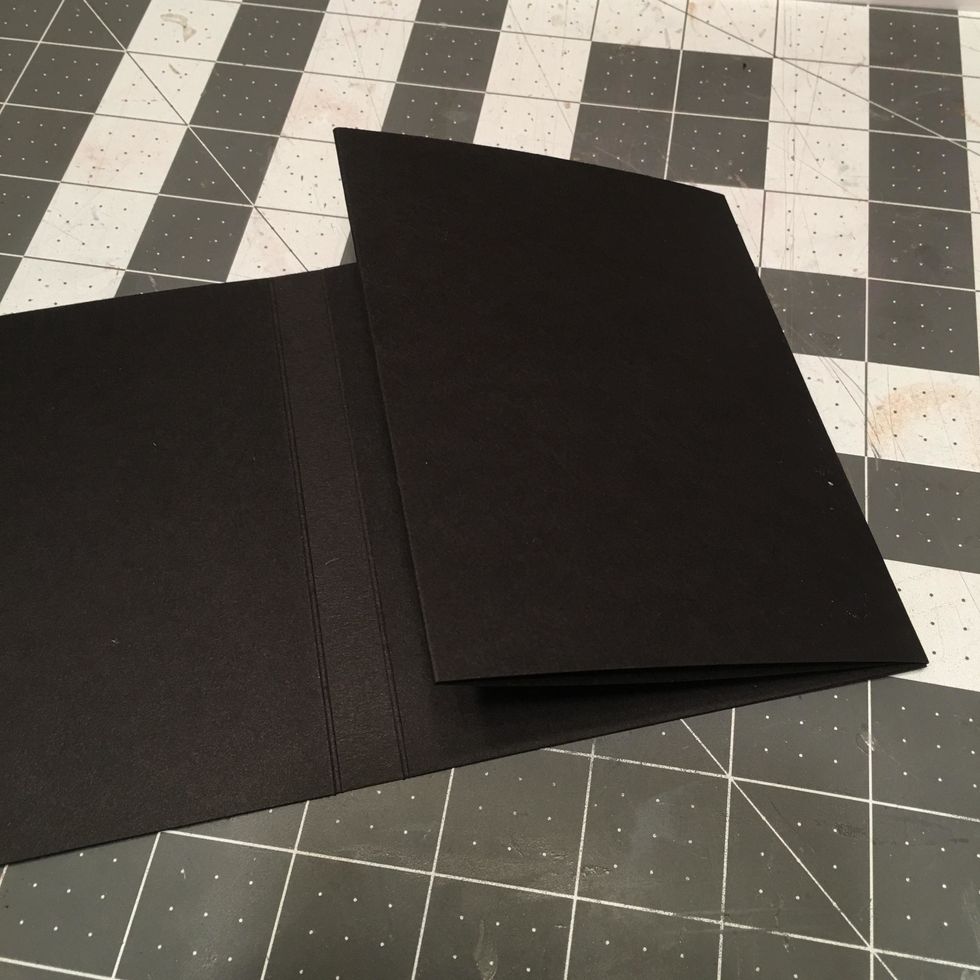

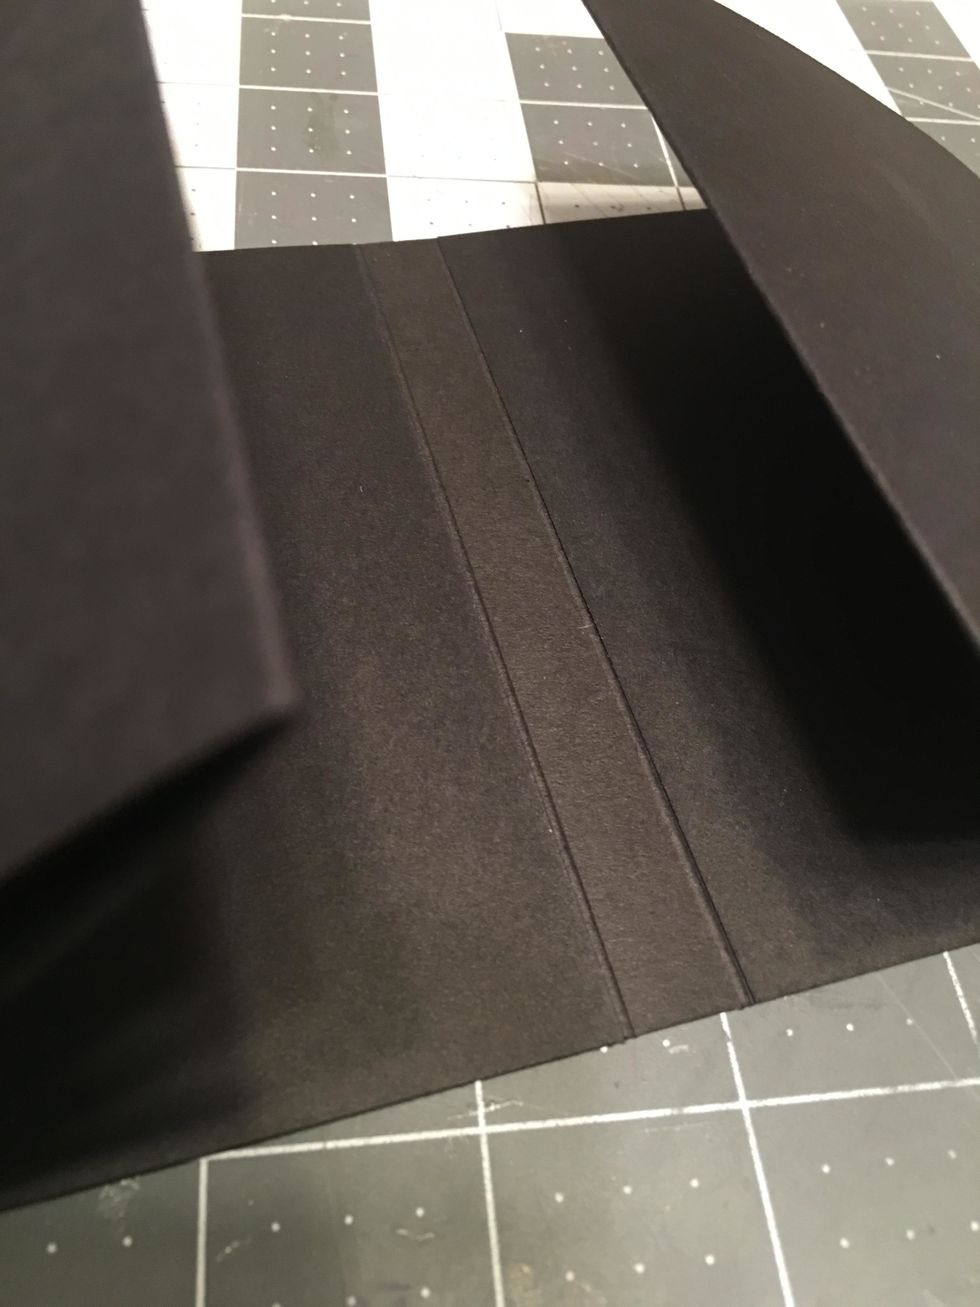

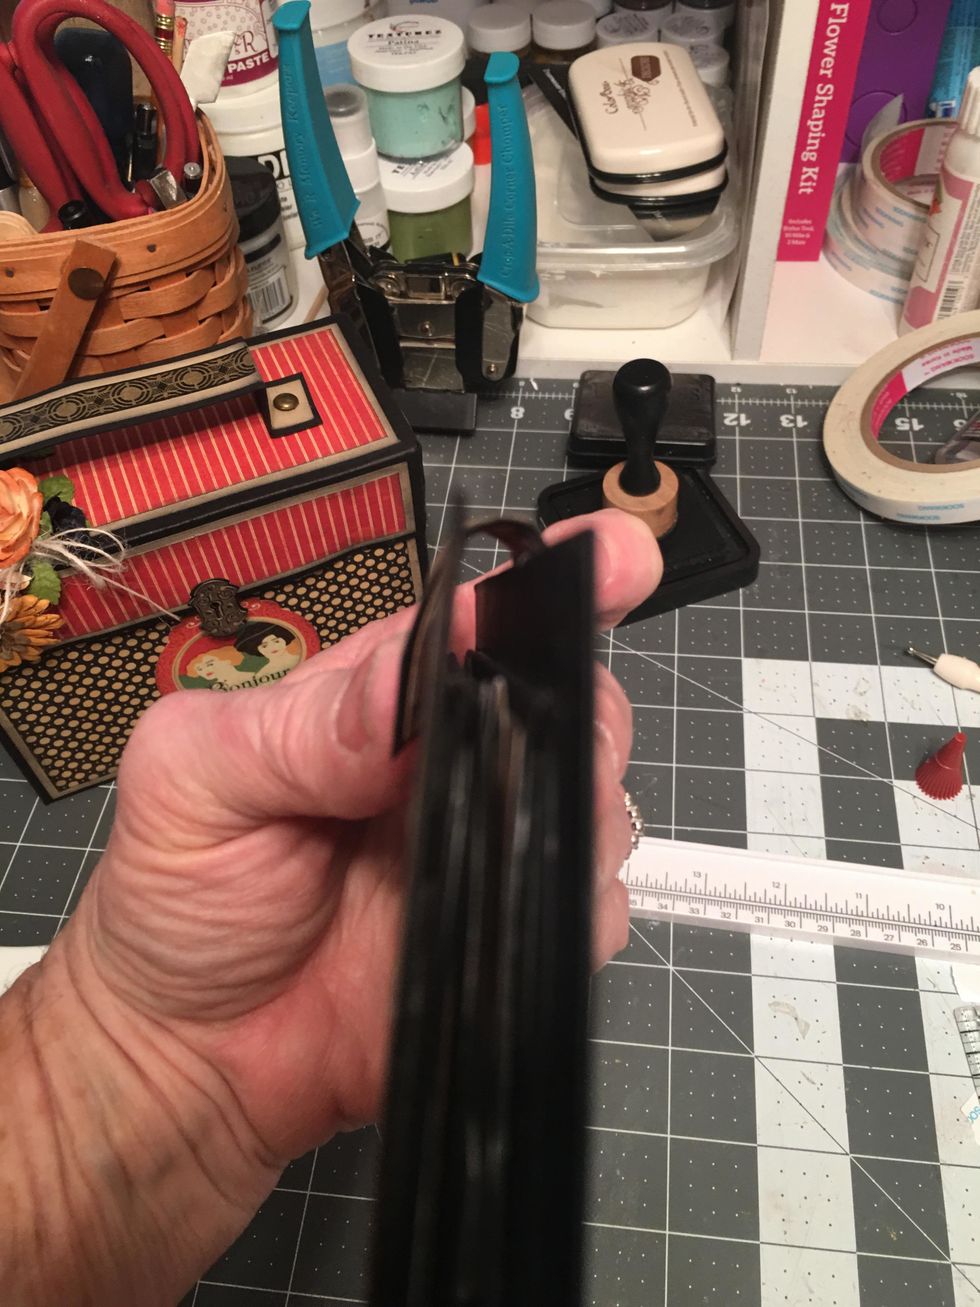
When folded up correctly, your album will have a 1/2" spine on the outside like this.

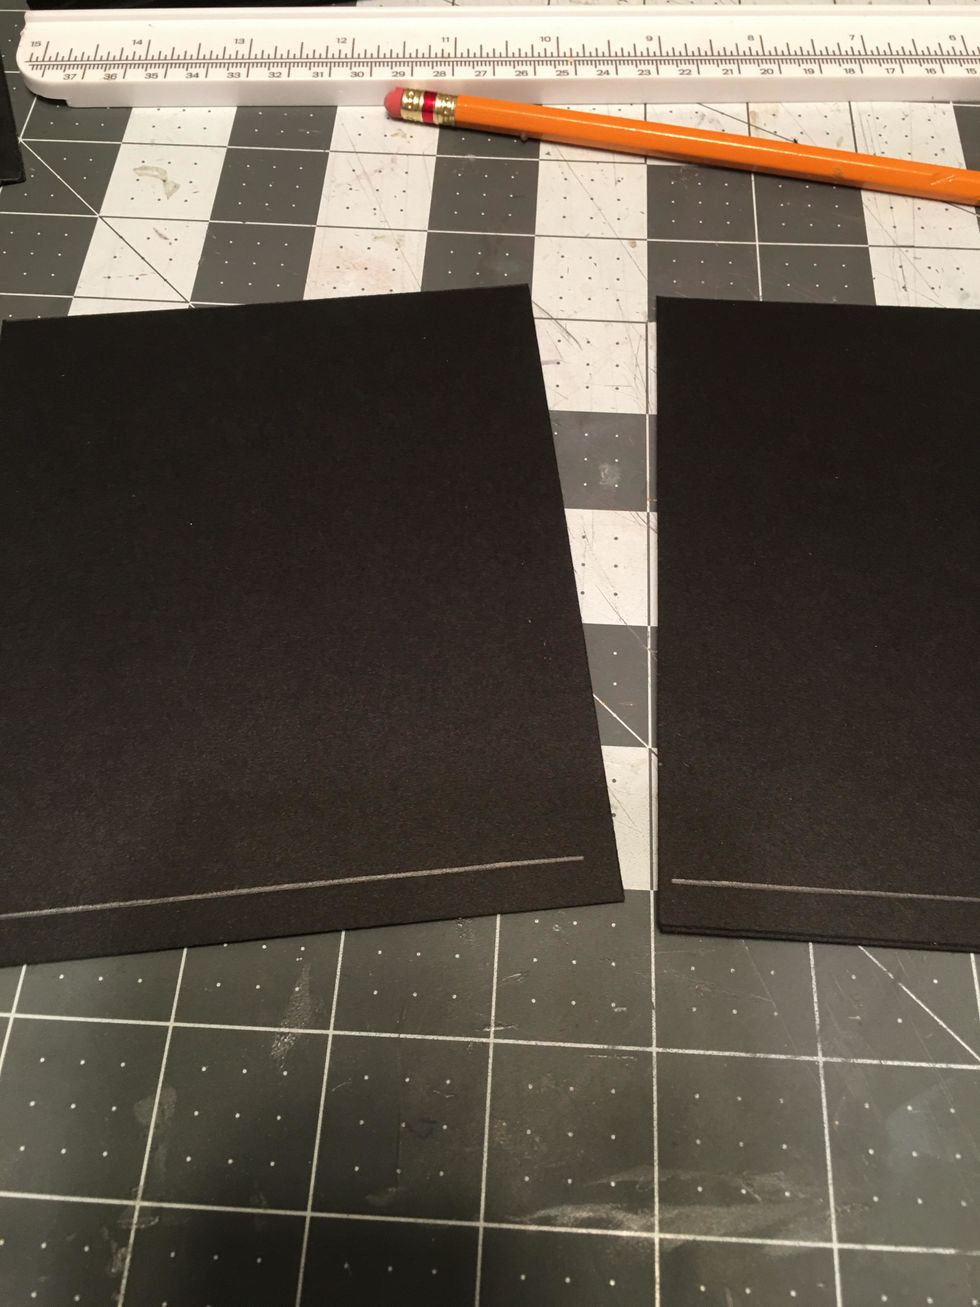
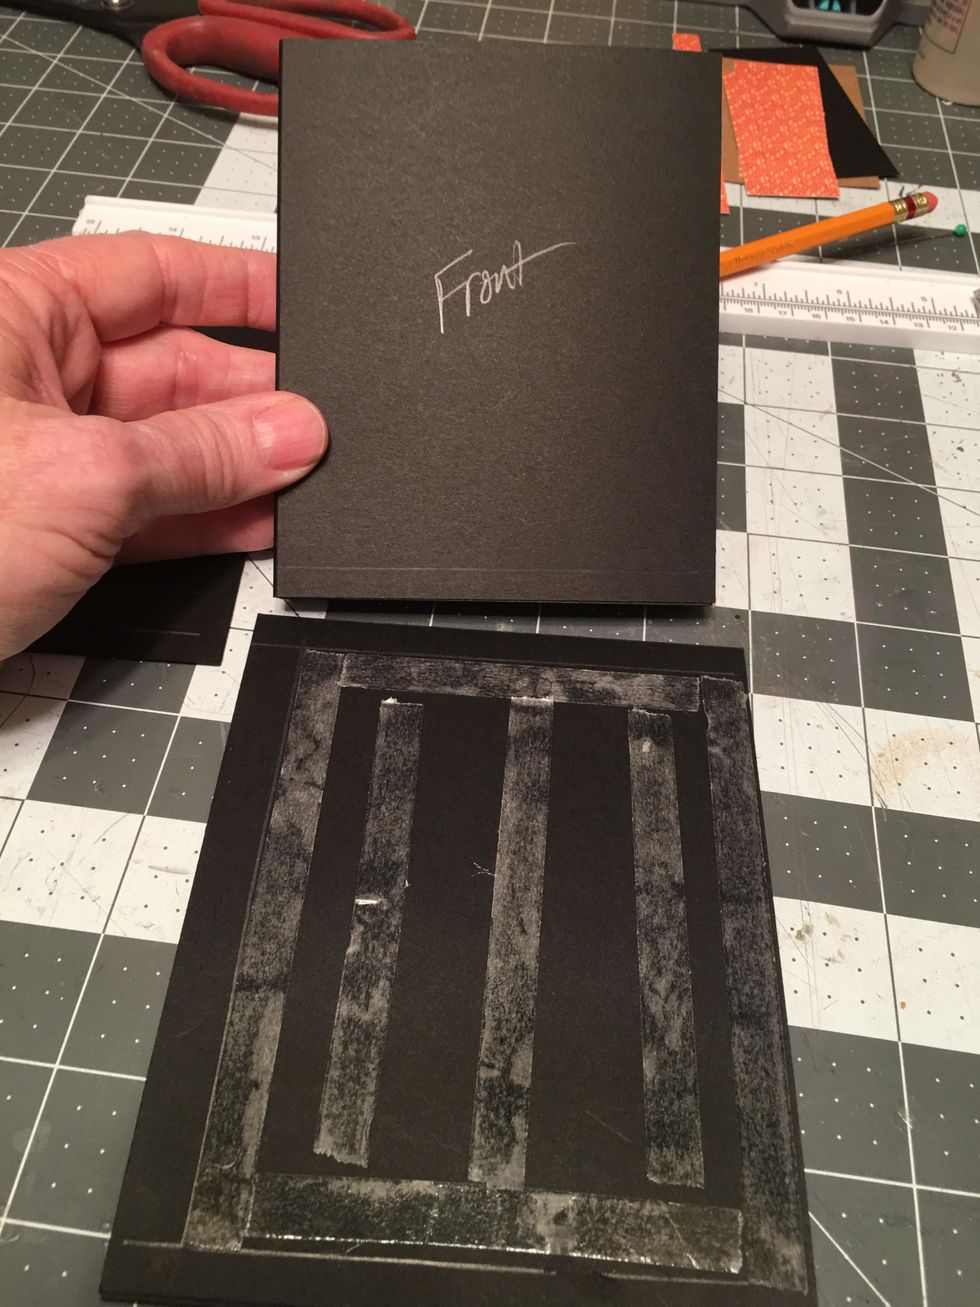
Use a pencil & ruler to draw a 1/4" placement line on the back bottom edge of each cover piece.

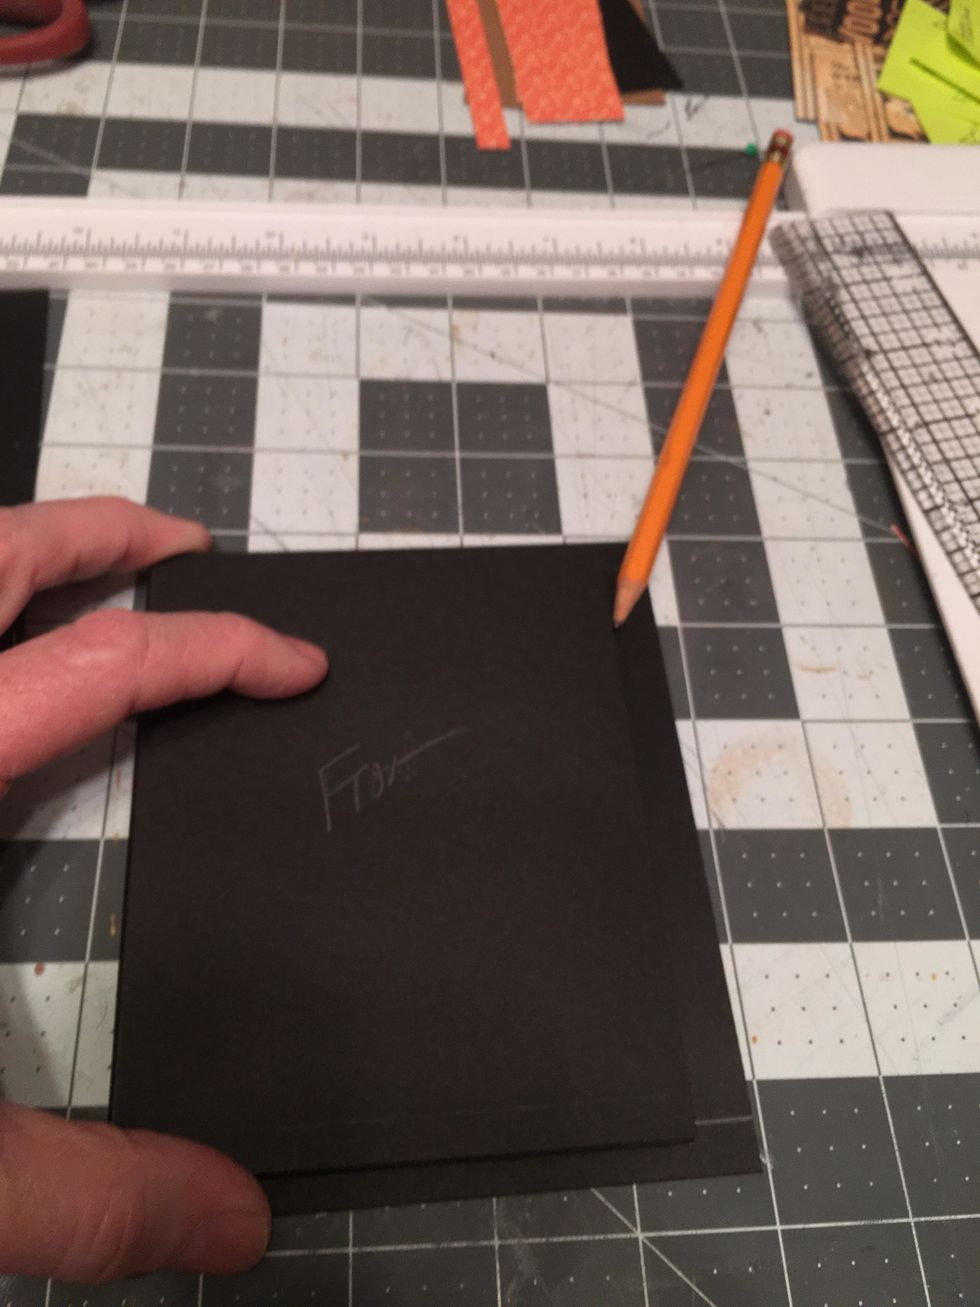
Mark "front" with pencil on the side you want to be the front of your album pages.
Lay the album pages onto one of the cover pieces with the left edge of the front side flush with the left edge of the cover piece. Use a pencil to draw a placement line on the right edge of the cover.
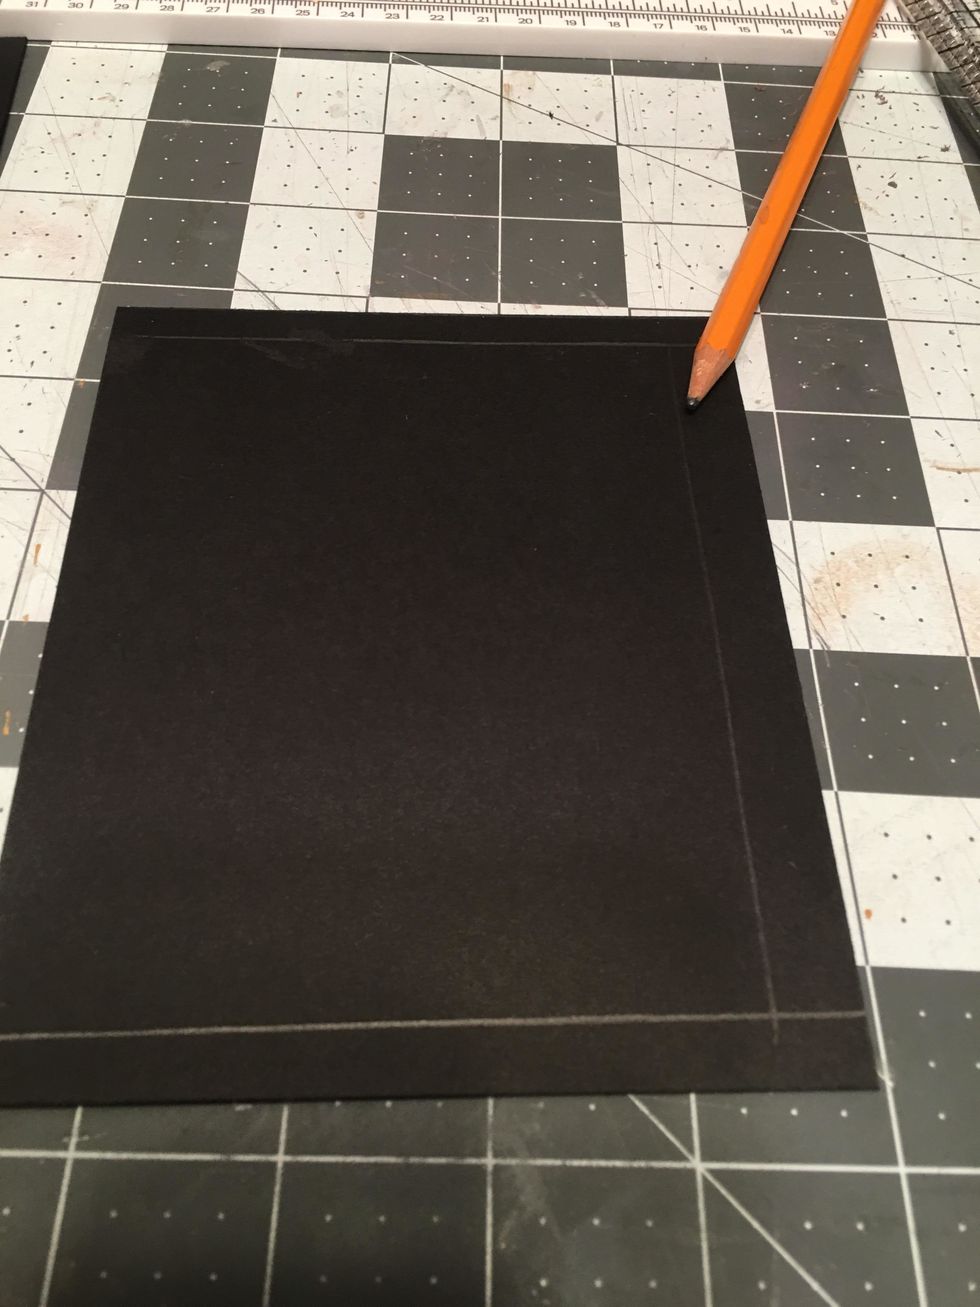
Draw another 1/4" placement line on the top edge as shown.
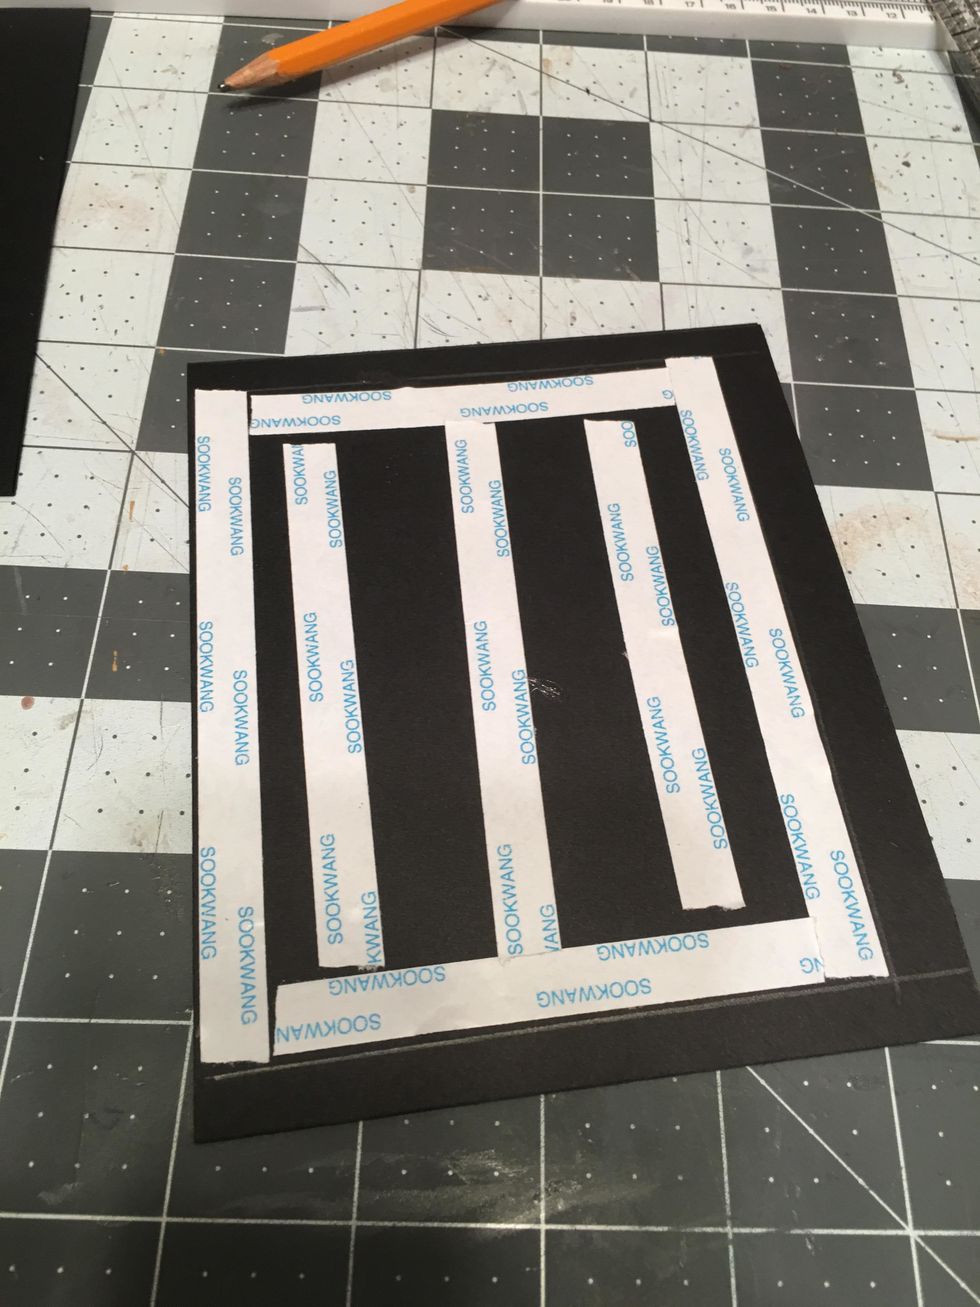
Apply scor-tape to the cover piece within the placement lines as shown.
Peel off the tape backing &attach the front side of the pages to the front cover piece.Make sure the magnet will end up on the front right edge when attached.This part is tricky, carefully line it up.

Erase any pencil lines that might show.
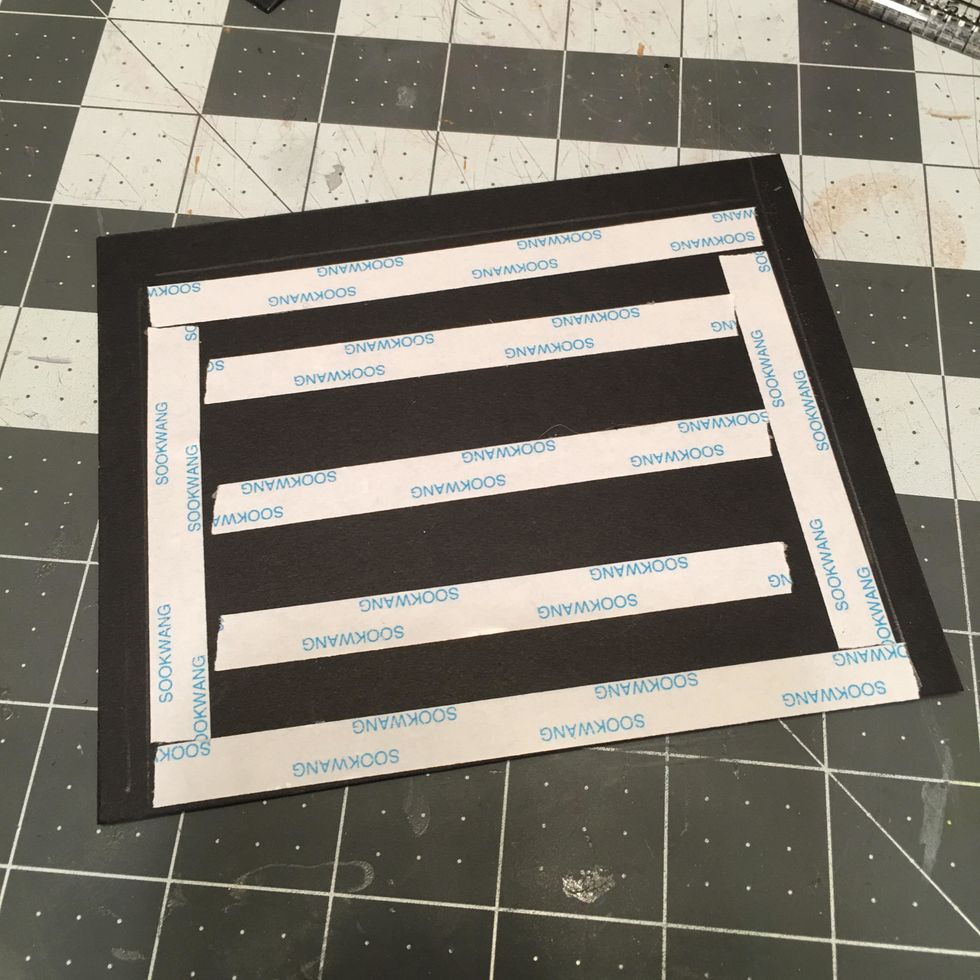
Repeat to attach the back cover. Apply scor-tape to the back side of the back cover within the pencil lines.
Peel the backing off. Carefully line up the album to the back cover. You want the cover flush to the back edge of the pages and lined up straight on all sides along the pencil lines.

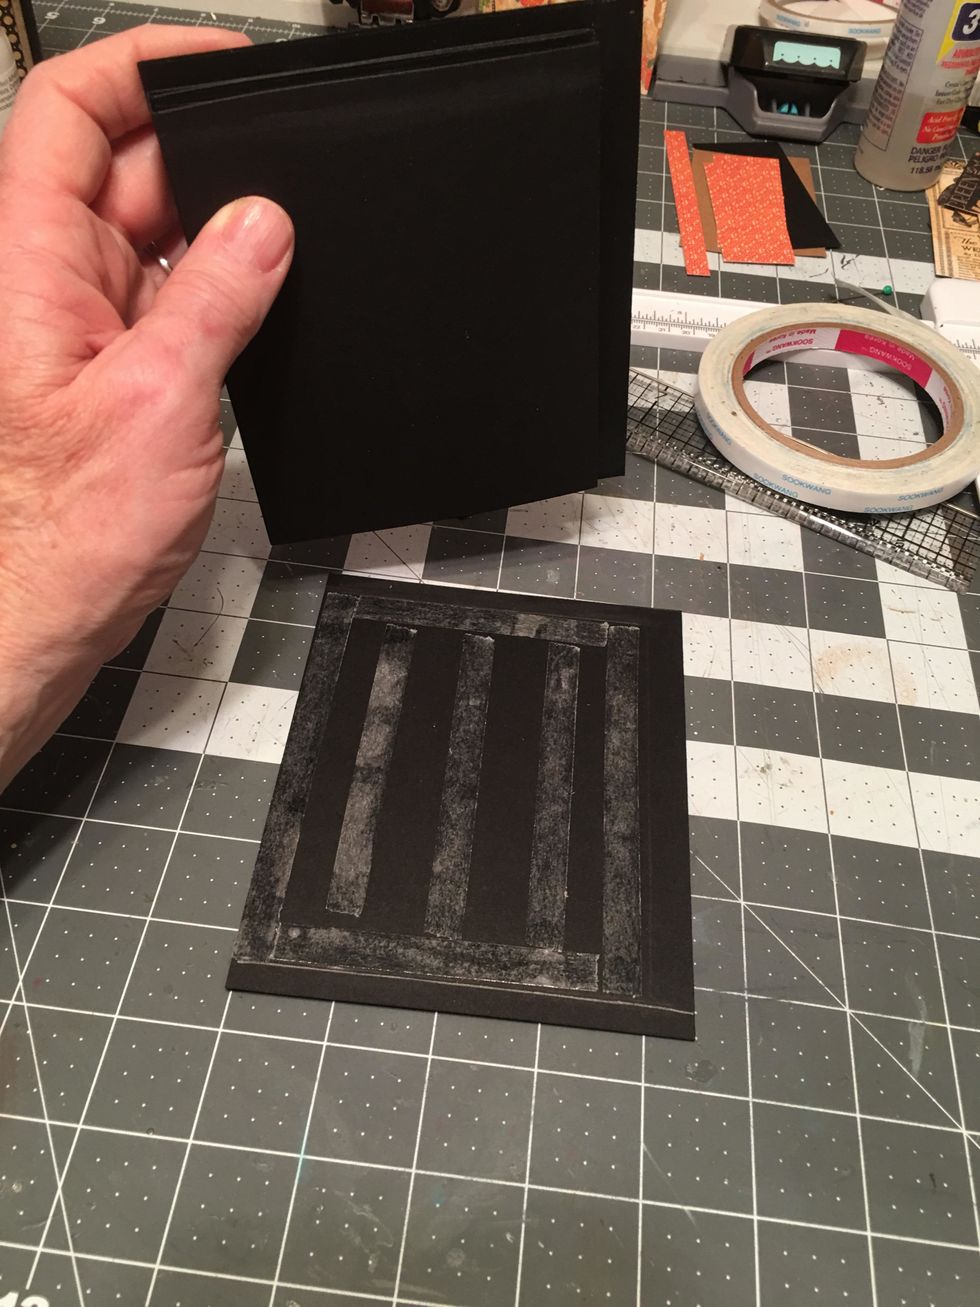
Once the covers are on, open up the album and check that the covers line up along the center fold lines as shown.
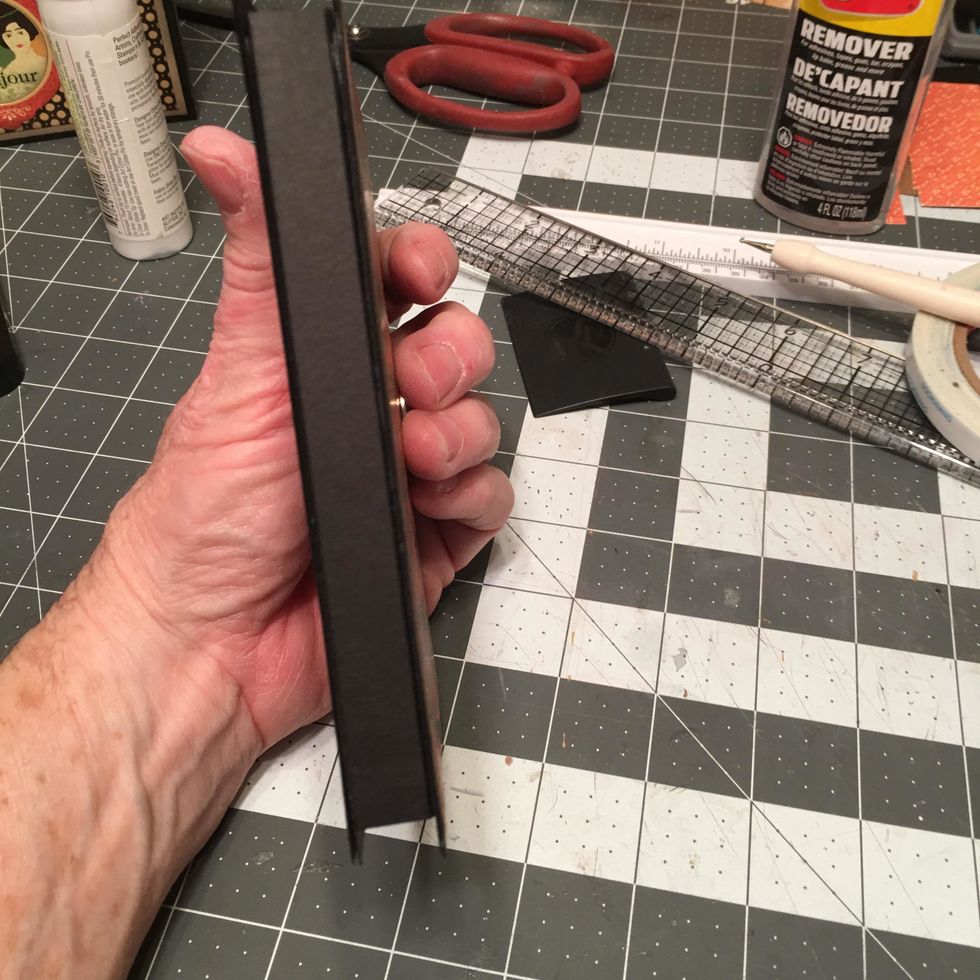
When closed the covers should be flush with the back edge of the album spine as shown.
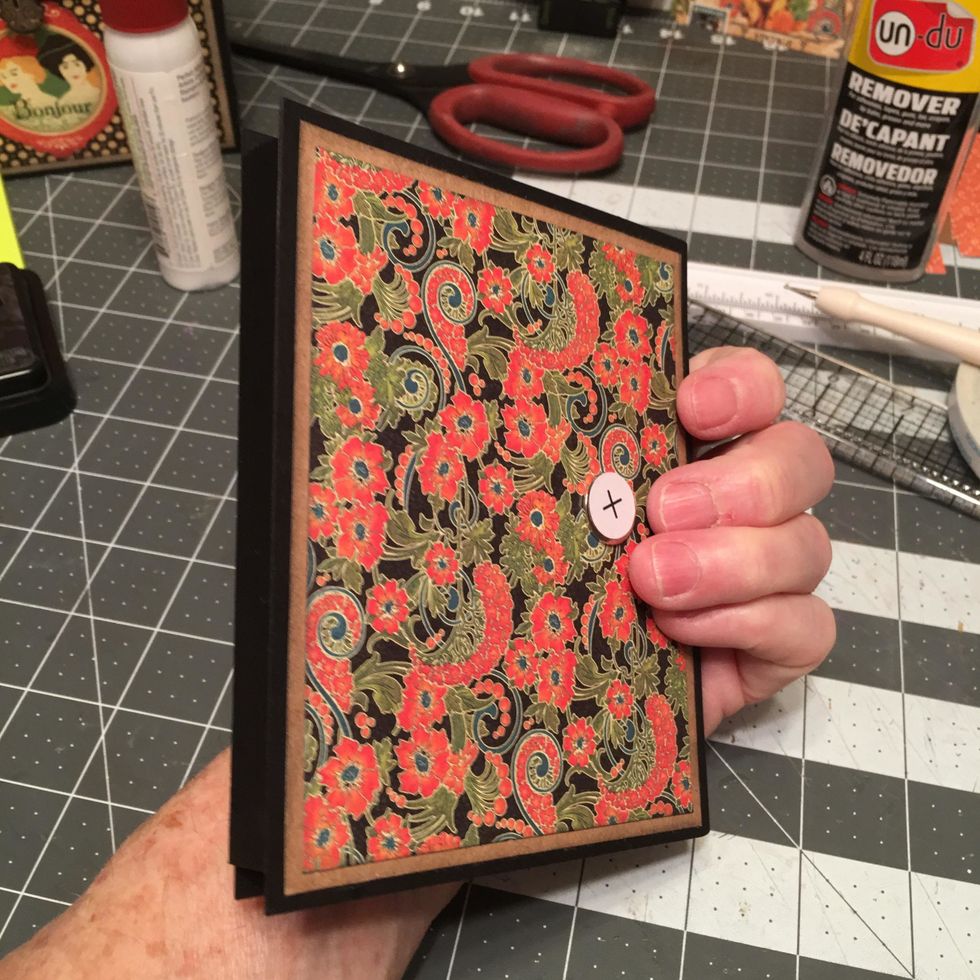
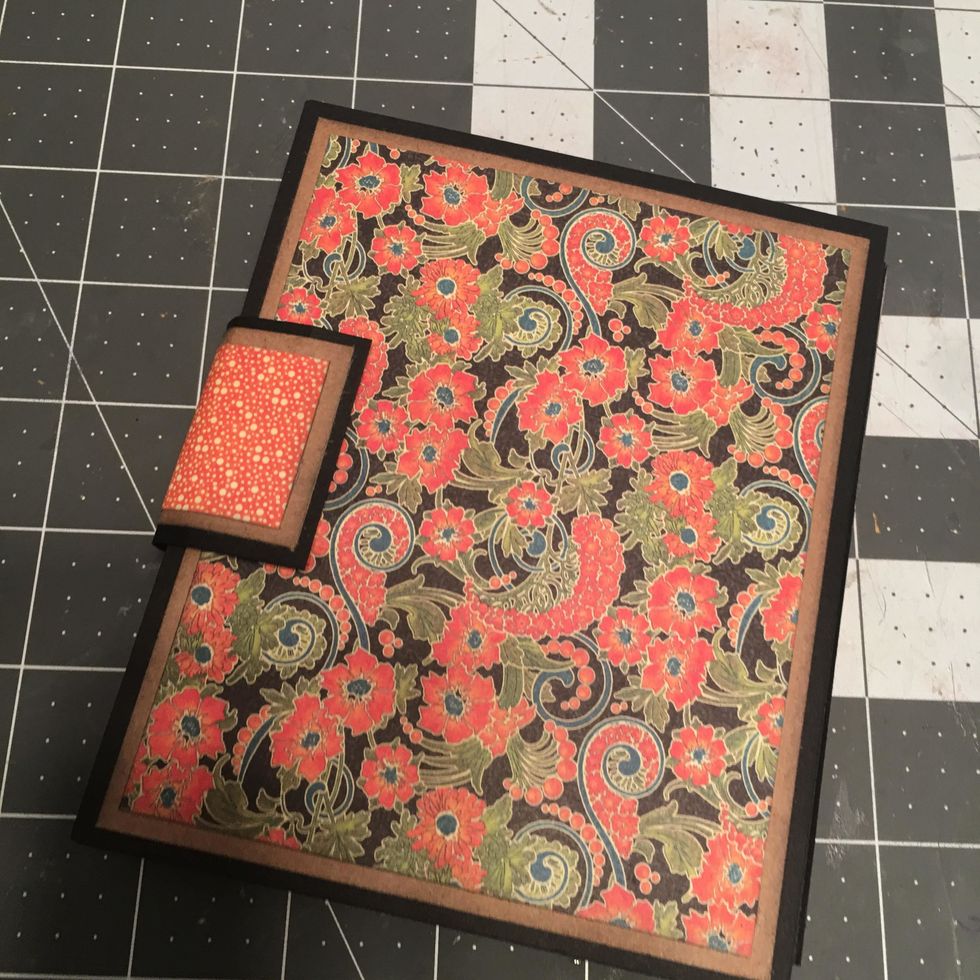
This is the front of your album with the cover on and the magnet on the right side ready for when you attach the closure piece AFTER you pattern your pages inside the album.
Ink all of the patterned papers you pre-cut for the pages.
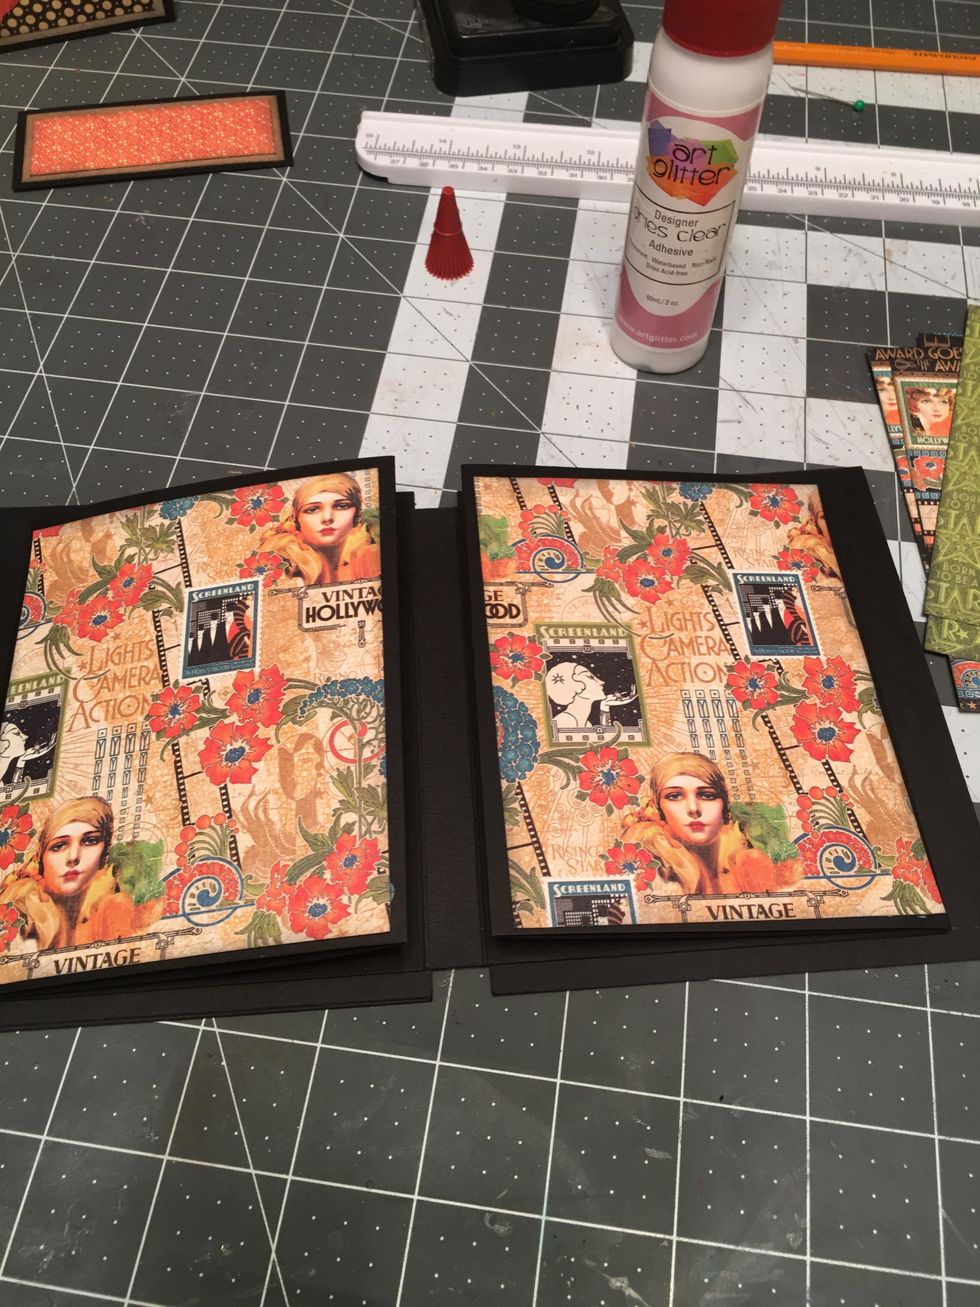
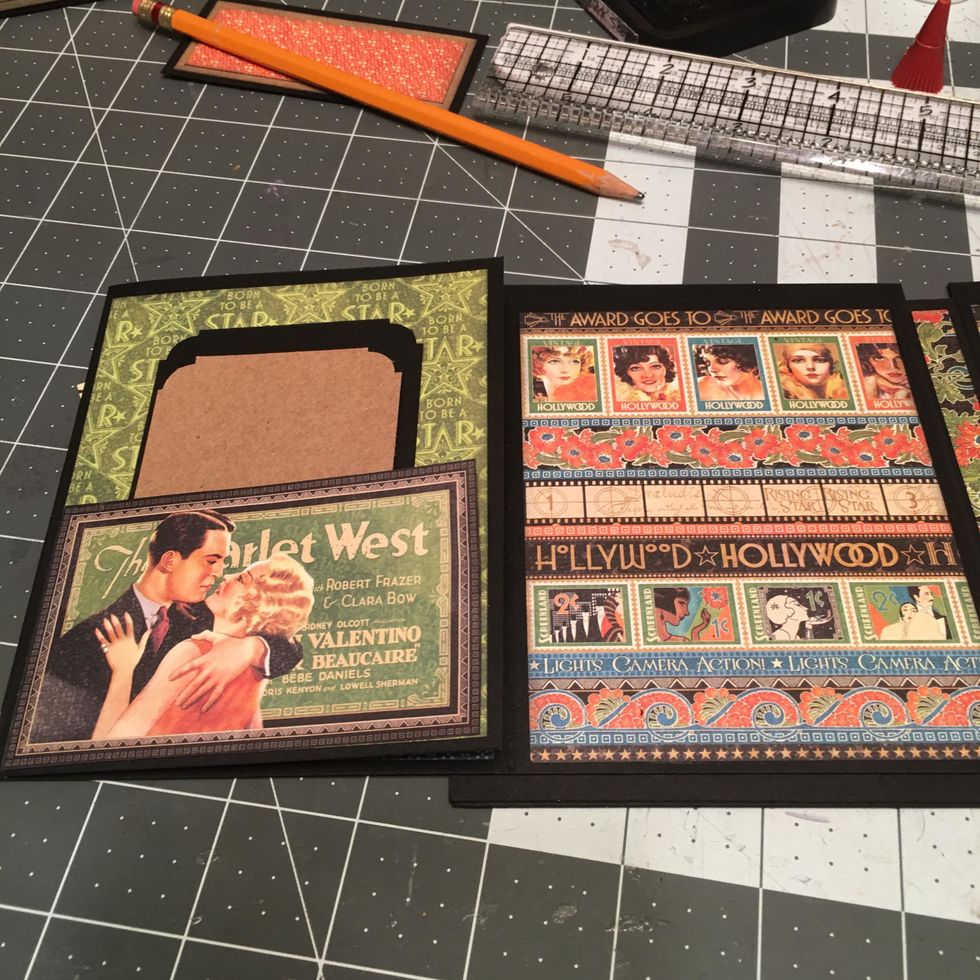
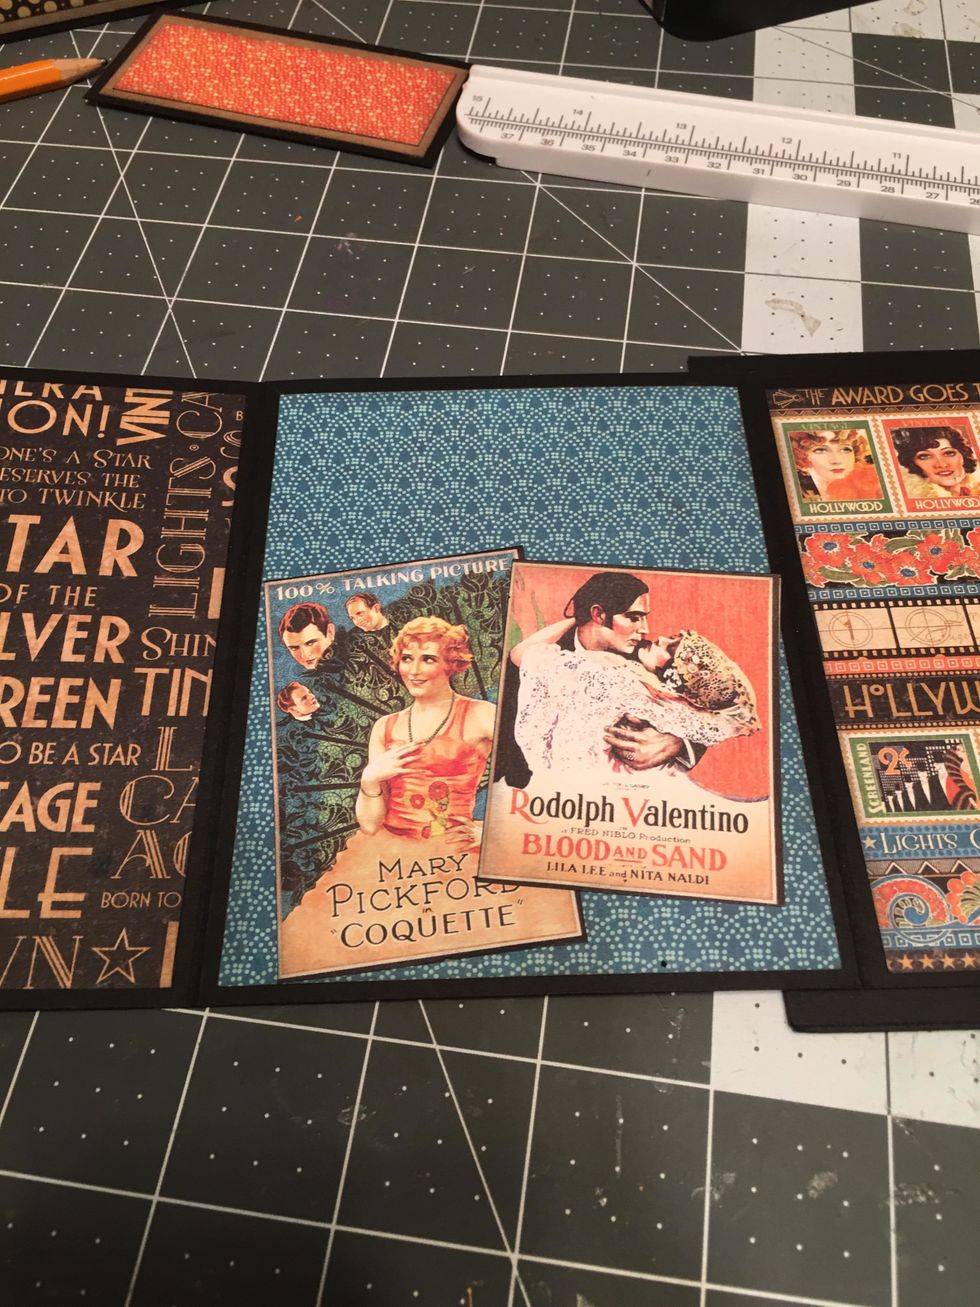
Open up your album and attach the first matching set of patterned papers to the first two pages you see. Use your preferred glue or scor-tape to attach your patterned page papers.
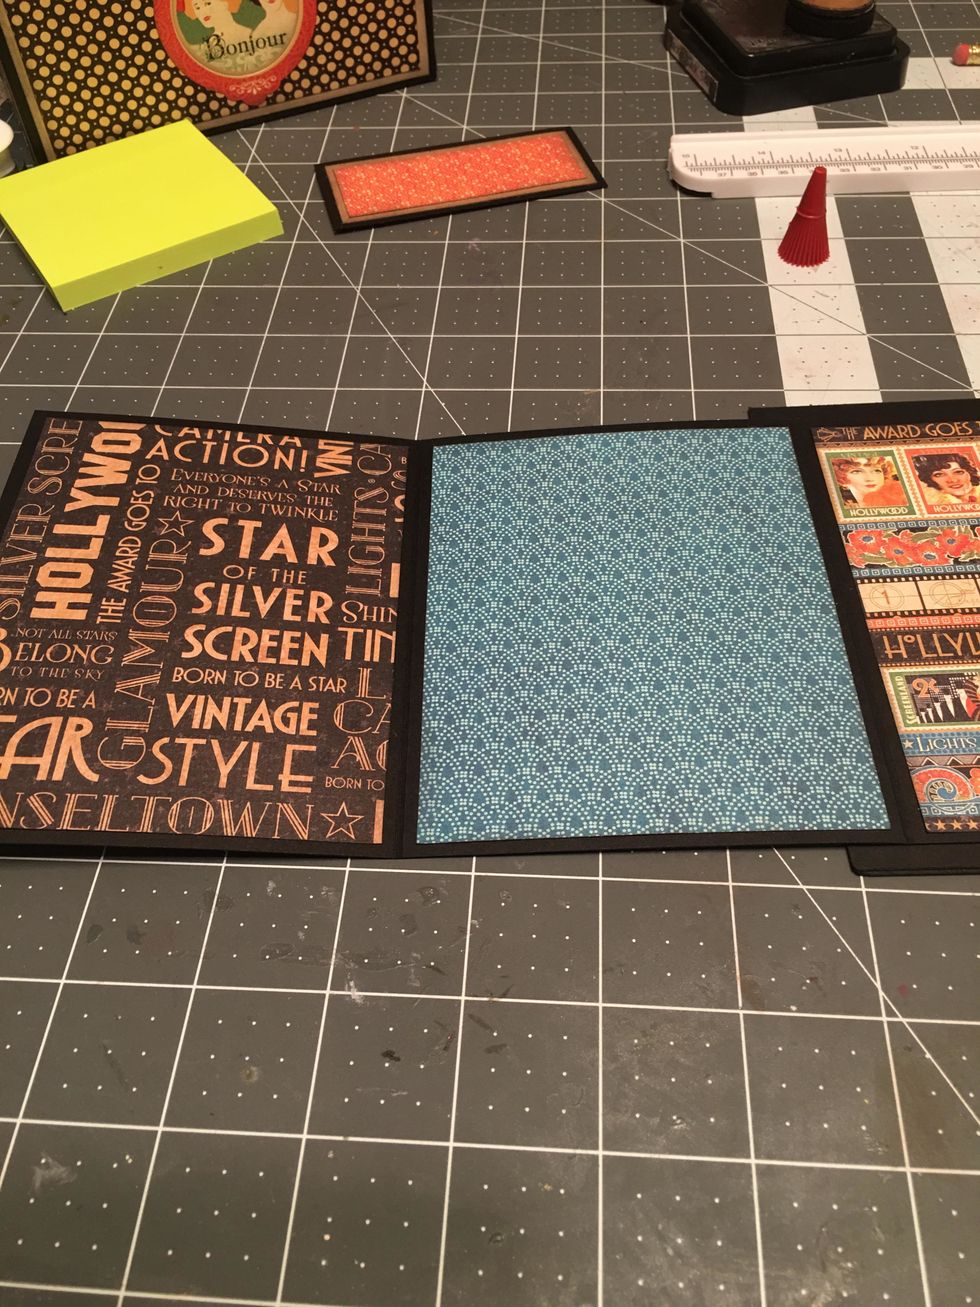
Open up the album again on both sides and cover with patterned paper as shown.
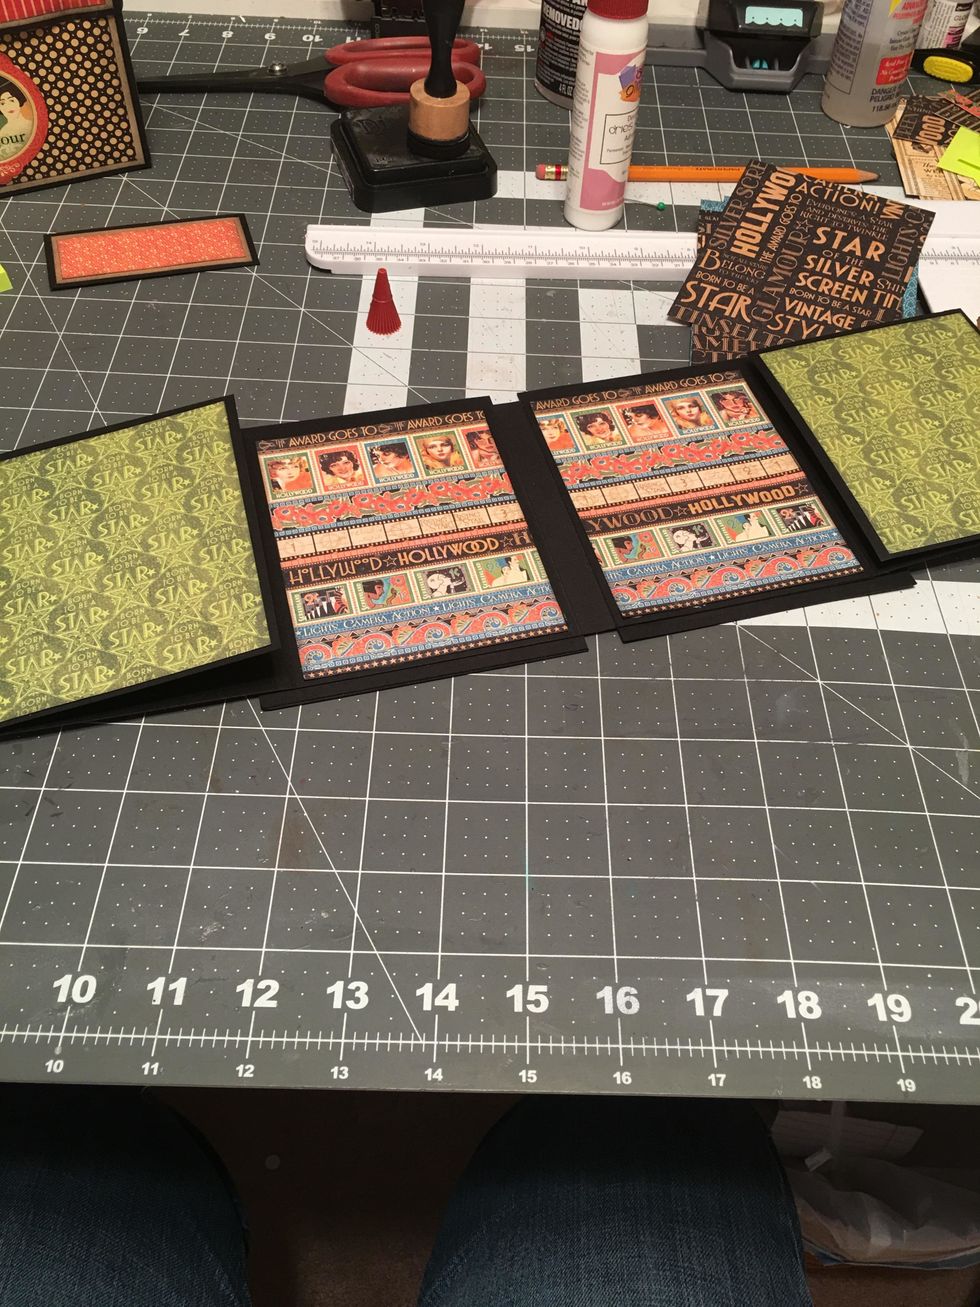
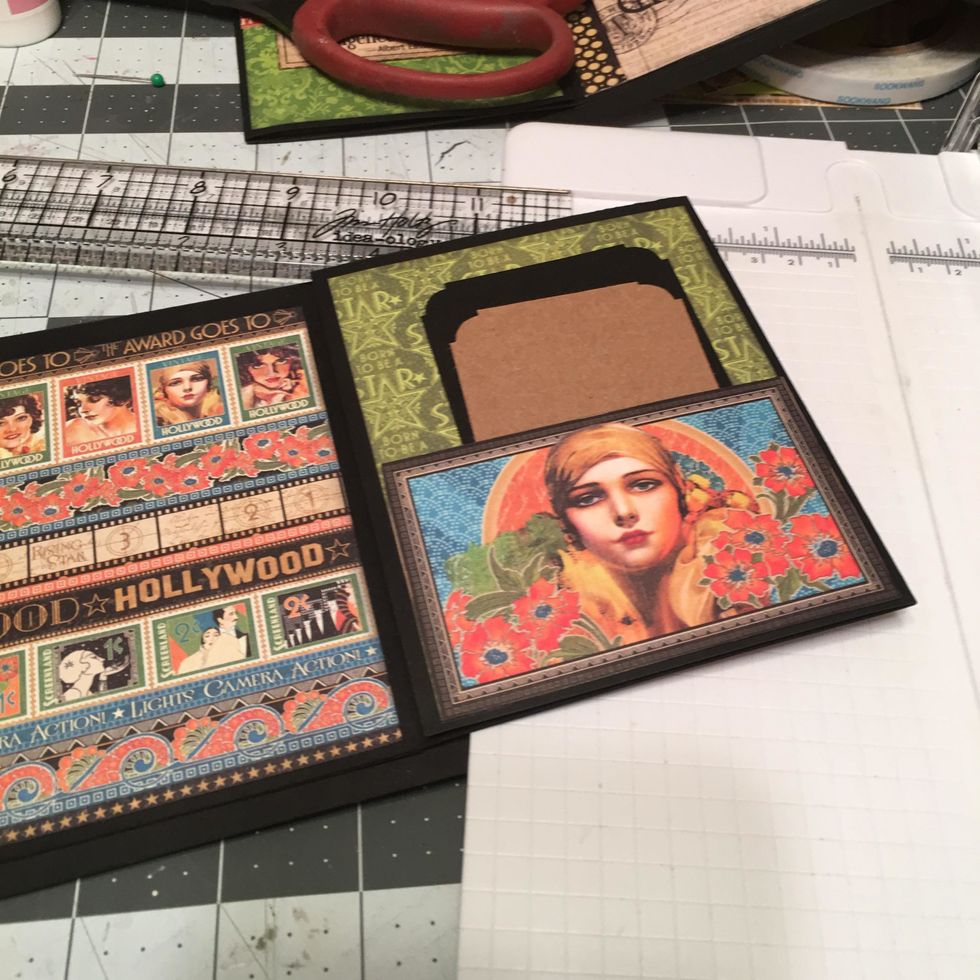
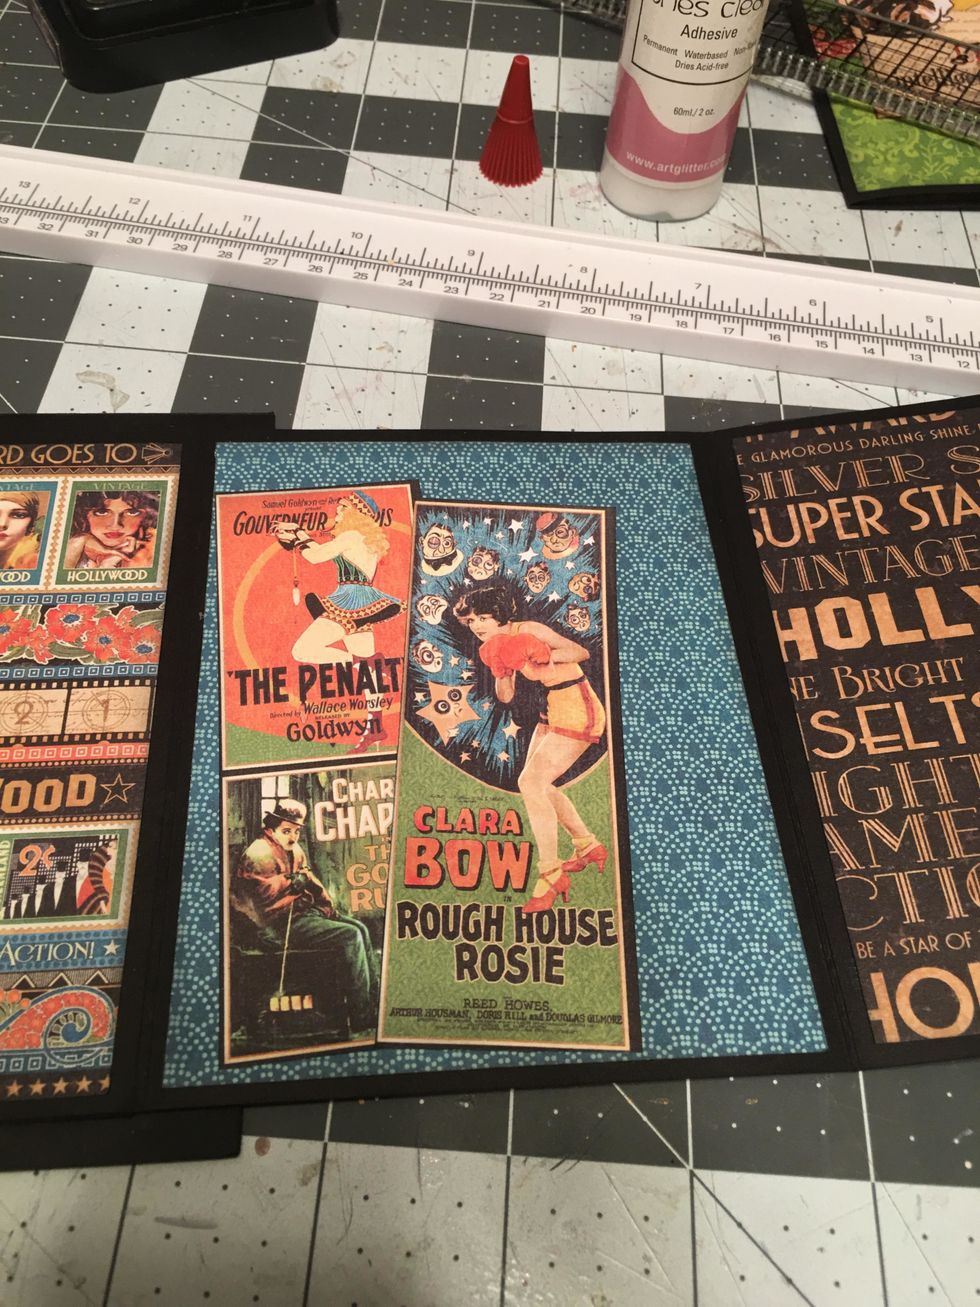
Open up again and pattern the last two on both the left and right sides.

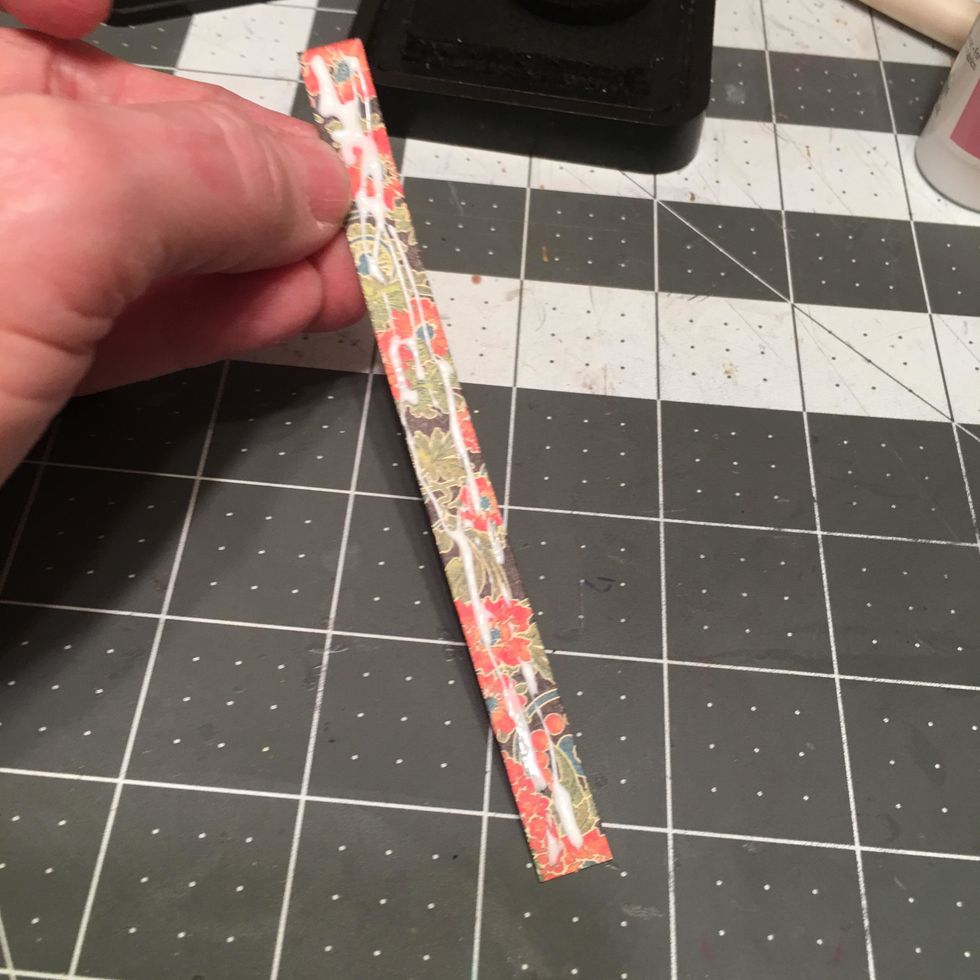
Ink the narrow strip of patterned paper you cut for the outside spine area of your album and apply glue to the back side.
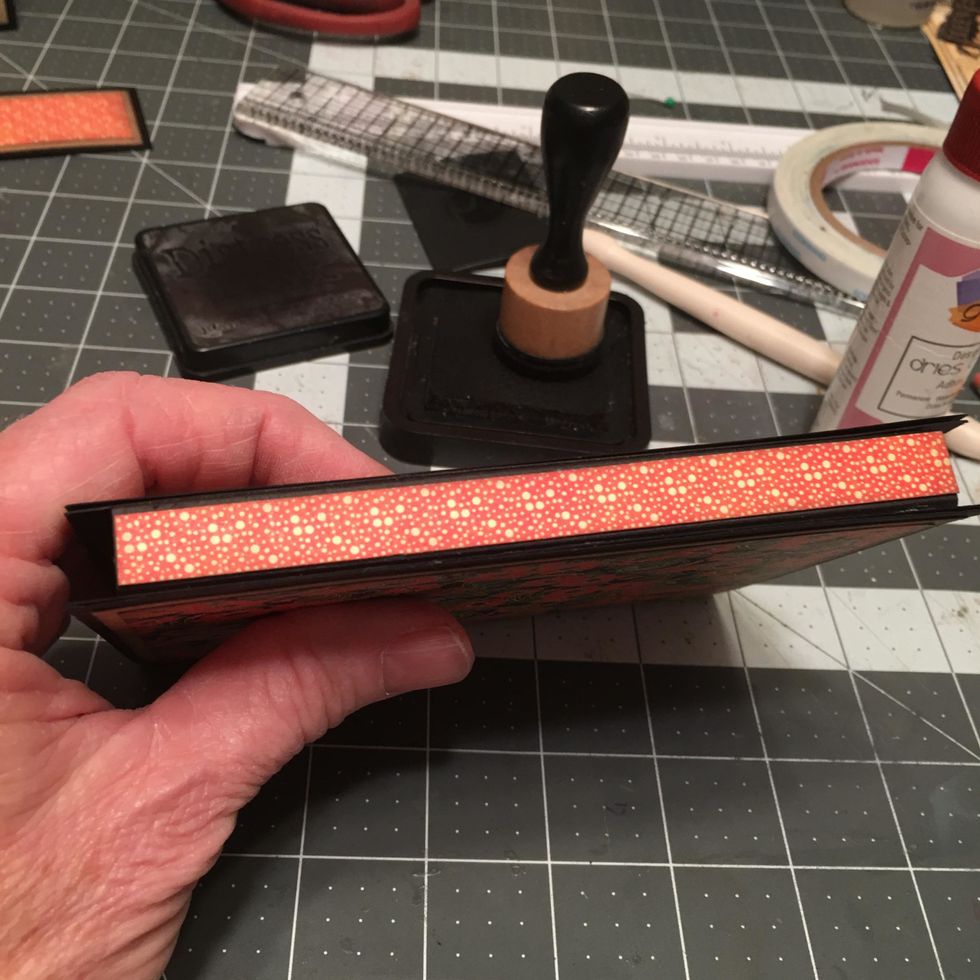
Carefully attach to the outside spine area as shown.
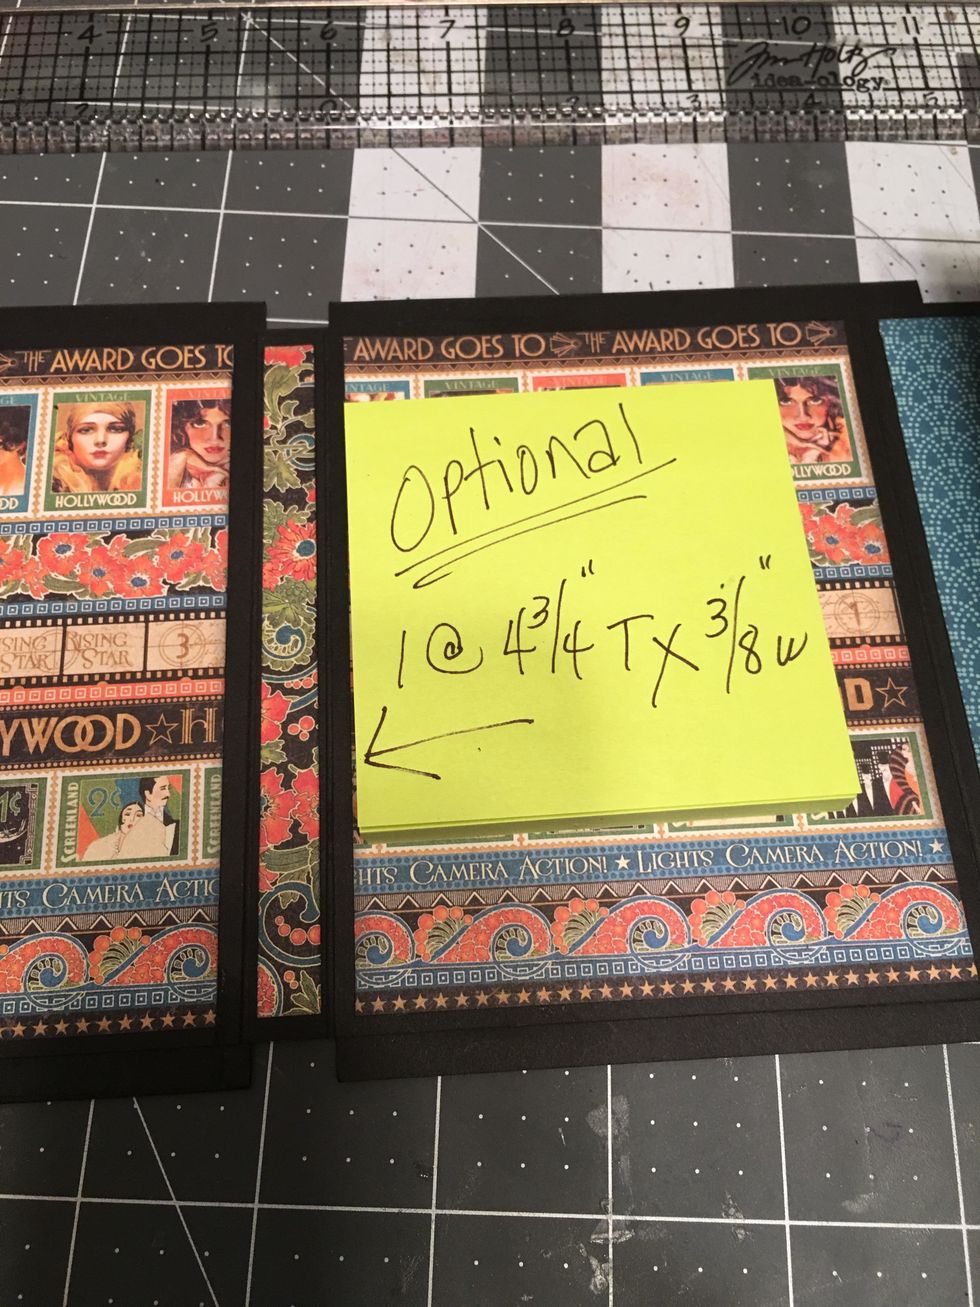
Optional: Cut ANY scrap of patterned paper to 3/8" wide x 4 3/4" tall. Ink the edges and glue into the spine area inside your album.
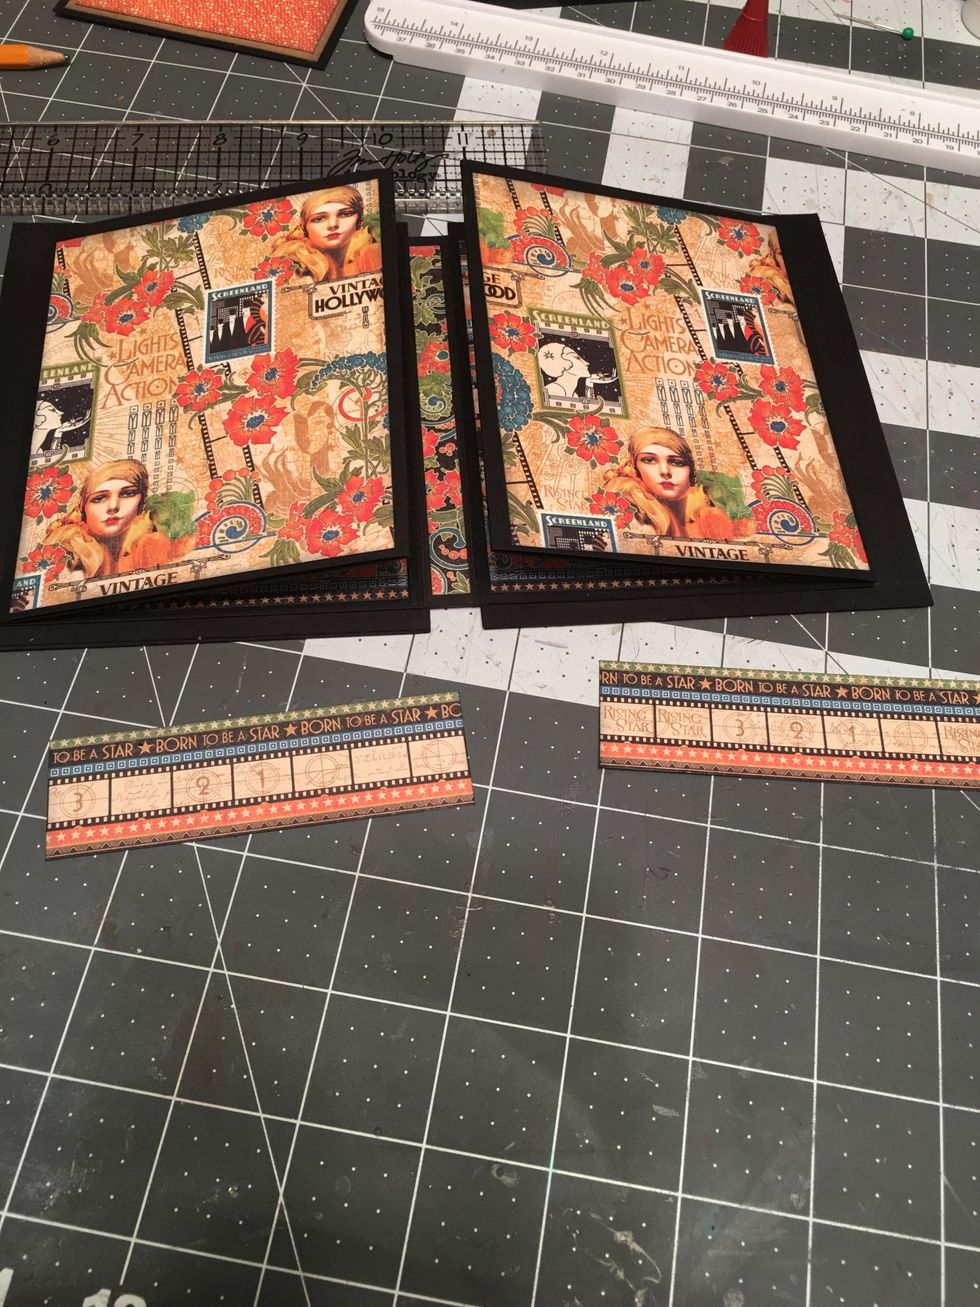
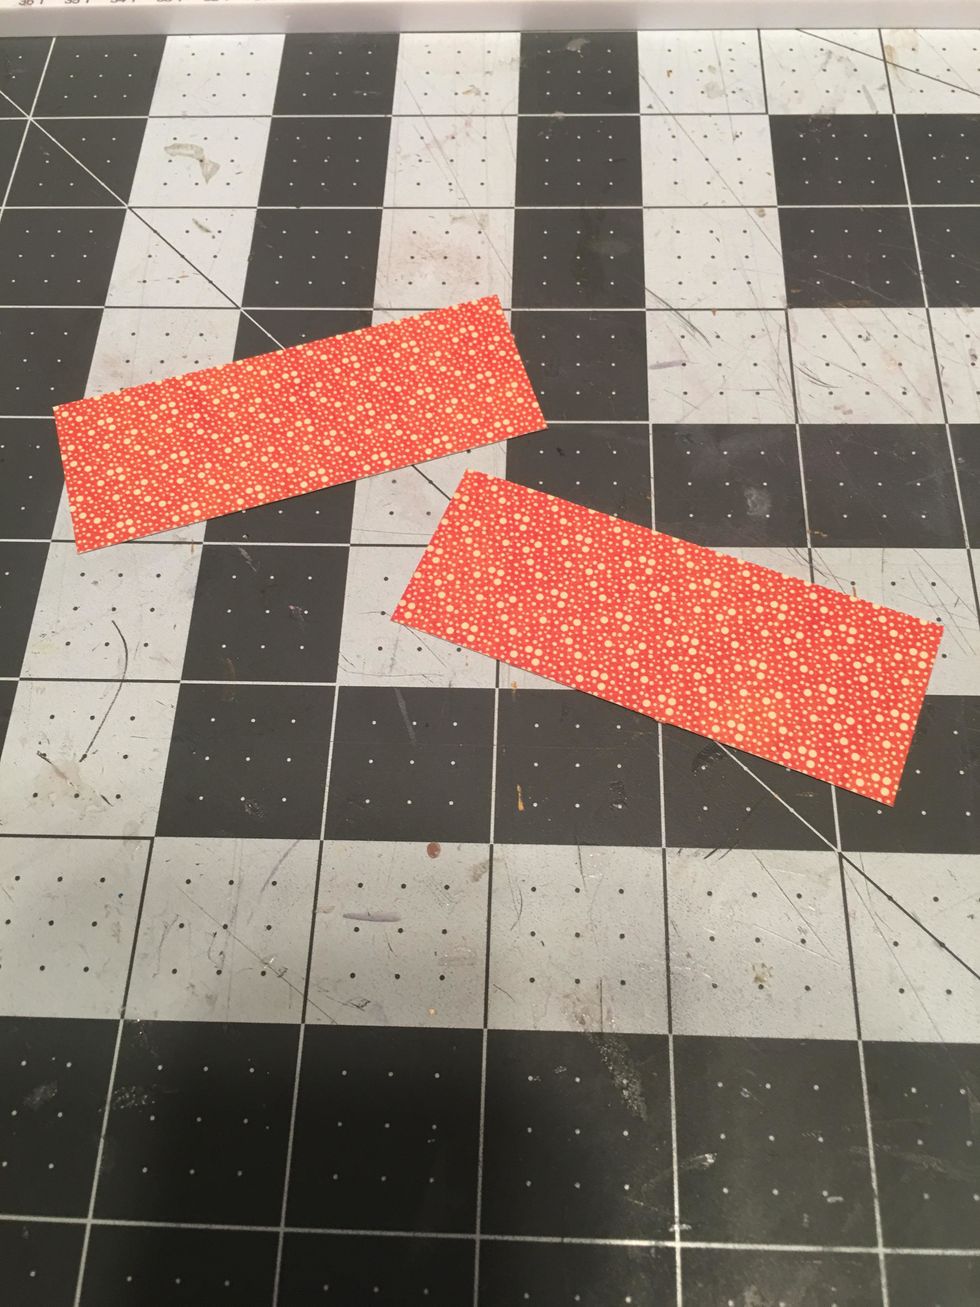
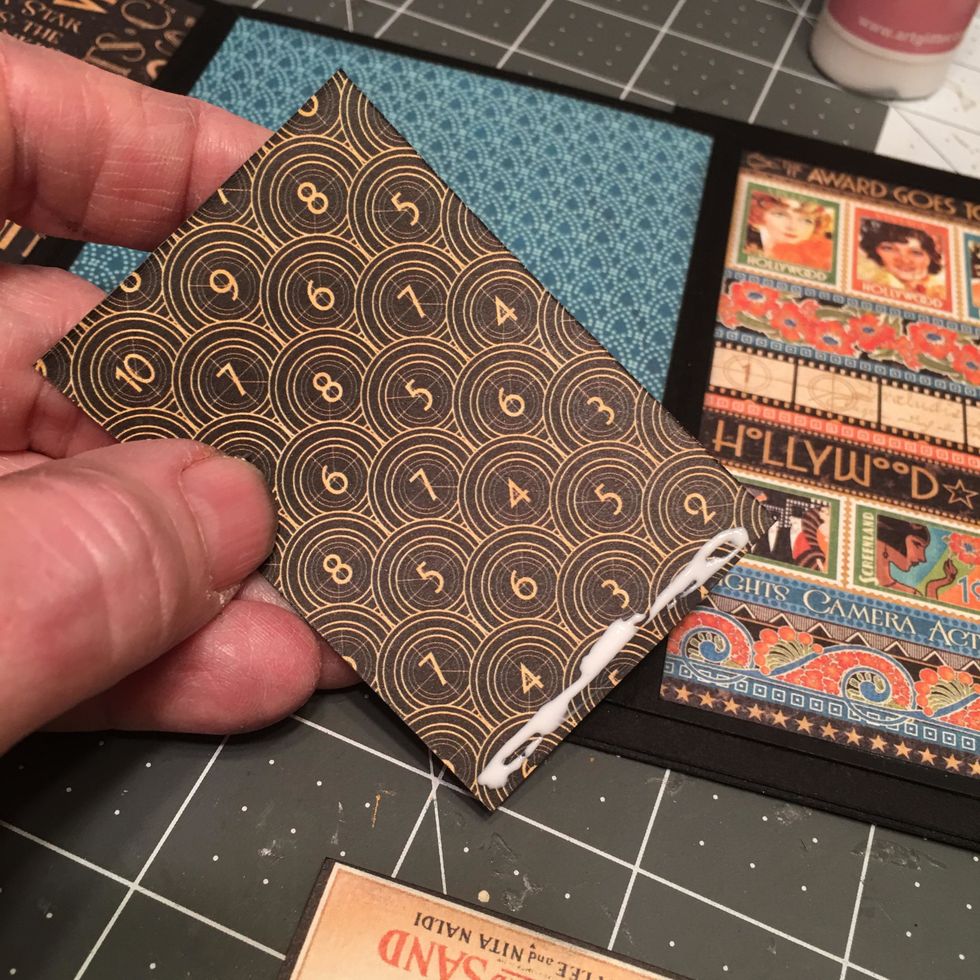
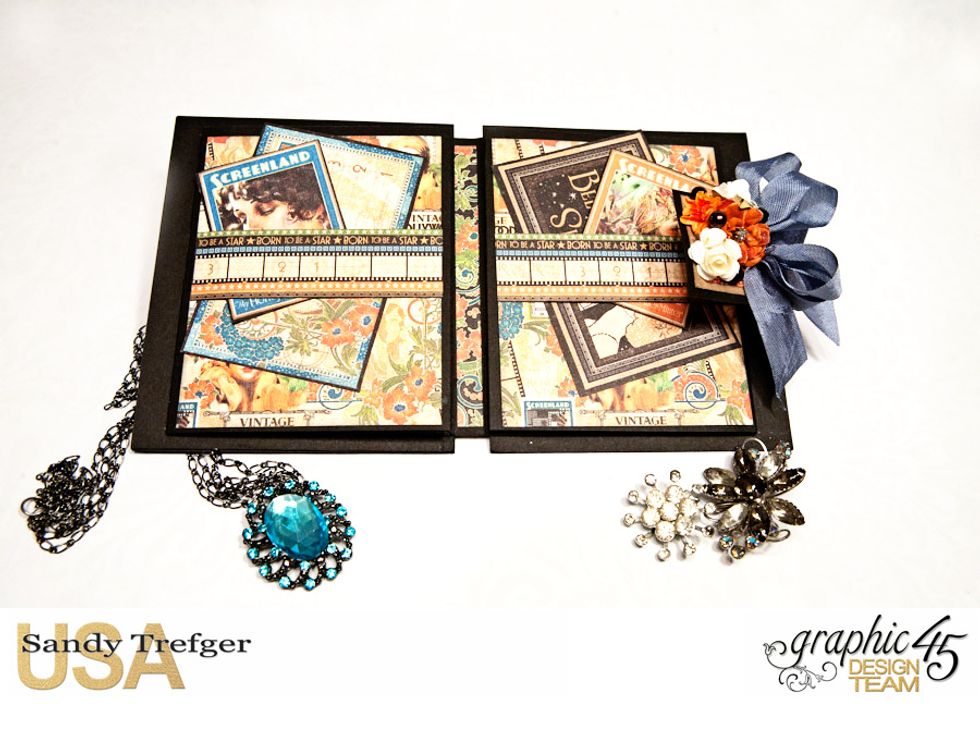
Cut 2 each 3 3/4" wide x 1" tall out of your scraps of Glitz & Glamour for Belly Bands. Ink the edges.
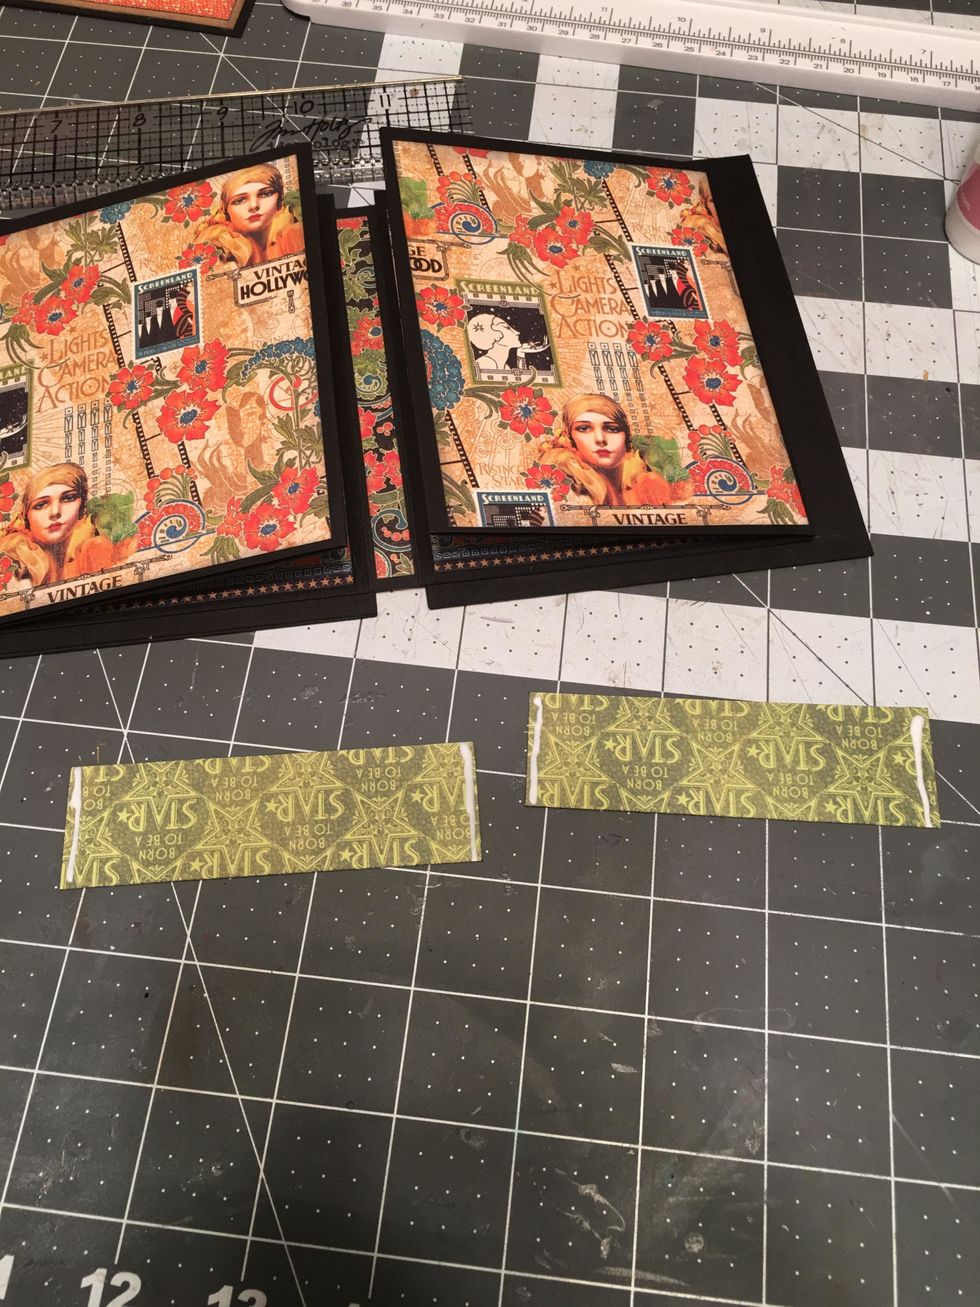
Apply a line of glue to each END on the back side of your belly band pieces.
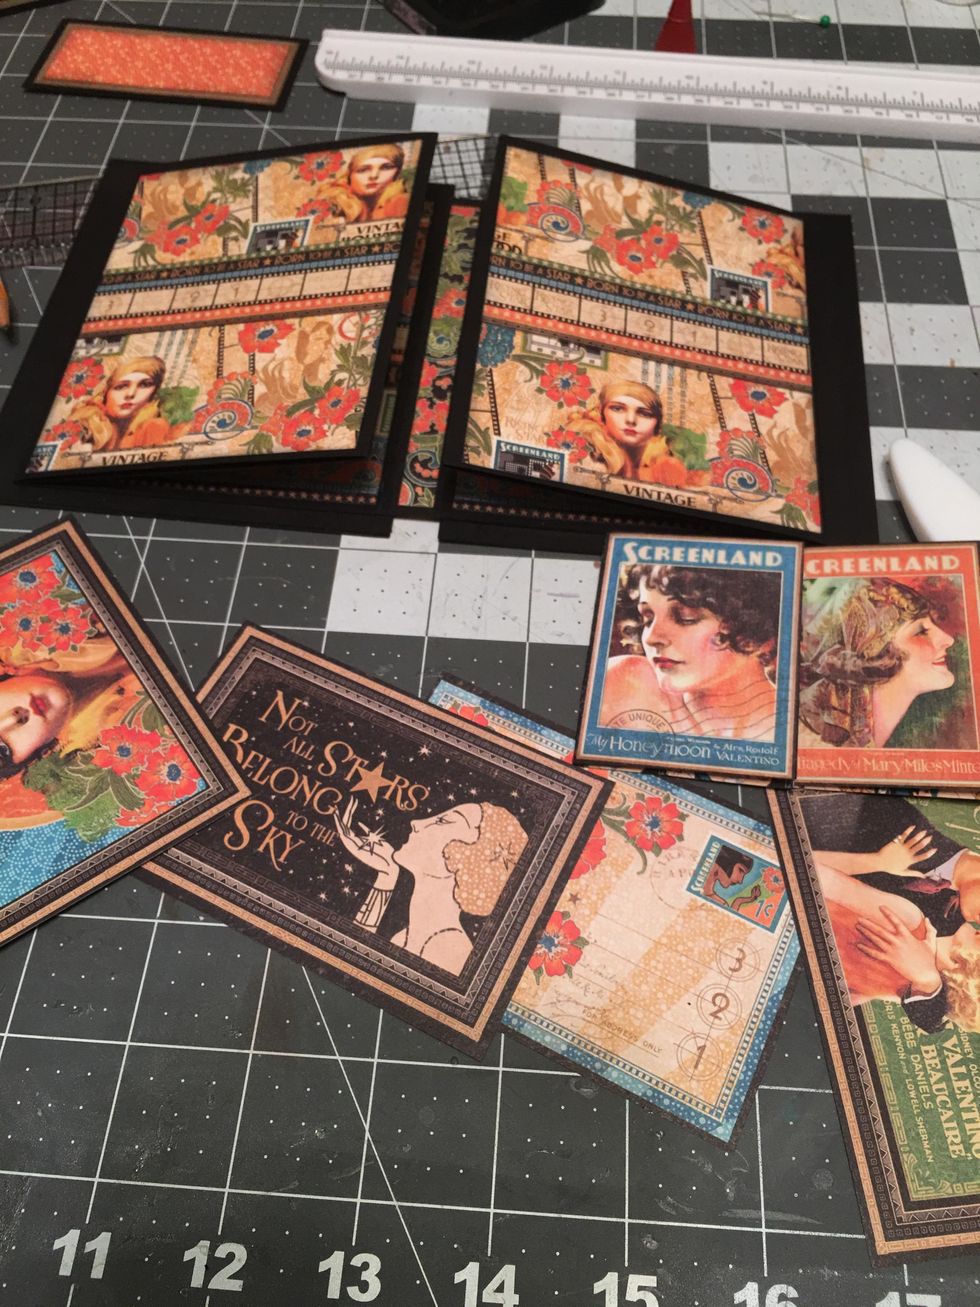
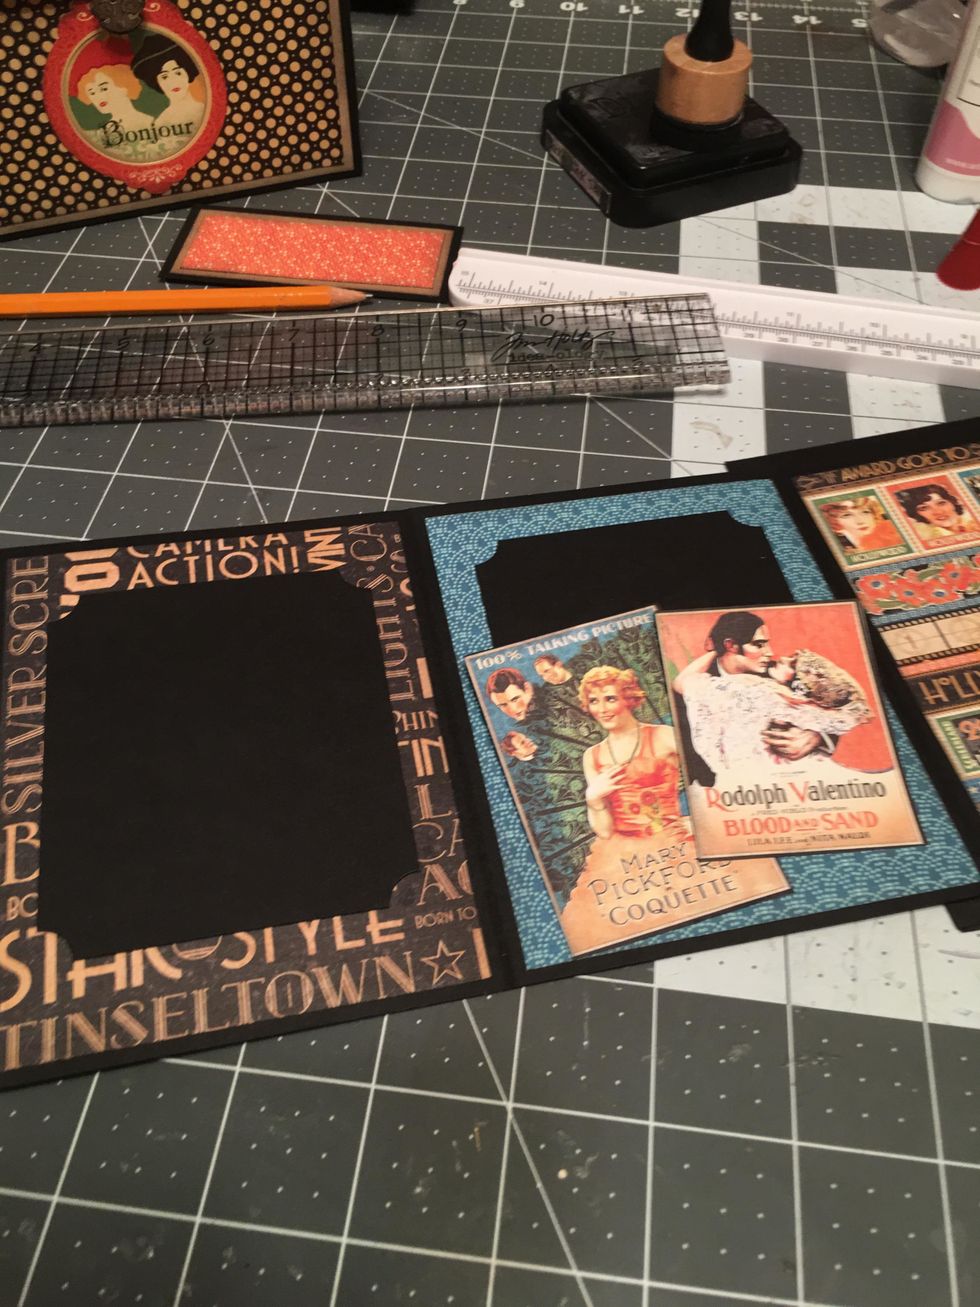
Attach to the center of first two pages of the album. Cut apart the images from Spotlight & Tinsel Town to use as inserts etc. Leave some smaller ones attached to create mini booklets.See next photo.
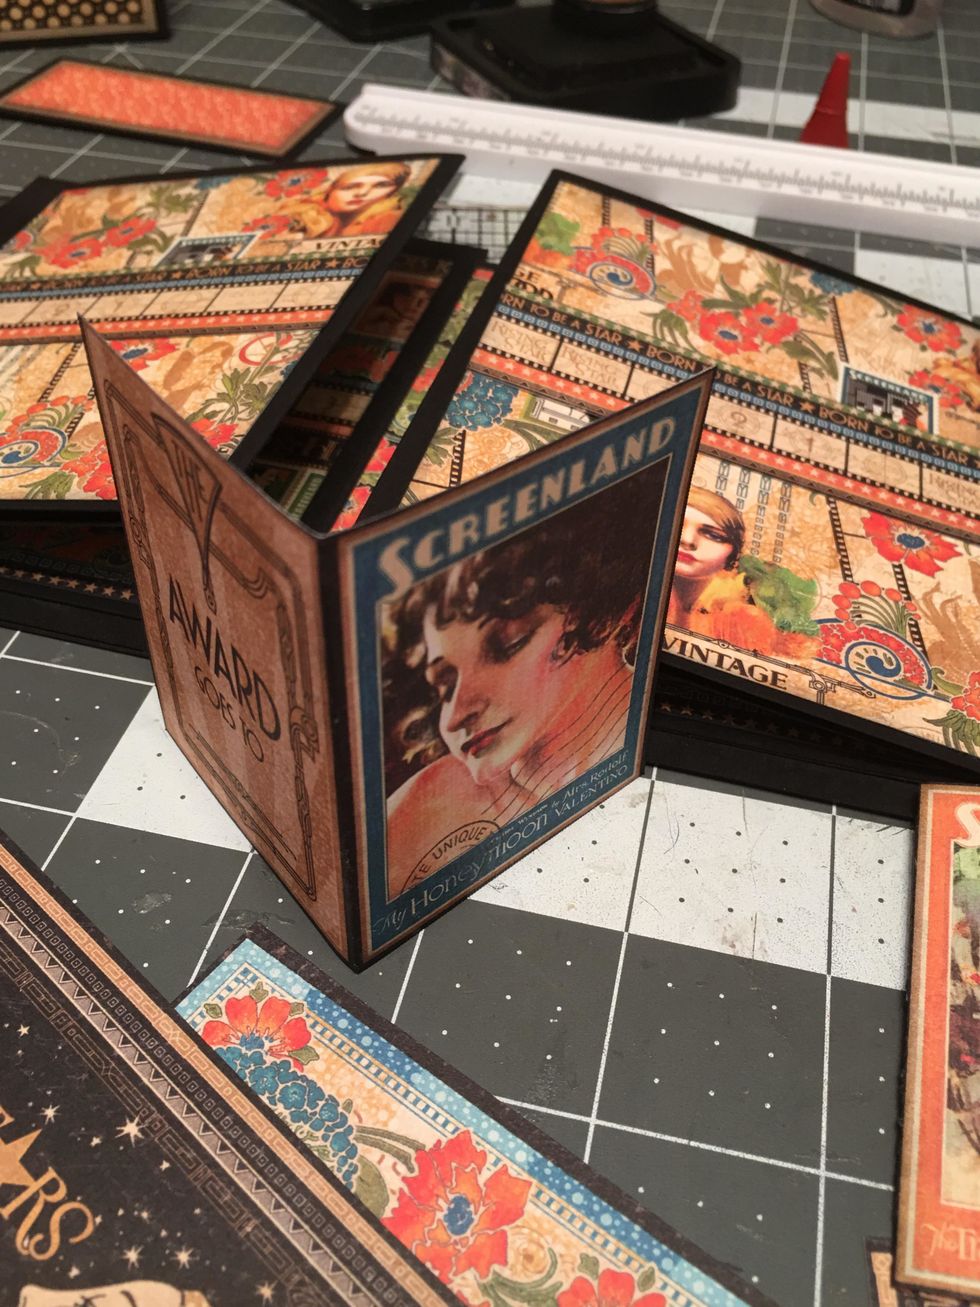
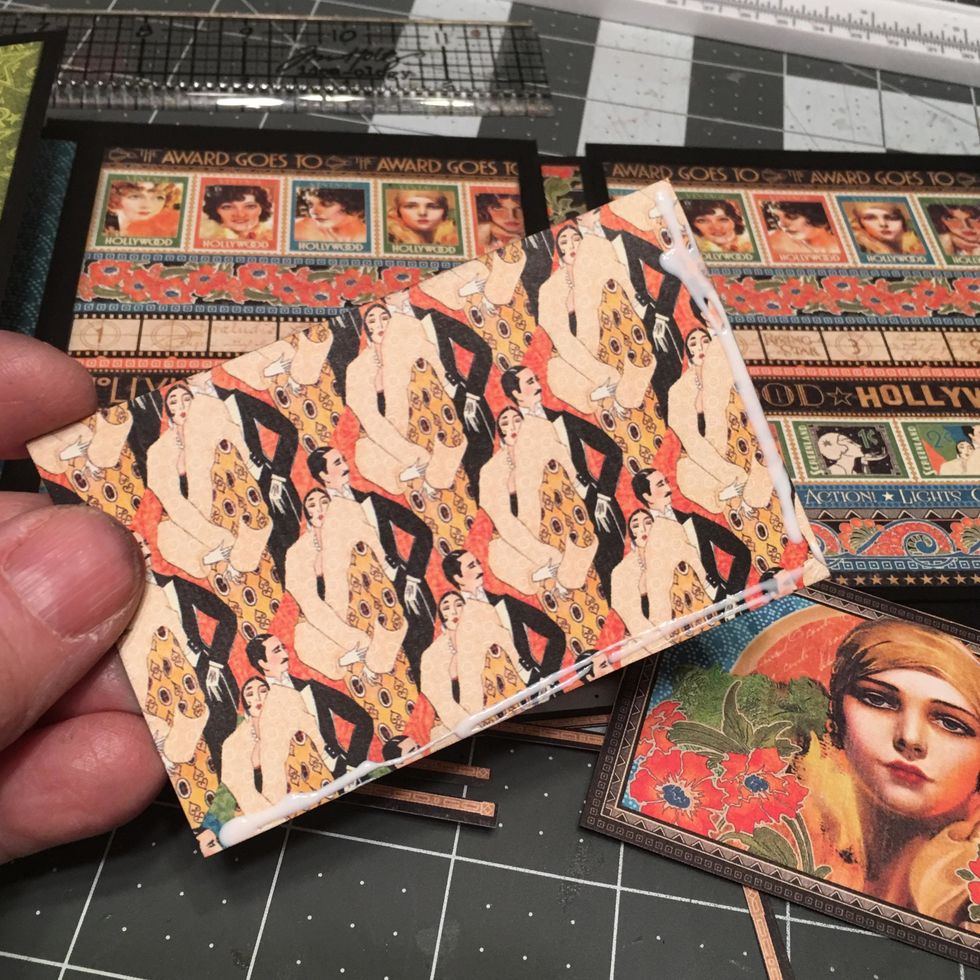
Fold and score in half some of the cut apart images to create mini booklets.

Slip a mini booklet and a cut apart under each belly band as shown.
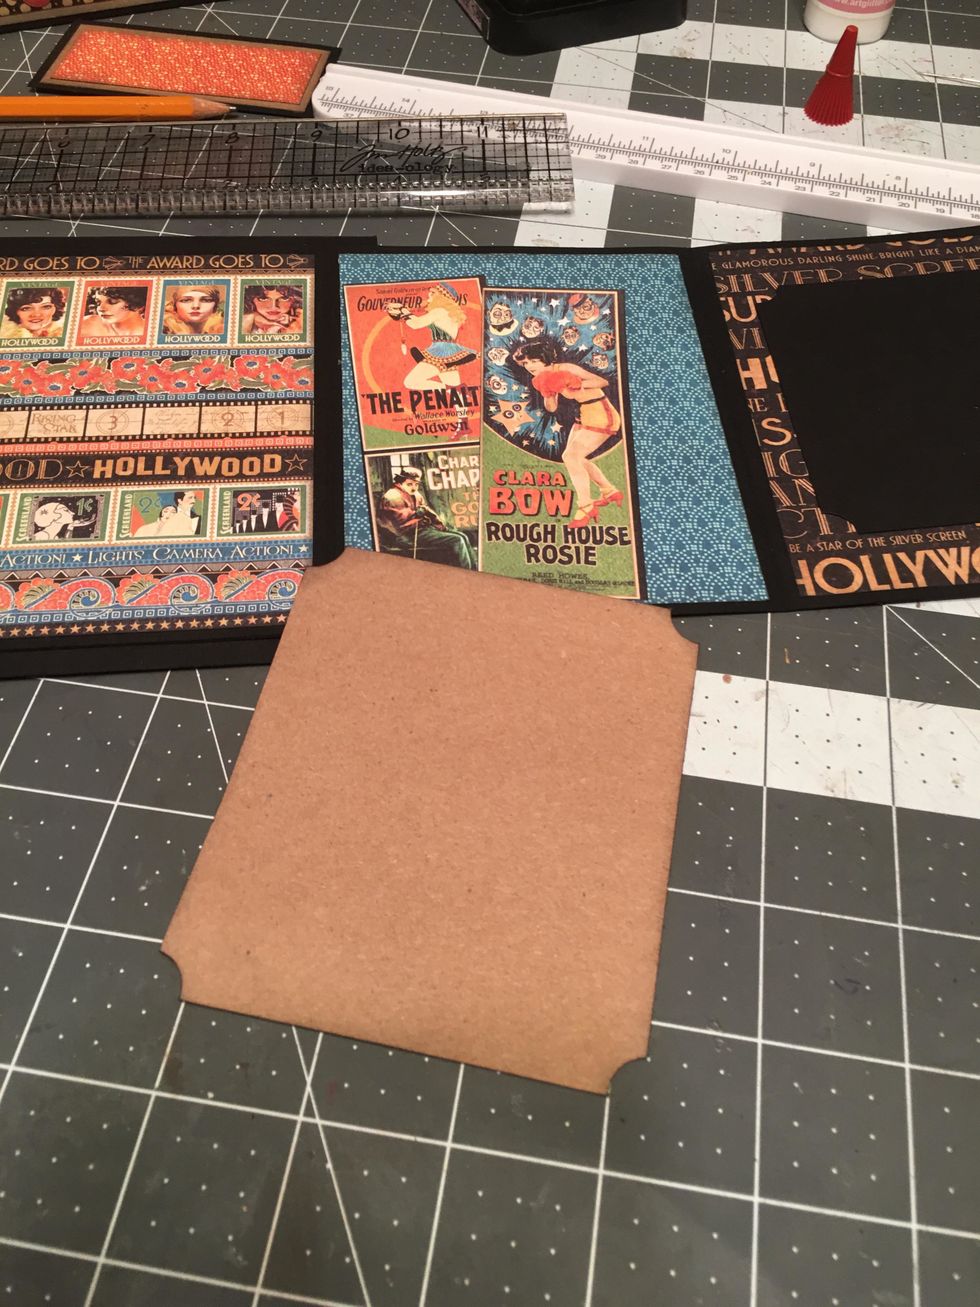
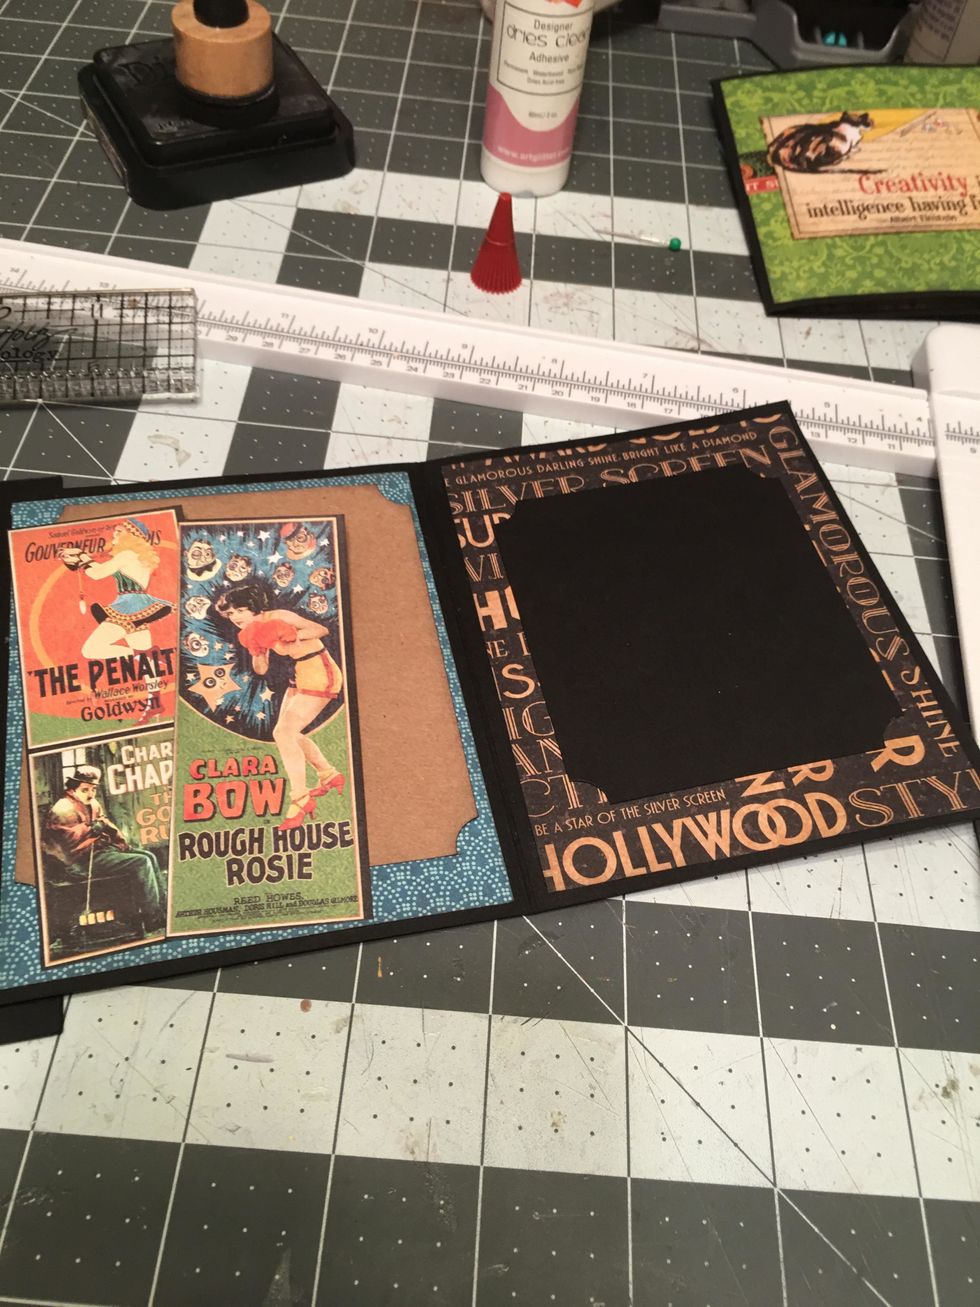
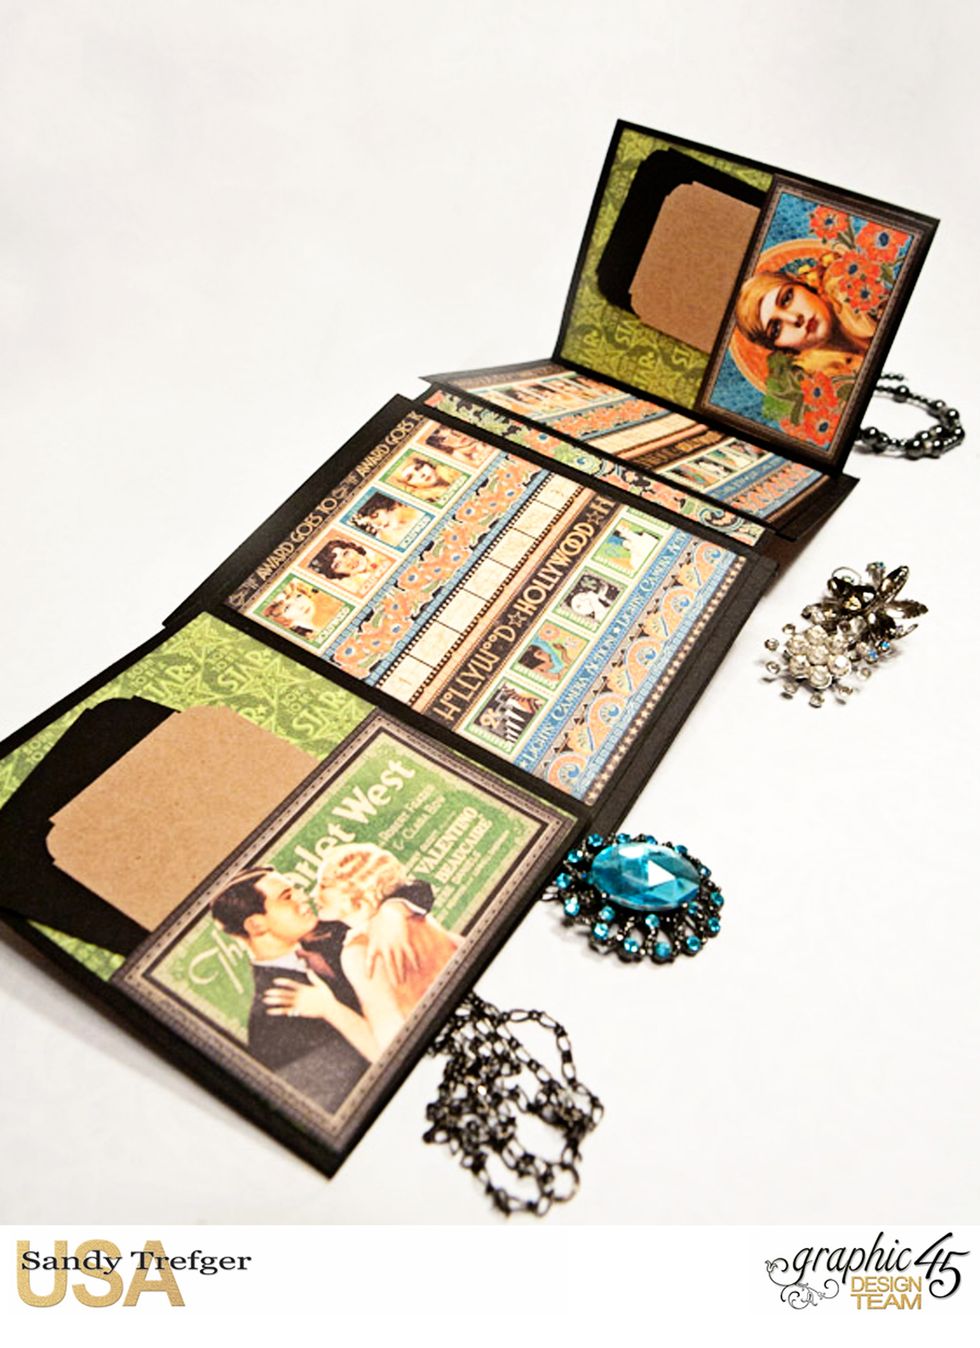
To create pockets, select two cut aparts and trim down to fit on a page. Apply a line of glue to the back bottom edge and both side edges.
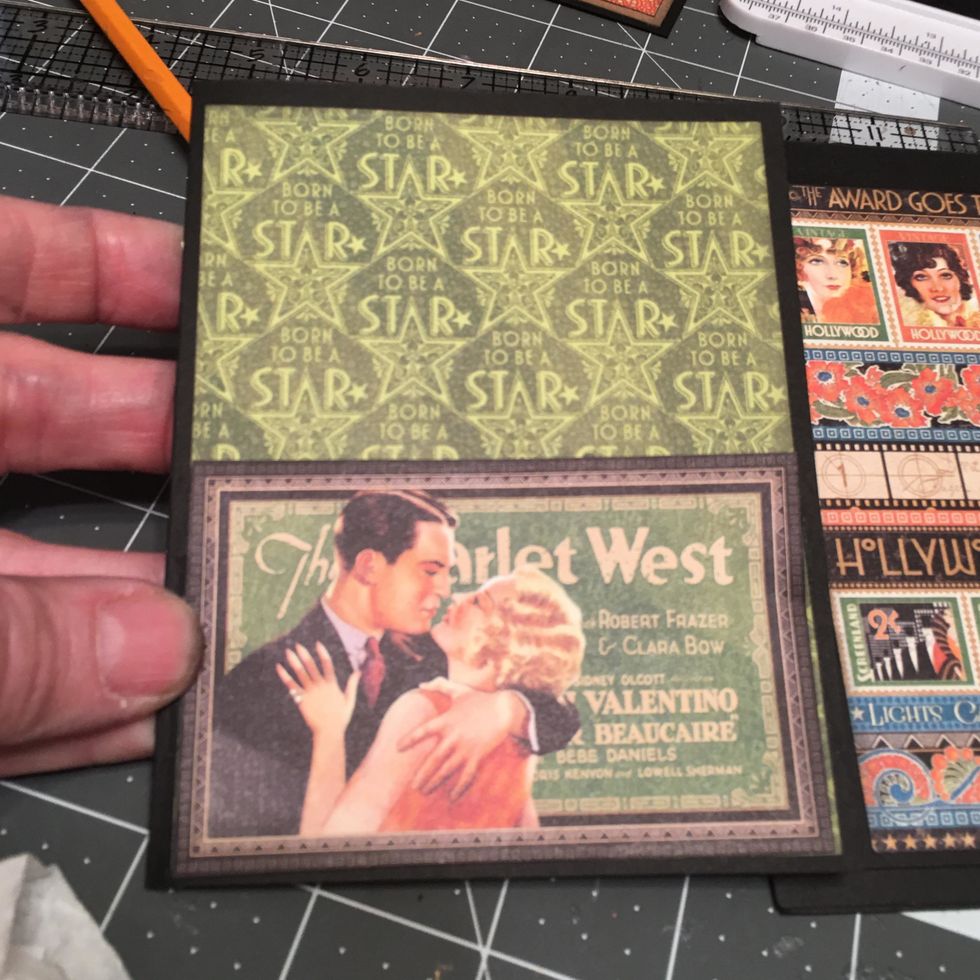
Attach to the bottom of your pages.
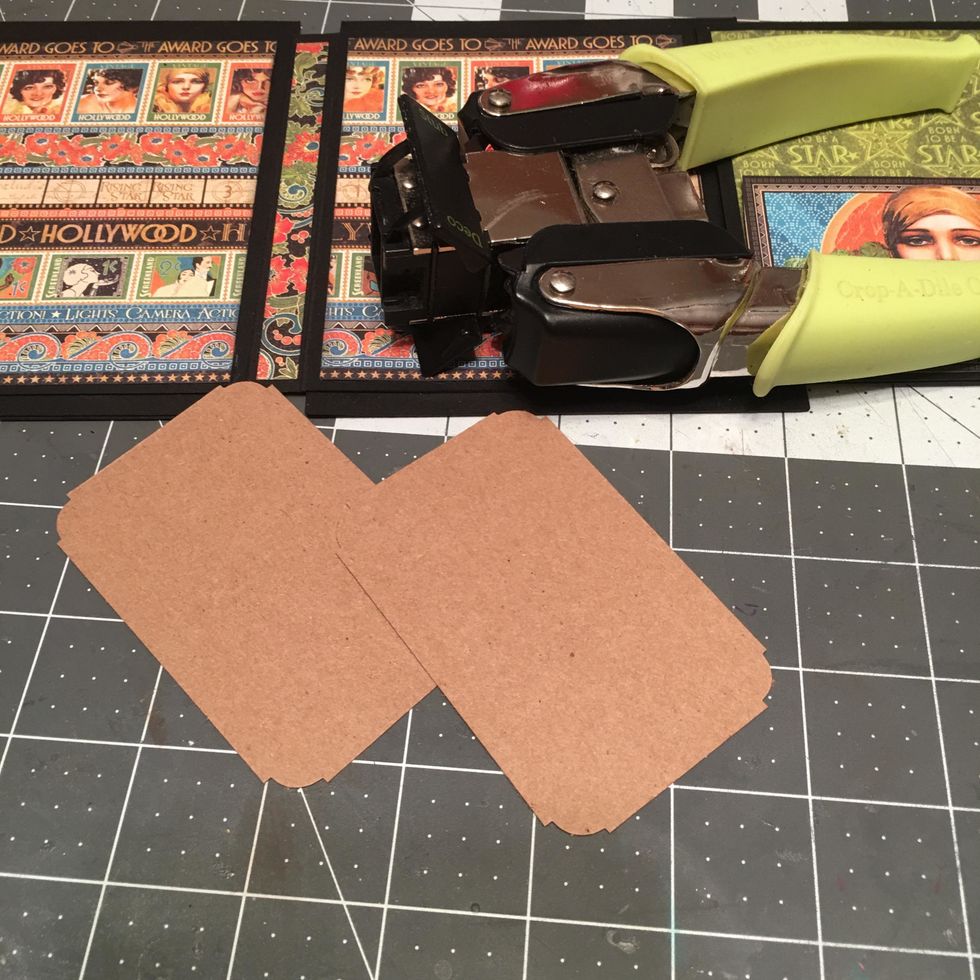
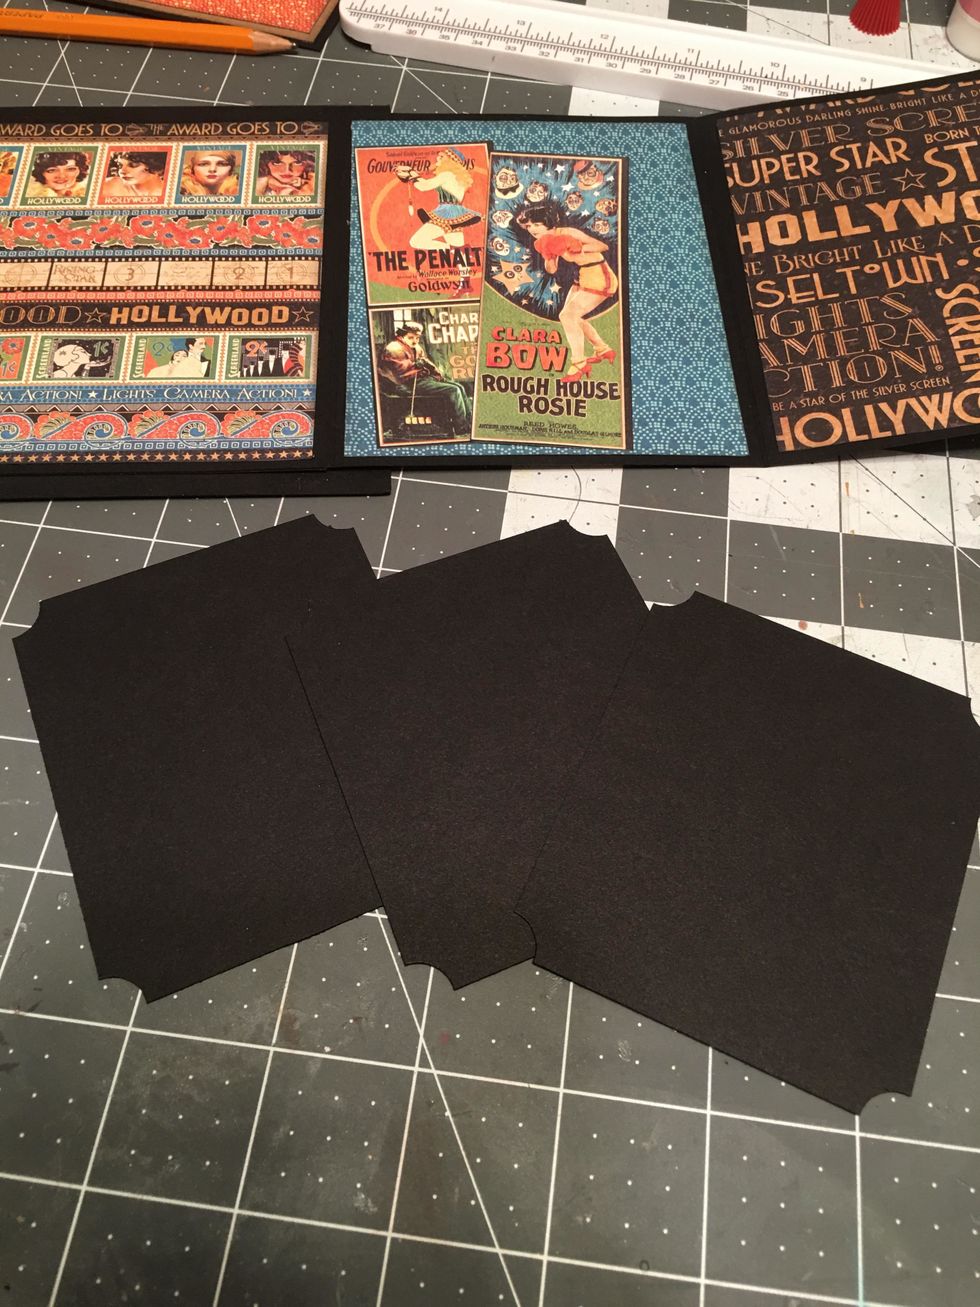
Cut 2 each 2 1/4" x 3 1/2" out of kraft cardstock scraps to make photo mats. Decorative punch the corners if desired. I used the Deco Punch on these tags.
Also cut 2 each 2 1/2" x 3 1/2" photo mats out of black cardstock scraps and decorative punch the corners. Insert into the pockets.
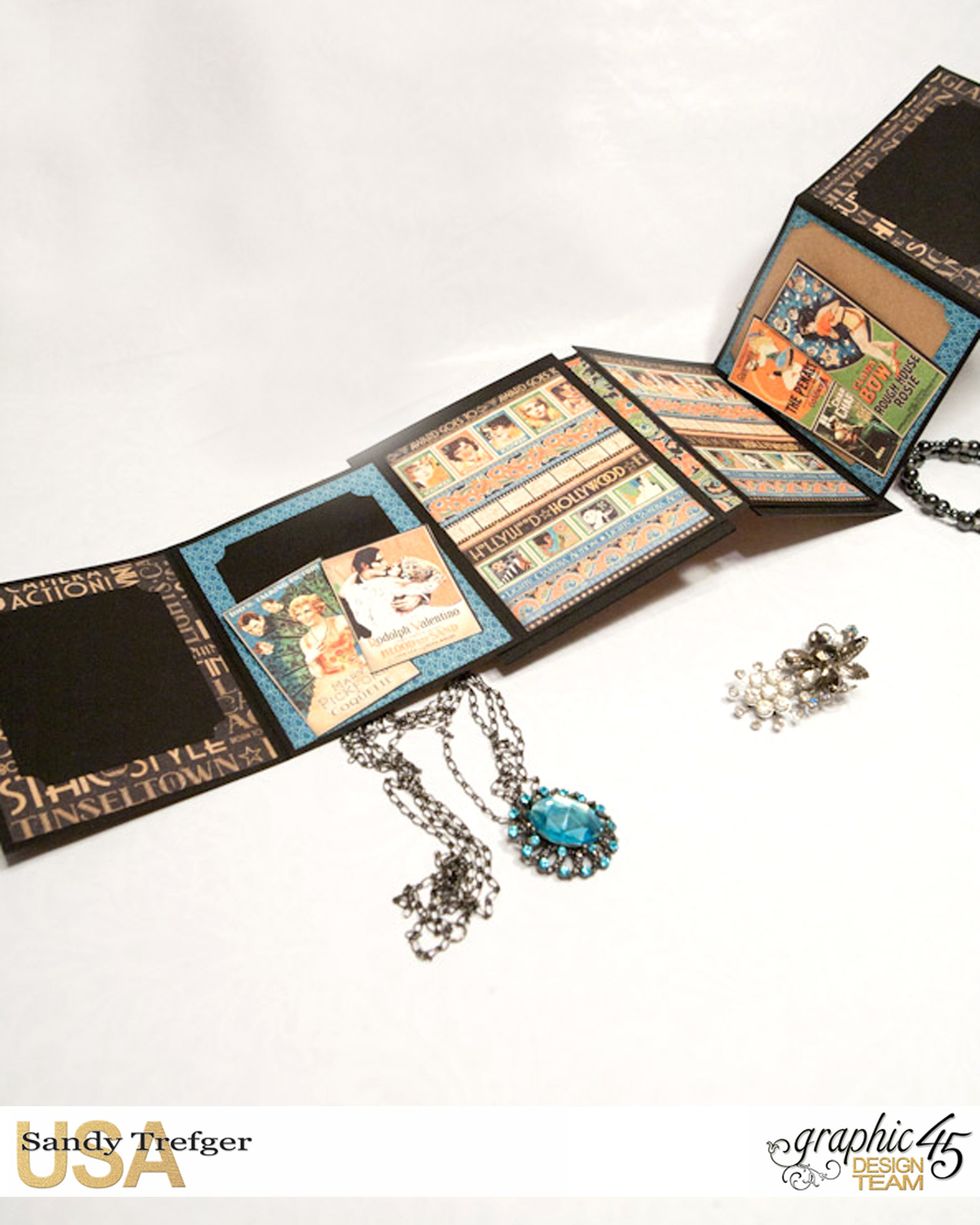
Create place card holders out of some of the other cut aparts by applying a line of glue on the back bottom edge.
Arrange and attach down to the bottom of a page as shown. Since these are only glued on the bottom edge, you can still slid a photo or photo mat behind the place card holders.
These are also attached with glue on the bottom edge only,if desired you can also attach each on the left with a line of glue on the left side. The far left one is glued to page, other is glued to tag
From left over black cardstock, cut 3 extra photo mats. These are 3" x 3 1/2".
Also cut 1 more kraft mat @ 2 1/4" x 3 1/2". Ink the edges.
Glue two of the black mats onto a page and insert the 1 remaining black tag and the extra kraft tag behind the place card holders.
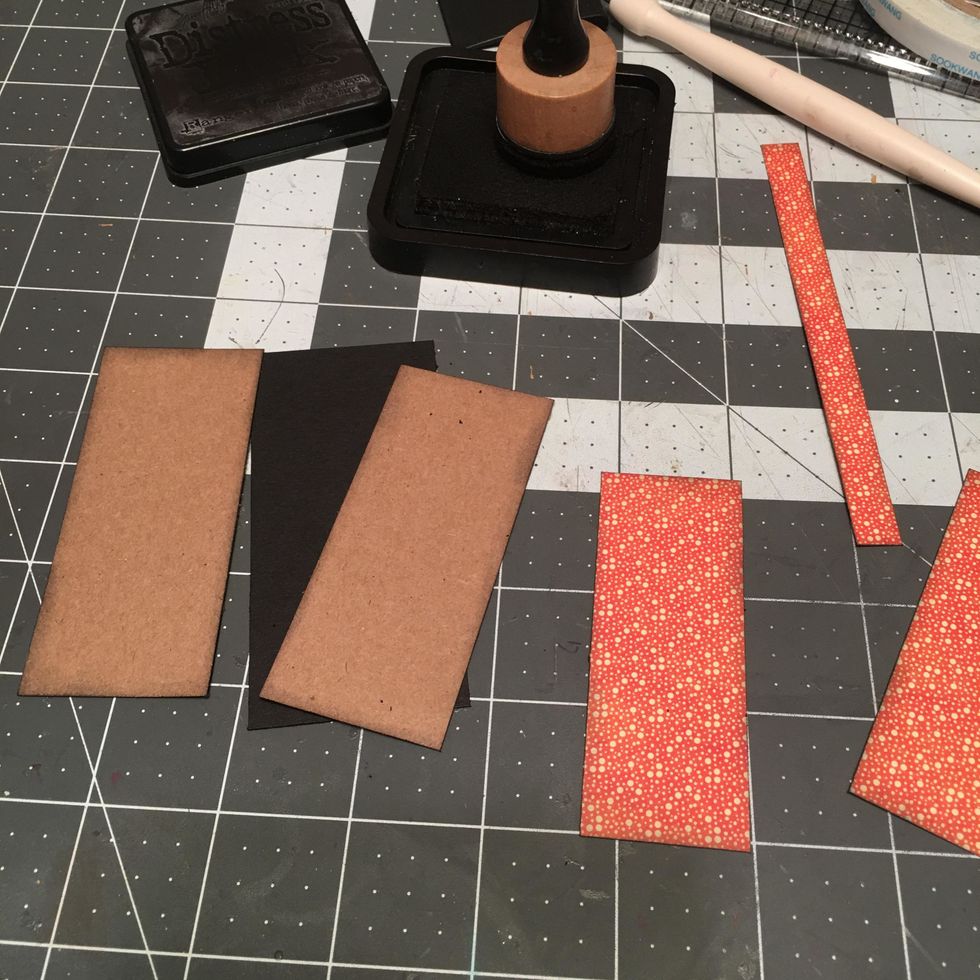
Ink all the papers you've already cut for the closure piece. Note: you should have two pieces of the patterned paper pre-cut for the closure. (One is not shown in photo.)
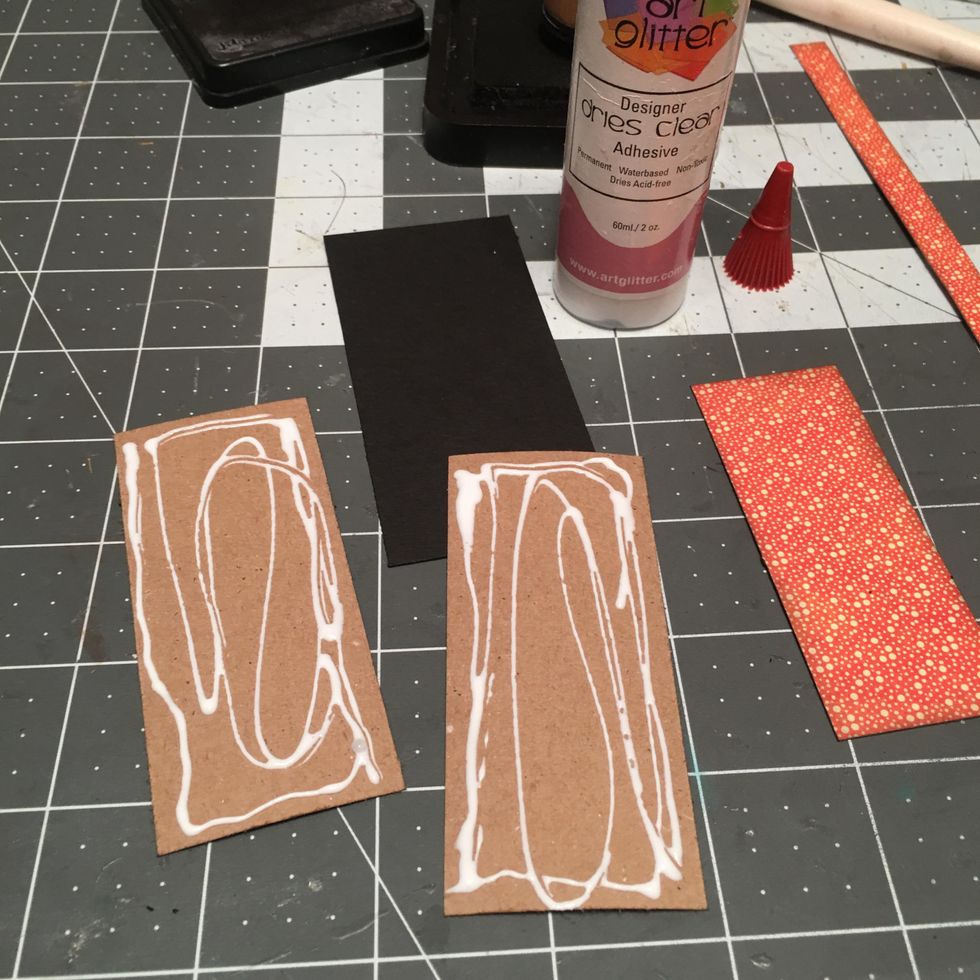
Apply glue to one side of each kraft piece and glue to the front and back of the black piece. See next photo.
Center the kraft paper over the black cardstock as shown.
Peel the paper backing off of the magnet that is still attached (not glued) to the front album cover.
Peel tape backing off magnet on cover and add a drop of glue onto the magnet. Attach the closure piece down onto the magnet. Allow glue to dry.
Once dry, gently lift up the closure piece so the magnet stays on the back side of the closure piece. See next photo.
Apply glue to the magnet as shown and the back of one of the patterned papers for the closure. Center and attach down on to the closure piece covering the magnet. Burnish well.
Apply scor-tape to the OTHER patterned piece and attach to the back side of the closure.
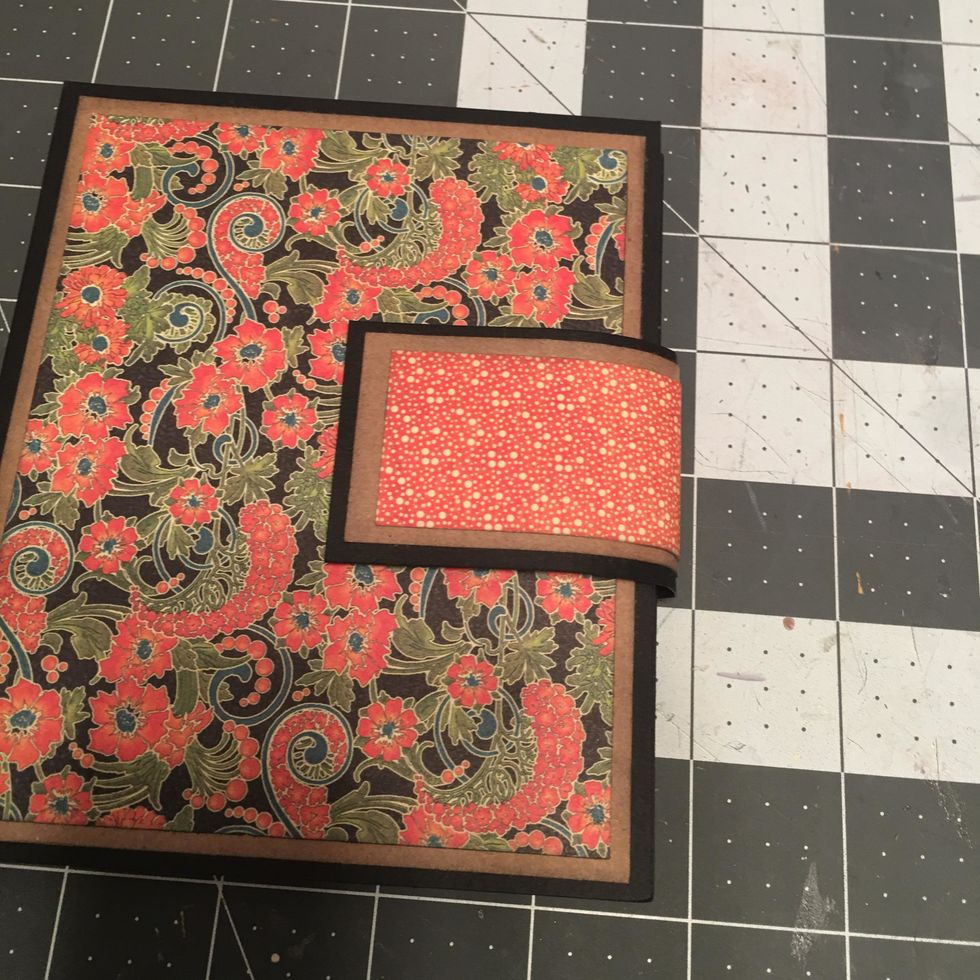
Attach the magnet side of the closure to the front cover and GENTLY curve and bend the closure piece toward the back of the album.
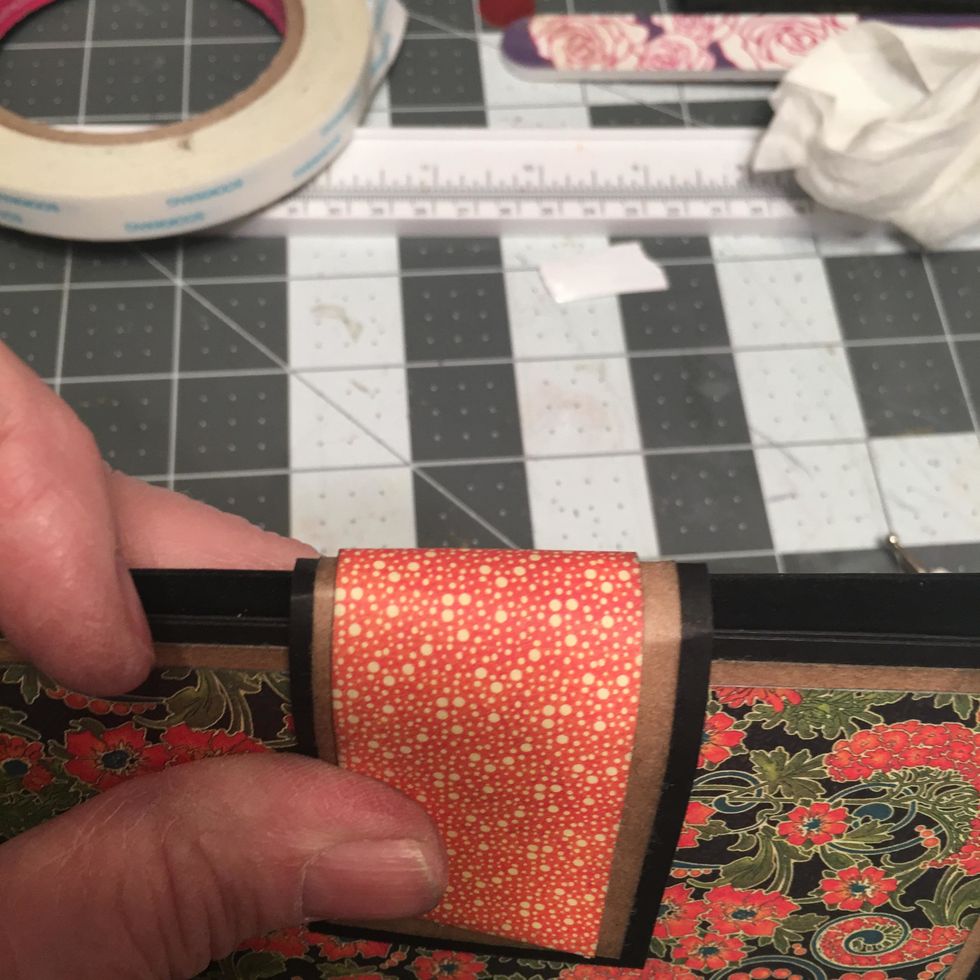
The is the curve that you want on the closure piece. Gently curve it so as to not crack your patterned paper.
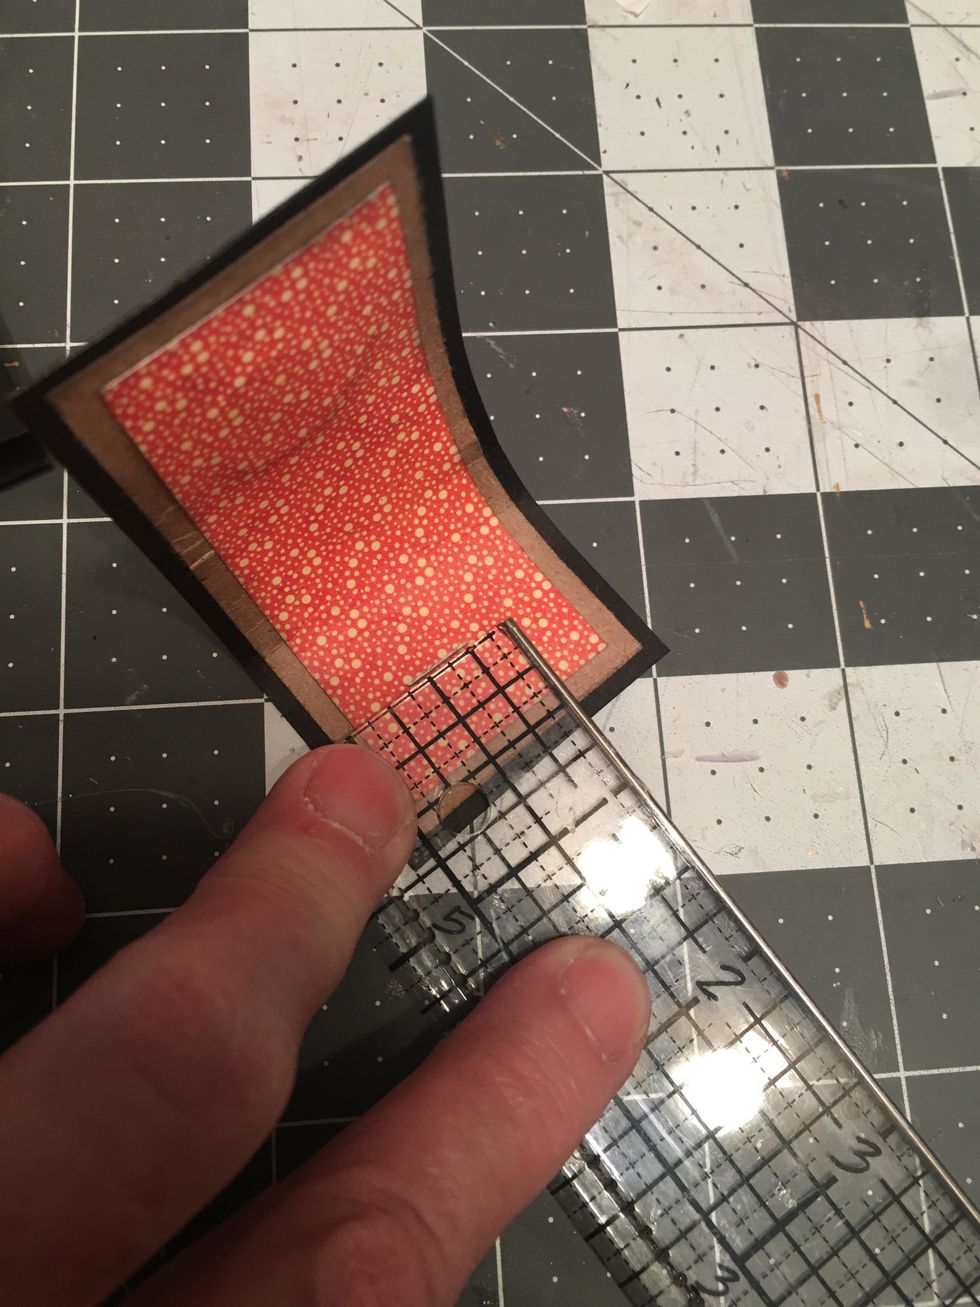
On the back side of your closure (the side with the magnet) place a mark in the center 5/8 - 3/4" from the end.
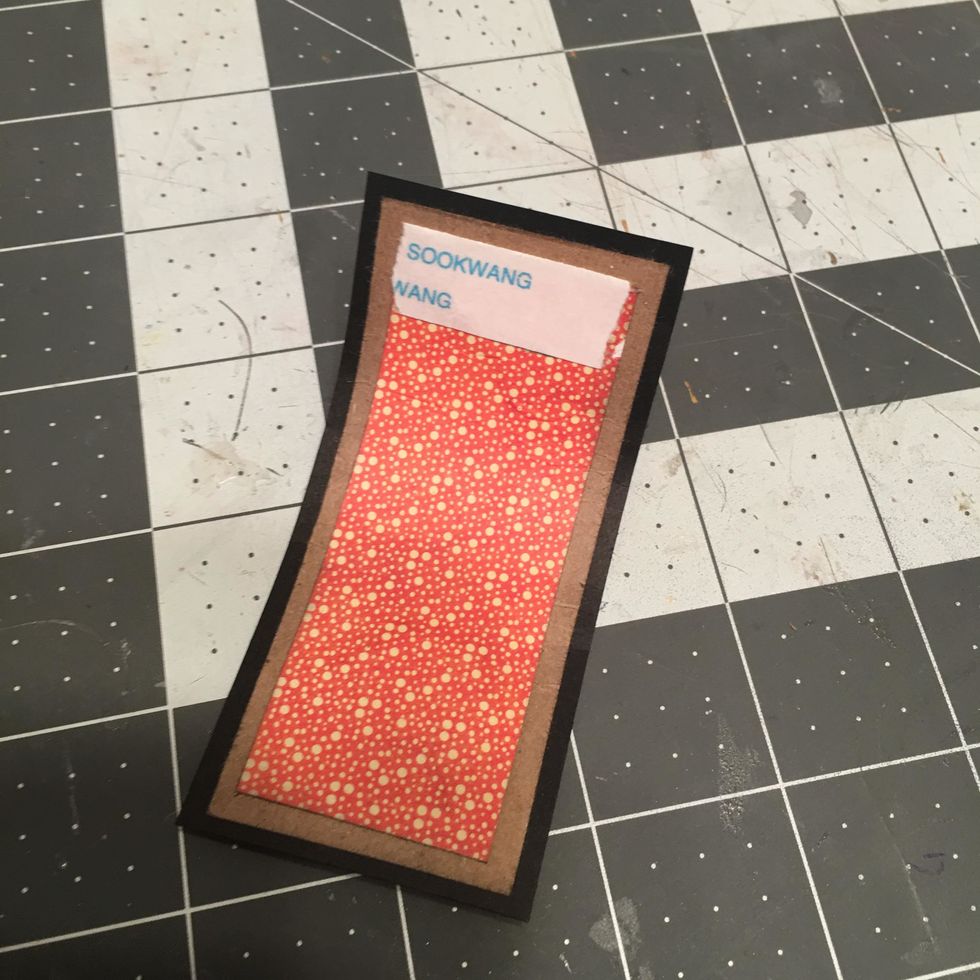
Place scor-tape along the pencil line as shown.
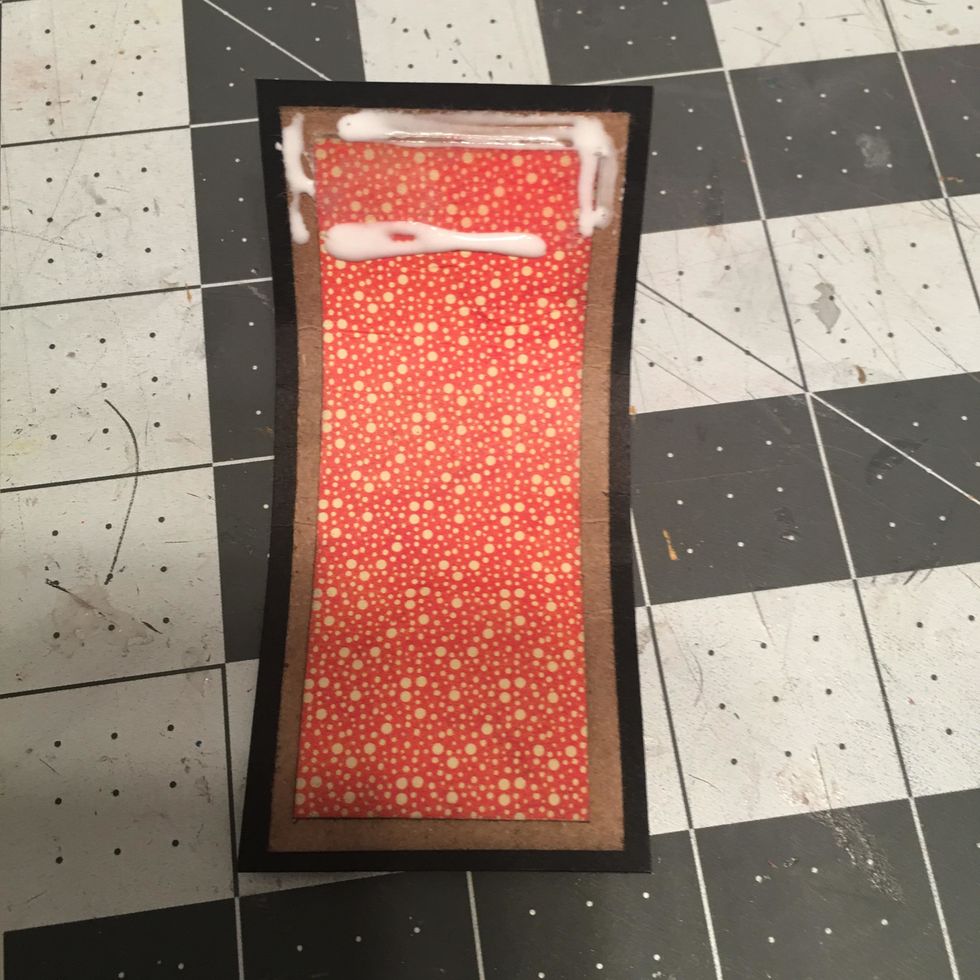
Peel off the tape backing and add glue to the back side.
Attach the magnet side to the front and curve again and attach the scor-tape/glue end to the back of the album.
Once attached, the back should look like this. Allow to dry before opening your album.
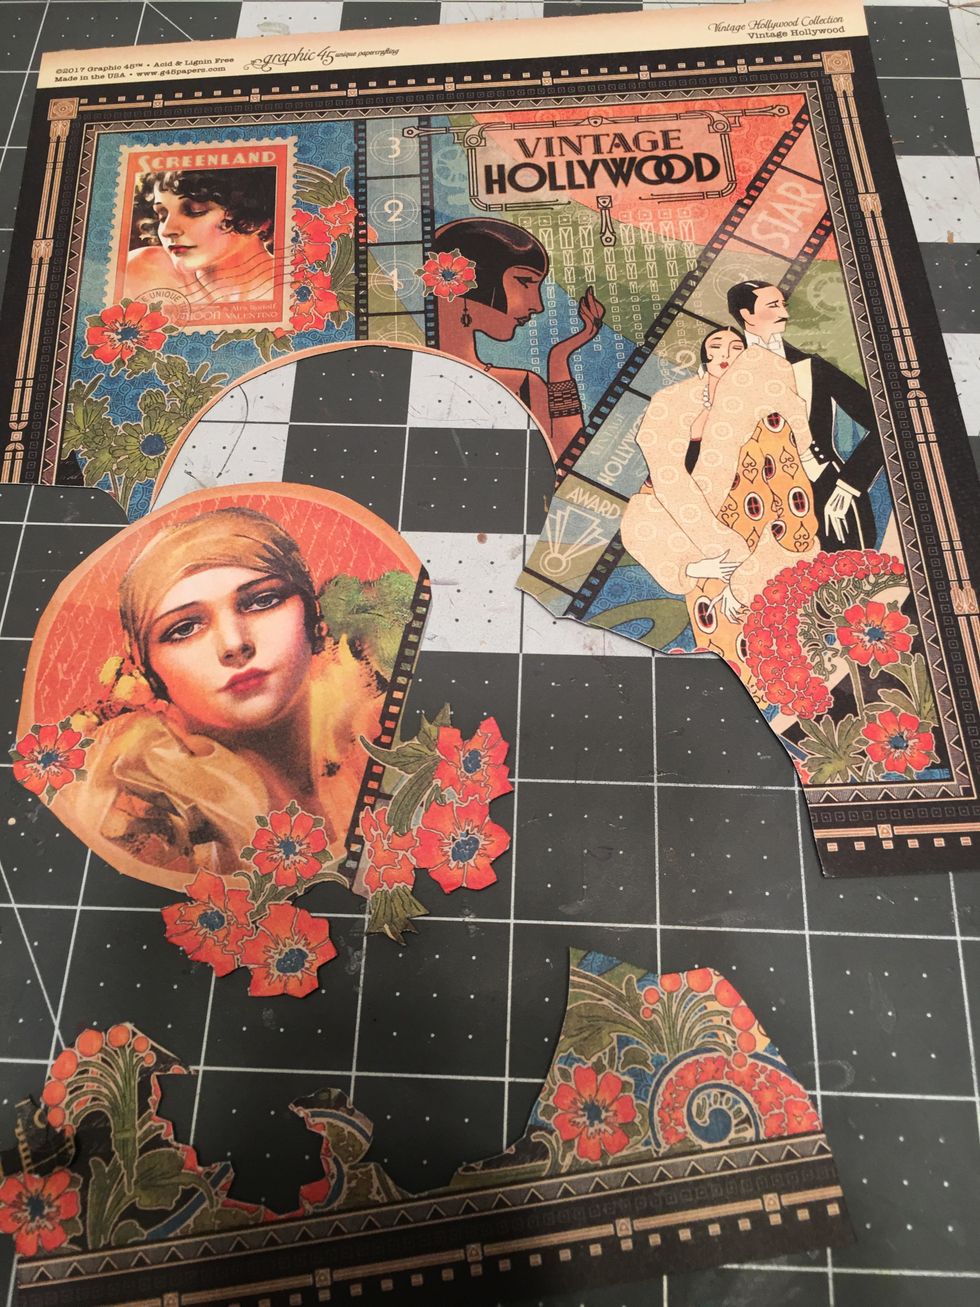
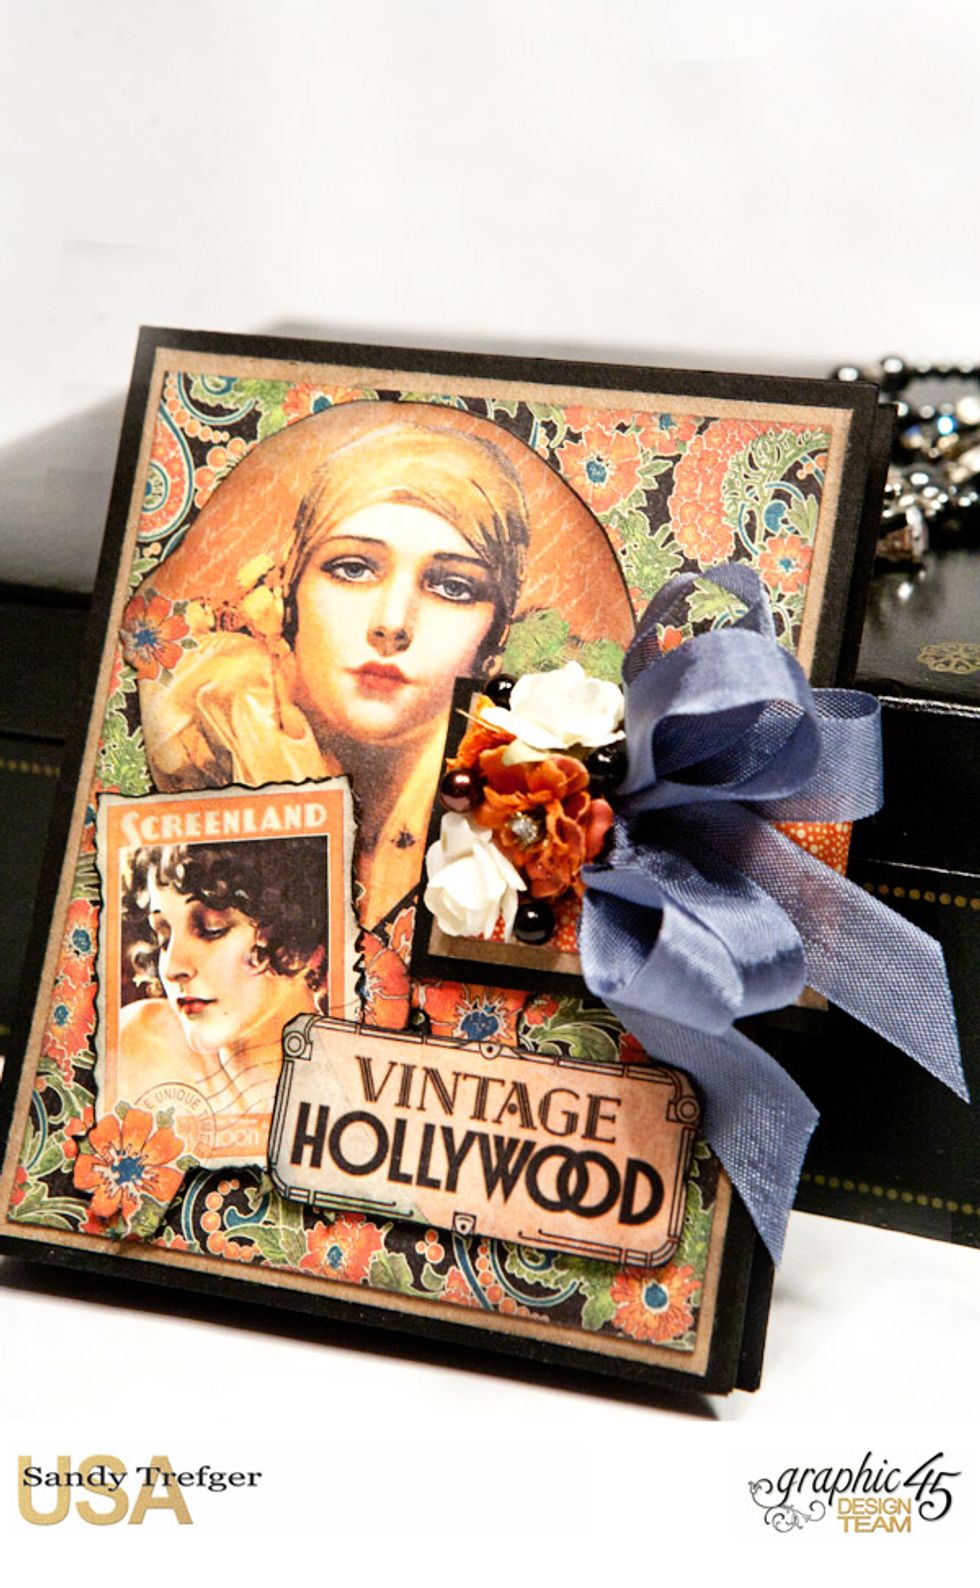
While the closure piece dries to the album, fussy cut out images from the Vintage Hollywood paper to decorate the front of your album.
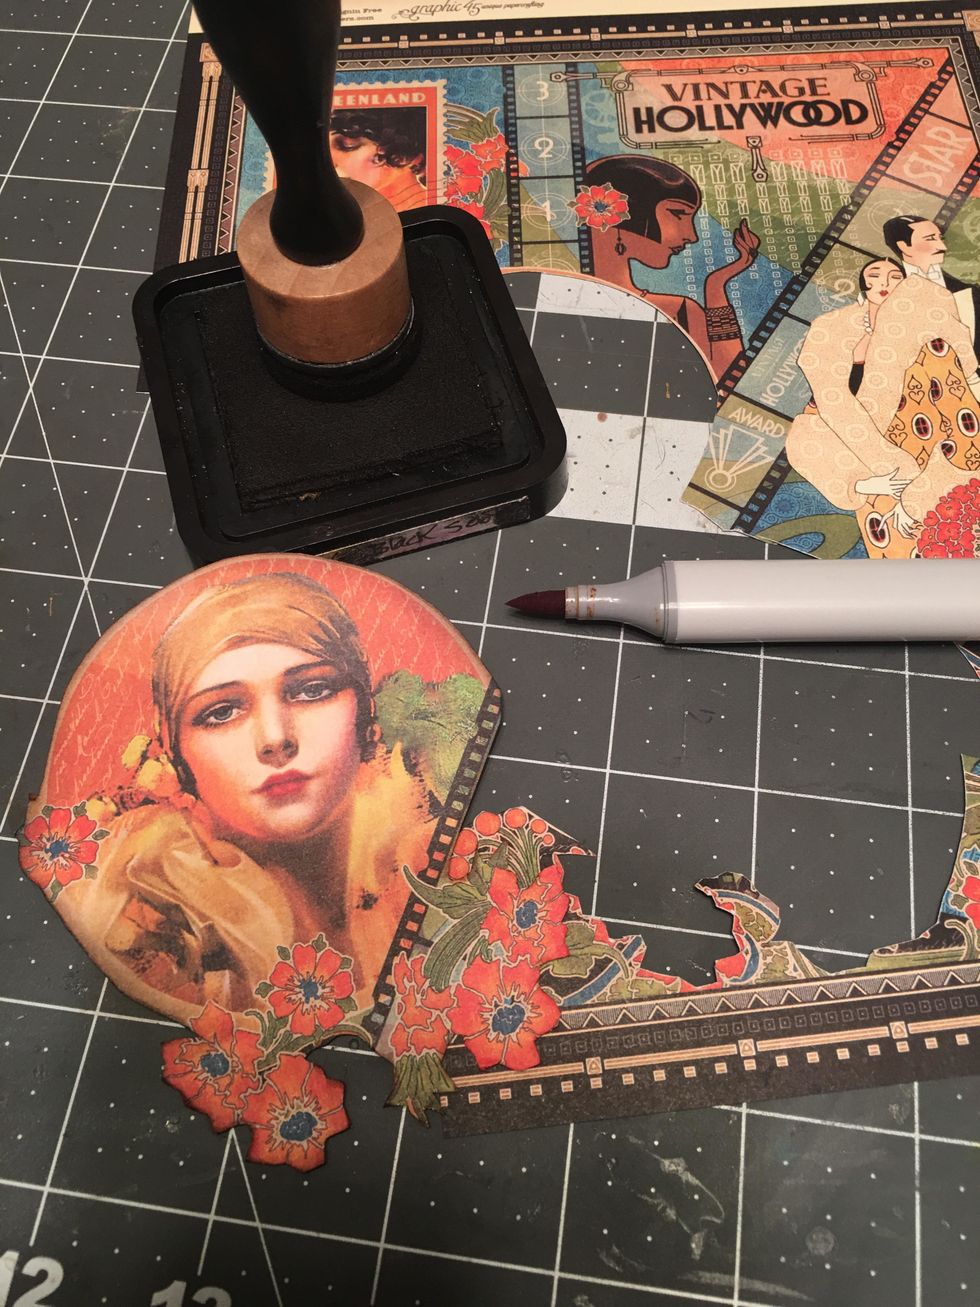
Either ink the edges of the pieces you fussy cut out or use a dark gray or black alcohol marker to color the cut edges.
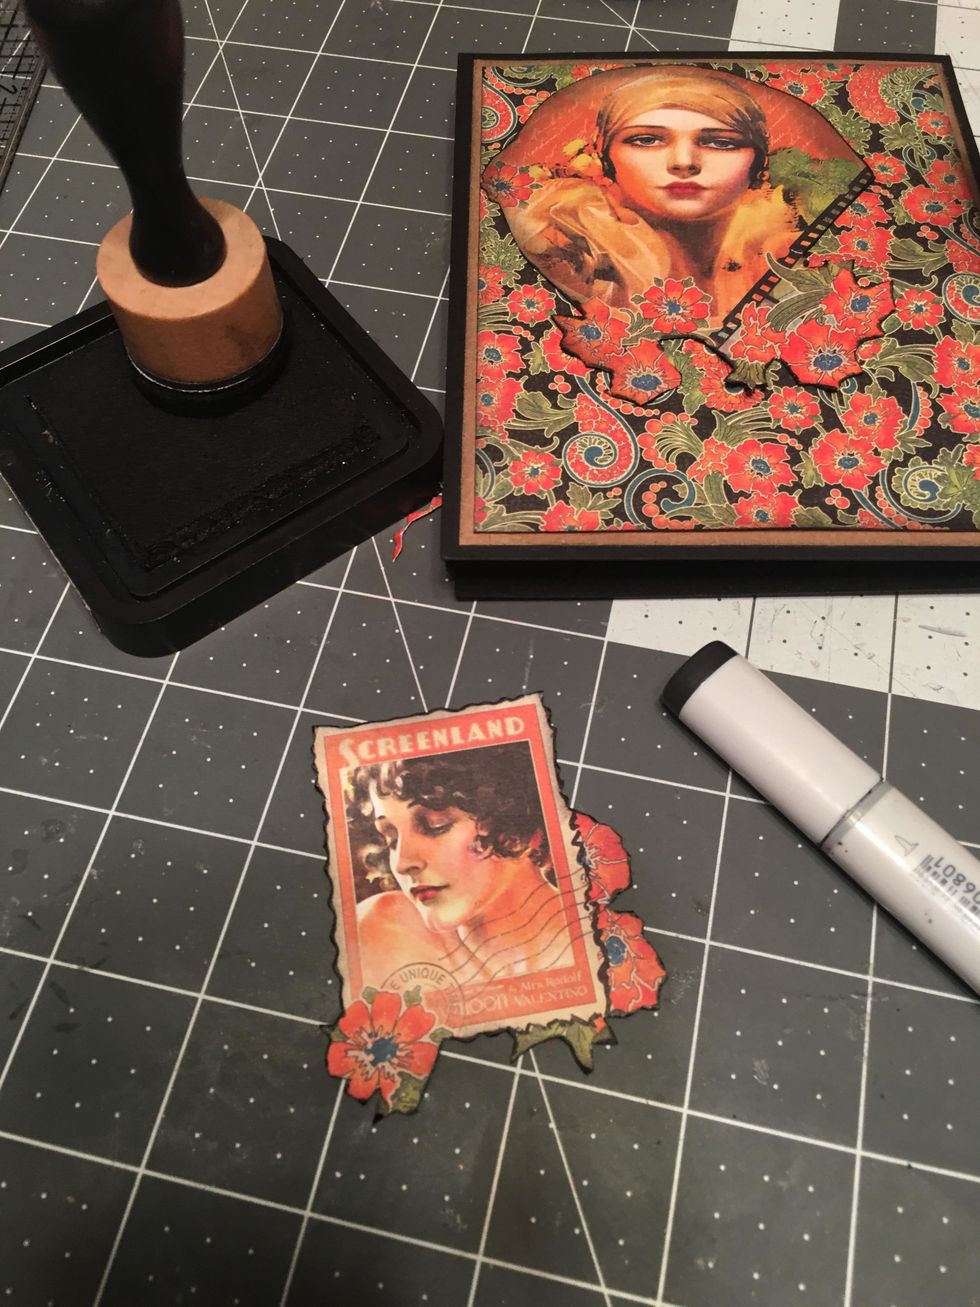
Glue the fussy cut out image to the front of your album as shown. Also cut out the stamp image with the flowers & color the edges.
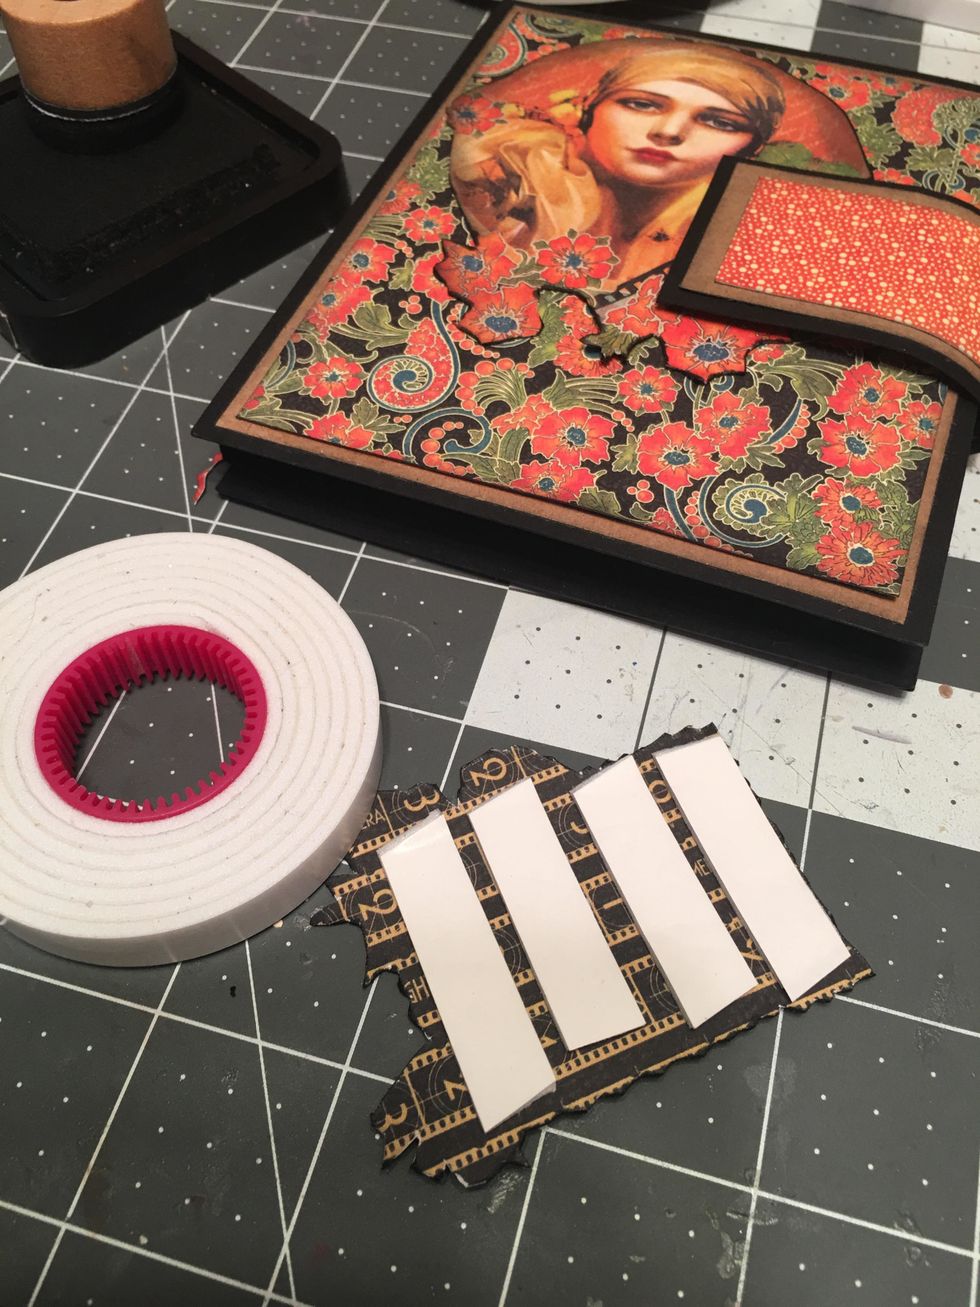
Apply foam tape to the back of the cut out stamp image.

Attach to the front cover as shown.
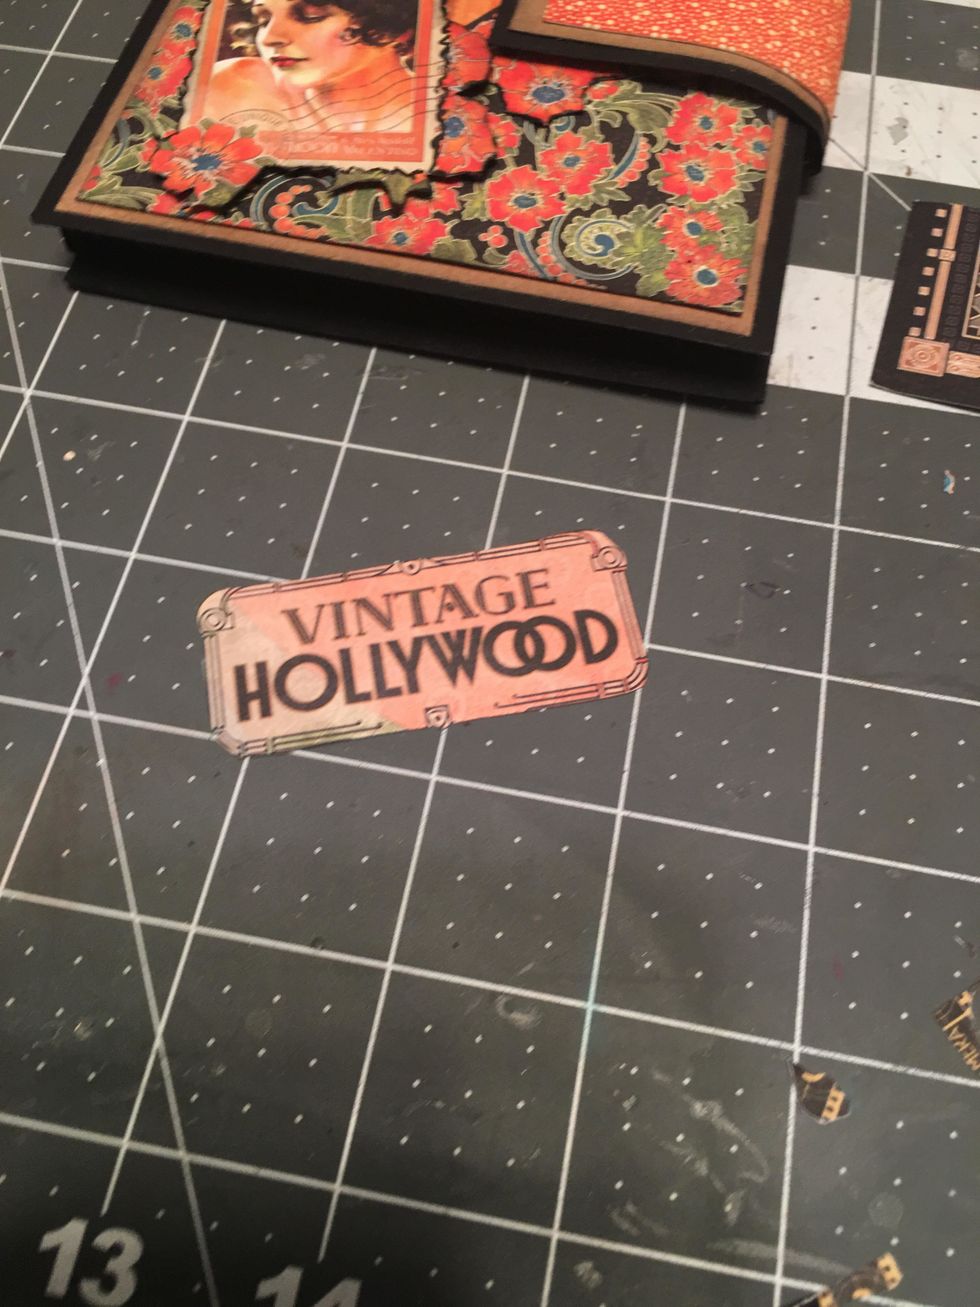
Cut out the "Vintage Hollywood" sign and ink the edges.
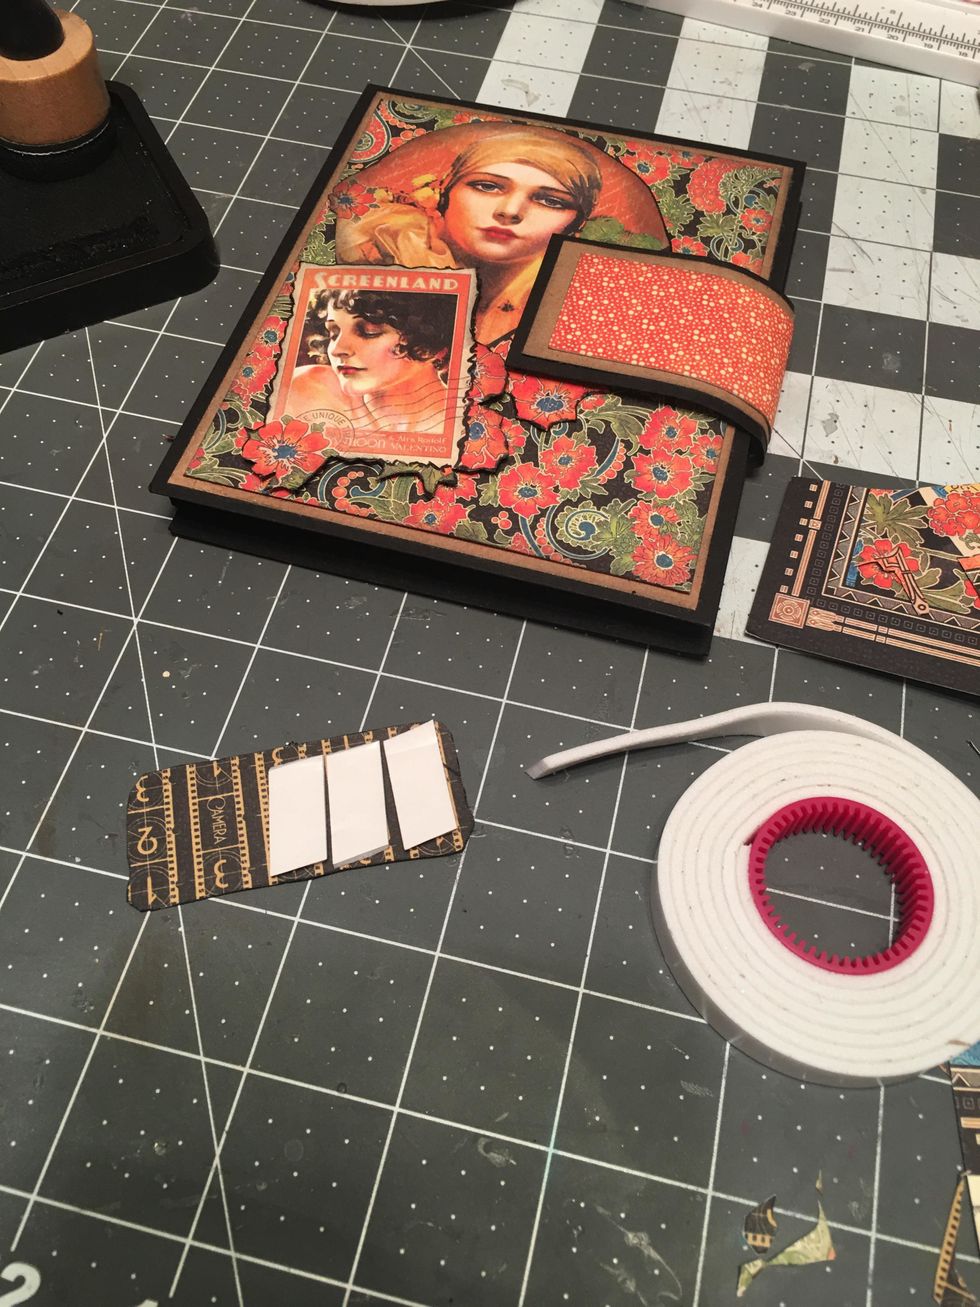
Place it a bit over the stamp image to get the placement for your adhesives. Apply foam tape to the right back side as shown.

Peel off the tape backing and add glue to the back left side.

Attach the "Vintage Hollywood" to the front of the album a bit over the stamp image as shown.
Tie a multi loop bow out of seam binding ribbon. Use Beacon 3-in-1 glue to attach an arrangement of mini flowers to the closure. Glue the bow to the right side of the flowers as shown.
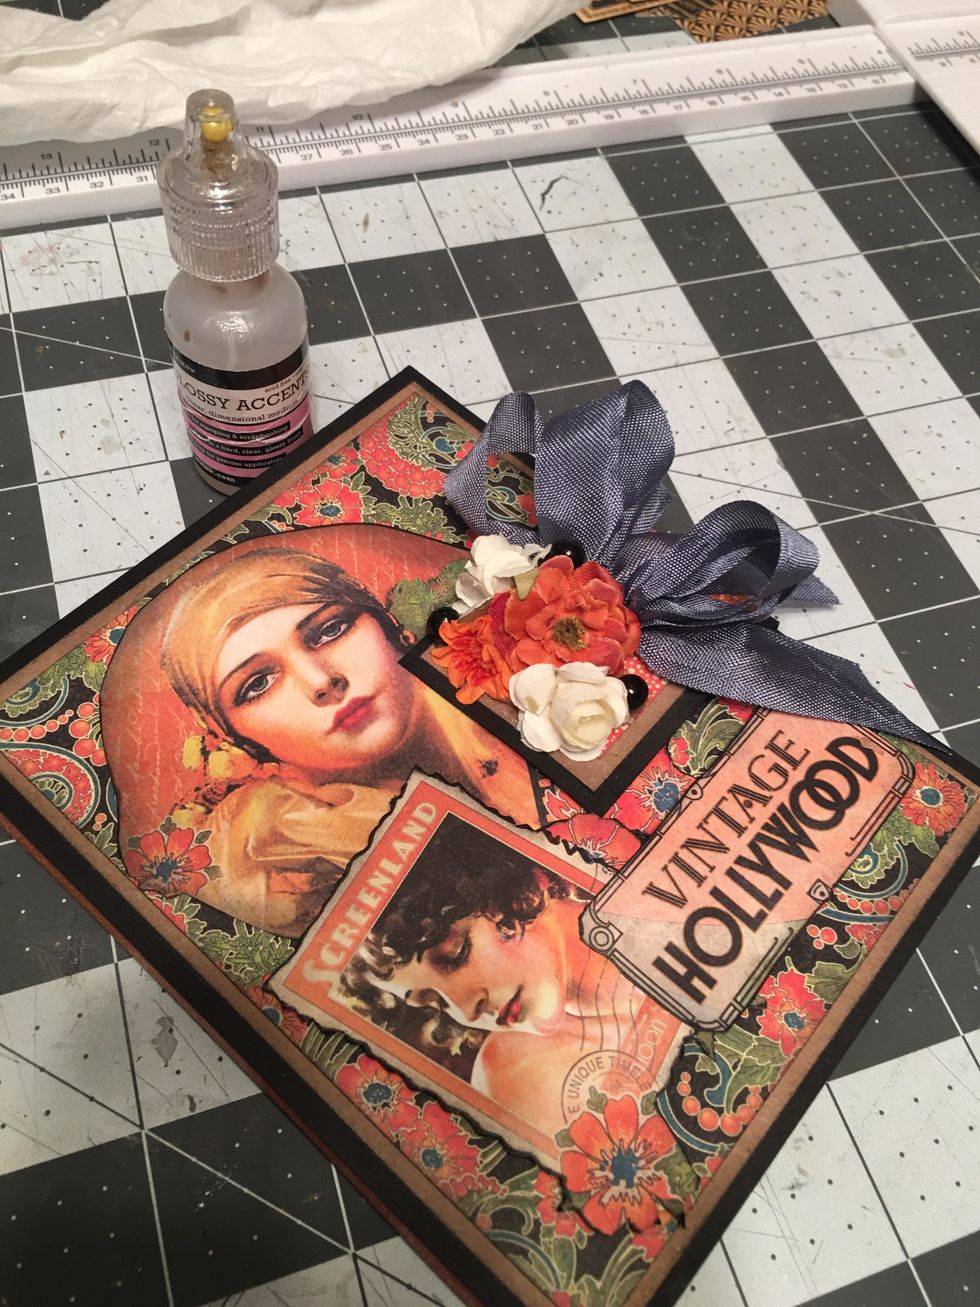
Trim the ends of the bow as needed. Use Glossy Accents and attach 3 pearls in among the flowers. Allow to dry.
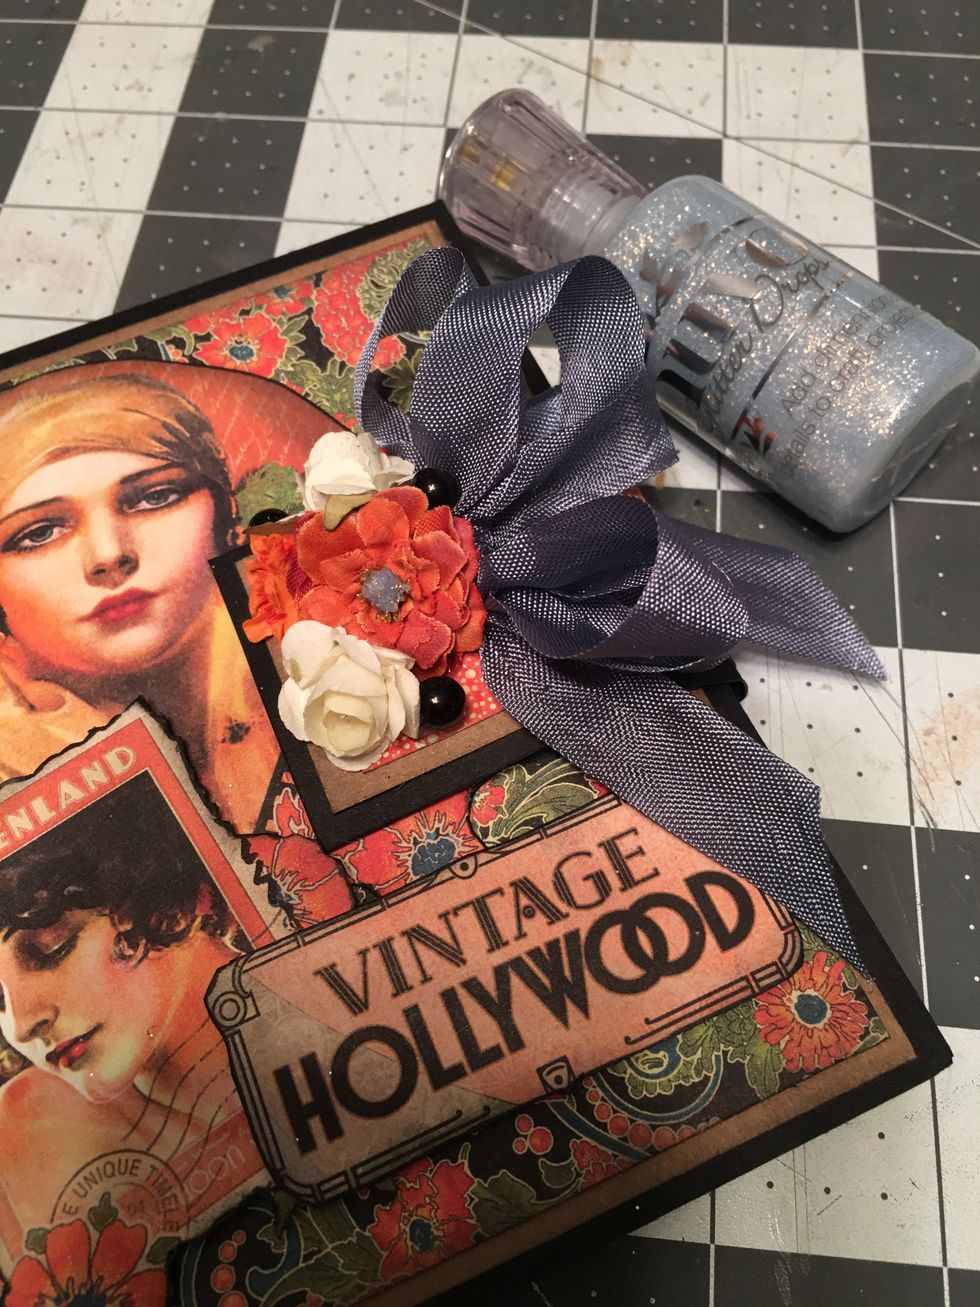
Use Nuvo Glitter drops in Silver Moondust to add a glittery center to the largest flower if needed.
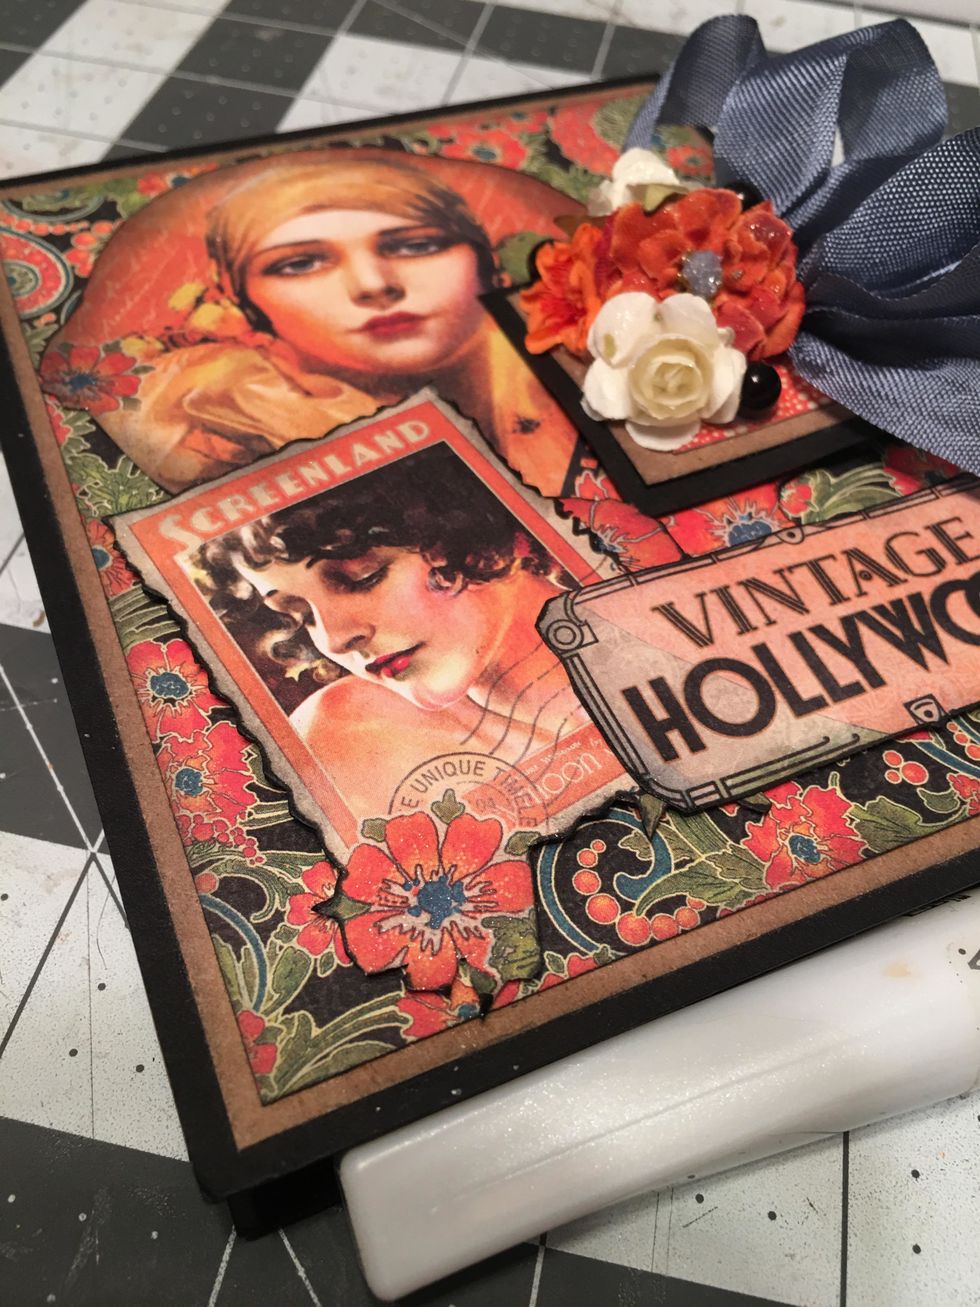
Brush on some clear Wink of Stella to some areas of the cover such as the cut out flowers, lips, edges for the stamp. You can also brush some onto the mini flowers if desired.
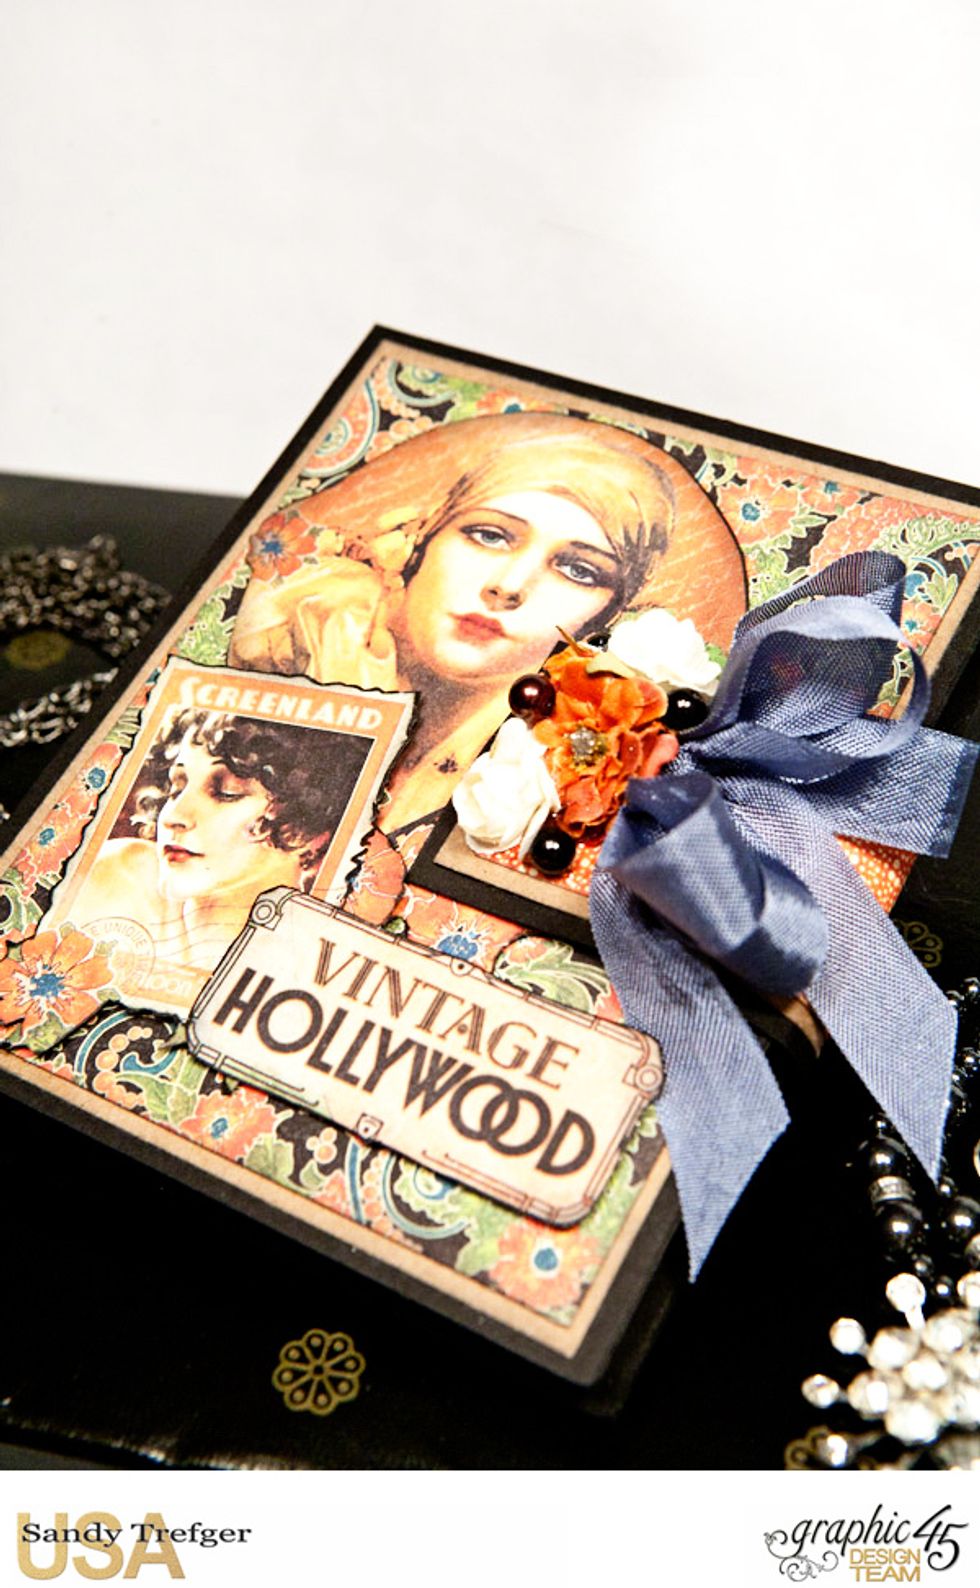
Your Graphic 45 mini Vintage Hollywood album is finished and is ready to tuck into a purse, box or mini train case!
Here's a look at the inside finished pages.
Contact me on my blog/website if you have any questions www.sandyscraftycreations.com or if you are creating this in one of my workshops/classes I'll be happy to help you out! Happy Crafting!~Sandy