The Conversation (0)
Sign Up

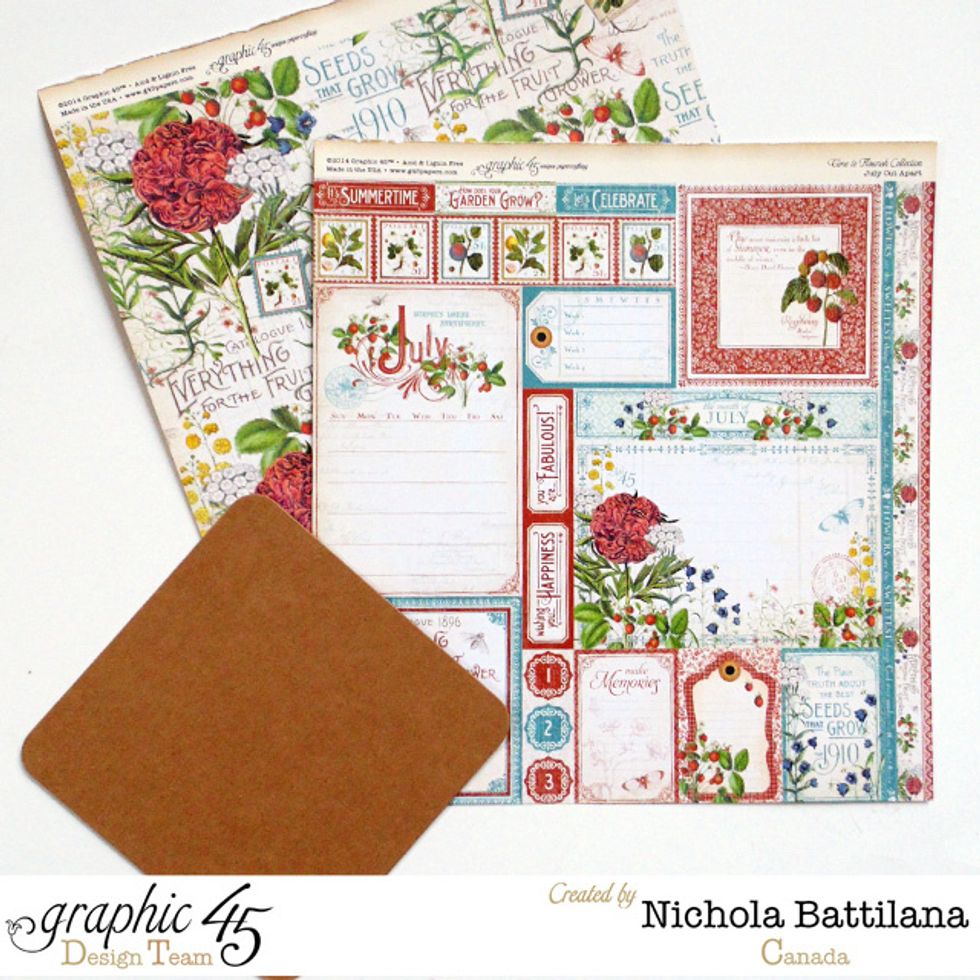
Cover one side of a cardstock mat included with the G45 5" Mixed Media Box with Time to Flourish 8" "January Flourish". Cut out the small January calendar from the "Cut Apart" and affix that on top.

Repeat this for every month, January though June. Using the monthly 'Flourish' sheet for the background, and the 'Cut Apart' calendar on top. DO NOT add further embellishments yet.
For July - December, repeat this process, using the back of the 6 mats you created.
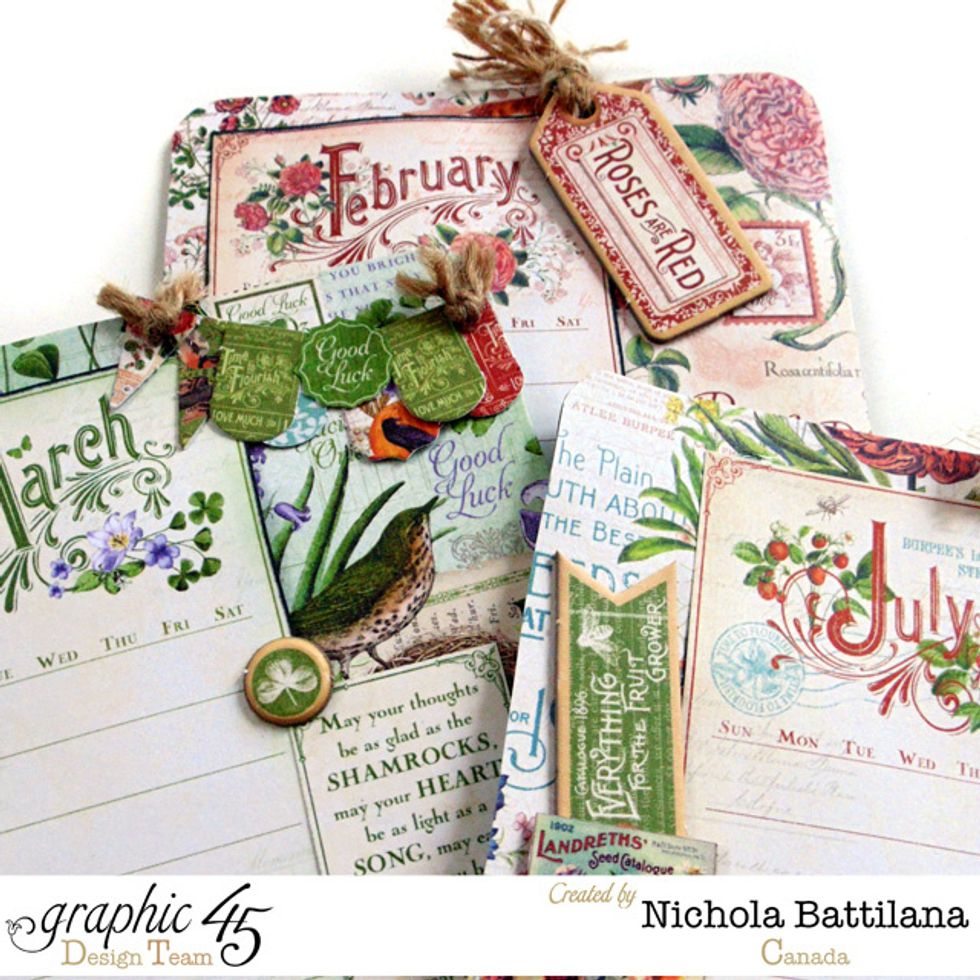
NOW you can embellish each month. Use the monthly 'Cut Apart' elements, matching chipboard, banners or stickers! Avoid heavy embellishment in the top corners.

Cover the exterior of your mixed media box with neutral papers. I used Raining Cats & Dogs. Start on the outside, leaving the 'window' open. *Note: Pictured is the final orientation of the box.*
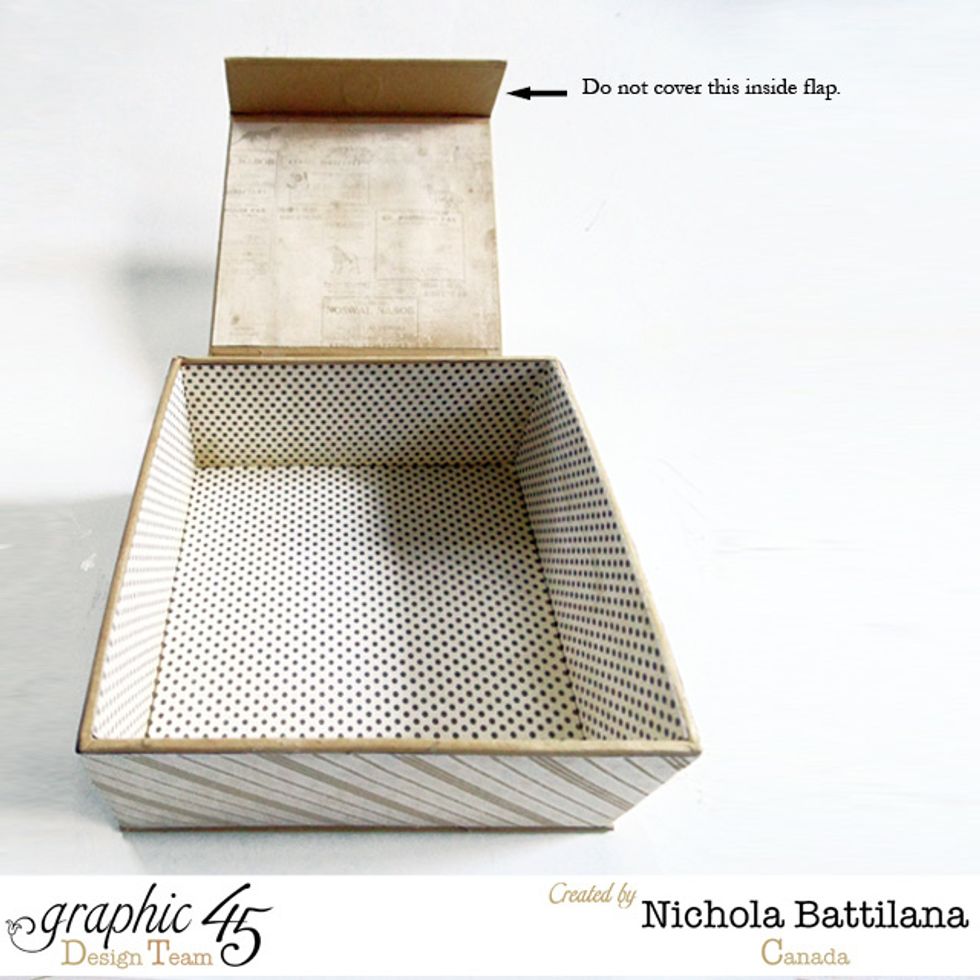
On the inside, first add the paper you want seen through the 'window' (remember the orientation!) then continue to cover. Avoid covering the inside of the closure flap so the magnet will still work.
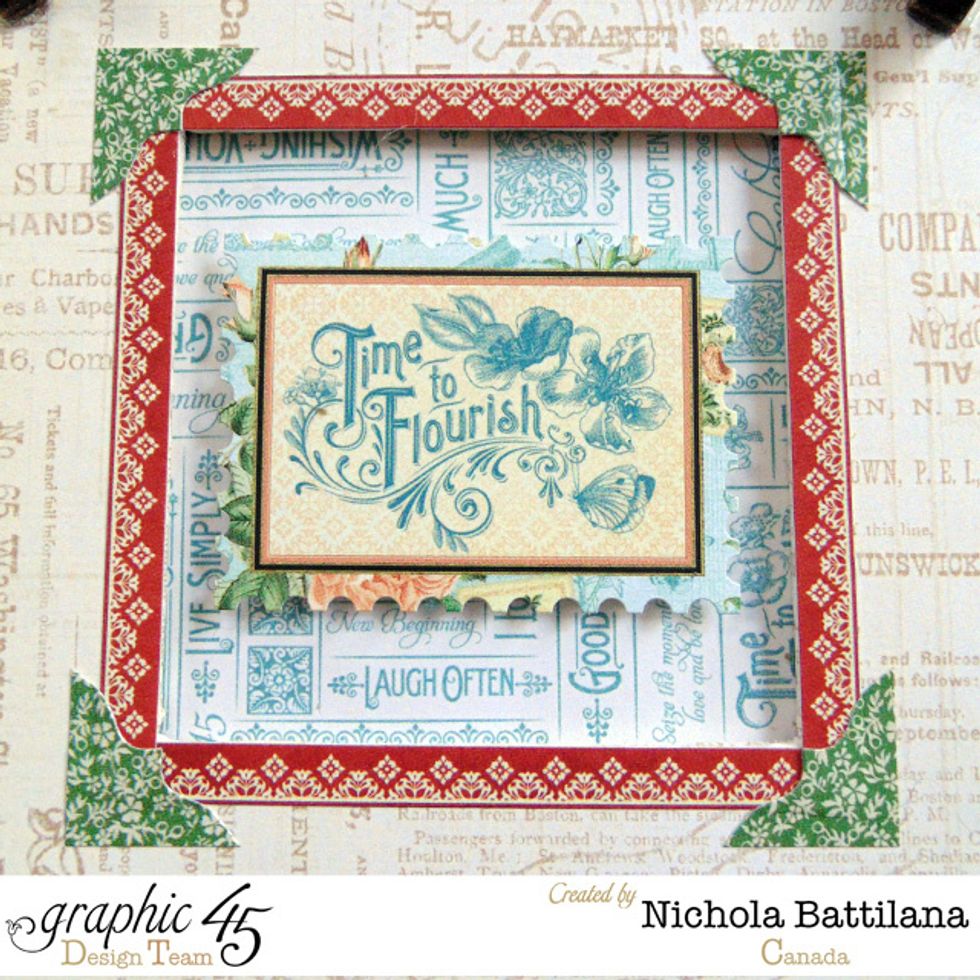
Here you can see the background paper from the Time to Flourish solids and patterns pad showing through the window. I've finished the window with Time to Flourish stickers
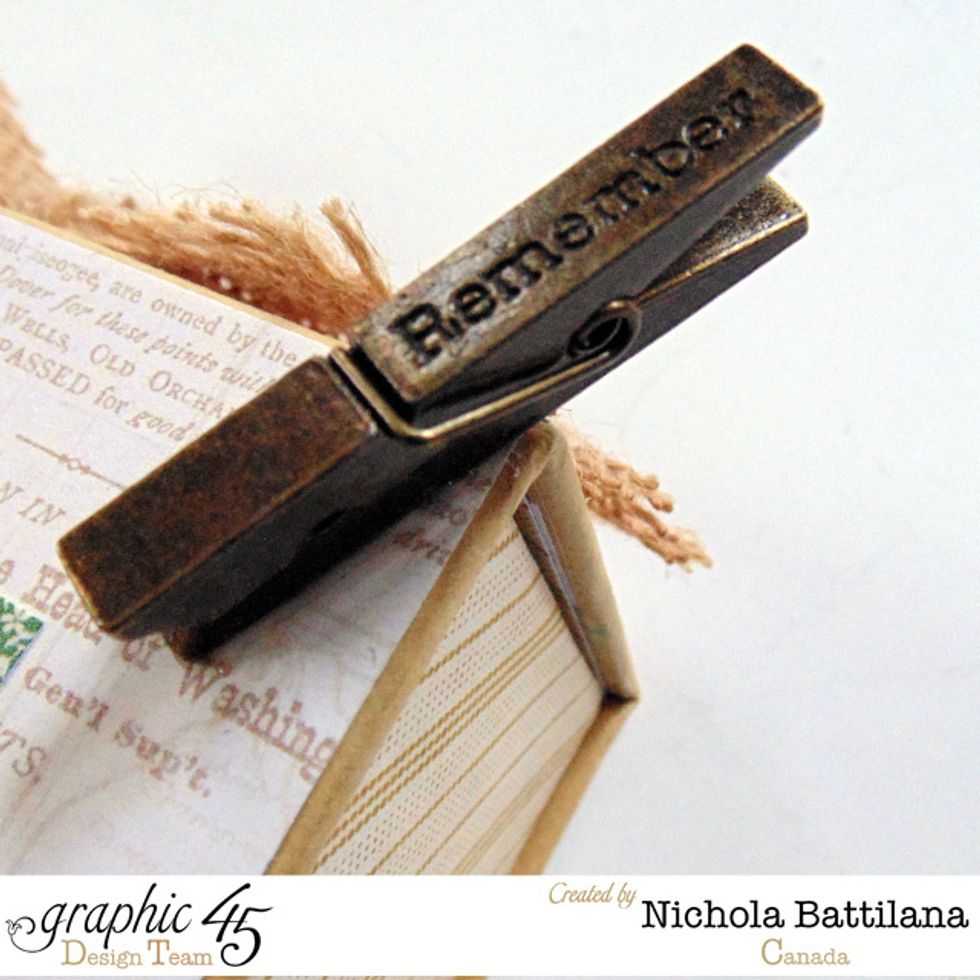
Next I've added G45 Metal Clothespins to the corners. These will hold my monthly calendar sheets in place.
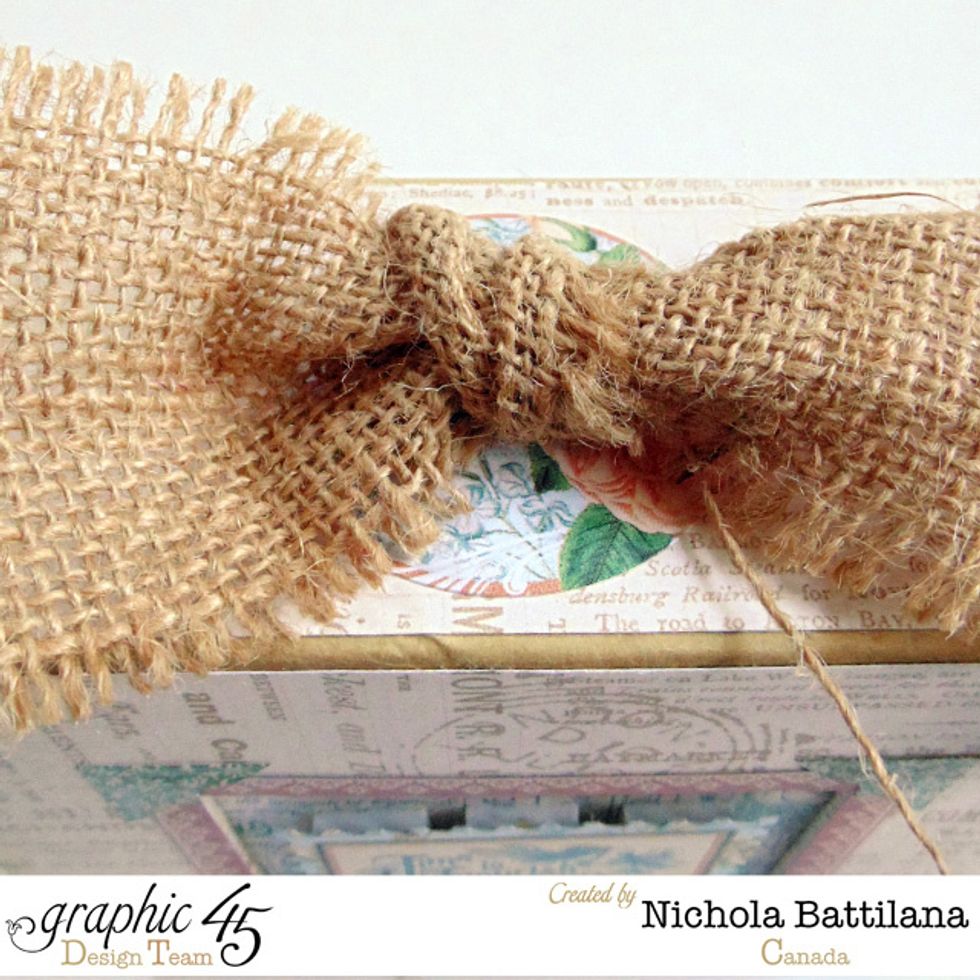
A sweet burlap bow was added to the top edge of my box.

Finally, I glued a Metal Key Hole to the back of my box for hanging.

Use the metal clothes pegs to hold each months mat in place.
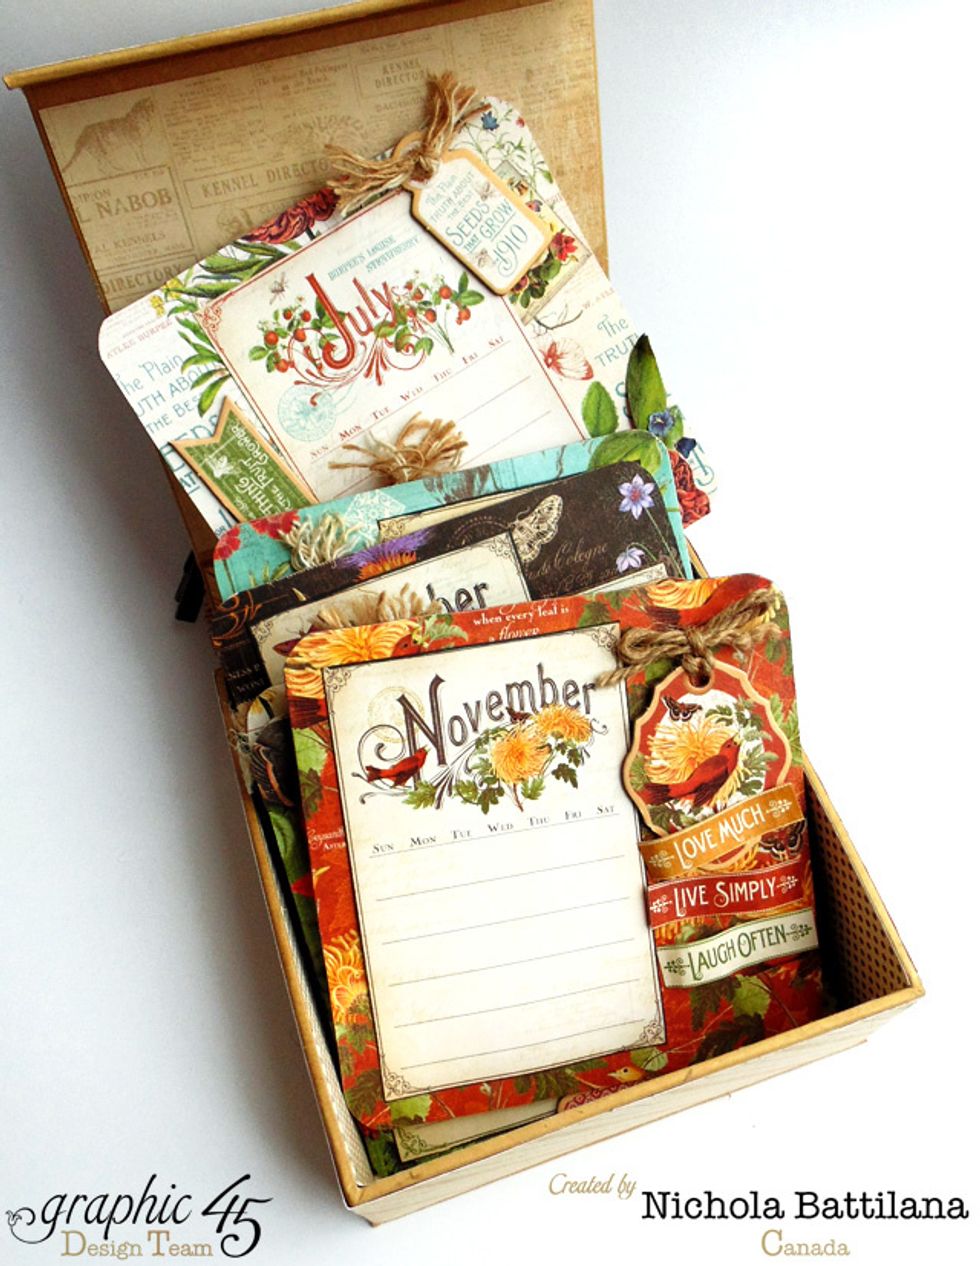
When not in use, the rest of the monthly mats are kept safely tucked away inside your mixed media box.