The Conversation (0)
Sign Up
To help you make your base, I made this little video to show you how! http://youtu.be/A60GWMttSSc (you might need to cut and pasate the link into your browser.)
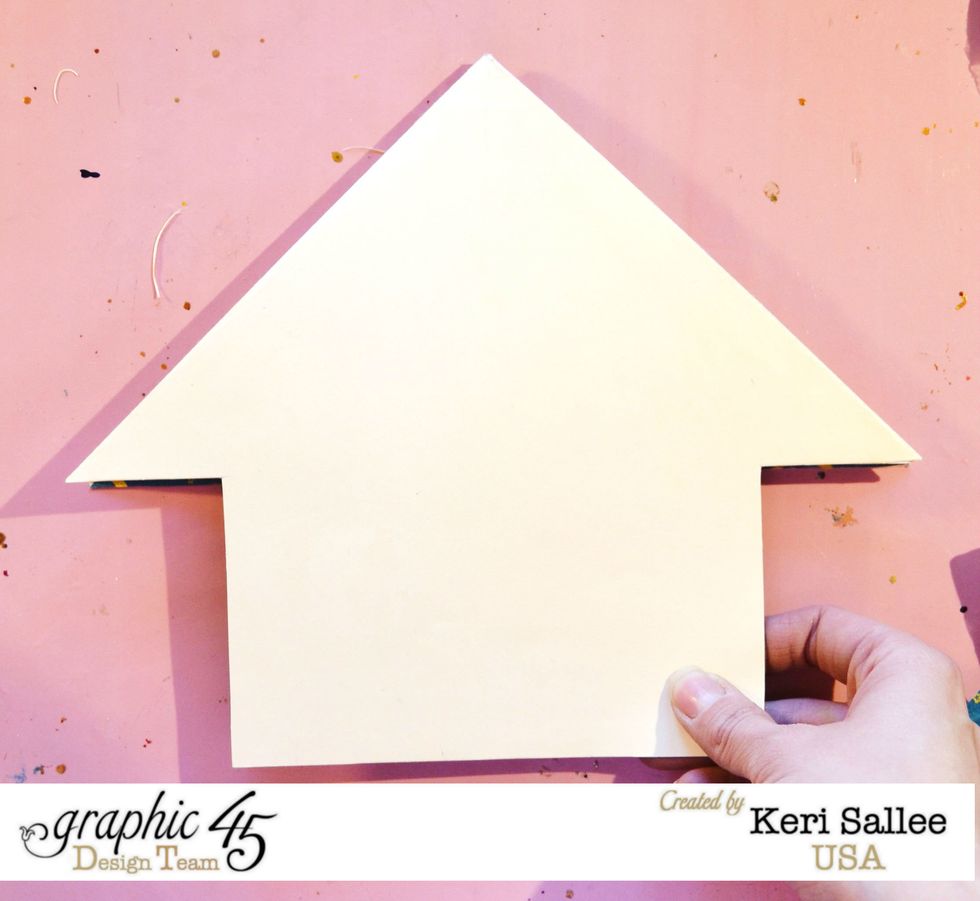
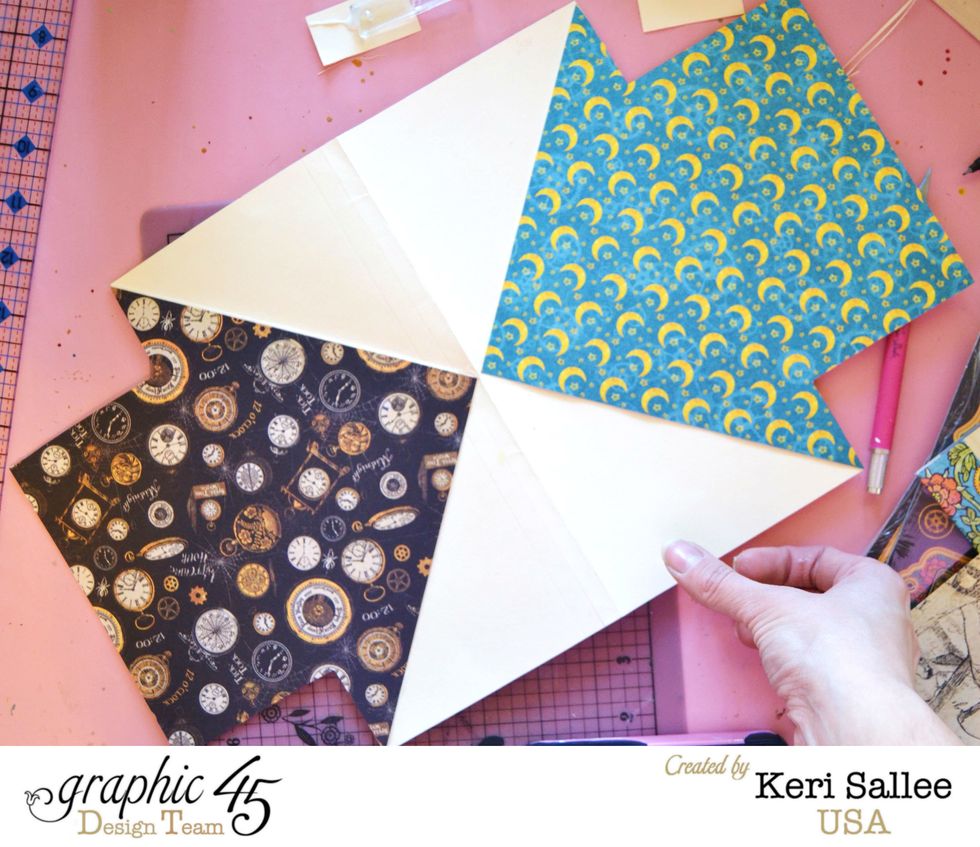
Once you've watched the video, Your base will look like this when you are done.
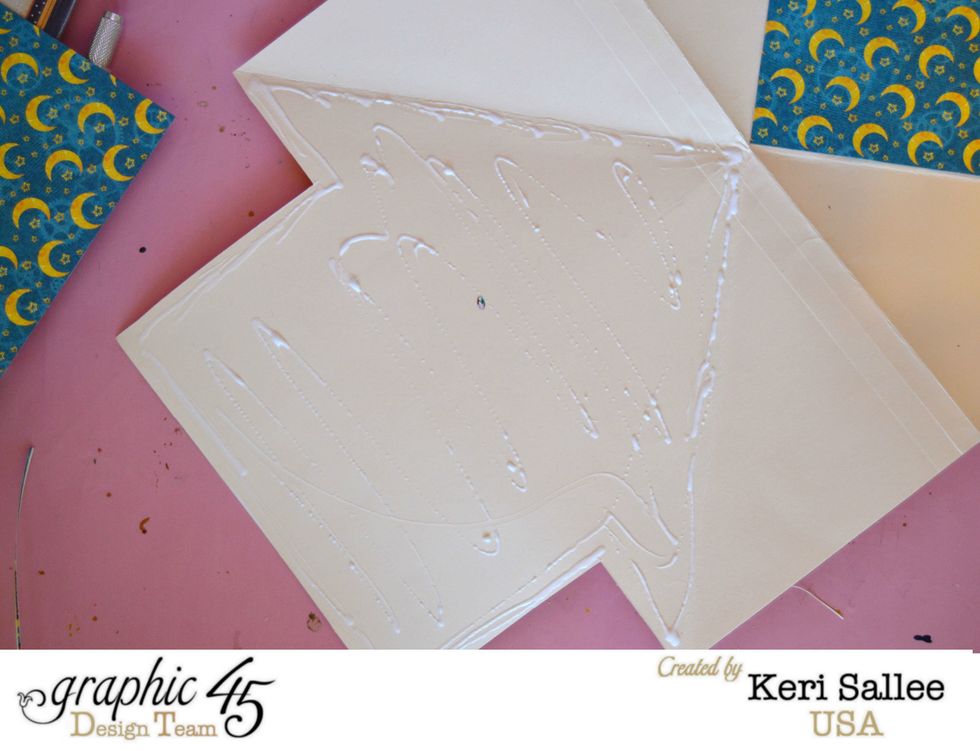
Apply your Aleene's Tacky Glue, making sure to get your edges.
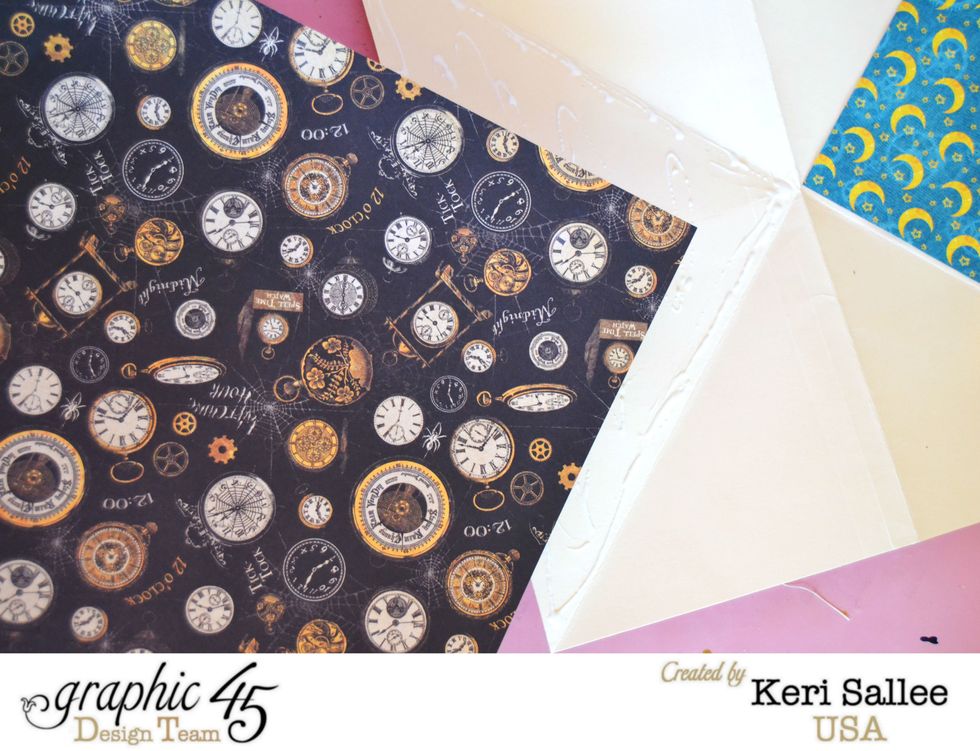
Taking a full sheet of Steampunk Spells paper, edge on corner of the paper with the top "peak" of your roof. Doing it this way is MUCH easier than trying to measure your paper exact!
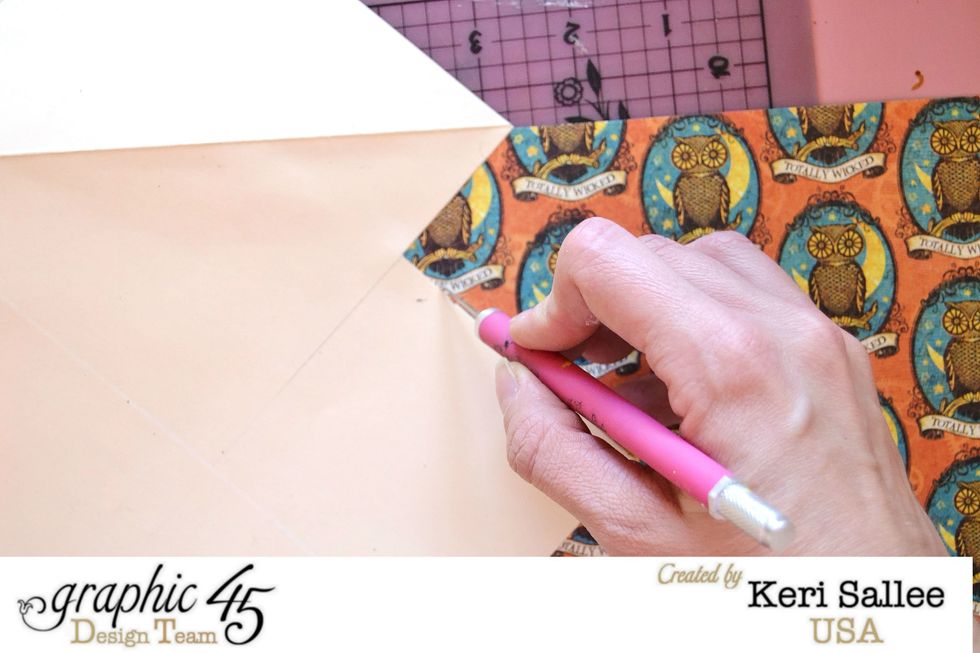
Flip your house over and using your craft knife, cut away the excess paper.
Continue steps 2-4 until your have covered your entire house.

these were my inside paper choices. Feel free to use any papers you like!
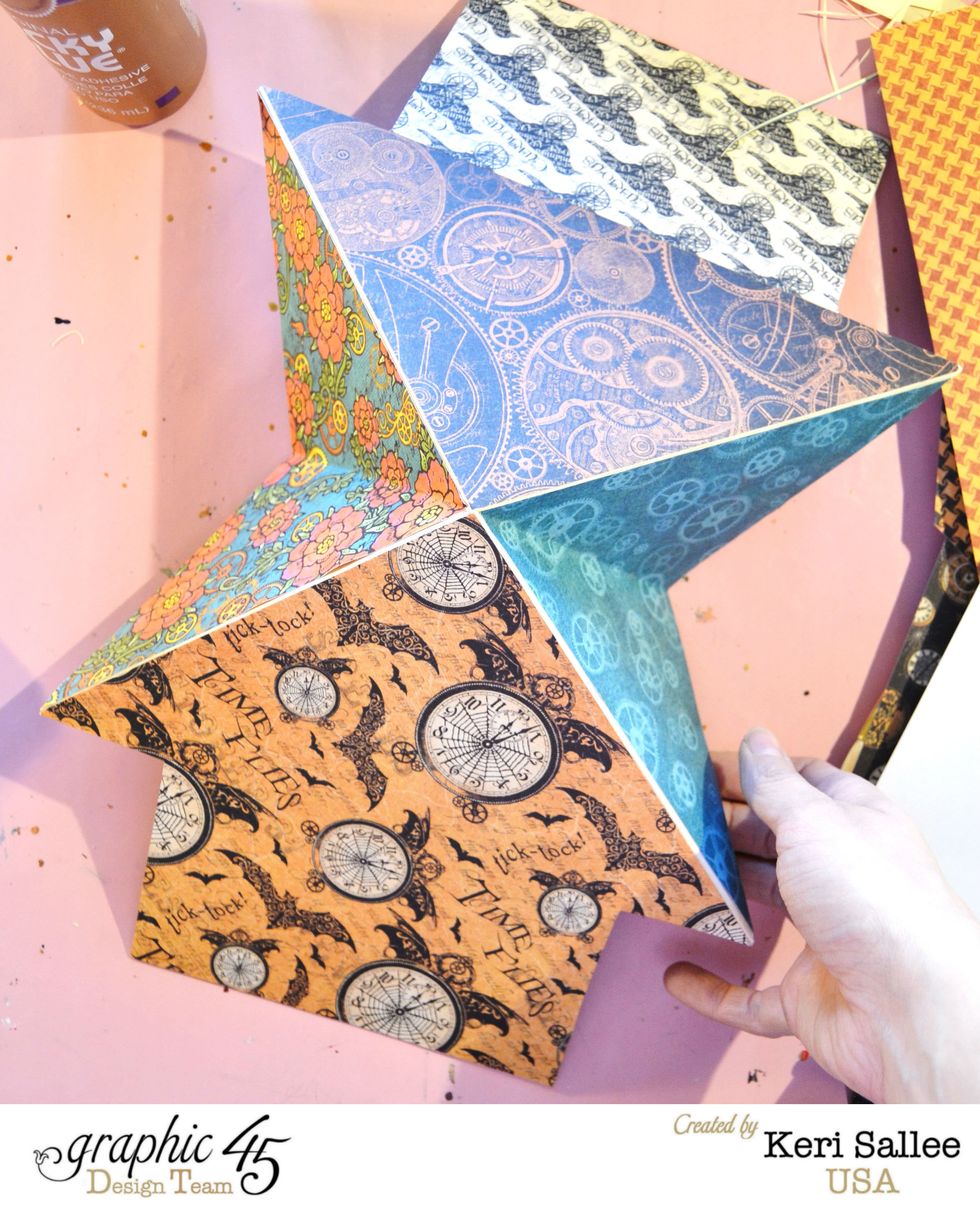
These are my outside paper choices. As you can see, I added a second paper to what will become the front of my house. I then used my Tim Holtz Distress Ink in Walnut Stain to distress all over.
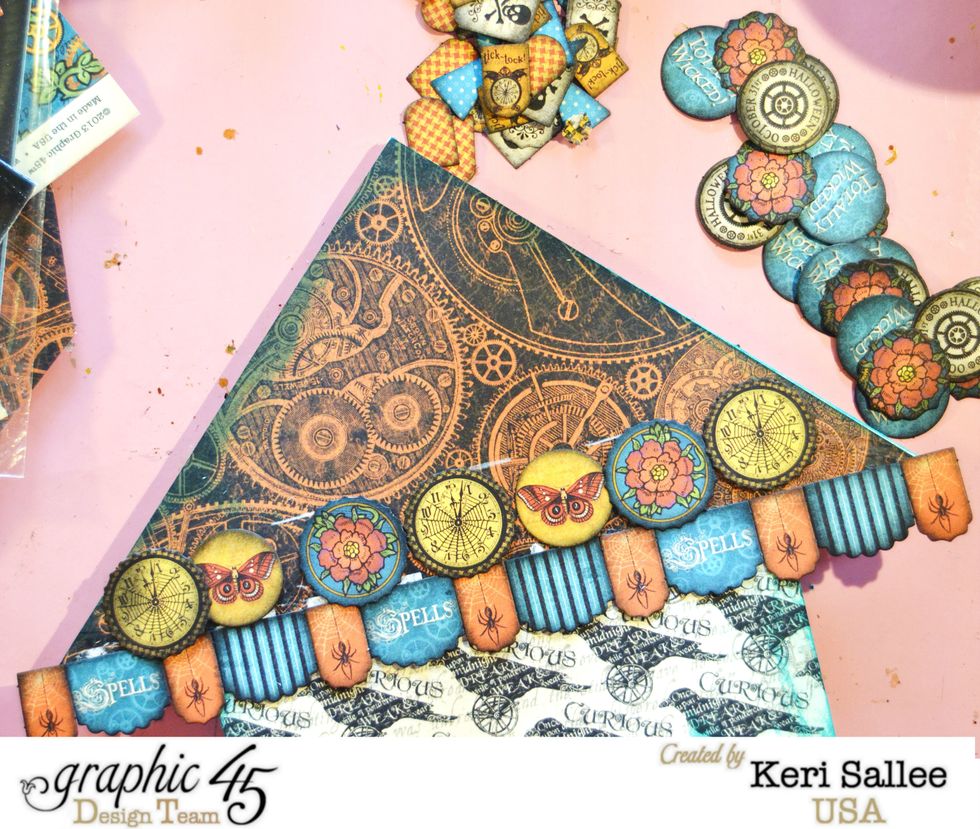
Remove all of the small banner shapes and ink the edges. I found it easiest to start with a flat sided banner shape for my bottom row. I then used a white pencil and a ruler to keep my next row even.

Here is a closeup of the middle of the roof. Use smaller circles from the Steampunk Spells Banners to fill in gaps left on your overlapped pieces.
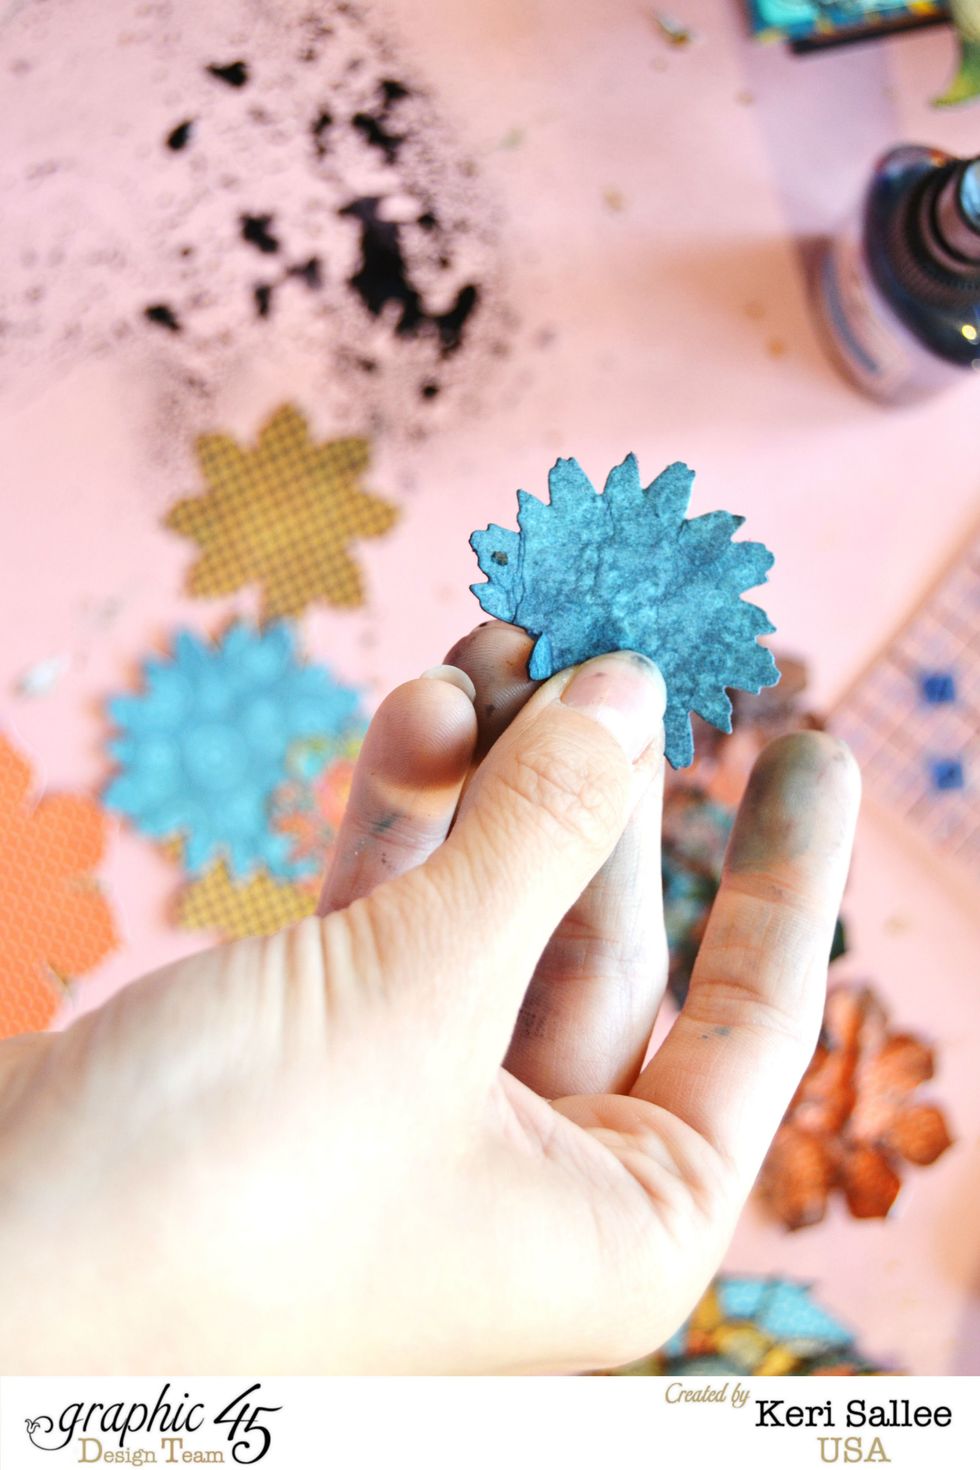
For distressed flowers, take your G45 Flowers and mist them lightly with water, then crumple up. Spray Tattered Angels in almost black on a mat and drag your flower through it. Dry with heat gun.

Once the flowers are dry, ink them with your Peacock Feather's Distress ink and layer them.
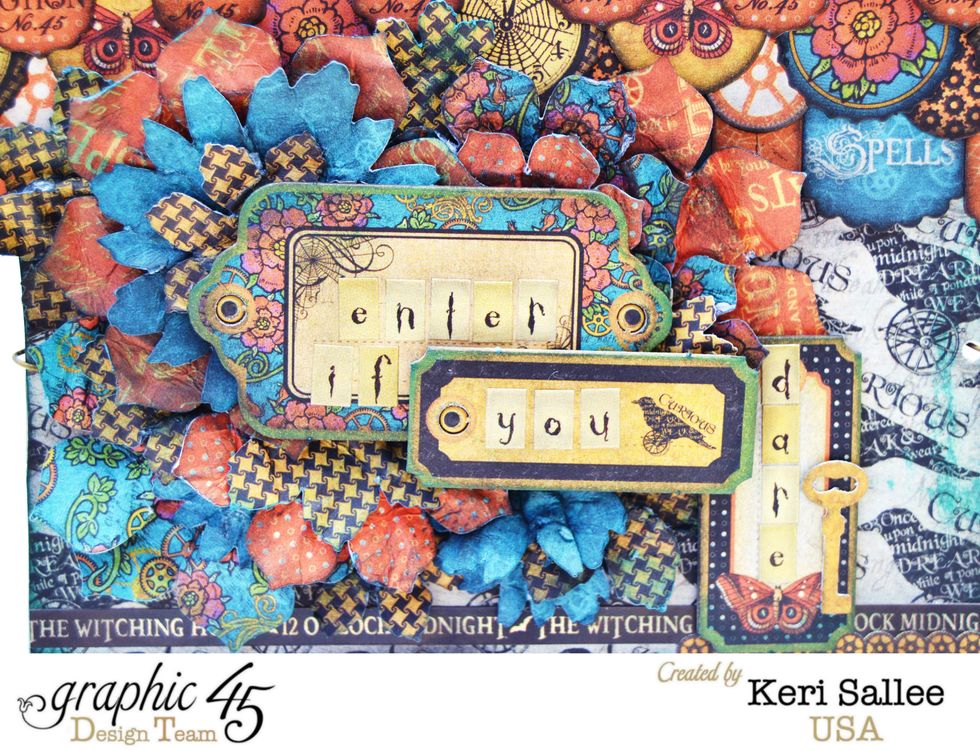
For my title, I used 3 plagues from Steampunk Spells Chipboards 1 and 2 and letters from Steampunk Spells Alphabet Stickers. I ink them in both Walnut Stain and Peacock Feathers.

For the inside...anything goes!!! I love lots of layers, so let me show you a few things I did to add depth.

Layer Stickers and banner pieces in clusters. Pop Dots or squares are the easiest way to achieve this.
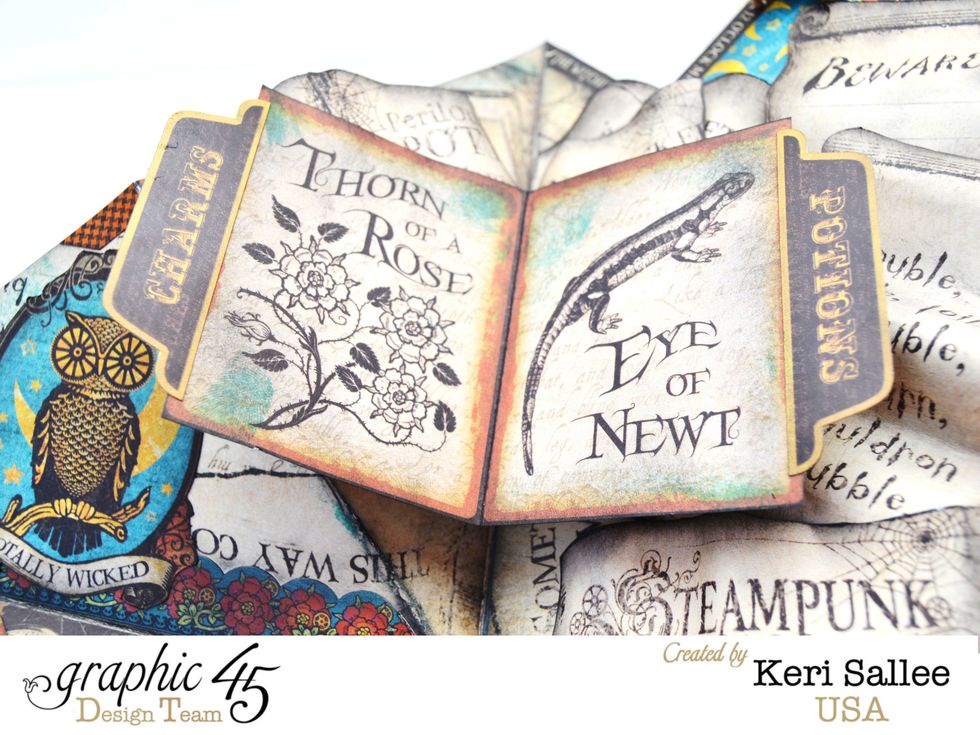
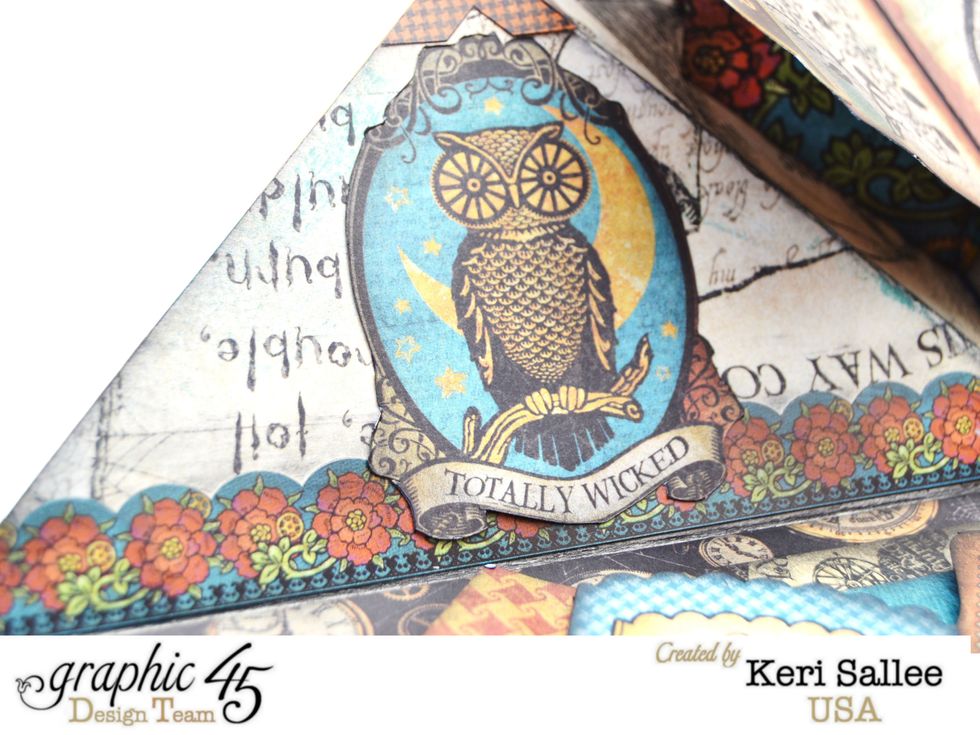
Try to keep your color's contrasted! See how great the aqua POPS against the orange background?
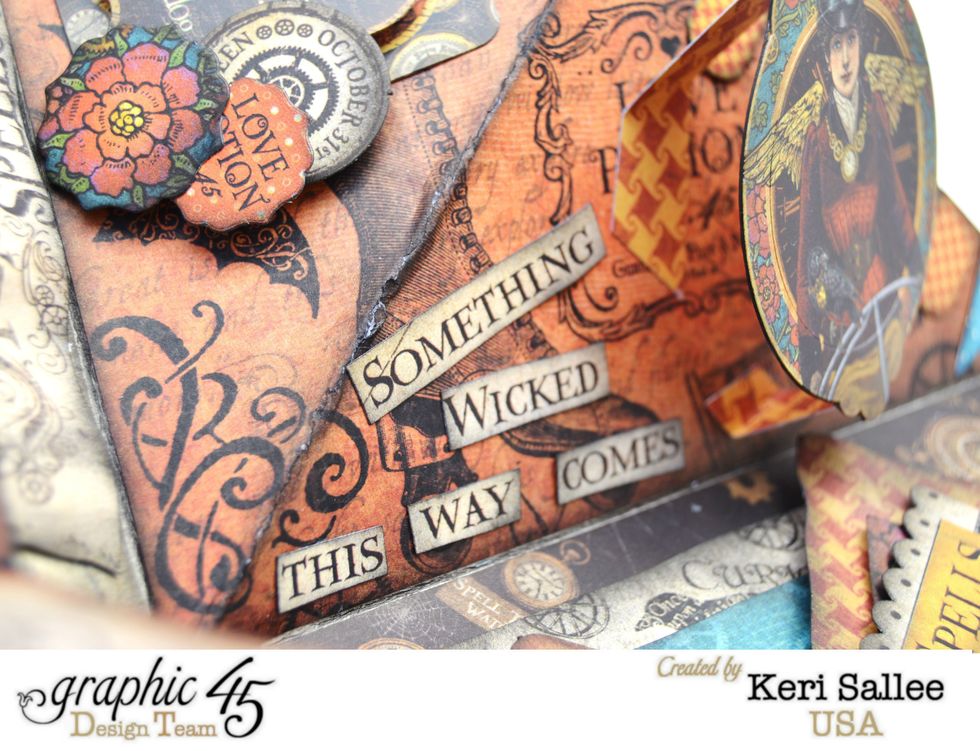
Make your own embellishments! These words are just cut from Frightful Folly Paper. You can also see how I got my Steampunk Girl (from the Sticker Sheet) to pop up. It's just 2 strips of paper, folded.
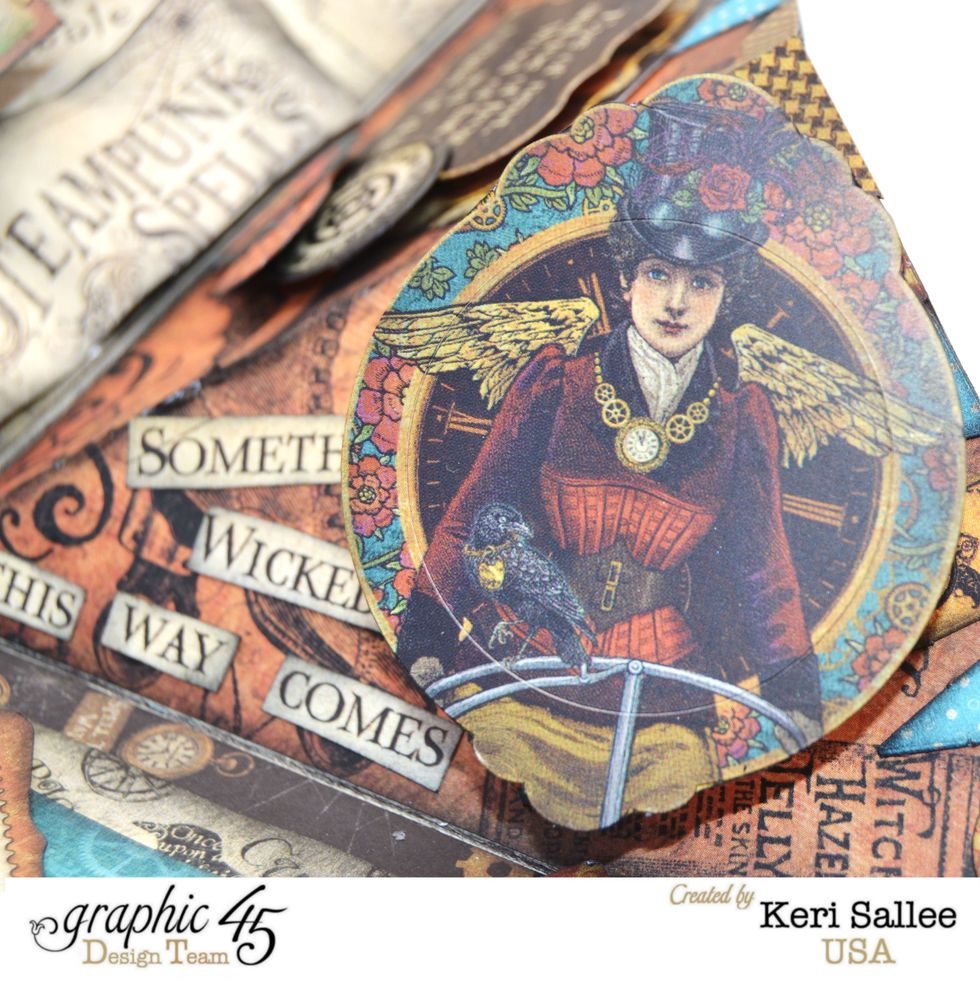
The steampunk girl sticker is actually 2 pieces. To keep them together, I stuck them to a scrap piece of paper and then cut it out. Inking helped disguise the lines.
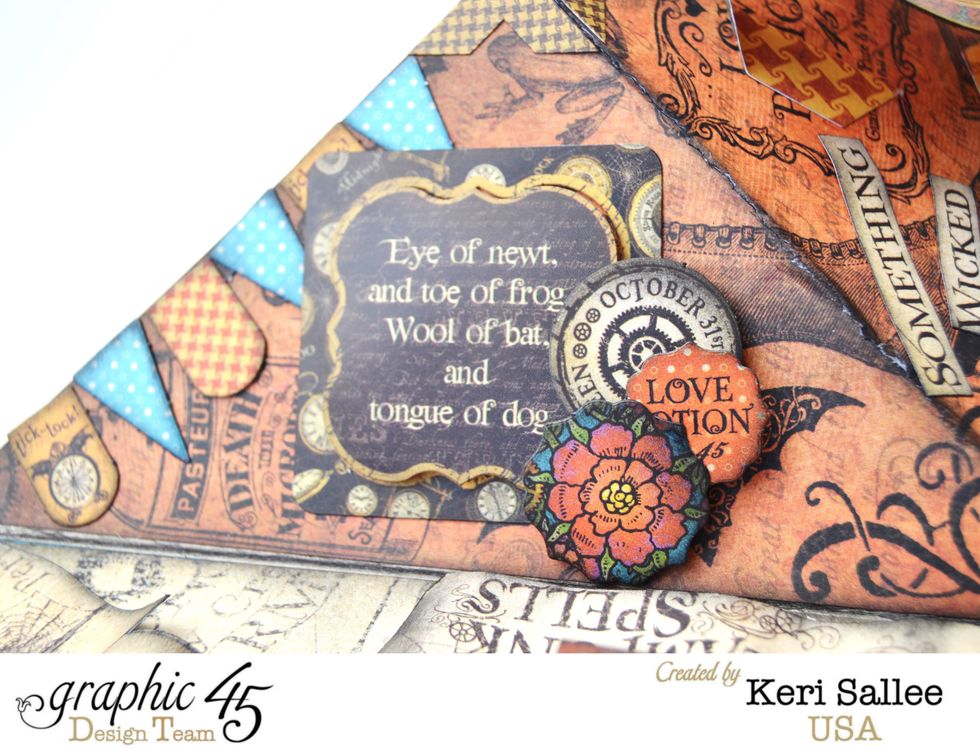
There's no need to go crazy on every surface. 3 Stickers and this sick was done.

I have a BIG love for fussy cutting. For my scrolls, I fussy cut out the scrolls from the "Witching Hour" paper, inked them and bent them around a fat marker. Do a dry run before adhering.
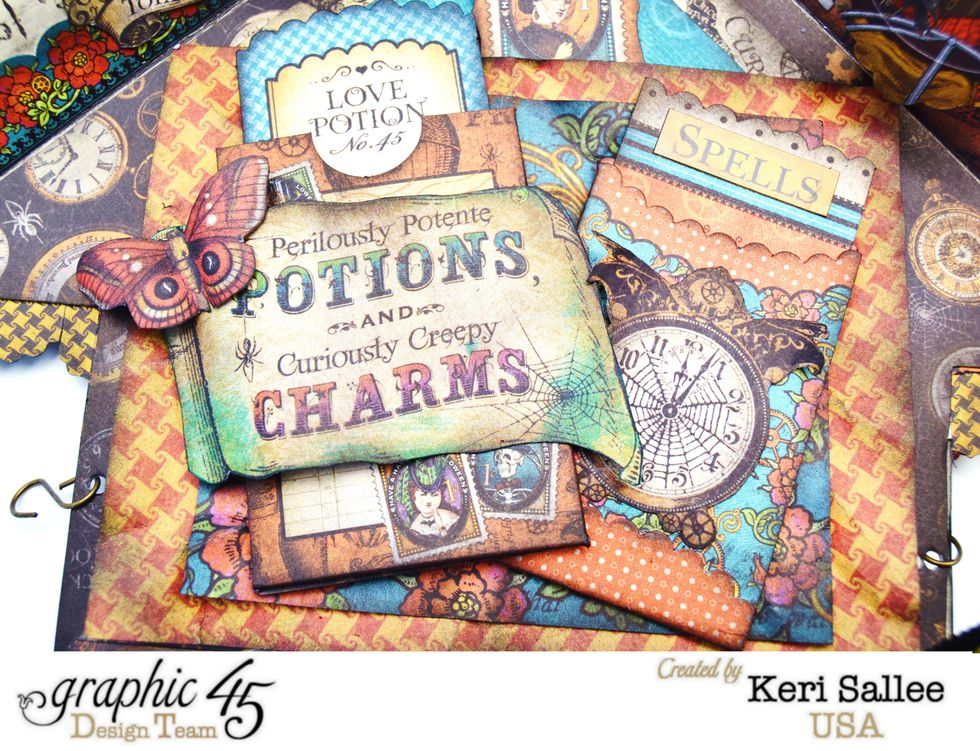
Steampunk Spells Tags and Pockets made easy work of this side. Simply layer 2 contrasting paper mats down and then layer pockets, stickers and fussy cut images on top.
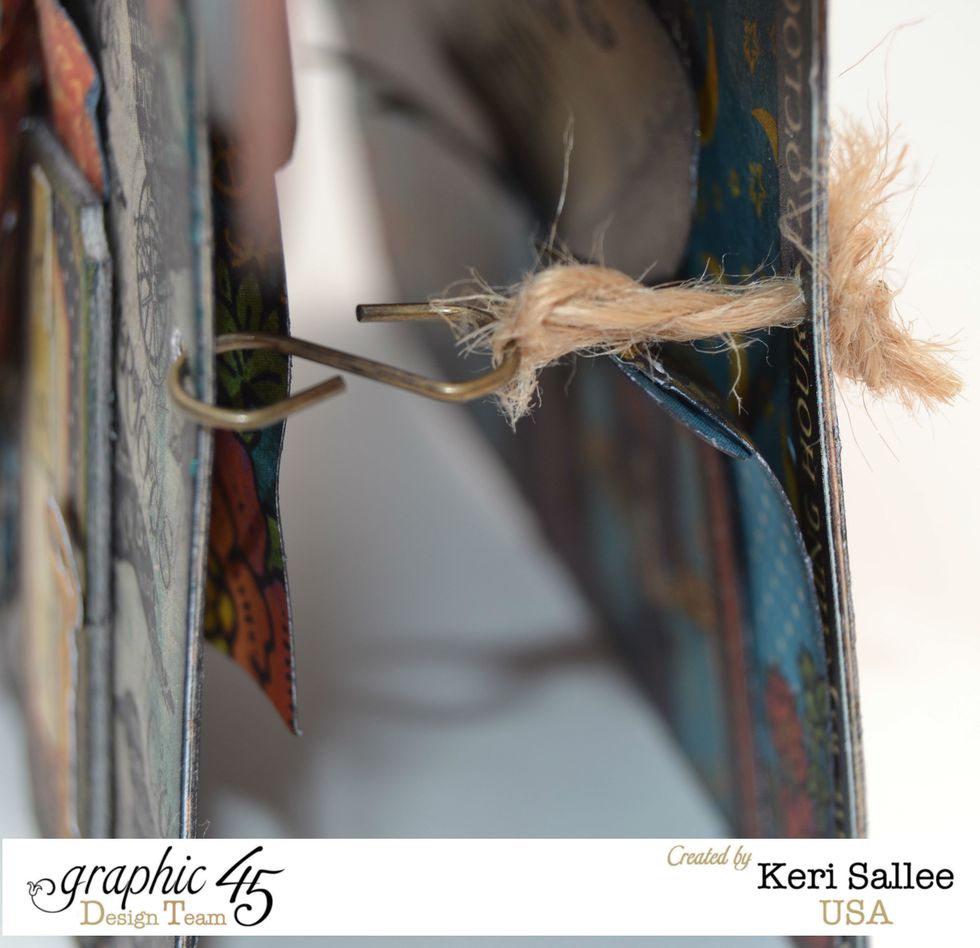
For closures, I used my Crop-a-dile and punched a hole through the back and the front. I used a small piece of jute to make a loop (tying the knot in the back.) A 7Gypsies hook holds it all together.