The Conversation (0)
Sign Up
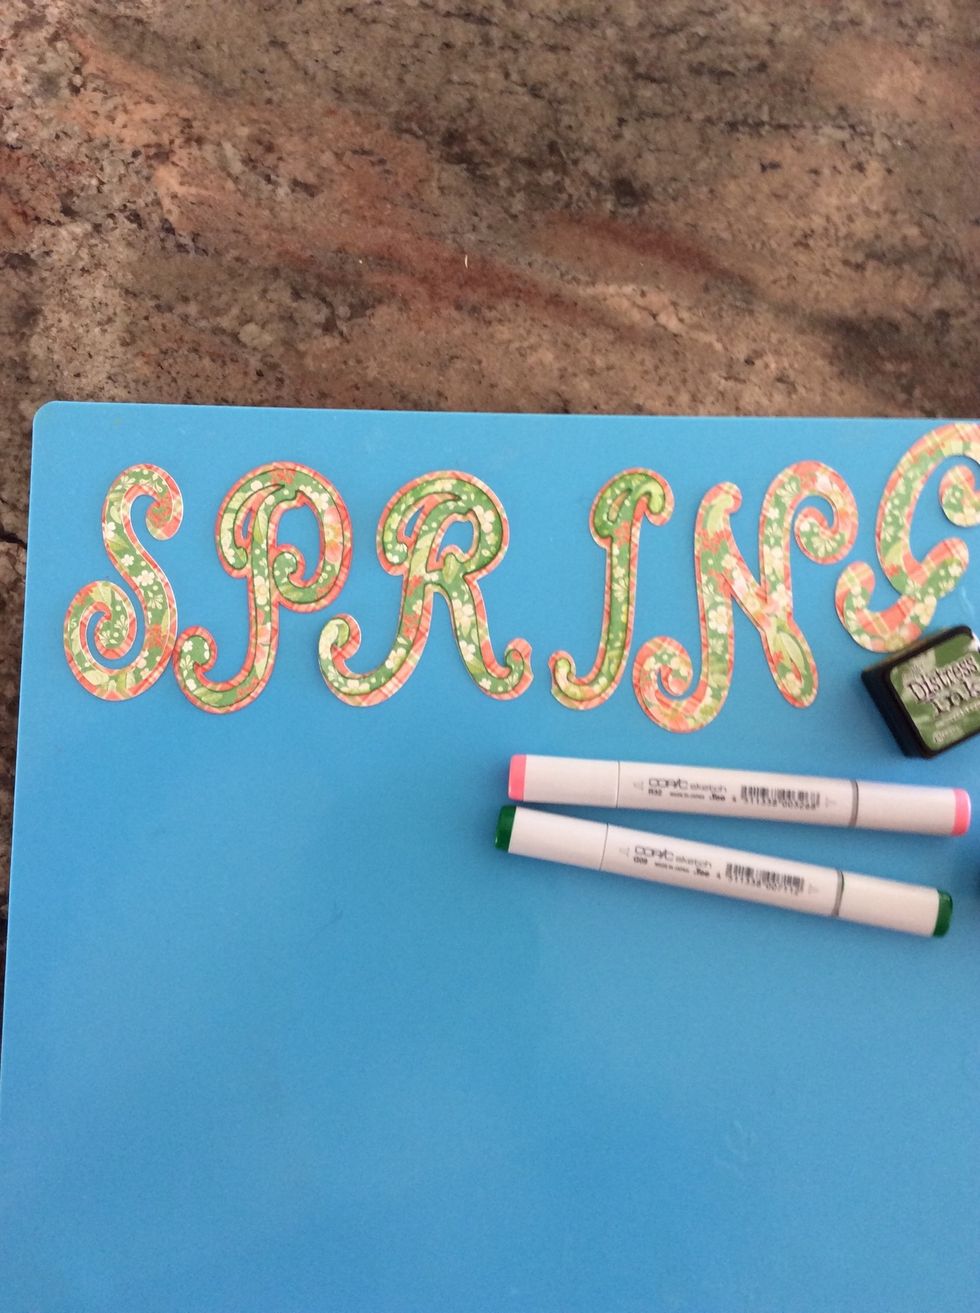
I die cut my letters with shadow letters, but you can use pre cut ones from the craft store or fussy cut them. I use ink or marker to define the edges.
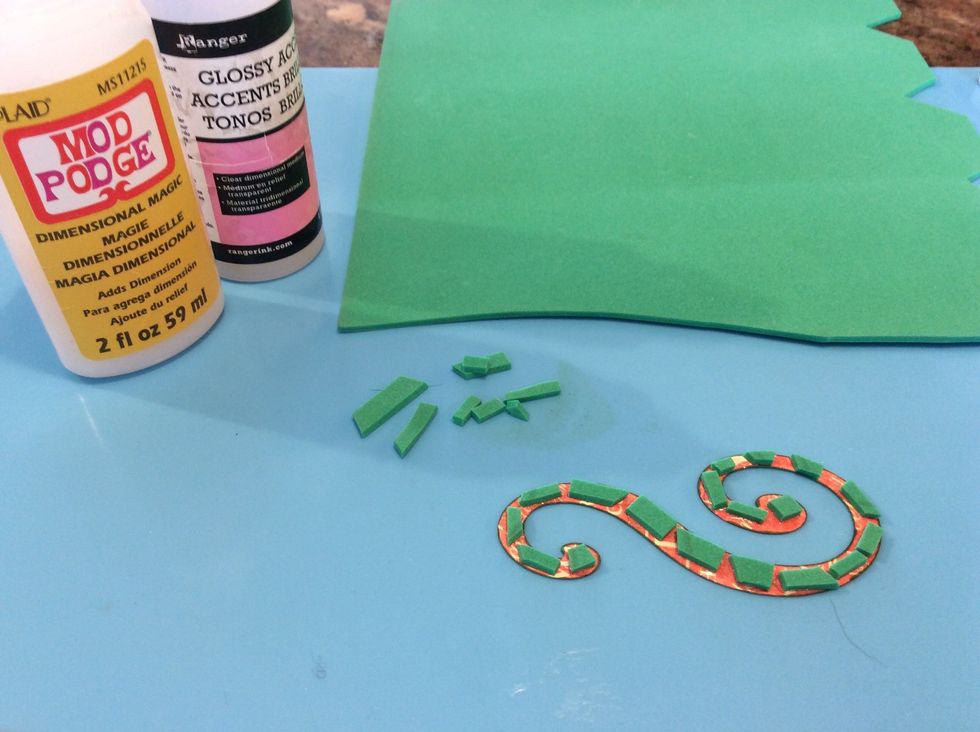
Use pop dots, or foam tape to raise the layer. I often use kids colored craft foam. I use glossy accents or modge podge to glue everything.
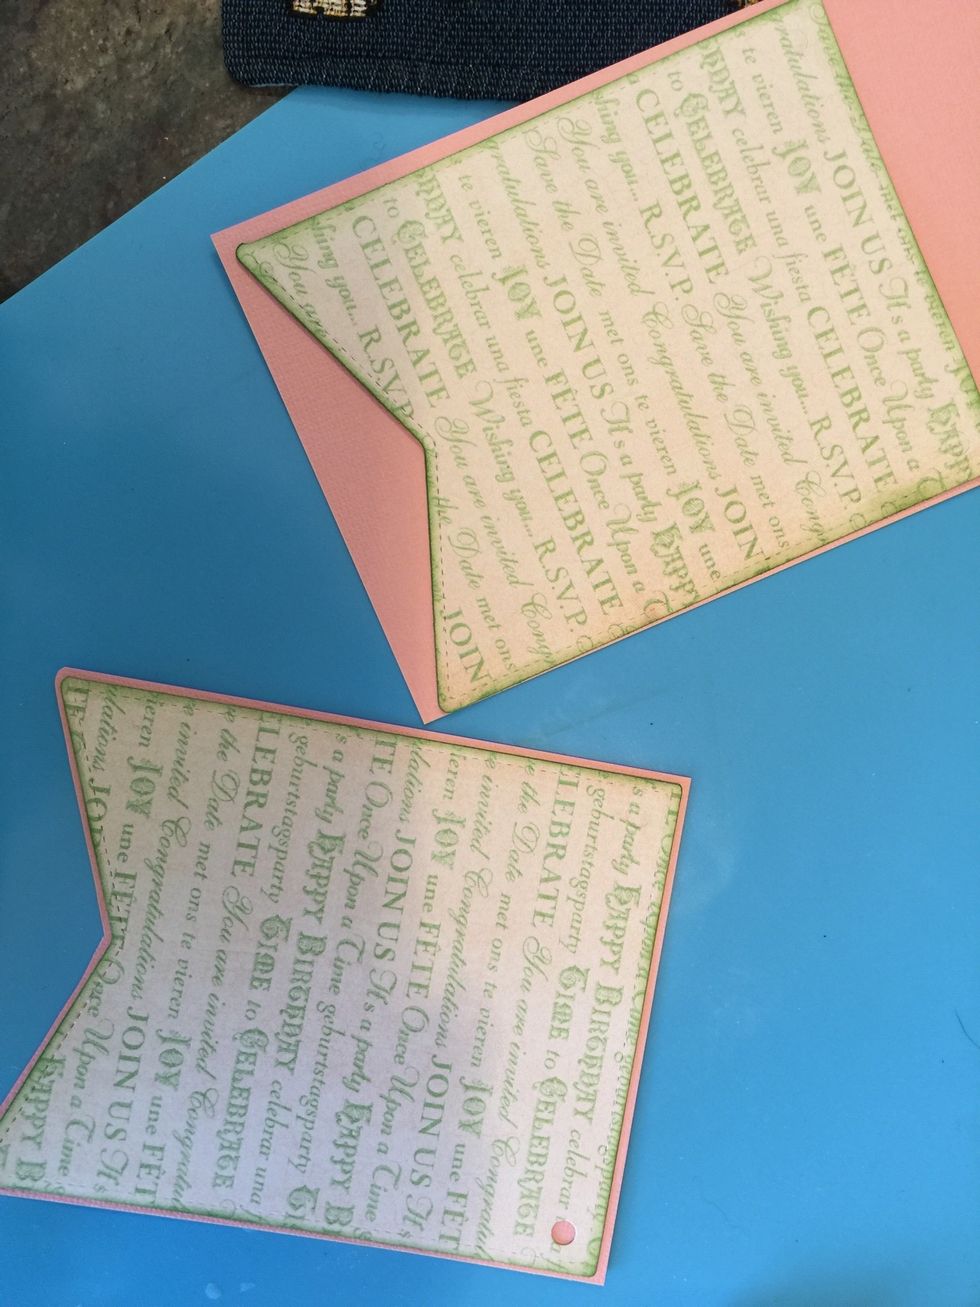
I cut a banner shape from patterned paper, and a slightly larger banner shape for behind.
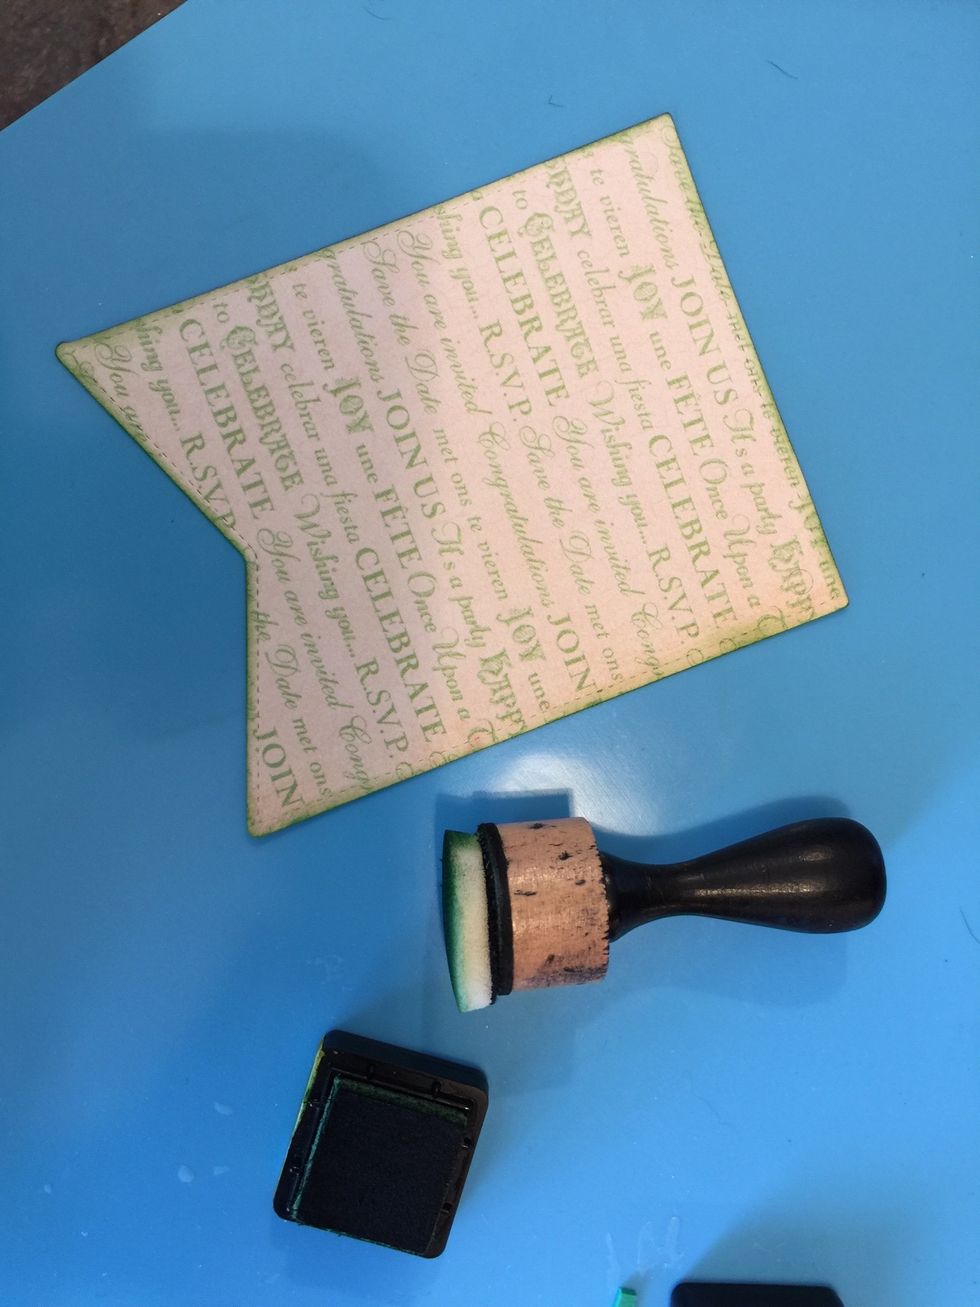
I ink all of my edges.
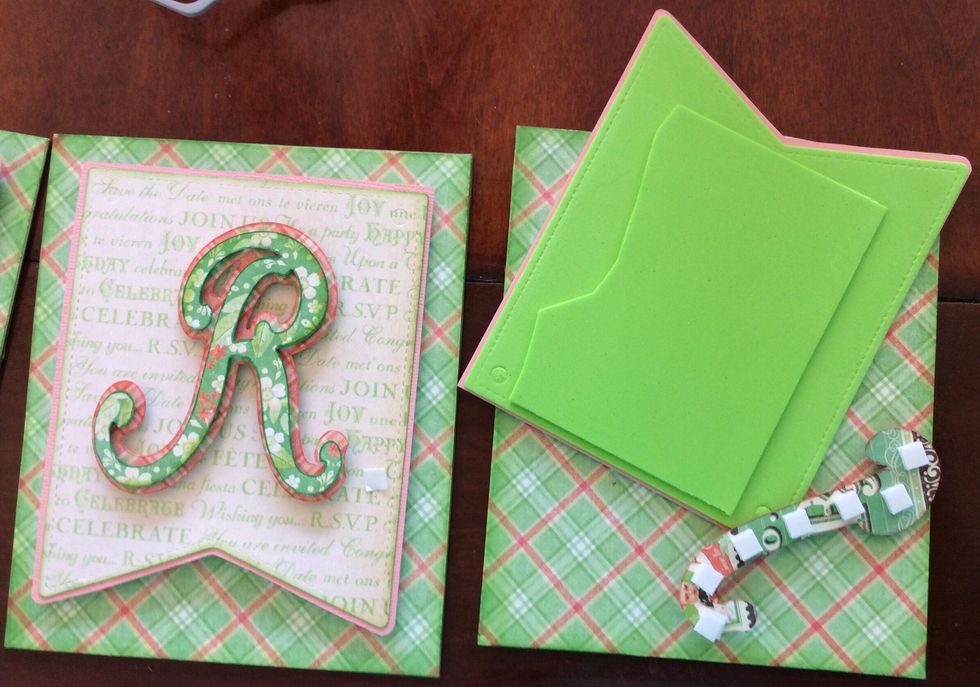
Glue your letter on the front banner, add double thick foam to raise your banner shape from the bottom rectangular shape.
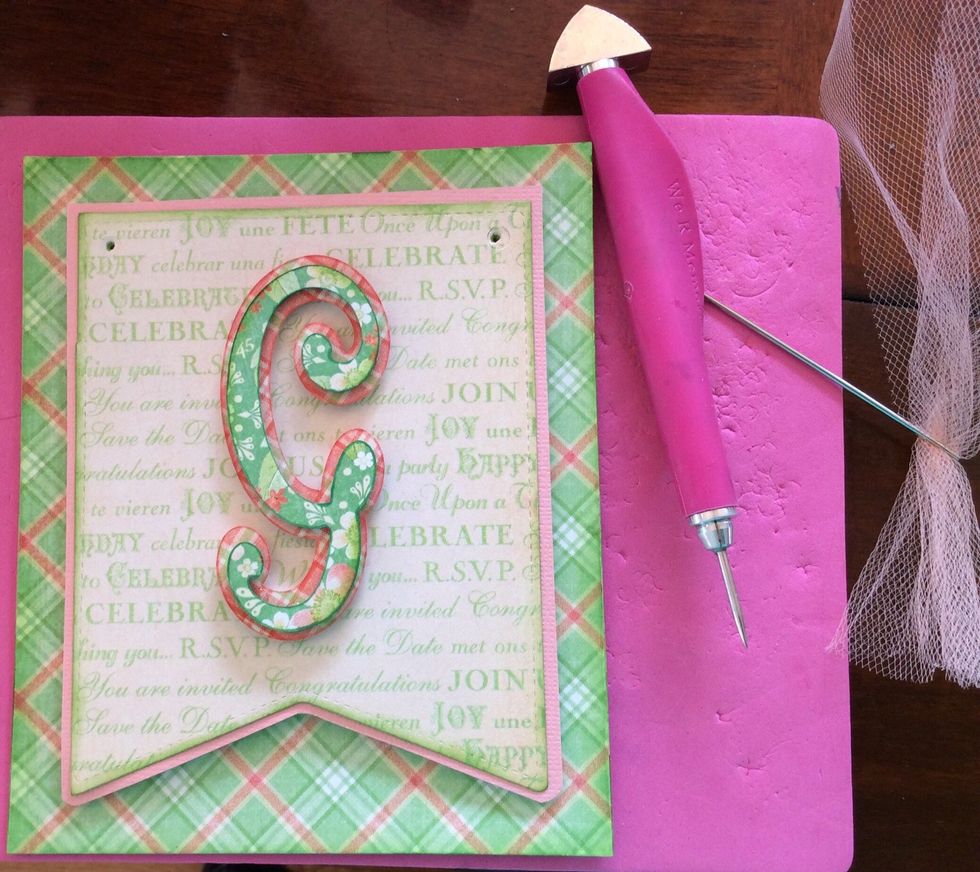
Punch holes with a cropodile or paper piercer or an awl. Thread a tapestry or yarn meddle with tulle and thread thru all your banner pieces
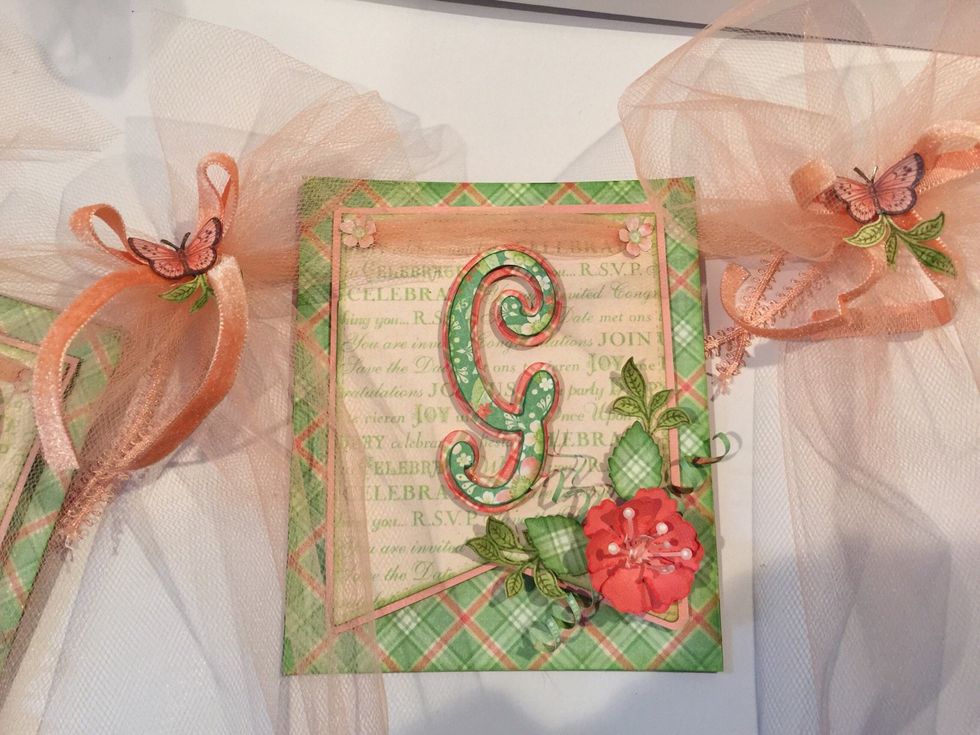
Embellish as desired. I made paper flowers, and added leaves and curlicues. Additionally, I added tulle bows, velvet bows and fussy cut butterfly's.

You could make this for any occasion, especially with someone's name!