The Conversation (0)
Sign Up
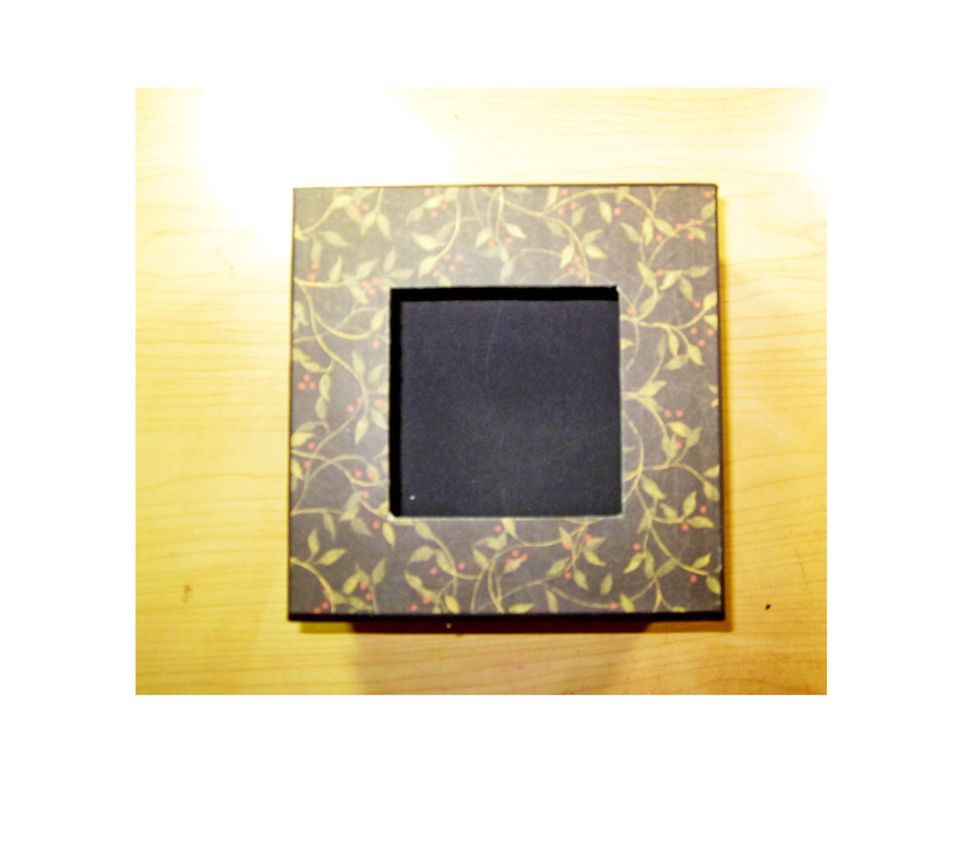
Use one of Graphic 45 5 x 5" boxes as a base and cover the top with designer paper. This paper is from the Botanicalbella Collectors Edition.
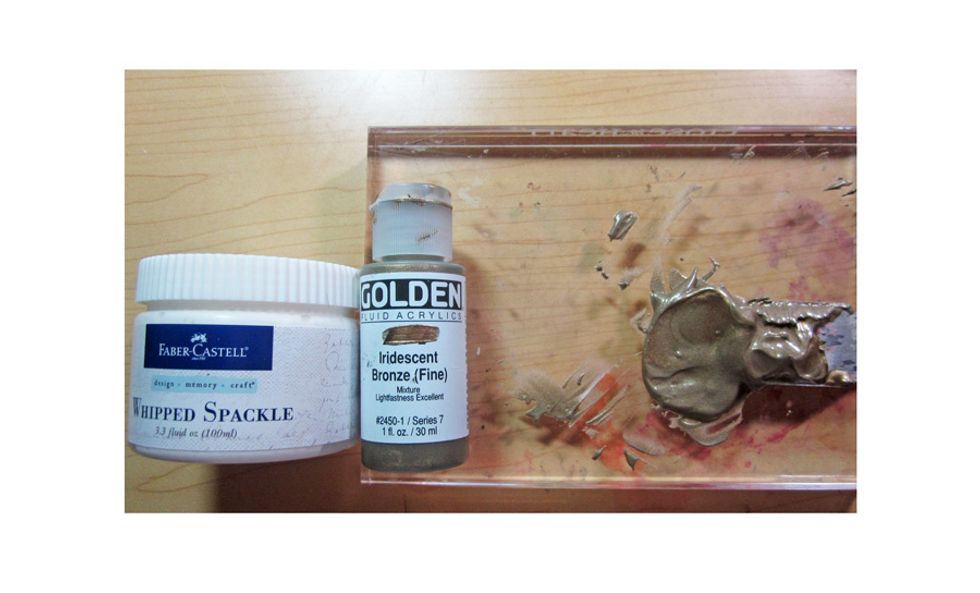
Next mix some paint and some whipped spackle to create a thick paste that we are going to stencil on the top of the box.
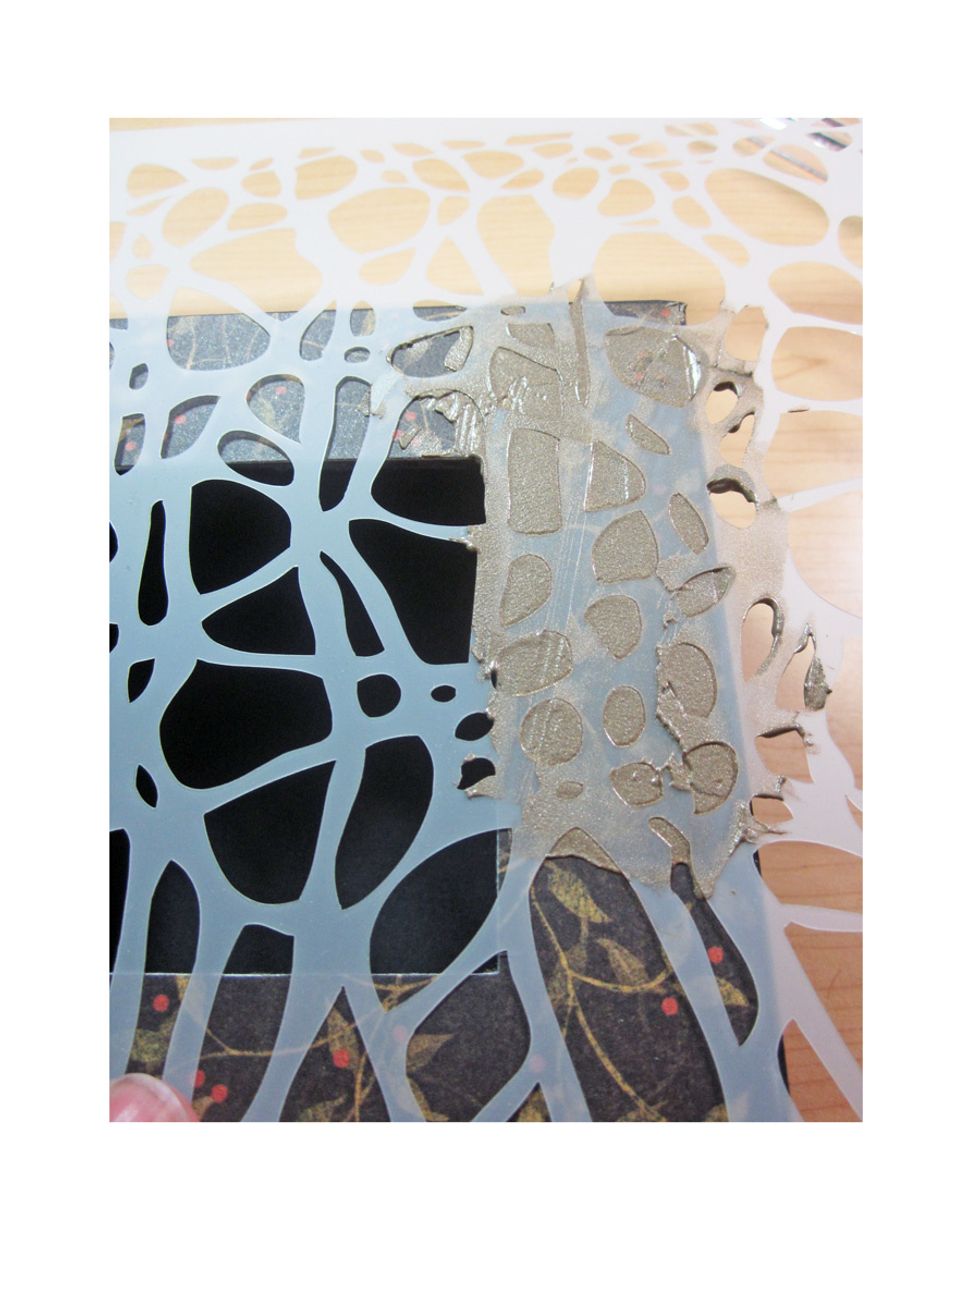
Choose a stencil /template you like and apply the mixture randomly over the top of the box. I did my pattern all over but you could just do bits and pieces if you wanted.
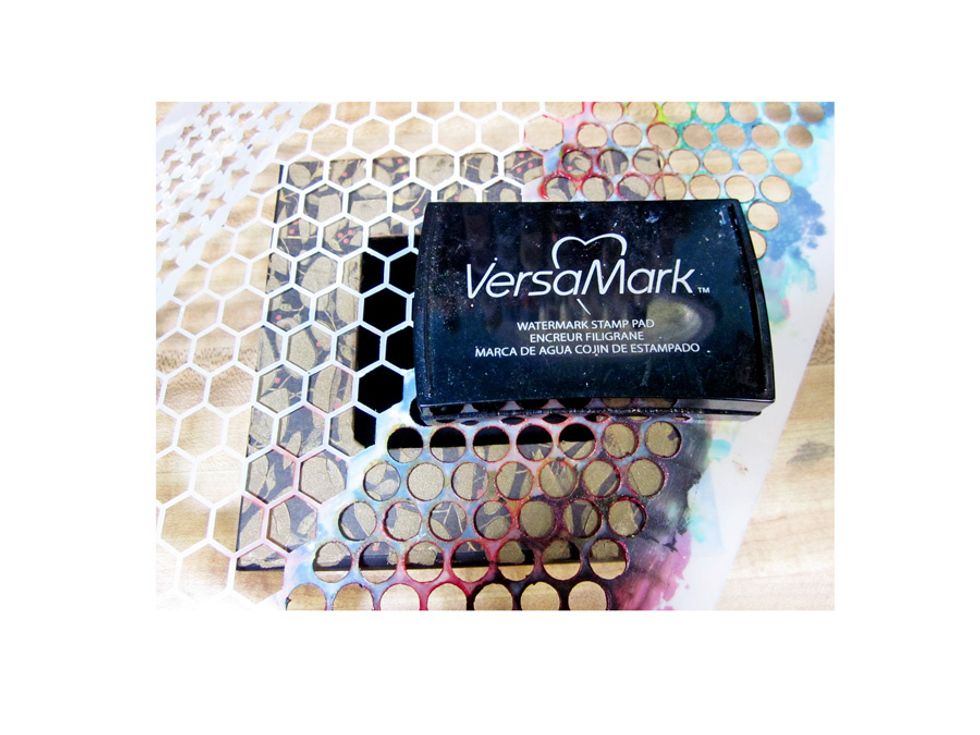
Use another stencial and apply clear Versa Mark ink in spots.
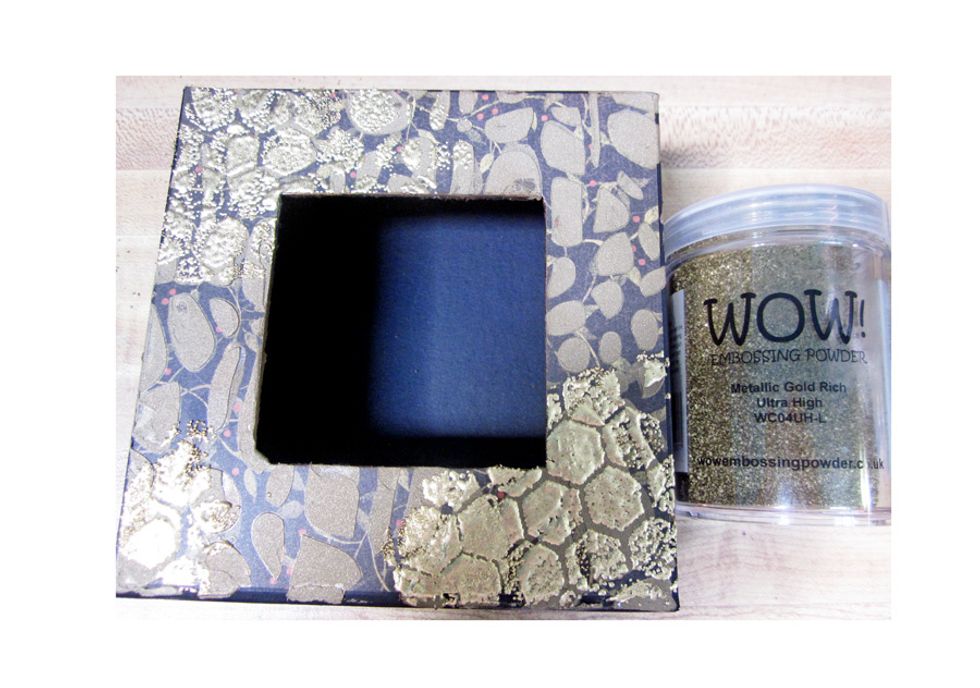
Sprinkle embossing powder over the inked areas and heat set with a heat gun. You can see the section of the bright gold popping out. We are just creating layers and layers for interest.
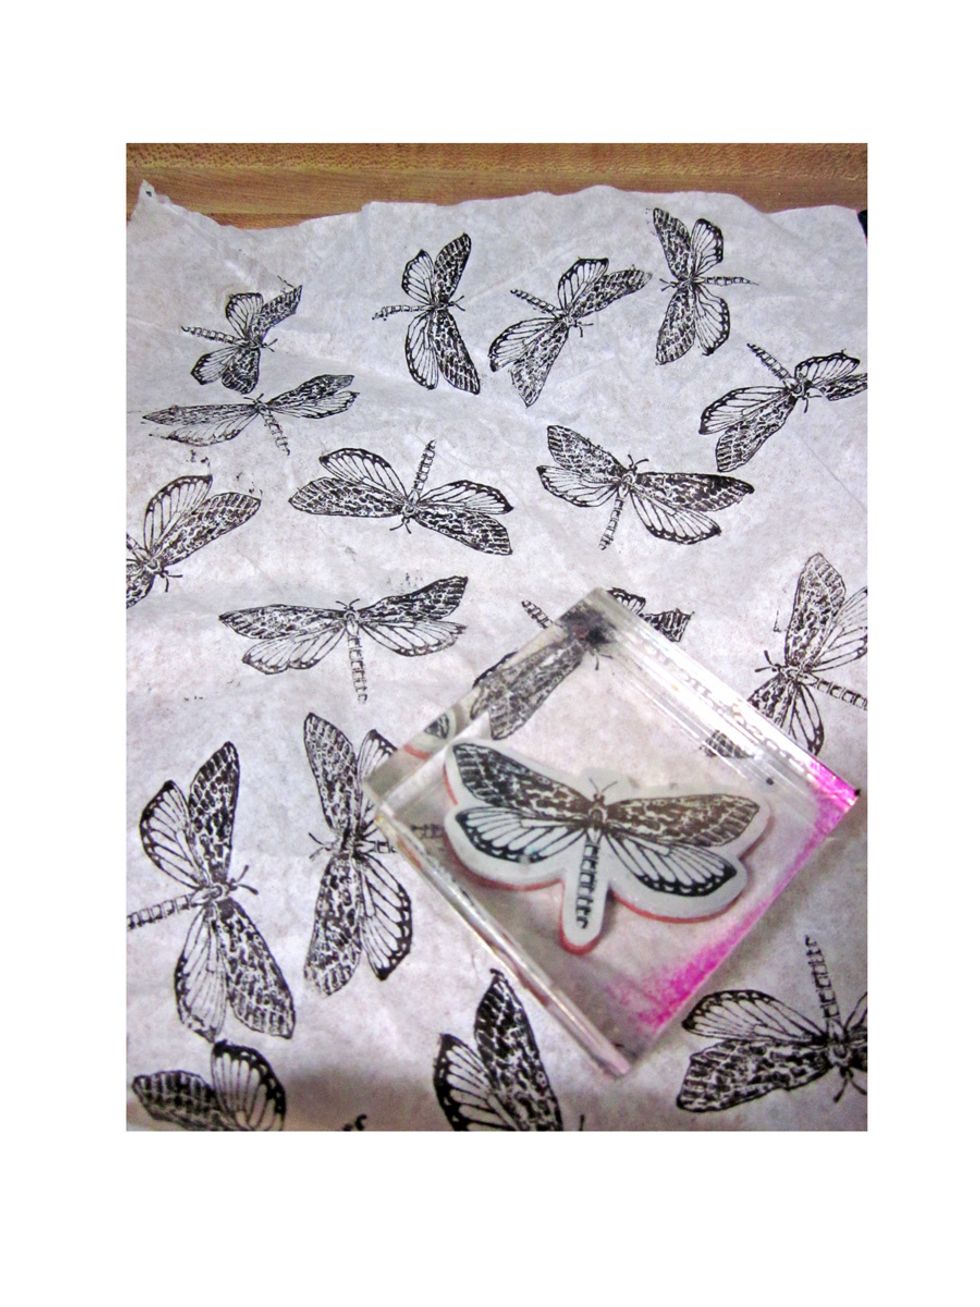
Using plain tissue paper stamp randomly over the tissue paper. I'm using a stamp from the Botanical Tea Graphic 45 collection.
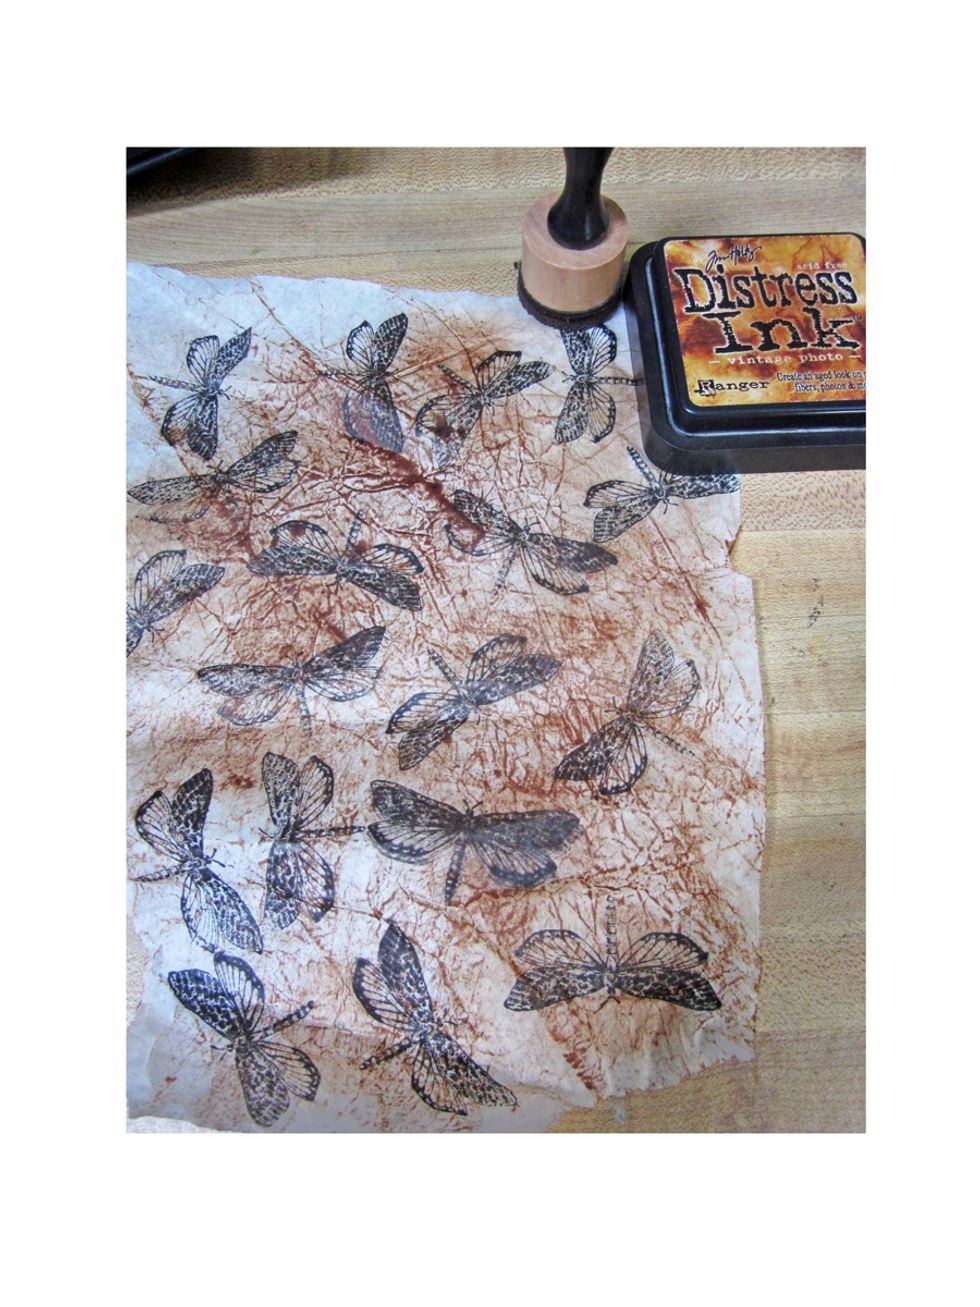
Next add distress ink to the top of the tissue paper. I'm using the Vintage Photo ink. Then spritz the paper with water to blend the colors more.
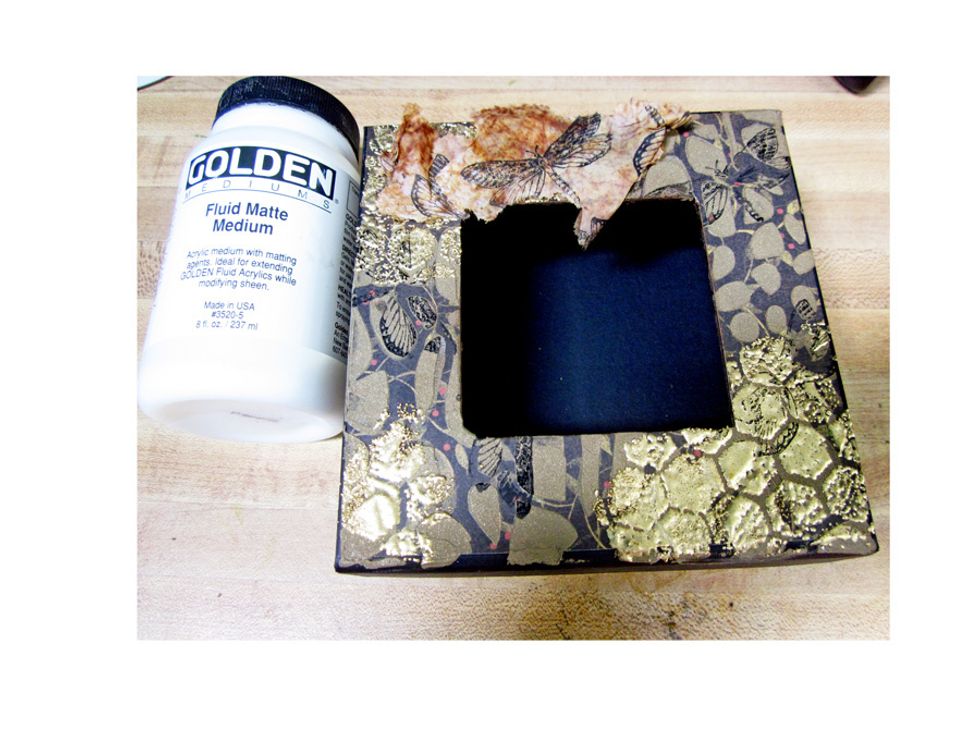
Use Fluid Matte Medium and tear pieces of the stamped tissue paper randomly over the top of the box. You could also use Modge Podge if you didn't ahve any of the Fluide Medium.
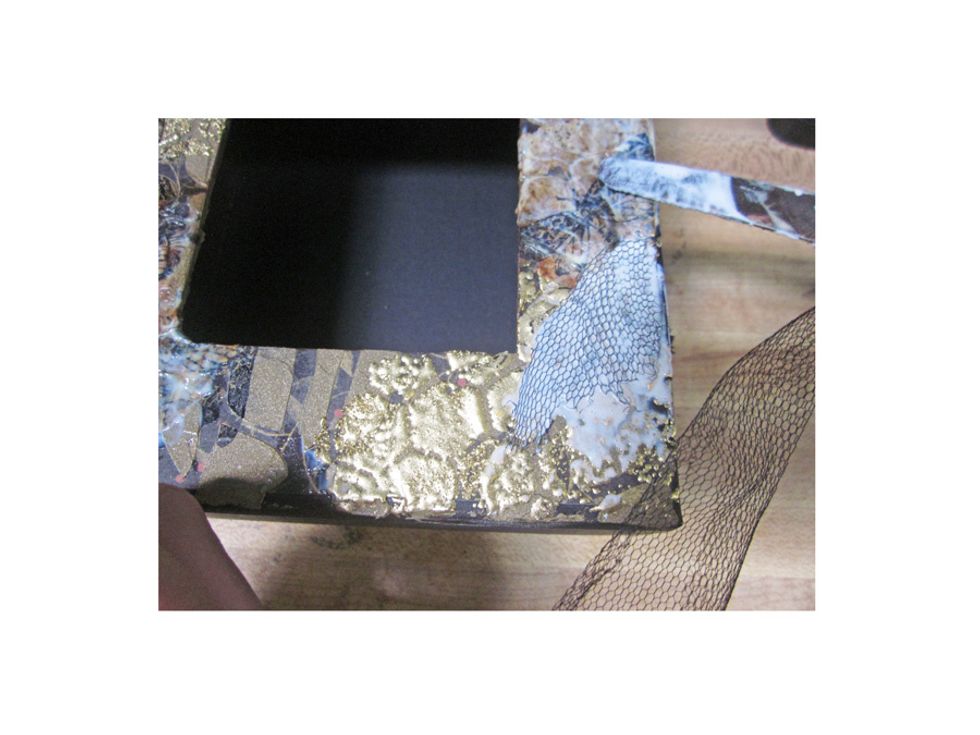
Next I added in some ripped little bits of netting to my mixed media piece. Again just set it with the Matte Medium and leave to dry. You can hurry the drying along with a heat gun if you'd like.
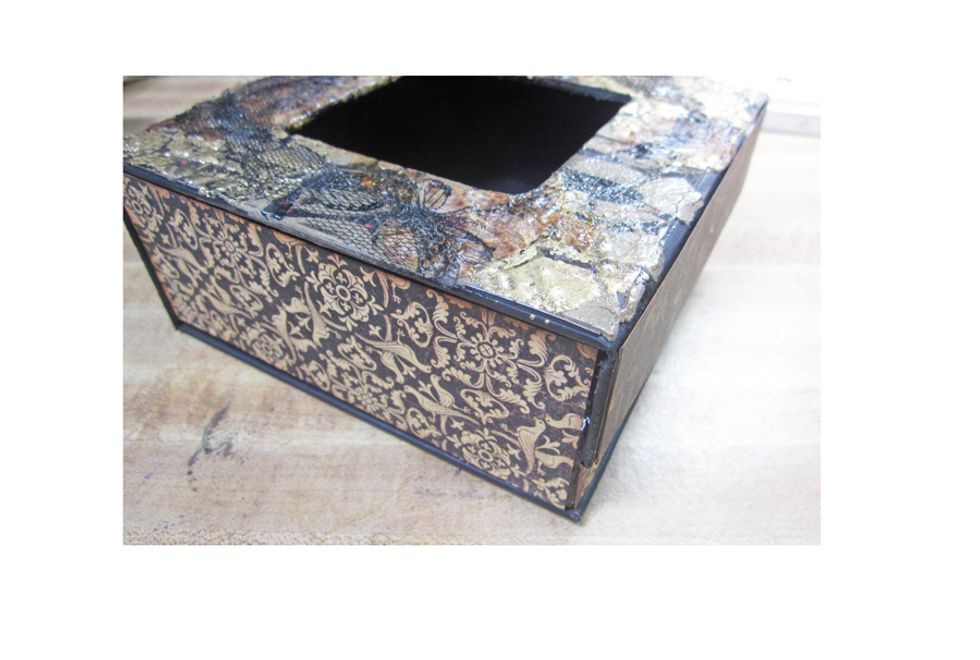
Cover the sides of the box with designer paper.
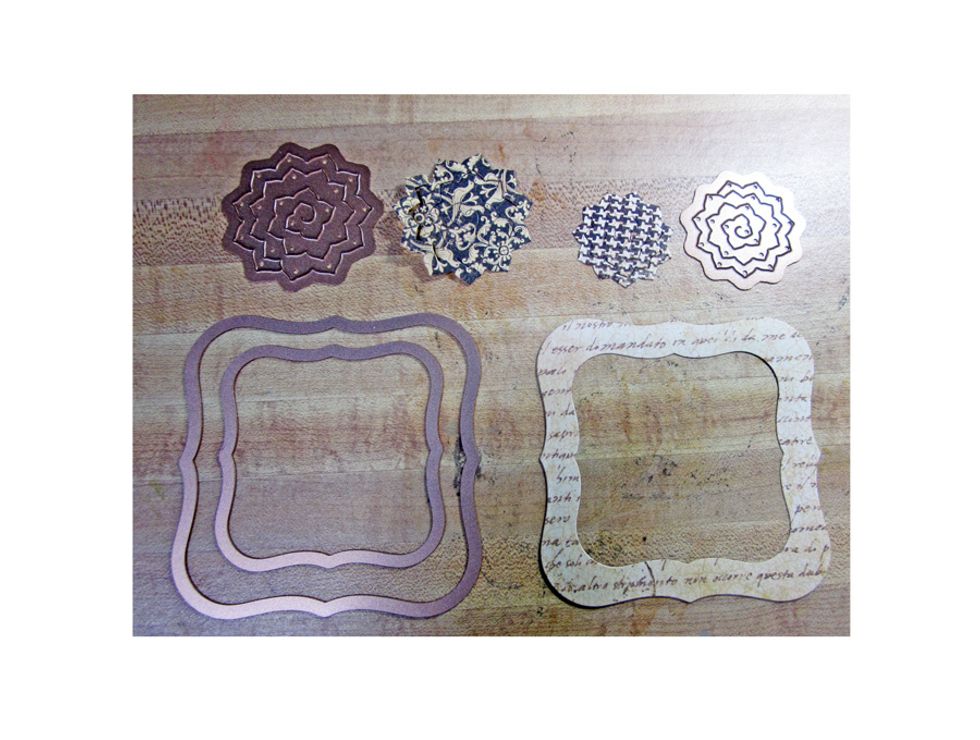
Cut out 5 -7 shapes from the Spellbinders pinecone die and then also a frame using the Labels 1 from Spellbinders. Ink the edges of your frame with the Vintage Photo Ink.
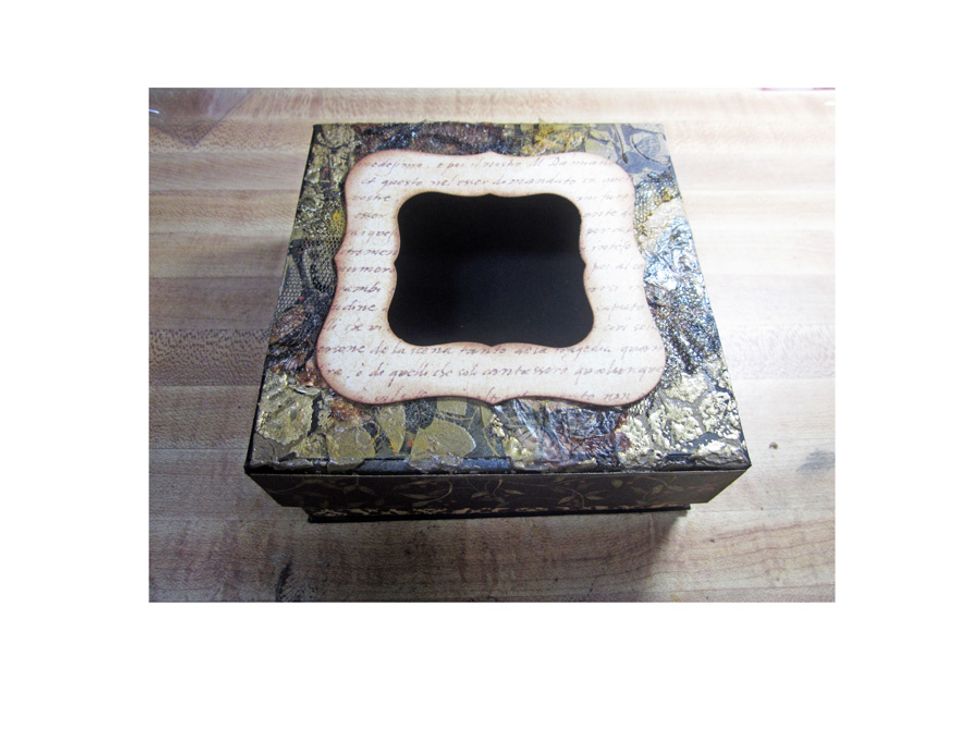
Glue down the frame to the open center of your box.
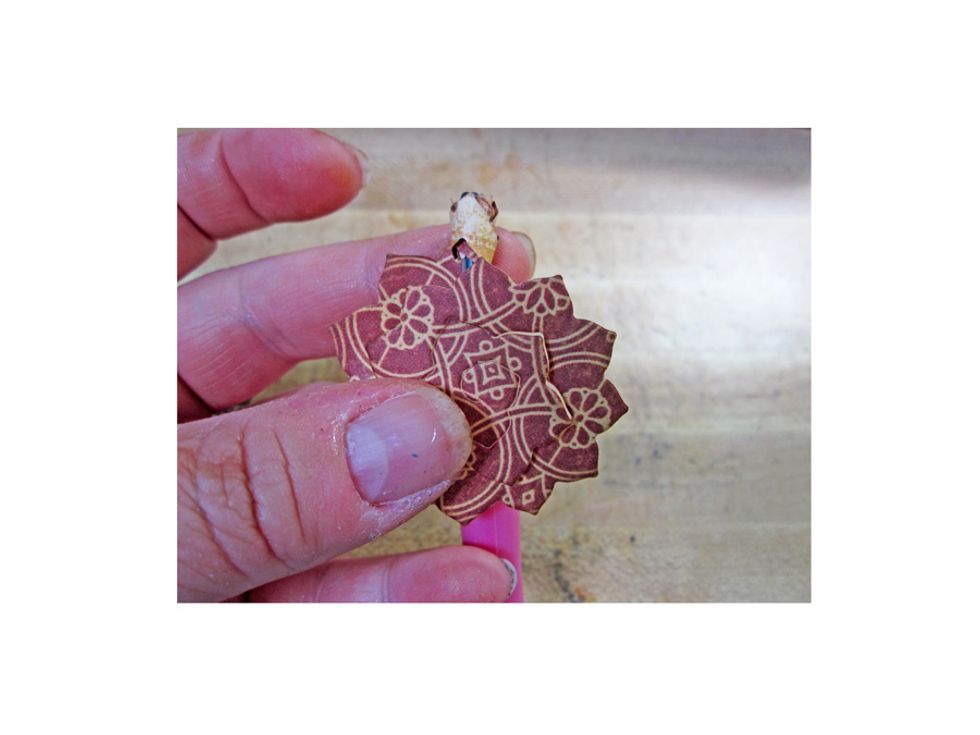
Using a quilling tool roll the pinecones into flowers from the outside in to create one of kind flowers. Glue down the flower once you have achieved the desired shape.
Here is a close up of some of the flowers completed and applied on the decorated box. I love using the various patterns of paper from Graphic 45 on the flowers, it makes them a one of a kind.
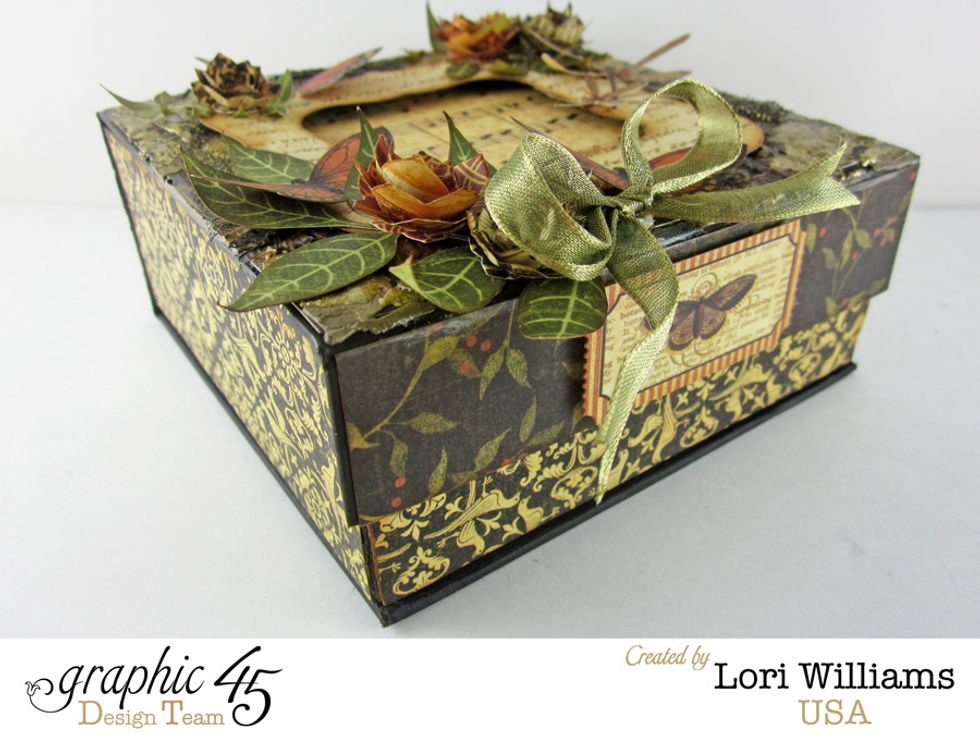
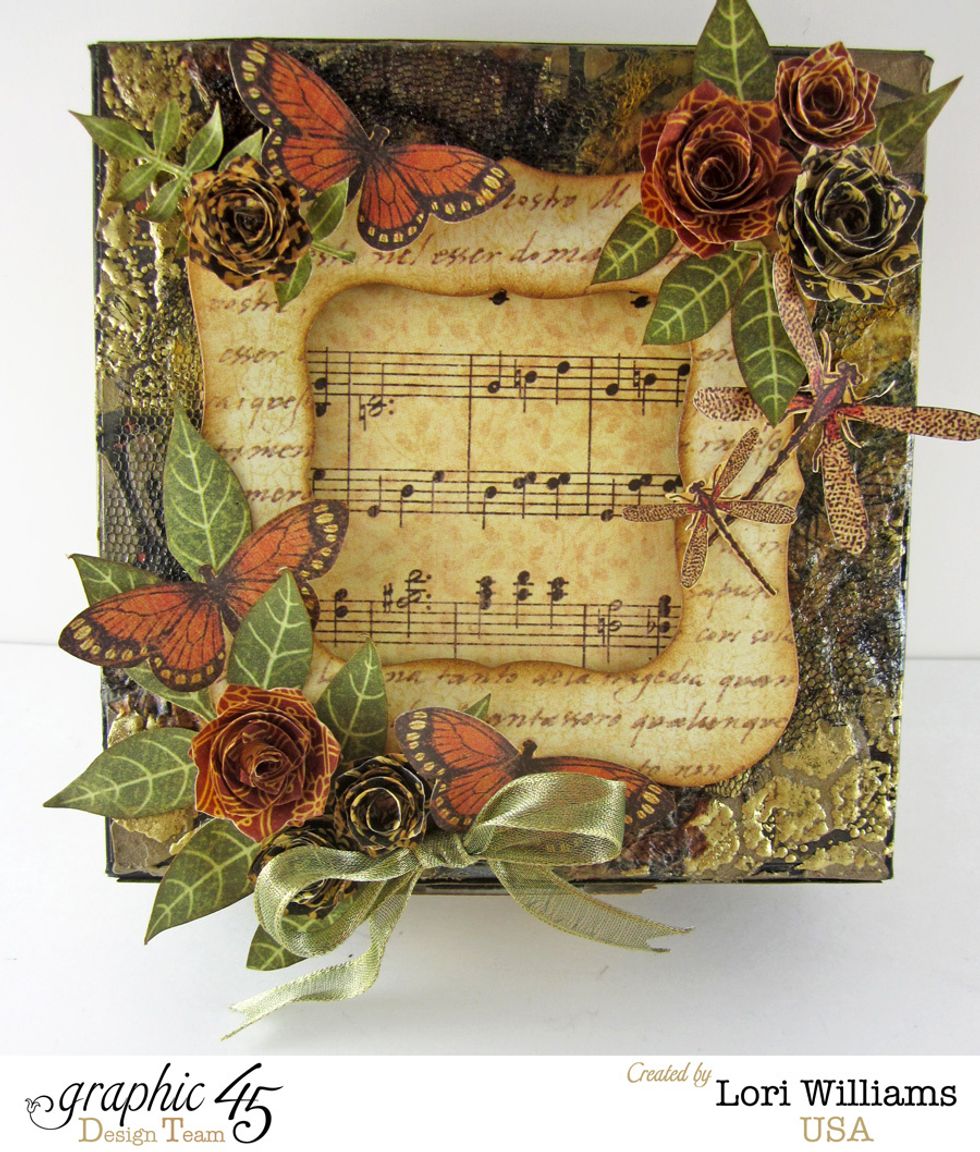
Here is another shot of the box completed and decorated.
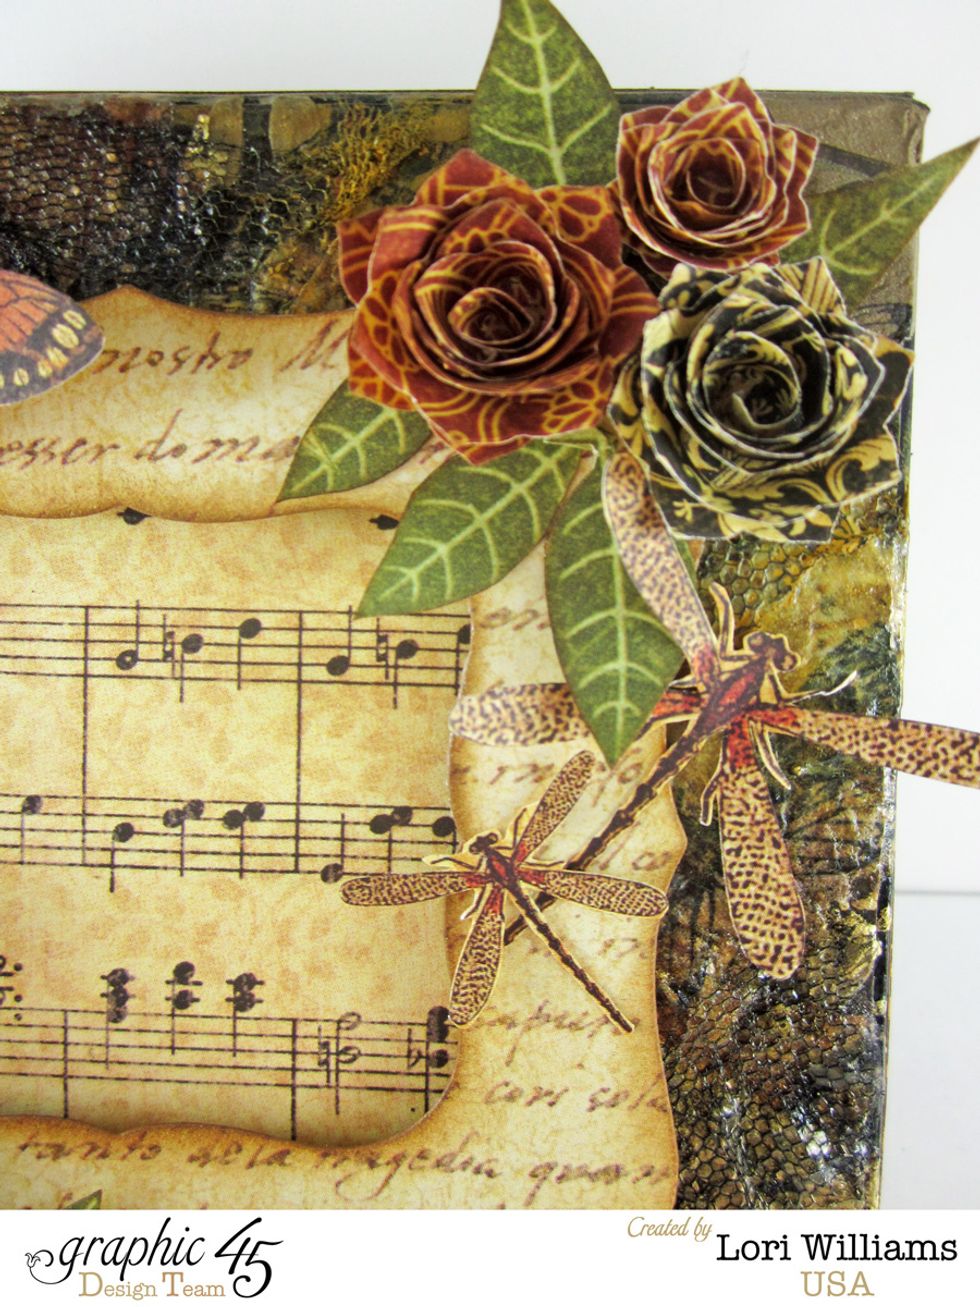
See how the various patterned paper make for a great cluster of flowers.
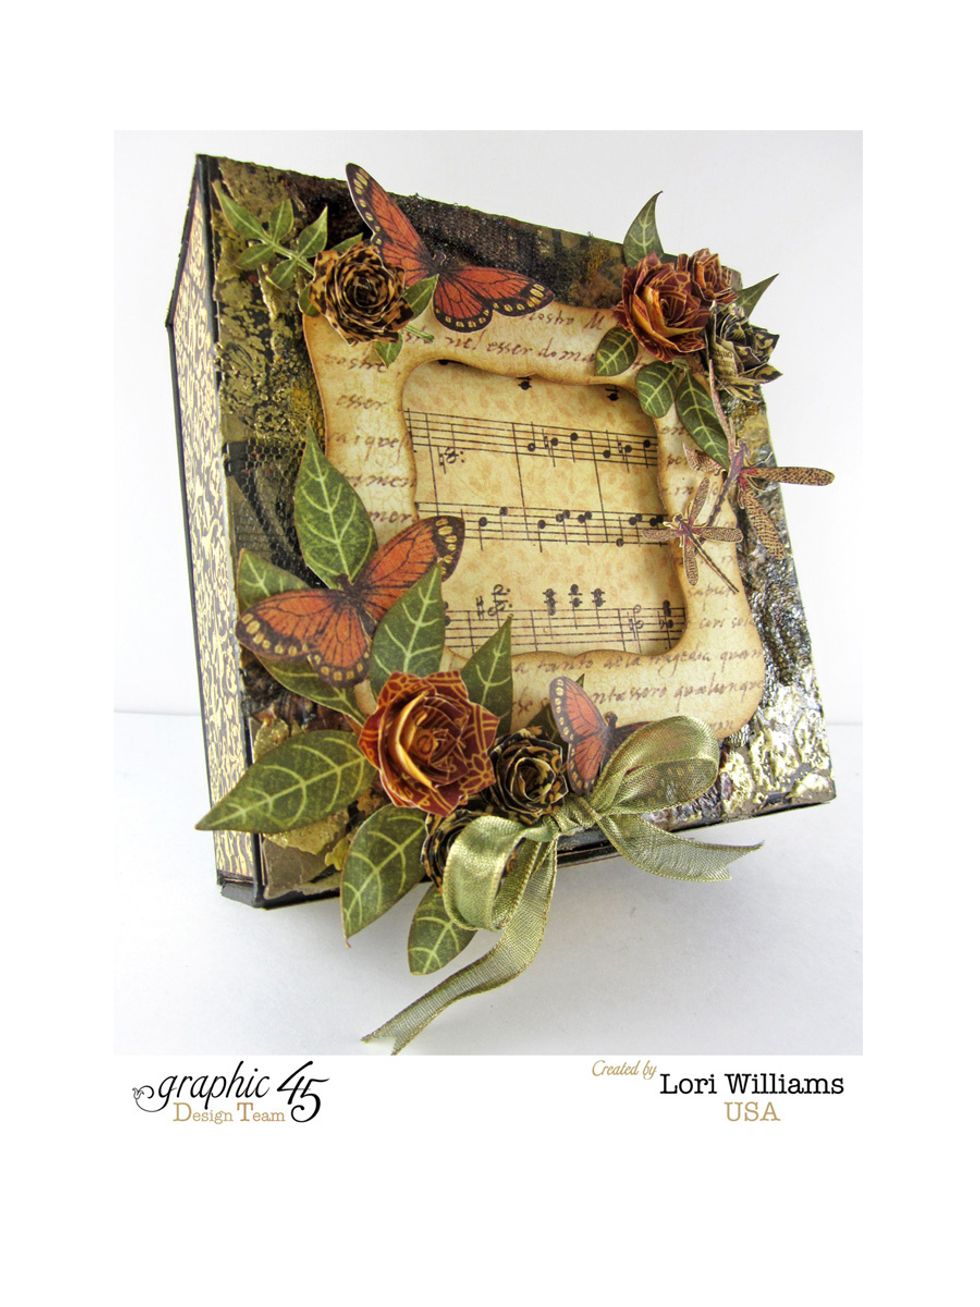
Here is a complete shot of the finished box. You can see how easy it is to create one for yourself so be sure to pick up the supplies and make yours today.

My name is Lori Williams and I'm a design team member with Graphic 45. You can see more of my work on my blog www.pinkcloudscrappers.blogsp… or on Graphic 45's Blog www.g45papers.typepade.com