The Conversation (0)
Sign Up
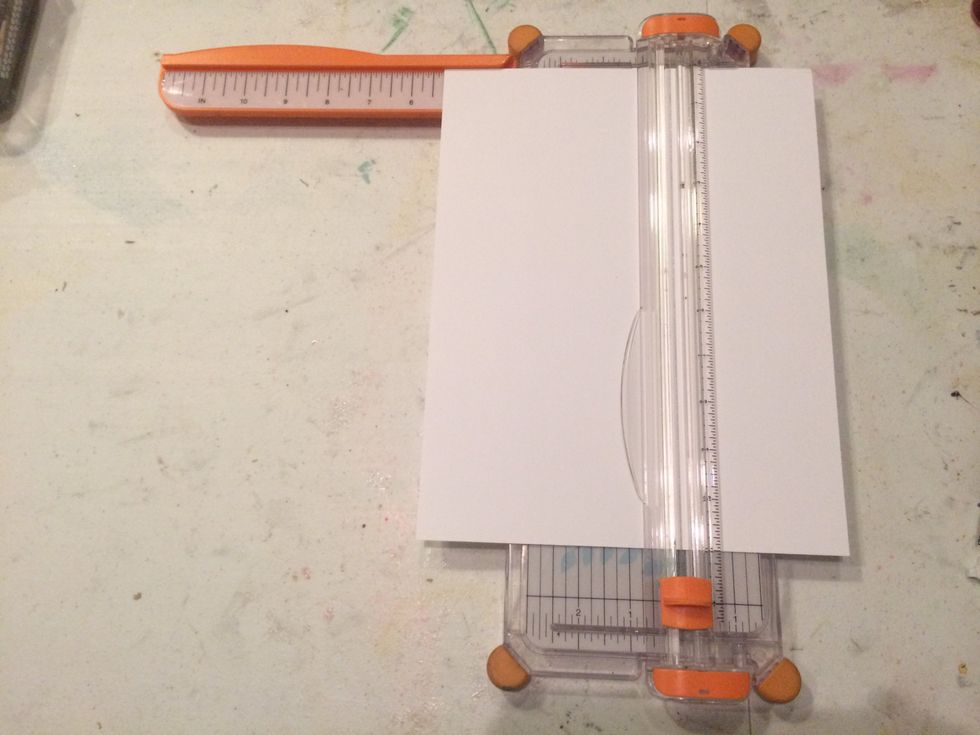
Cut at 5 1/2" on the 8" side of the plain 8 1/2" x 11" piece of cardstock
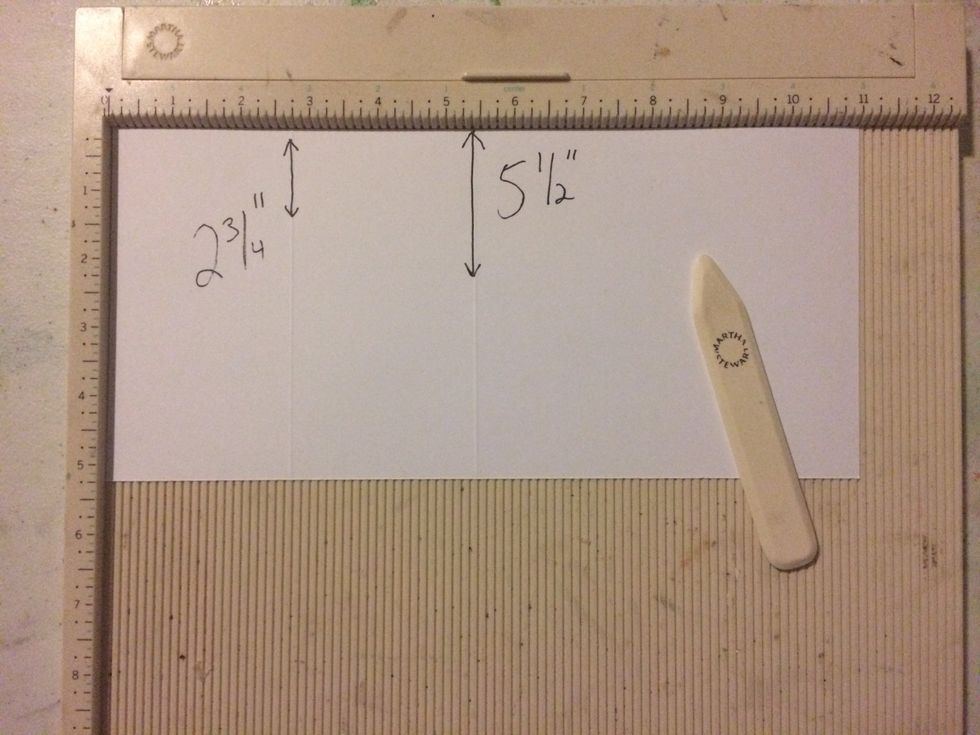
Score the 5 1/2" x 11" cardstock at the 2 3/4" mark and the 5 1/2" mark.
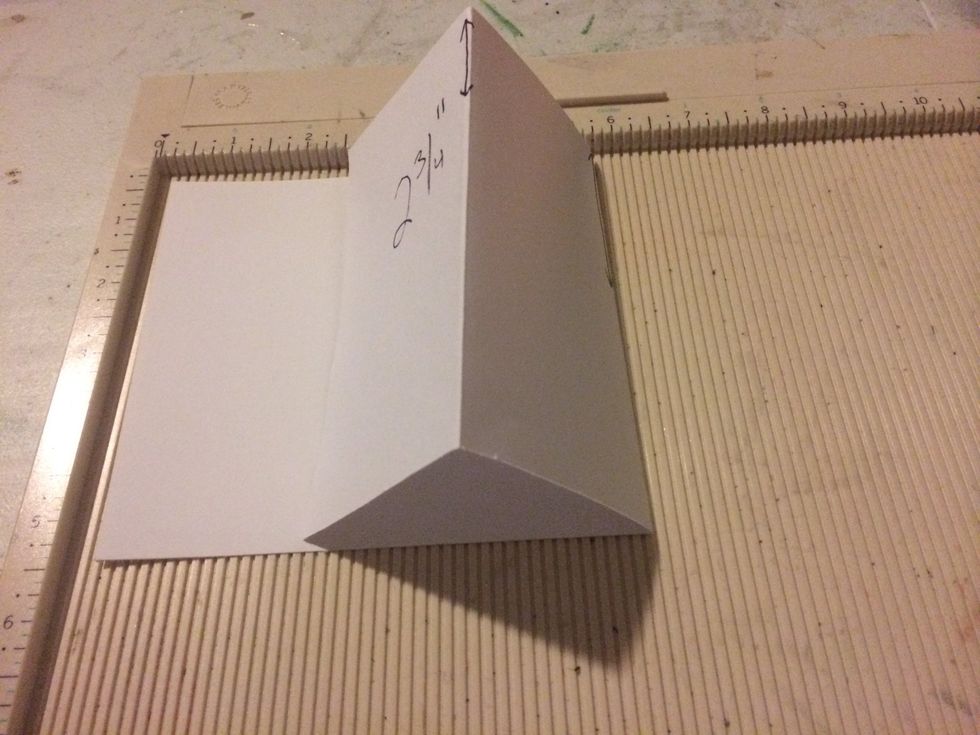
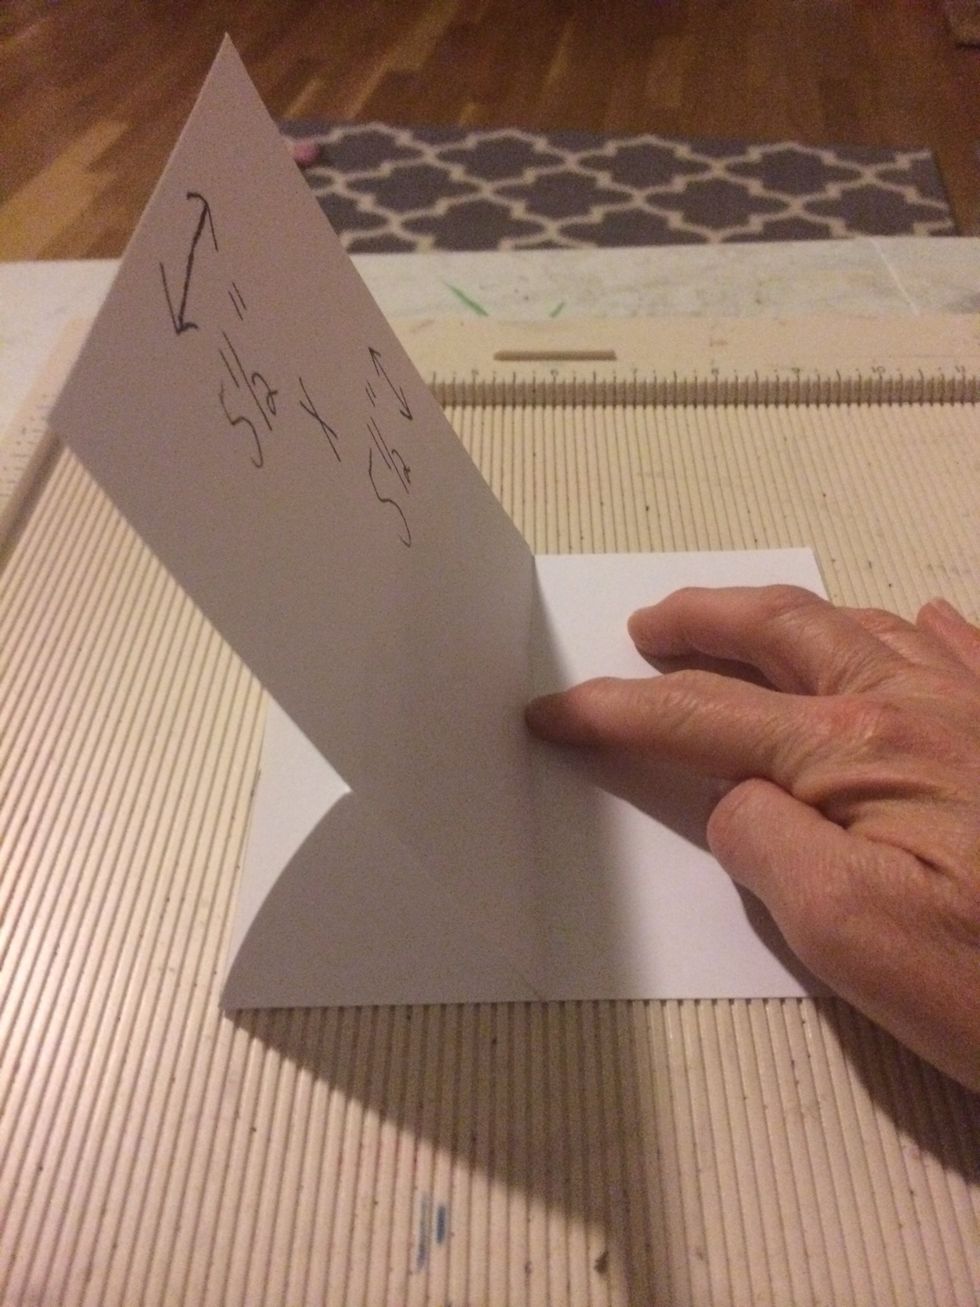
Fold the score marks. The cardstock should look like this.

Cut a 5 1/2" x 5 1/2" piece of cardstock from the second piece of 8 1/2" x 11" piece of plain cardstock.
Glue the 5 1/2" x 5 1/2" piece of cardstock to the 2 3/4" fold of paper.
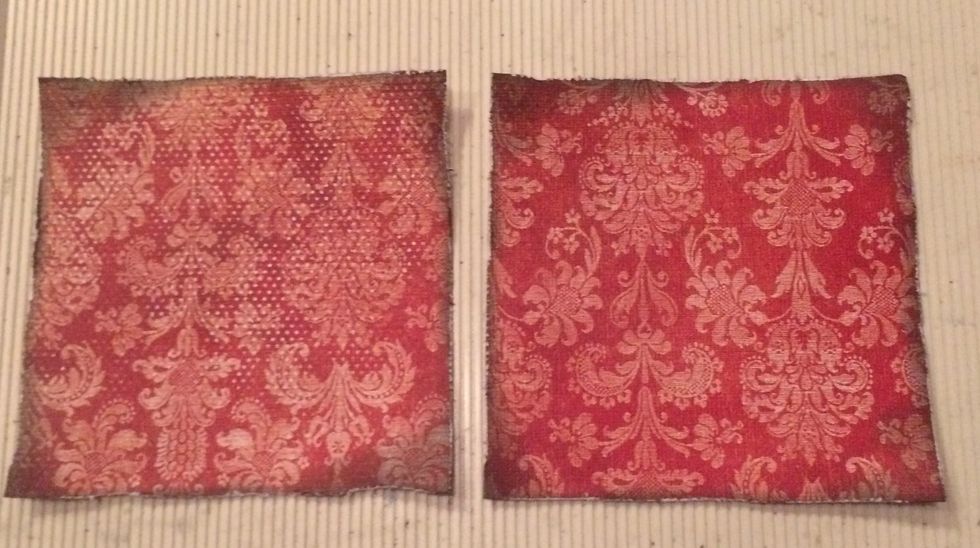
Cut two pieces of 5" x 5" cardstock from the coordinating 12" x 12" cardstock. Ink and distress the edges.
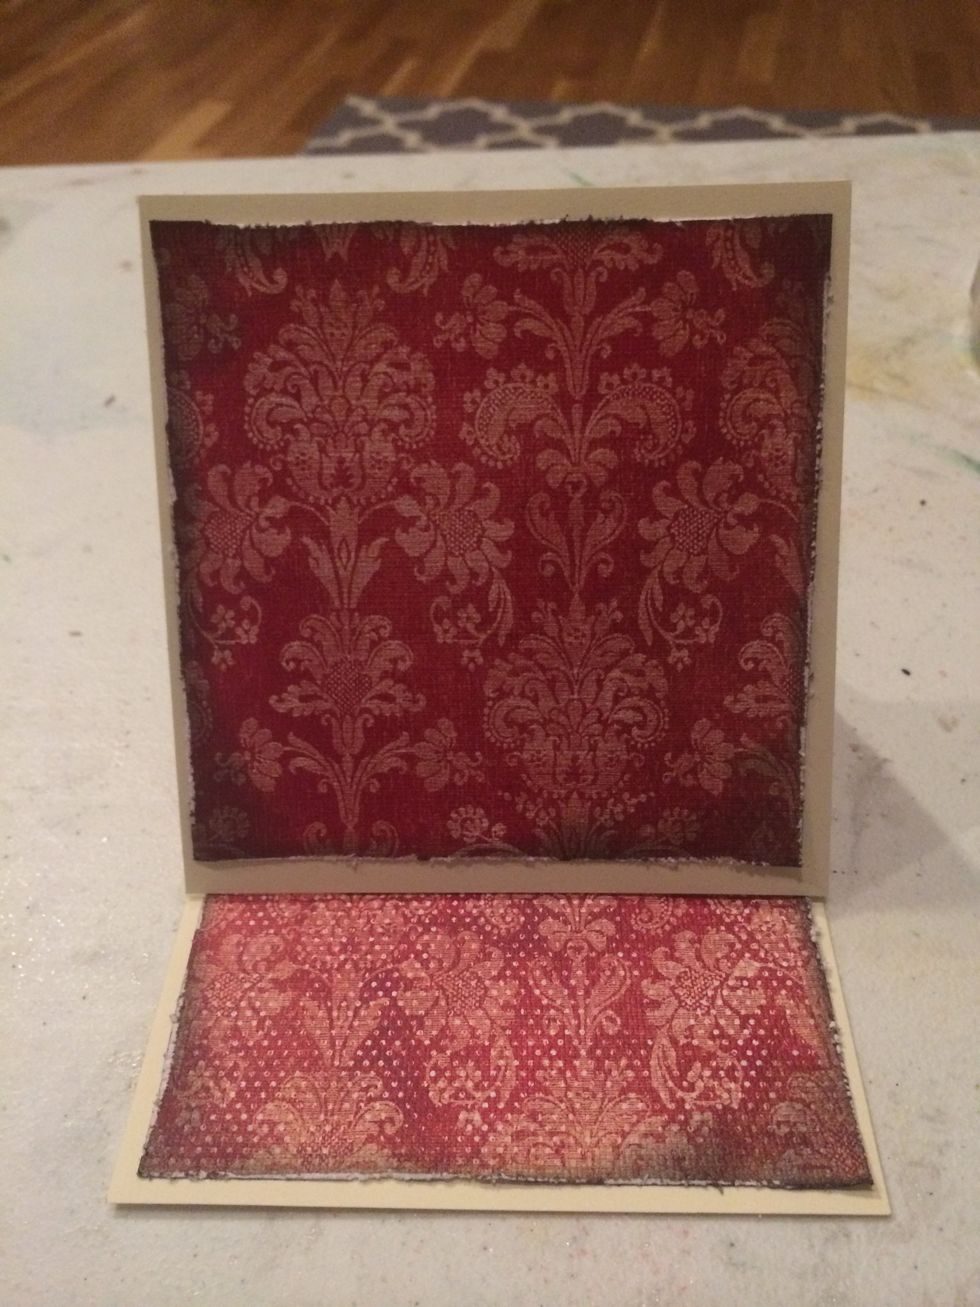
Attach cardstock to the top/front by applying tape/glue ONLY to sides and bottom. This will alow you to add a pullout tag behind the cardstock. Then attach the second piece to the base/bottom of card.
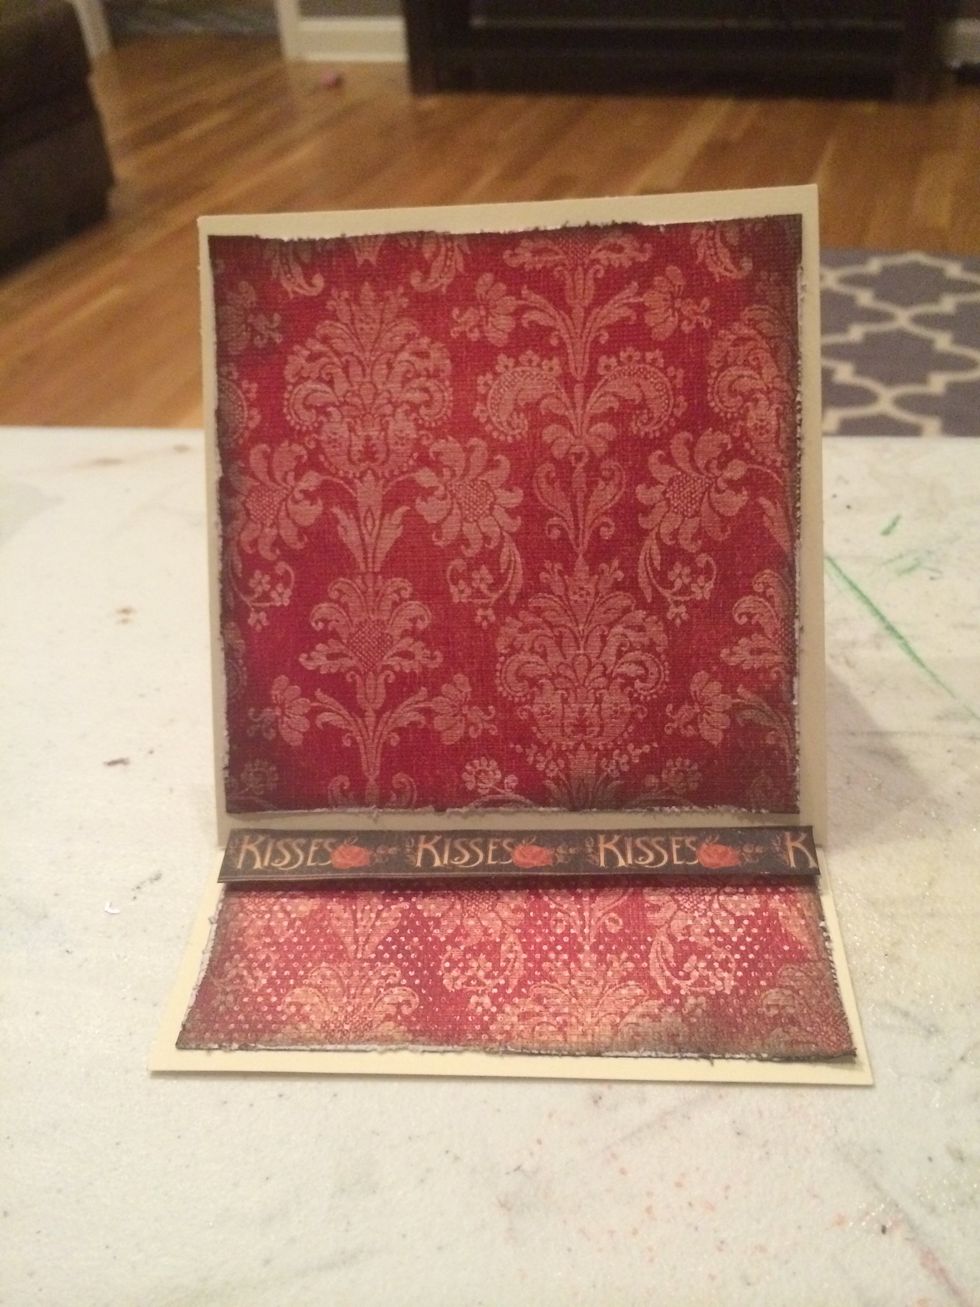
Add a 3/4" x 5" strip of paper to the base/bottom of the card by applying glue dots to the backing. This will allow the card to stand.
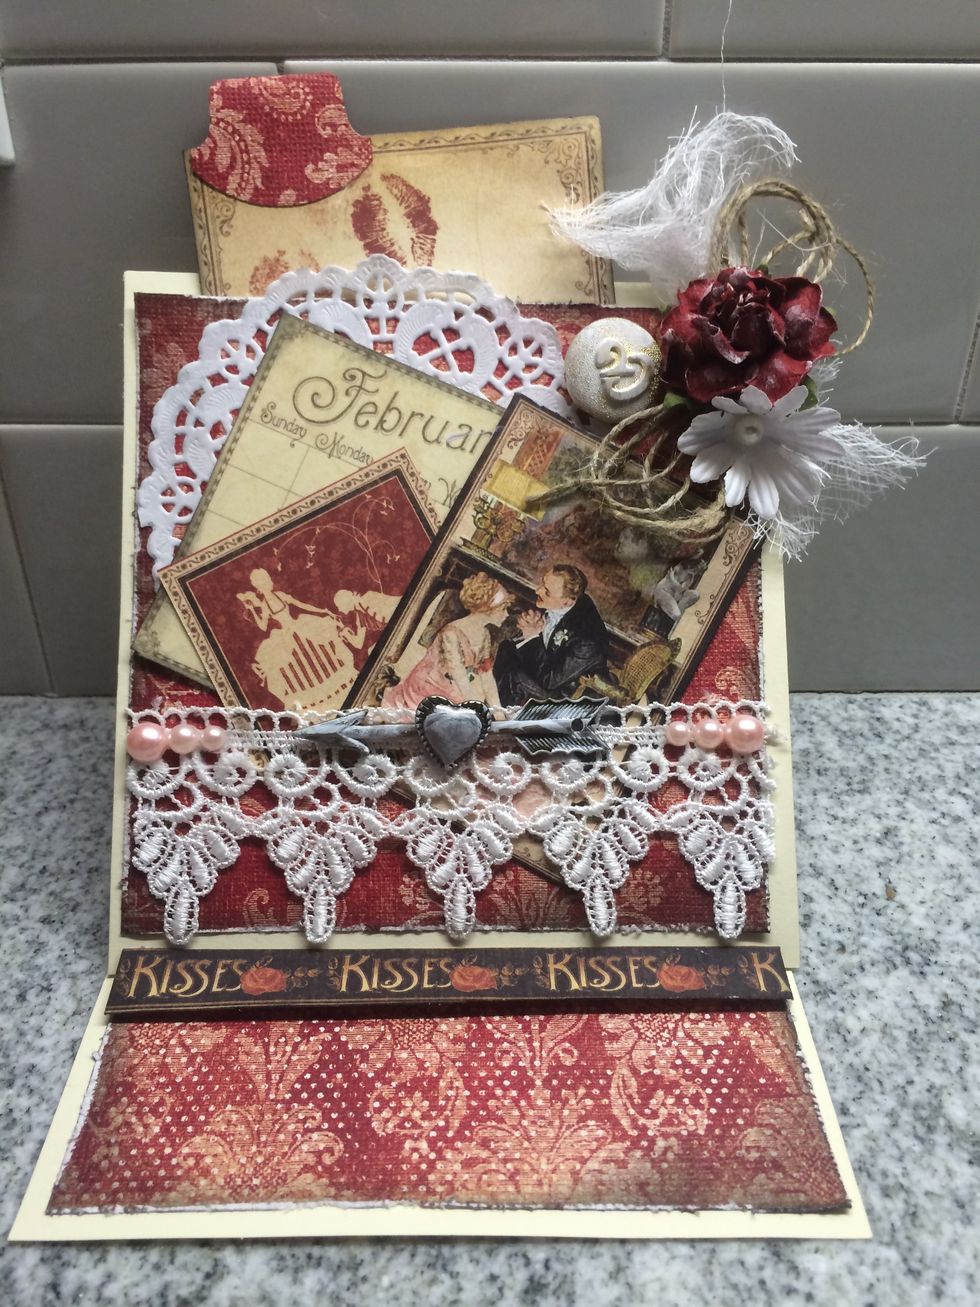
Lastly, the card was embellished with a paper doily, lace, buttons, twine, flowers, cheesecloth, pearl bling, Graphic 45 Place in Time cardstock & a pullout tag with a tab.