The Conversation (0)
Sign Up

On the 8 1/2" side of the 8 1/2" x 11" piece of cardstock cut at 5 1/2".
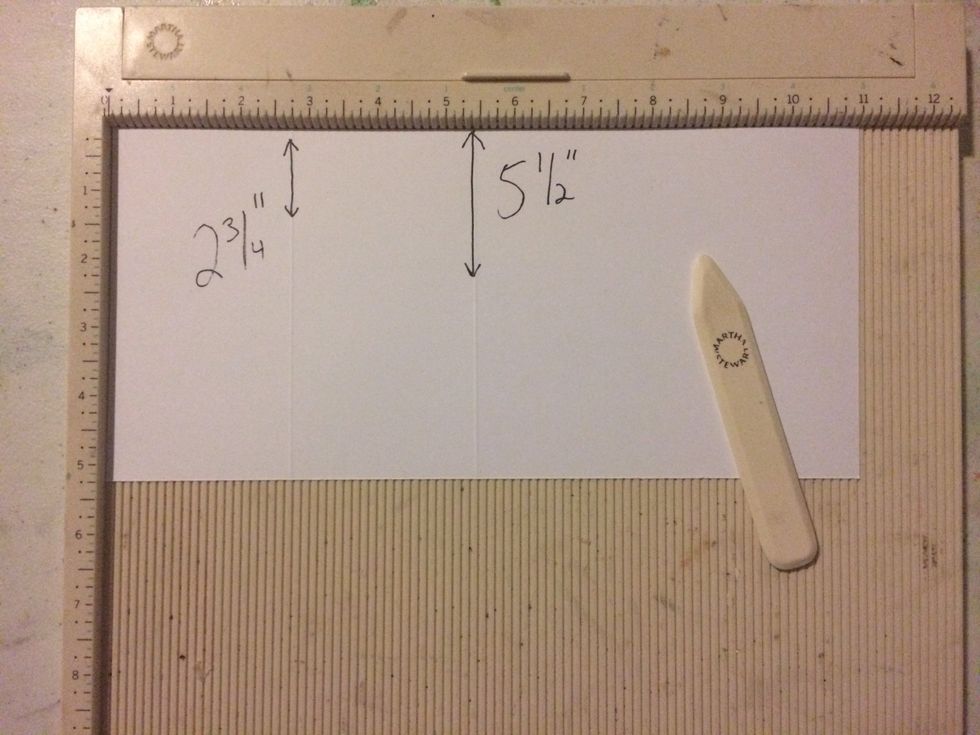
Score the paper (lengthwise) at 5 1/2" and 2 3/4"
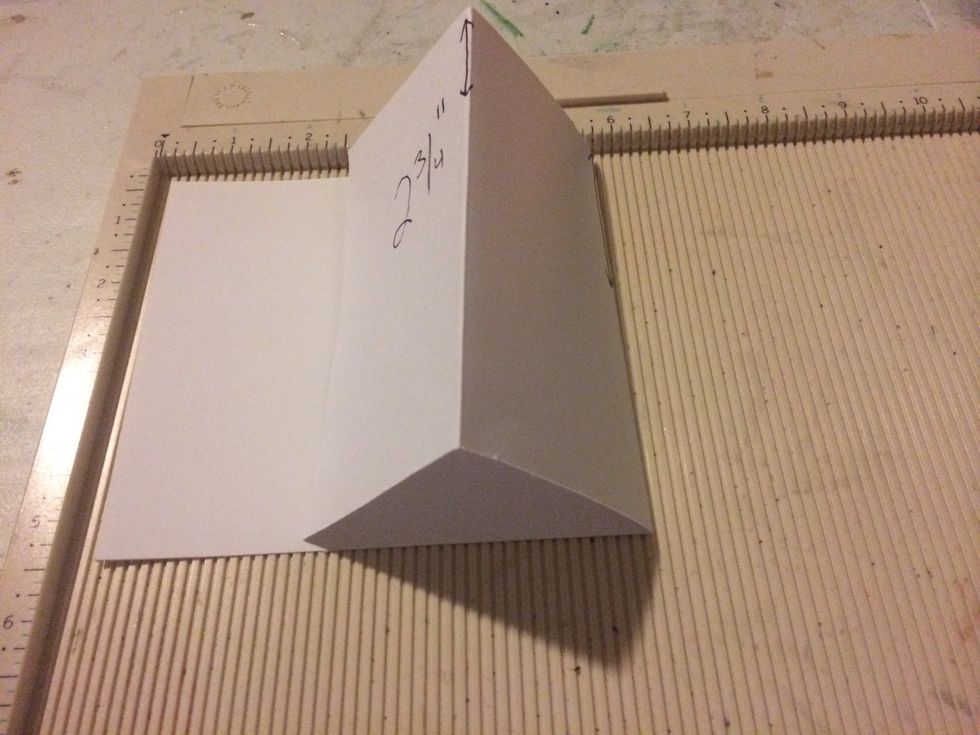
Fold at the score lines. Your cardstock should look like this.
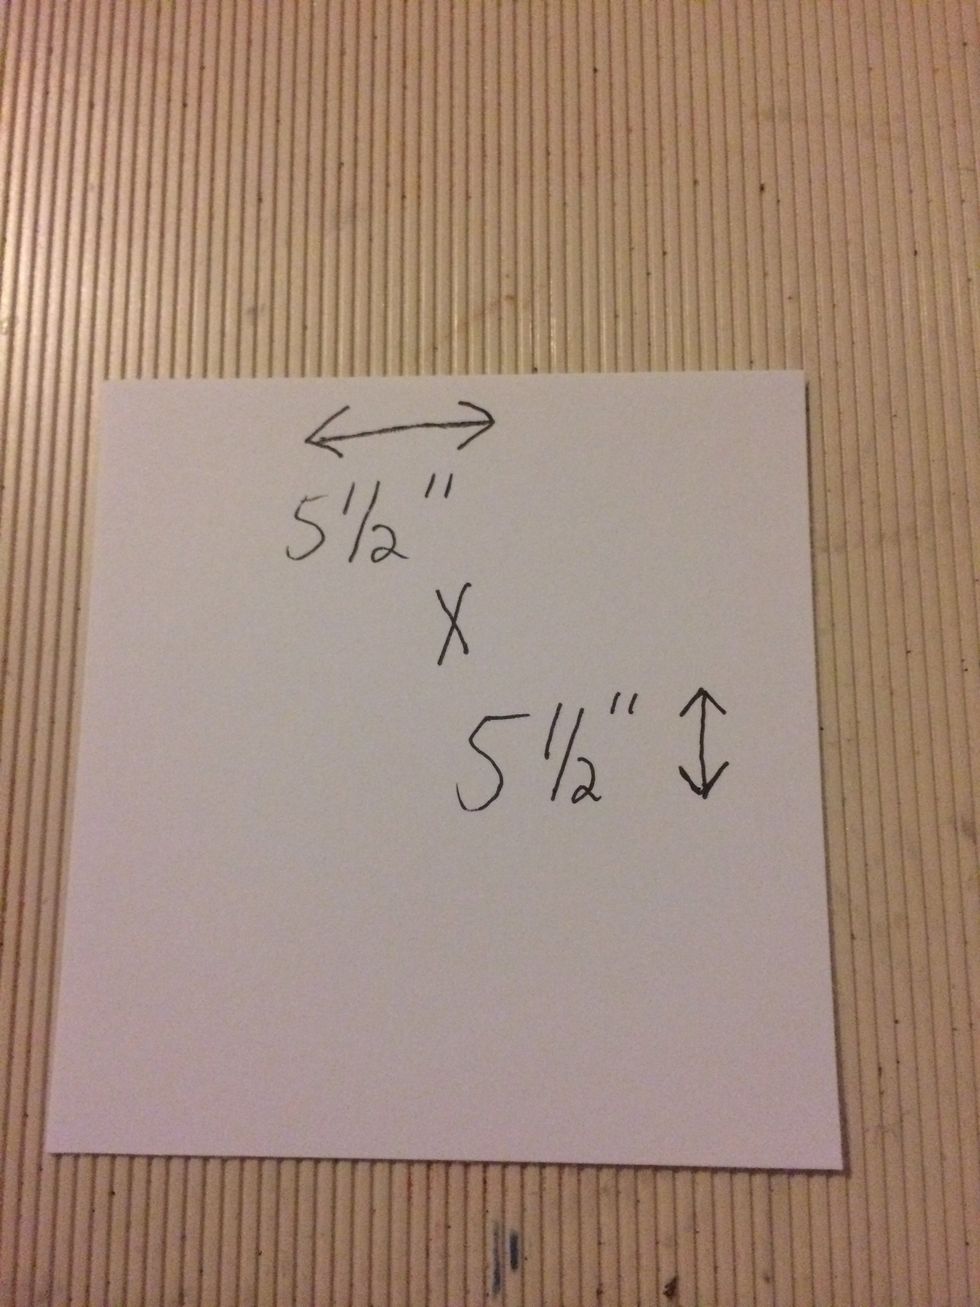
Cut a 5 1/2" x 5 1/2" piece of cardstock from the second piece of 8 1/2" x 11" cardstock.
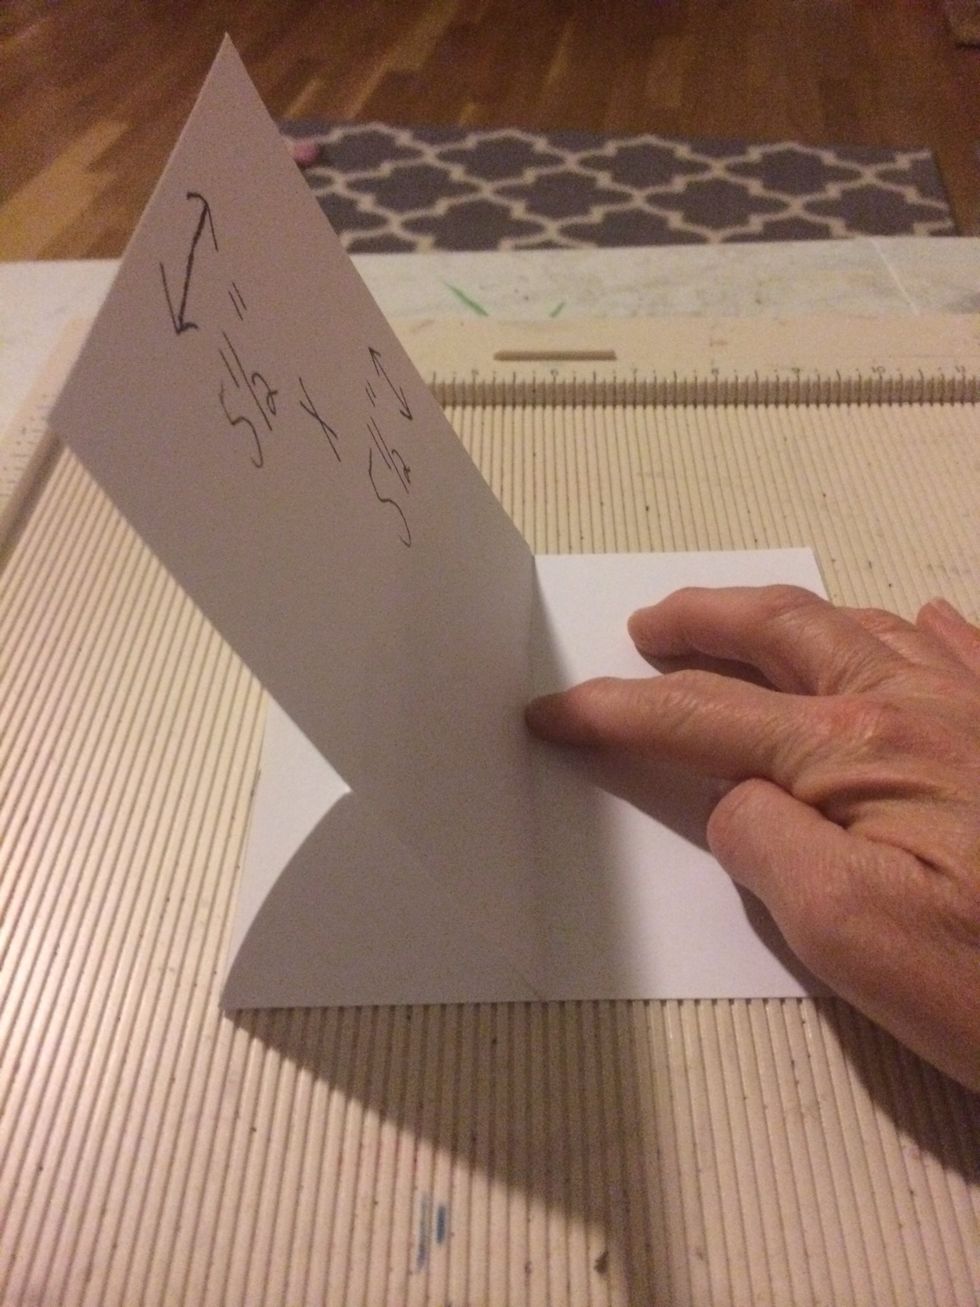
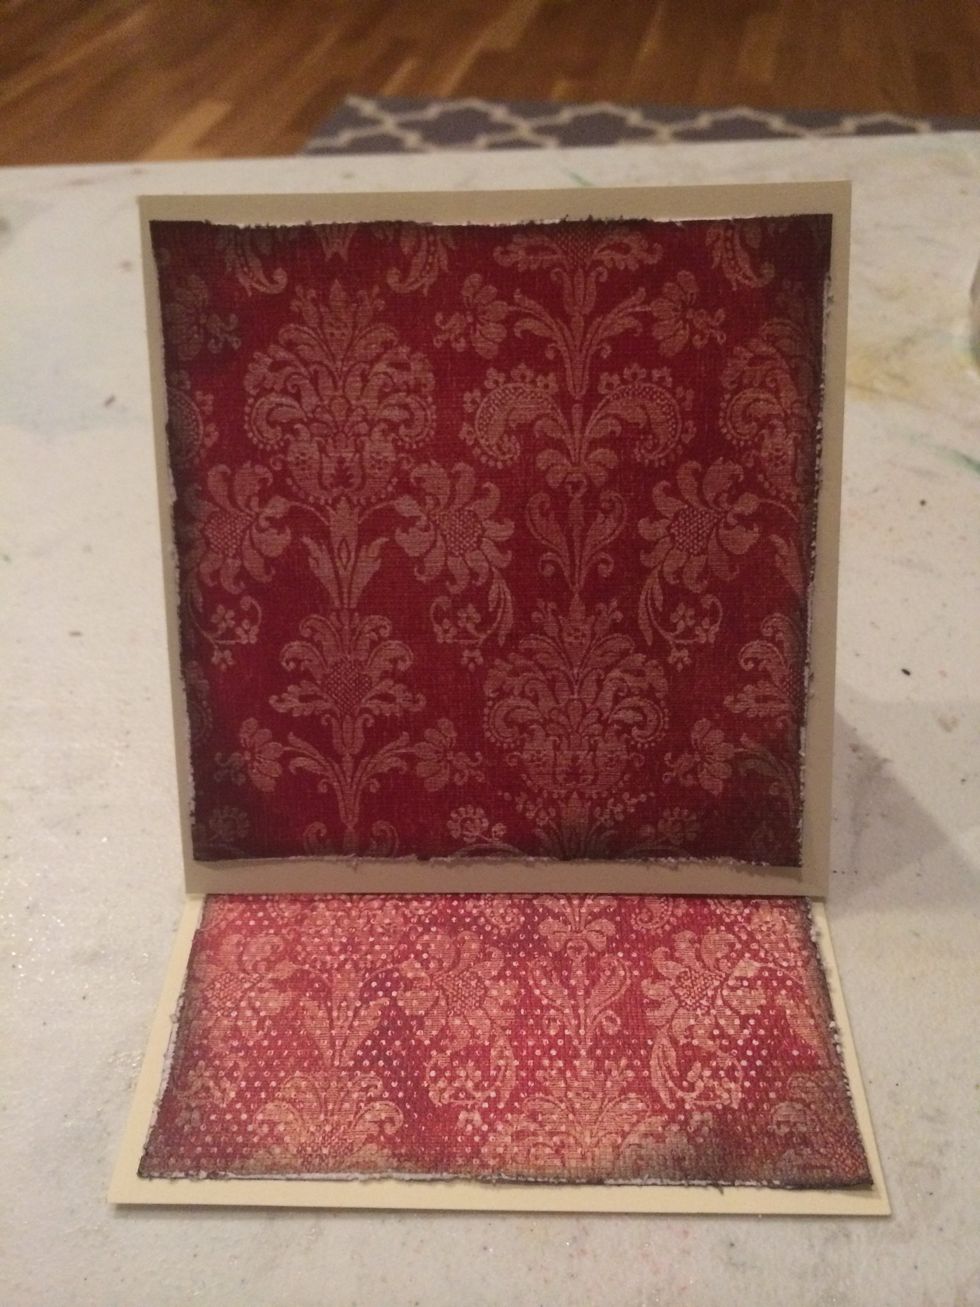
Glue the 5 1/2" x 5 1/2" piece of cardstock to the 2 3/4" fold of paper.
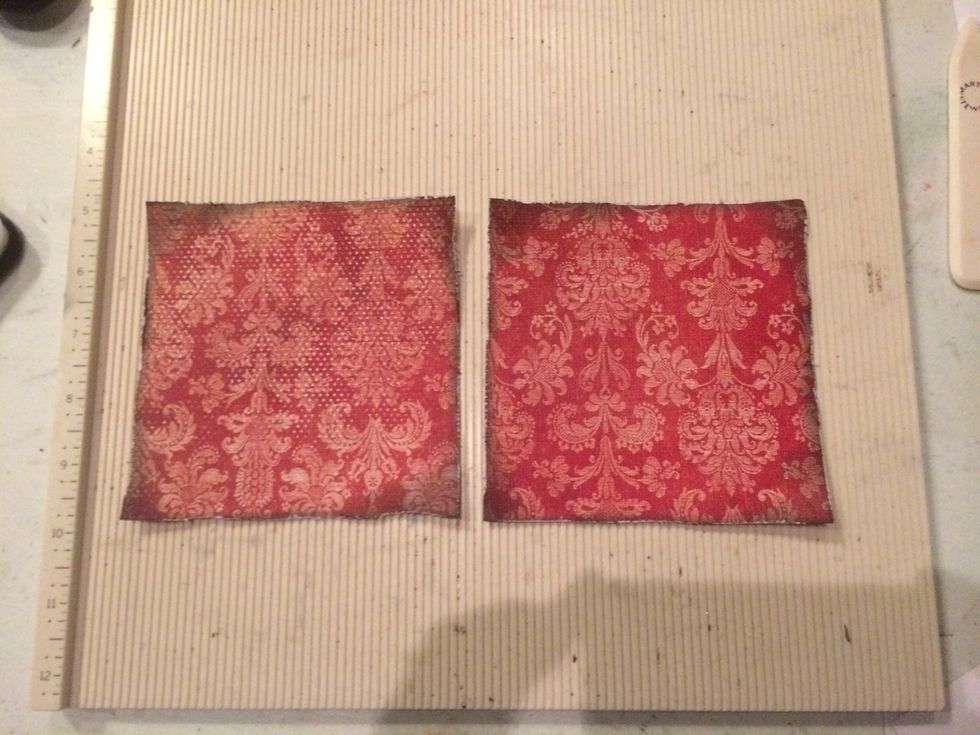
Cut two pieces of 5" x 5" pieces from the coordinating cardstock.
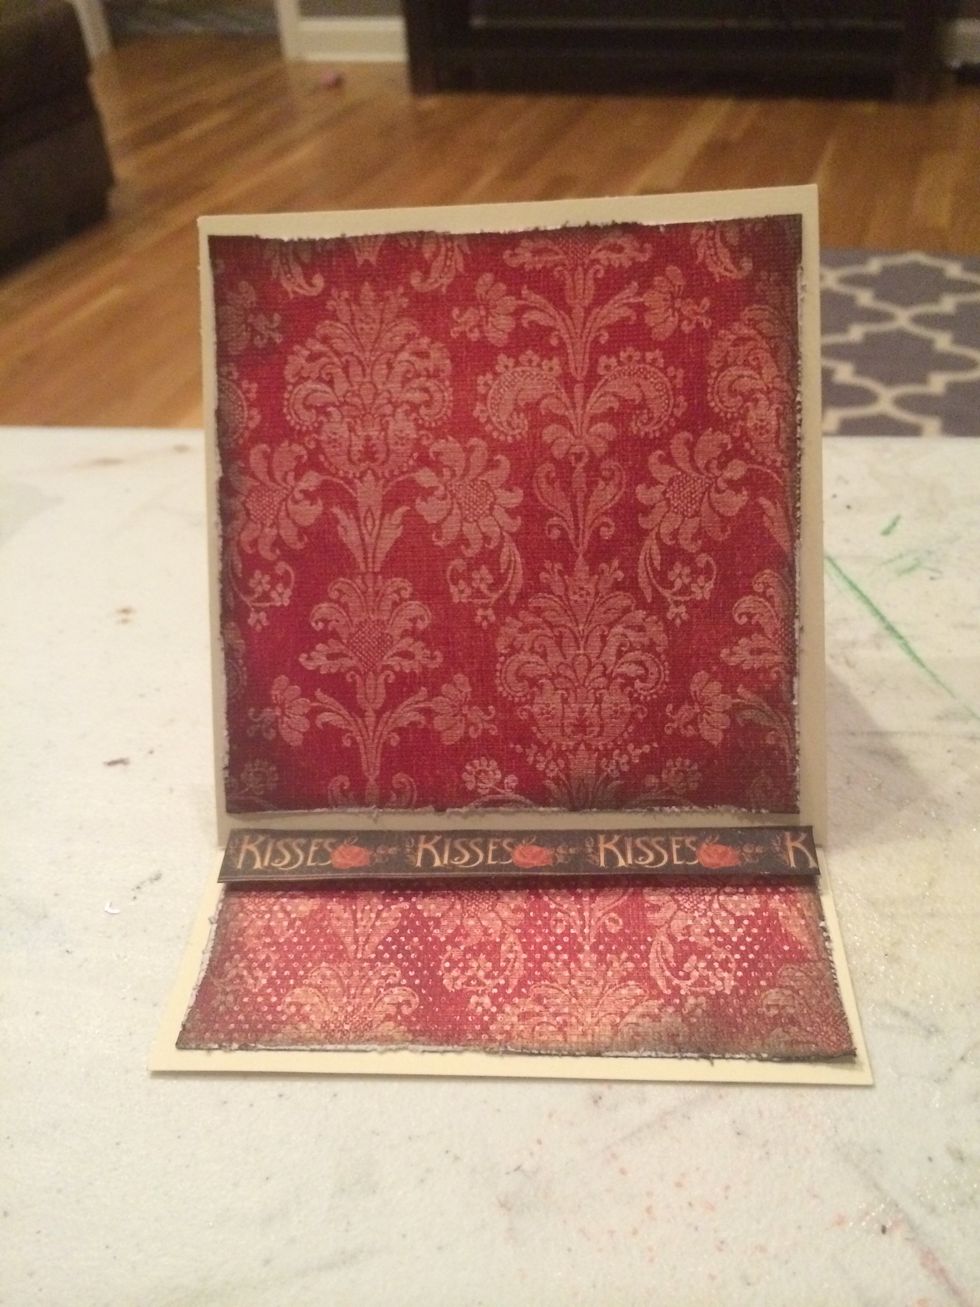
I add something dimesional to the bottom/base of the card because this allows the card to stand up. You can do this by adding a coordinating strip of cardstock with glue dots on the back.
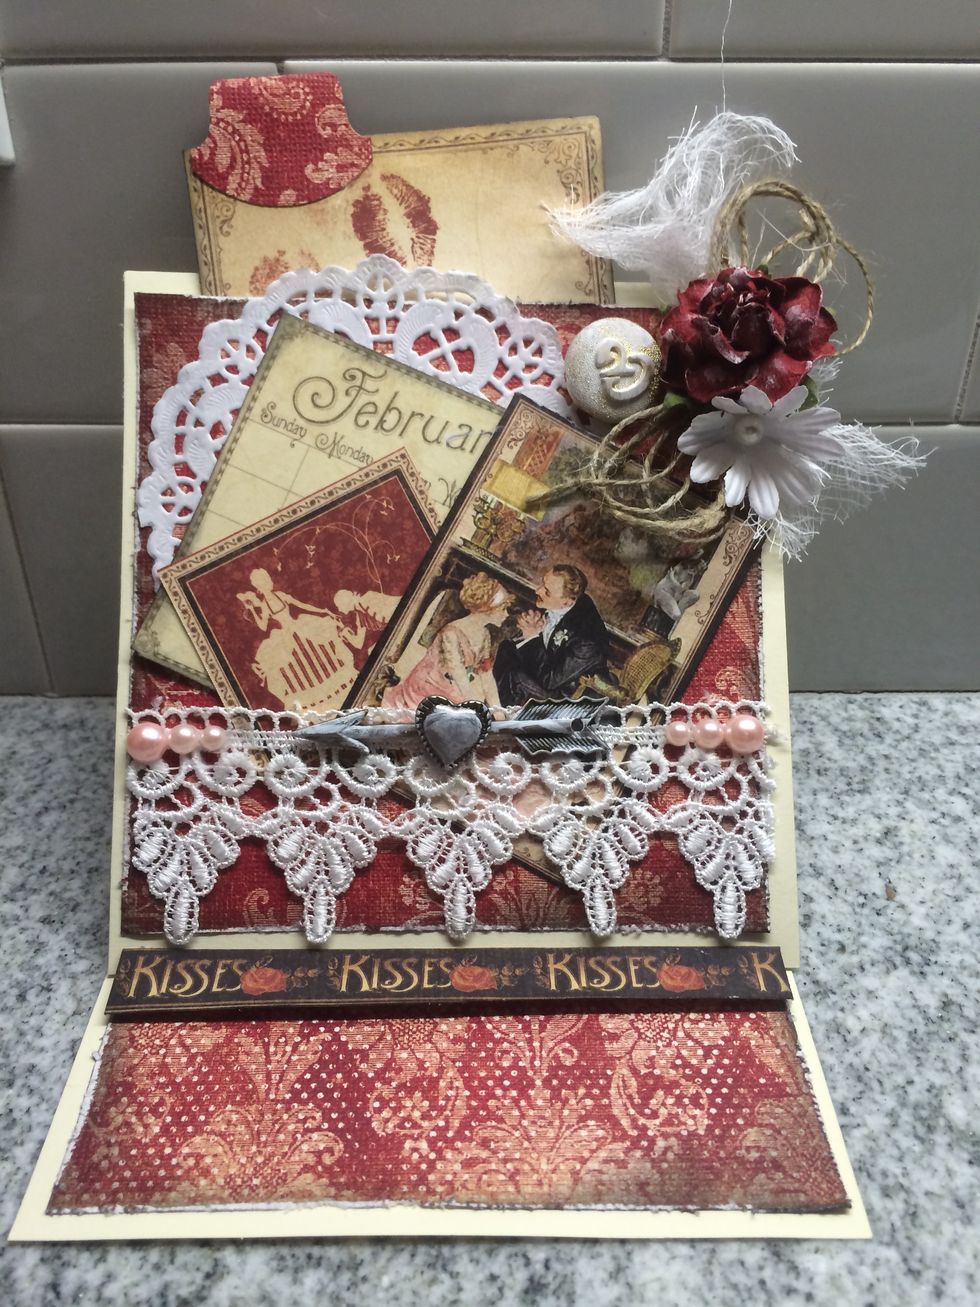
Lastly, I decorated the card by adding a doily, lace, cheesecloth, twine, buttons, ebellishments & Graphic 45 Place in Time (February) cardstock. You can see I made a tab and added to the pullout tag.