The Conversation (0)
Sign Up
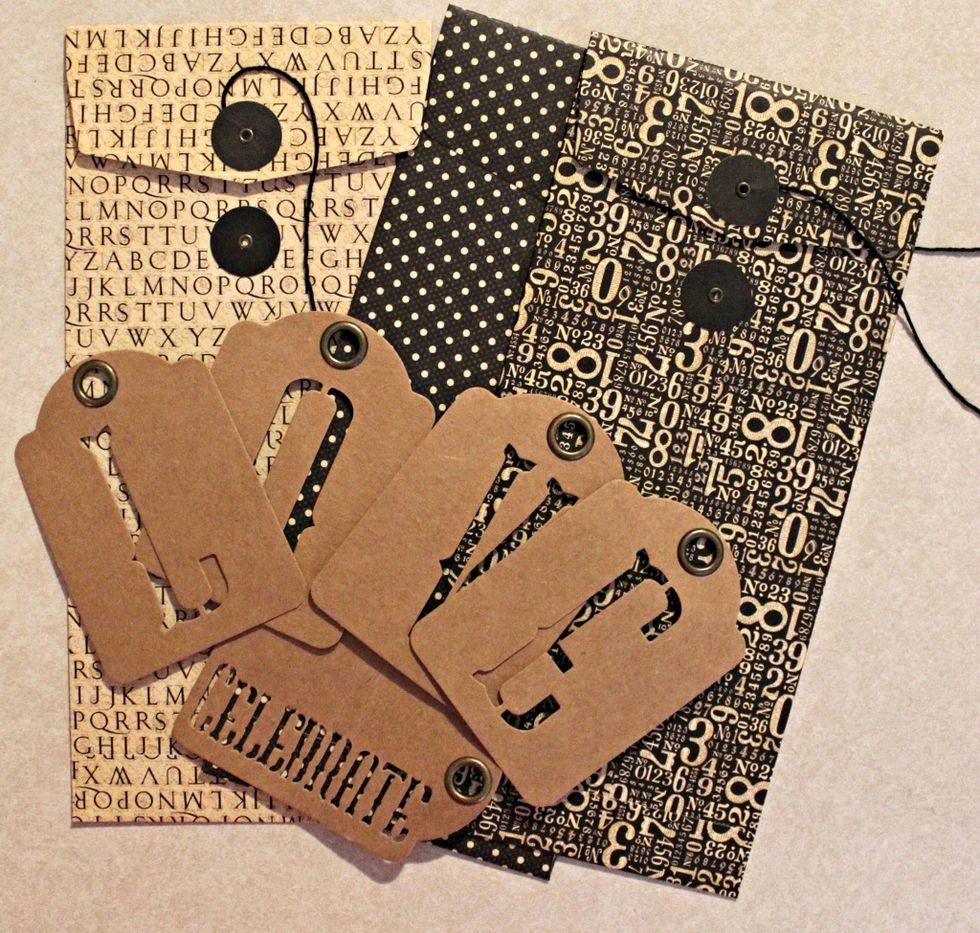
Gather the envelops and letters from the Alpha Banner Kraft Set,

Cover the envelops with pattern paper; adding borders to the top of each envelop.

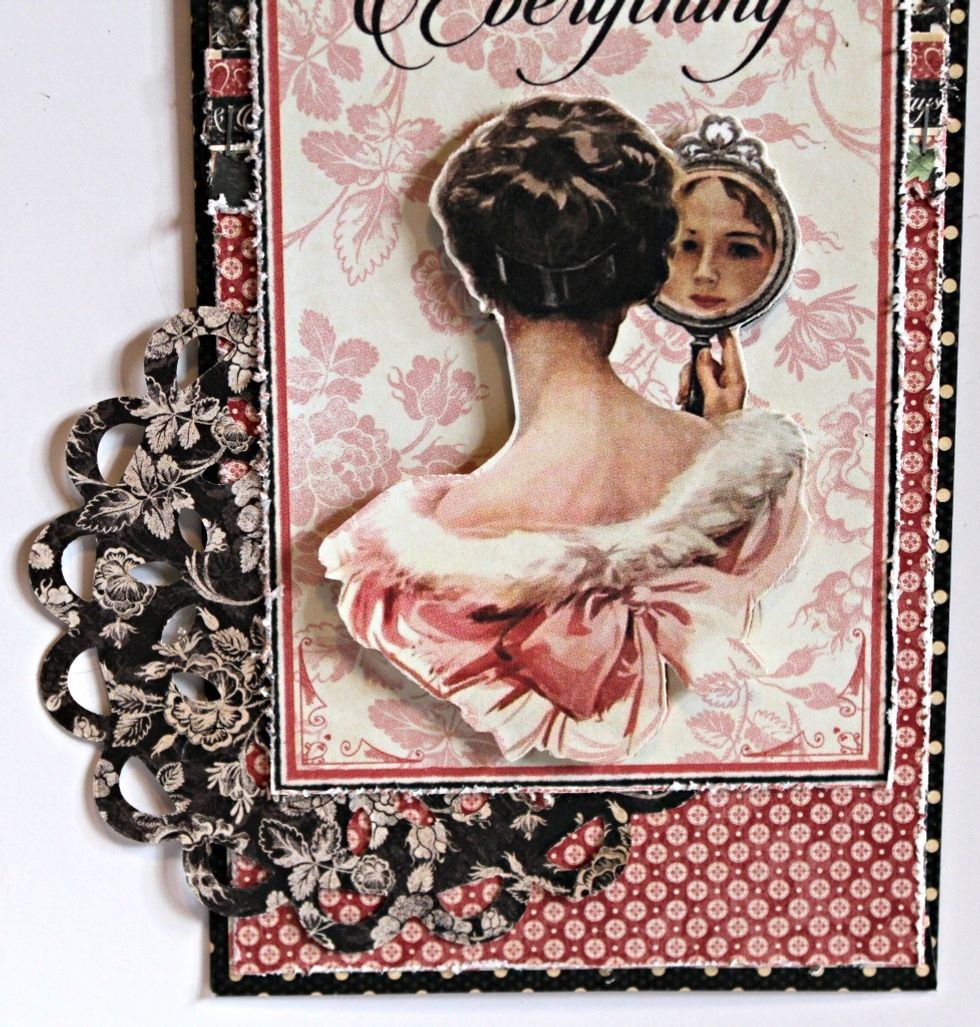
Fussy cut journal pieces from the pattern paper. Distress edges and mat on pattern paper. Add to front of each of the prepared tags.
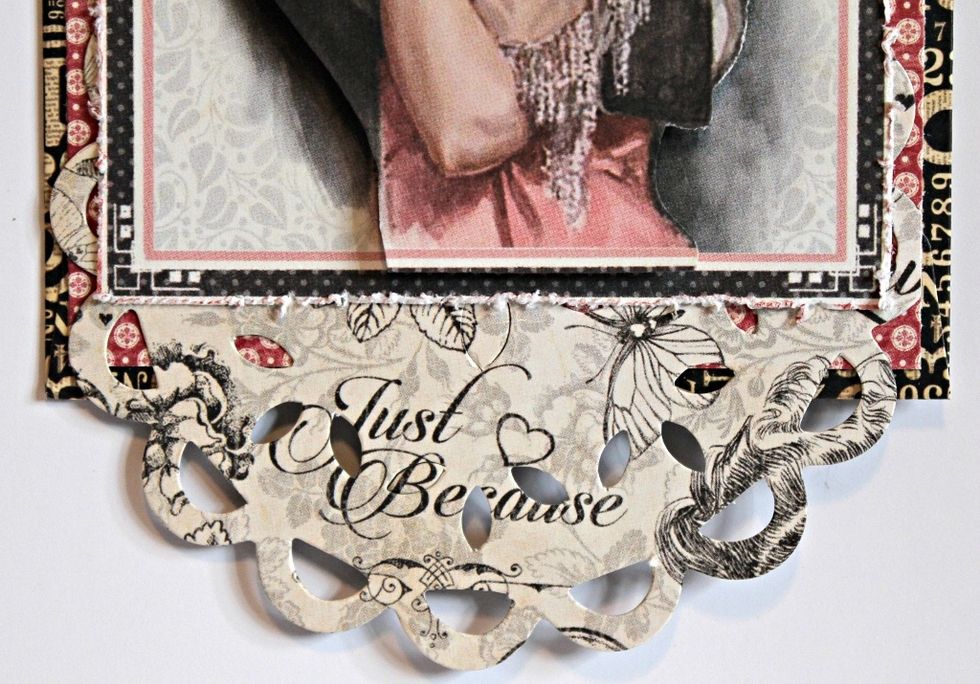
Die cut doily from pattern paper; adhere at bottom of prepared envelop.
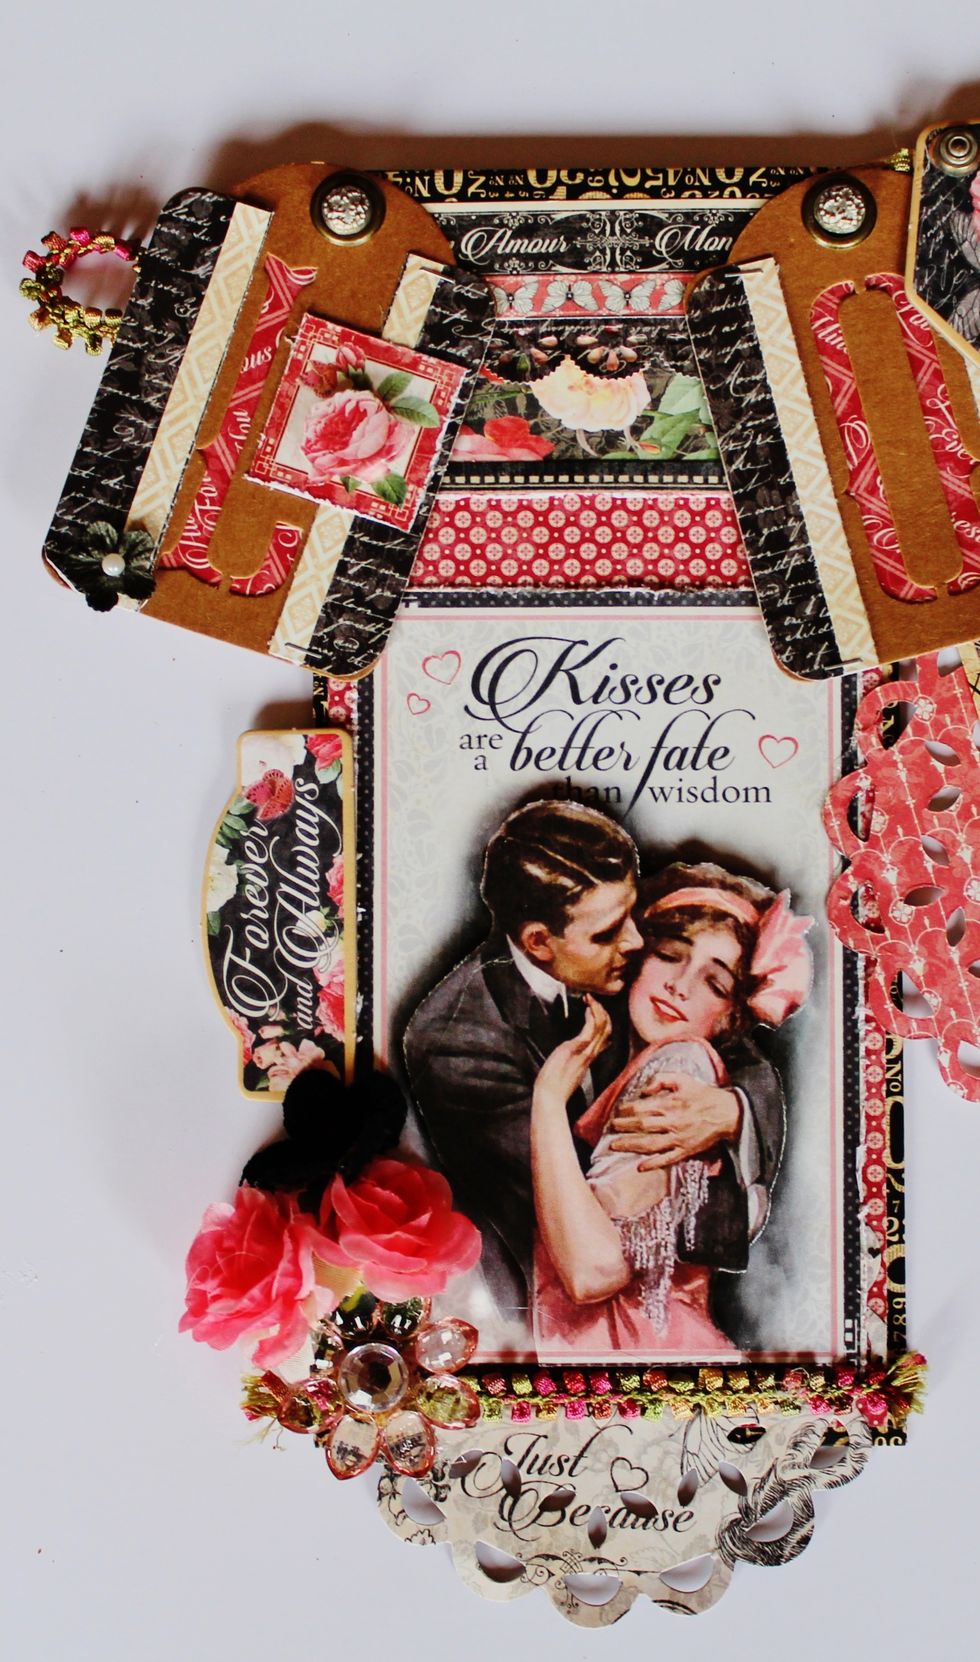
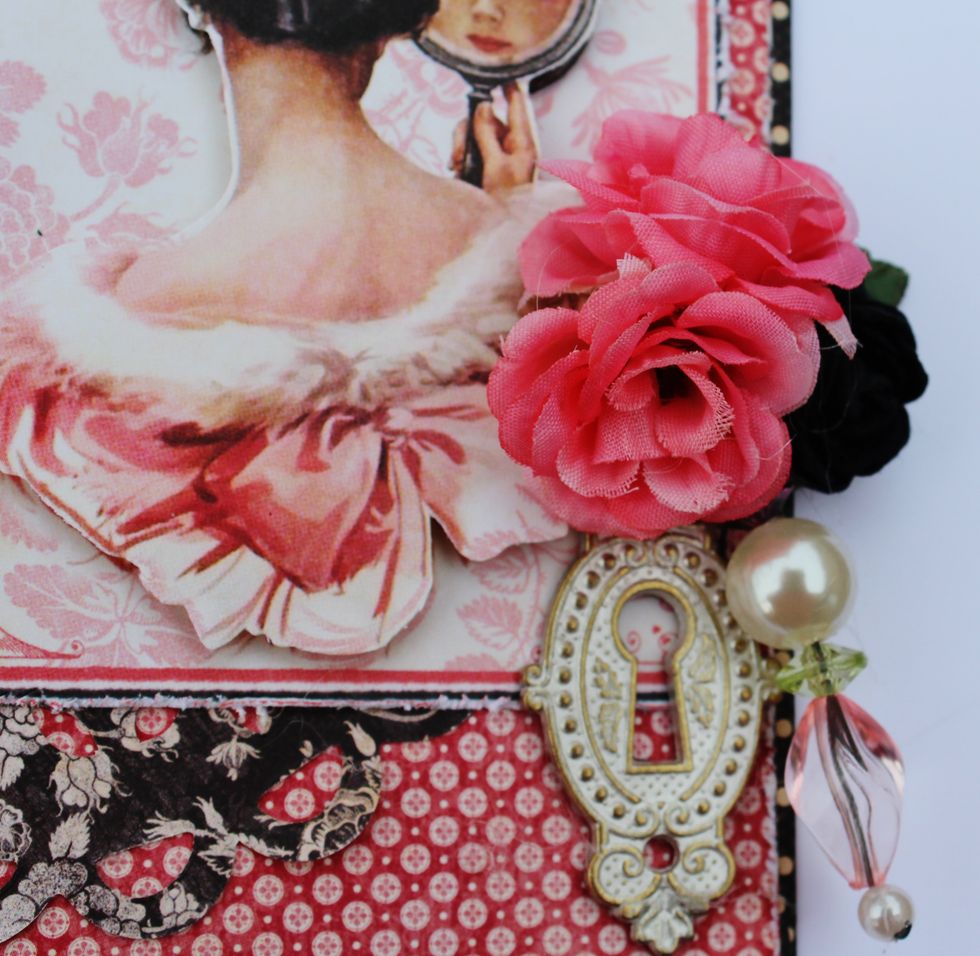
Here is a closer look at the finished envelop that has one of the chipboard pieces added to the side along with flowers and beads.
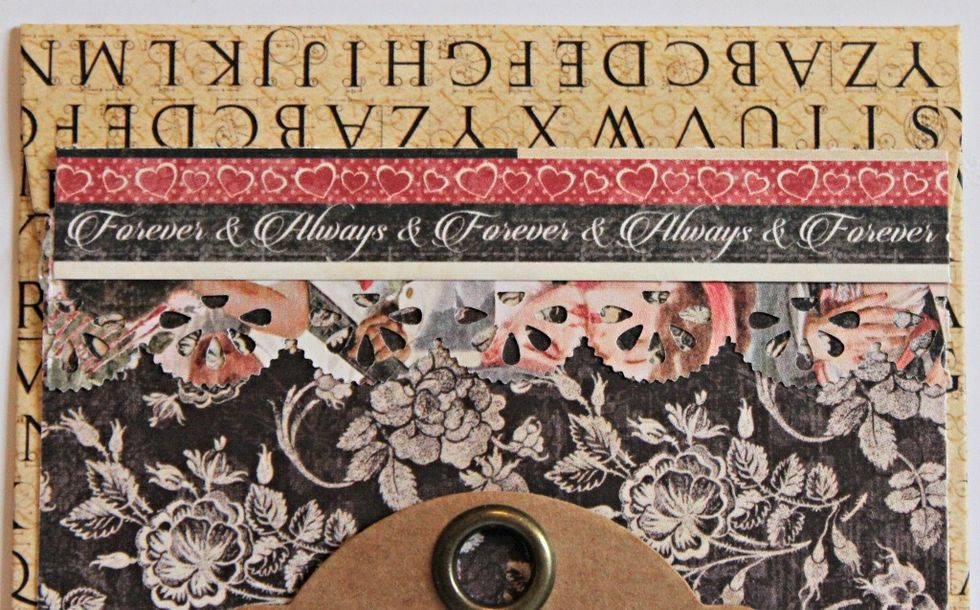
A closer look at the top of the second prepared envelop.
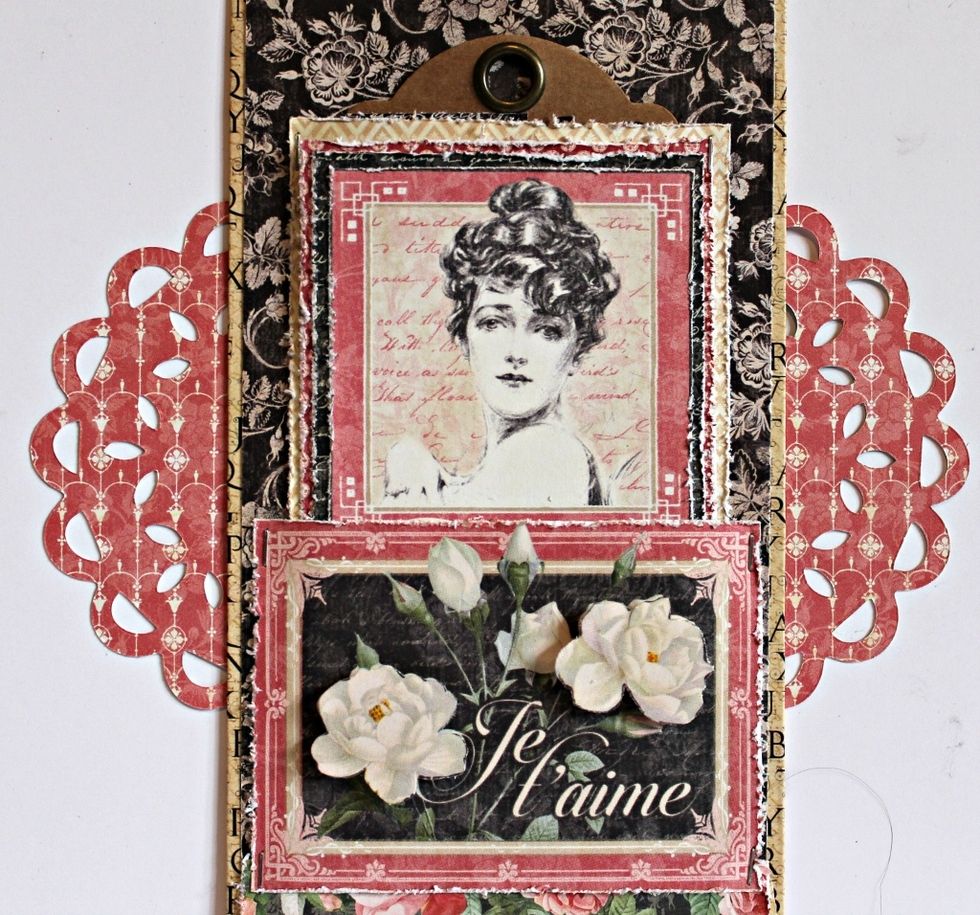
Die cut a doily from pattern paper; cut in half. Adhere each half to second prepared envelop.
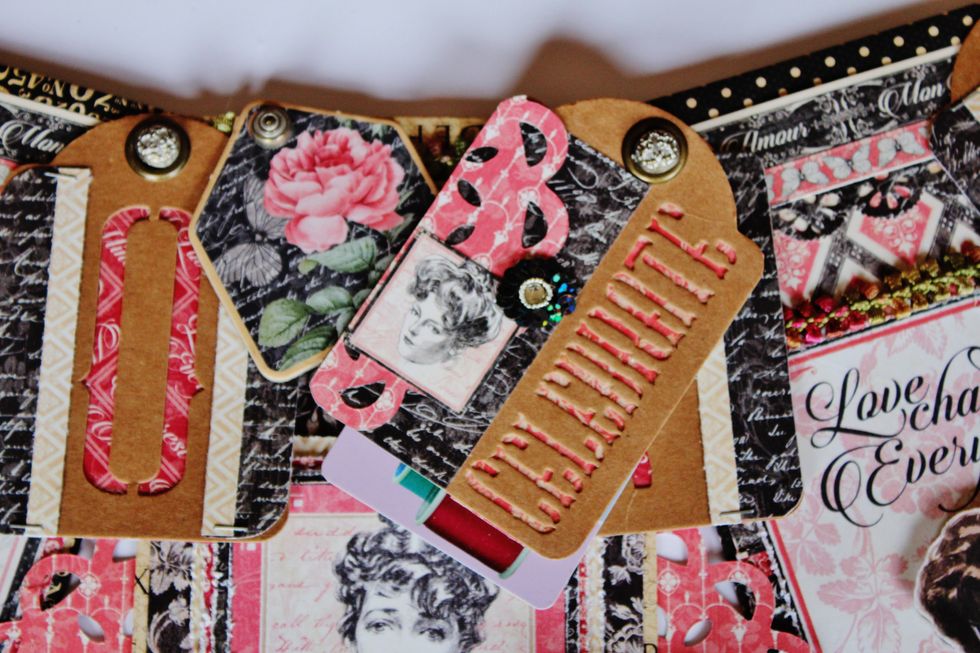
Form a pocket using the journal pieces that have been distressed. I hid a small gift tag inside that also has been decorated with pattern paper and a small brad.
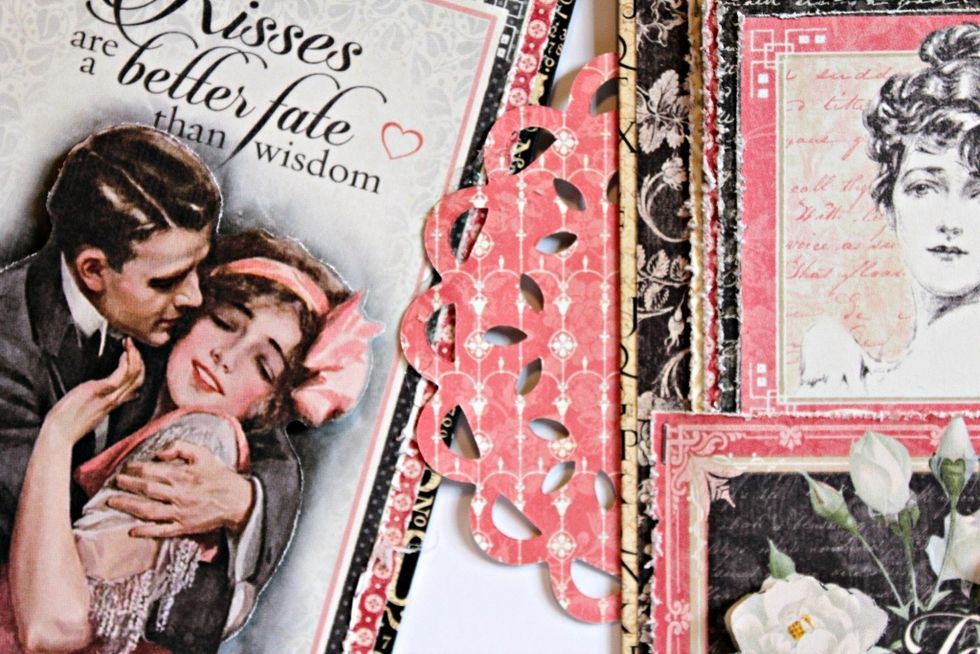
(When the envelops are placed together the center doilies will act as a stabilizer when adhered together.)
Die cut a third doily from pattern paper. Add to last envelop along with a distressed journal image. Fussy cut as second image and place on top of journal piece with pop dots.
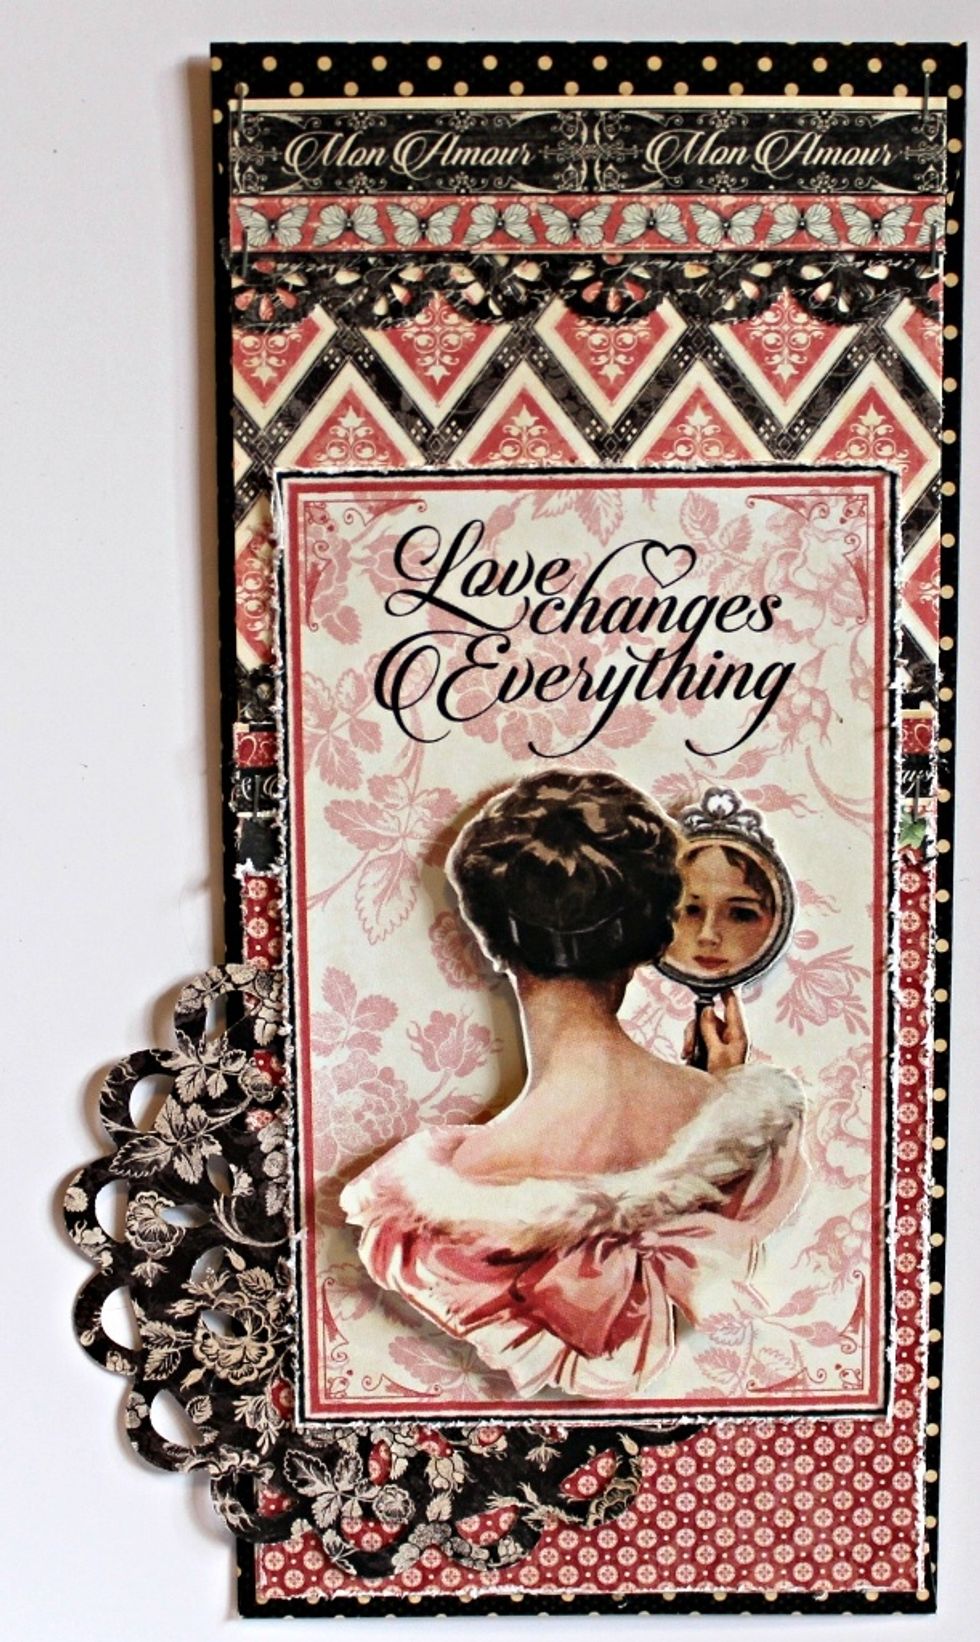
A closer look at the third envelop.
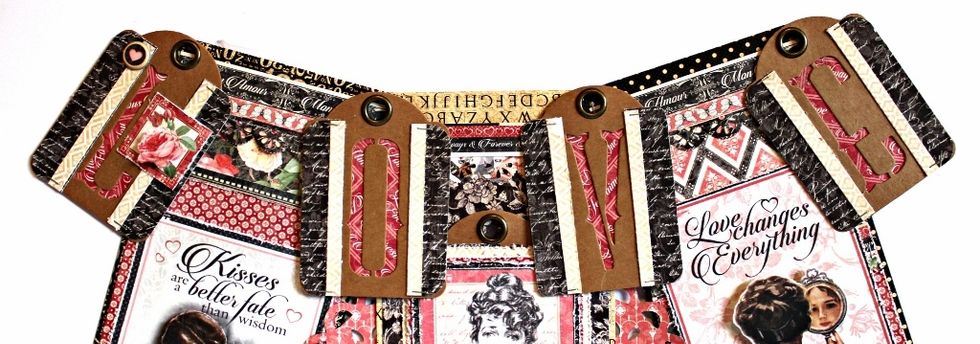
Lay the prepared envelops in a small arch shape. Adhere the prepared decorated letters to top of banner. Make sure when you do the "O" and "V" you allow yourself away to pull the hidden tag out.
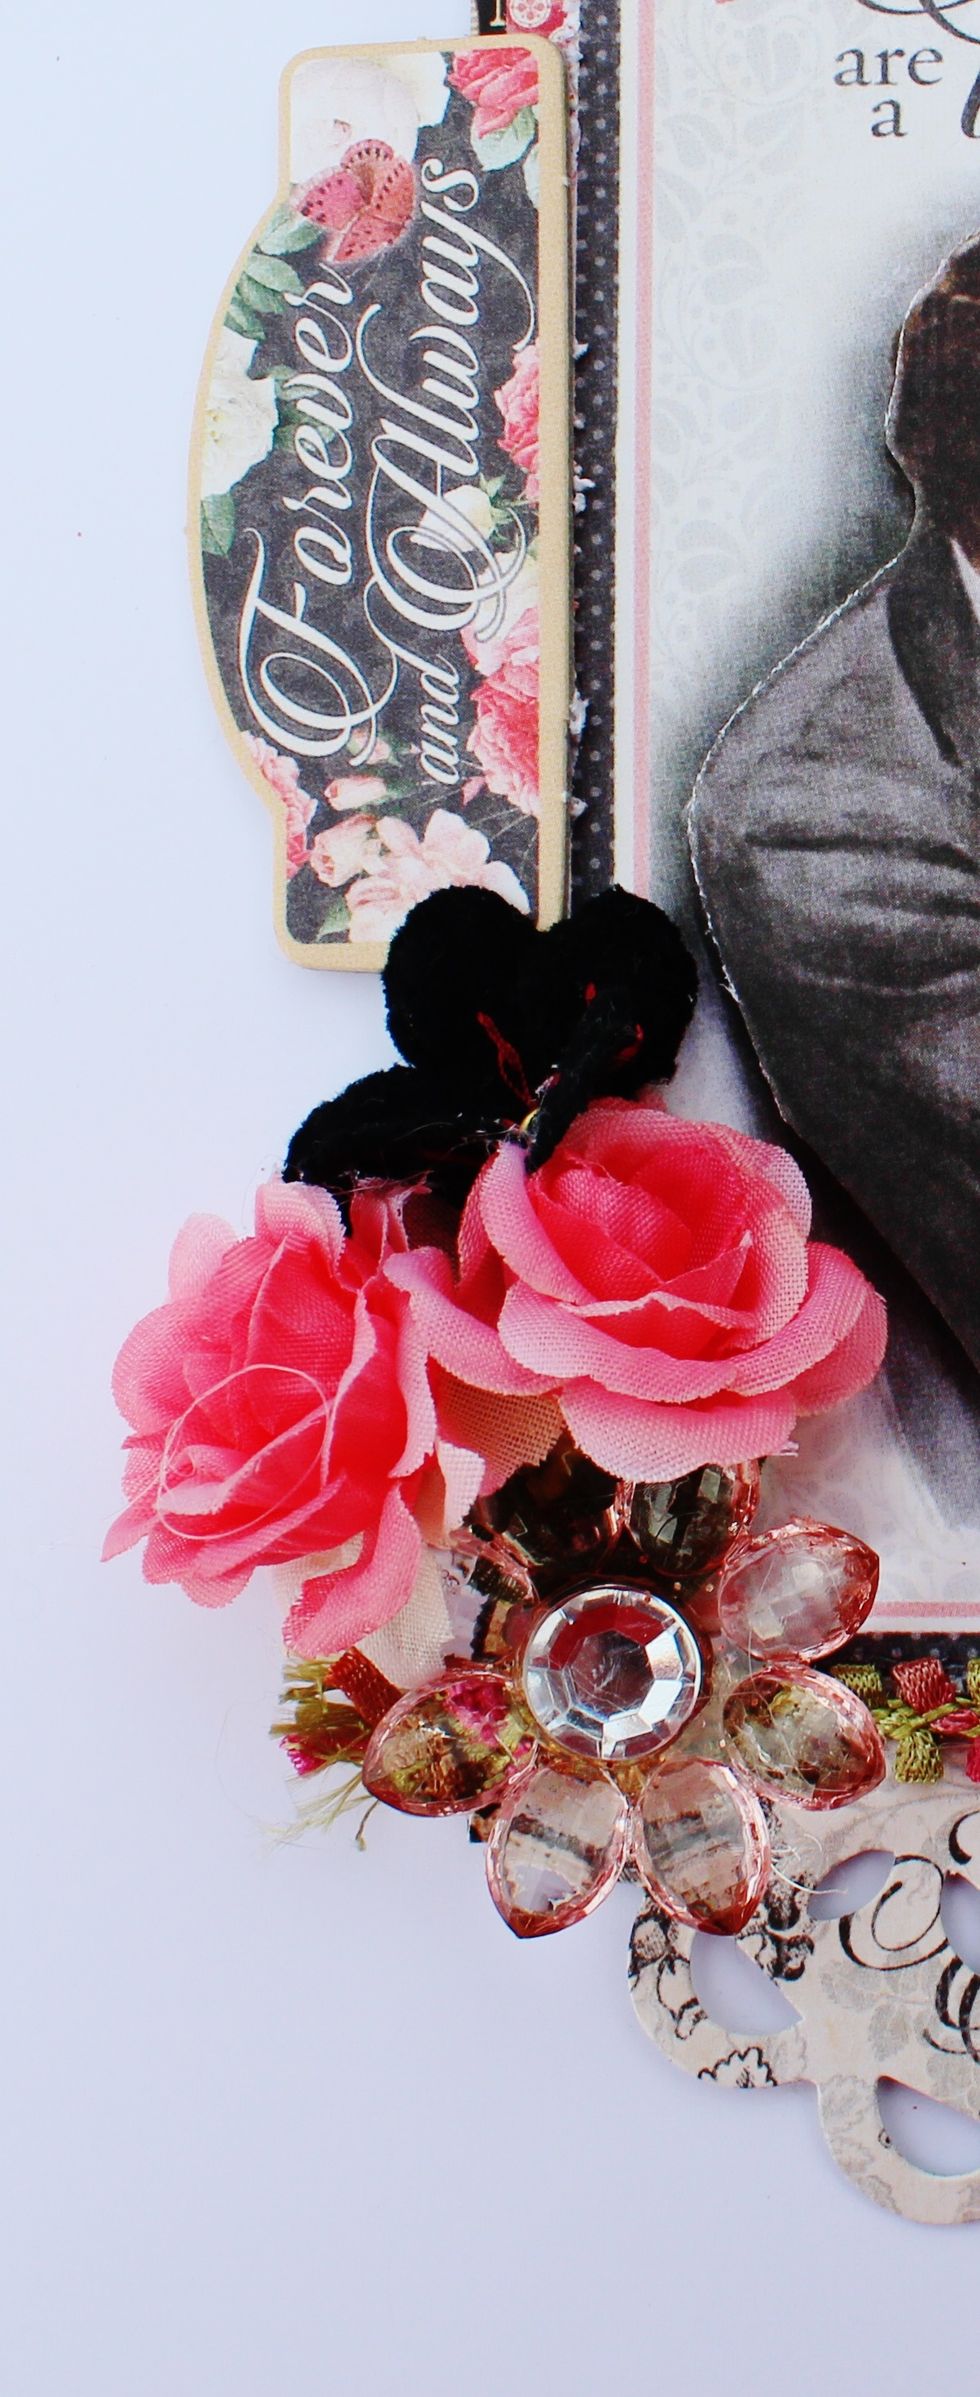
Add flowers and beads to banner.
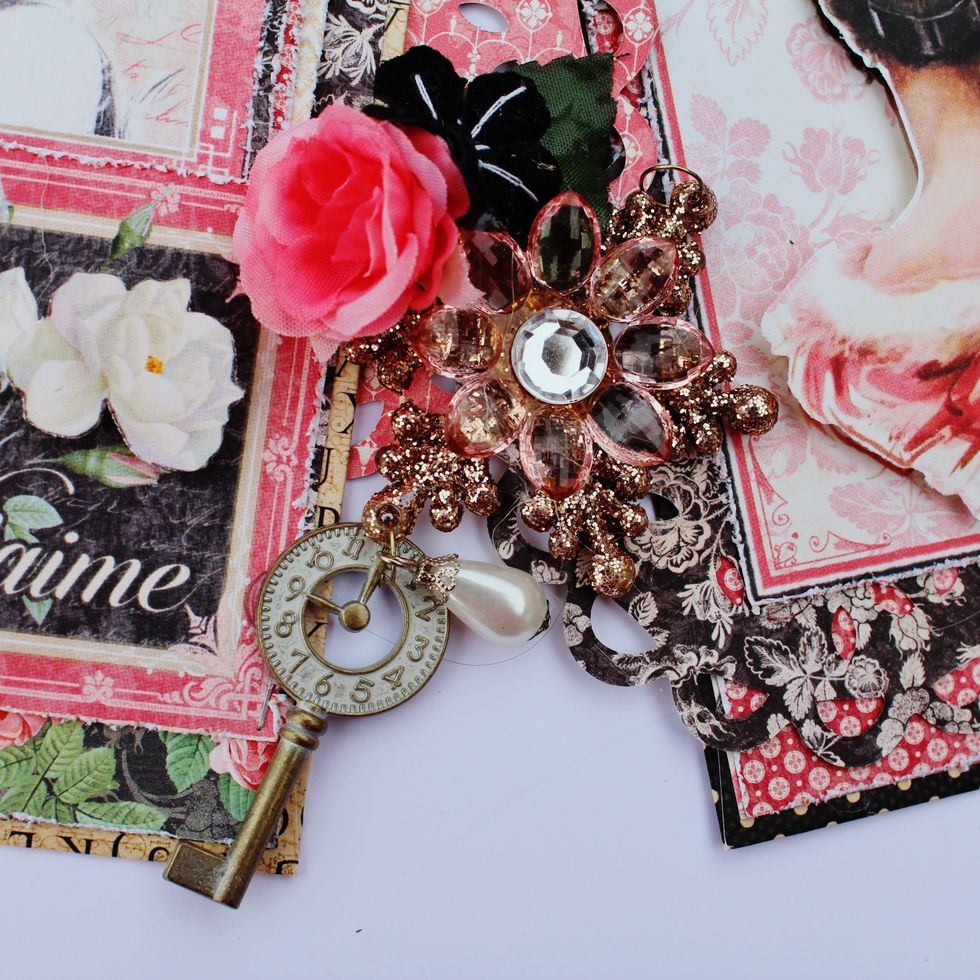
Add a Graphic 45 metal key.
A Graphic 45 Lock and some pearls.
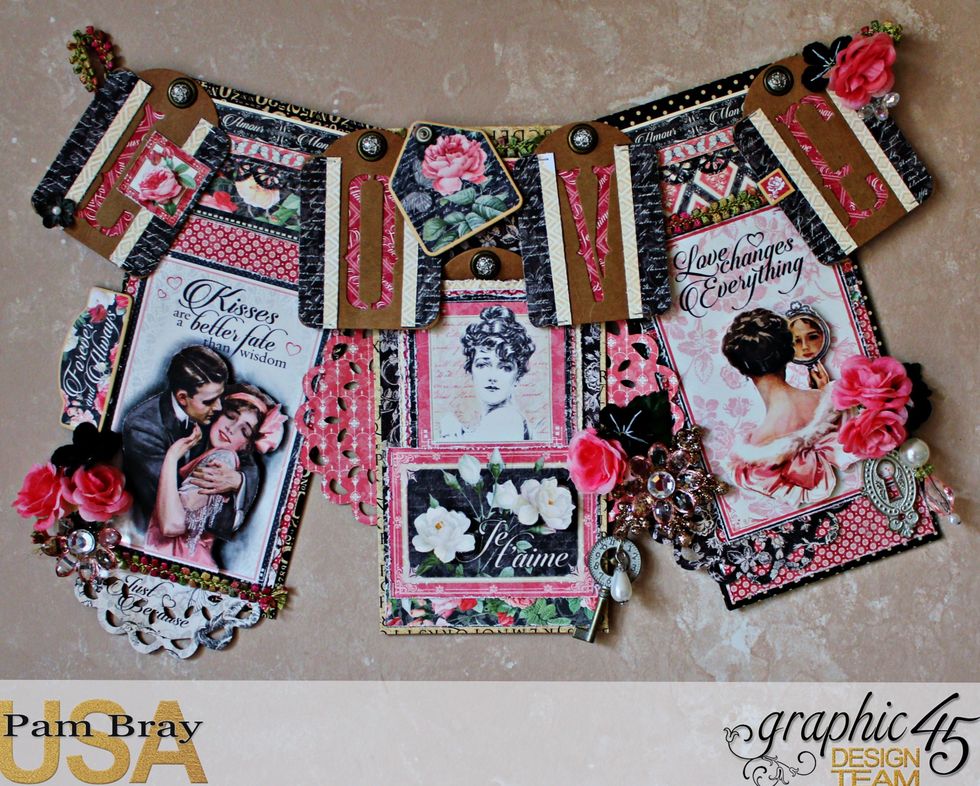
Add the brads to the top of tags and some Mon Amour Chipboard pieces to finish decorating your Mon Amour Banner.