The Conversation (0)
Sign Up
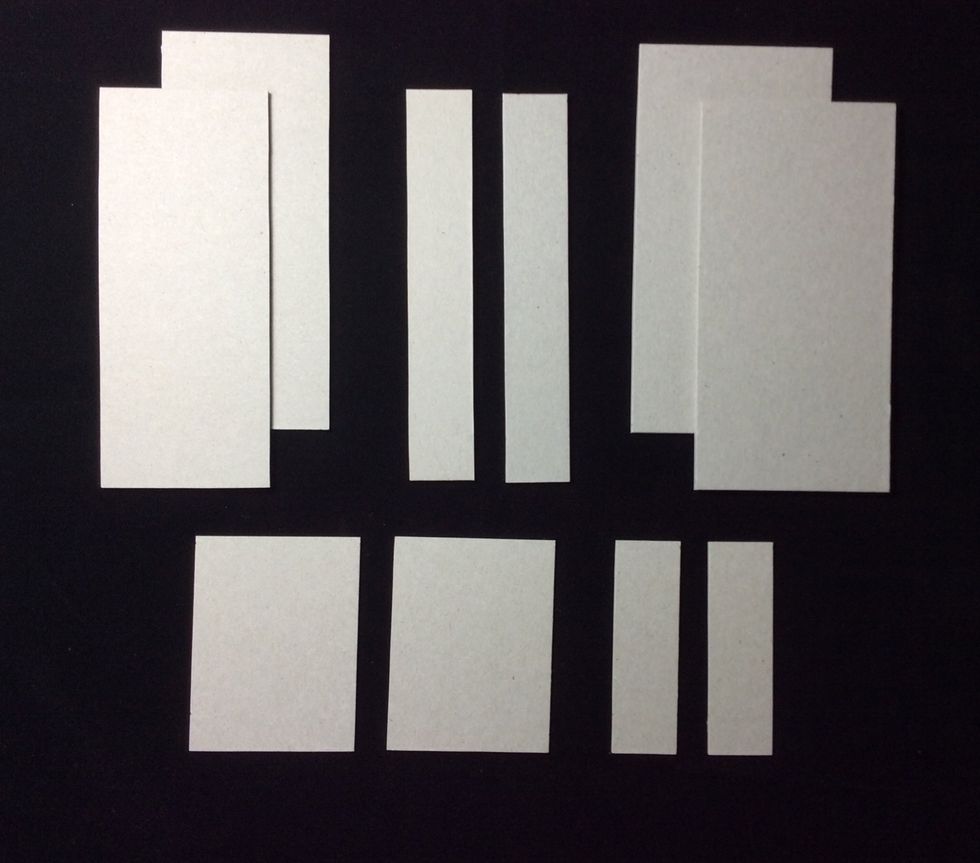
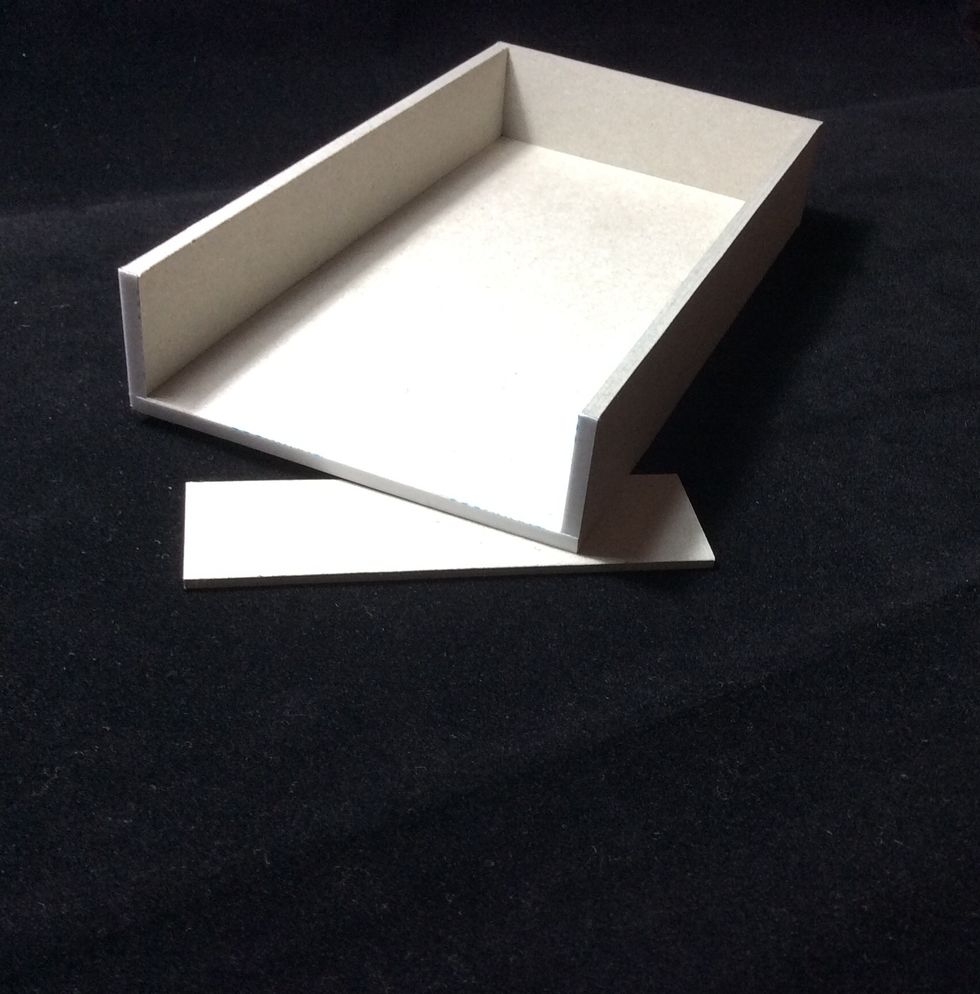
These are all the chip board pieces you will need the measurements are in the following steps.
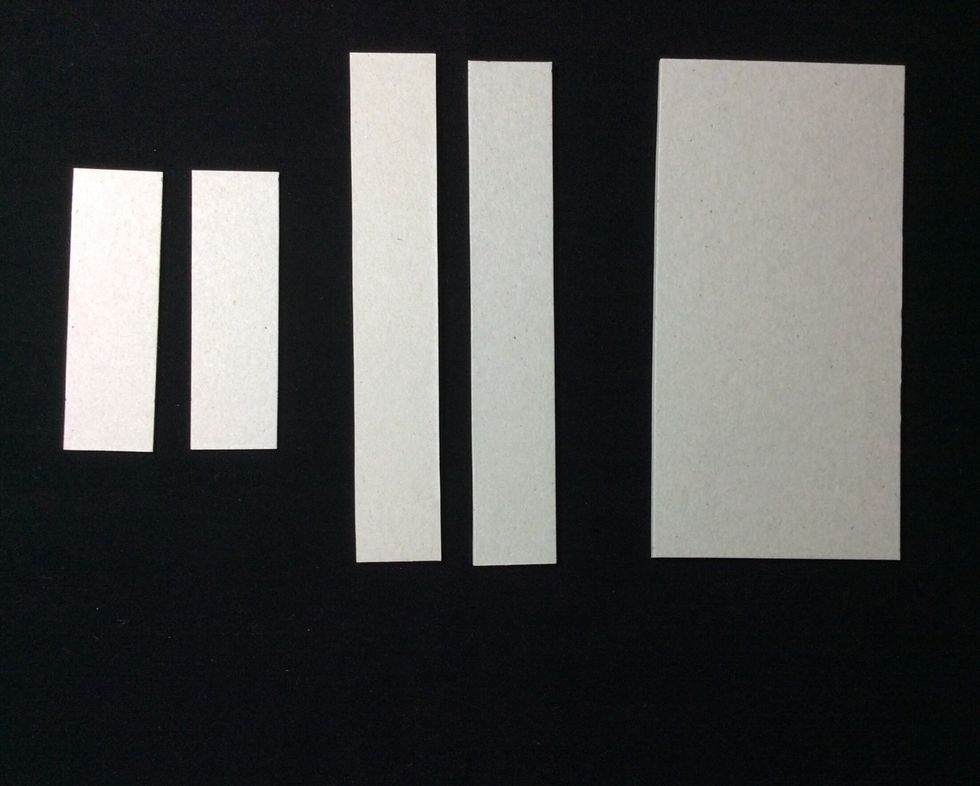
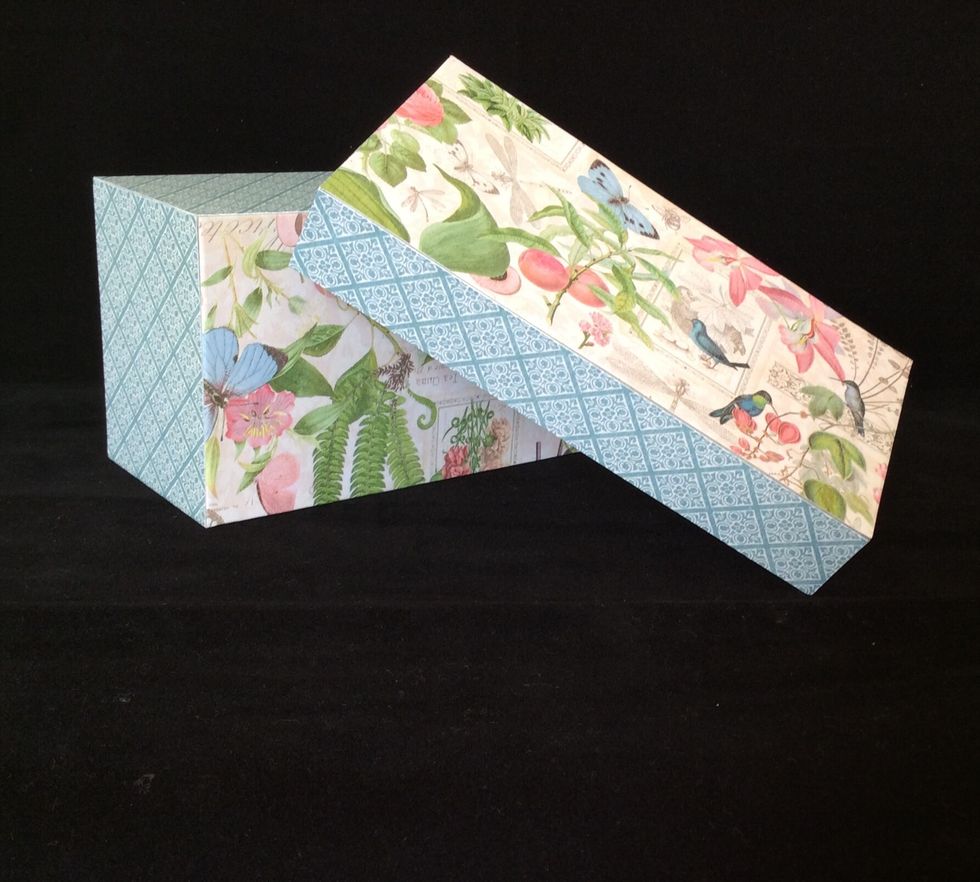
LID : Cut two heavy chipboard at 6x1 and one at 6x3 inches. Cut two medium chipboard at 3 1/4 x 1 inches.
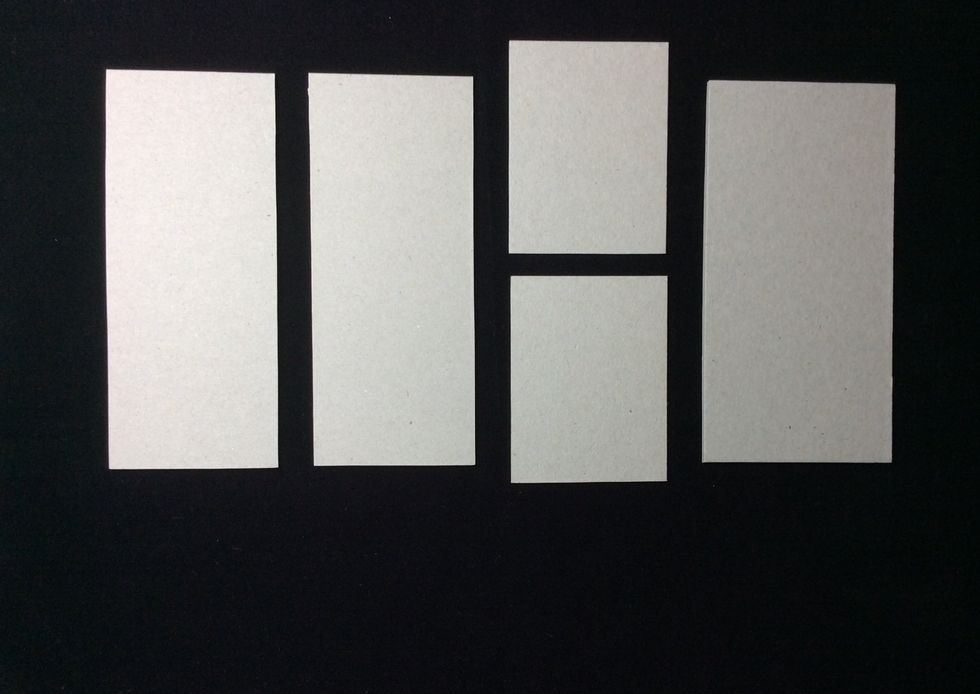
BASE : cut two heavy chipboard at 6 x 2 1/2 and one at 3 x 6 inches. Cut two medium chipboard at 3 1/4 x 2 1/2 inches.
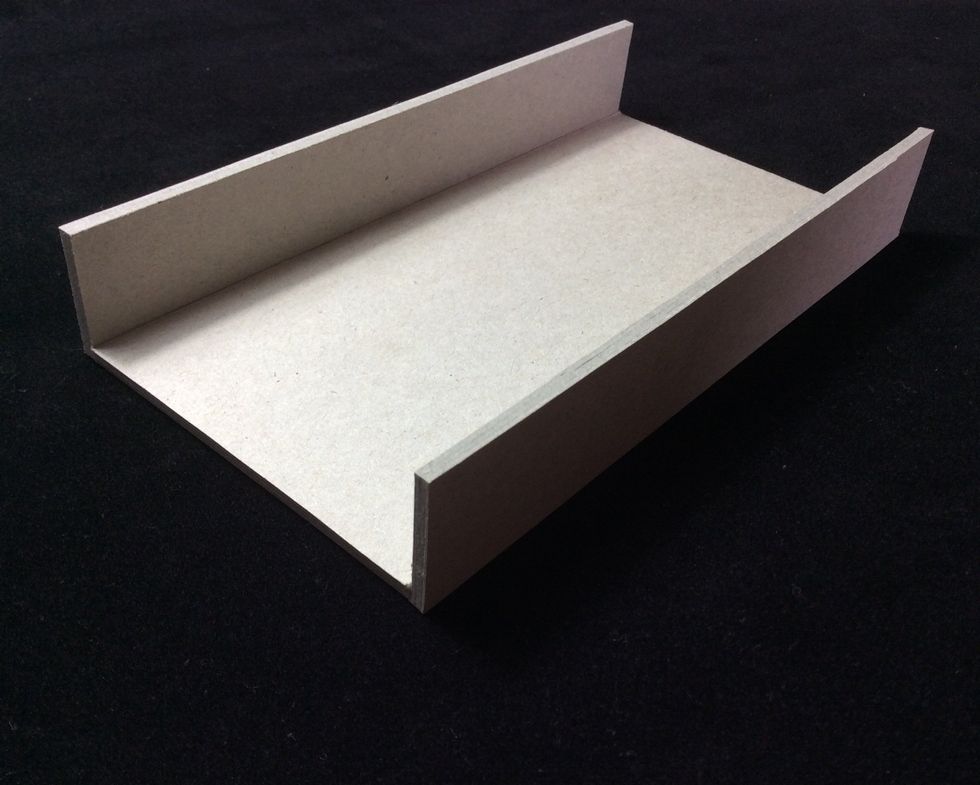
Apply 1/8 inch scor tape to long sides of lid top and burnish, then adhere long lid walls to scor tape burnish well for good adhesion.
Apply 1/8 inch scor tape to end edges and burnish. Adhere lid end pieces of chip board and burnish well for good adhesion.
Repeat steps 4 and 5 to construct the base section of the trunk.
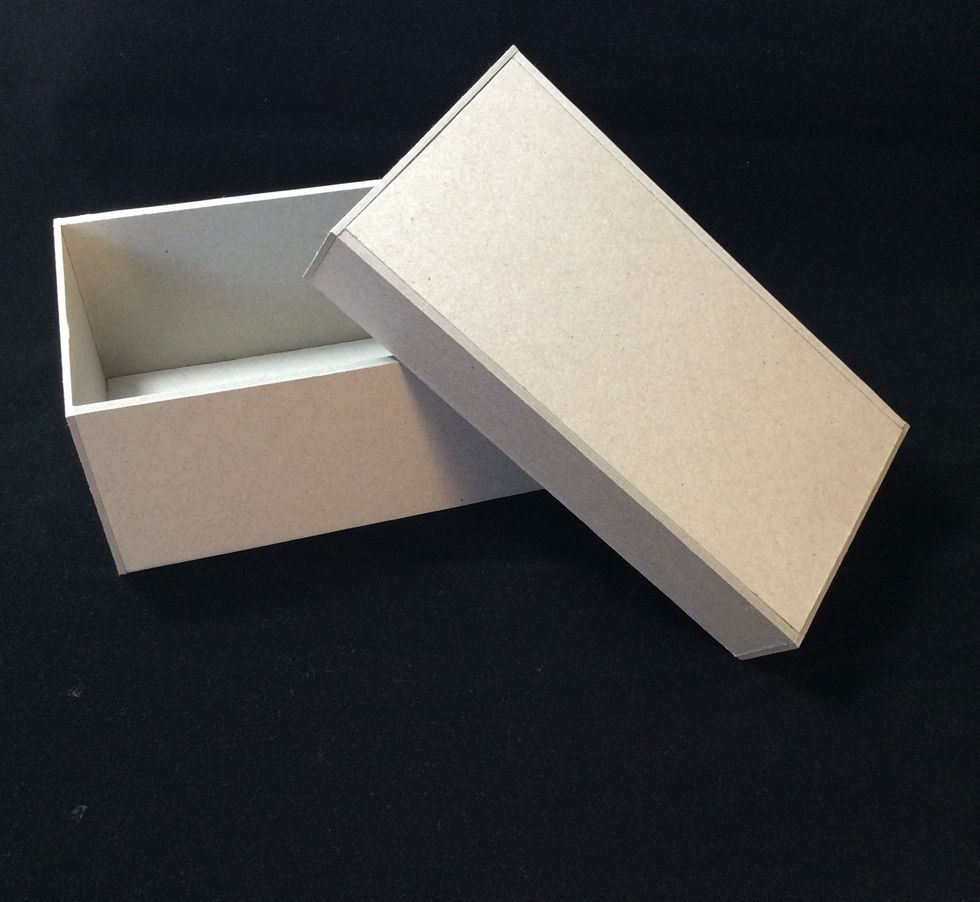
These are the lid and base in a completed raw state, read to mat with patterned paper.
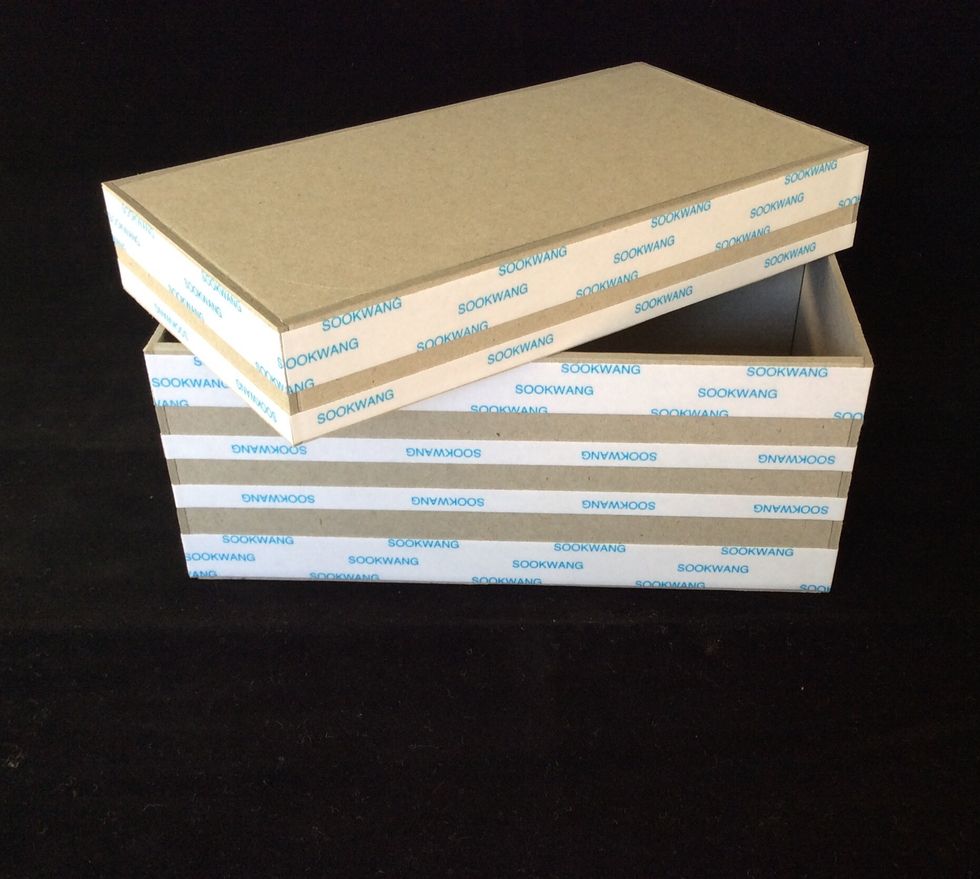
Apply scor tape or similar to al four sides of lid and base. Ensure adequate coverage for good adhesion of outside mats.
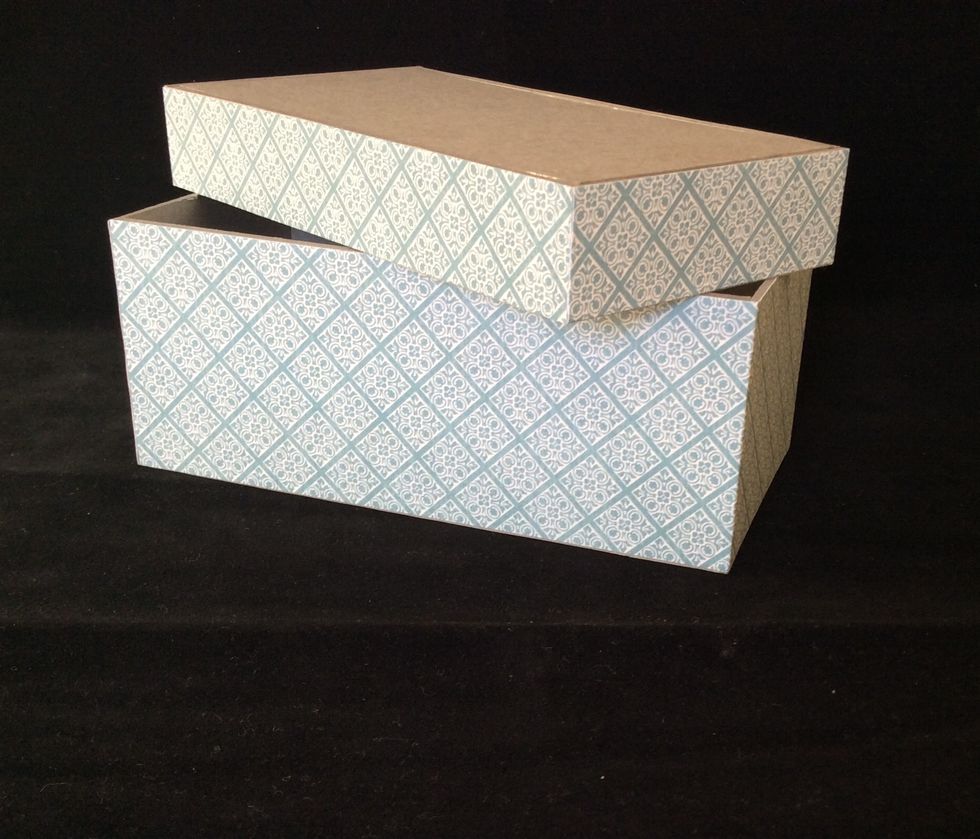
Cut pattern paper mat strips two at 1 x 12 inches and two at 2 1/2 x12 inches. Adhere to sides of lid and base two sides at a time and trim excess.
Cut patterned paper mats for the top and bottom at 6 1/4 x 3 1/4 inches. Trim if necessary. Adhere to top and bottom using scor tape.
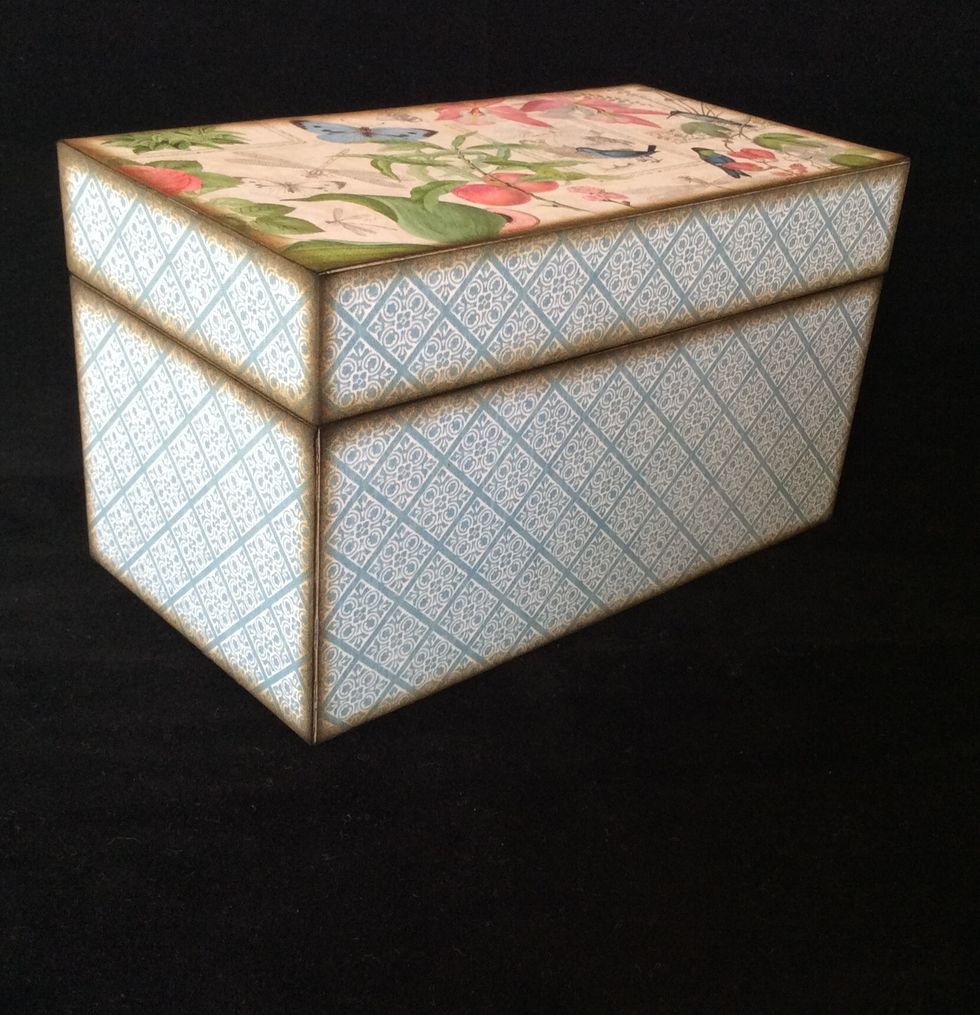
Ink all edges and corners with distress ink of your choice ,walnut stain is used here.
Cut the 2nd layer lid mats at 5/8 x 5 3/4 and 5/8 x 2 7/8 inches, 2 of each size. Slightly ink edges to disguise paper core and adhere to lid sides.
Cut the 2nd layer mats for the base at 2 1/8 x 5 3/4 and 2 1/8 x 2 7/8, 2 of each size. Slightly ink the edges to disguise the paper core and adhere to the base sides.
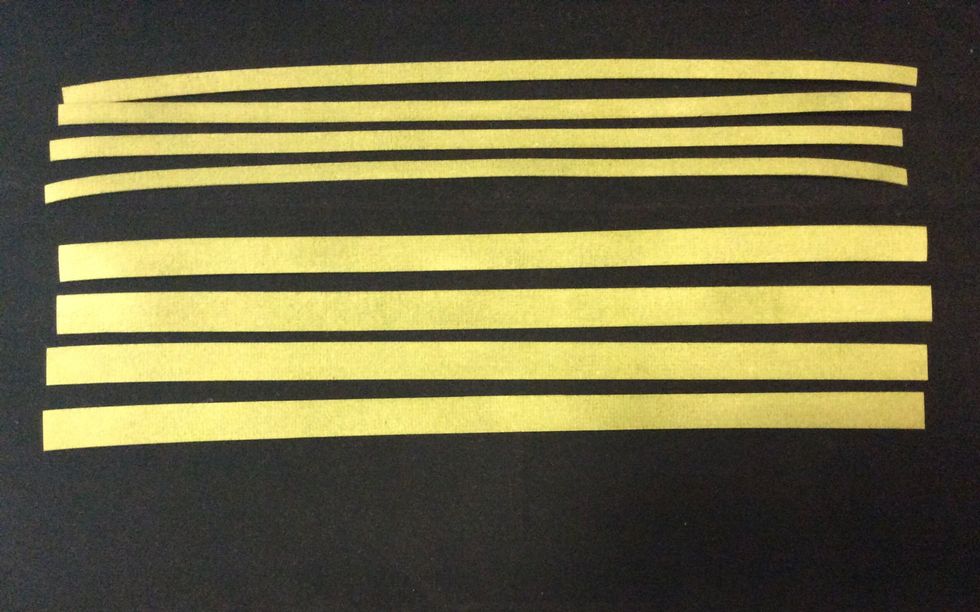
Cut strips of grunge paper at 1/2 and 1/4 inch widths, 4 of each width and ink with distress ink. heat or air dry before use. Apply score tape to back of strips.

Adhere 1/2 inch strips to box in configuration action shown. Adhere to the front, top, and back. Not to short sides and and bottom.
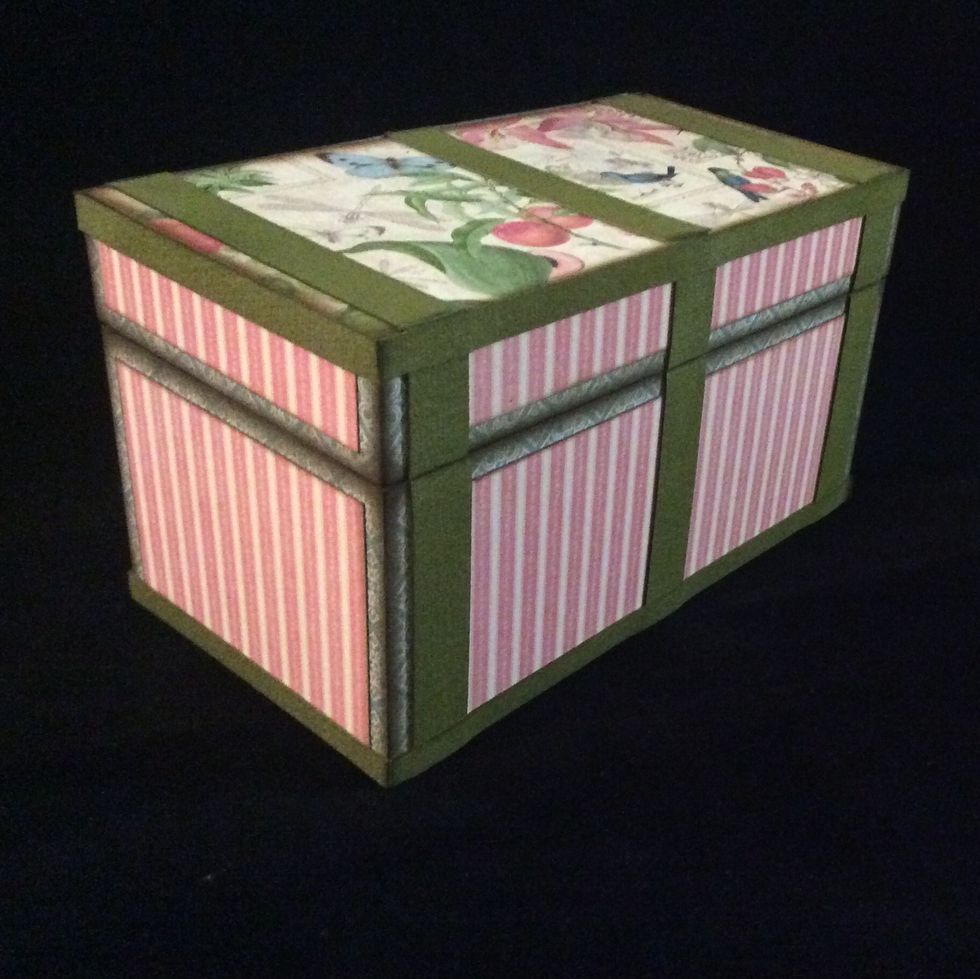
Adhere the 1/4 inch grunge paper strips around lid and base perimeters. Adhere each side separately trimming as you go. Burnish with bone folder to ensure good adhesion.
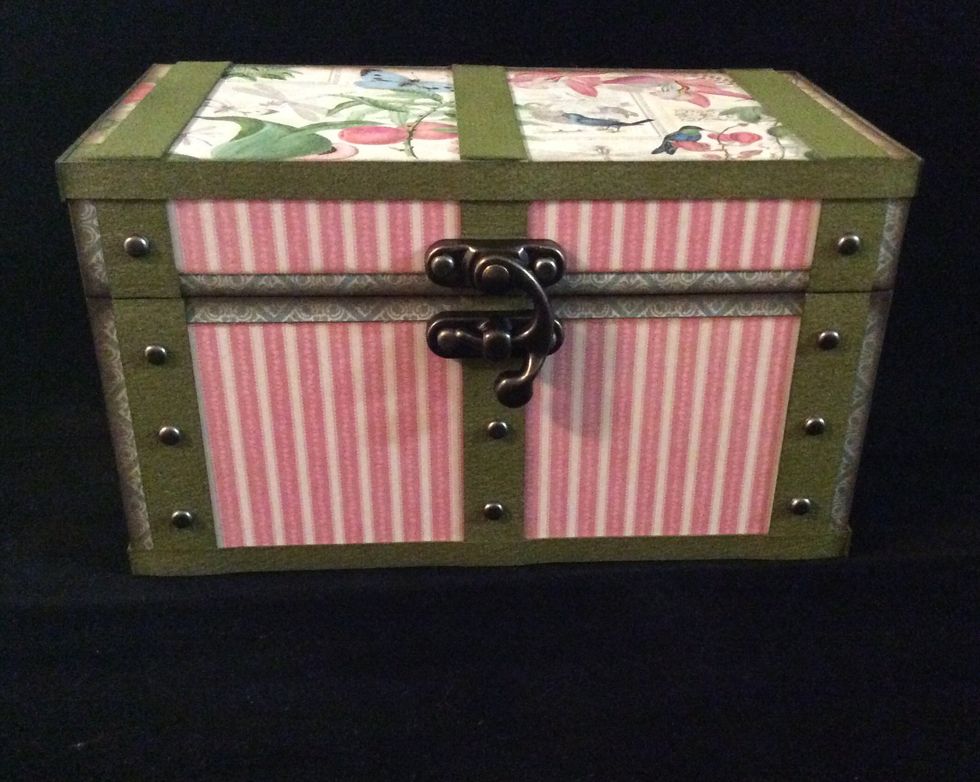
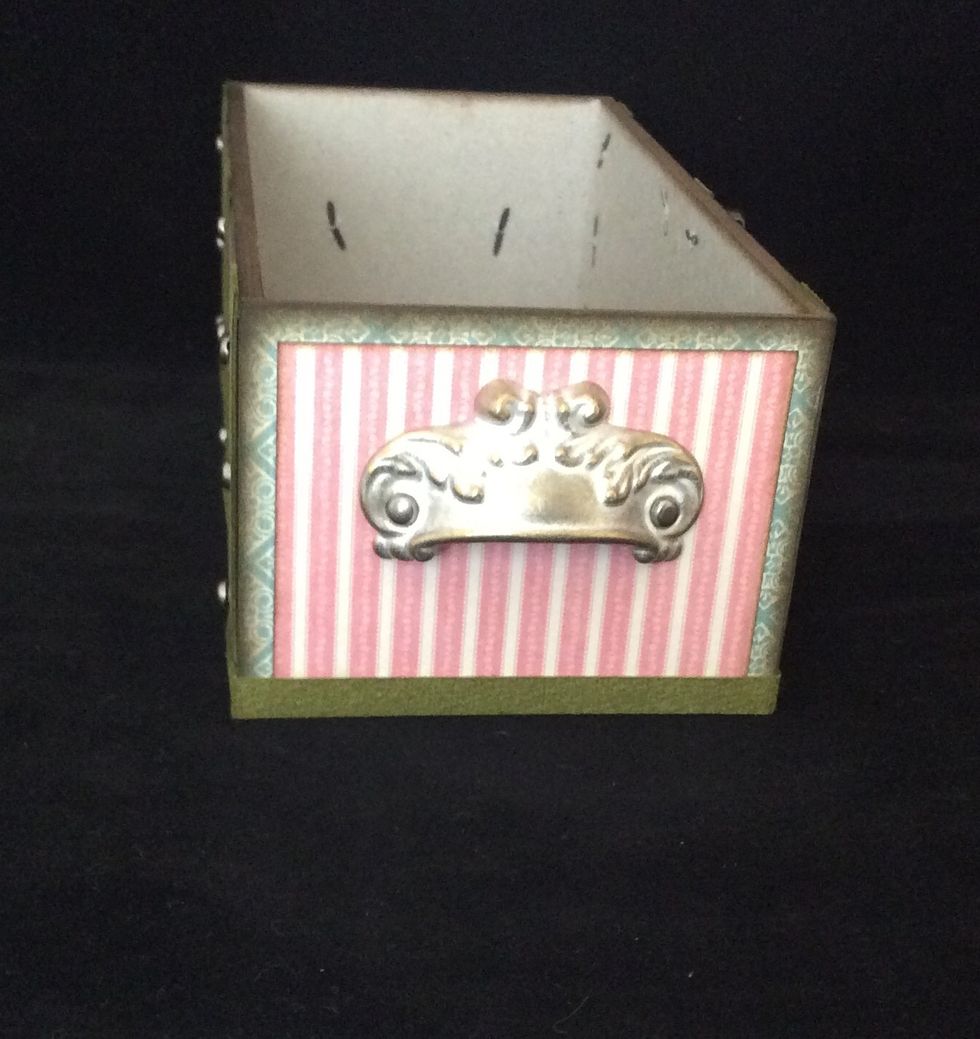
Attach metal embellishments to front of trunk. Use awl or hole piercer to allow ease if insertion of brads through chip board.
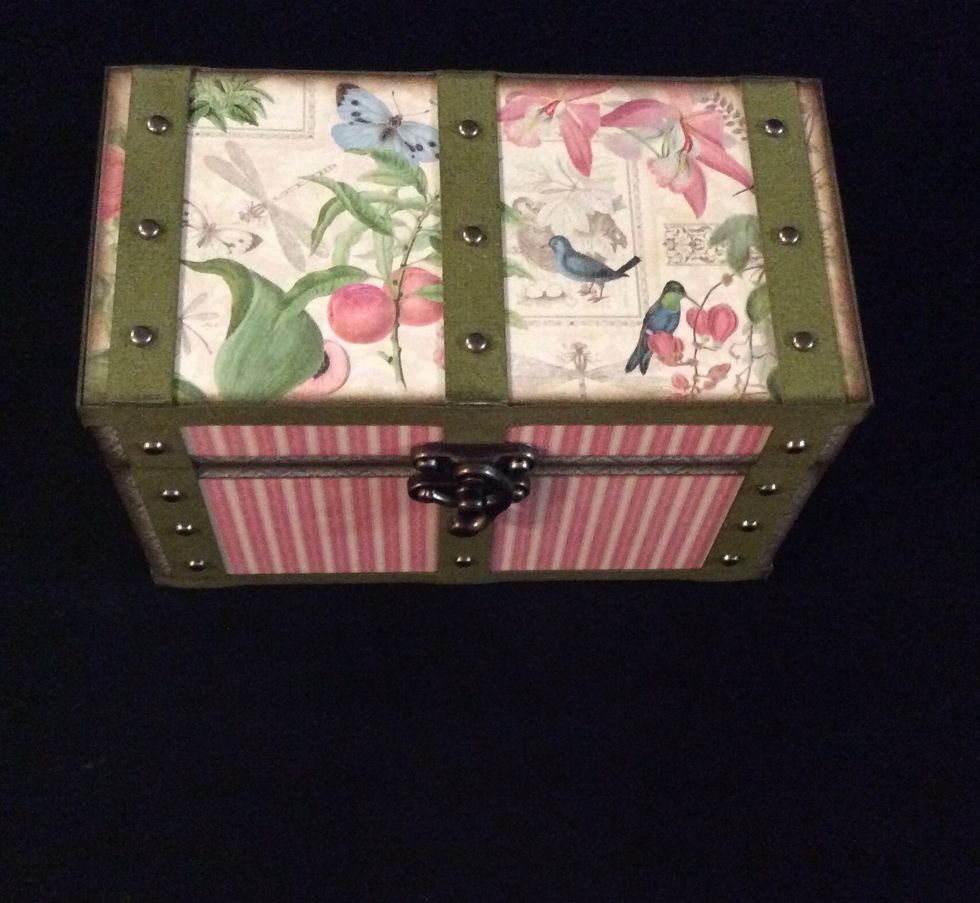
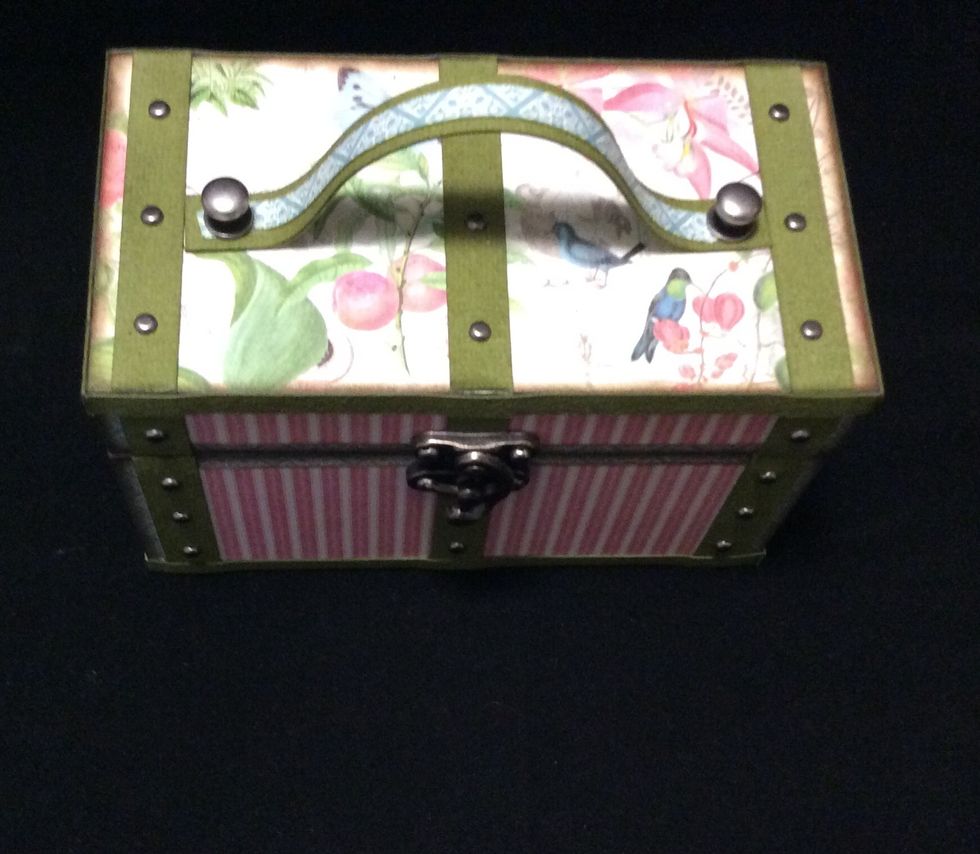
Repeat for top of box in configuration shown.
Attach handles to side of trunk.
Use grunge paper strip to make handle. Cut length to 6 inches. Cover the reverse side with paper. Mat other side leave a border. Attach handle with scor tape to position. secure with brads or similar
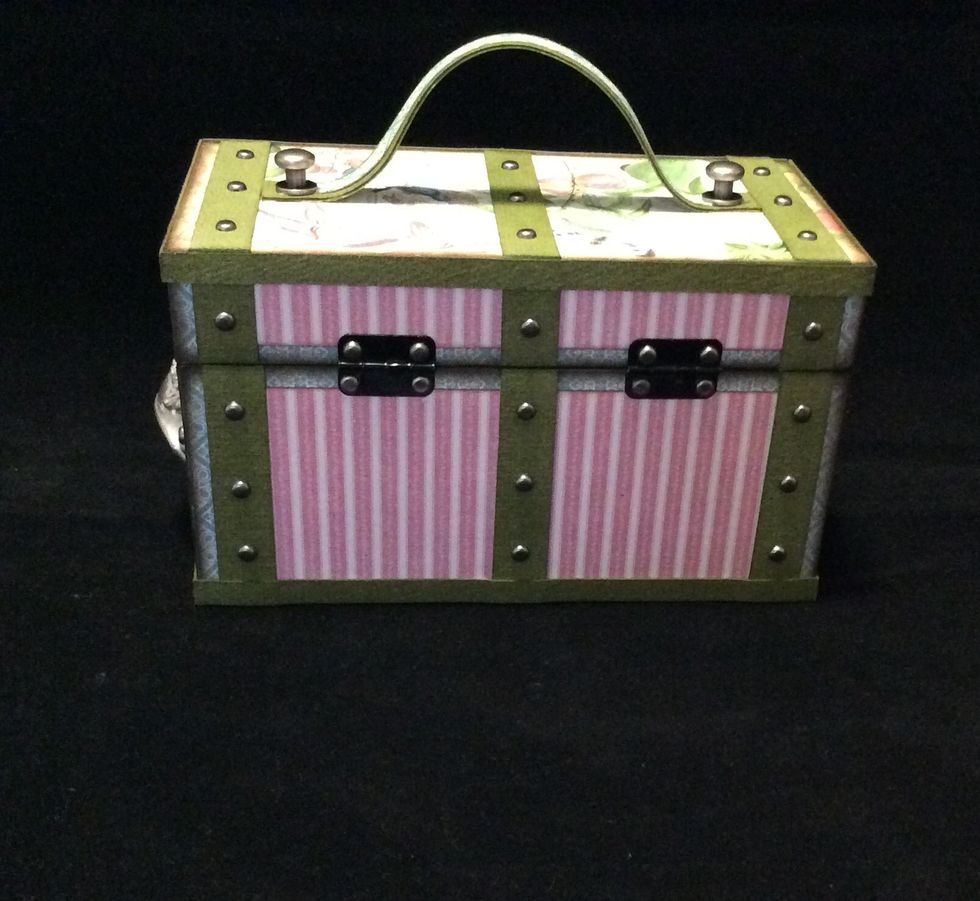
Attach metal embellishments and hinges to back of trunk as pictured.
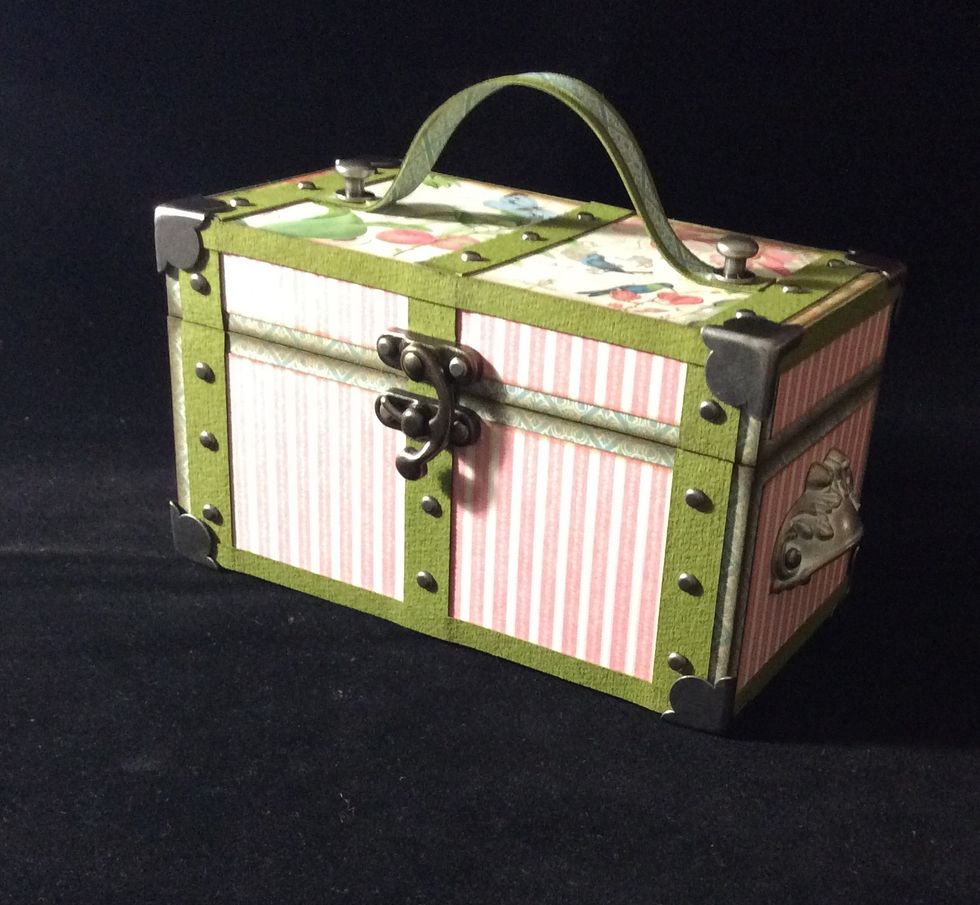
Glue metal box corners on to each corner, allow to dry.
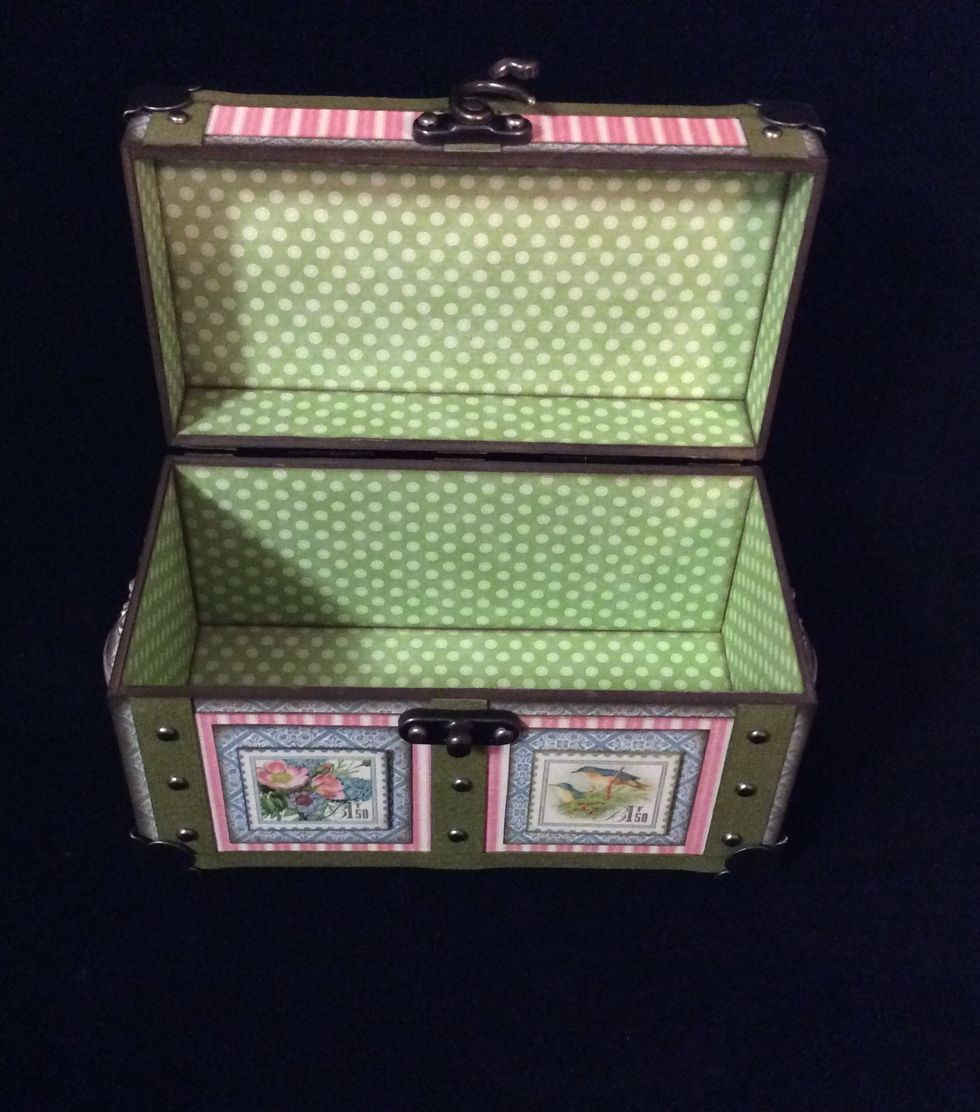
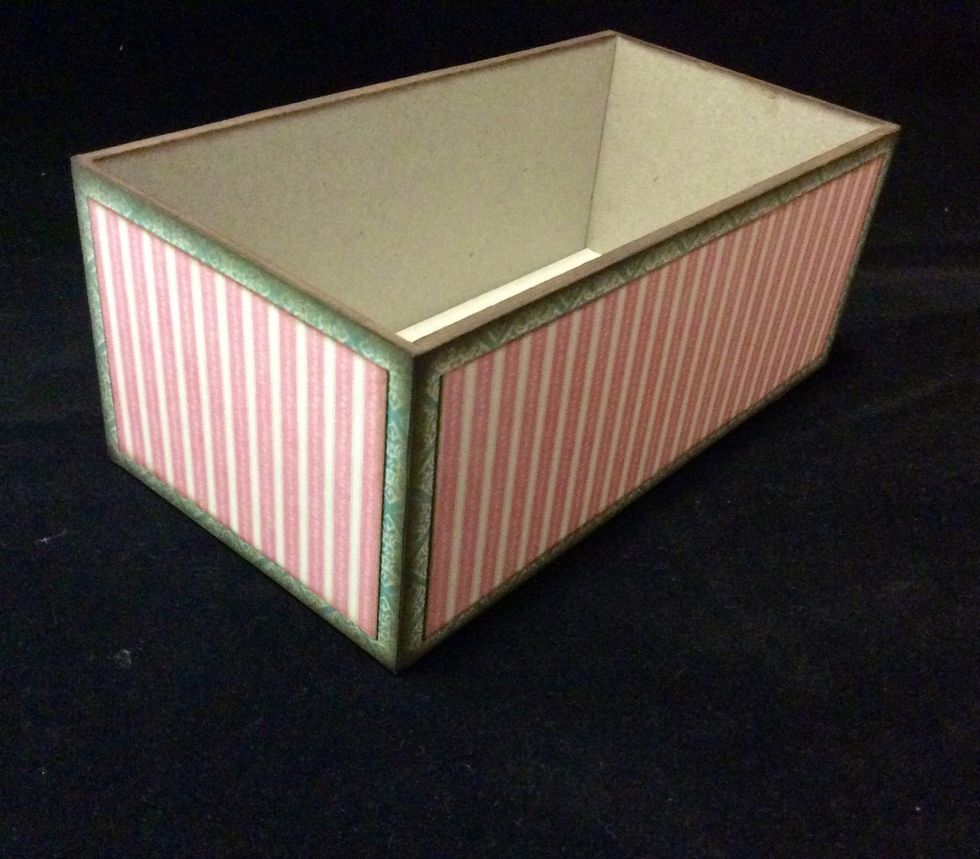
Cut internal lining papers and adhere. Cut at 6 x 3, 6 x 2 3/8, 6 x 7/8, 3 x 2 3/8 and 3 x 7/8. Cut two of each size.
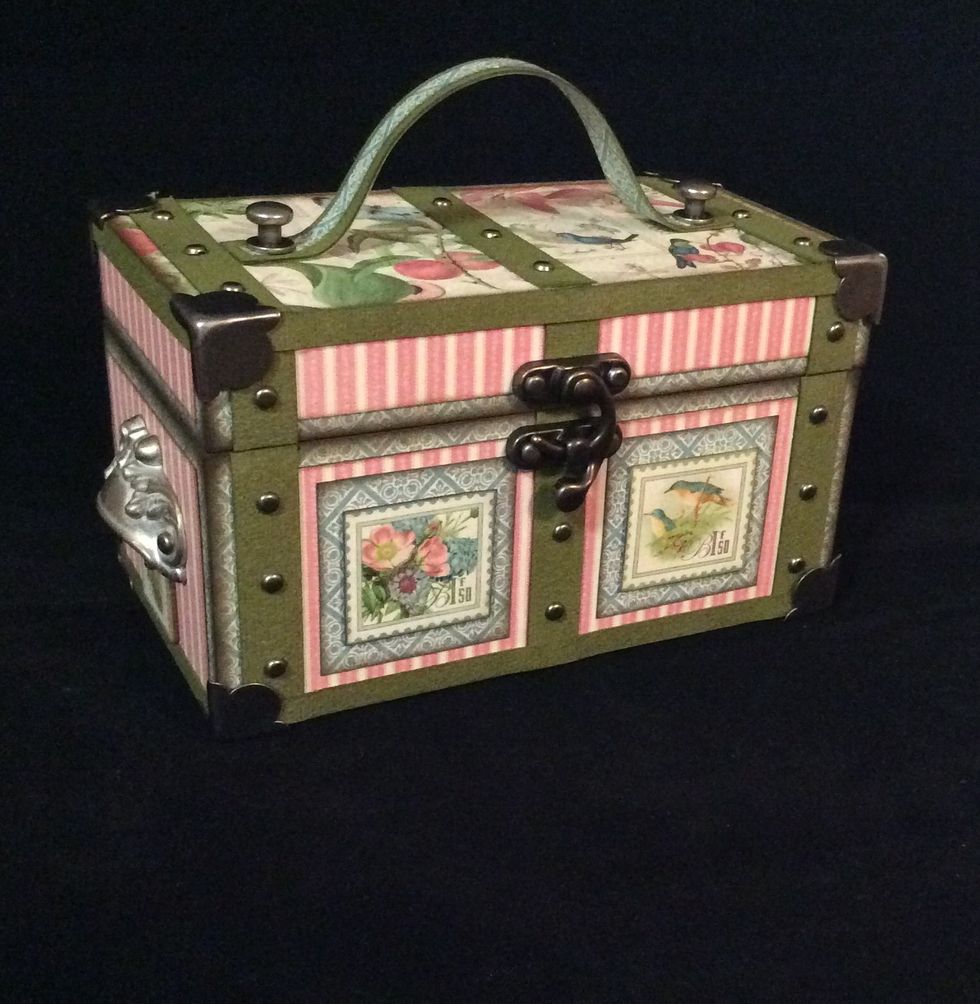
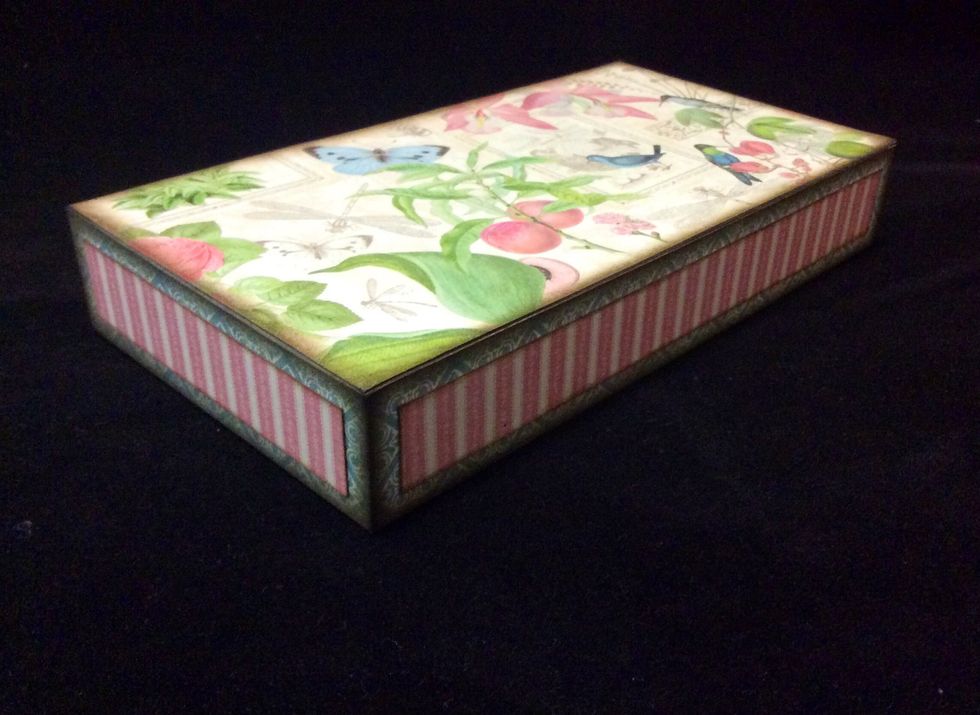
Embellish sides of trunk with images from the collection. Your trunks is now complete .