The Conversation (0)
Sign Up
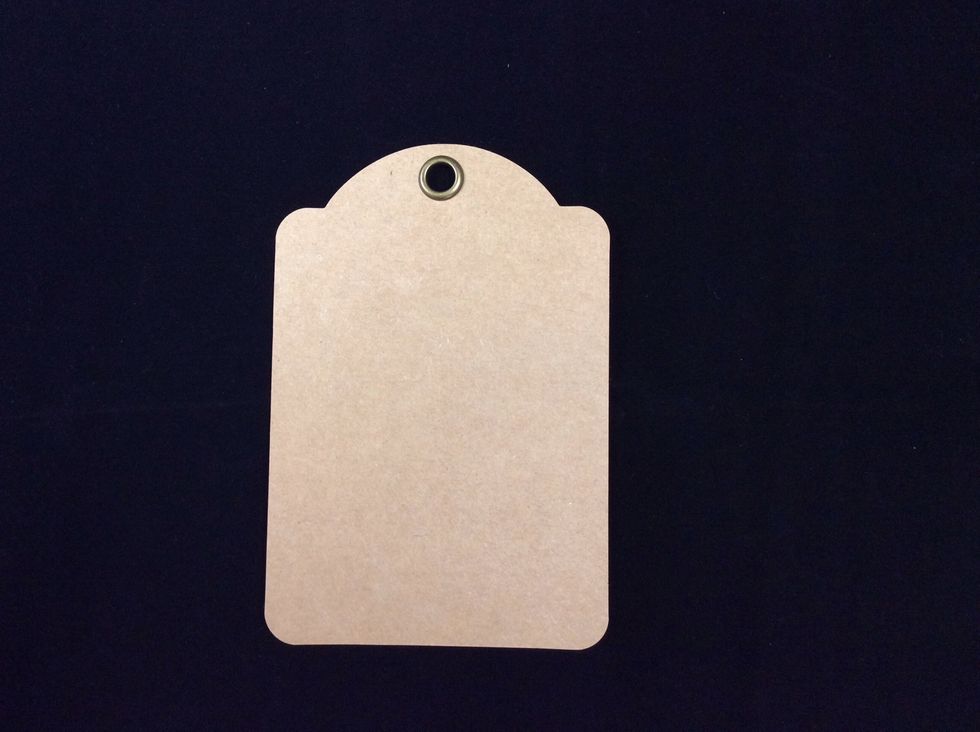
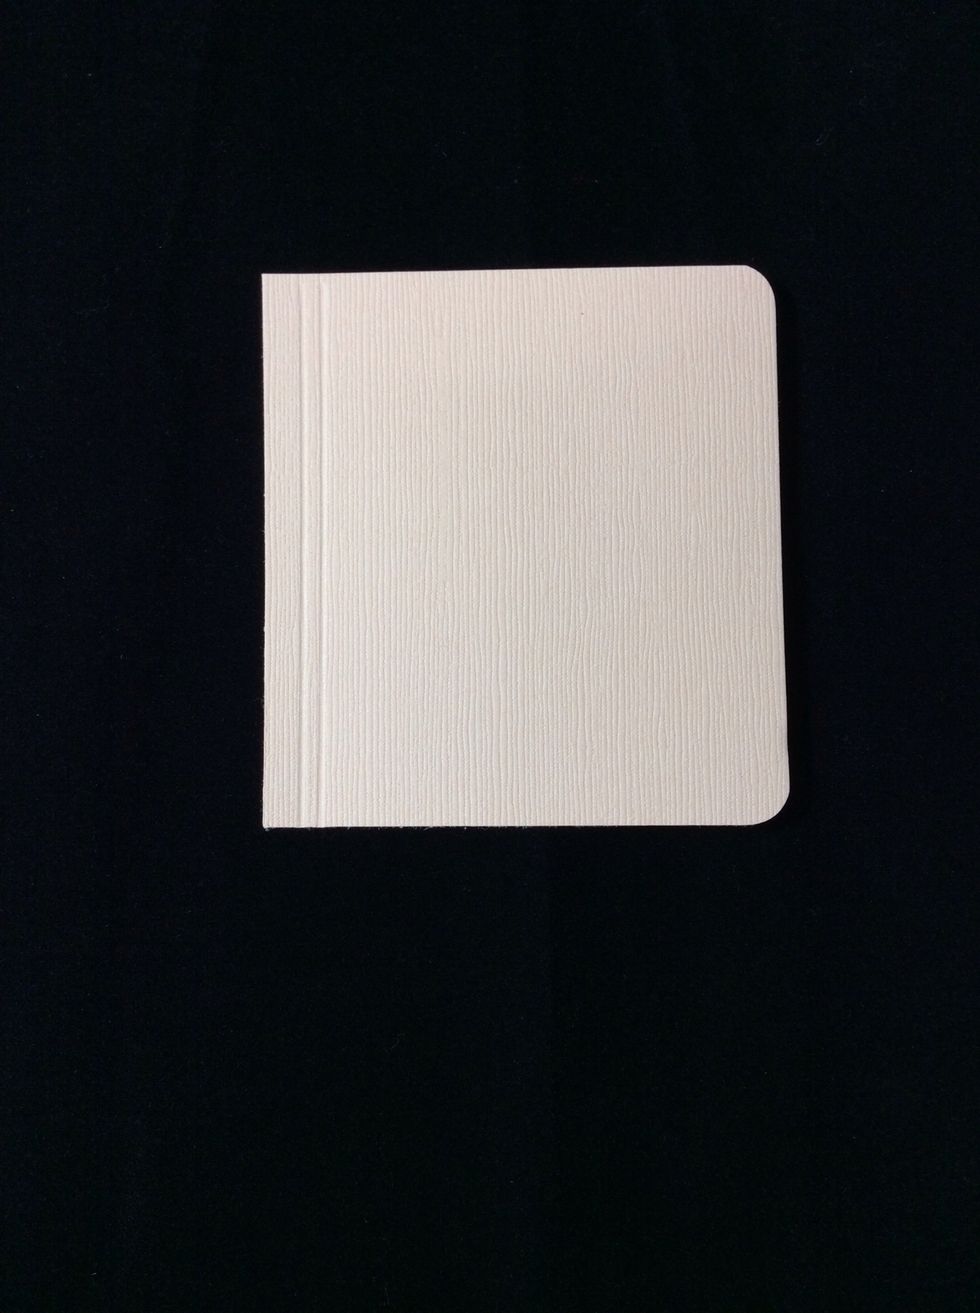
The base tag for this project is from the graphic 45 regular tag album kraft colour.
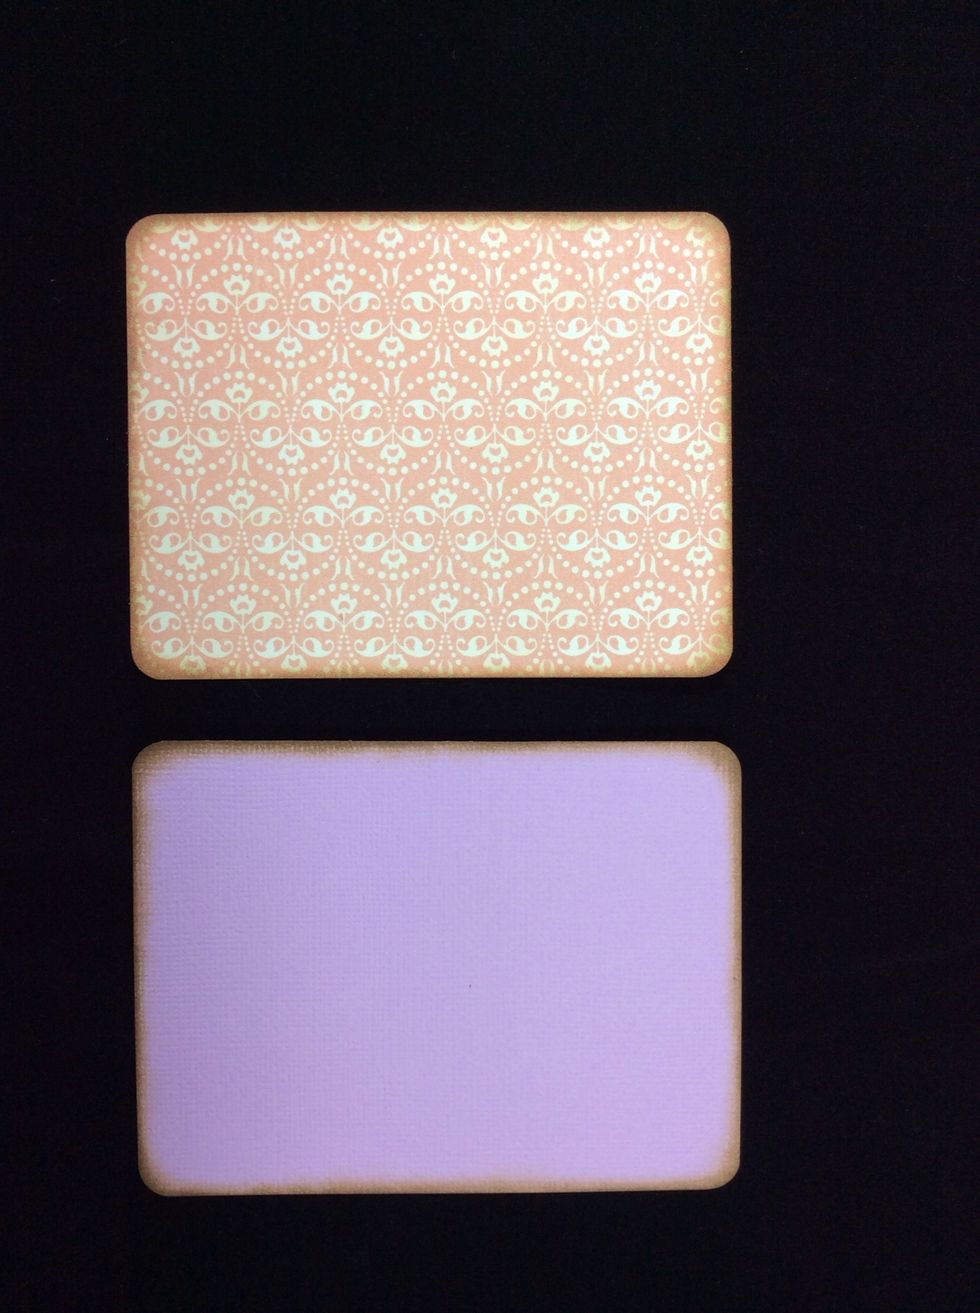
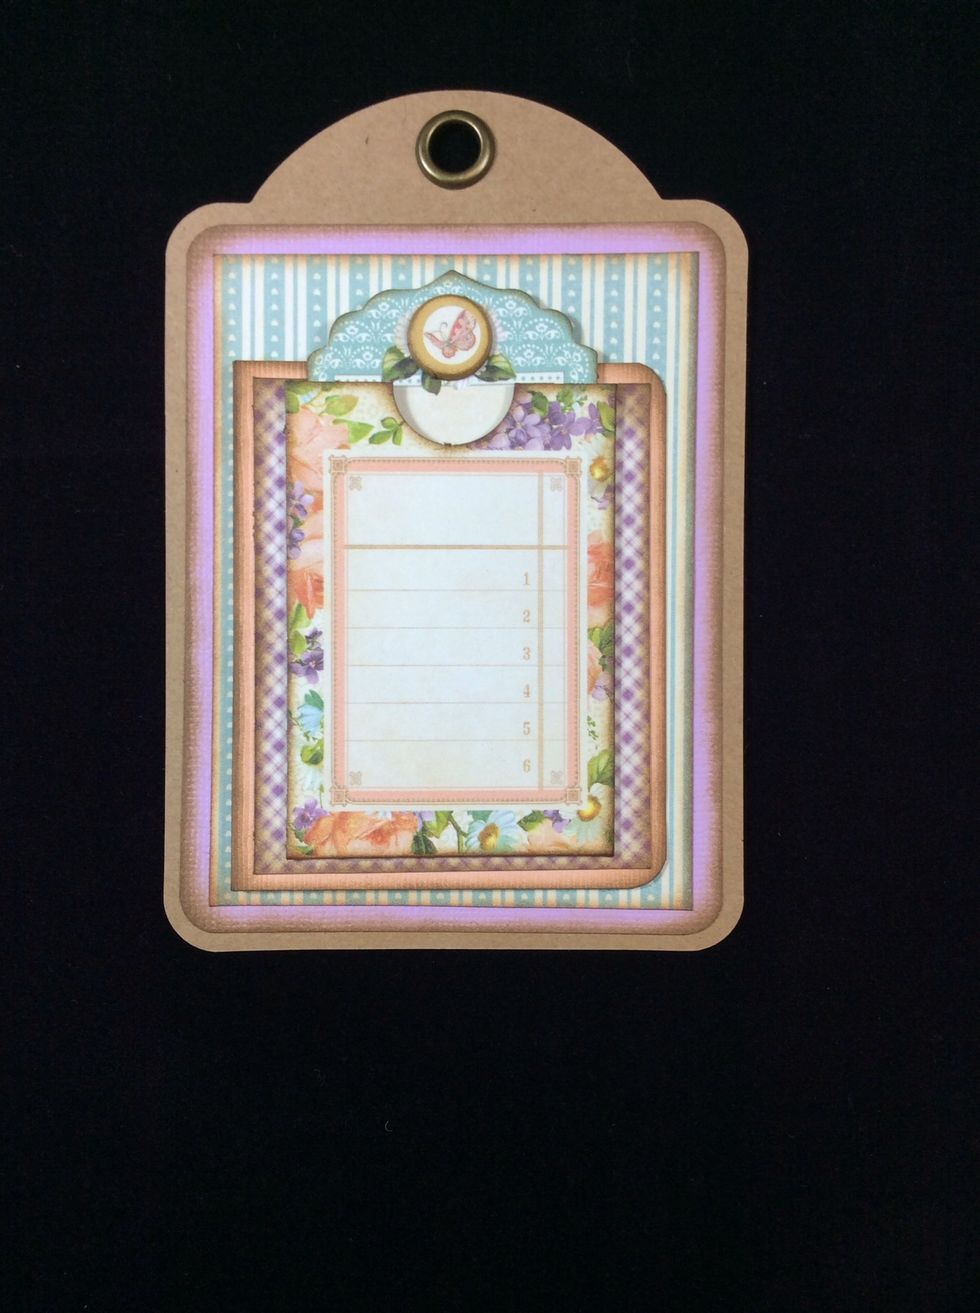
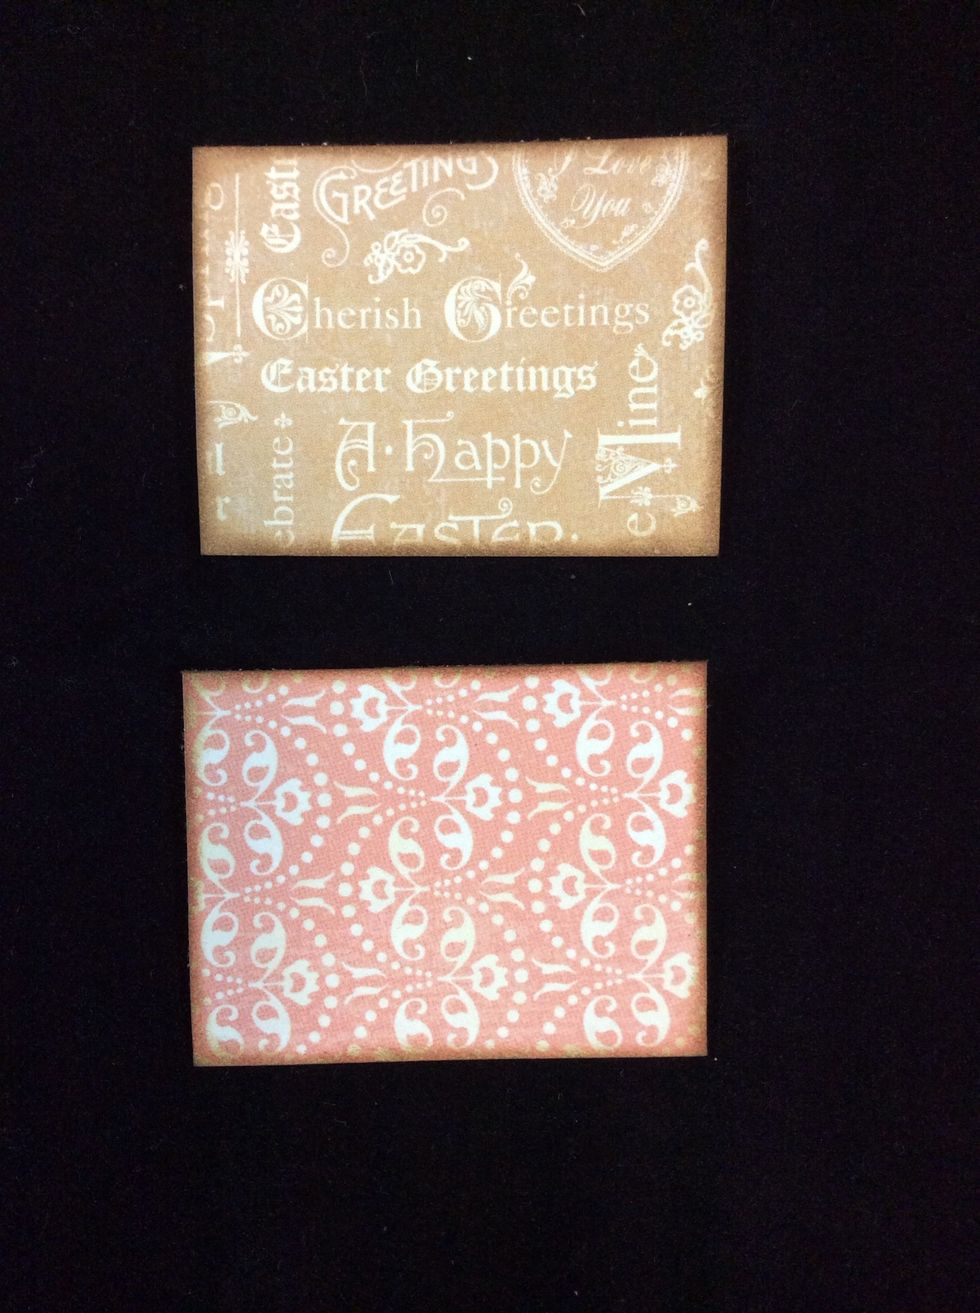
Cut mats (a) at 3 5/8 x 4 3/4 inches one each from patterned paper and card stock. Corner round all corners. Then ink around edges.
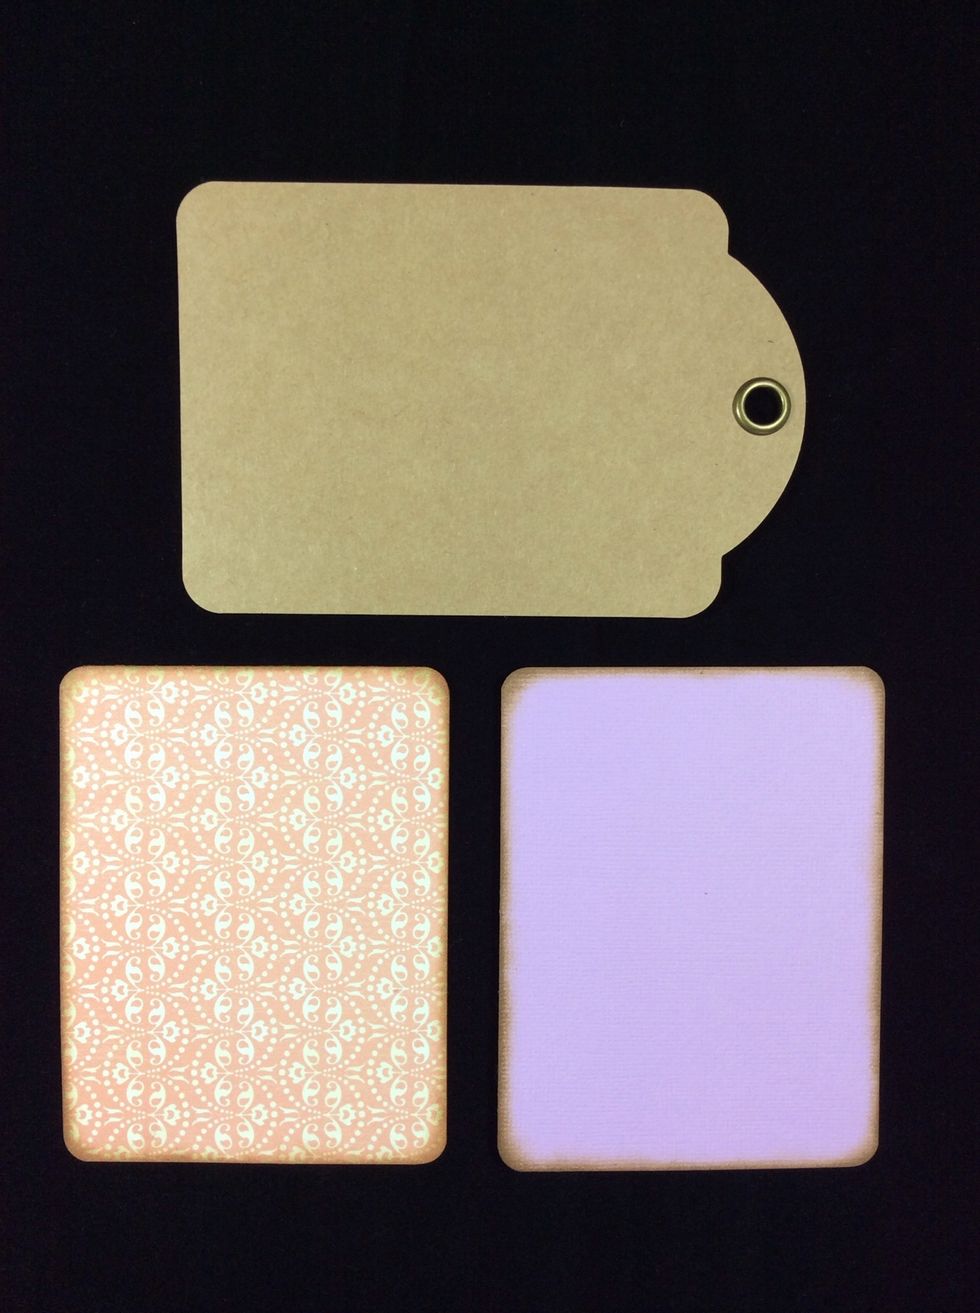
Adhere one to each side of the tag base. Use your chosen type of adhesive.
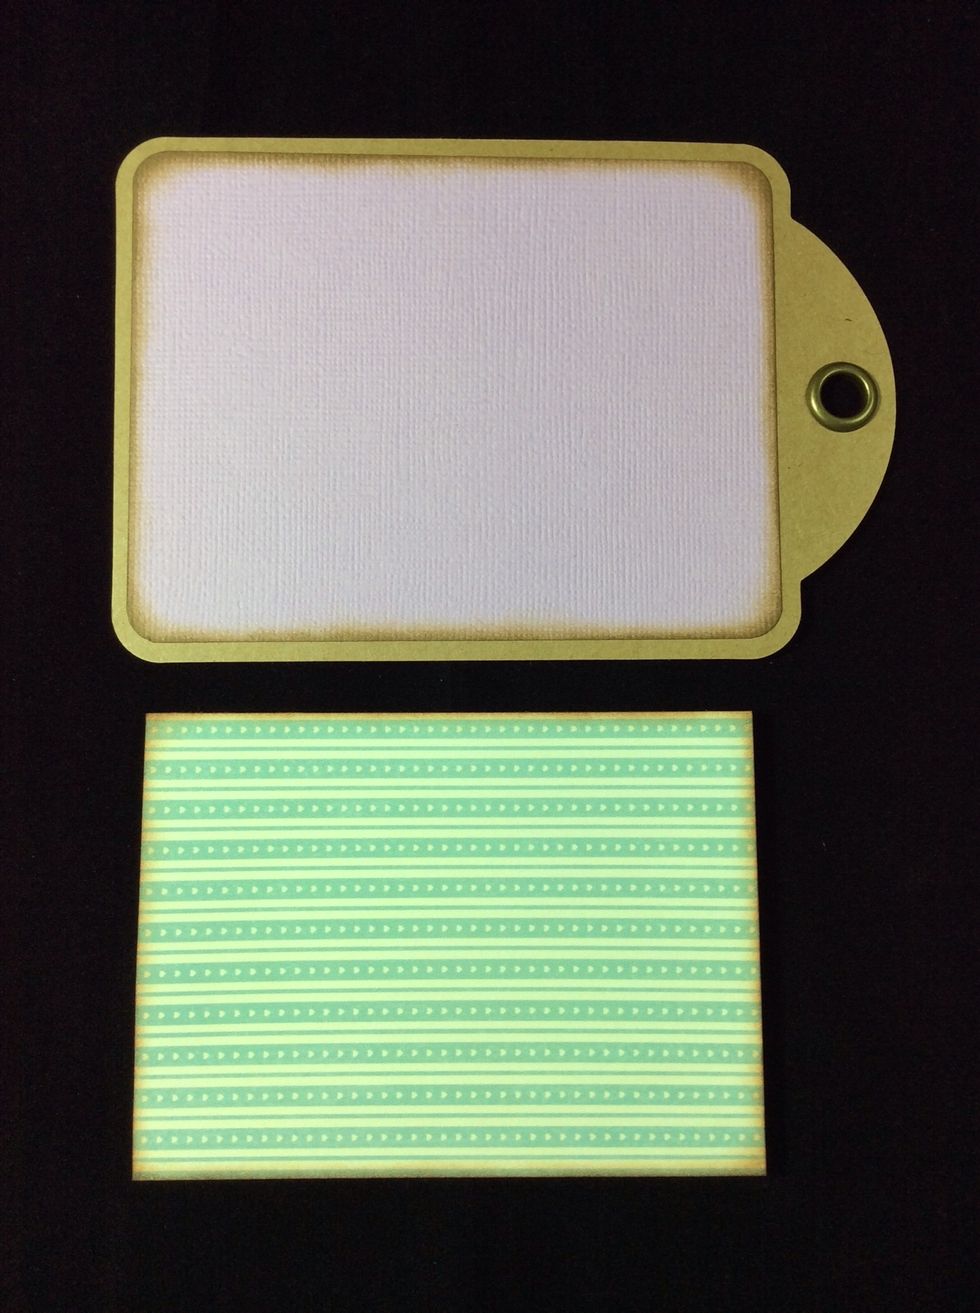
Cut mat (b) 3 1/4 x 4 3/8 from patterned paper. Ink edges and adhere to cars stock side of base tag .
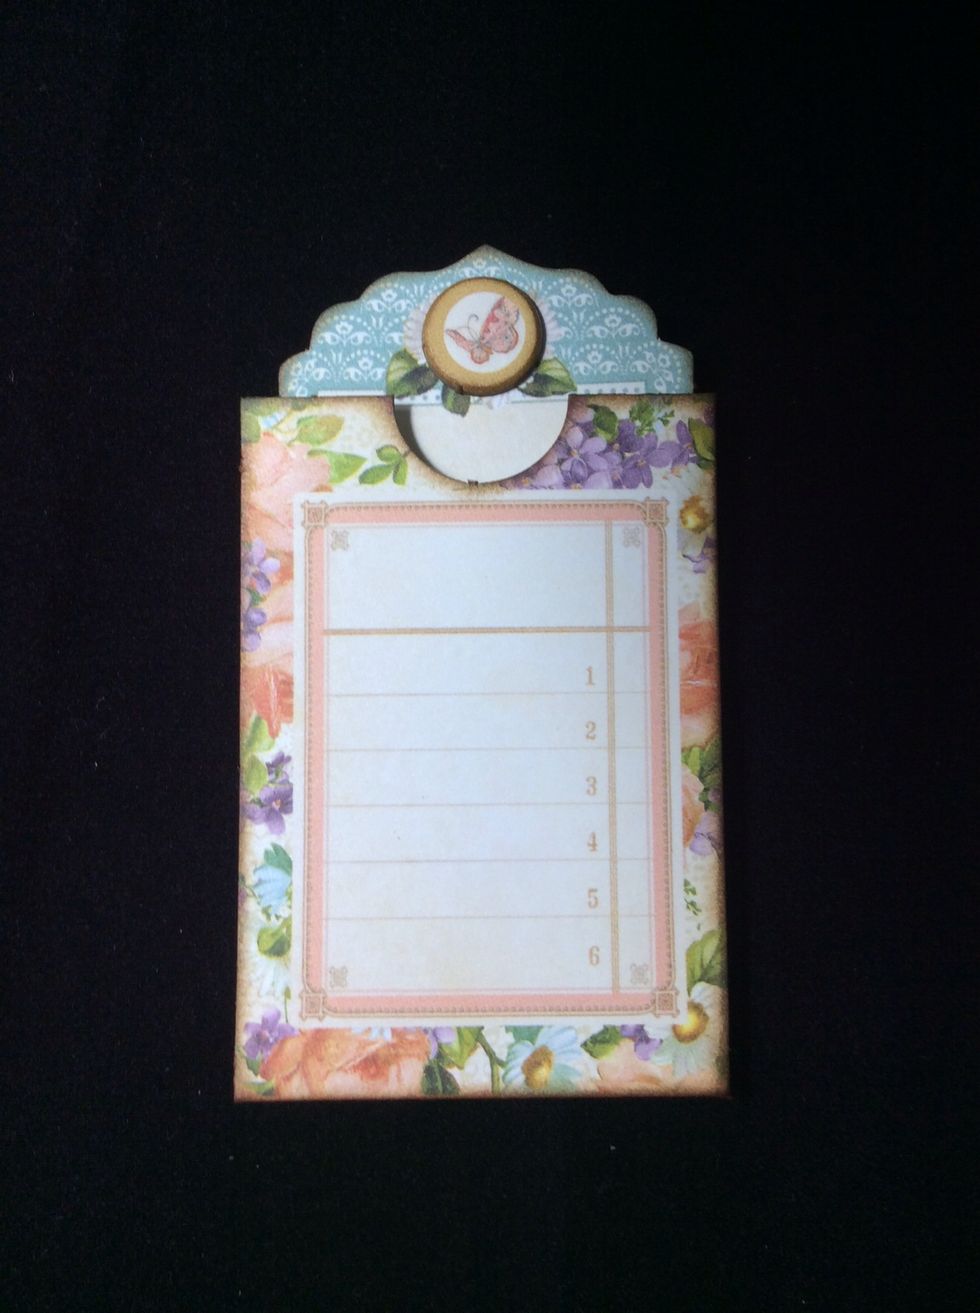
Cut hinge cover at 3 1/4 x 3 1/2 inches from coordinating card stock. Score in from 3 1/2 inch edge at 1/4 and 3/8 of an inch.
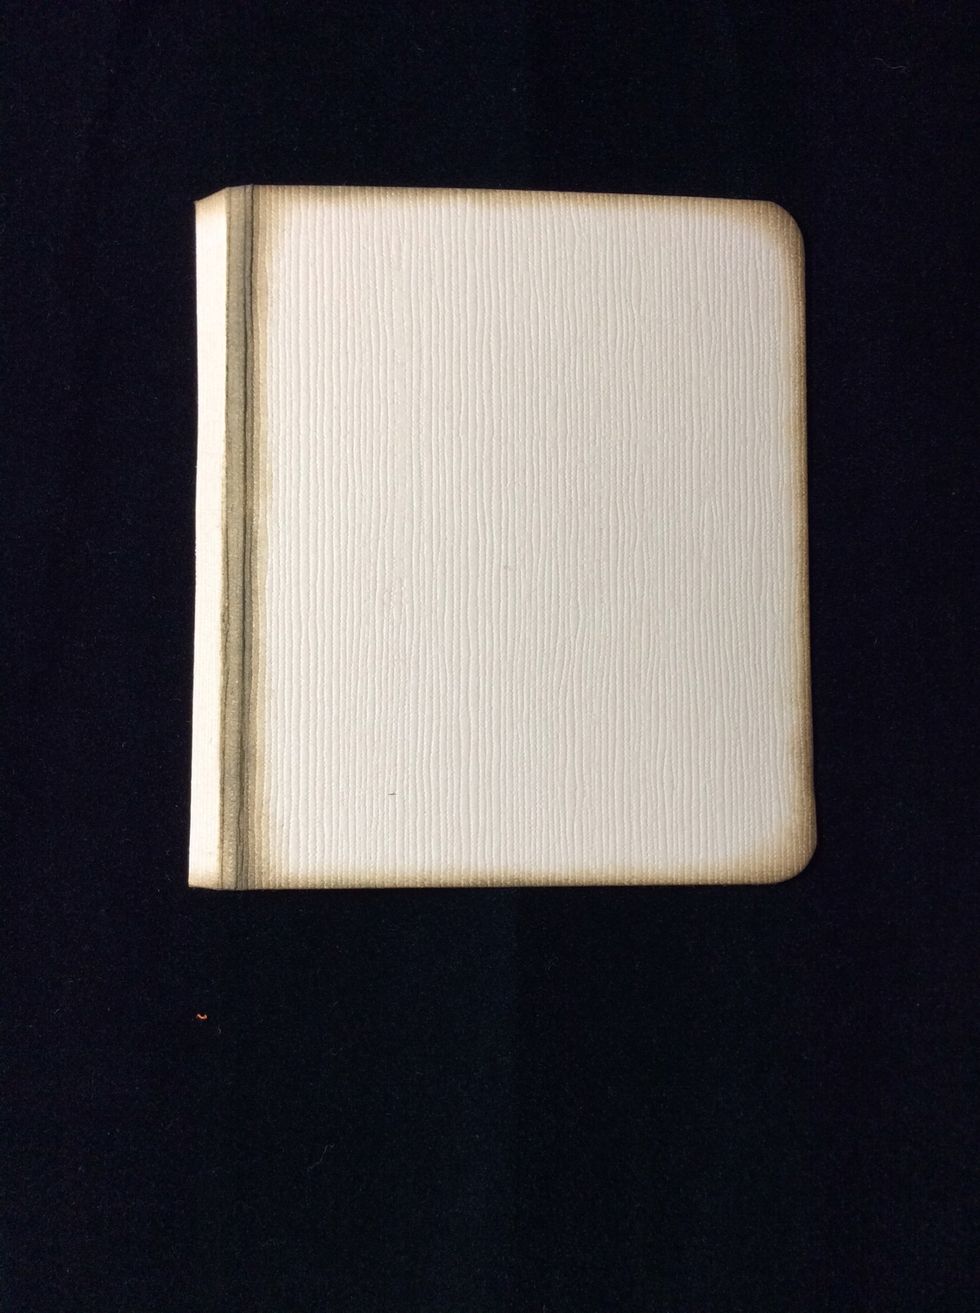
Ink around edges of hinge cover including the 1/8 inch spine section on both sides
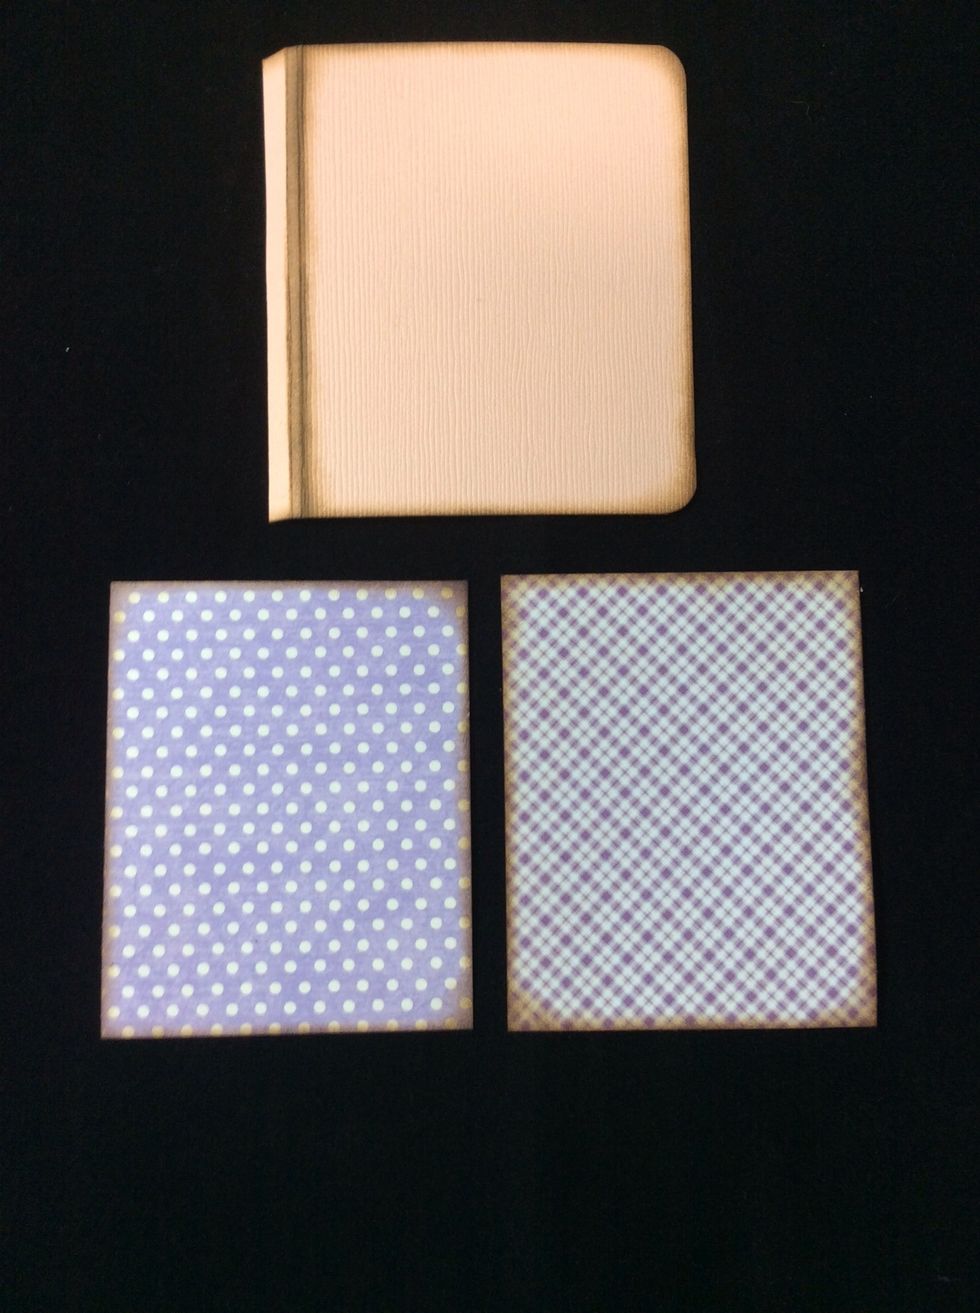
Cut mats (c) 2 5/8 x 3 1/4 from coordinating patterned papers. Ink edges and adhere to both sides of the hinge cover.
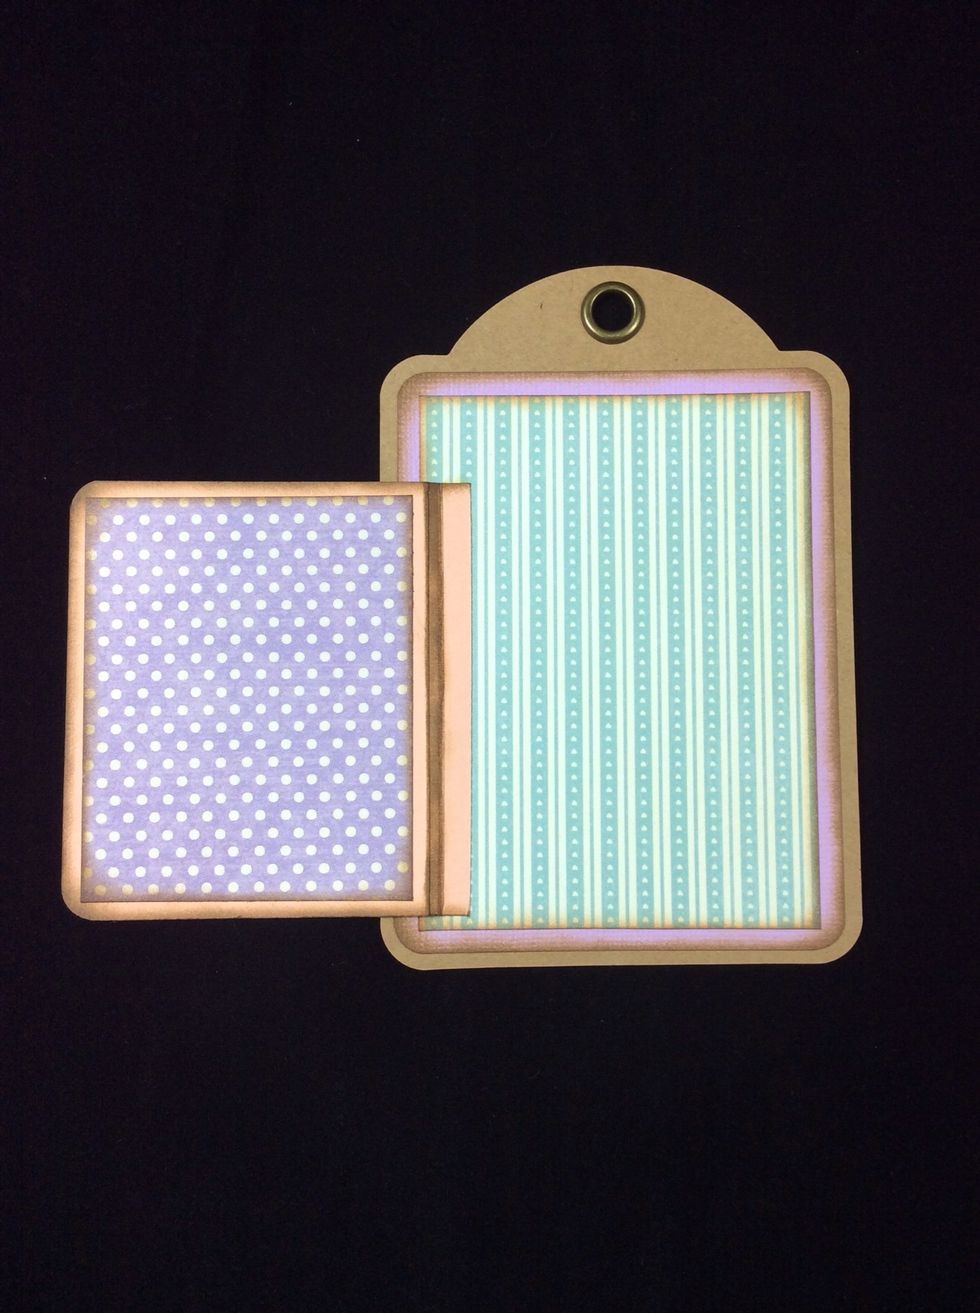
Apply adhesive to the 1/4 inch section on the hinge cover and adhere to tag aligning 1/8 inch from base of patterned mat.
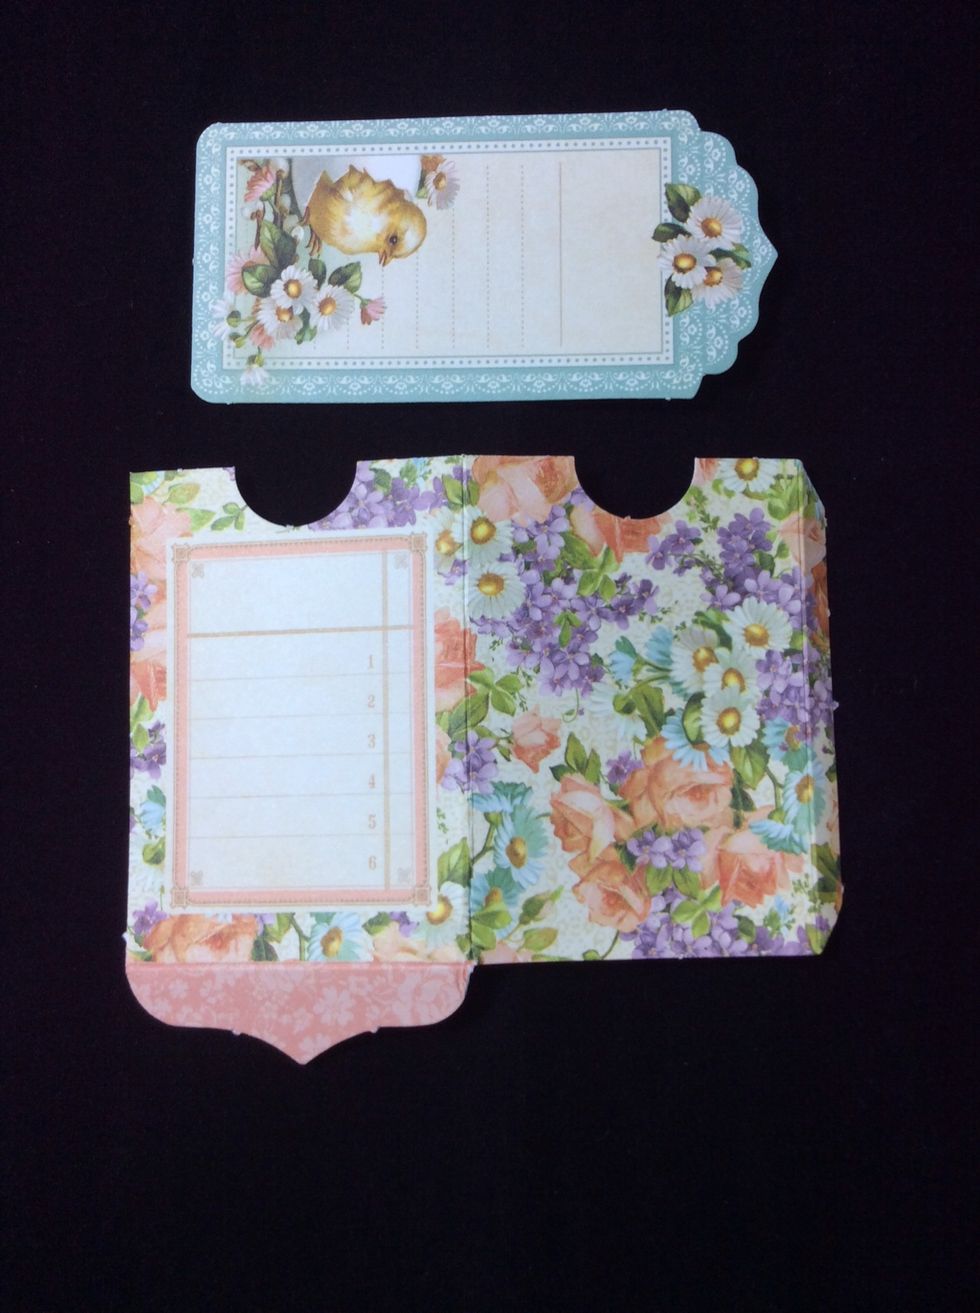
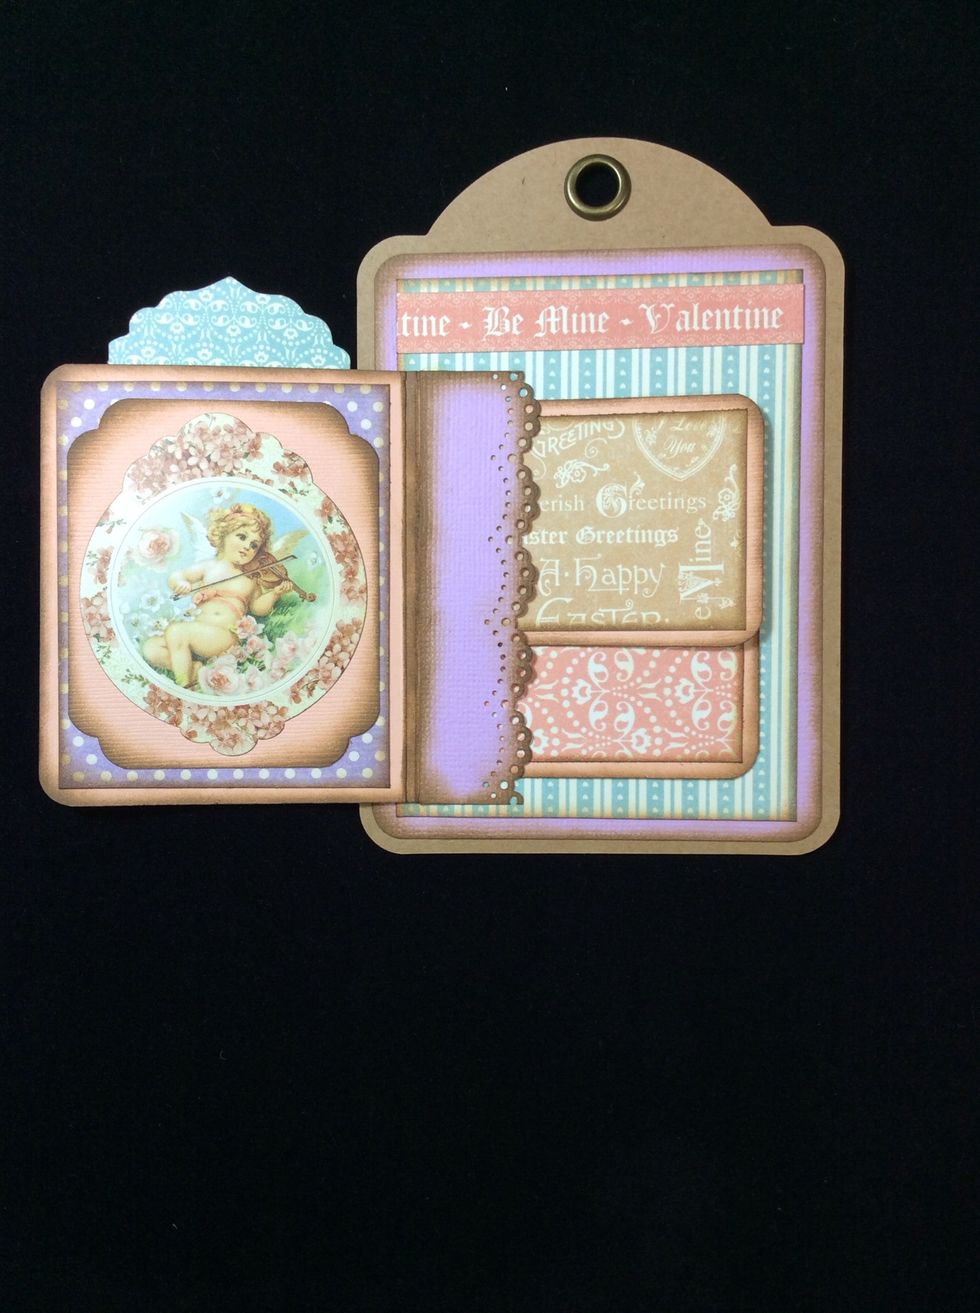
Using a graphic 45 pocket, apply glue to base and side tab to form a pocket.
Ink edges of both components. Pocket and tag should look as in photo. Adhere small embellishment to top of tag if desired.
Adhere pocket to front of hinge cover align to base of patterned mat.
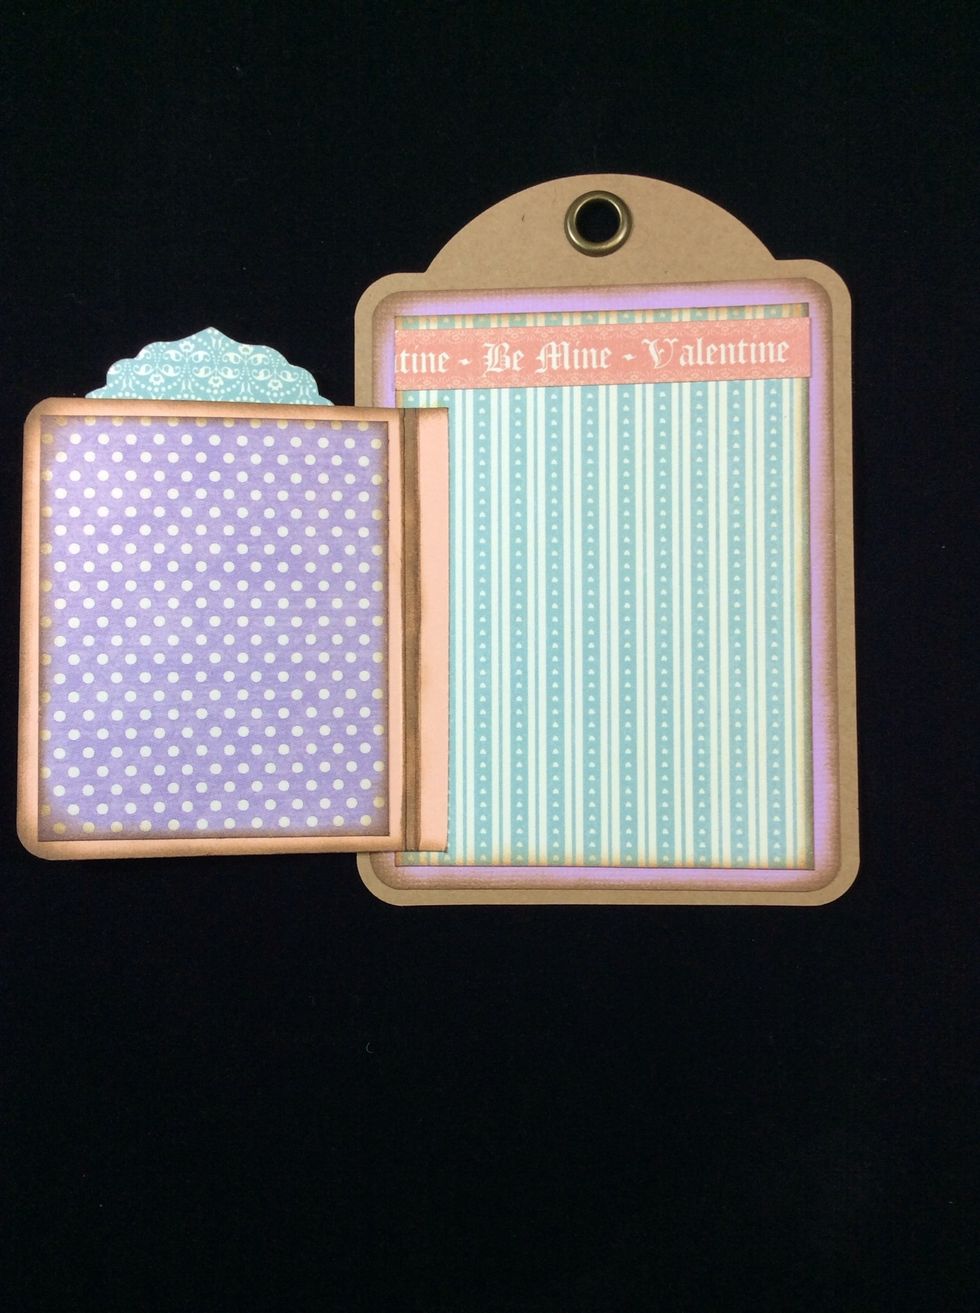
Cut border script to 3 1/4 inches by width of border strip chosen and adhere as shown in photo
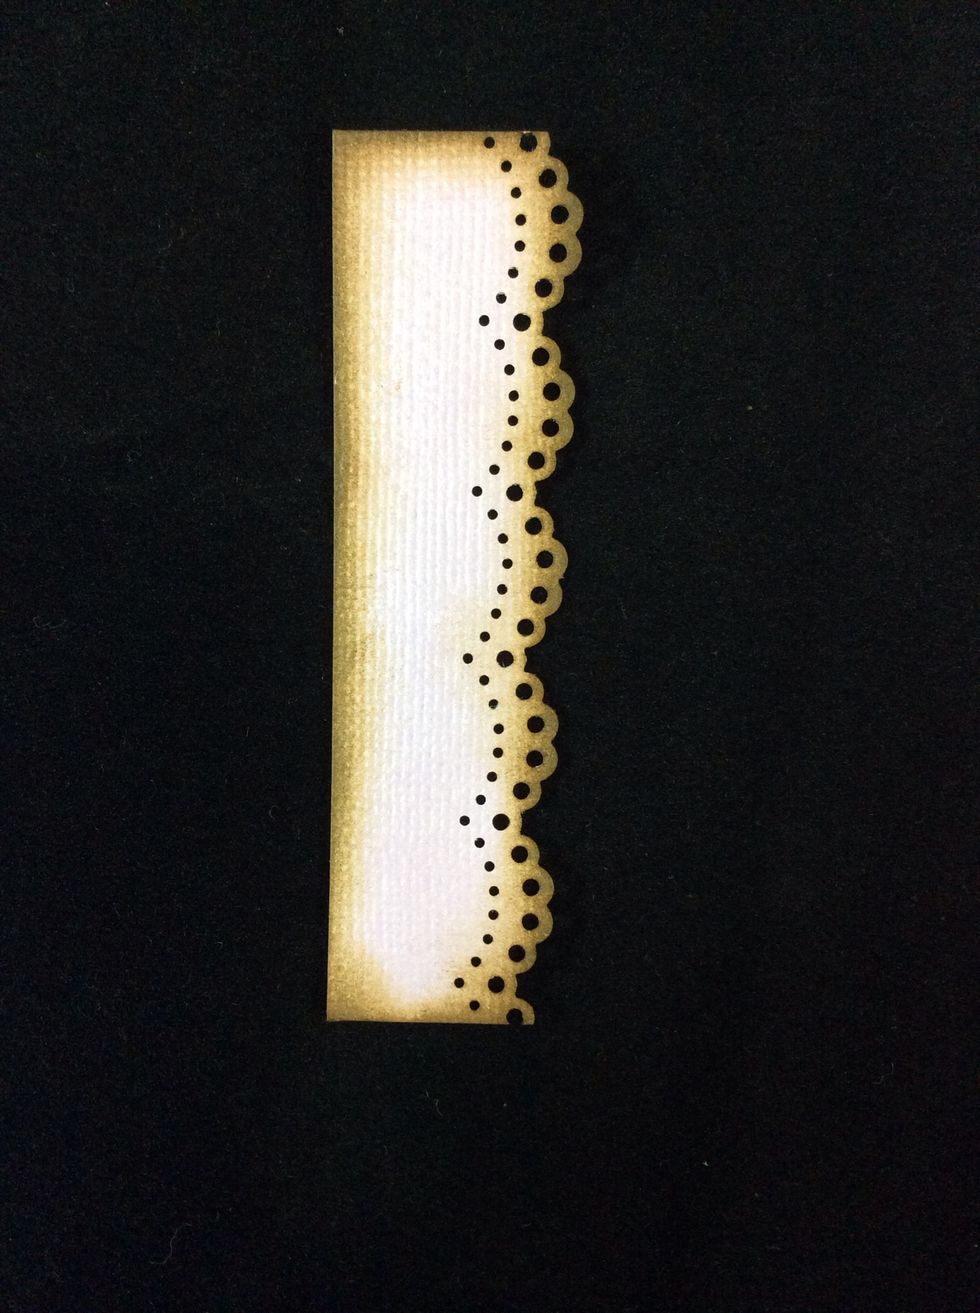
Cut the pocket strip at 3 1/2 x 1 inch. Edge punch one long edge and the ink all edges. Punch used in photo is Martha Stewart doily lace.
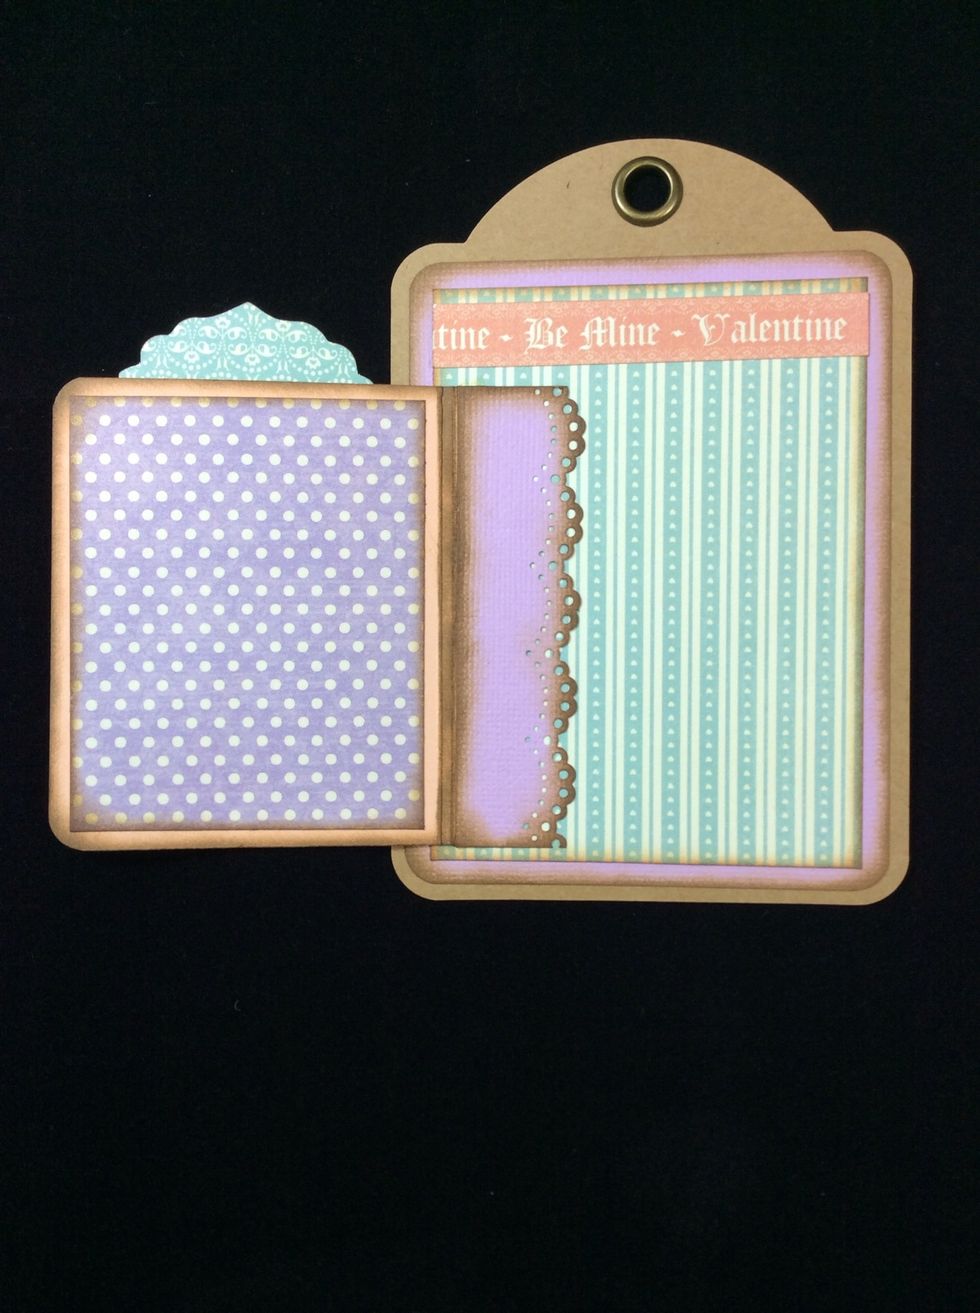
Apply glue to the three straight edges. Do not glue the punched edge. Adhere in to position covering the 1/4 inch section on the hinge cover.
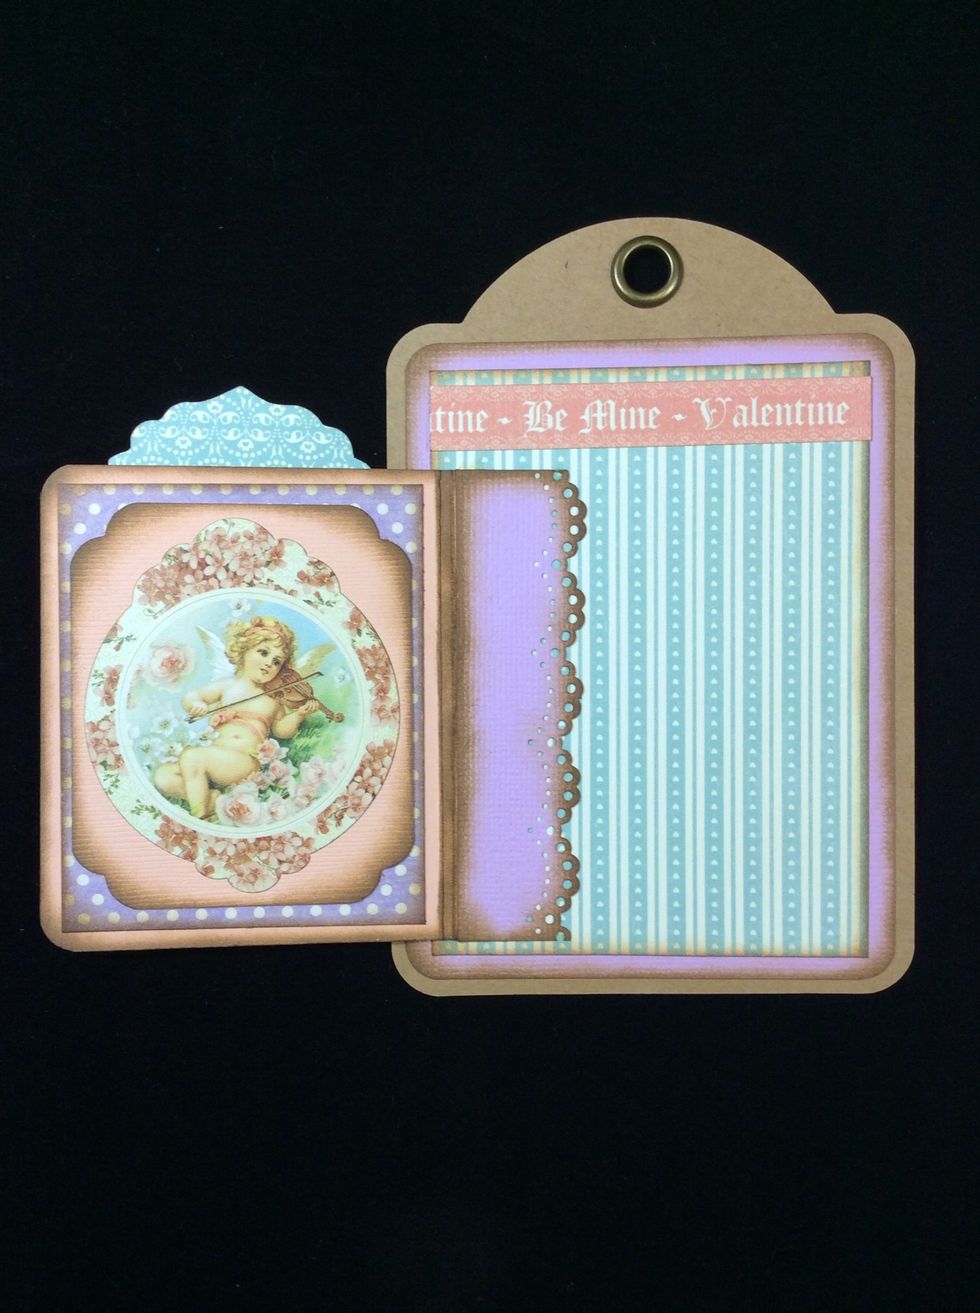
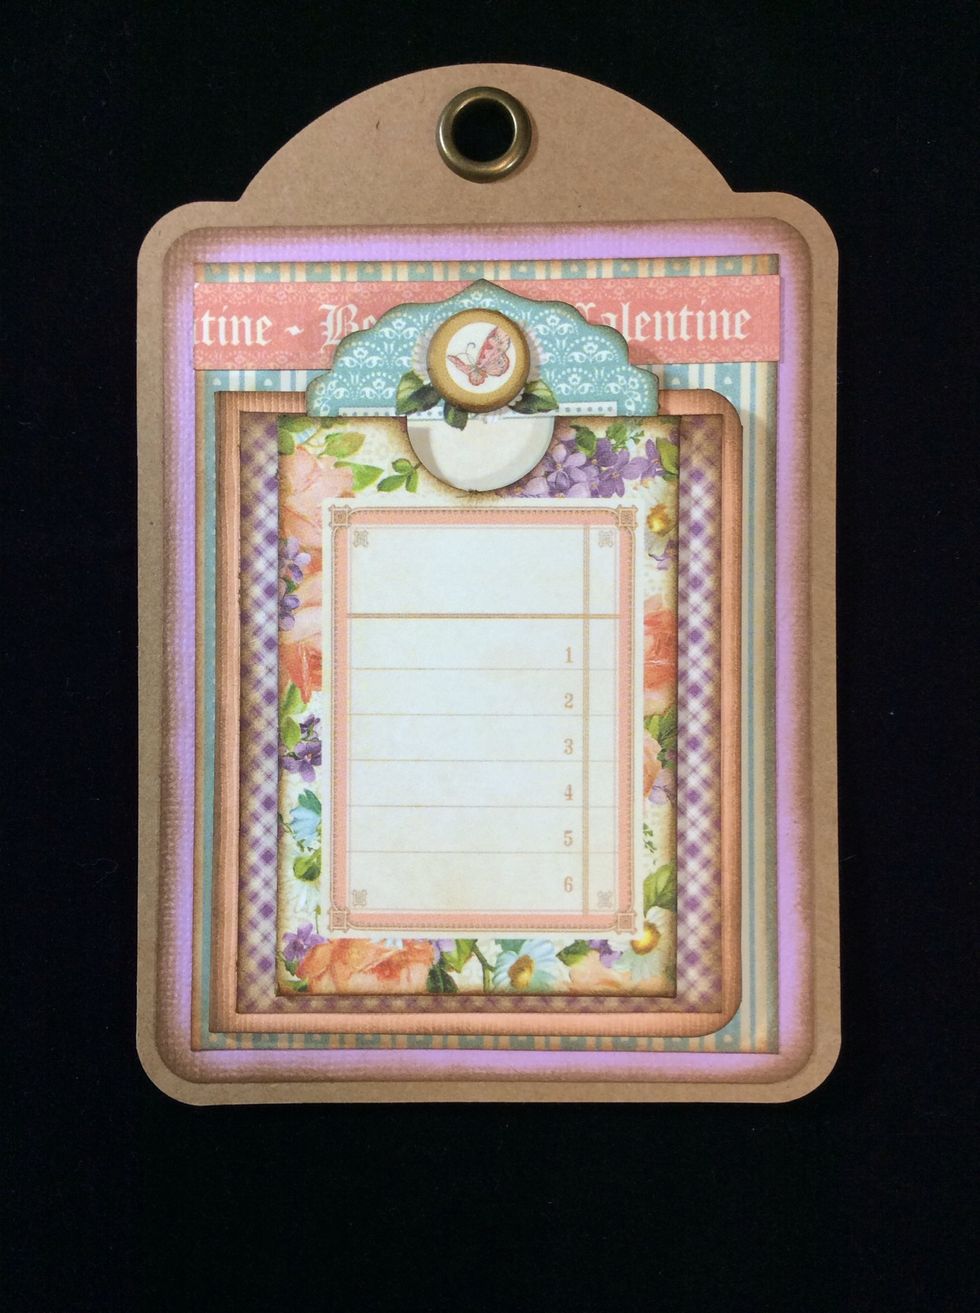
Adhere a chosen image in the inside of the hinge cover. I used a sticker from the sticker sheet mounted on card stock and corner comped.
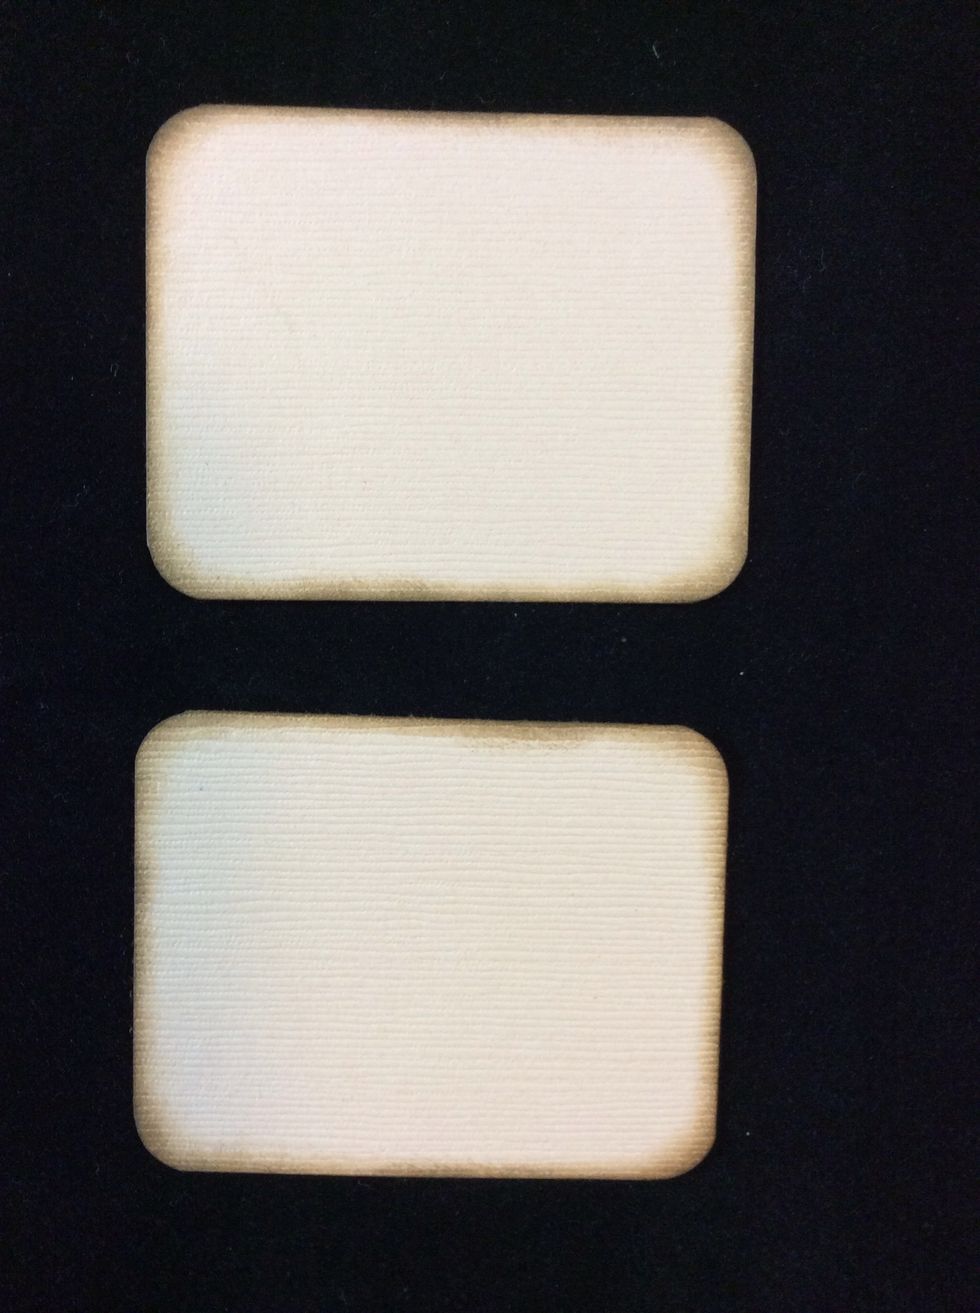
Cut journal cards at 2 x 2 1/2 inches from a card stock previously used and corner round all corners. Ink all edges both sides.
Cut journal card mats at 2 1/4 x 1 3/4 inches from coordinating pattern papers and ink edges.
Adhere journal mats to cards with chosen adhesive and place into pocket
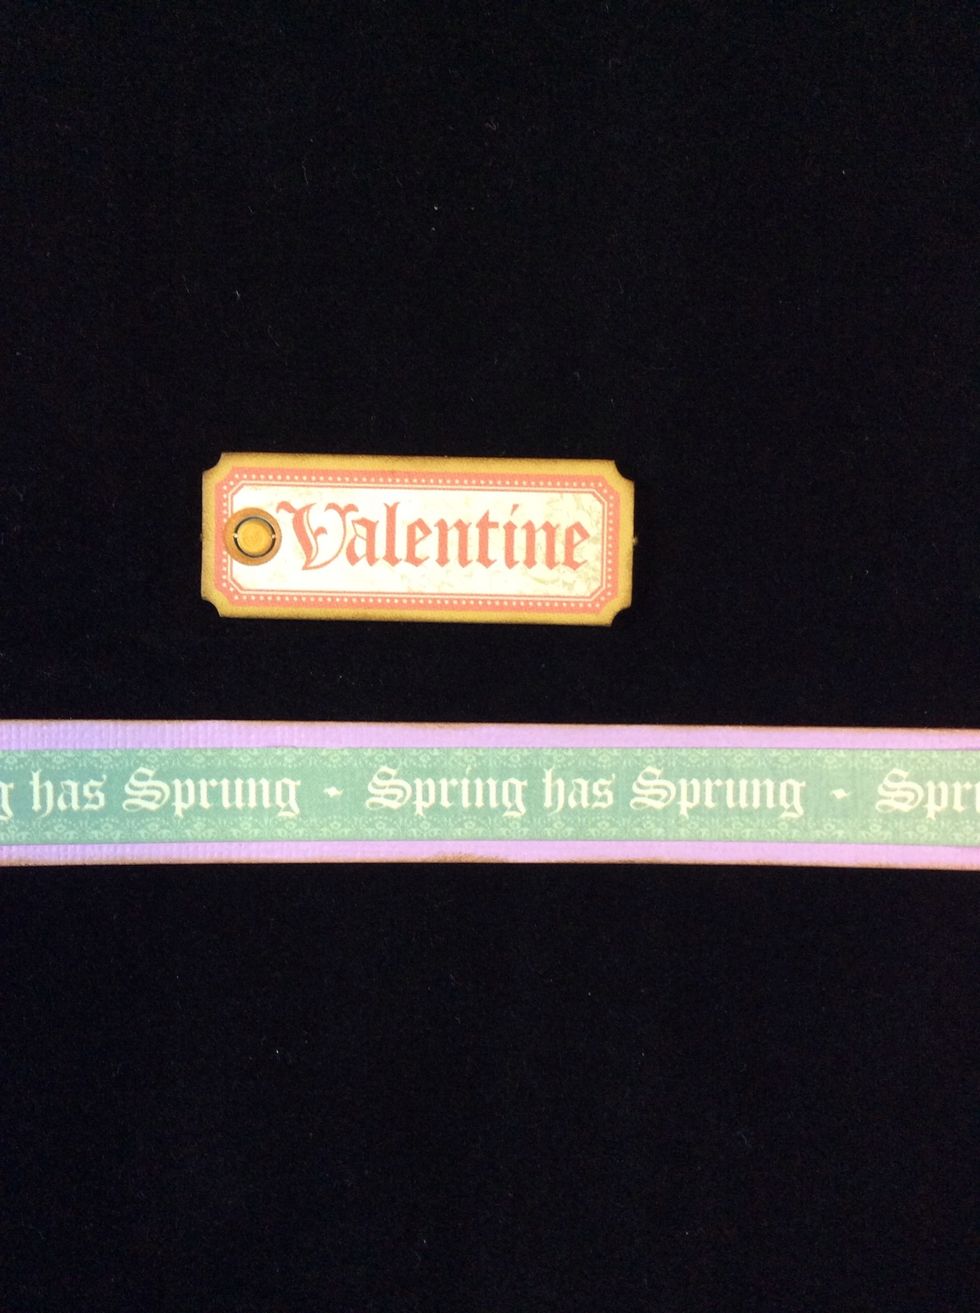
Adhere border strip for back of tag to card stock strip and ink edges of embellishment if required for you chosen item .

Adhere border unit to tag aligning approximately 1/4 inch from the edge. Glue embellishment centrally on to border strip. And position corner stickers if desired.
Your journal tag is now complete .