The Conversation (0)
Sign Up
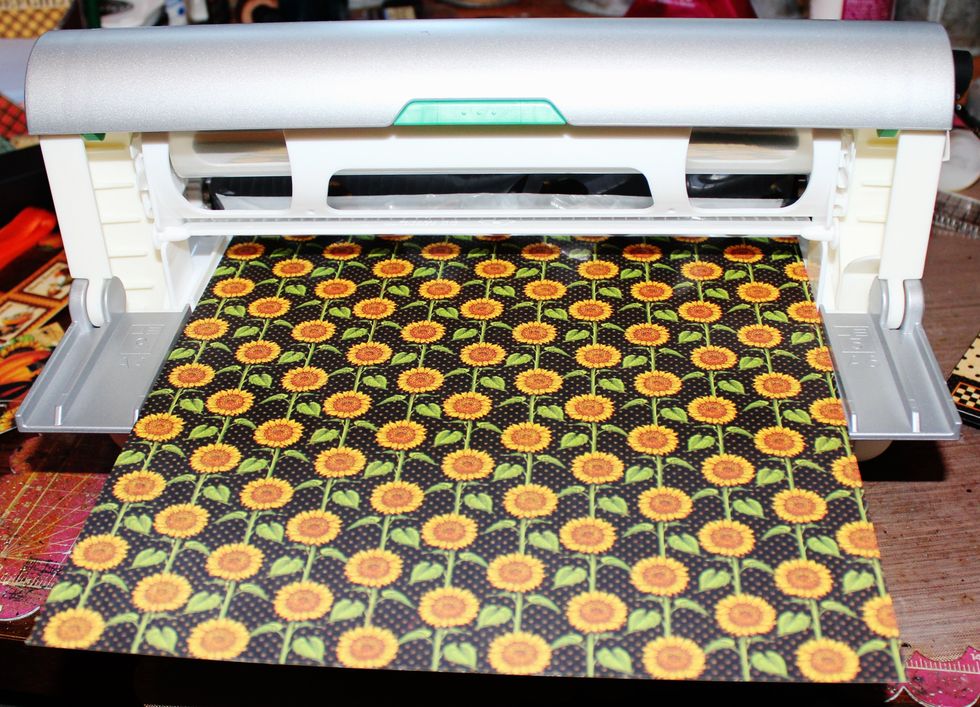
Begin by first adding adhesive to pattern paper. Cover box stand with prepared paper. Cut chipboard to fit stand; adhere paper to top of chipboard.
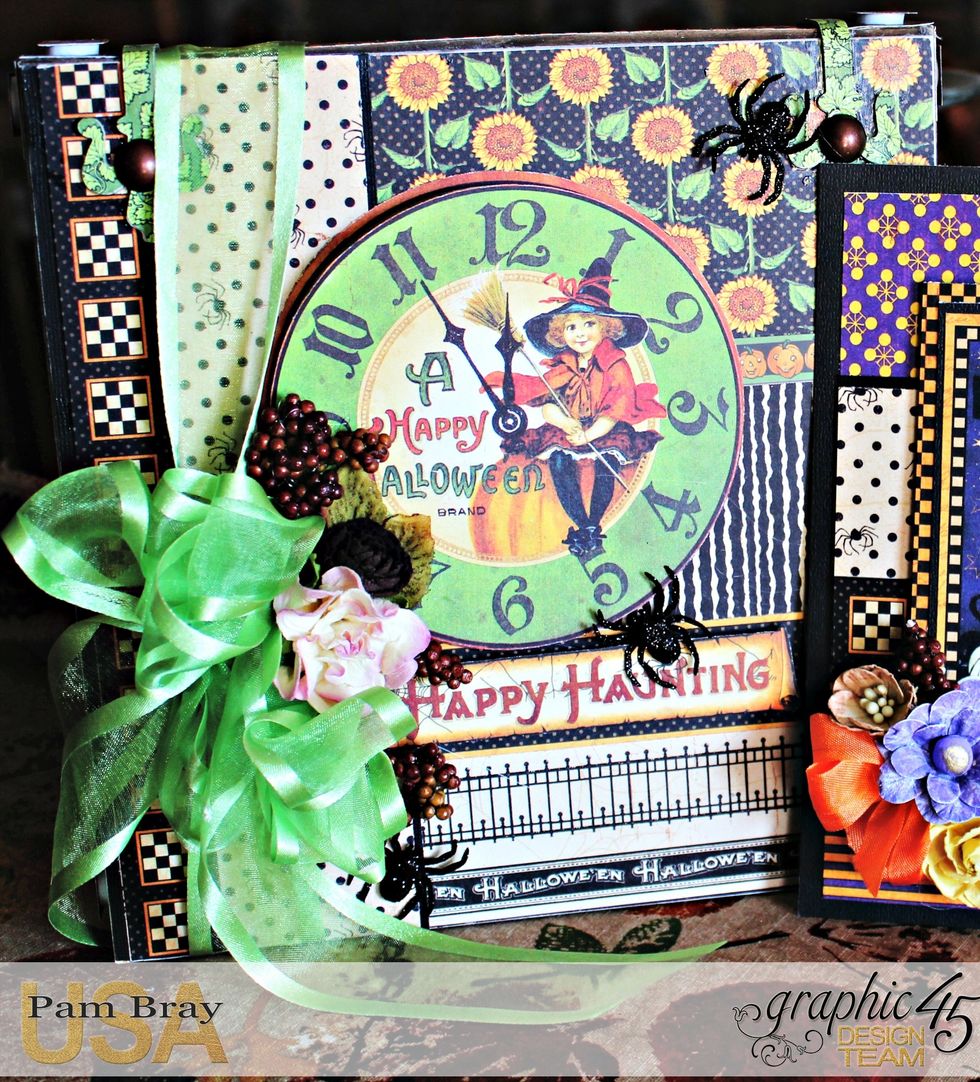
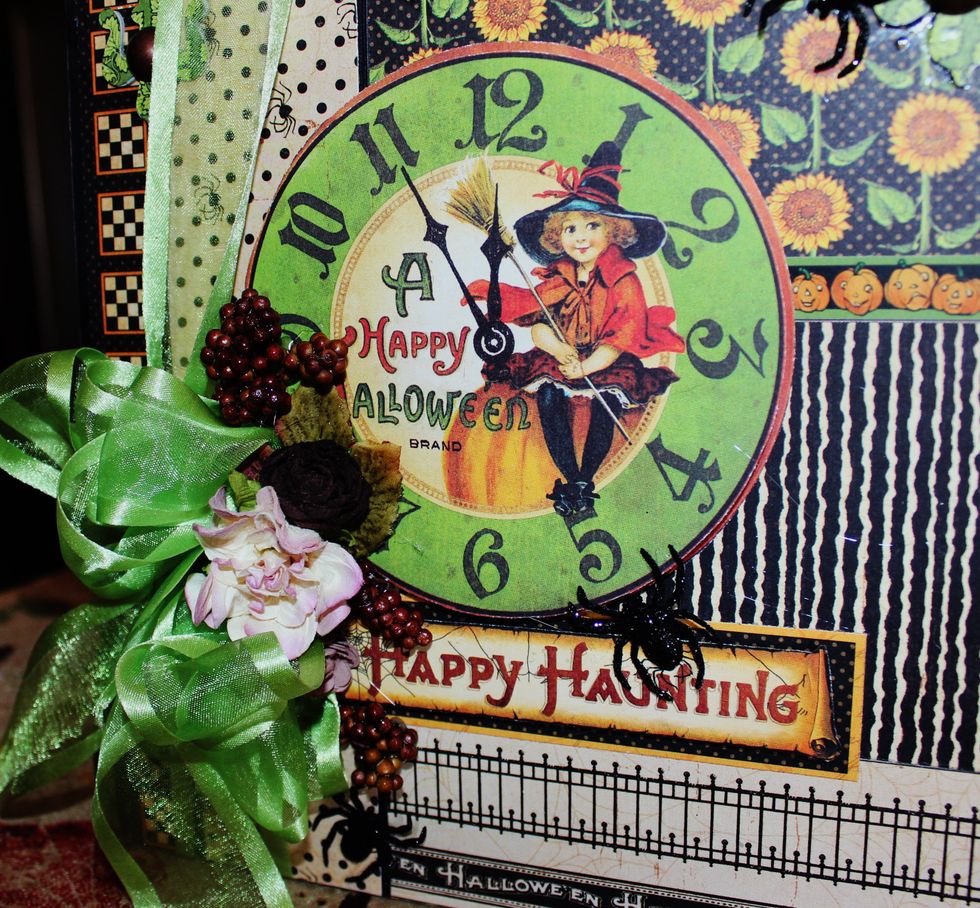
Decorate top of box using layers of pattern paper along with fussy cut images to top of prepared box.
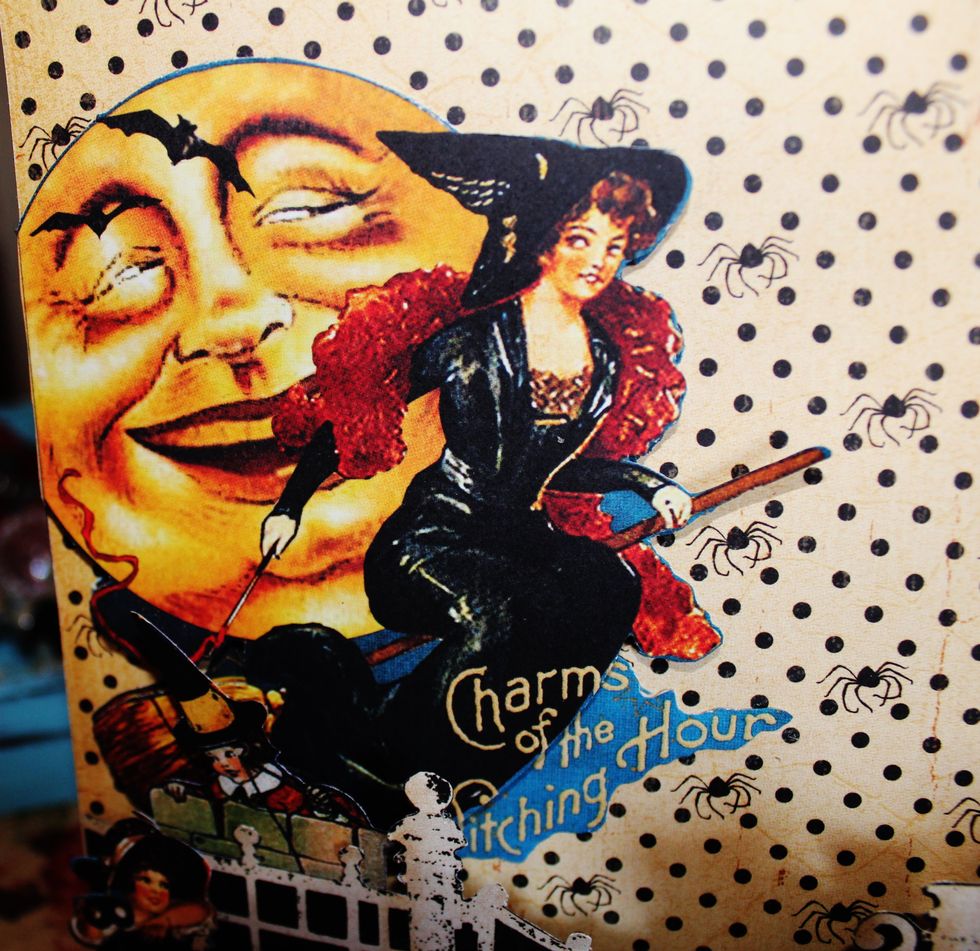
Add small spiders to front of box.
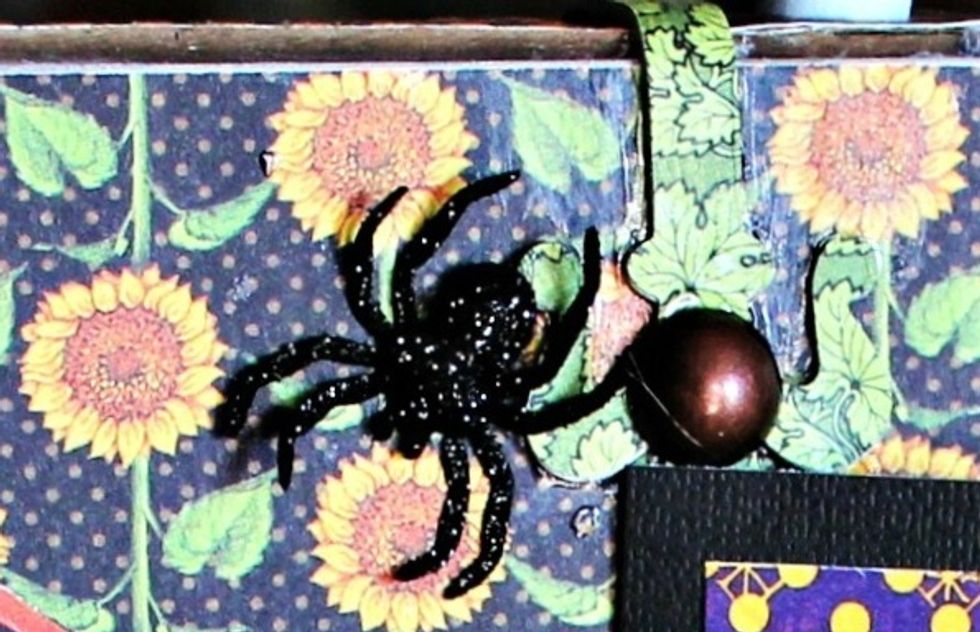
Die cut hardware findings from grunge board and pattern paper. Adhere to prepared lid and stand to form box. Add metal brad and small spider.
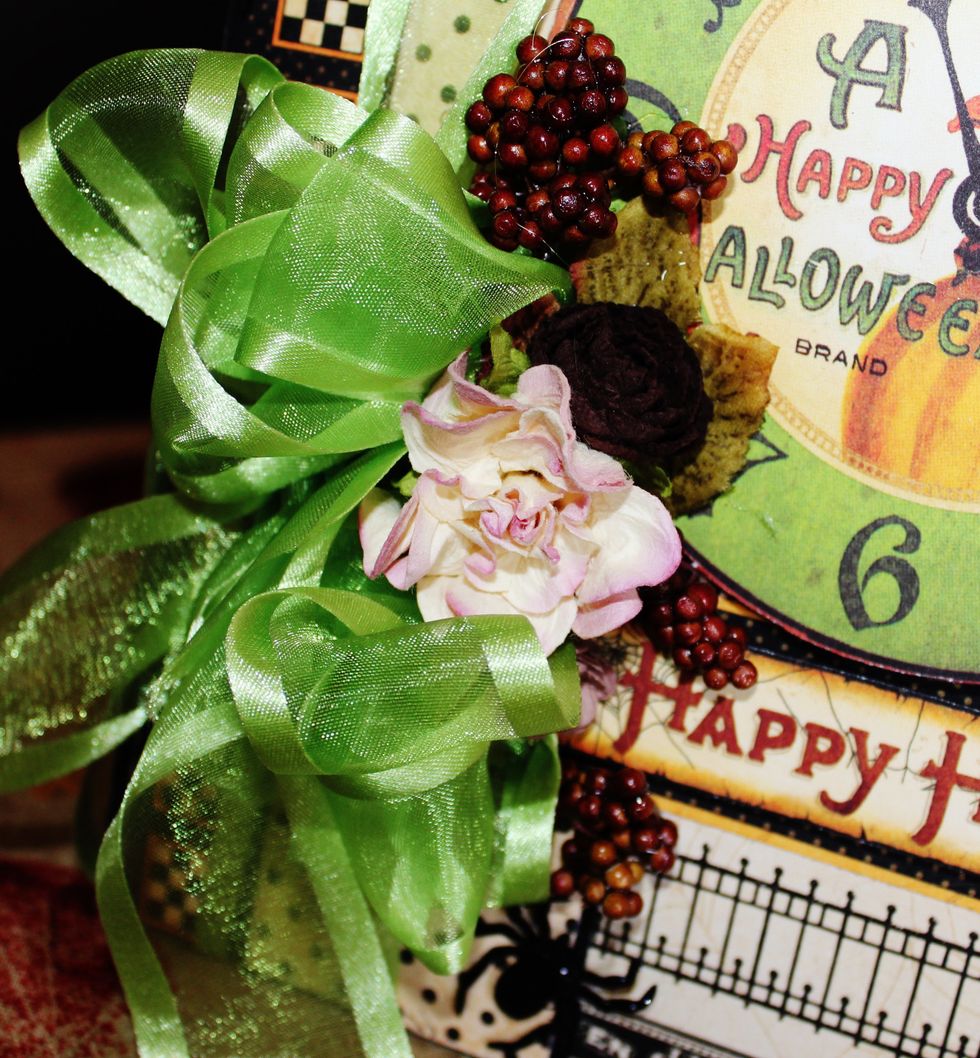
add flowers, berries and ribbon to top of prepared box.
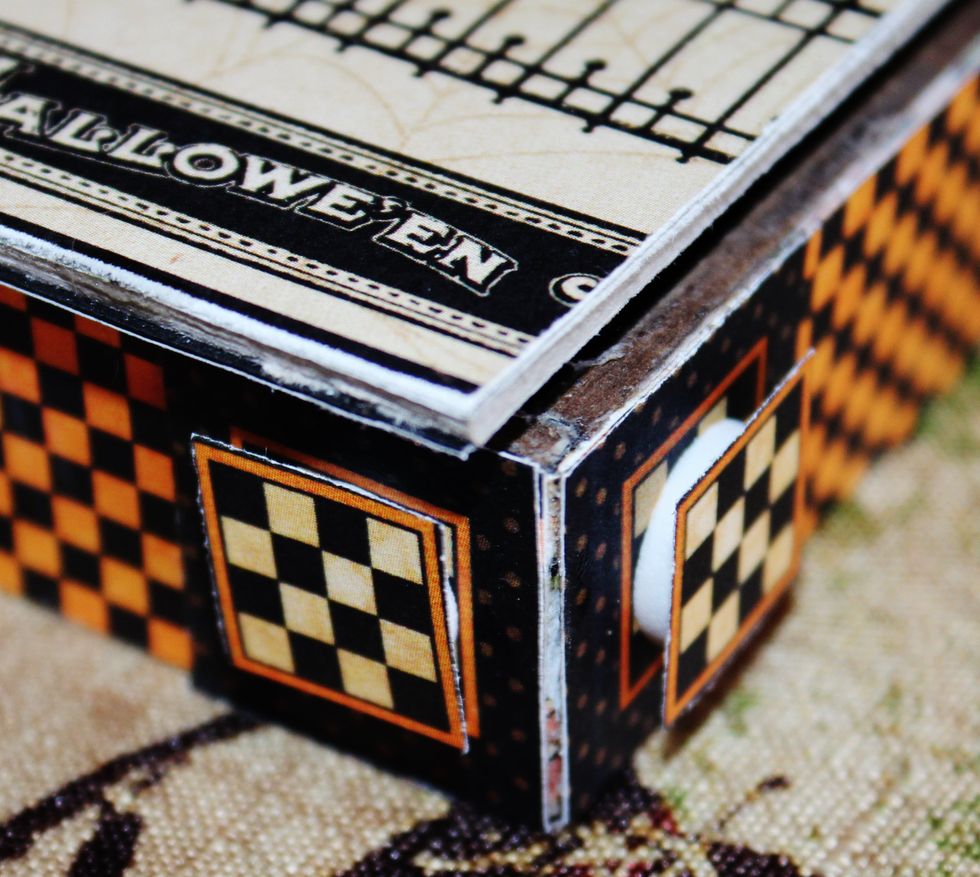
Fussy cut small squares from pattern paper; add to front of sides of box stand with pop dots.
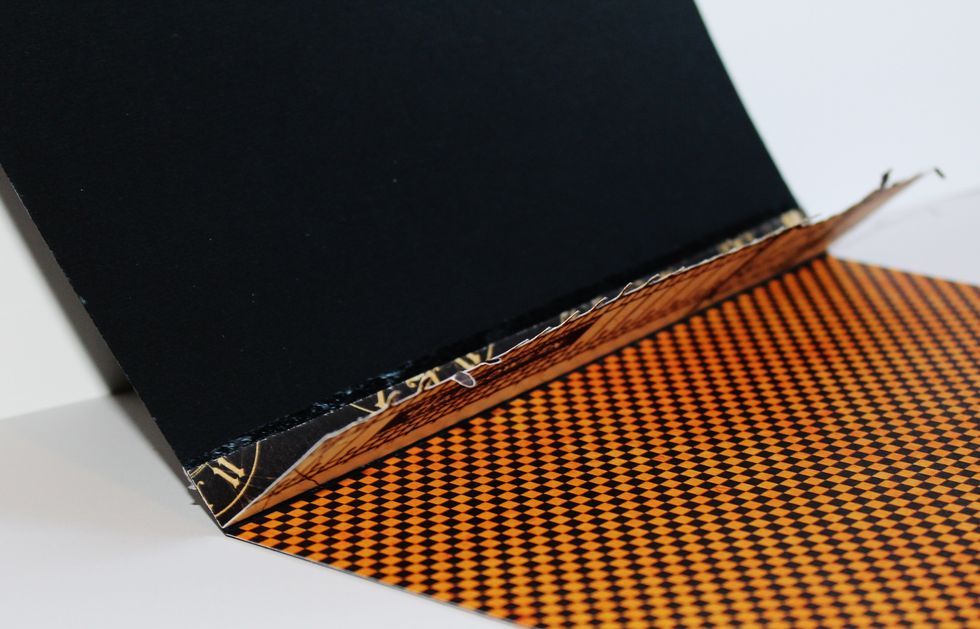
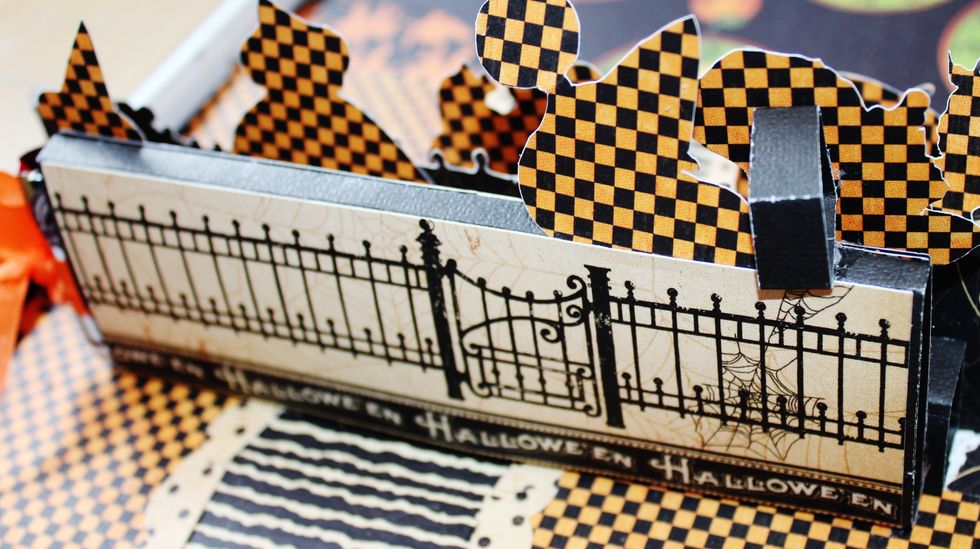
Score 8" x 12" black card stock in half to form card. Adhere pattern paper to inside of card. Fussy cut fence from pattern paper; leaving 1" at bottom of fence when cutting out.
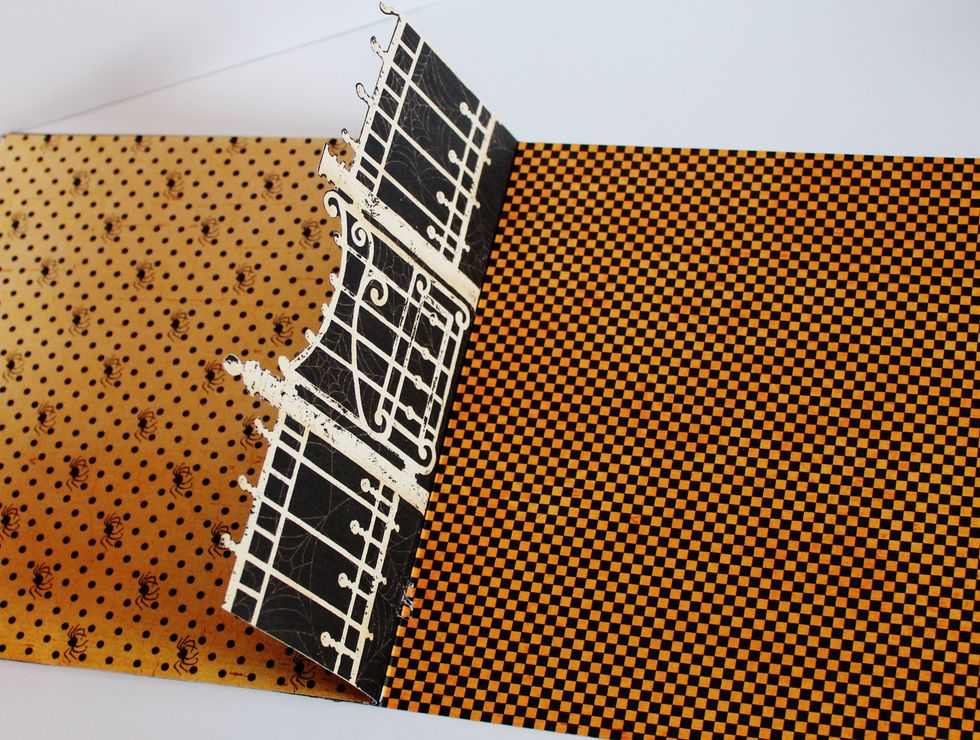
Score 1" from bottom of fence. Adhere to inside of card. Adhere pattern paper to top of scored 1" fence fold of inside of card.
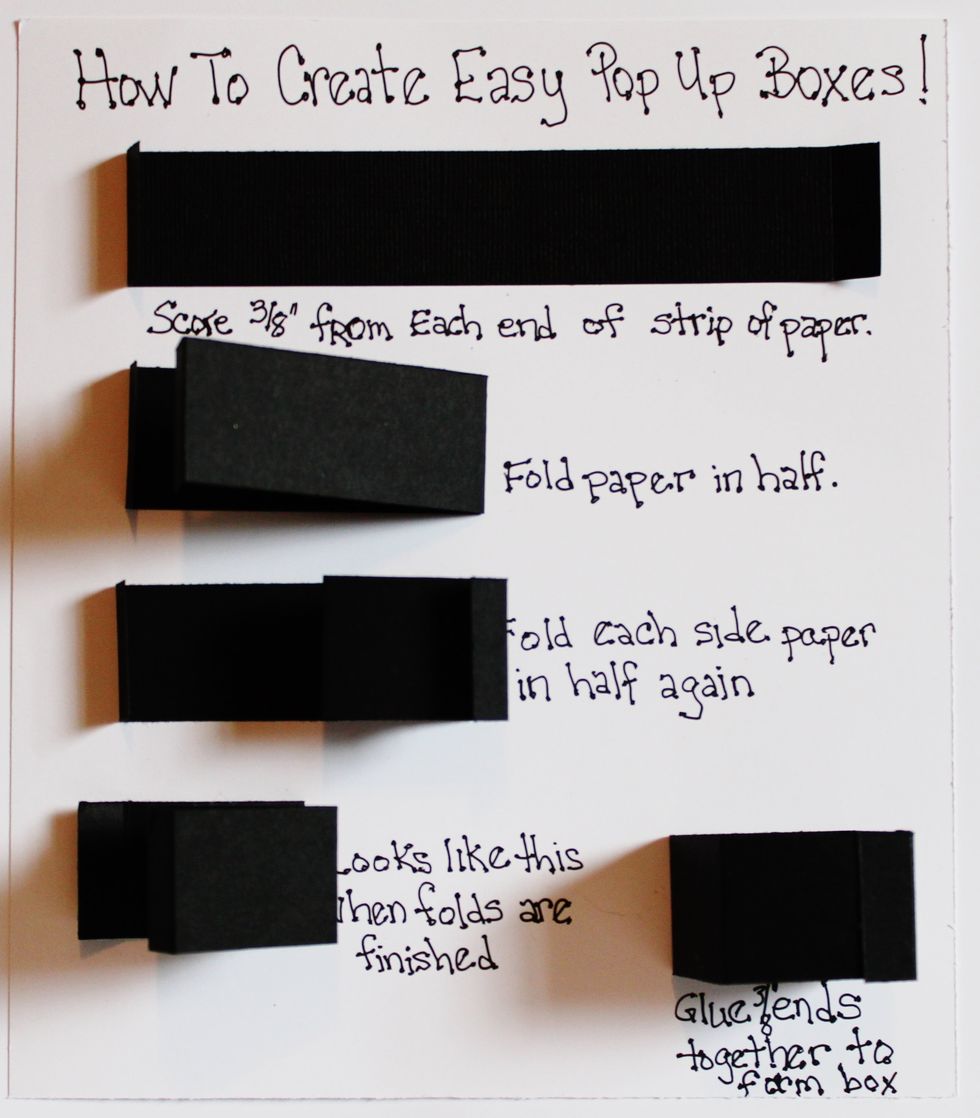
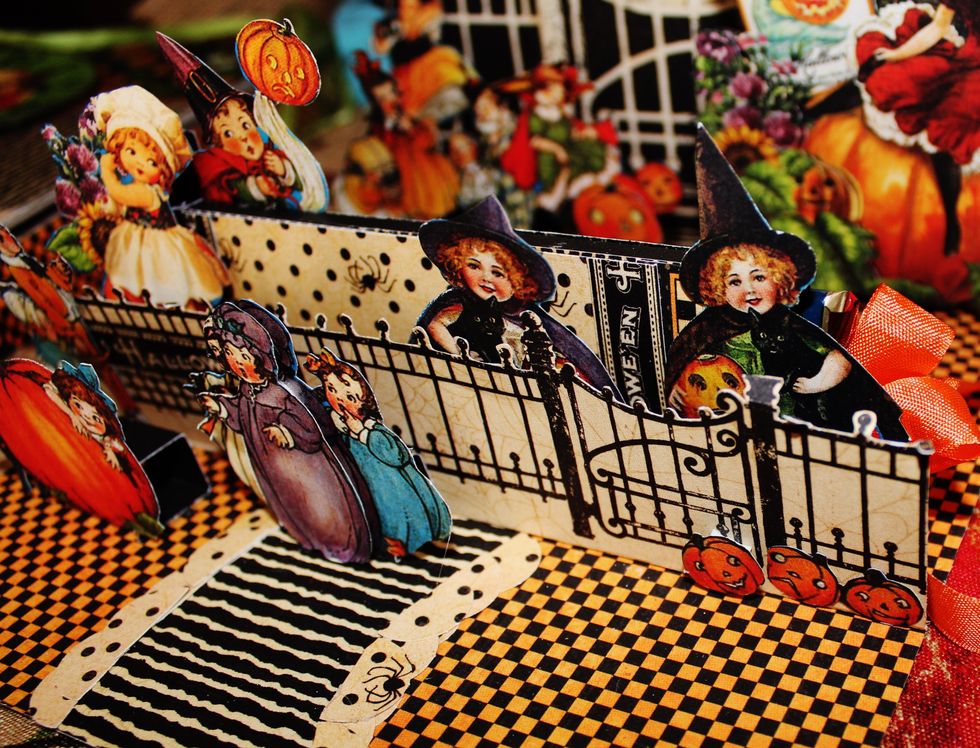
Easy steps on making easy pop up boxes from strips of paper.
Adhere formed pop up squares to project where needed.
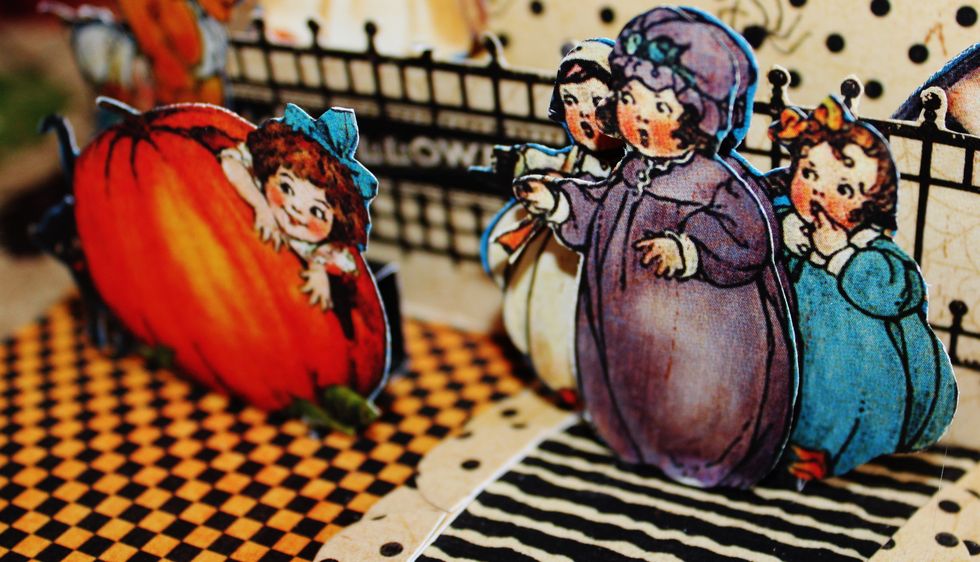
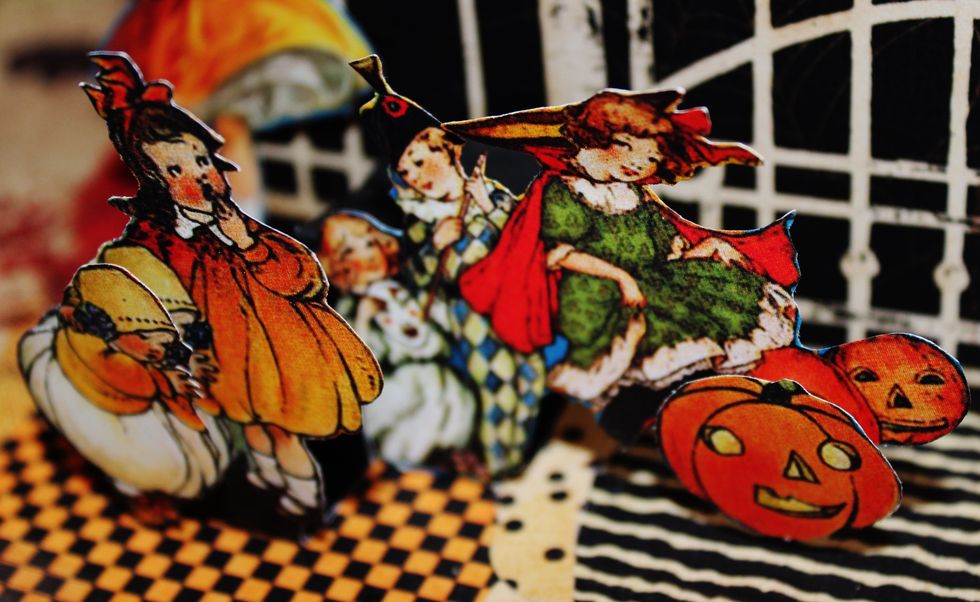
Fussy cut images from pattern paper. Adhere to front of pop up square.
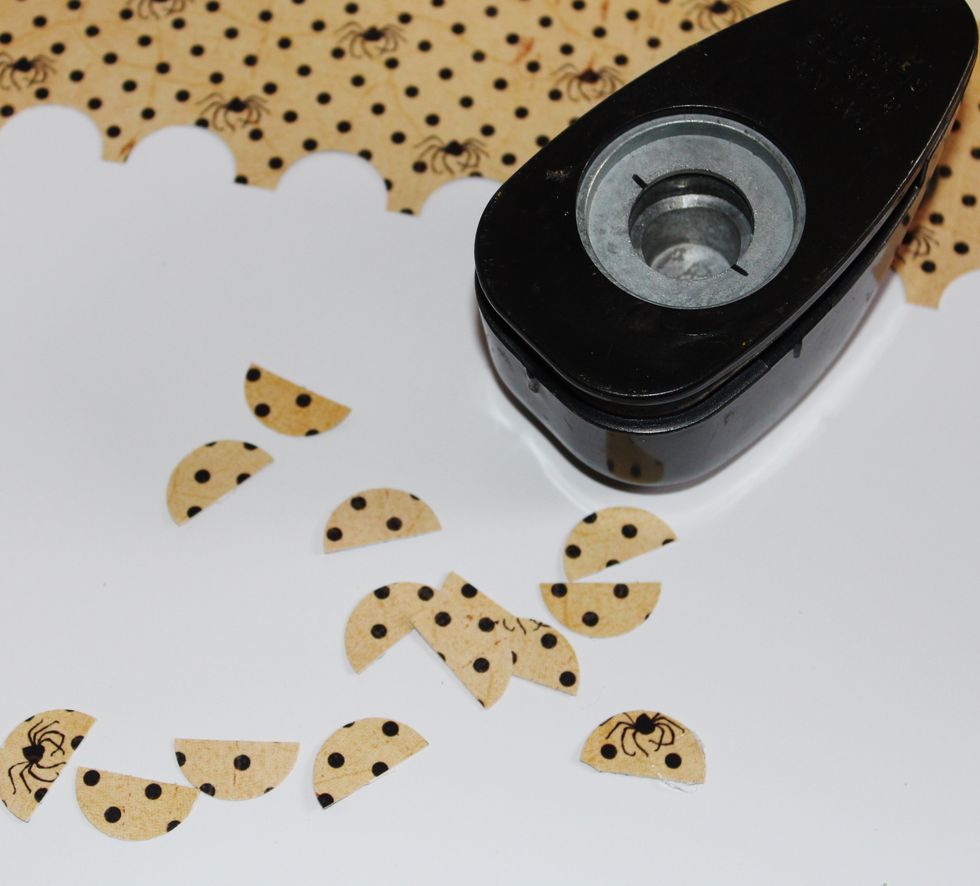
Mark circle punch 1/2 way with Sharpie. Punch 1/2 circles from pattern paper.
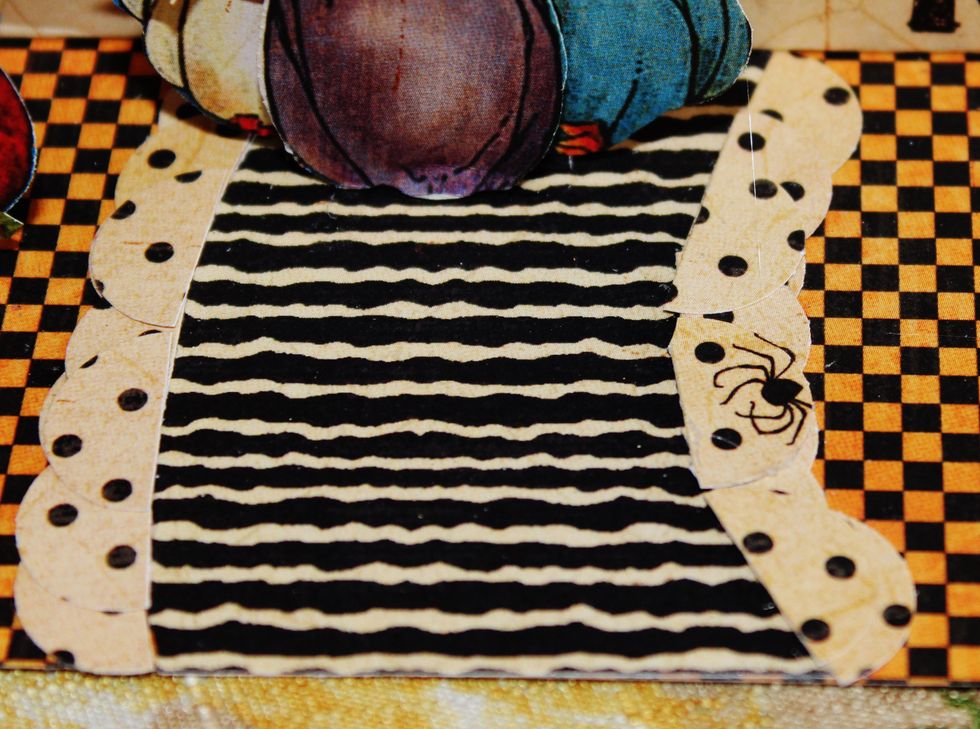
Adhere pattern paper to card; place 1/2 circles around edge of pattern to form sidewalk.
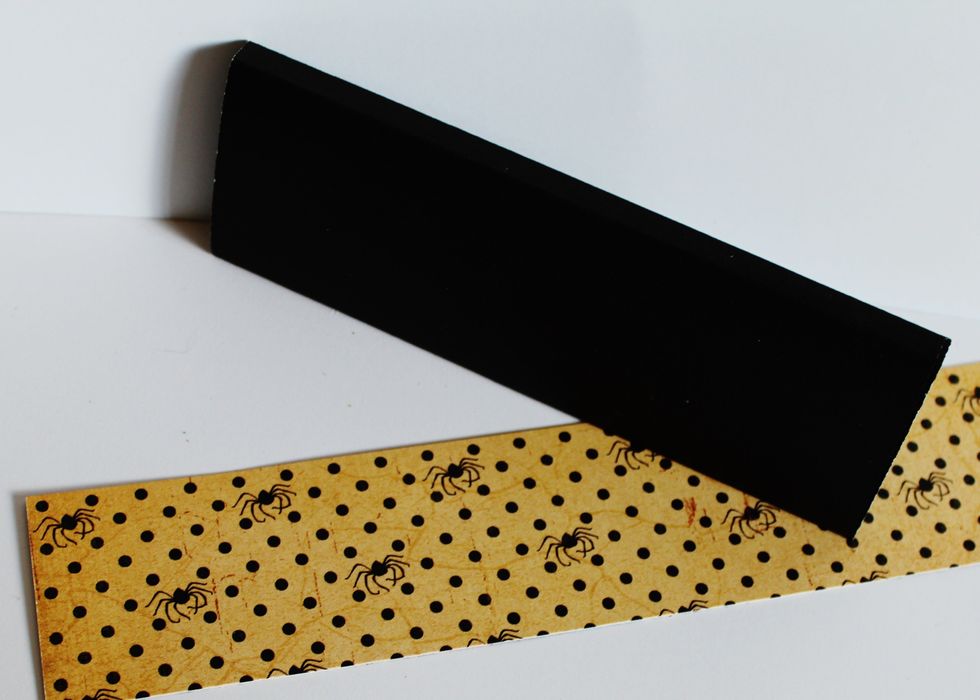
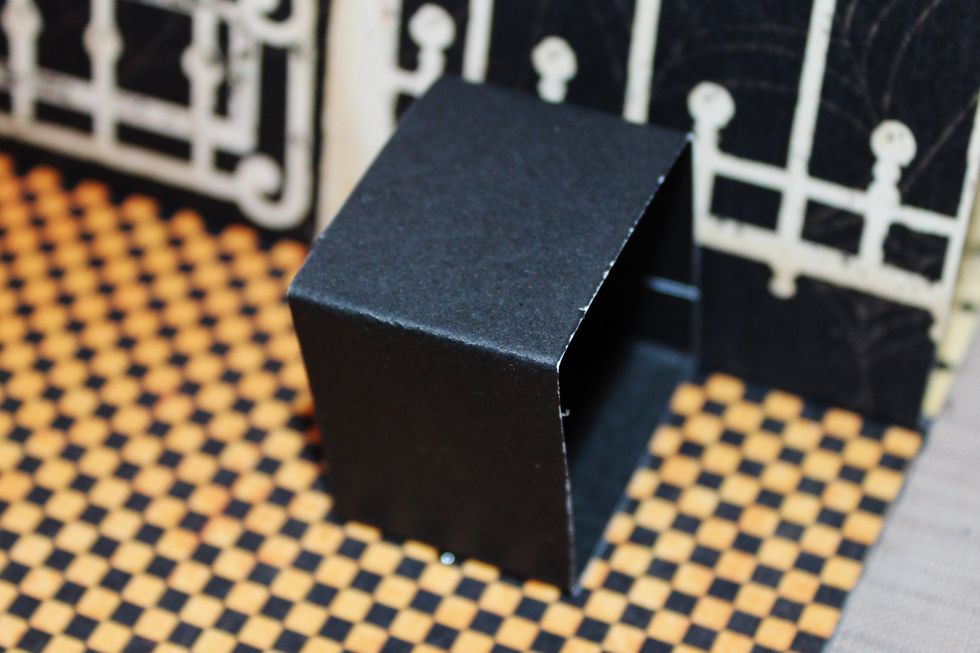
Form box holder with black card stock to fit around candy bar. Adhere pattern paper to formed box holder.
Place formed candy box holder to inside of card.
A better look at the candy box holder.
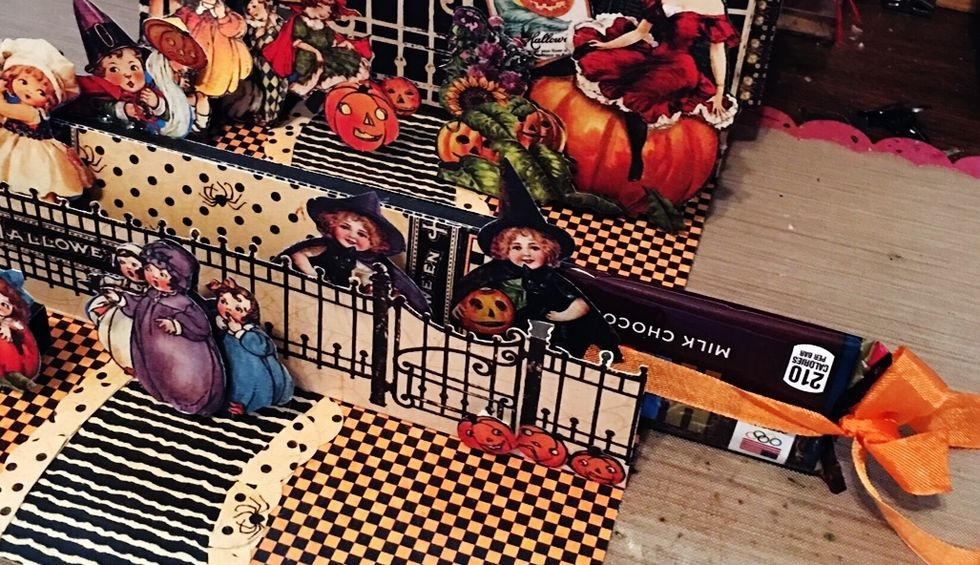
Wrap ribbon around candy bar; tie a bow. Slide into to formed candy box.
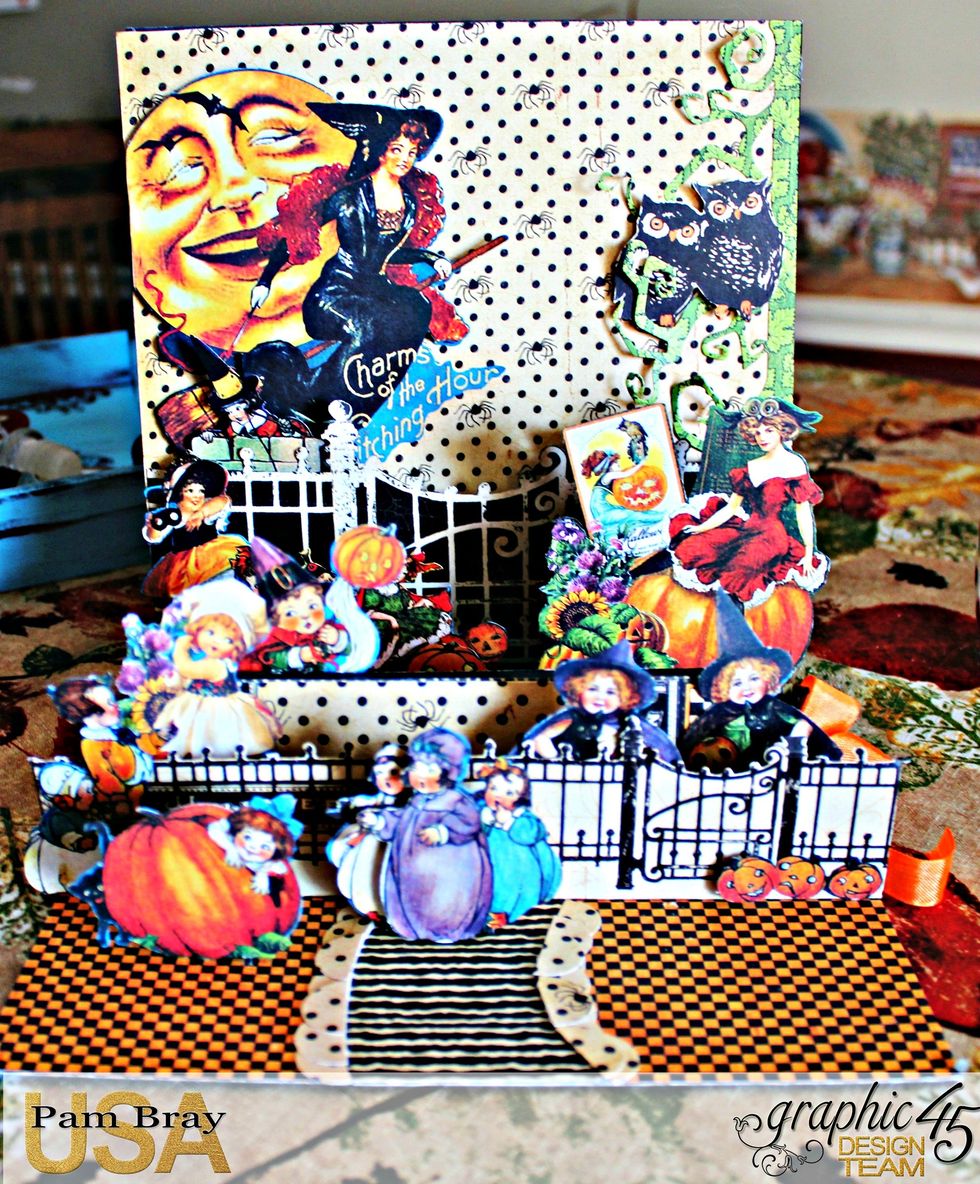
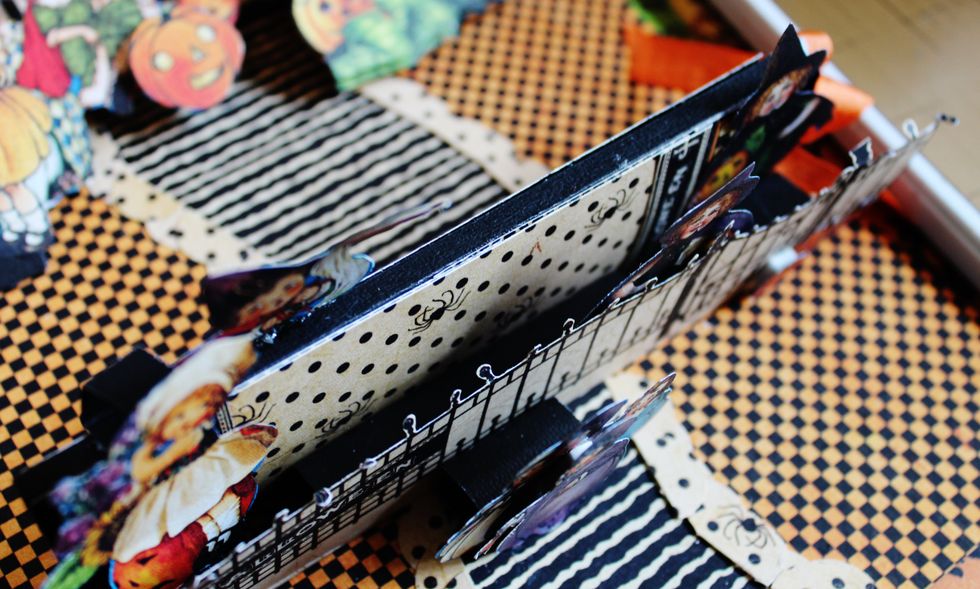
Closer look at inside of finished card.
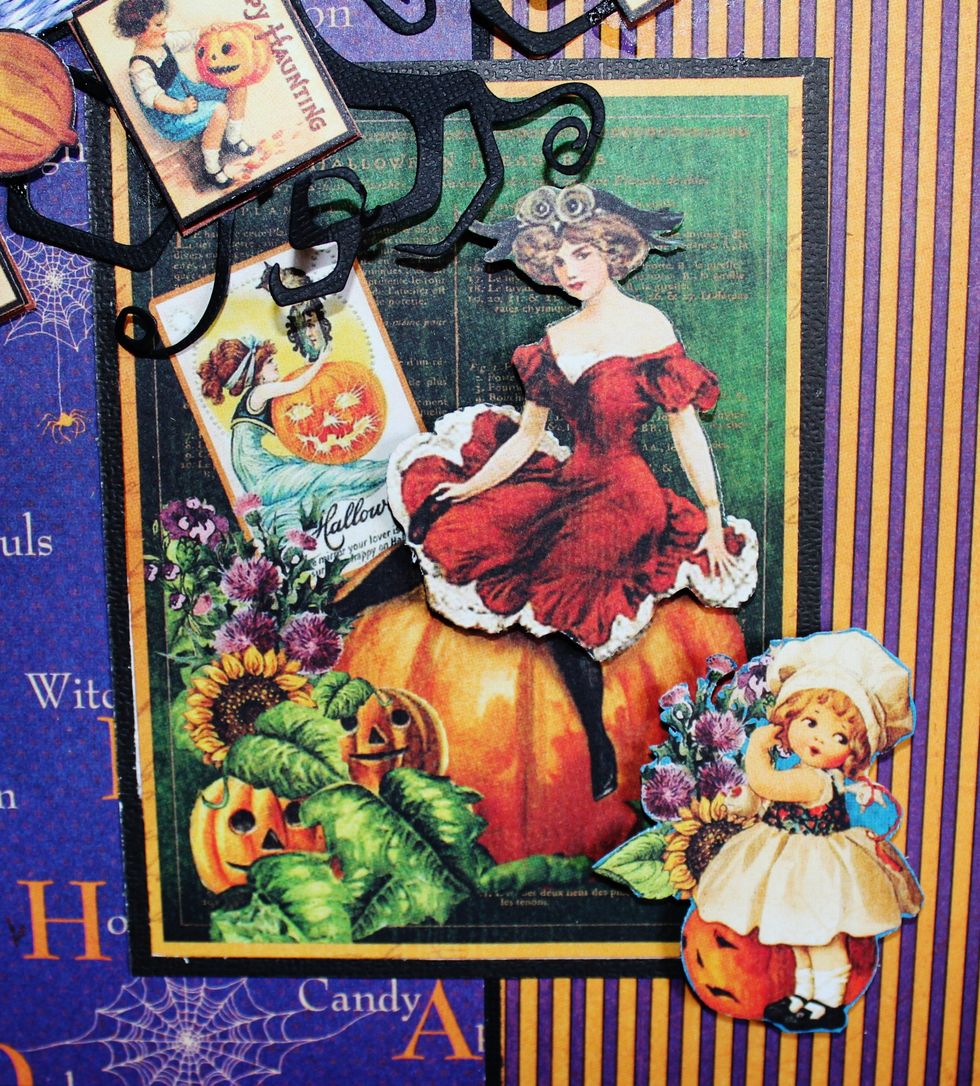
Fussy cut images from pattern paper. Layering some together with pop dots and adhering to inside of card.
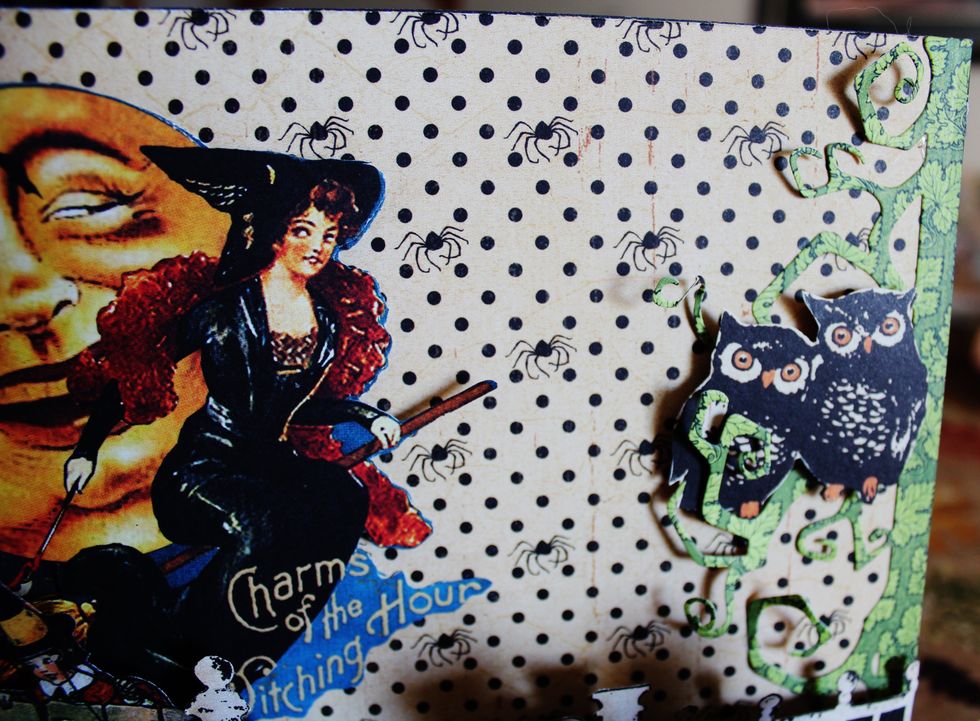
Add die cut twisted edge along with fussy cut owls.
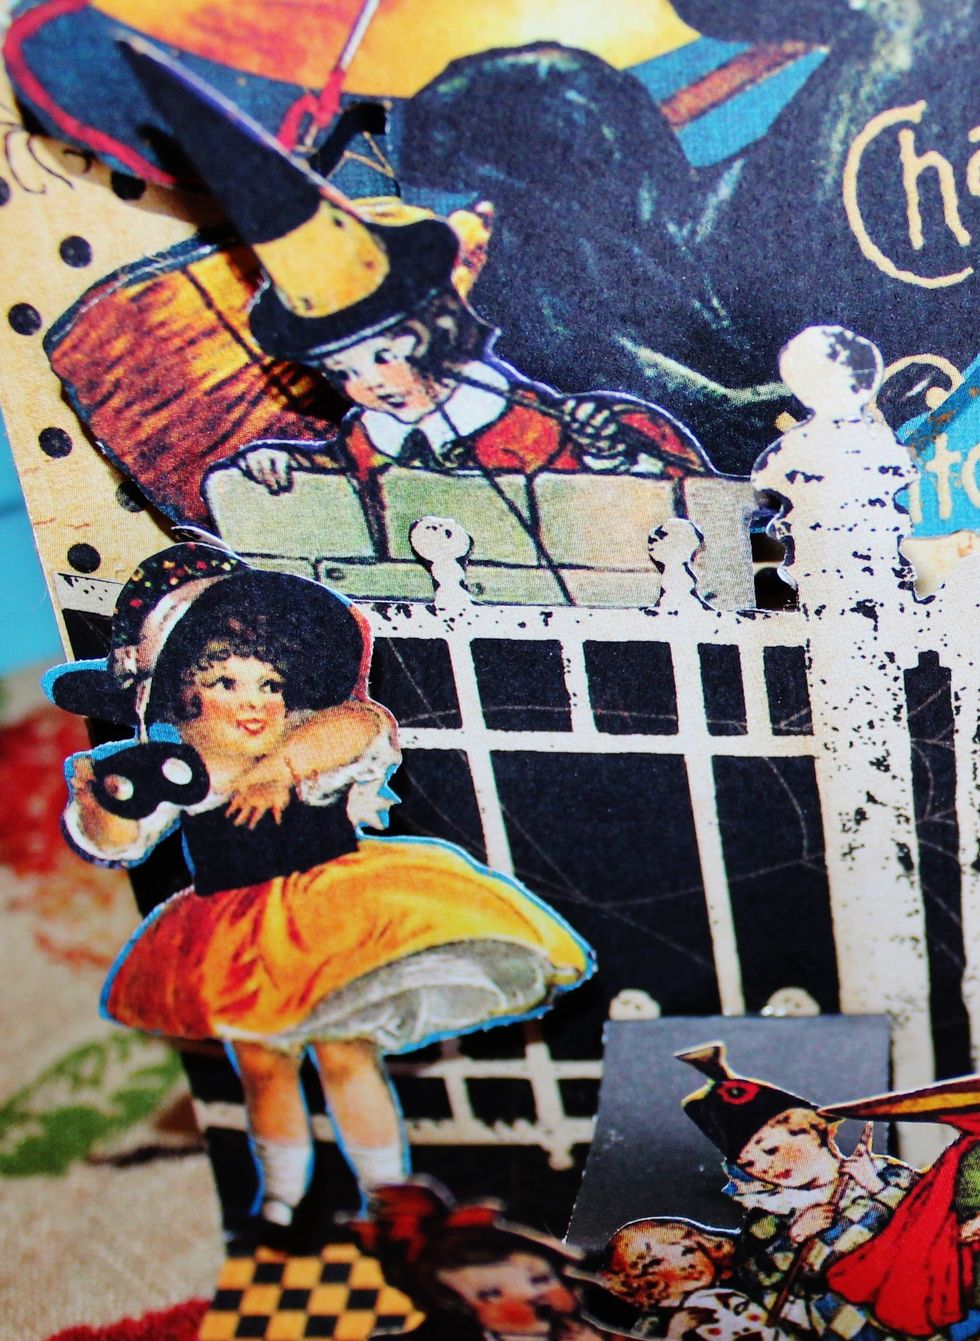
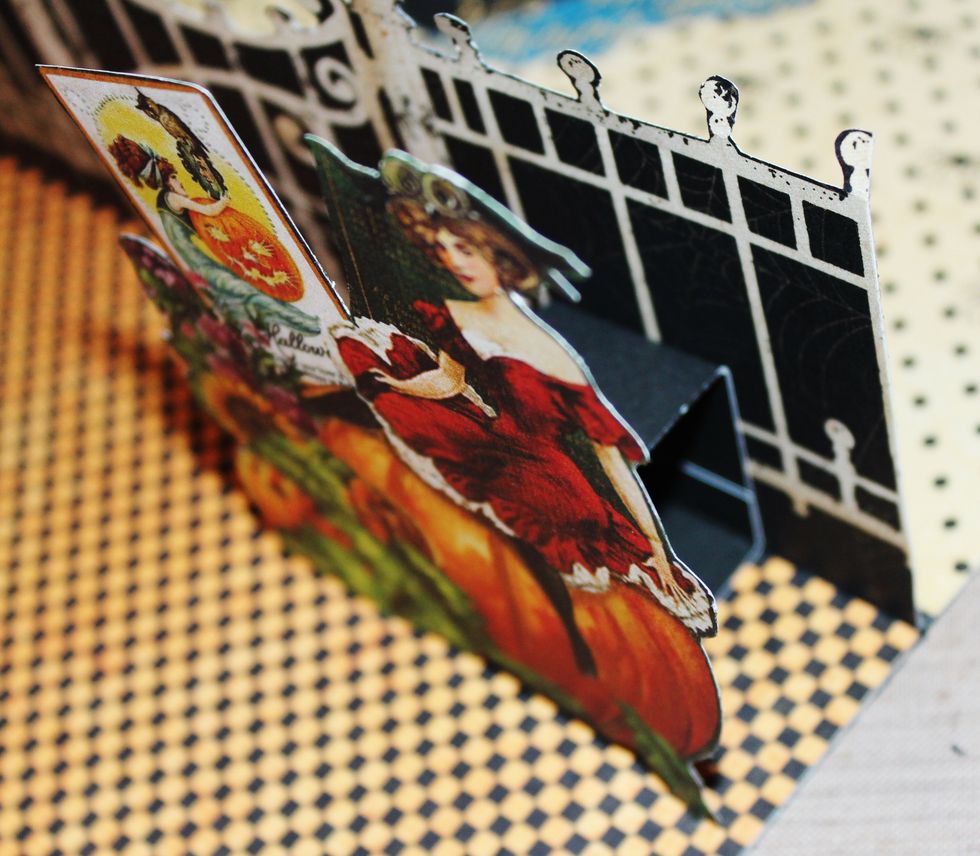
Add fussy cut images to pop up squares that have been formed. Placing a few of the cut images behind the fence.

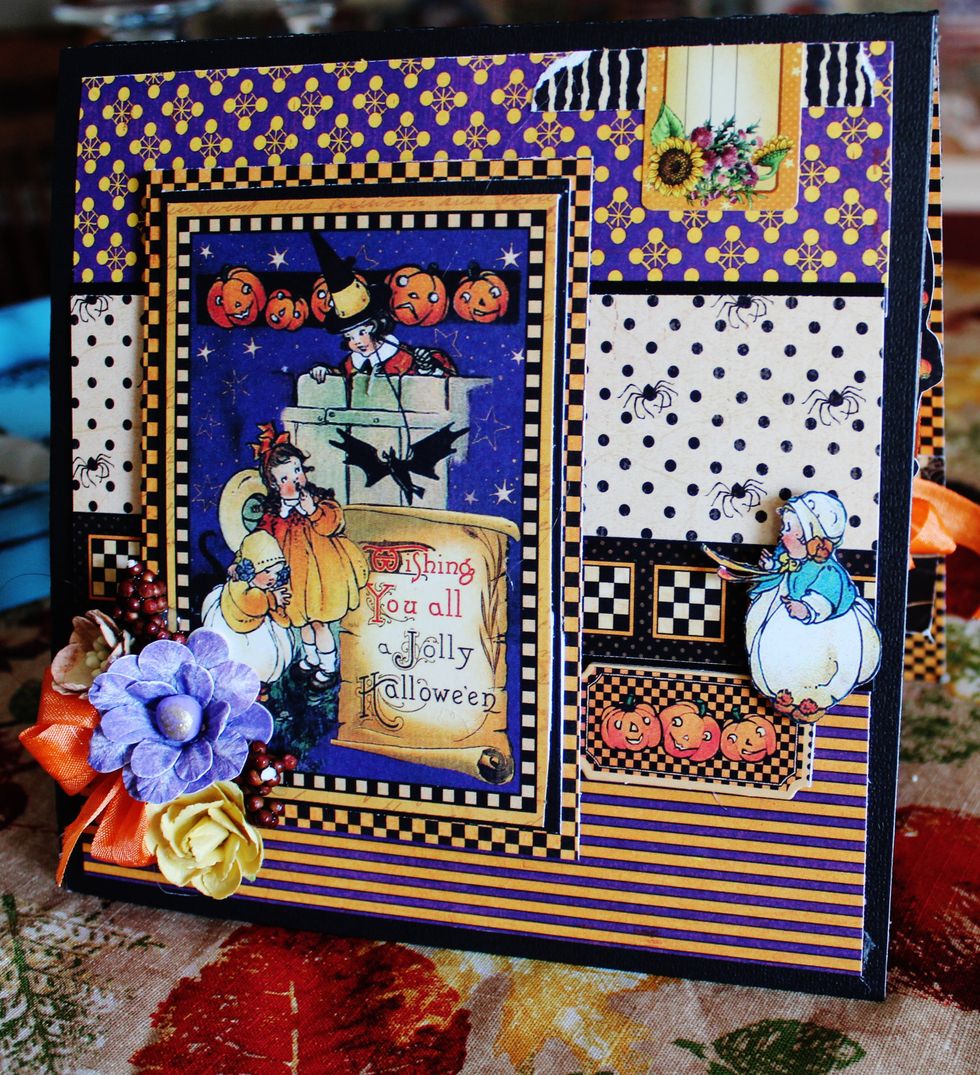
Add layers to top of card front.
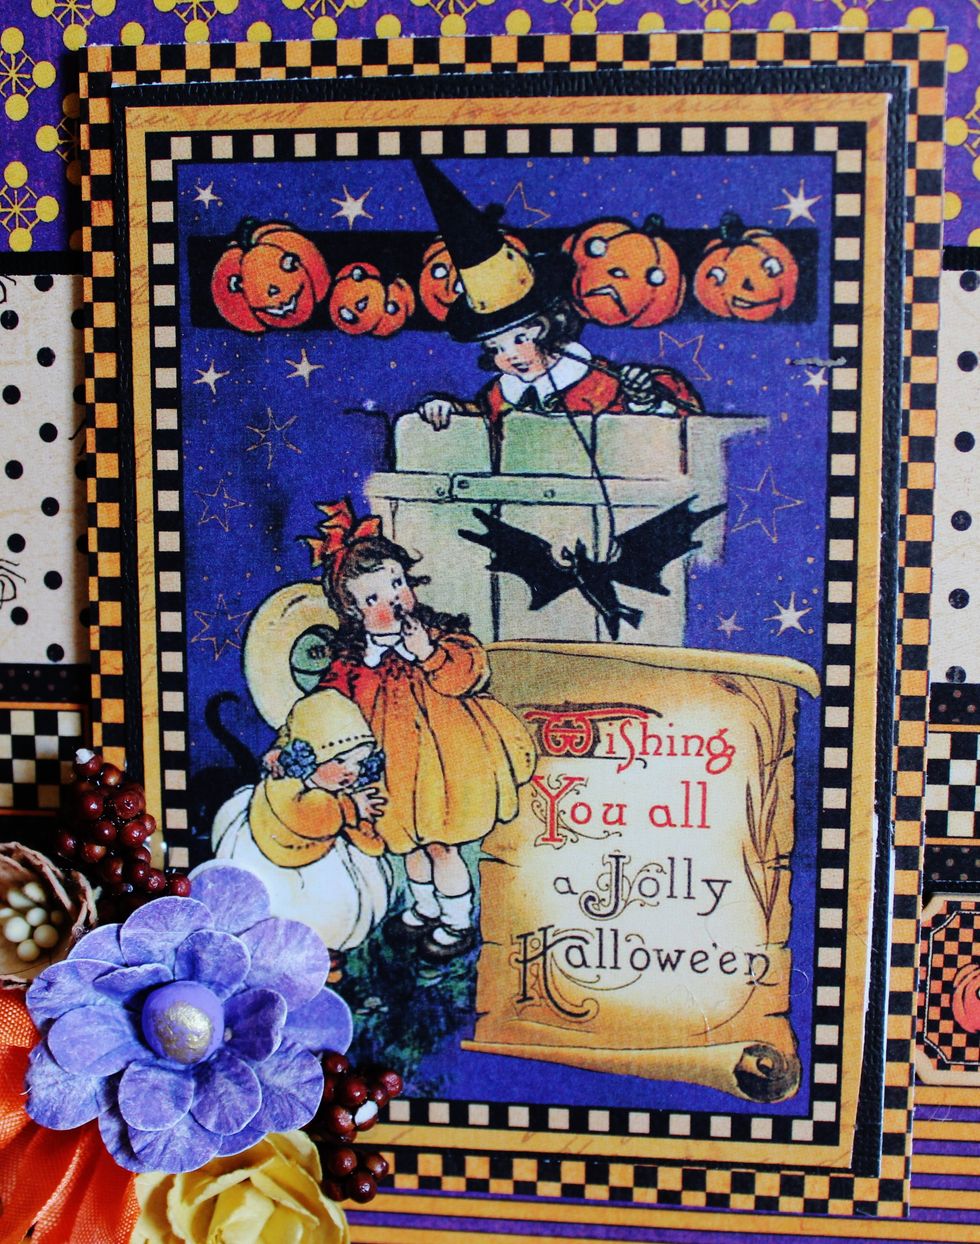
Mat journal image from pattern paper to black card stock and pattern paper. Adhere to front of card.
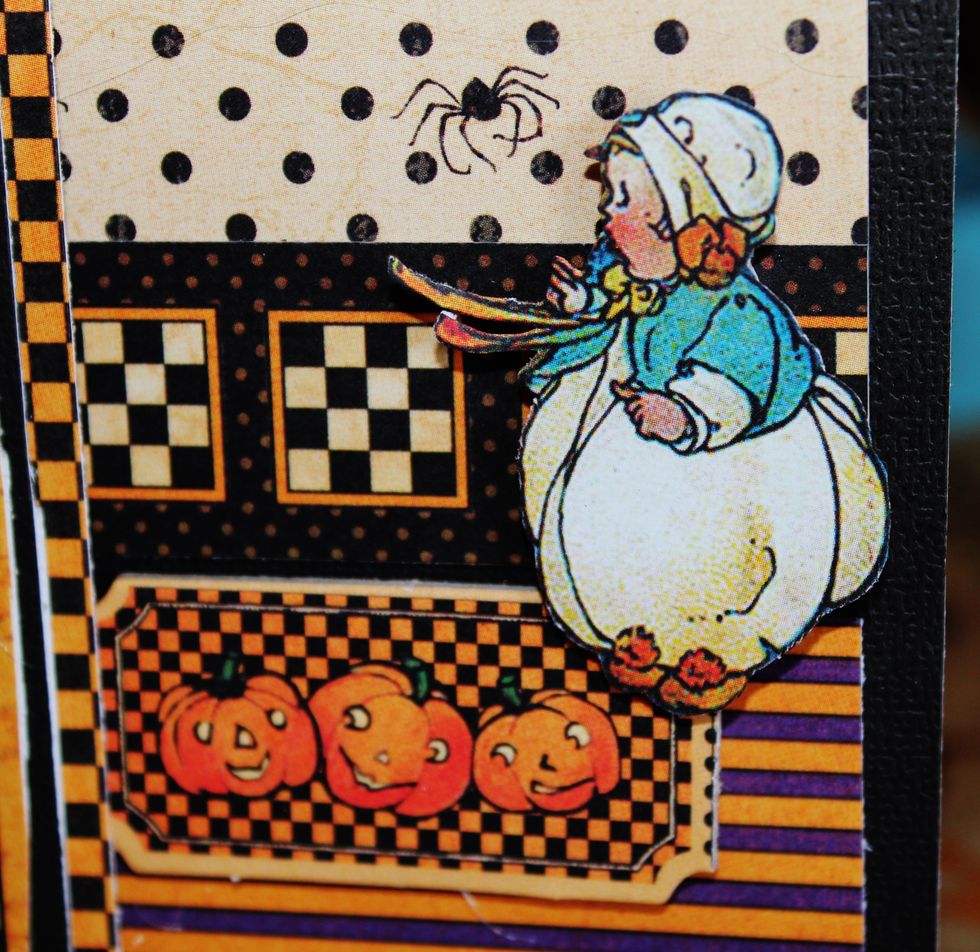
Fussy cut some images; add to front with pop dots. Add chipboard to front of card.
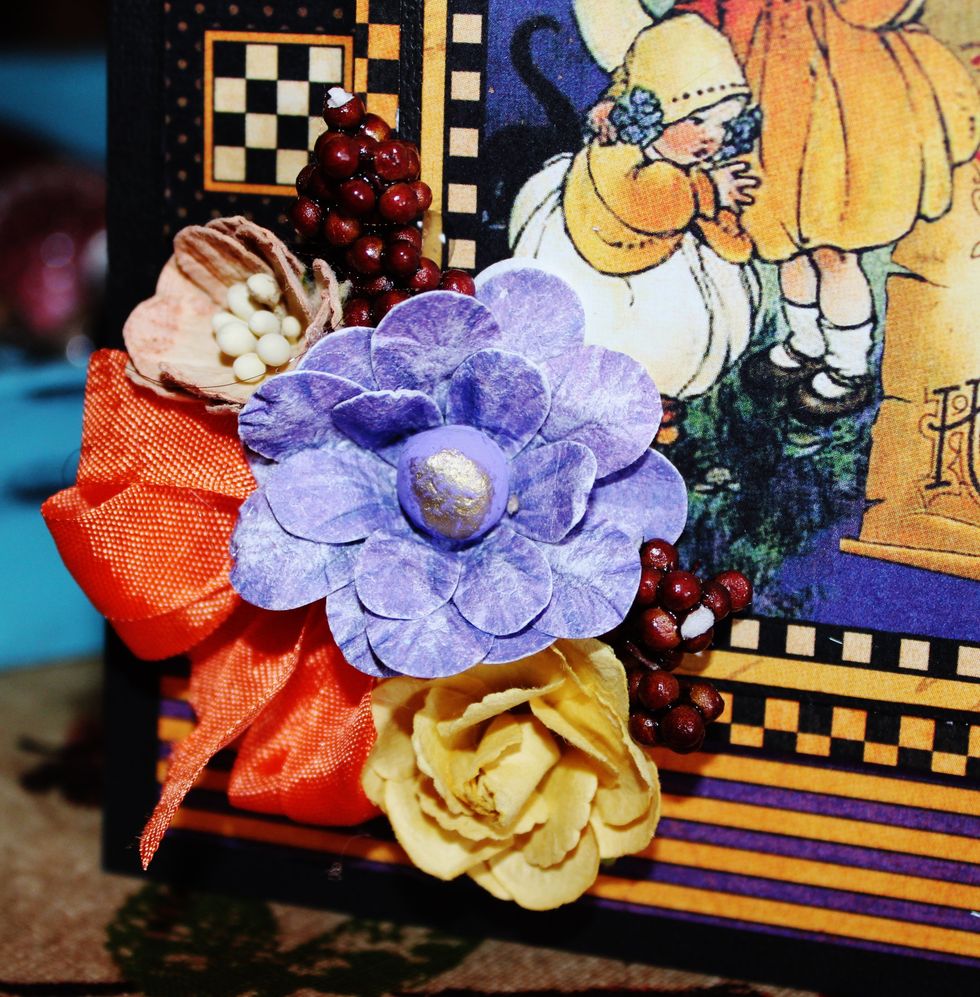
Add flowers, berries and ribbon to front of card.
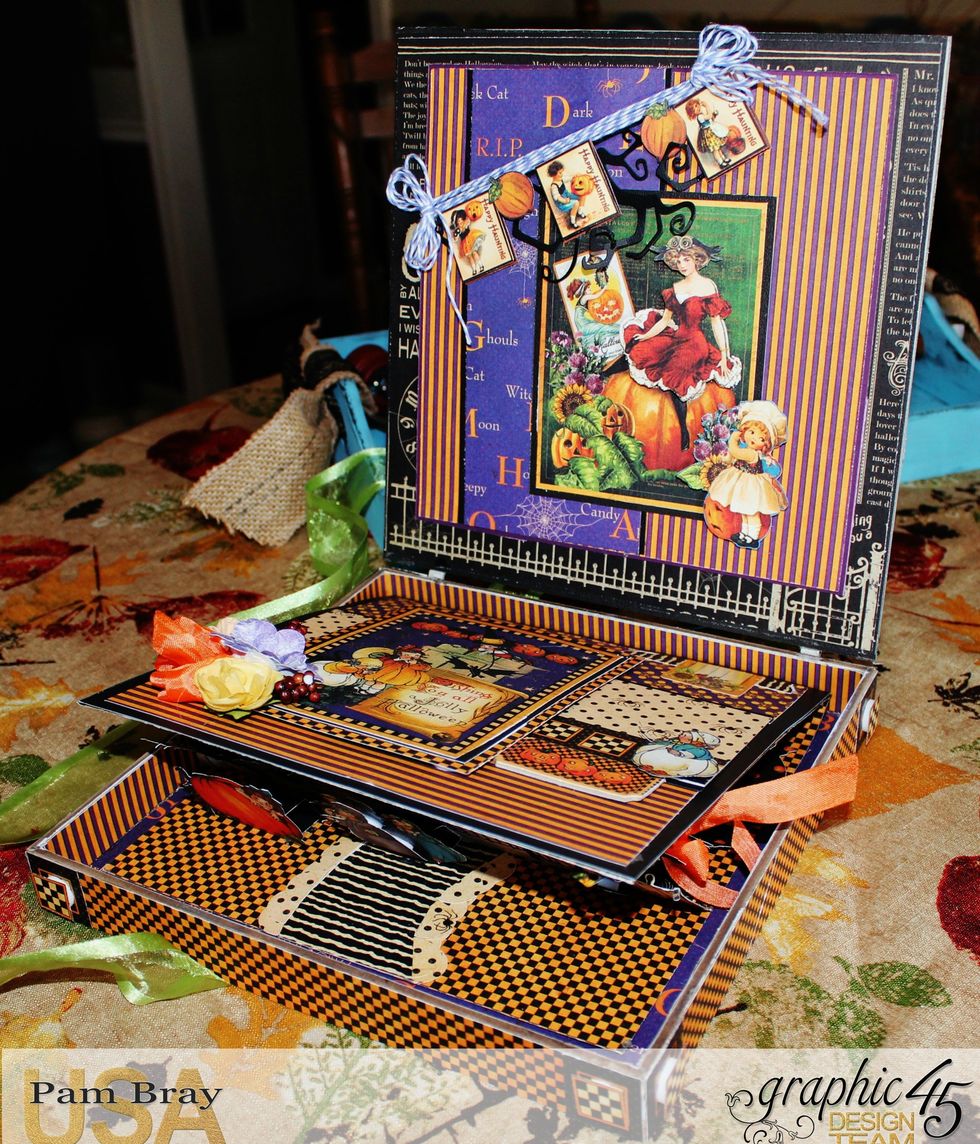
Remember to decorate the inside of the box.
It will make a great keepsake box.
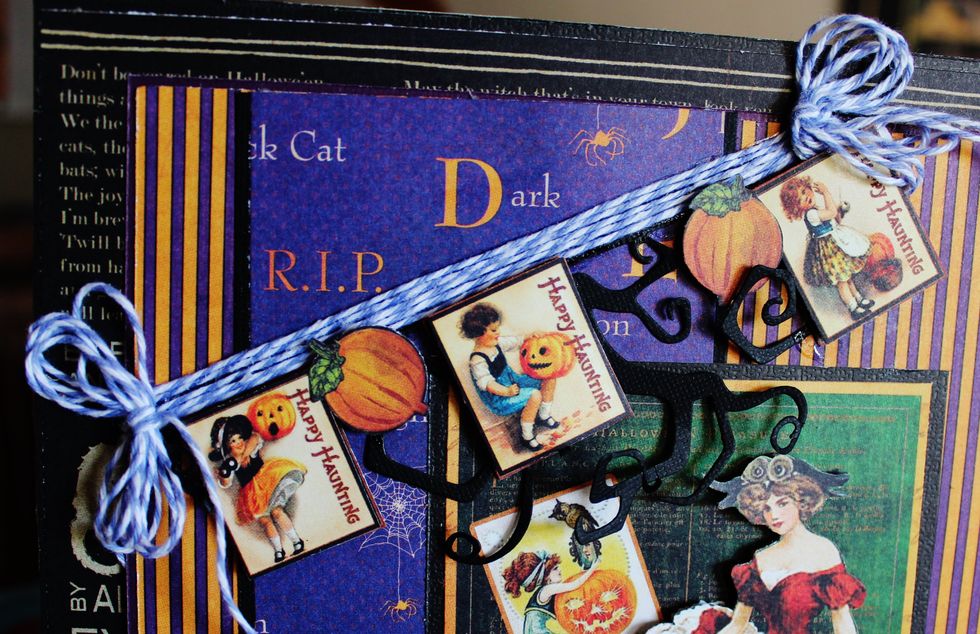
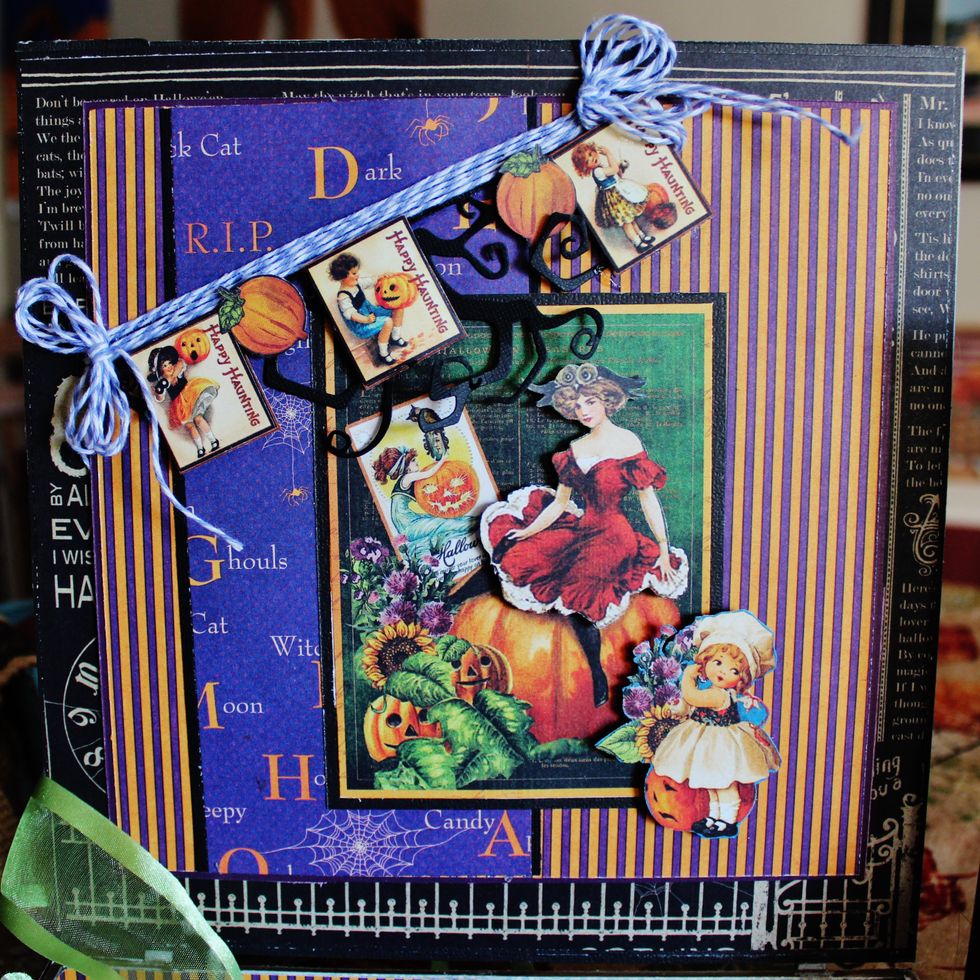
Adhere twisted edge black card stock to the top of prepared inside of box. to form a banner. Add twine along with fussy cut stamp images and pumpkins from pattern paper with pop dots.
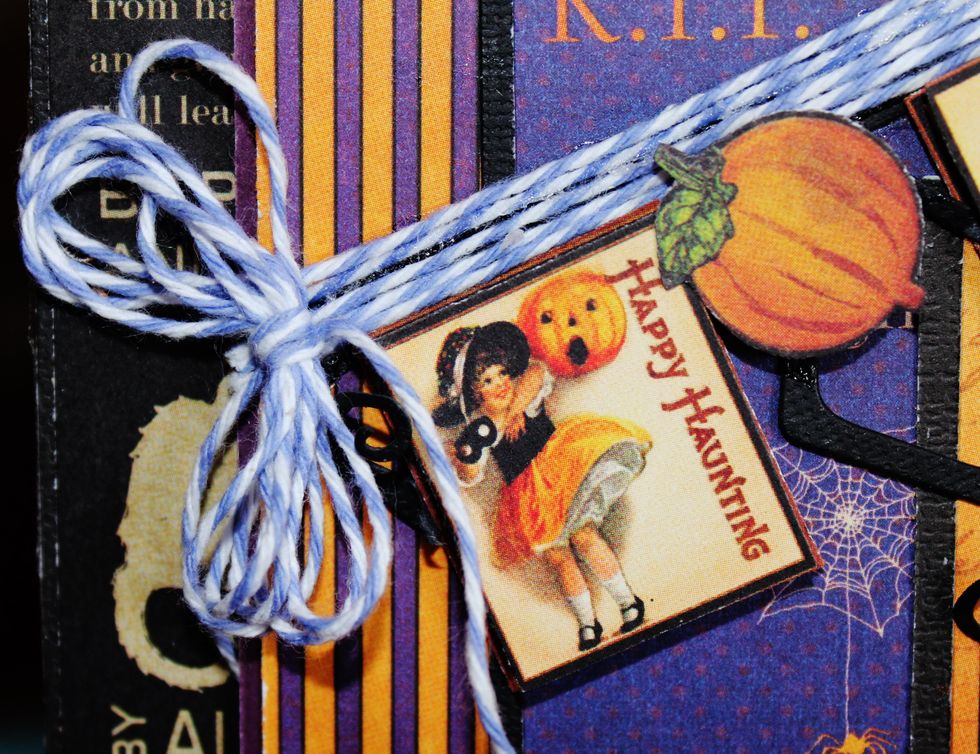
Add twine bows to each end of twisted edge banner.
It will make a great keepsake box.
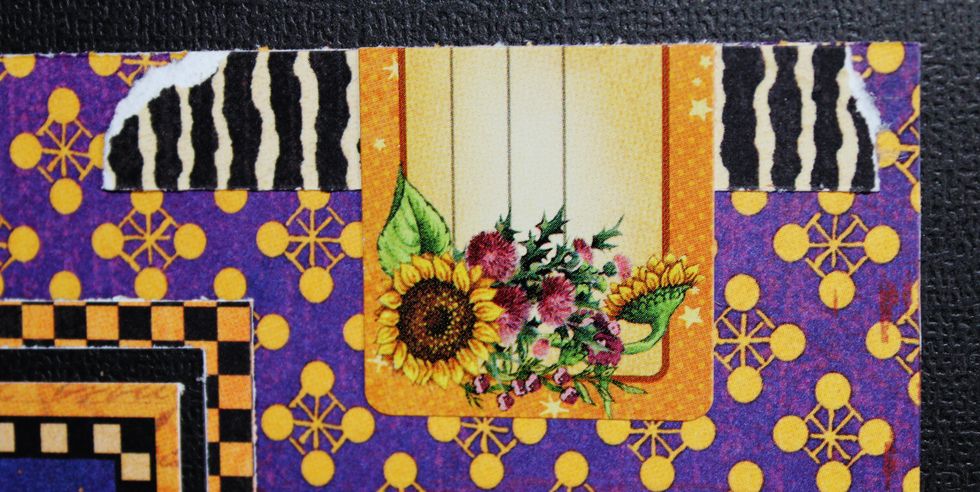
Tear pattern paper; adhere to top of card front with sticker.
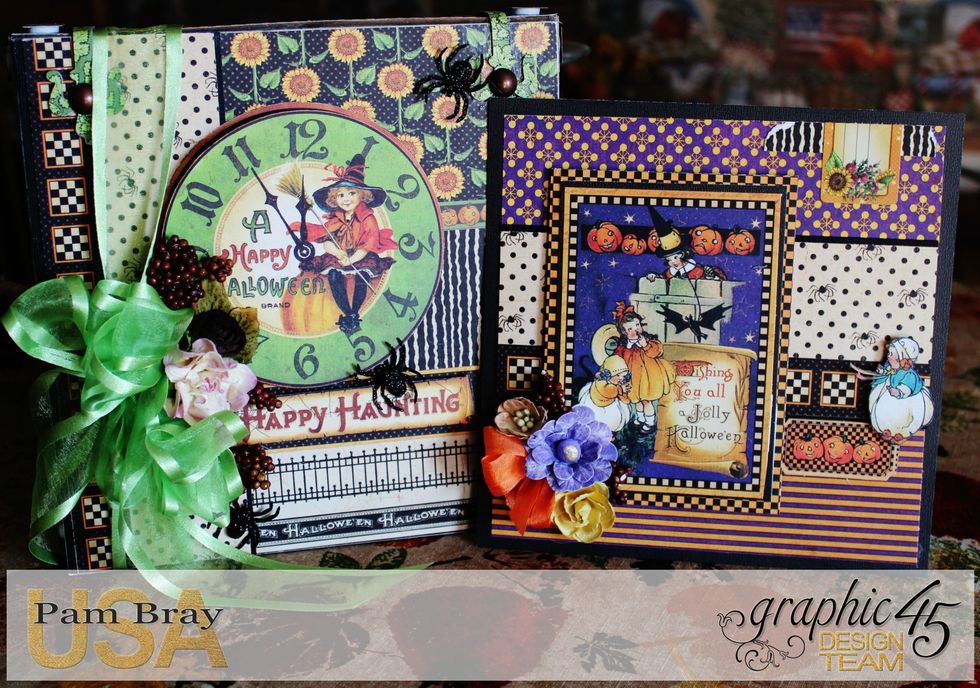
I hope you have enjoyed my Graphic 45 Happy Haunting Pop Up Card and Box Tutorial. Pam