The Conversation (0)
Sign Up
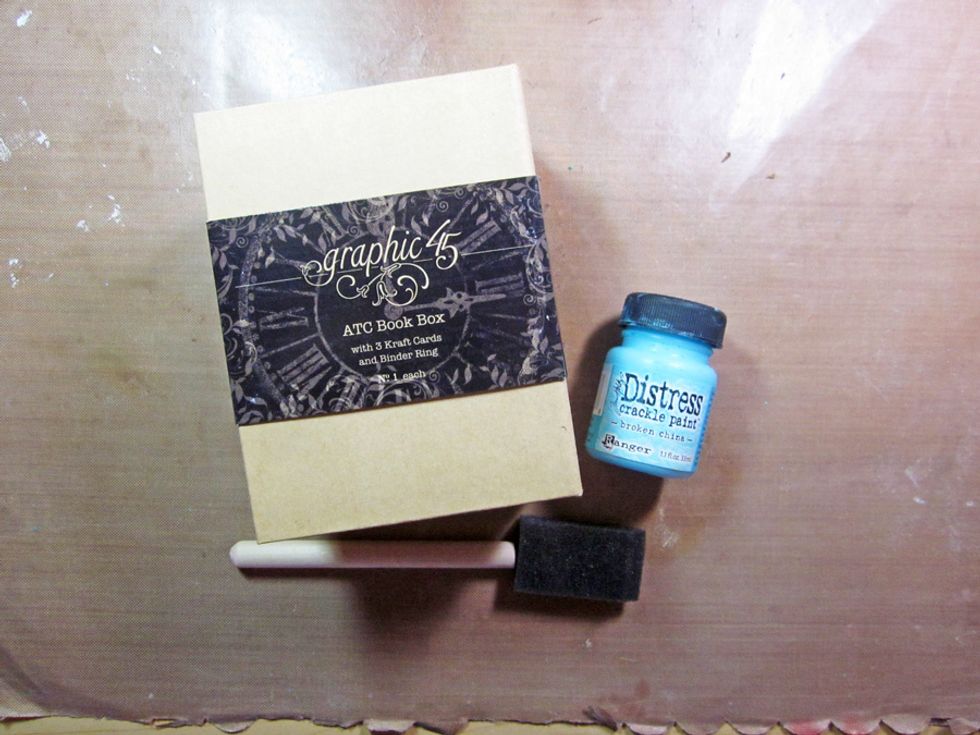
The base for our cart is one of Graphic 45's ATC Book Boxes. The first step is to paint the box with Distress Crackle Paint.
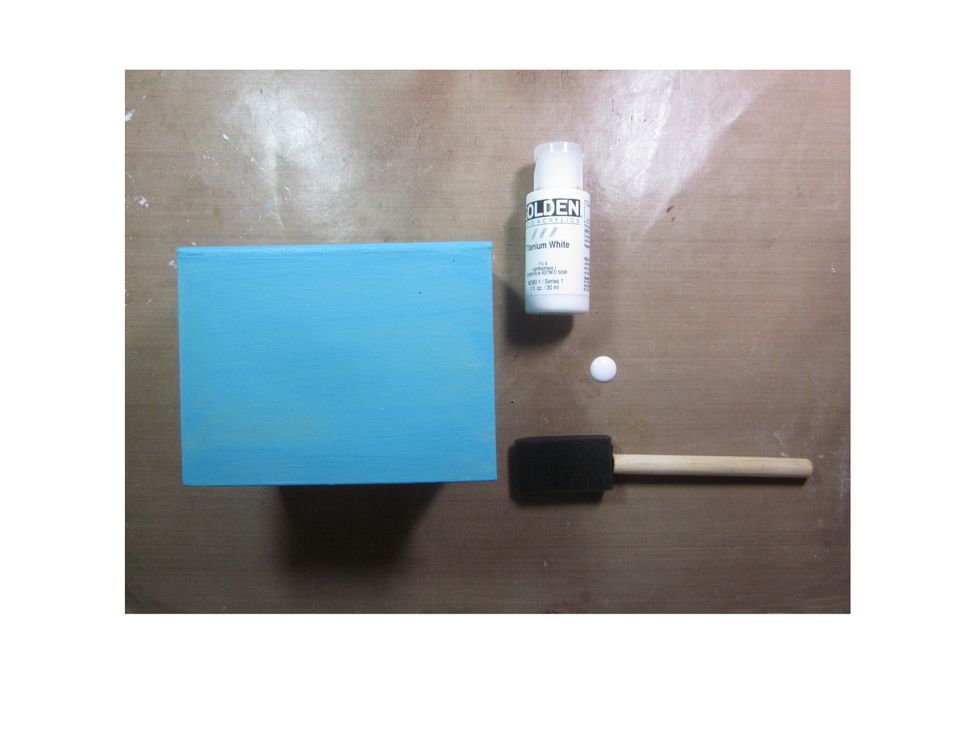
Once the base coat is dry, lightly brush white paint over the surface. You want a weathered wood look.

With just barley dragging the paint loaded sponge over the surface you'll achieve this look.
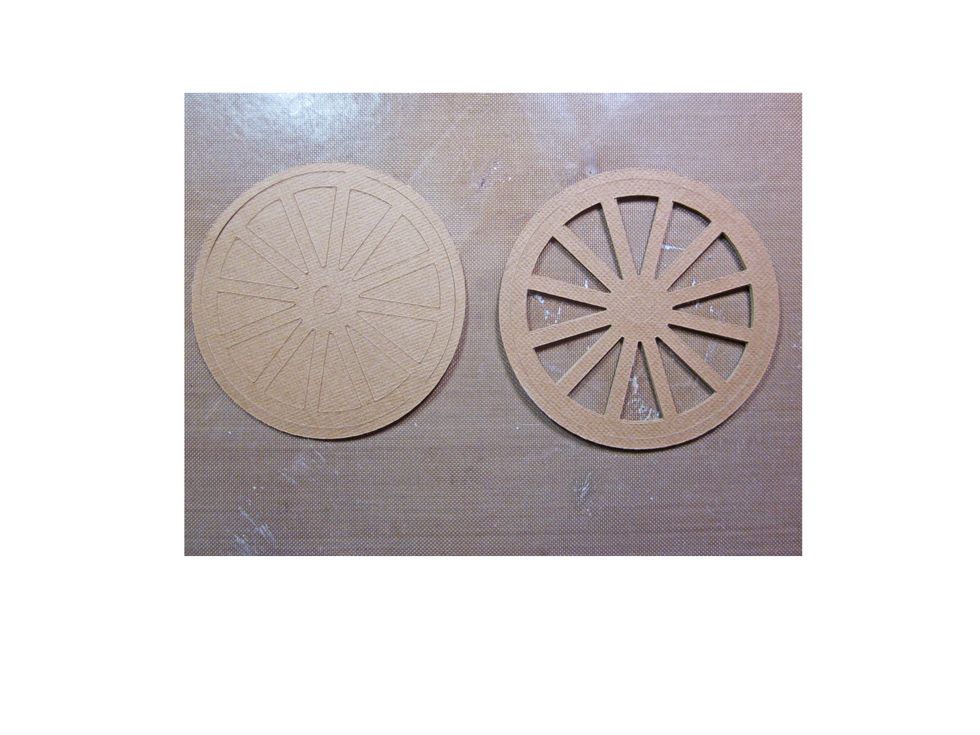
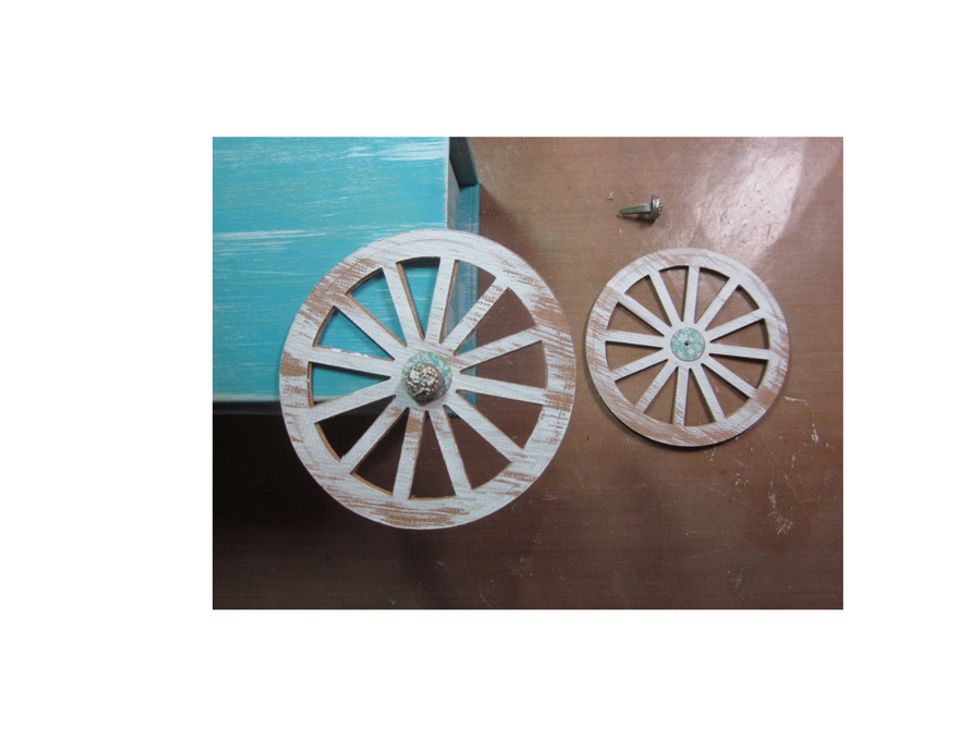
Next I used a Cricut cut ( an orange ) to make the cart wheel. I cut 5 layers for each wheel and glued them together. You could use a plain circle if you didn't have something like this die cut.
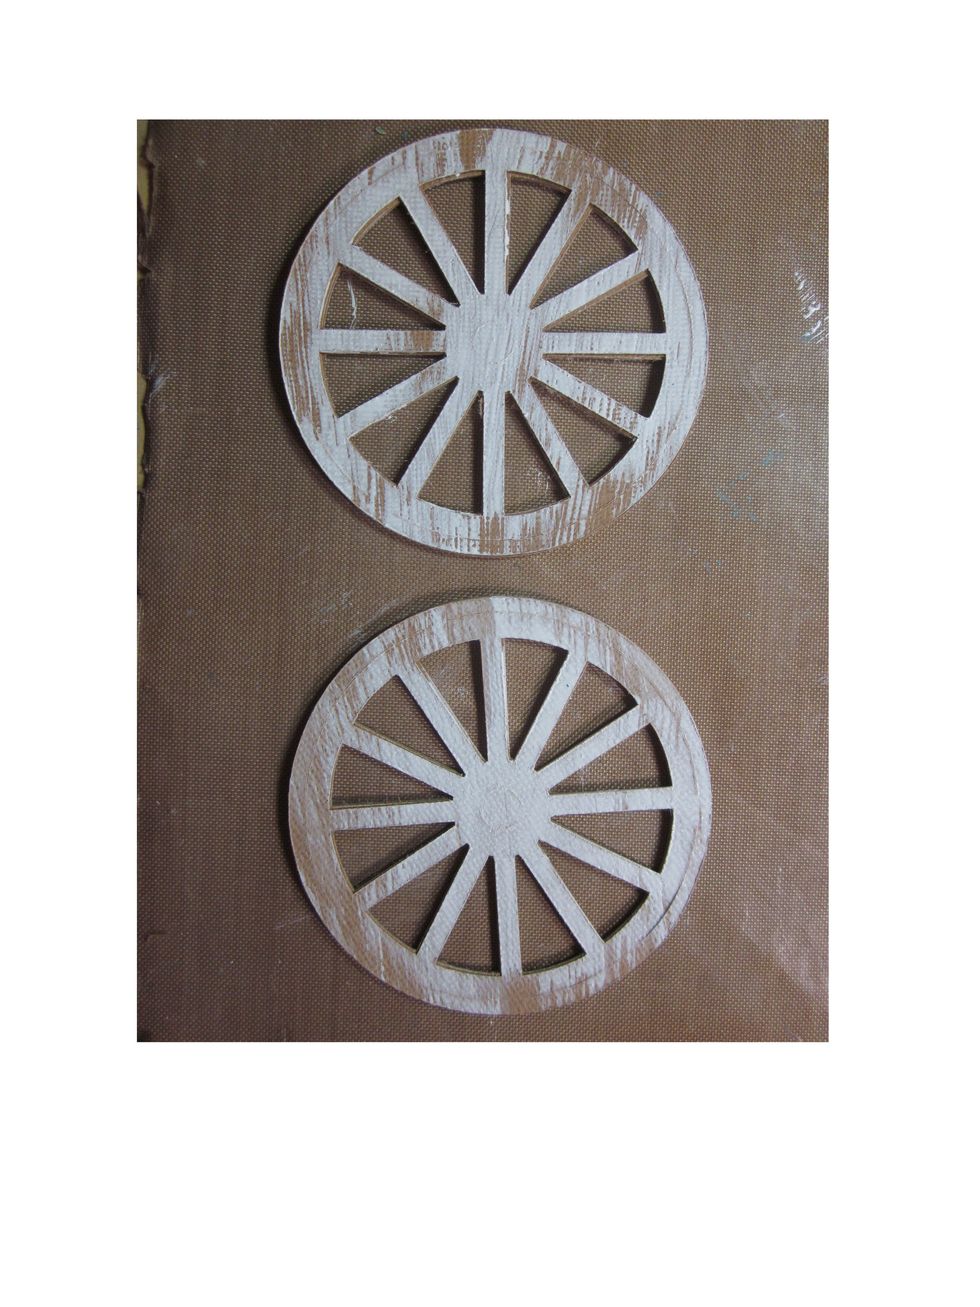
Once you have made two wheels, lightly brush them with the sponge brush and paint like you did on the main box. Again we are looking for a distressed paint look.
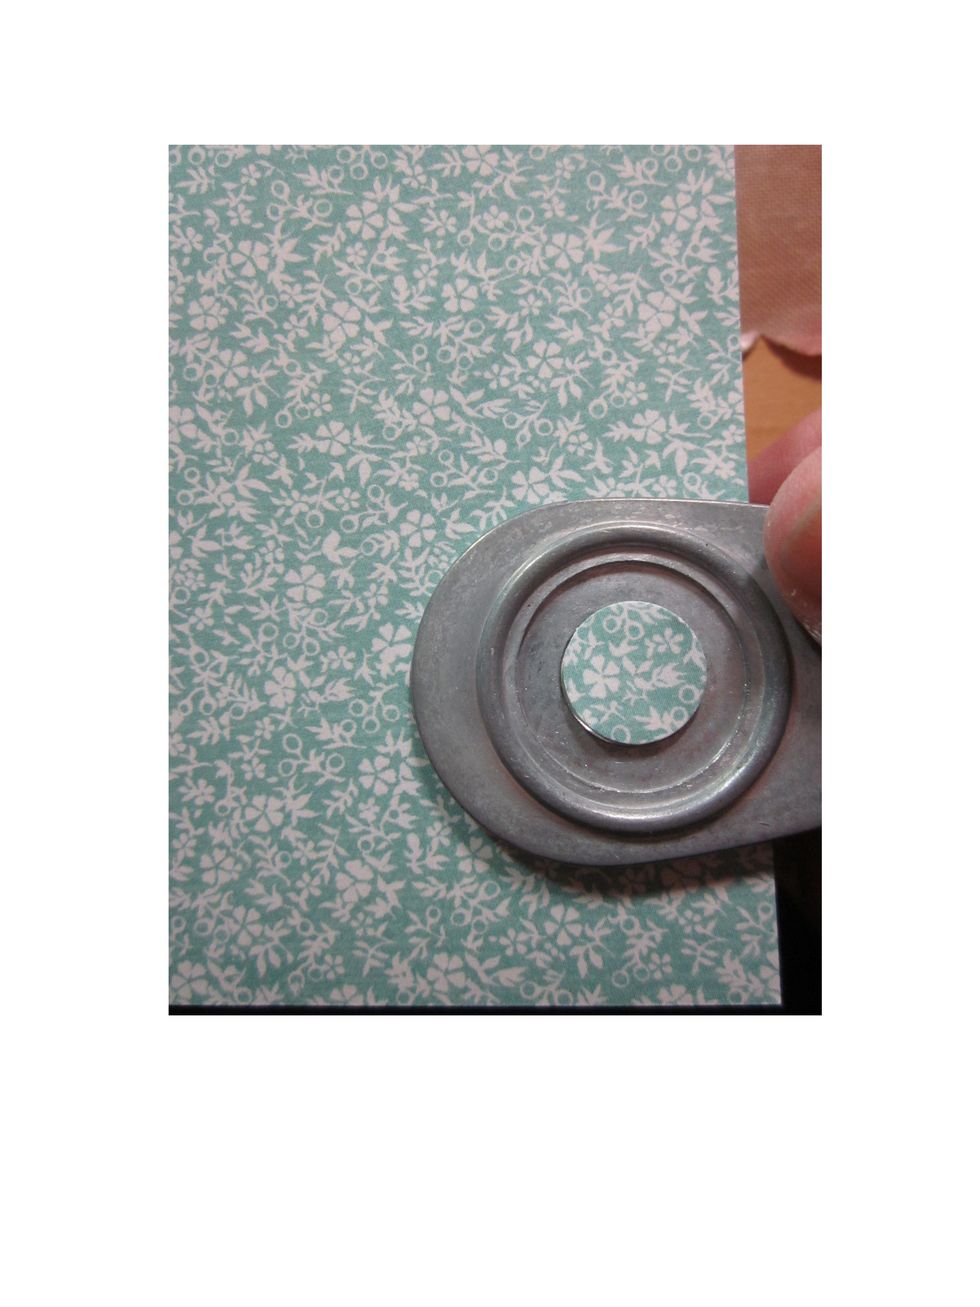
Using a small punch, cut out mini circles. You'll need two.
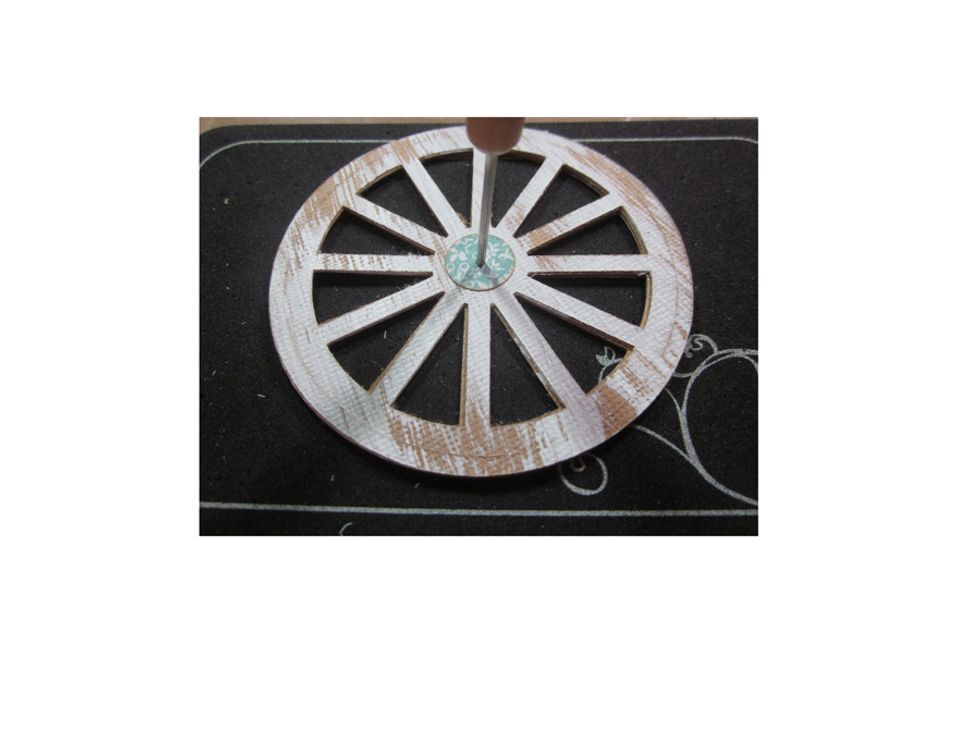
Layer the small circle over the wheel and then using a piercer create a small hole in the center, large enough for a brad to fit through.
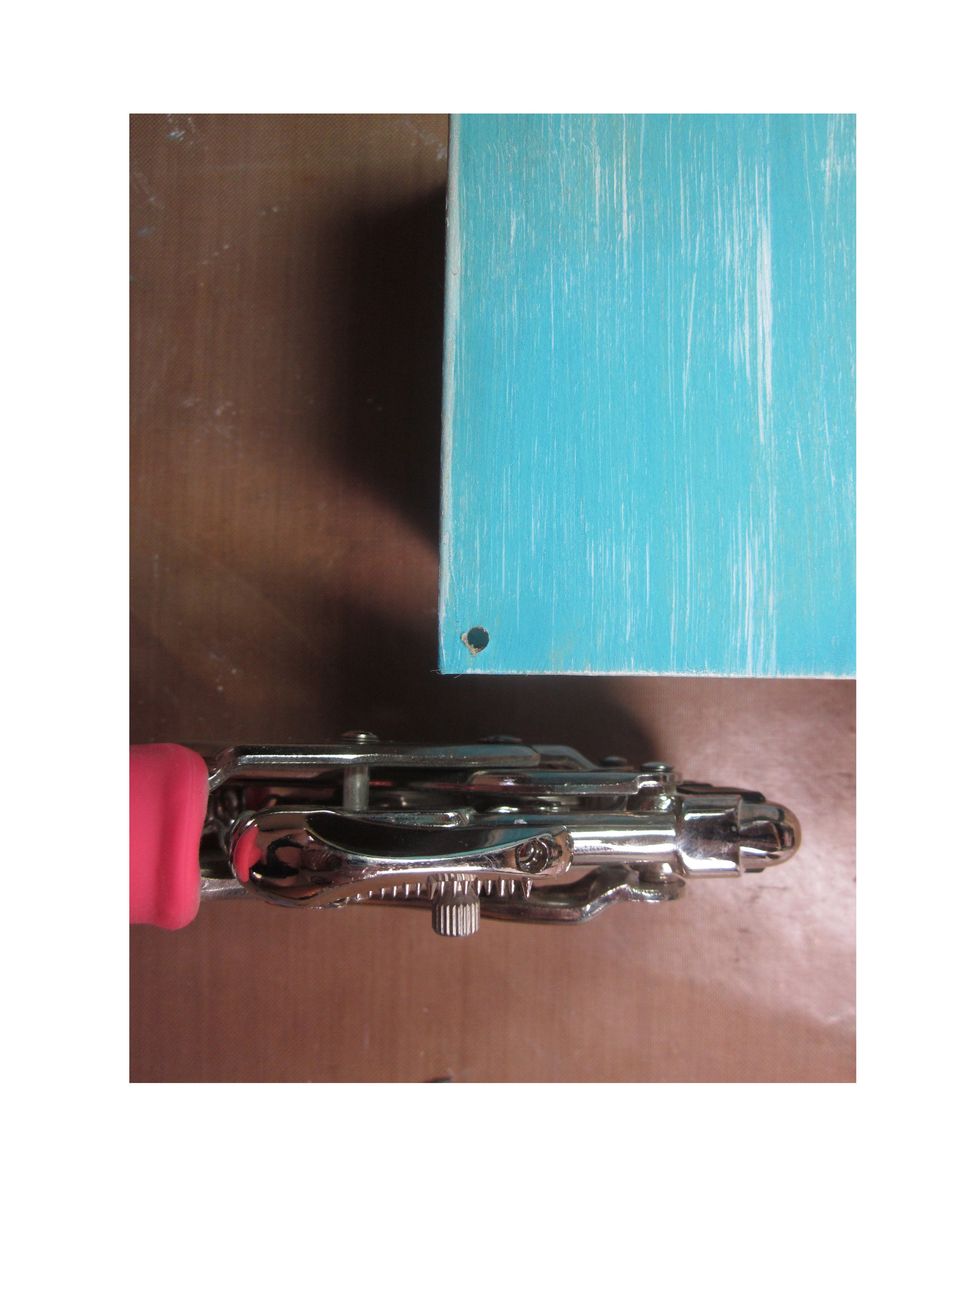
On the back outside corner of your box punch a small hole in your box that the wheel will go through. Do on both sides of the back of the box for each wheel.
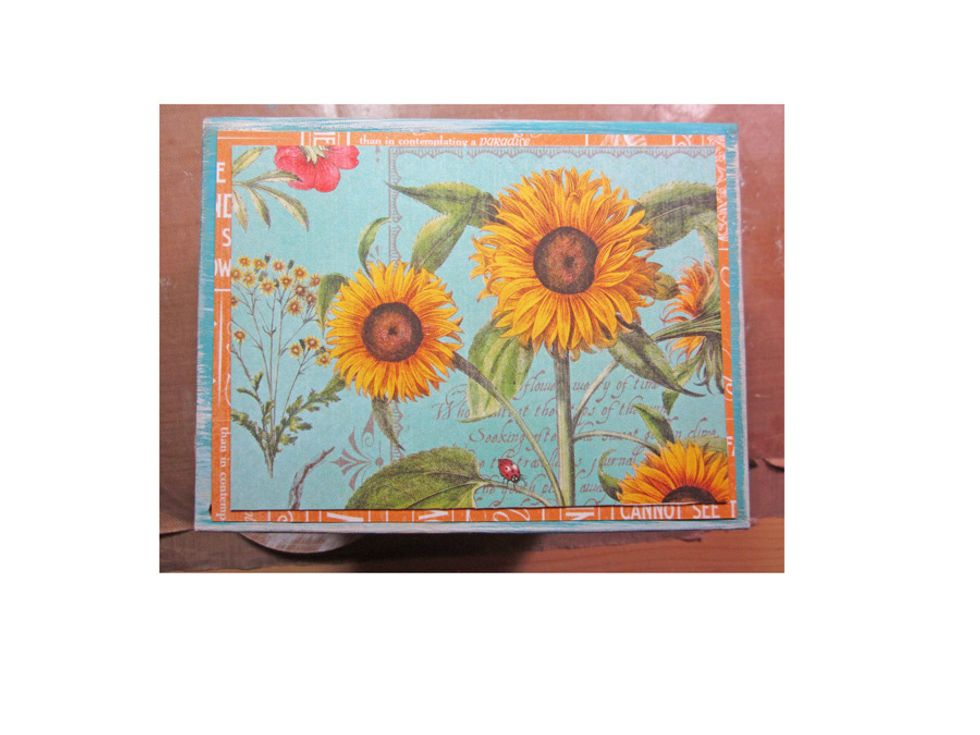
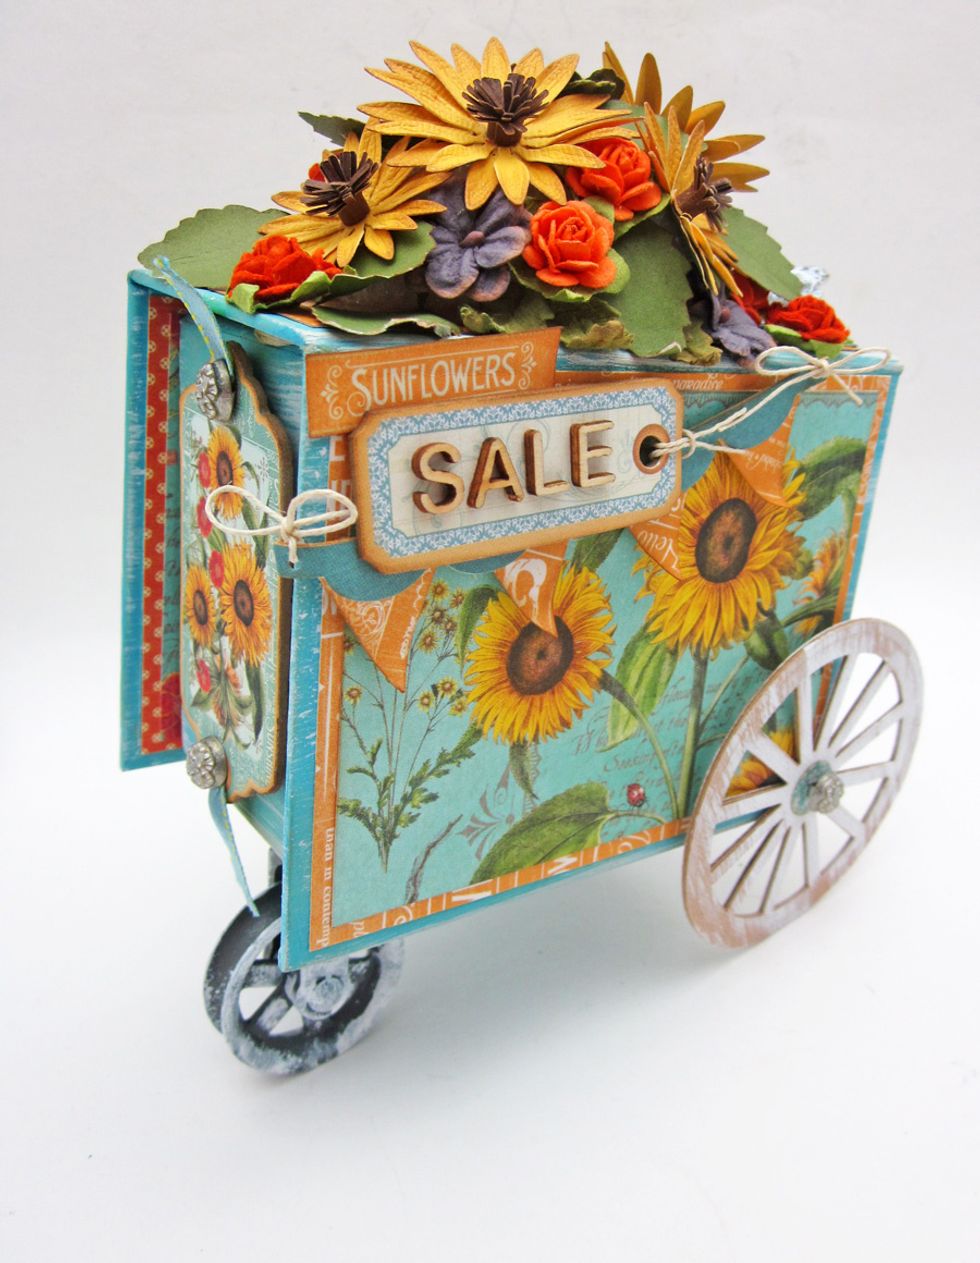
Cover the front of your box with paper before attaching the wheels. I'm using the beautiful Time to Flourish collection from Graphic 45. I've layered it on solid pattern paper for more detail.
Using Graphic 45 metal brads attach the wheels to the back of the cart/box.

Add a small pulley wheel to the bottom of the middle/front of the cart. Again if you don't have a pulley wheel you could just add a solid peg for balance.
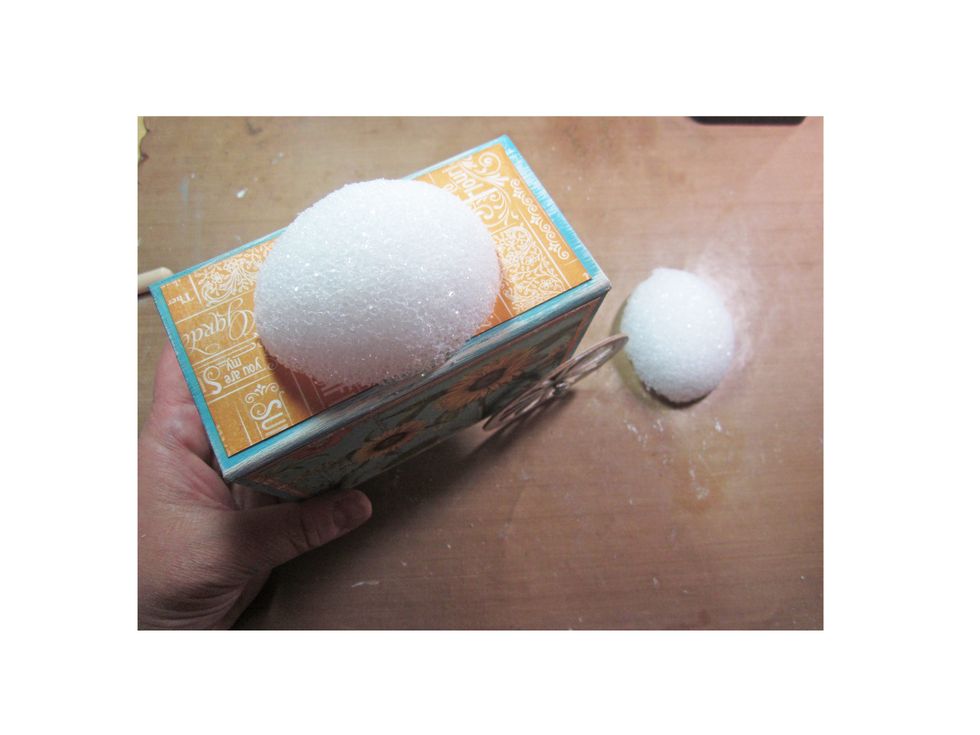
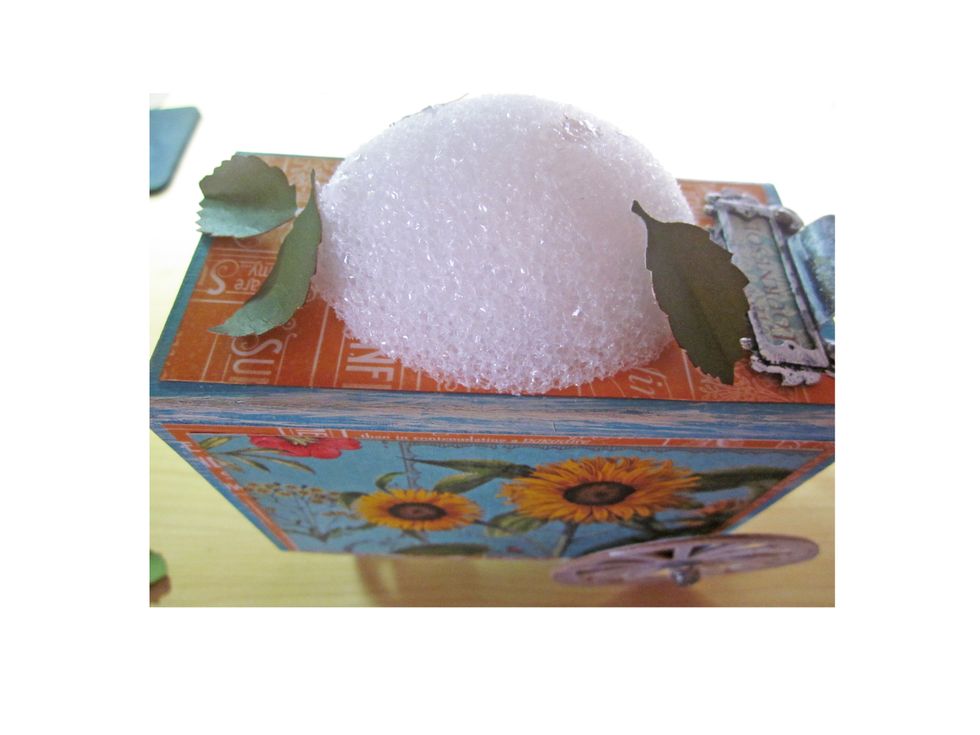
Using a styrofoam egg, cut in half and glue down to the top of the box. Remember to cover your box with paper before you attach the egg. This is going to be what holds our flowers.
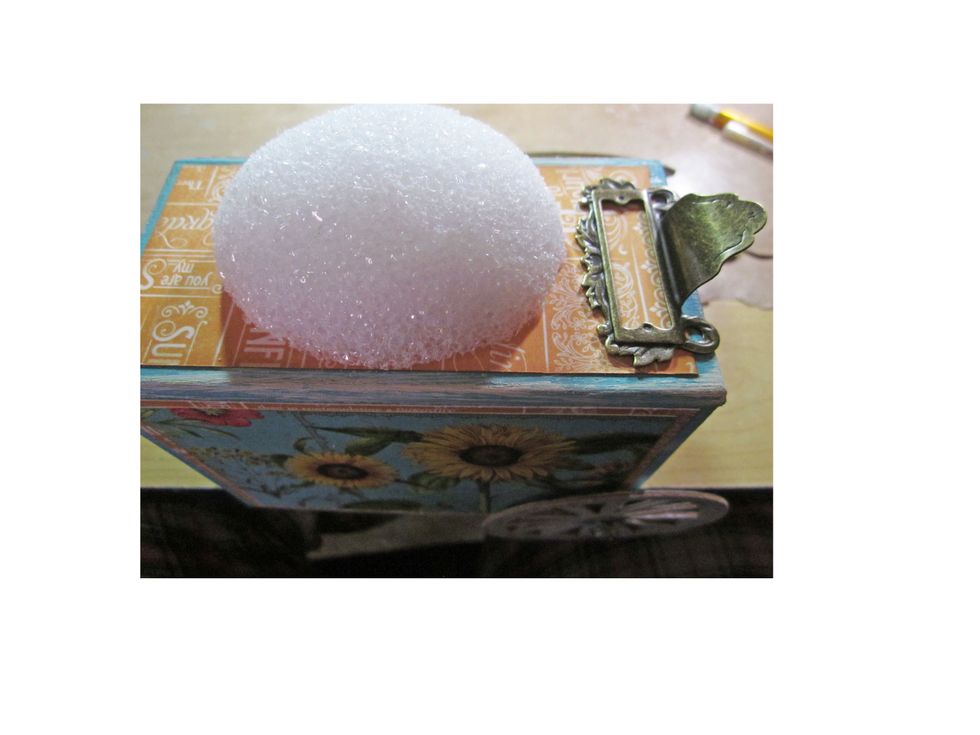
I added a ornate metal label holder from G45 to the back of my cart as a handle. If you'd like to put a decorative saying in the window frame be sure to do it before you attach the handle.
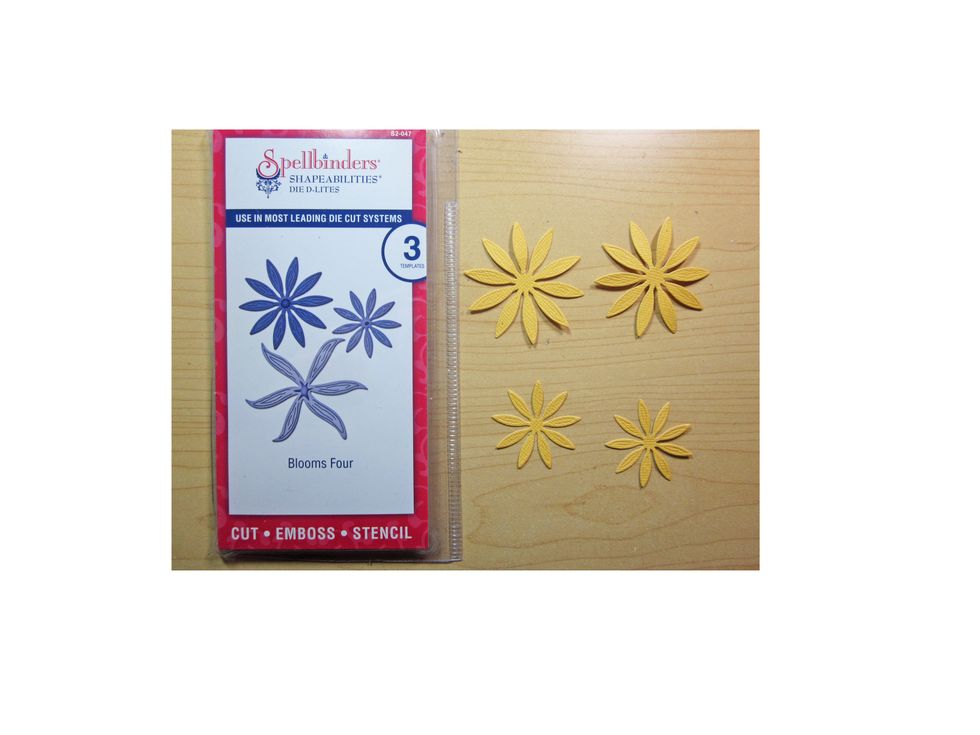
Next we need to make our paper sunflowers. Using the Blooms Four die from Spellbinders cut out the large and small petals.
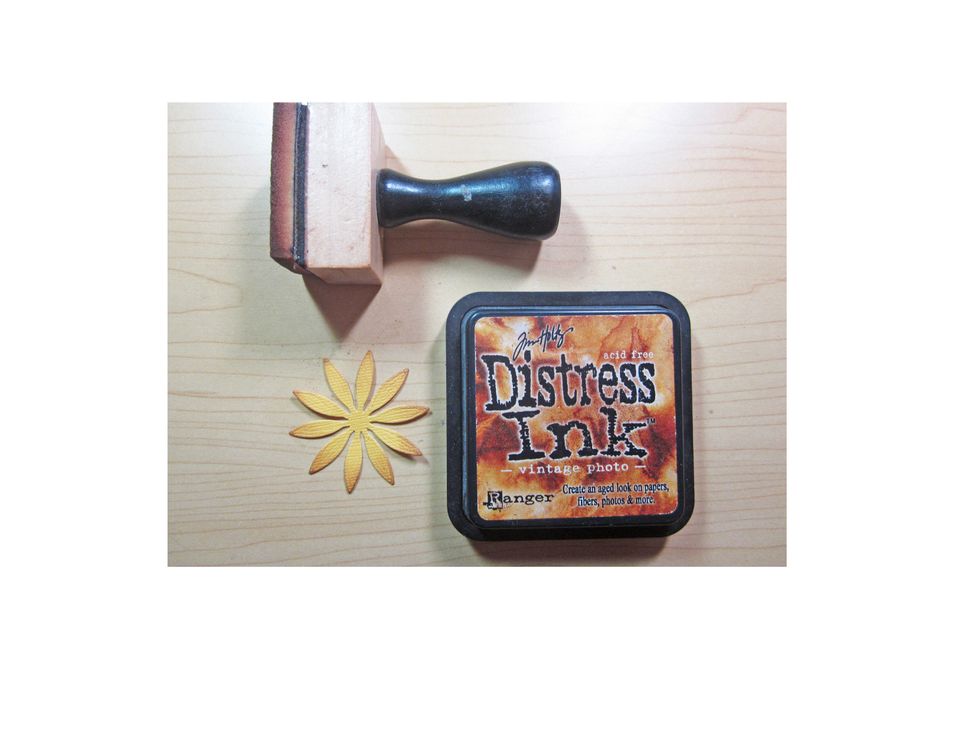
Distress ink the edges of each of your petals.
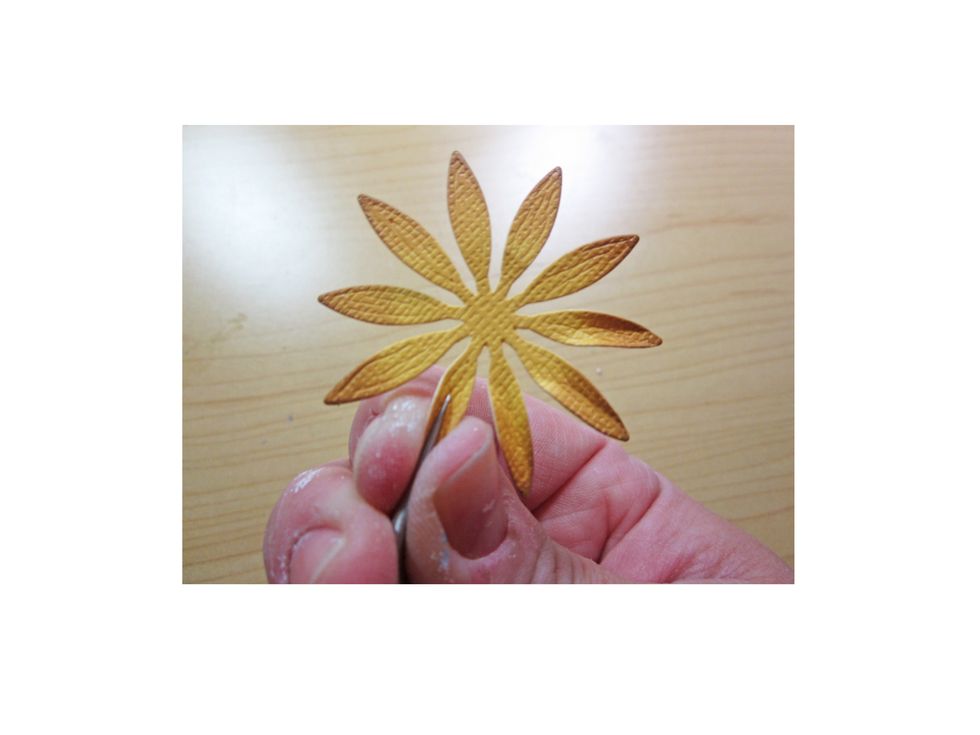
Using a fine pair of tweezers pinch each of the petals to add depth.
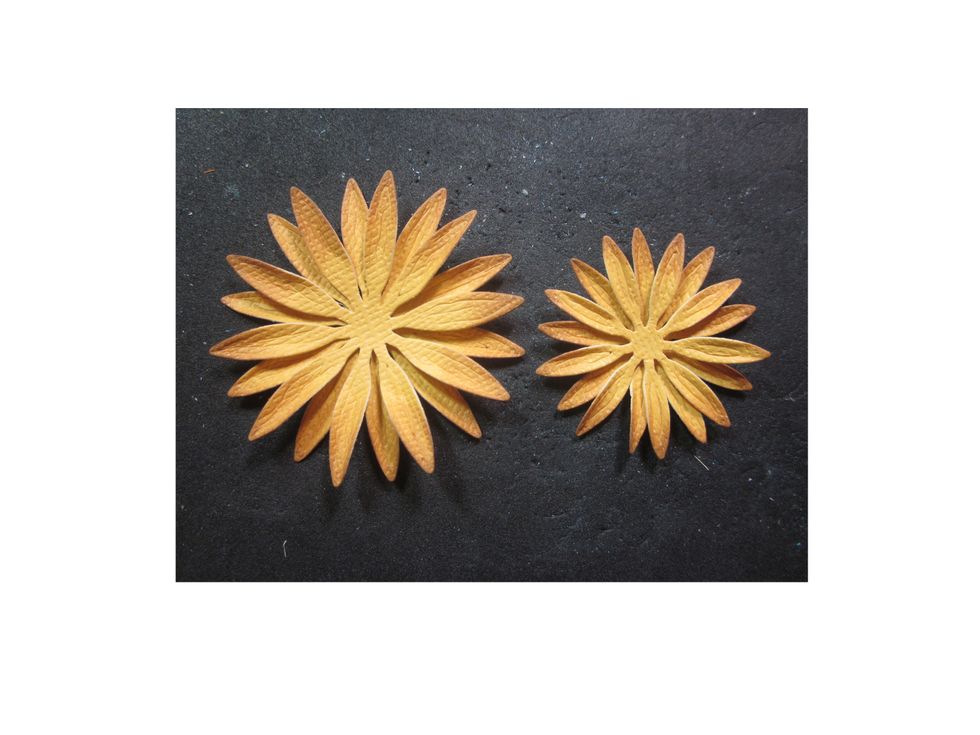
Layer the flowers with the same size and then add a center. you can use all types of things for the center including buttons, rolled paper, or flower soft. Be creative!!!!
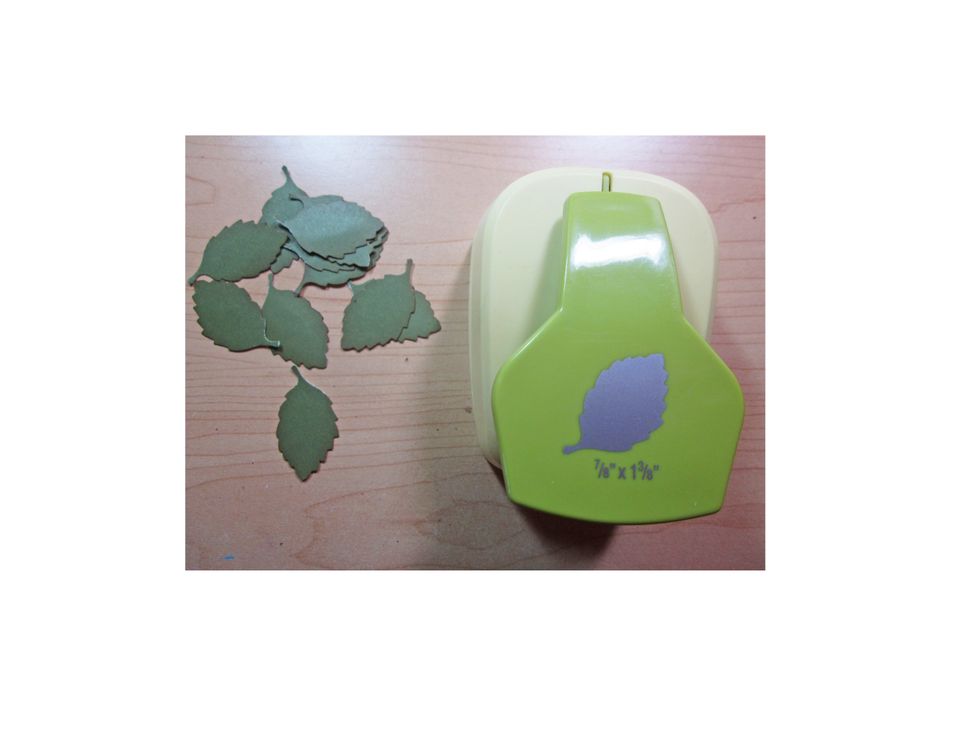
Punch out numerous leaves to nestle and tuck around your flowers. Ink the edges of the leaves and also curl and bend them in different directions.
Using either a hot glue gun or some type of strong glue start gluing a base of leaves on your egg.
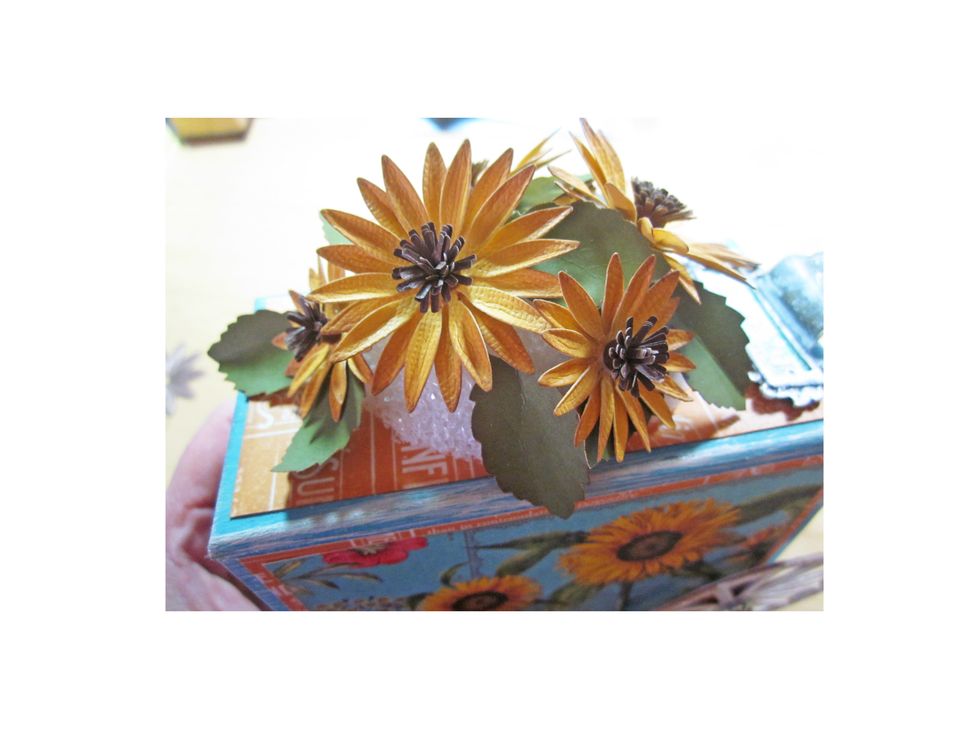
Next add your flowers.
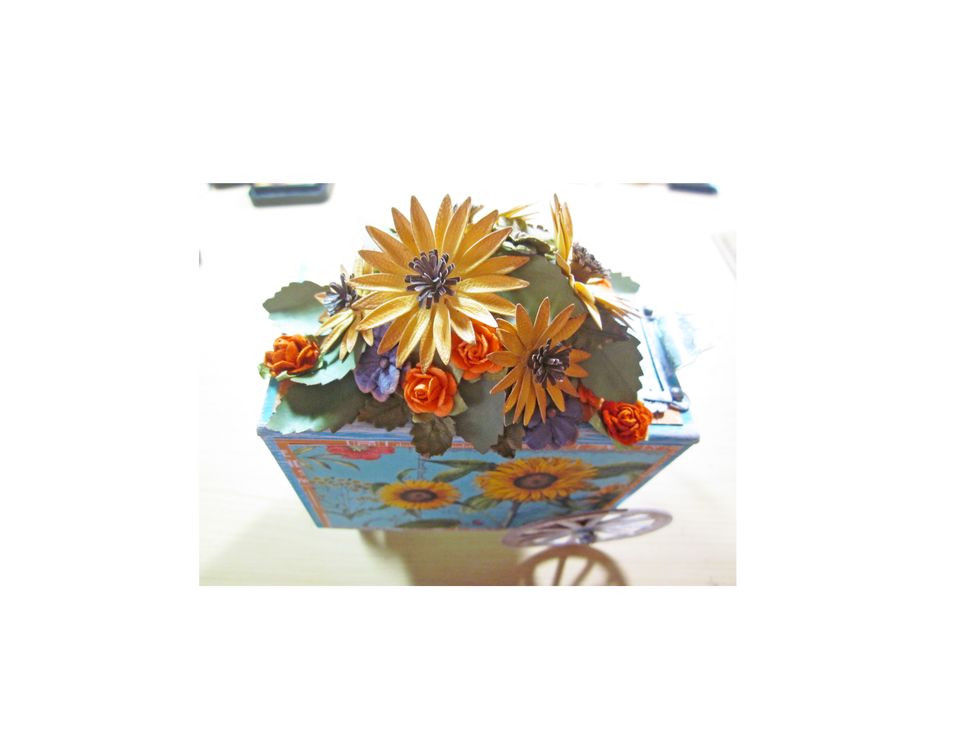
To fill in some of the spots & to add a bit more interest use several other flowers. I used flowers by Petaloo in purples and oranges to add in. The mixed colors look beautiful and match the paper.
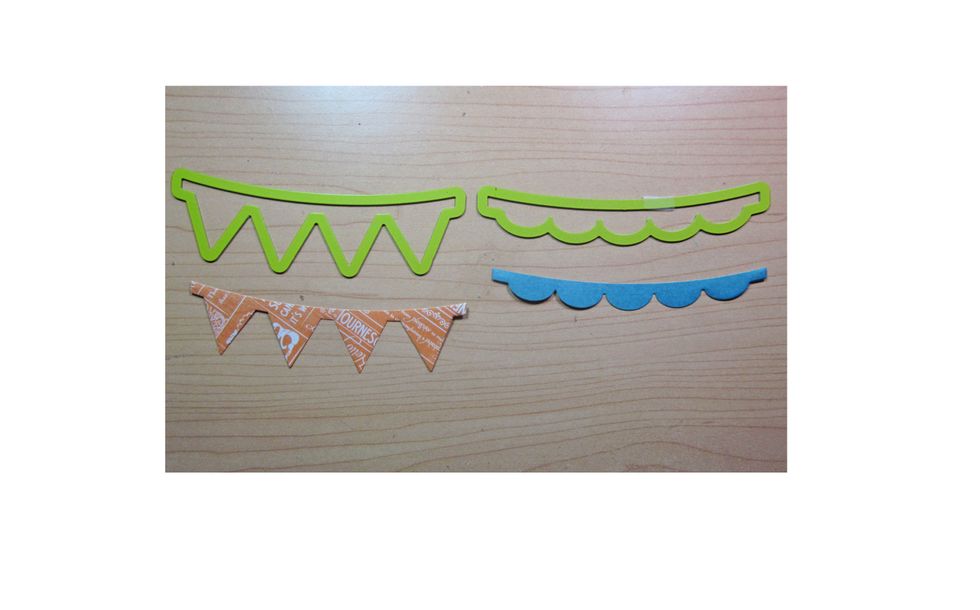
Using the Spellbinder FSJ banner die cut out banners from the Time To Flourish paper line.
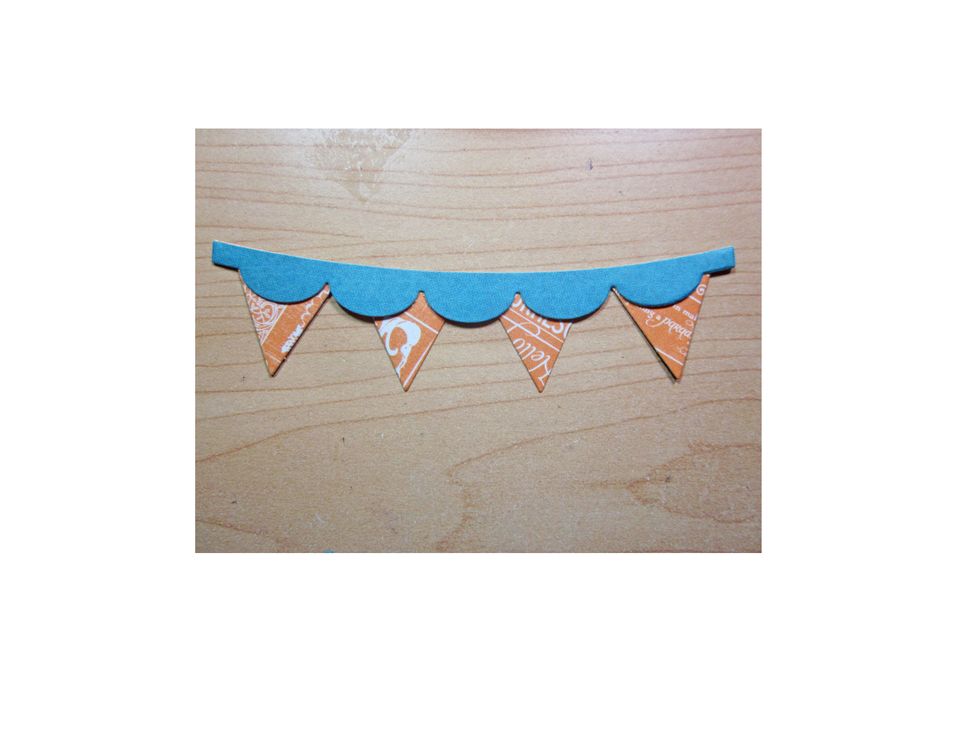
Layer the banners and glue together.
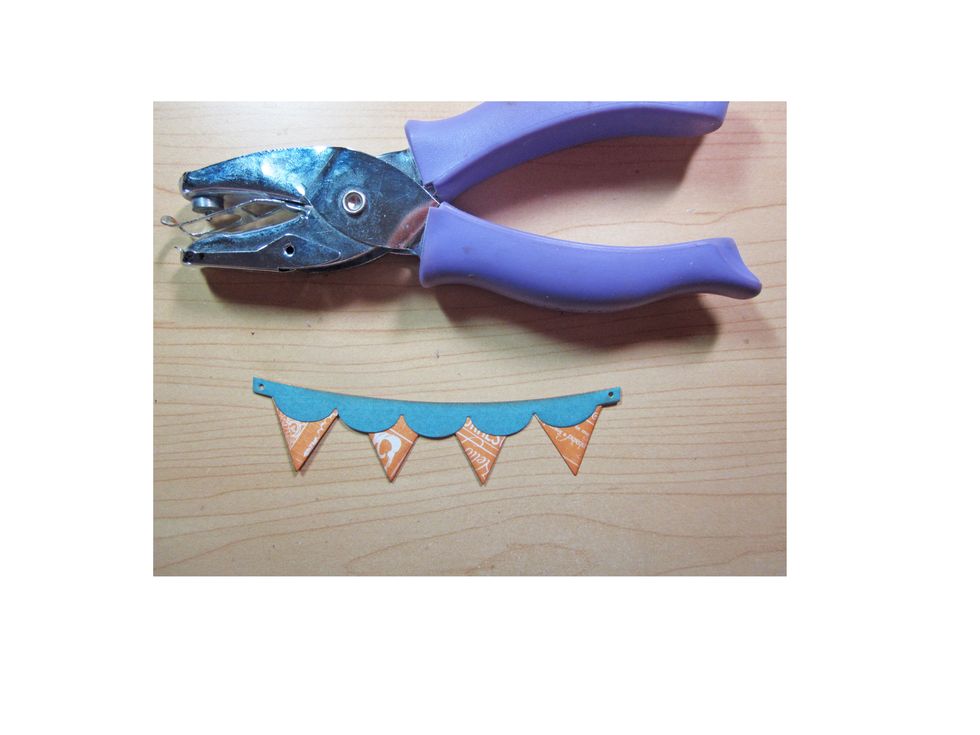
Punch small holes in the corner of each of the ends.
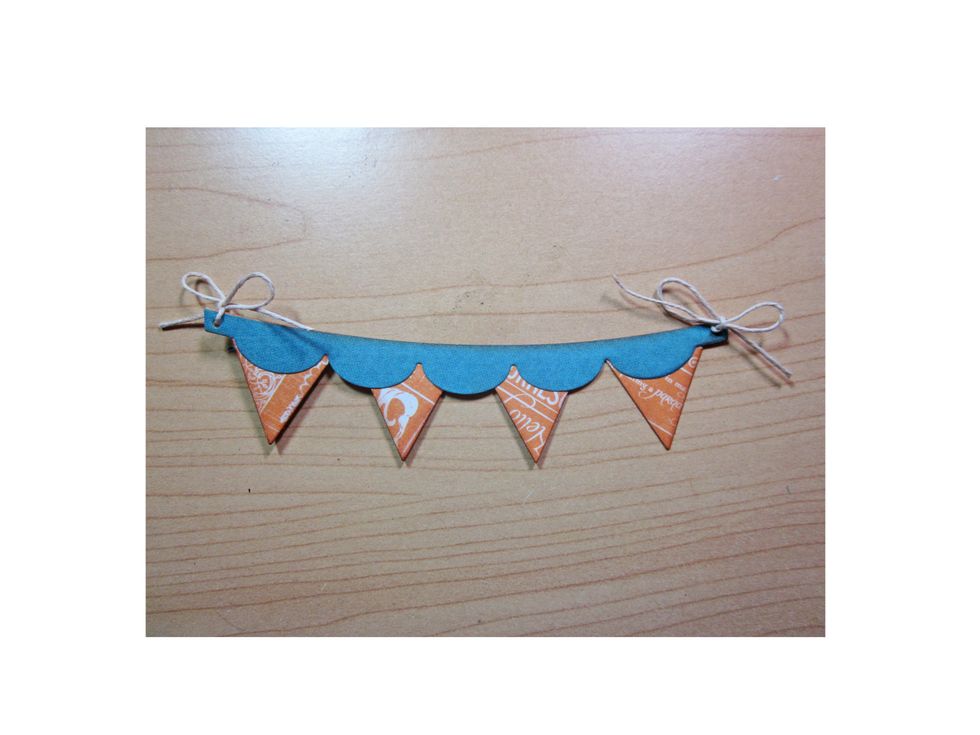
Add twine bows to your banners and attach to the front of the box.
Finish decorating your cart as you wish. I've used some of the coordinating chipboard, ribbon and more of G45 metal brads but be sure to make it your own.
Here is a picture of the side of the flower cart all finished.
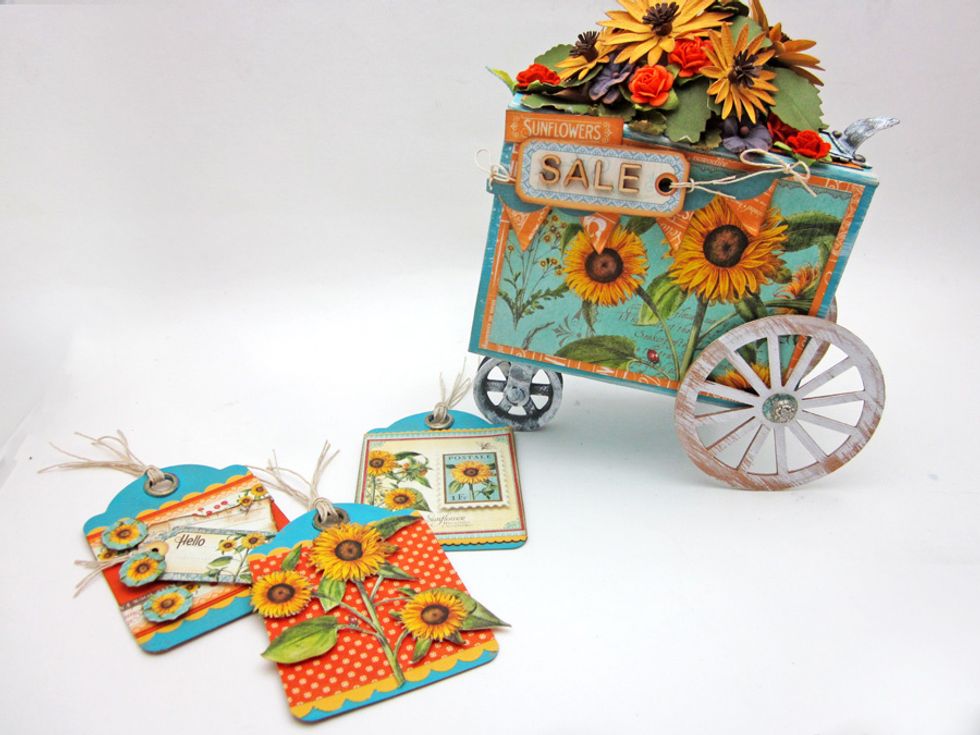
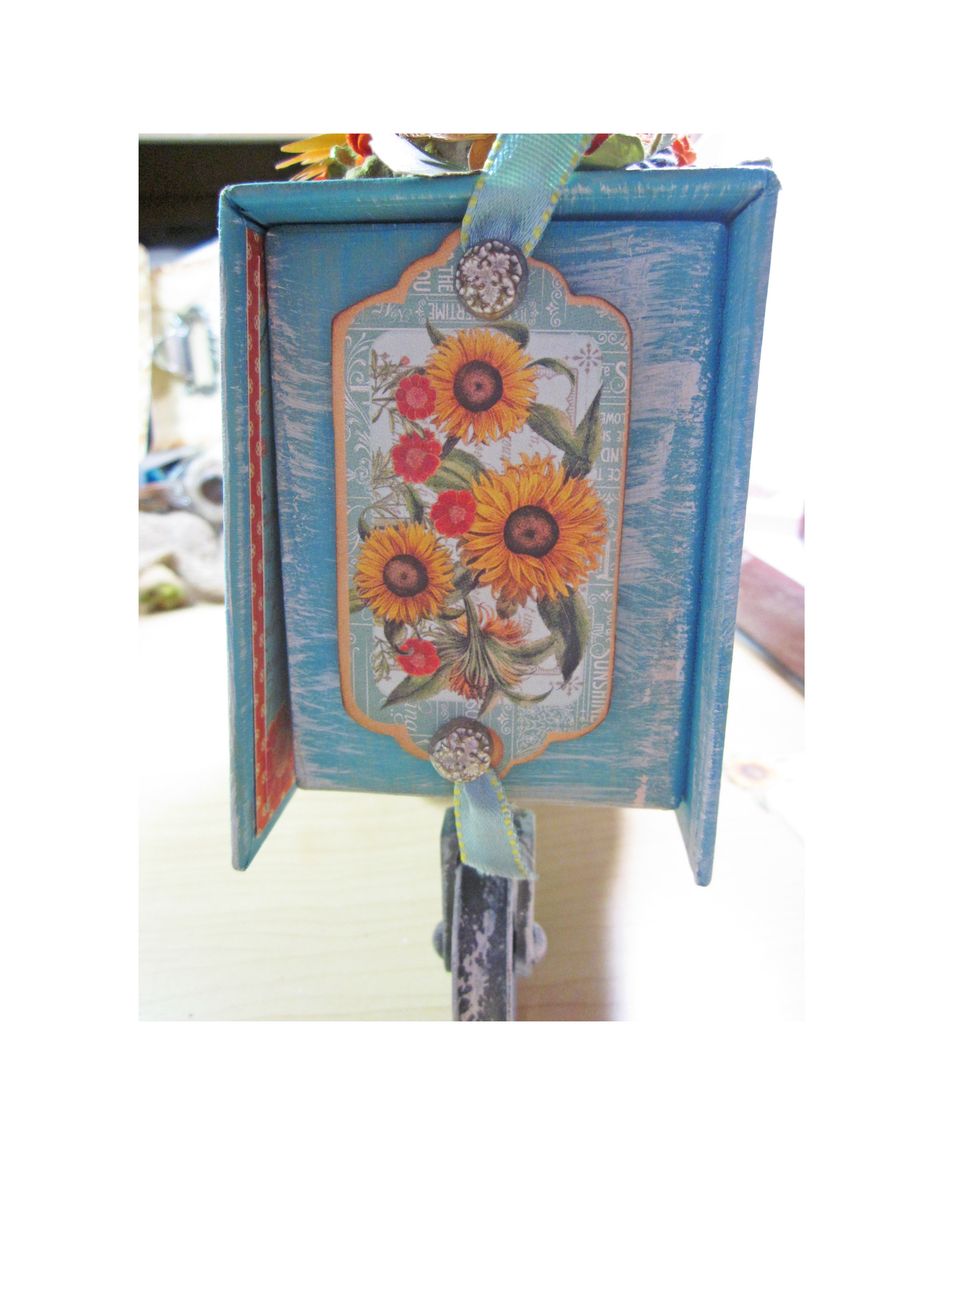
I made little tags with my cart that go on the inside.
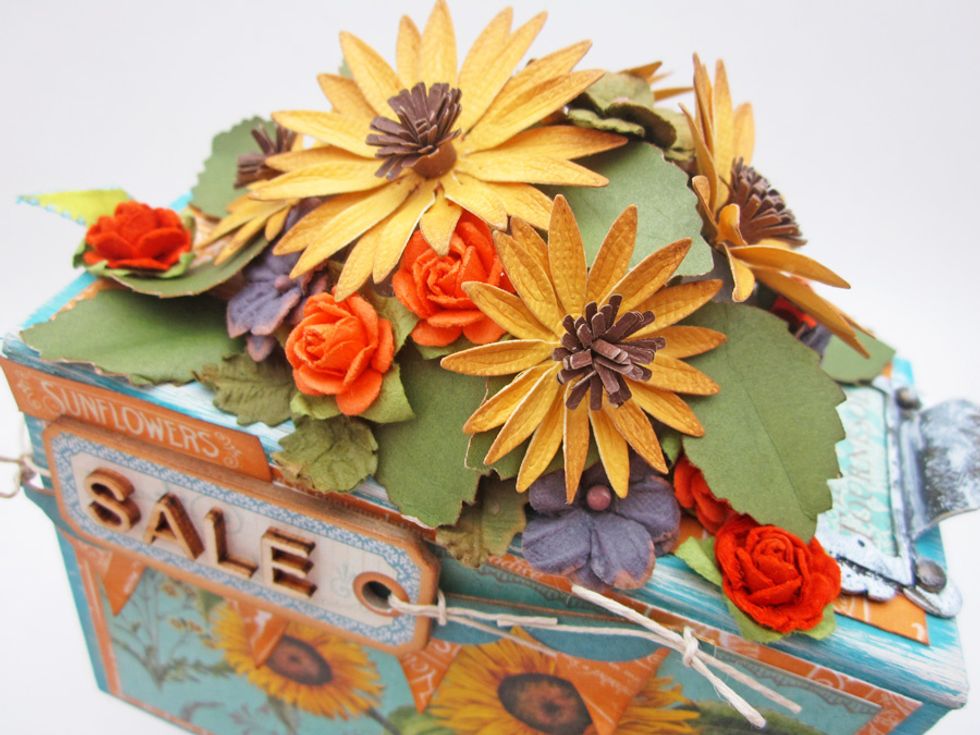
Here is a close up of the cluster of flowers on the top of the cart.
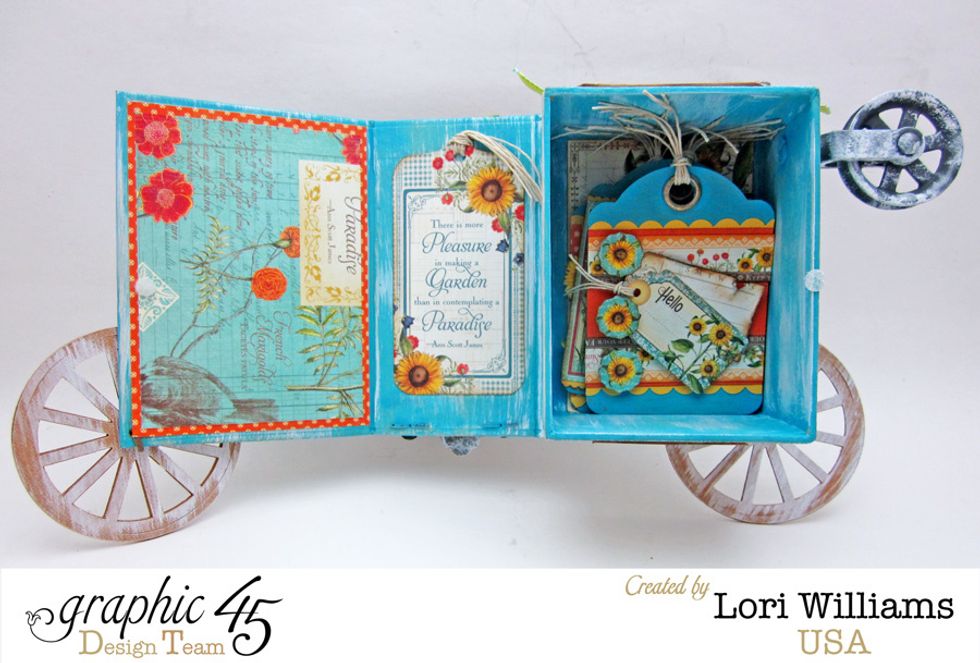
Interior view of the box/cart holding the mini tags.
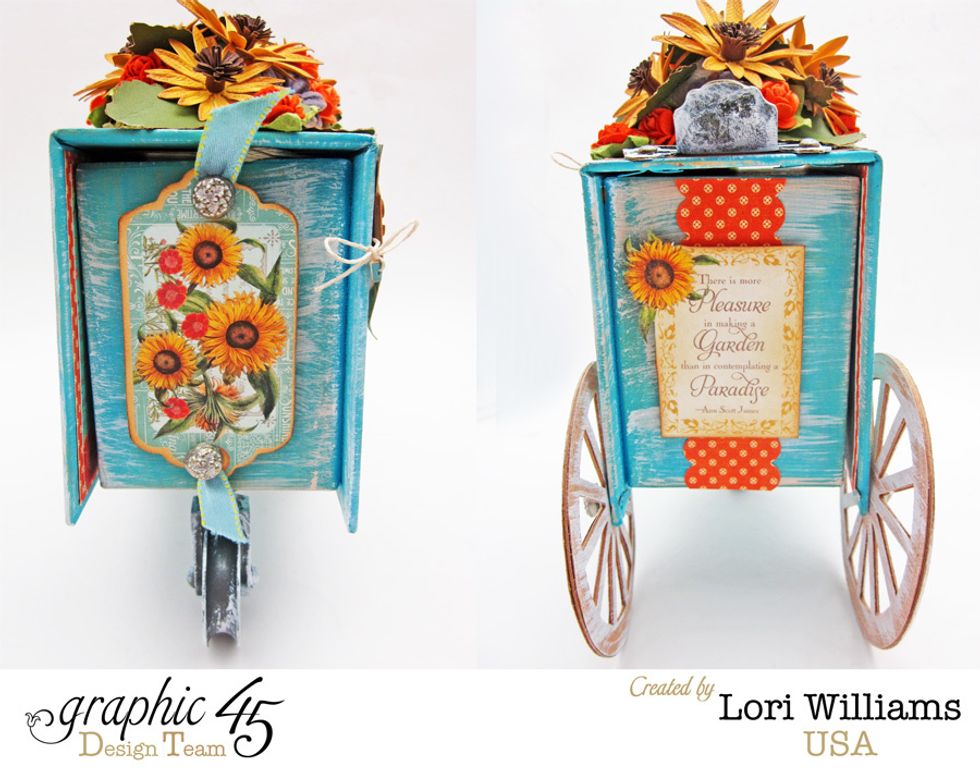
Front and the back of the cart, showing the decoration.

My name is Lori Williams and I'm a design team member with Graphic 45. You can see more of my work on my blog www.pinkcloudscrappers.blogsp… or on Graphic 45's Blog www.g45papers.typepade.com