The Conversation (0)
Sign Up
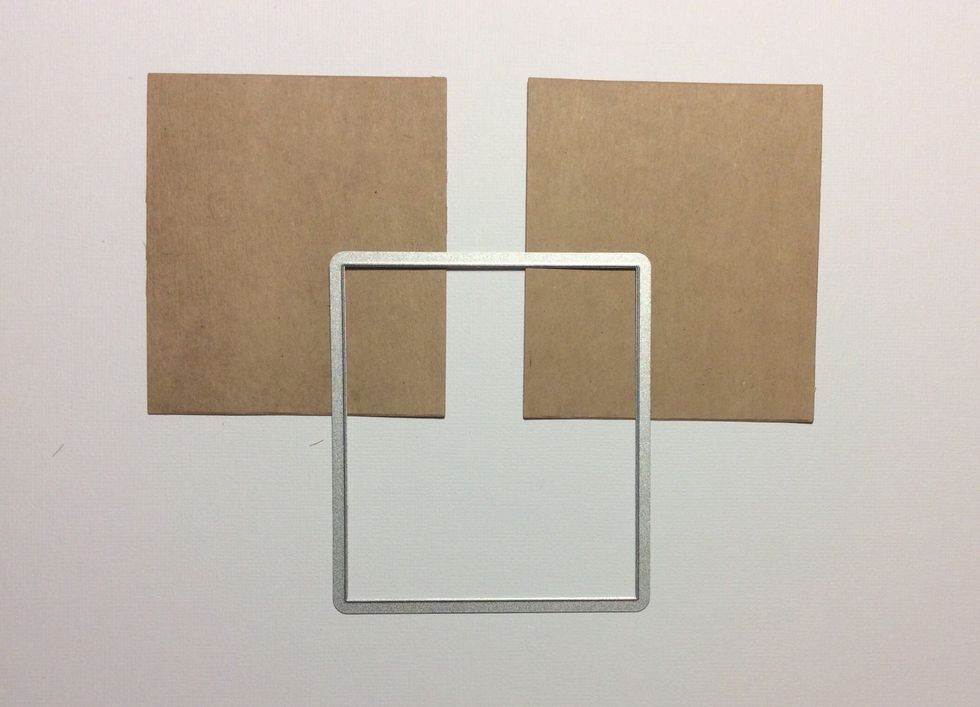
Cut 12 pieces of Kraft card stock 3 7/8 x 3 3/8 inches. I used a die but it is not necessary.

Place the 12 pieces into pairs and adhere tape to one from each pair. Then adhere the two together aligning all edges.
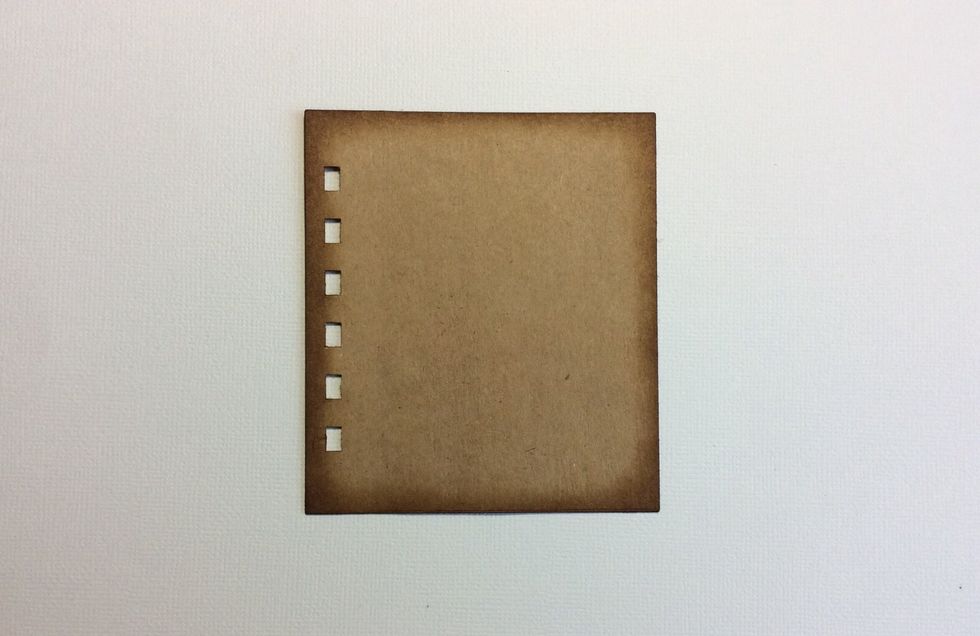
Punch binding holes in each page on the long side. I used a binding machine to accommodate a wire. Small binding rings may be used if desired. Punch numbers of holes required for ring number used.

Cut mats for both sides of each page. 12 mats will be required. I used patterned paper from Graphic 45 enchanted forest.

Apply tape to 6 of the mats on the bottom short edge as shown and run a bead of glue from the tape up to the top of each long side.
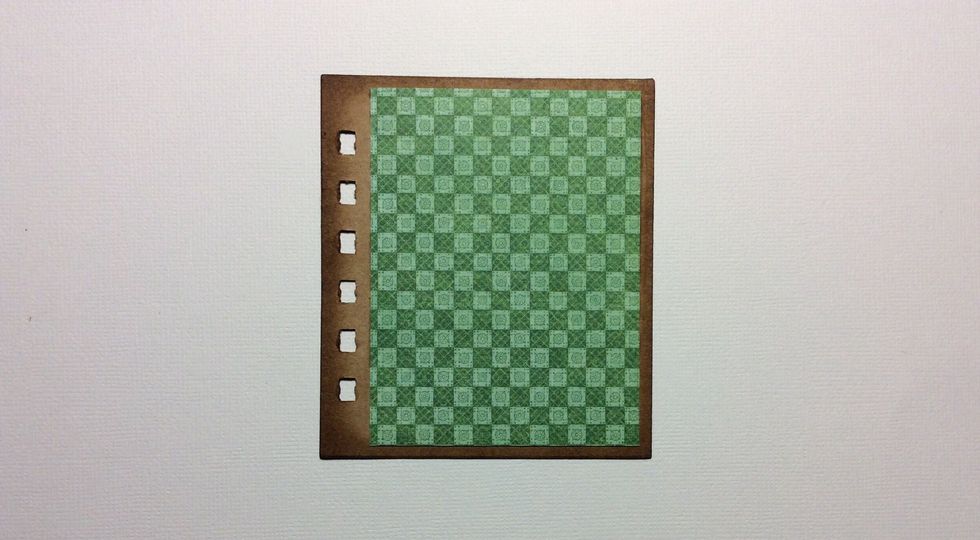
Adhere the 6 taped and glued mats on to one side of the pages. This will create a pocket opening at the top.
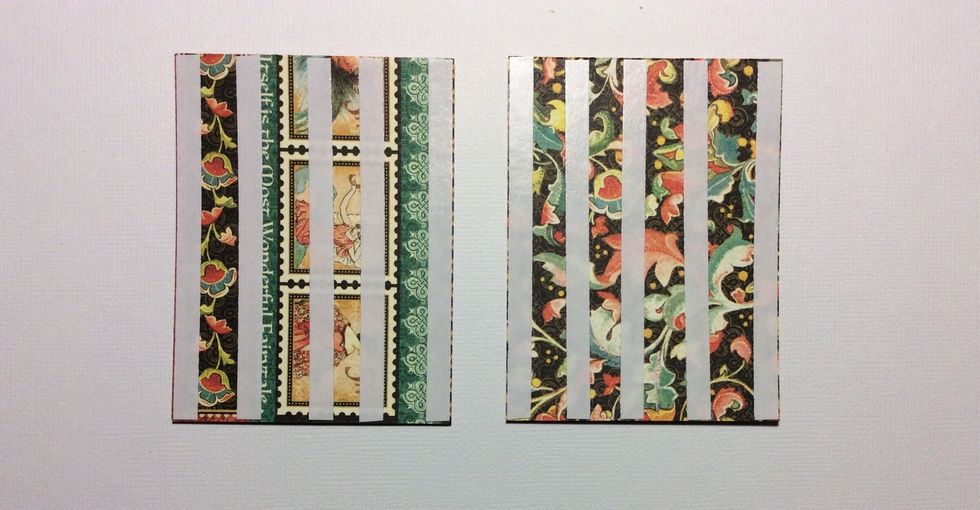
Adhere tape to the remaining 6 mats as shown.
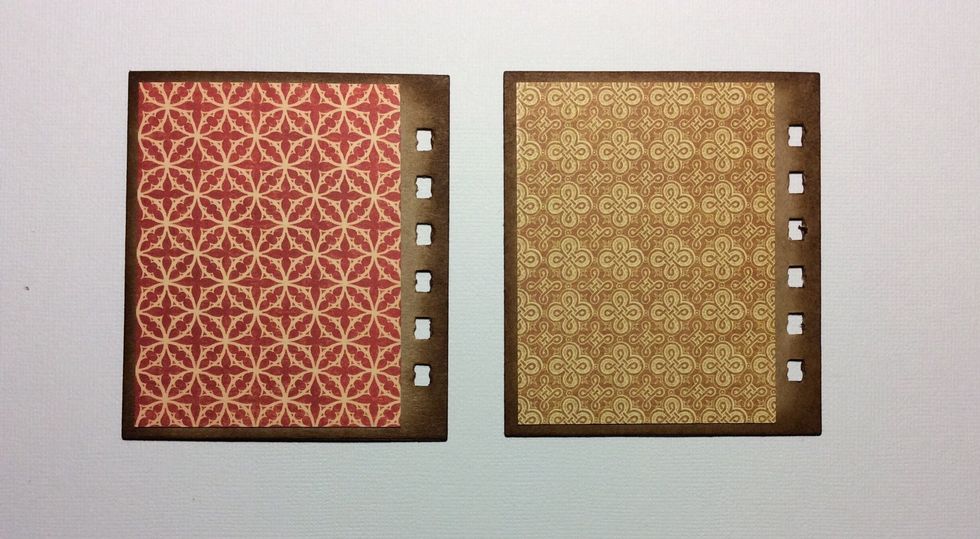
Adhere the remaining 6 taped mats to the opposite side of each page.

You will need 6 Graphic 45 artist trading tags
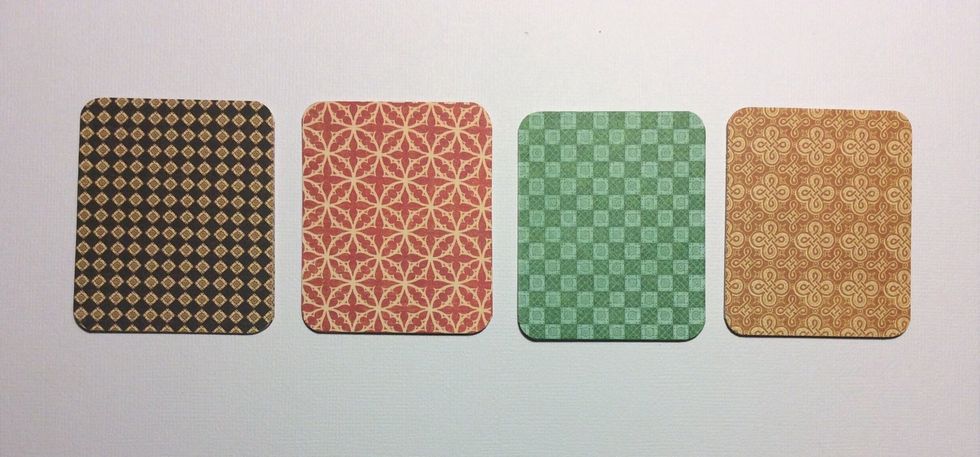
Cut 12 mats for the artist reading tags, measuring 2 3/4 x 2 1/4 inches

Apply tape to mats and adhere to artist trading tags.
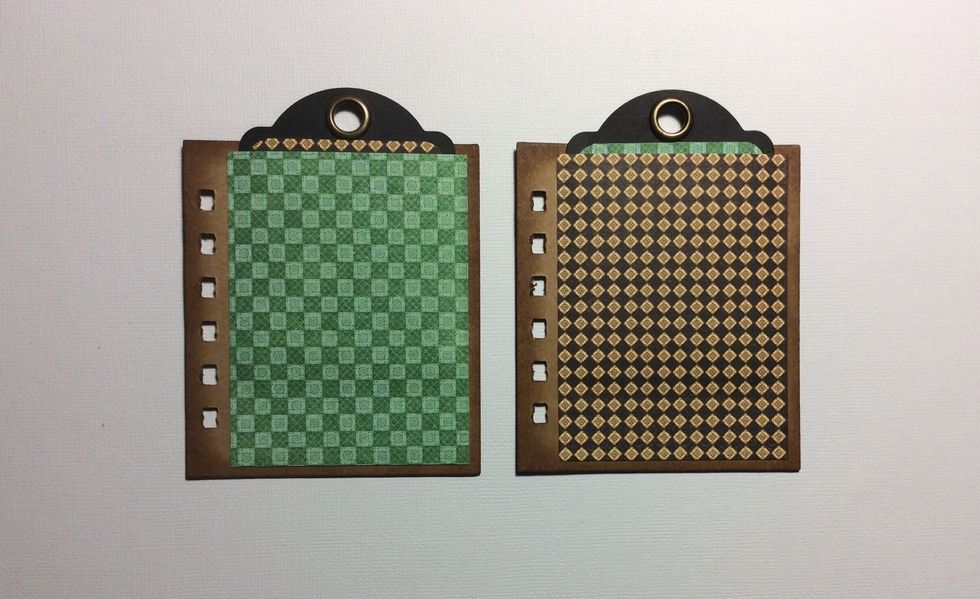
Insert tags into pocket formed in step 6 on each page.

Attached binding wire or rings which ever system you are using
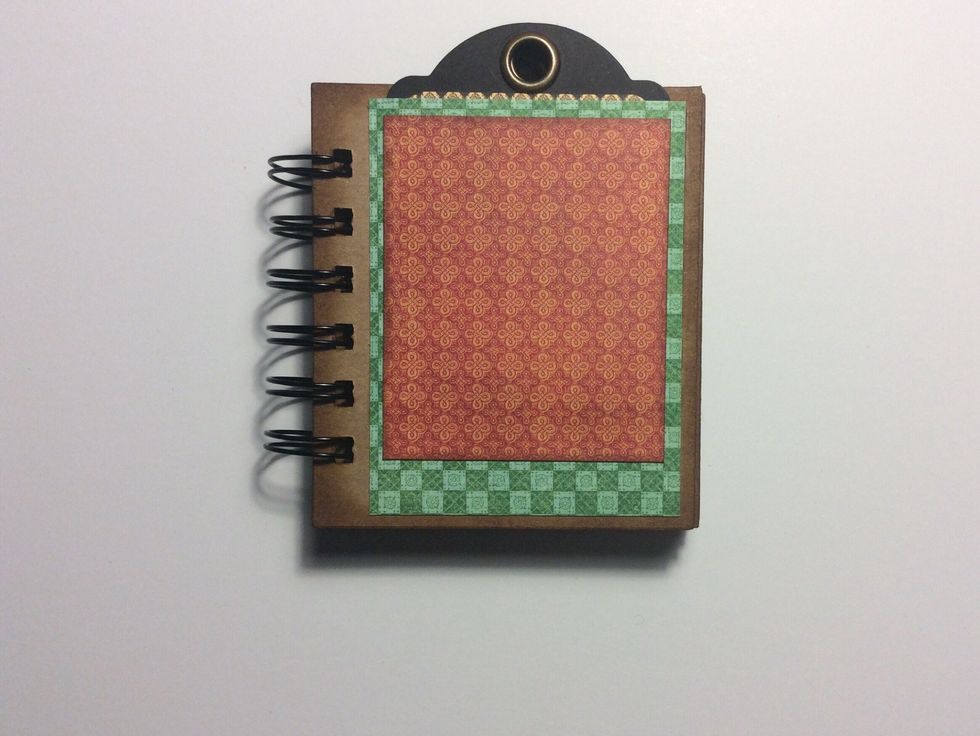
Cut a piece of graphic 45 enchanted forest patterned paper at 3 x 2 1/2 inches. Ink edges if desired and adhere centrally aligning to the top.
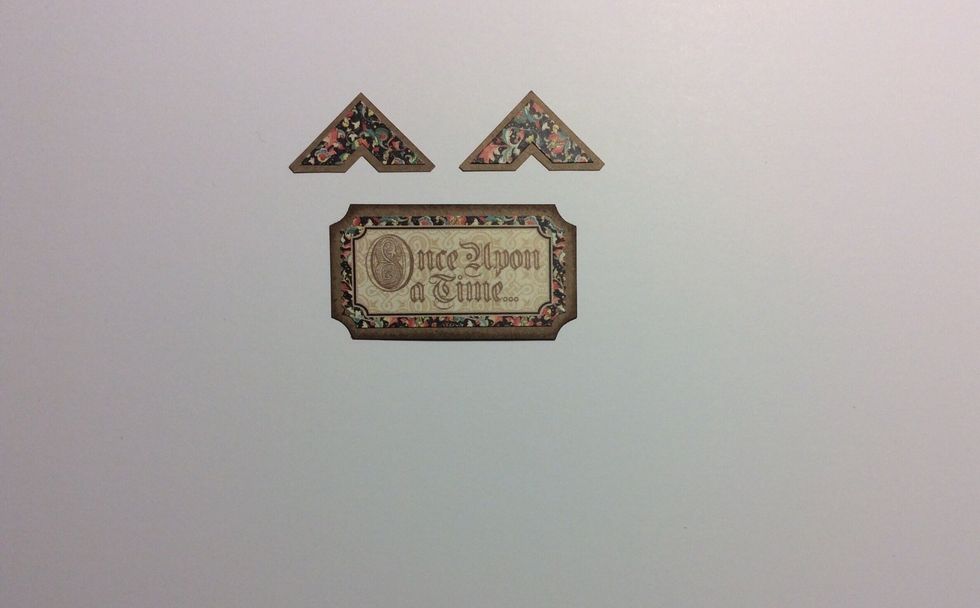
Take two sticker corners and a ticket sticker as shown from the graphic 45 enchanted forest sicker sheet and adhere to Kraft cardstock. Trim a border around each piece.
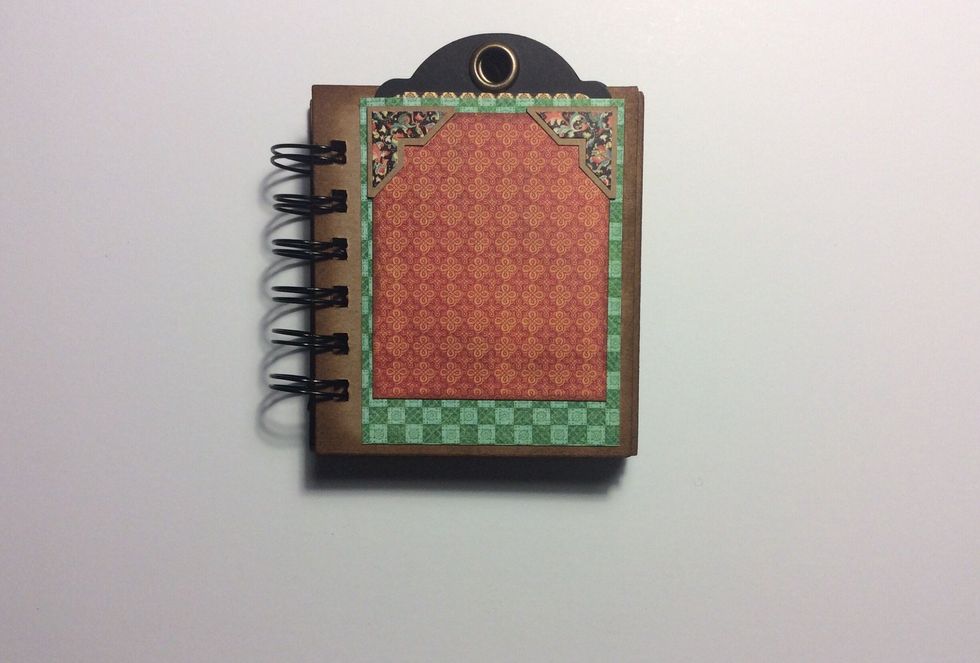
Adhere corner stickers with borders into position as shown. I used glue for a stronger adhesion.
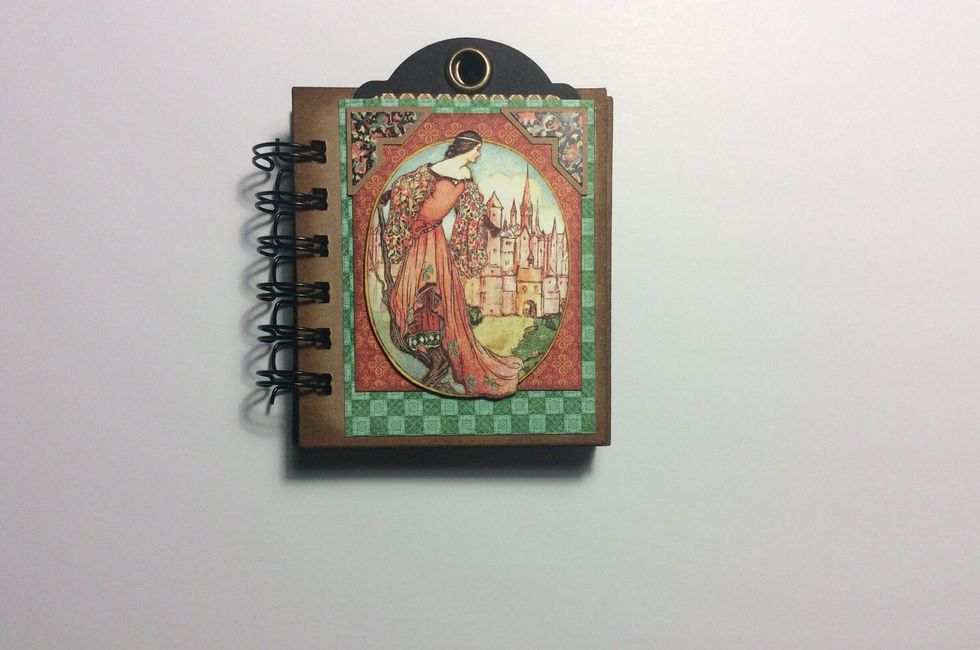
Fussy cut an image from the 8 x 8 graphic 45 enchanted forest pad. Ink edges if desired and adhere centrally between the corners.
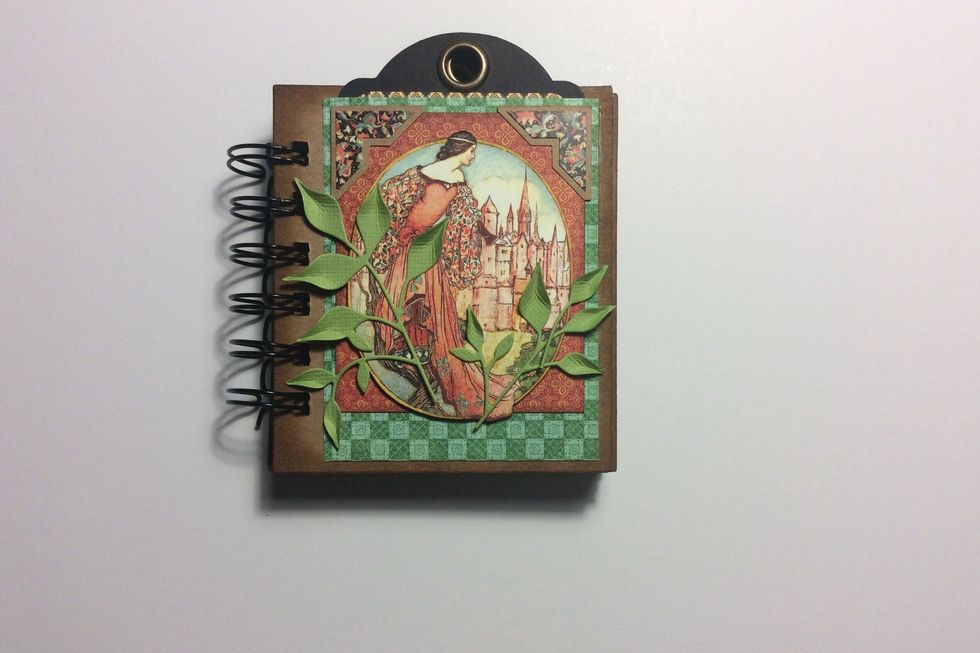
Taken chosen foliage and adhere into position. I used a leaf die. Any foliage that you like will work. Position in a configuration that is pleasing to the eye.
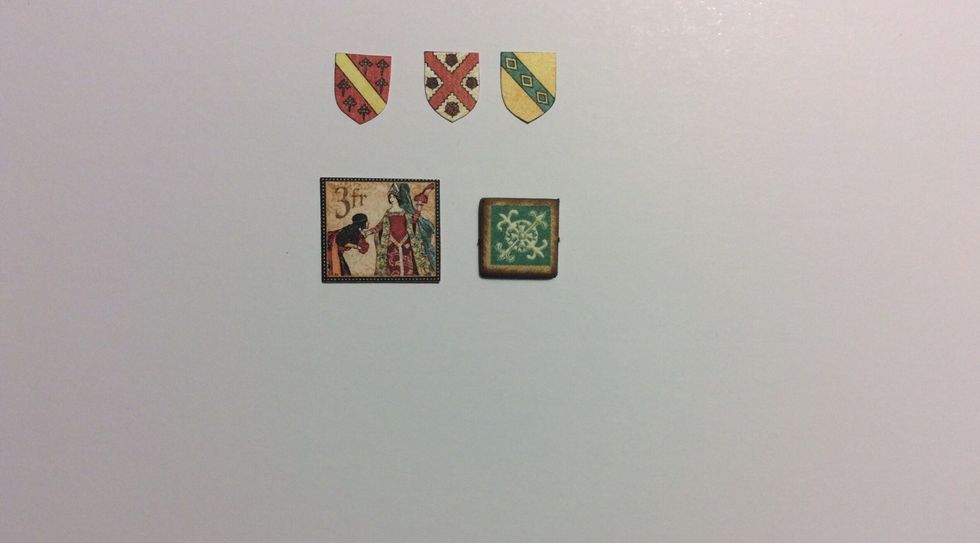
Gather the images shown or similar. The shields and stamp image are from the 8 x 8 graphic 45 enchanted forest pad. The square is from the enchanted forest chipboard pack. Ink edges if desired.
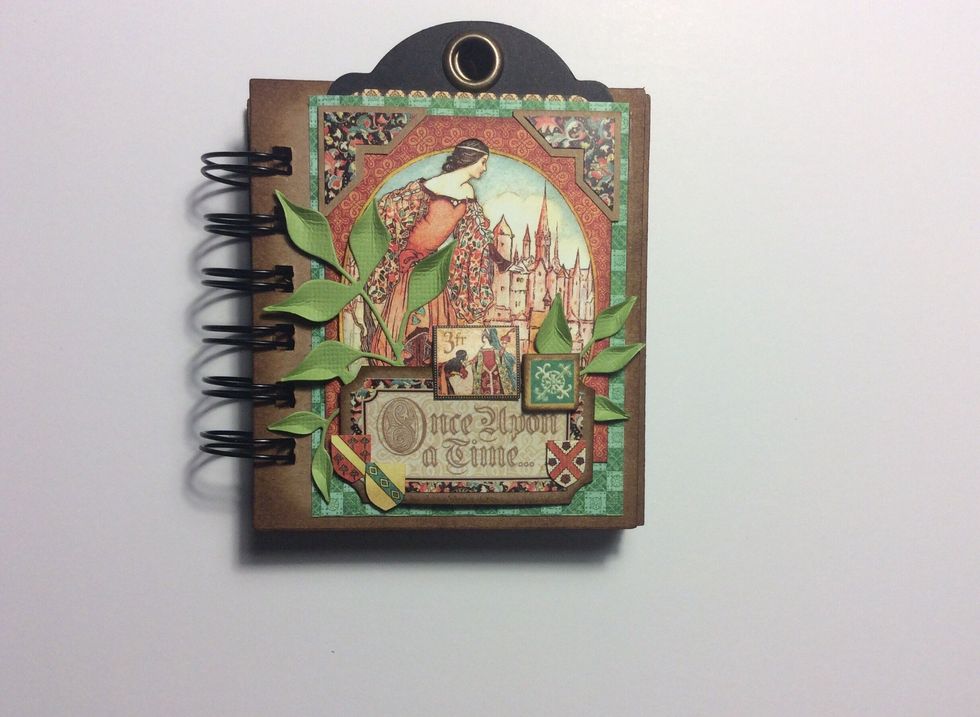
Adhere the elements from the the previous step into position as shown. This completes the graphic 45 enchanted forest mini album.