The Conversation (0)
Sign Up

From January Montage (side B) cut a piece 7” x 2 3/4” and score at 2 1/4”, 2 3/4, 3 1/4, 5 1/2, 6, 6 ½. This will be your gift bag sides.

Cut a second piece 2 1/4” x 2” and score at 1/2” & 1 1/2”- parallel to the longer side. This will be your gift bag bottom.
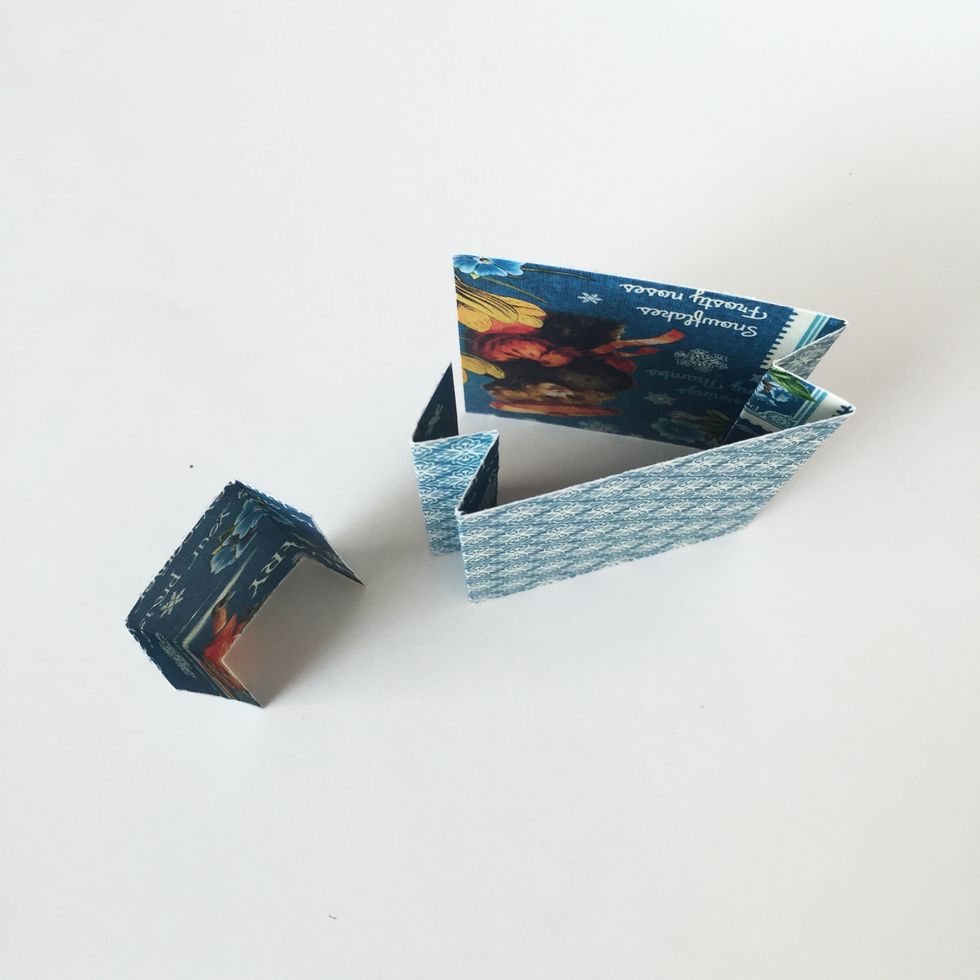
Cut a third piece 2” x 1/2” and save for step 7. Fold the first two pieces like shown in the picture.
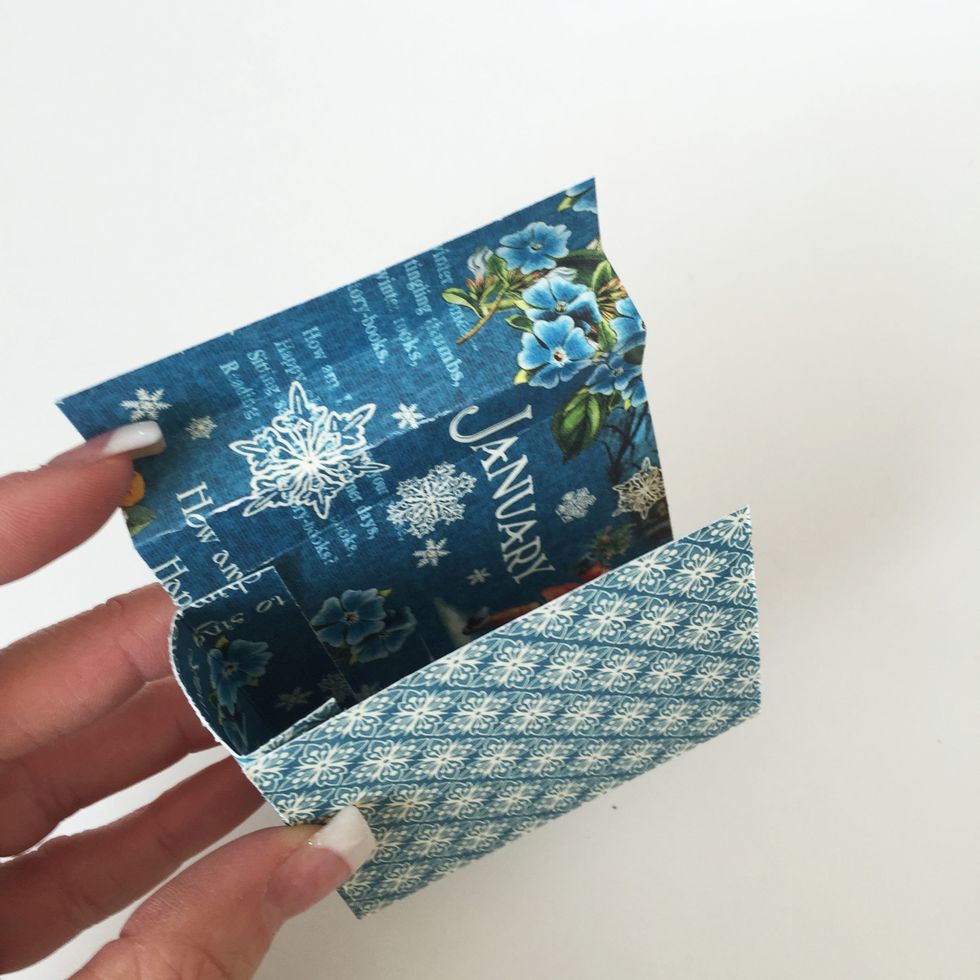
Make sure to have the three ½” segments on the gift bag sides piece on your left and glue each ½” side flap of the Gift Bag Bottom to the bottom of the Gift Bag Sides piece’s 2 ¼” segments.
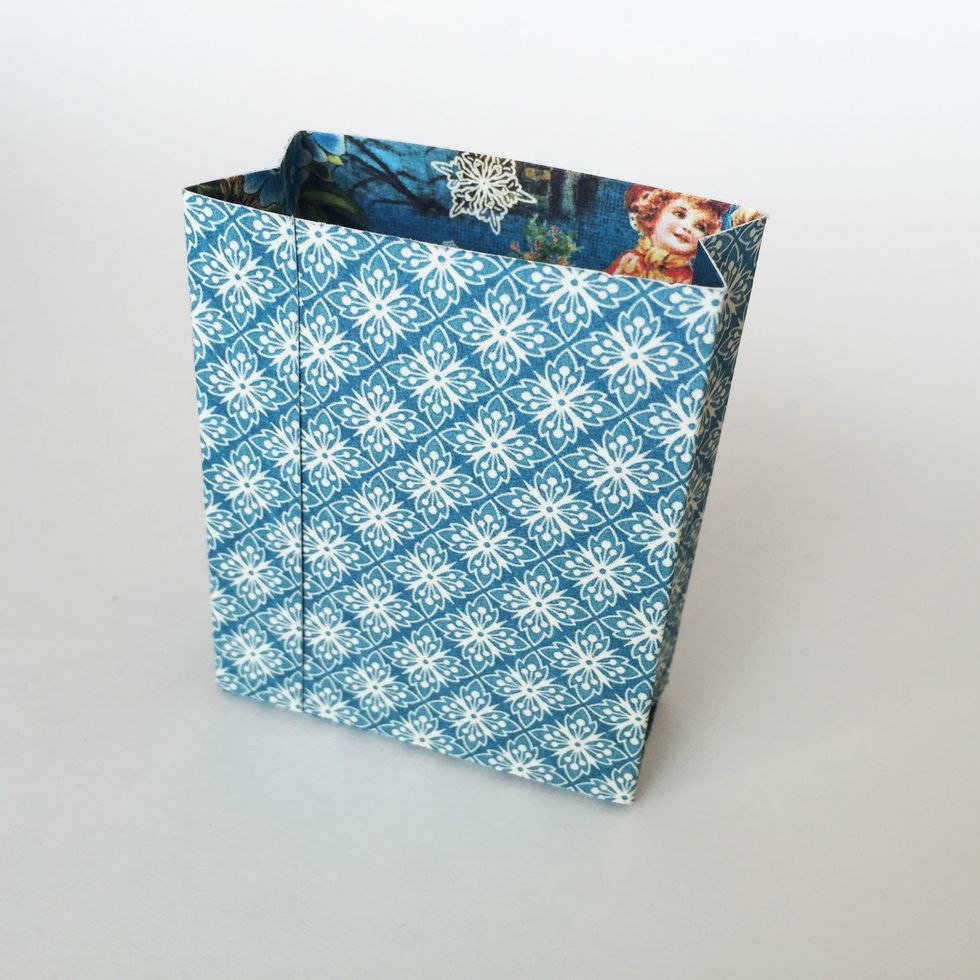
Glue the far left ½” flap of the Sides piece to the front of the gift bag.
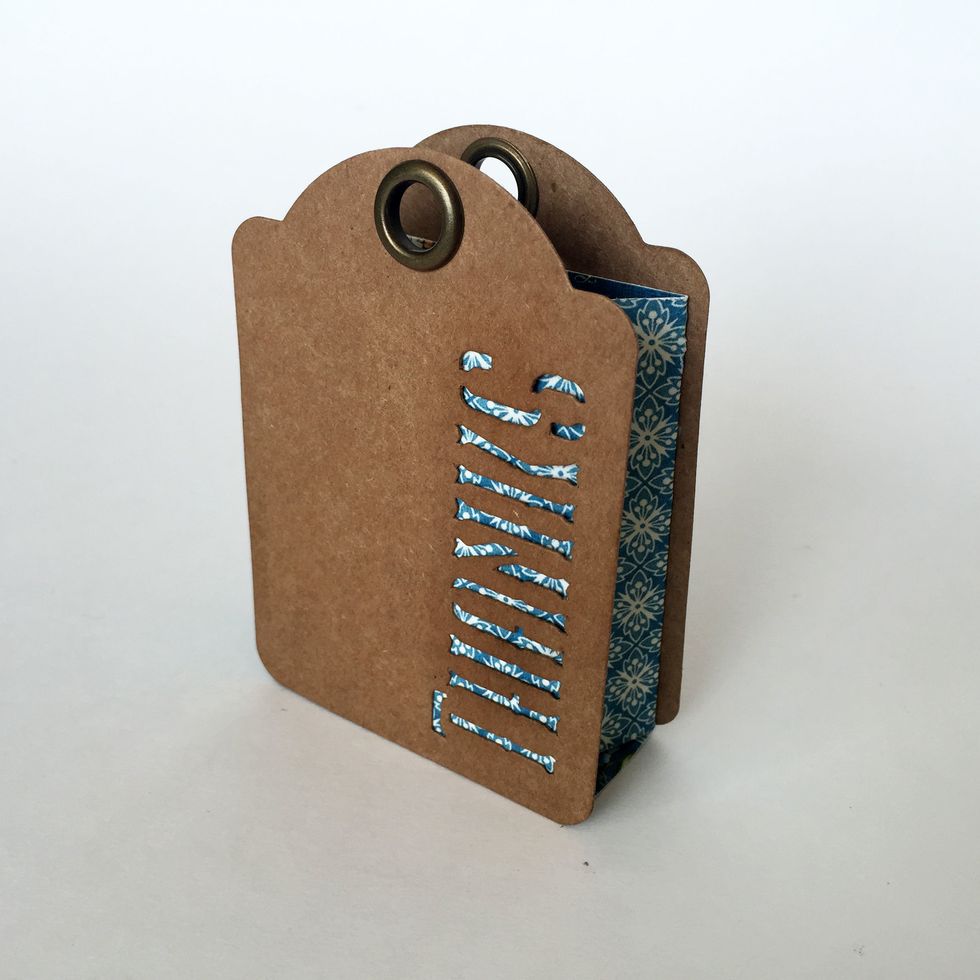
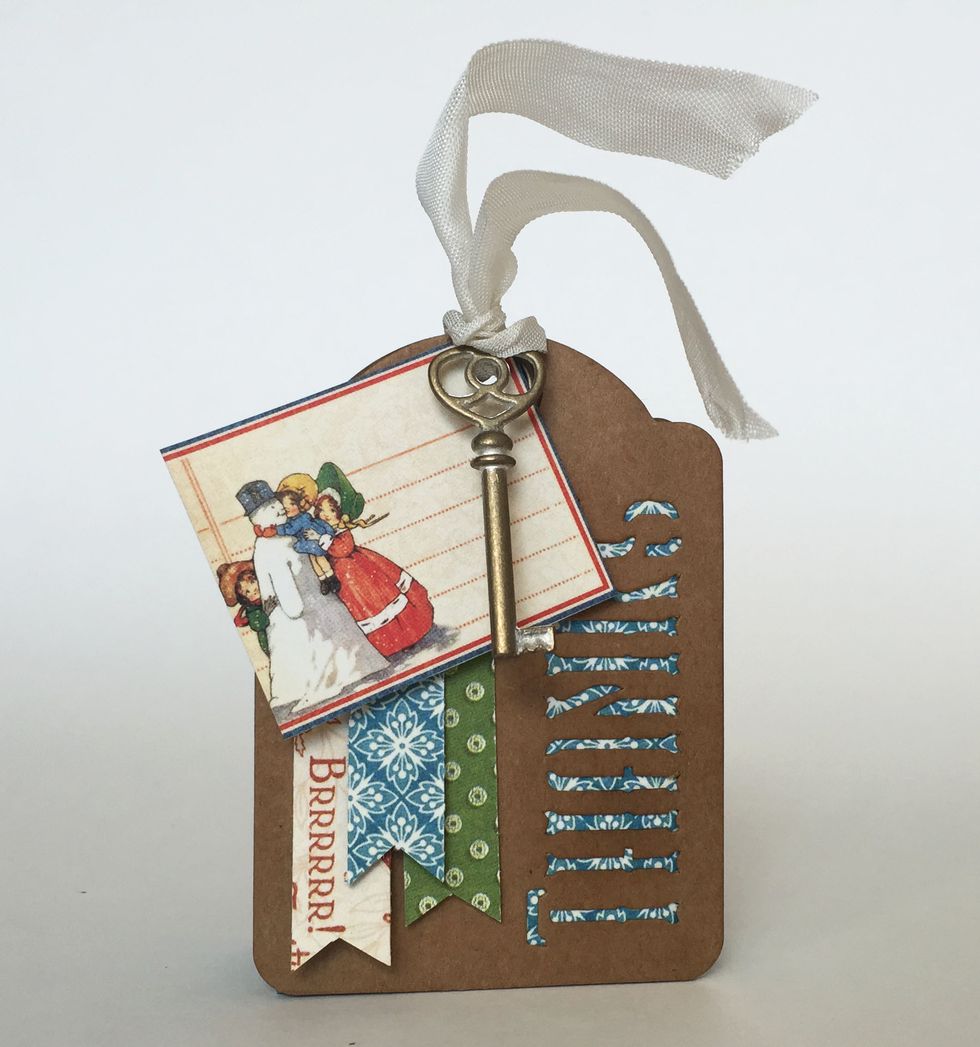
Glue one ‘Thanks’ tag to the front of the bag and one on the back. Make sure to line the the bottom of the tags with the bottom of the bag.
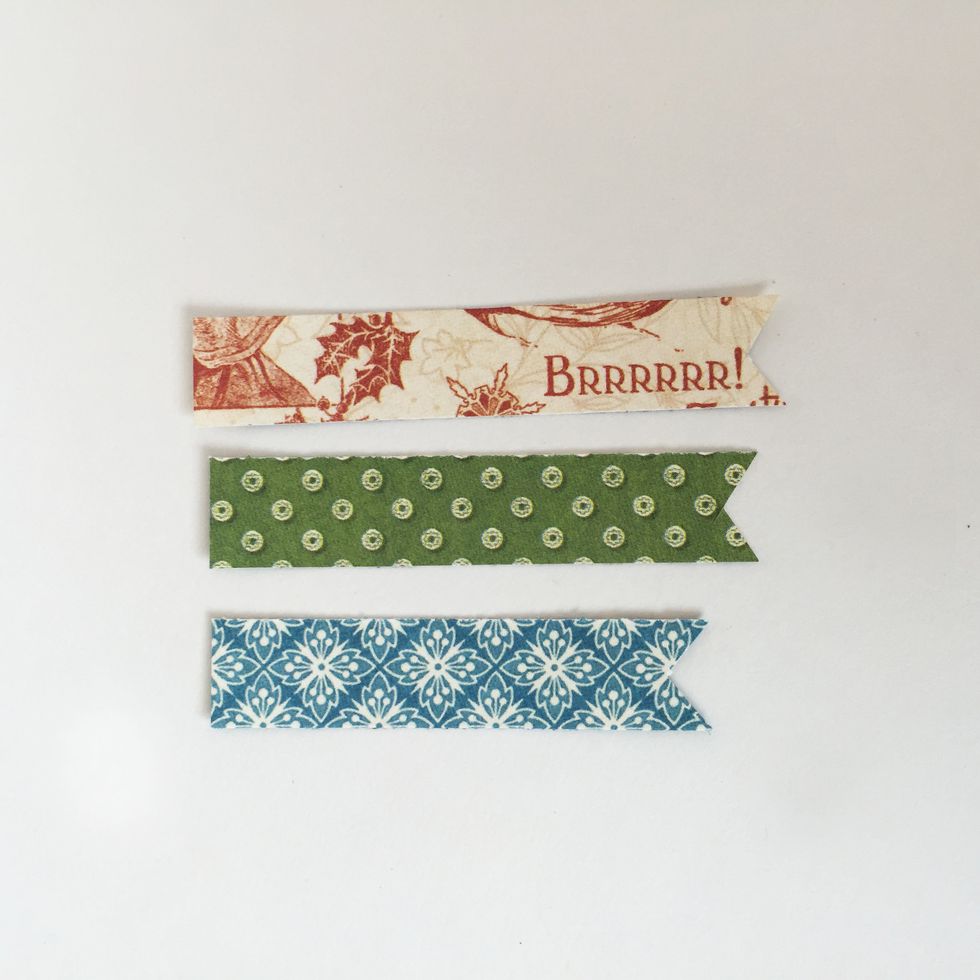
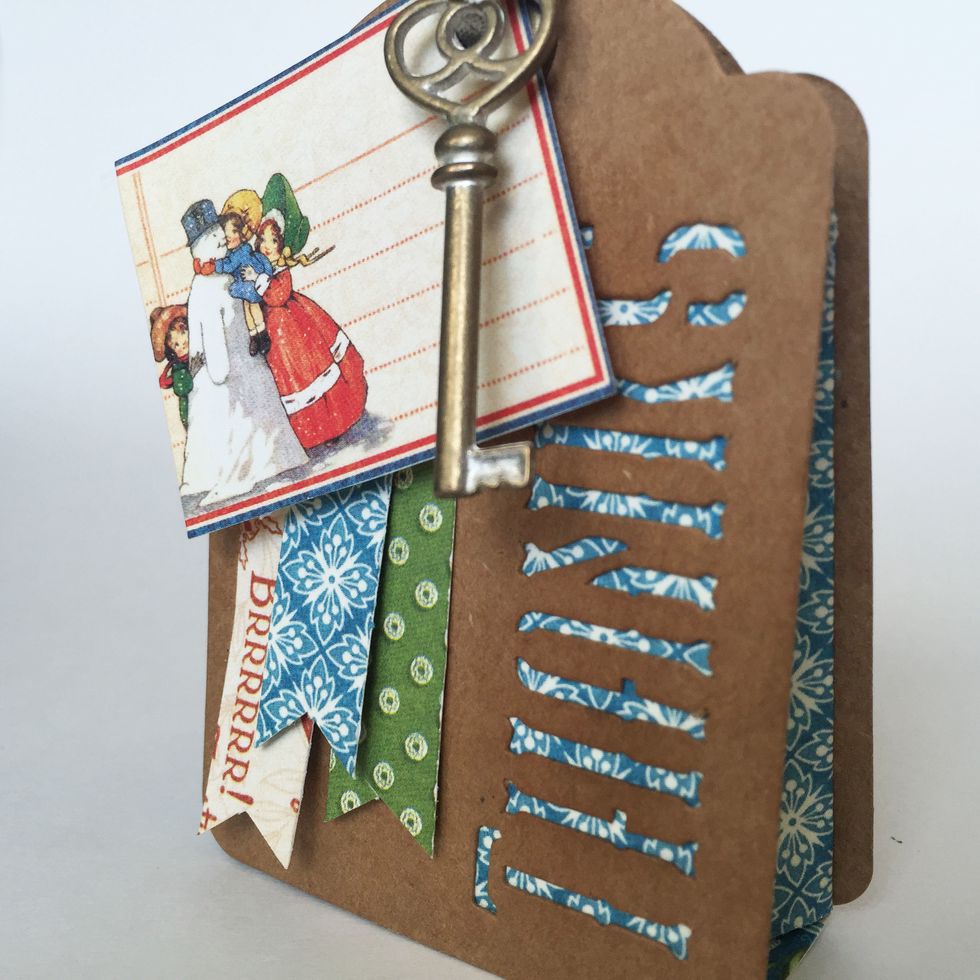
From January Collective (side B), cut piece 2 1/2” x 1/2”. From December Montage (side B), cut piece 2 /4” x 1/2”. Find the piece from step 1. Cut a triangle from bottom of each to create pennants.
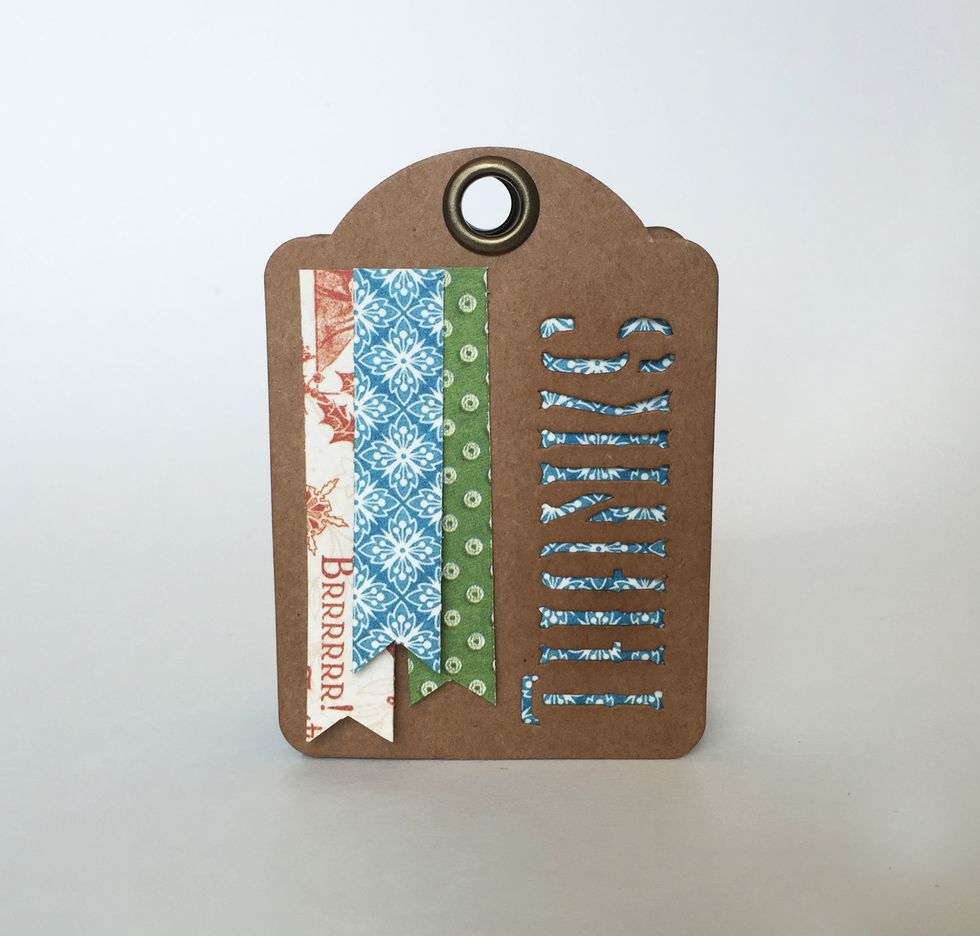
Layer and glue the pennants to the left of the ‘Thanks’ cutout on the tag, as pictured or as desired.
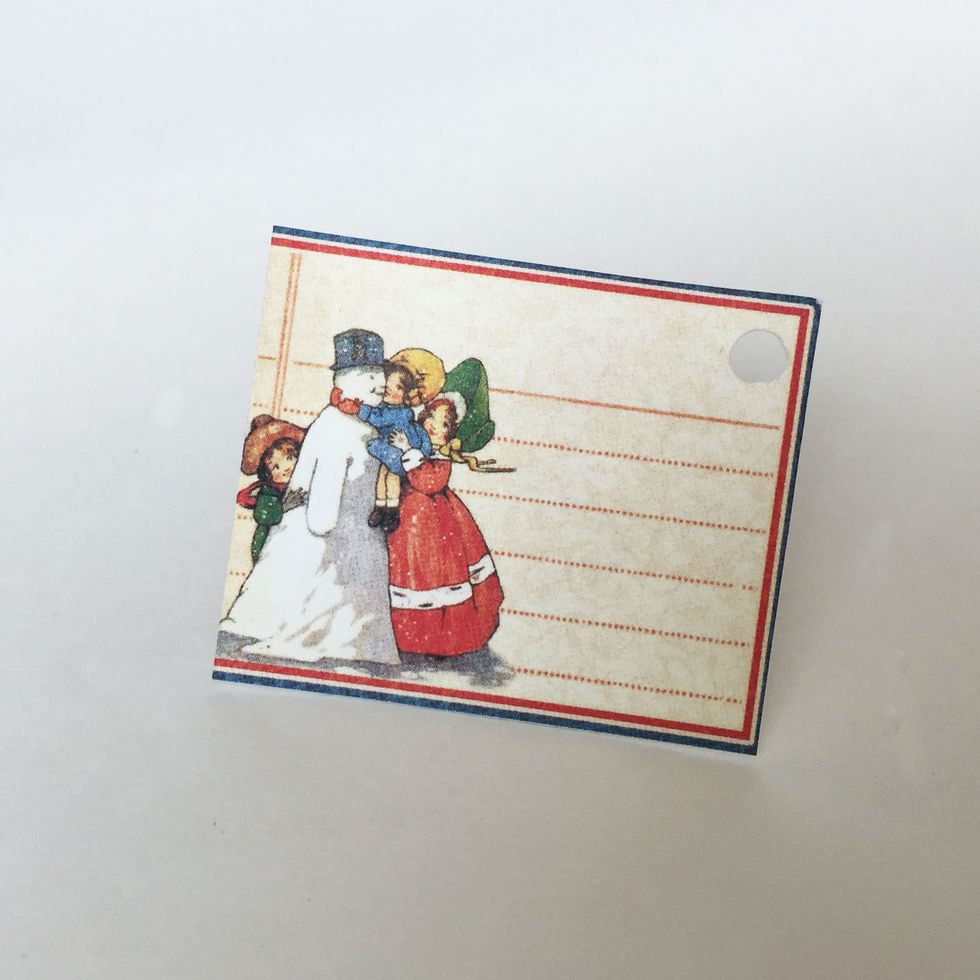
From January Collective (front) cut out the snowman cutout on far left of the sheet and punch a hole on the top right corner.
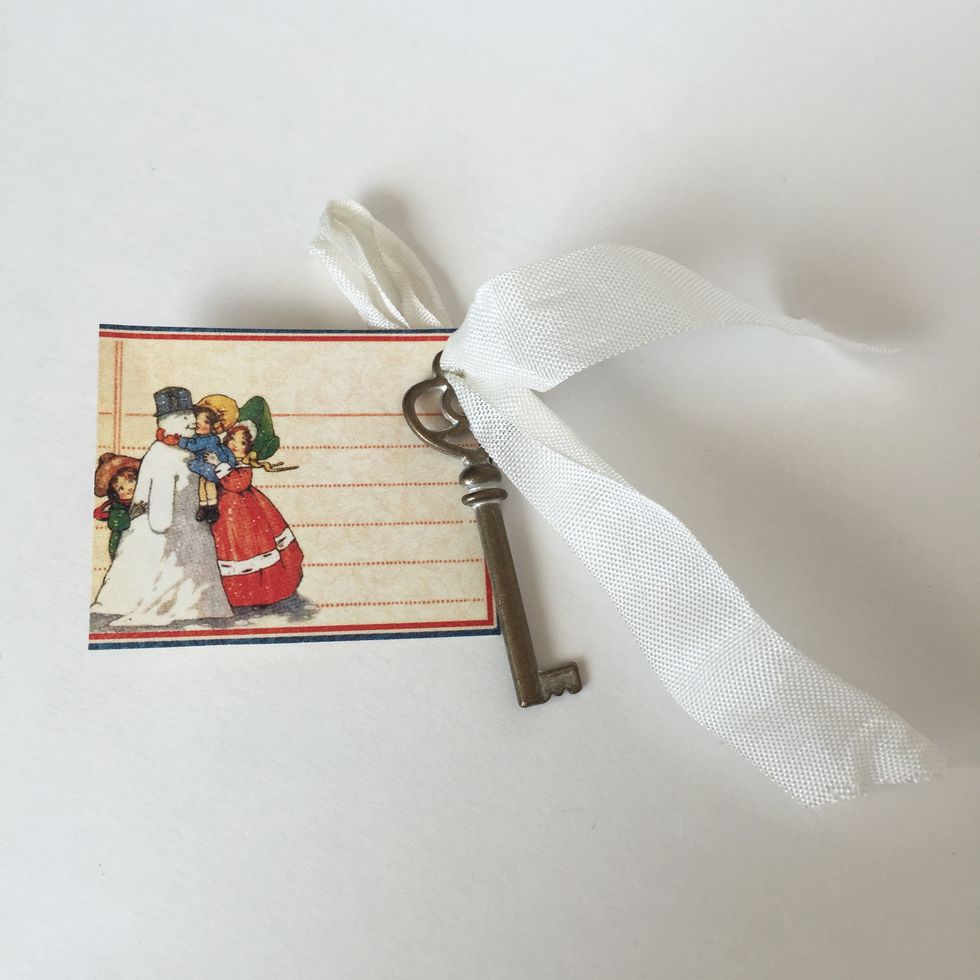
Take a 8” or longer length of seam binding and fold in half. Thread the folded end through the top of an Ornate Brass Key and then through the Snowman cutout.
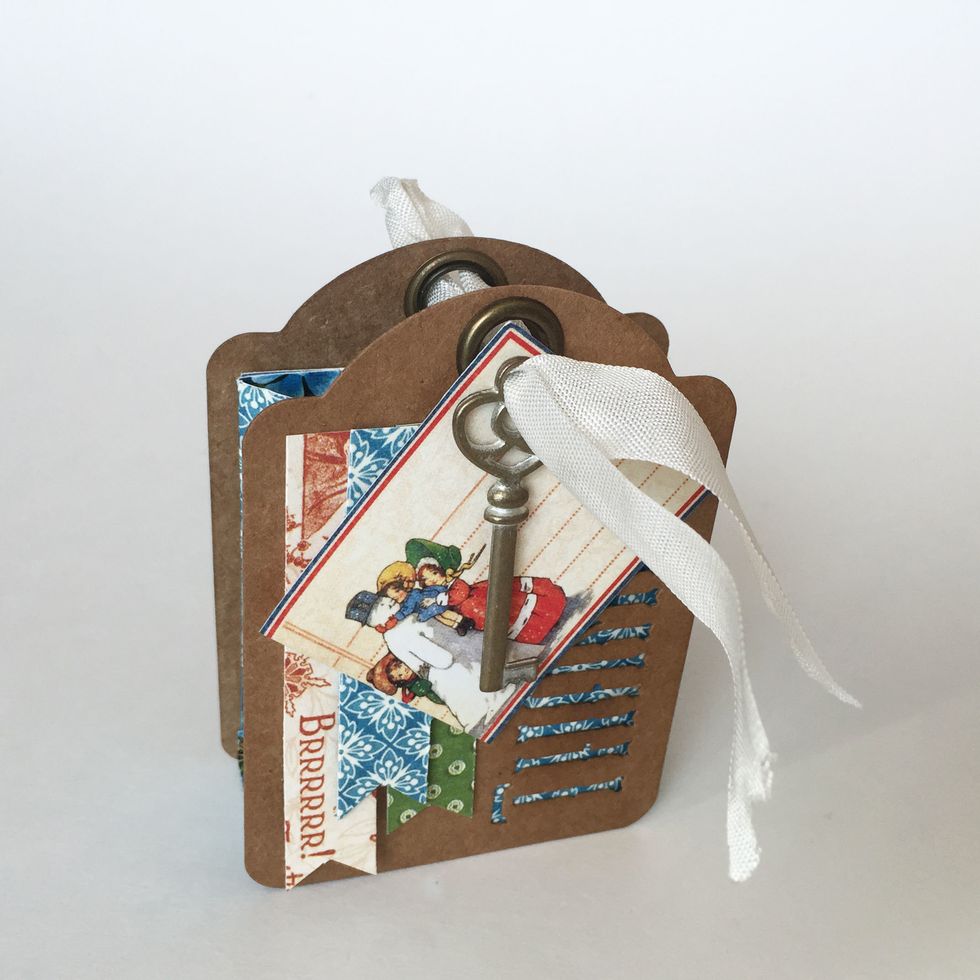
Thread the folded end of the seam binding through the holes of each ‘Thanks’ tag.
Thread the folded end of the seam binding through the holes of each ‘Thanks’ tag.
Now you have a gorgeous gift bag! Let the gifting fun begin!