The Conversation (0)
Sign Up
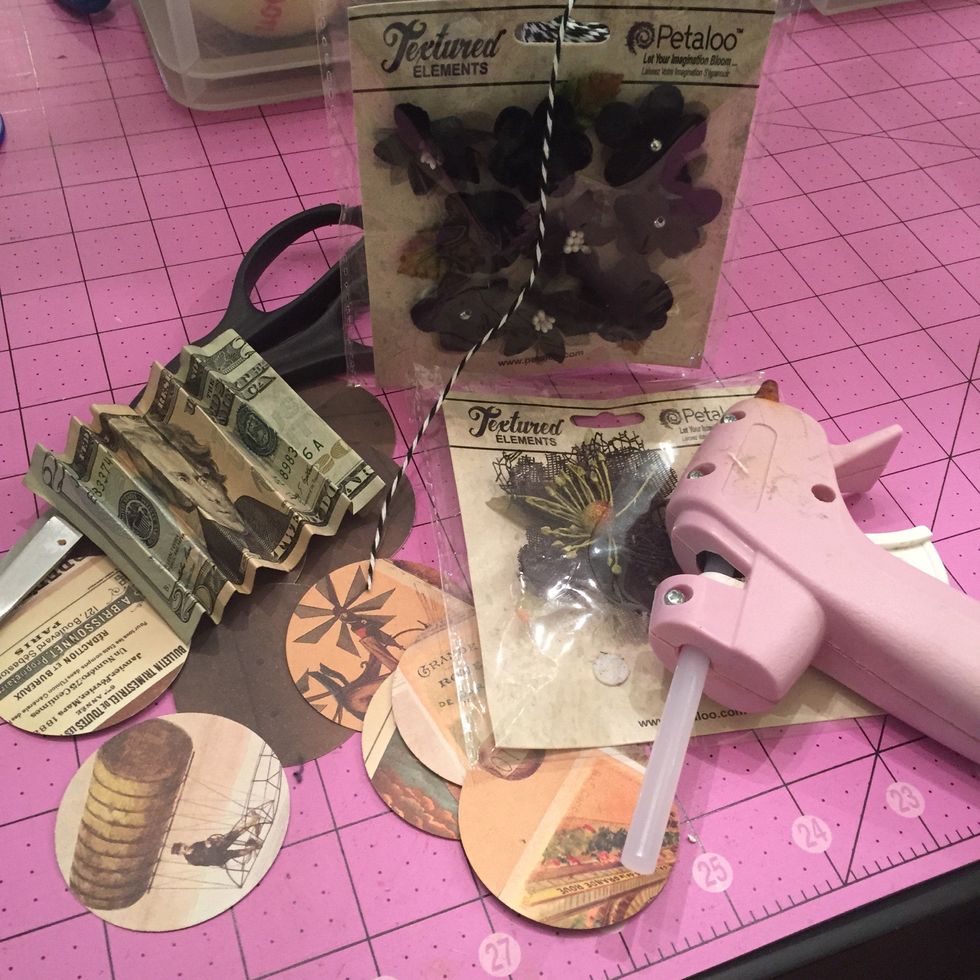
Here is all you will need to make a cook steampunk style graduation lei although you can use the same technique for any style !
First punch out 16 circles. This is a 2 inch punch. If you don't have a punch you can use a cup and trace out your own template
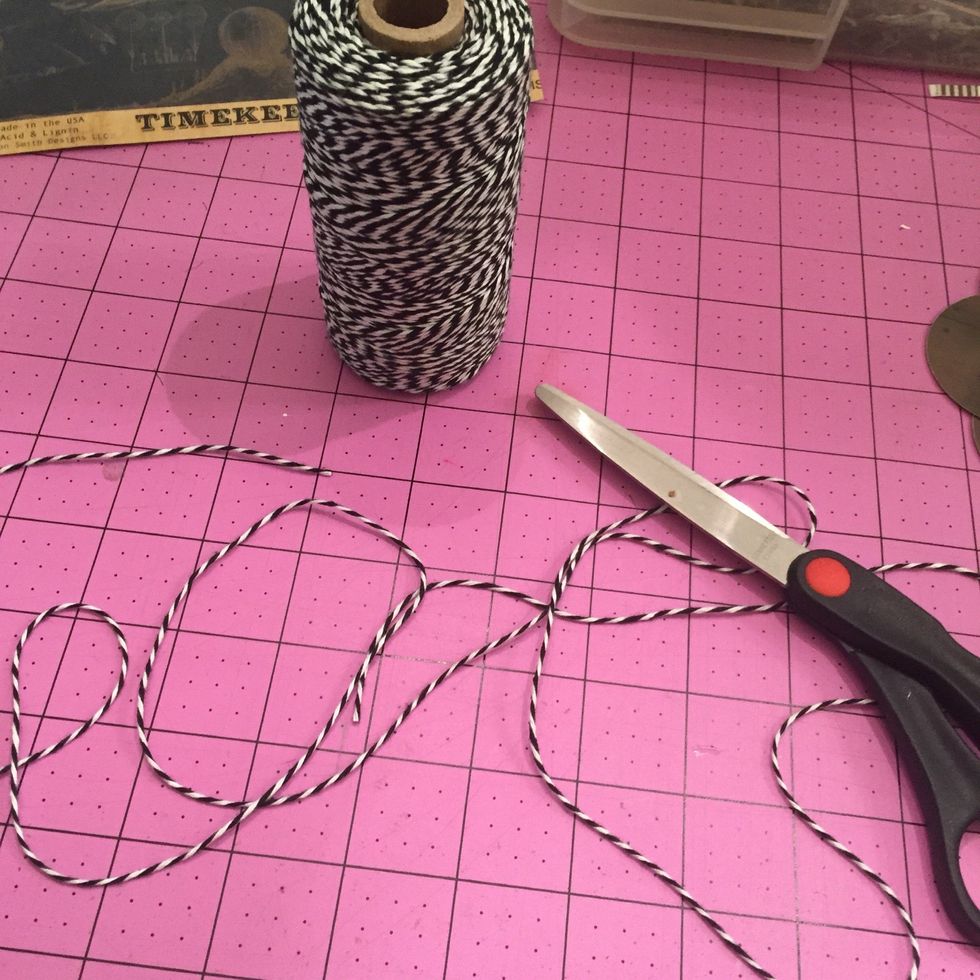
Now cut out at least 5 feet of twine
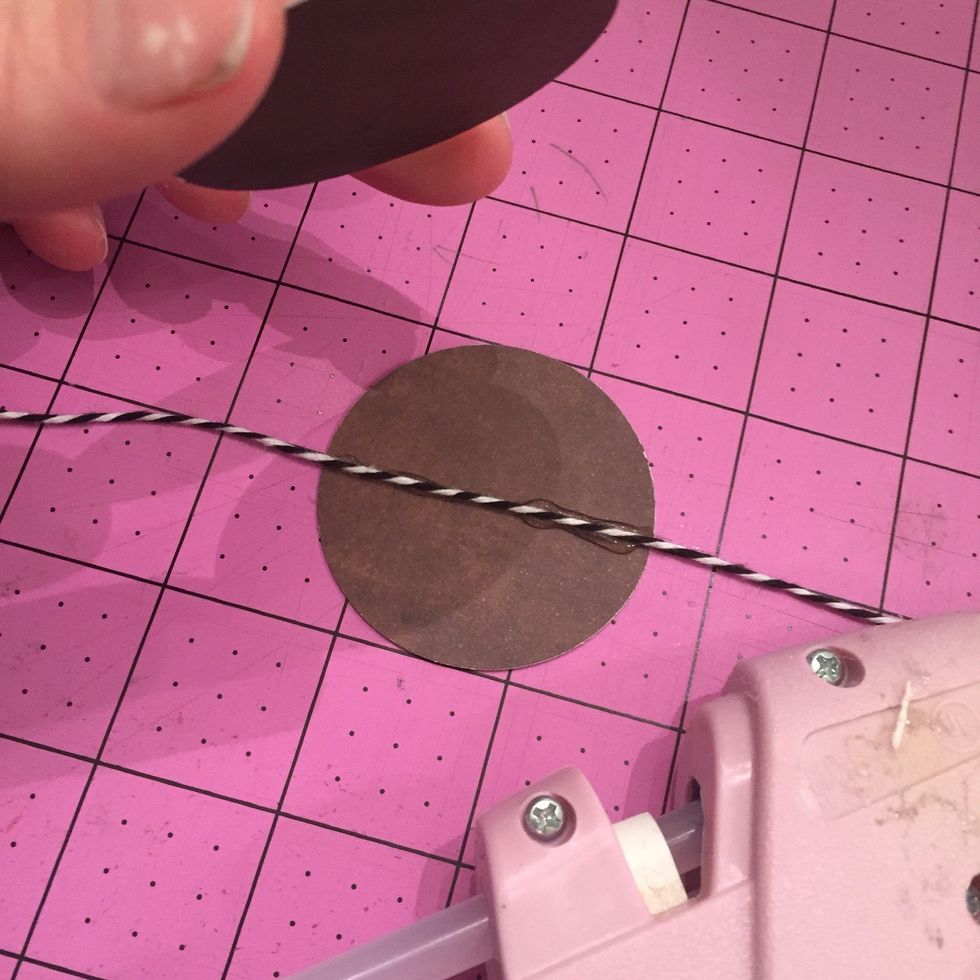
Lay down the center of the circle and add the twine
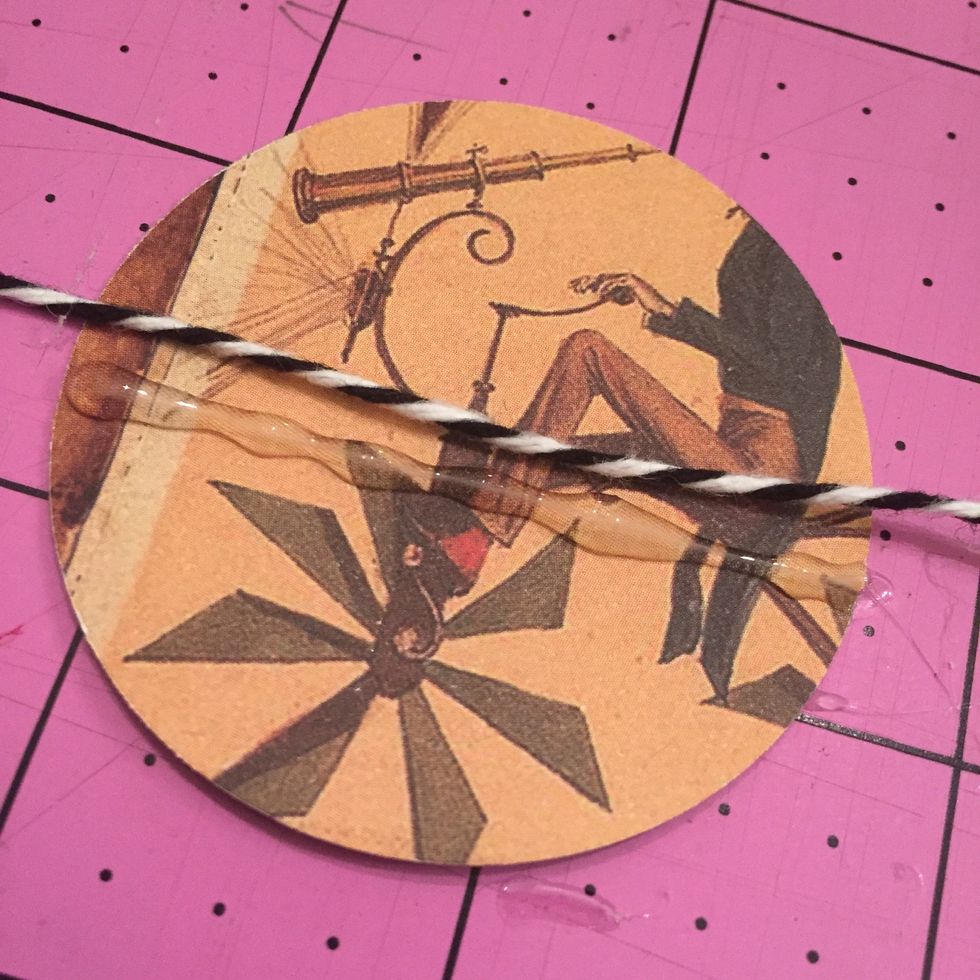
Here's a closer shot
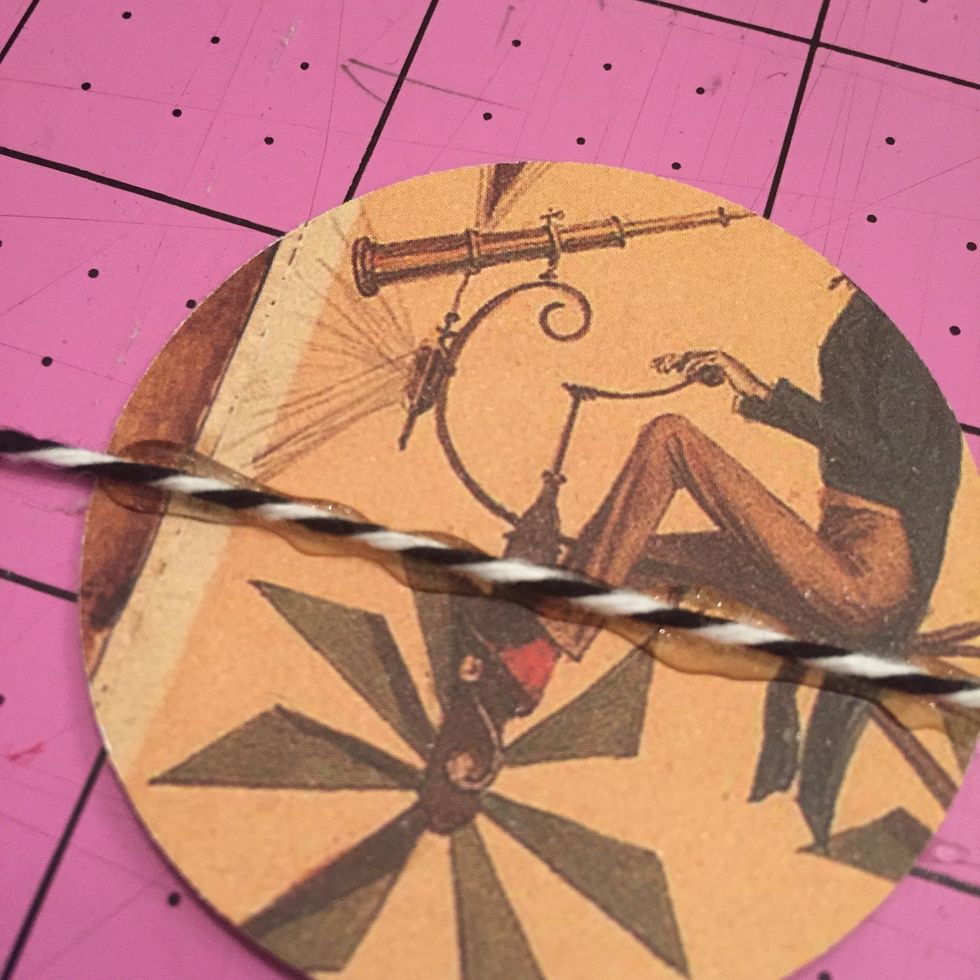
Work quickly so the glue doesn't dry. Place one of the other circles on top and press down firmly. Continue on until you have two circles done, and the next will be the cash
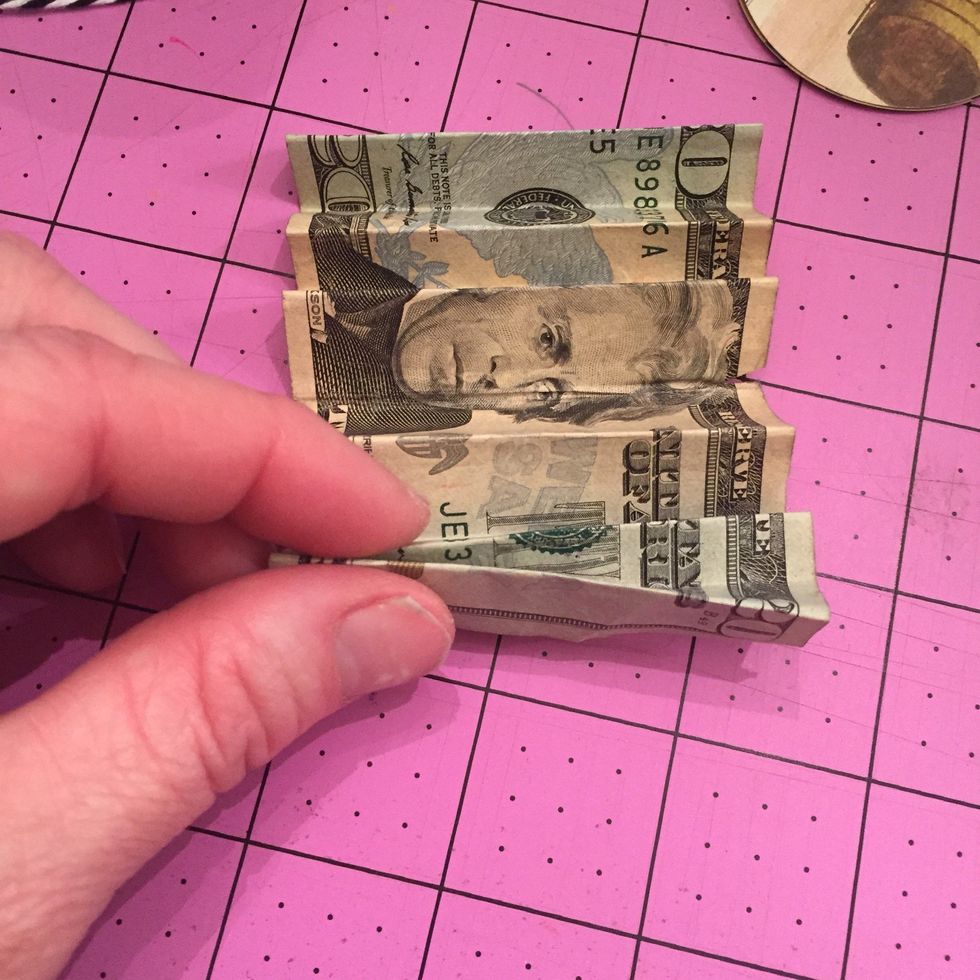
Fold up the money at about a half-inch
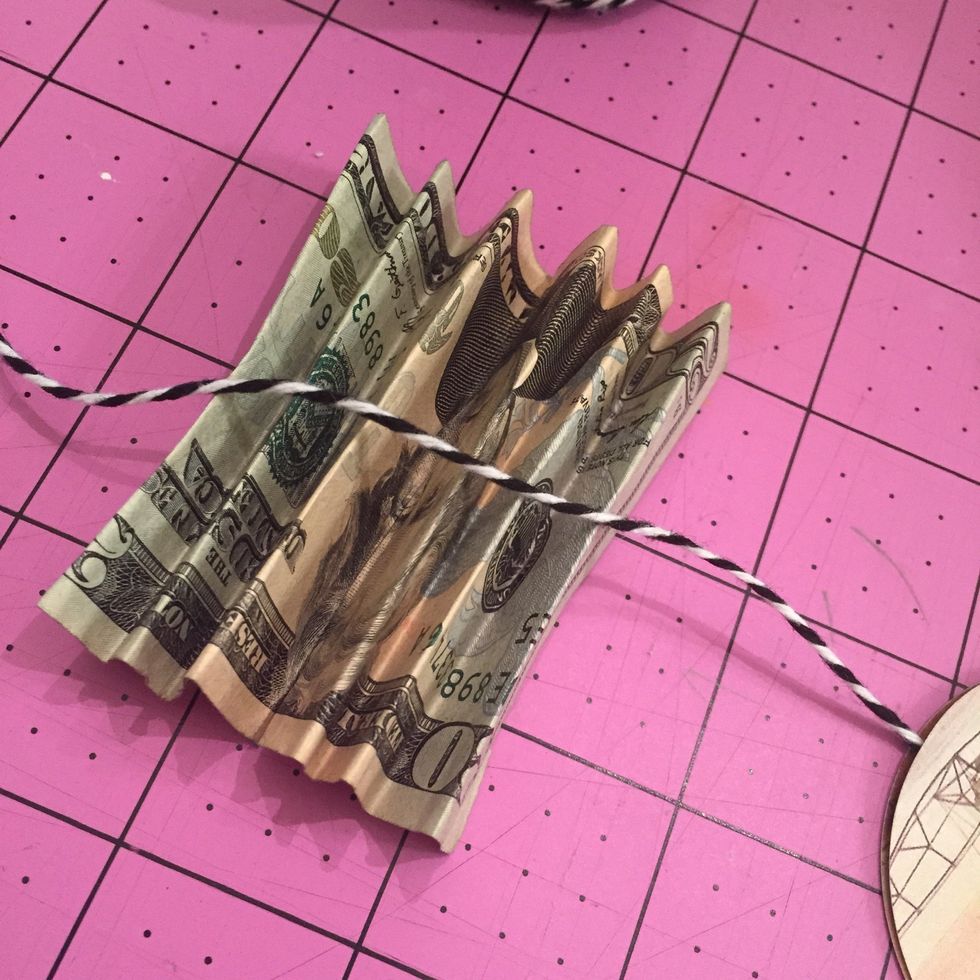
Set it underneath the twine and tie it in a knot
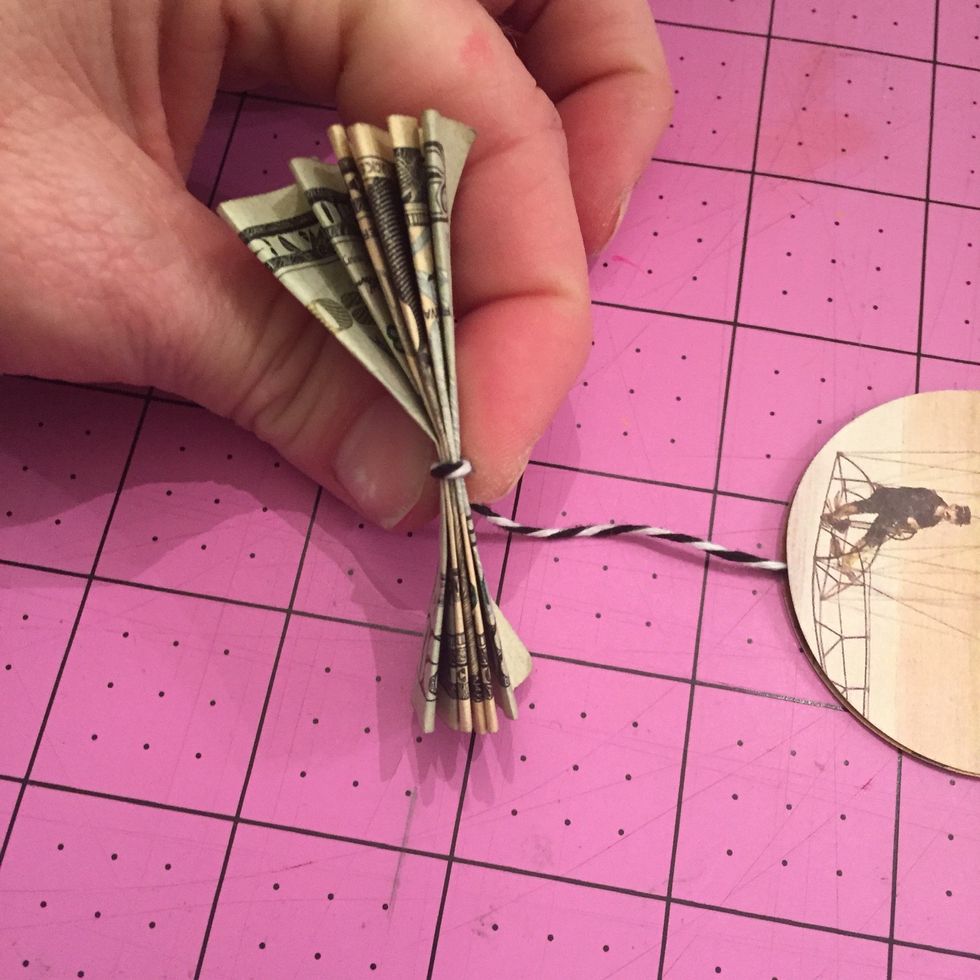
Like this make sure the knot is on top so the money hangs correctly
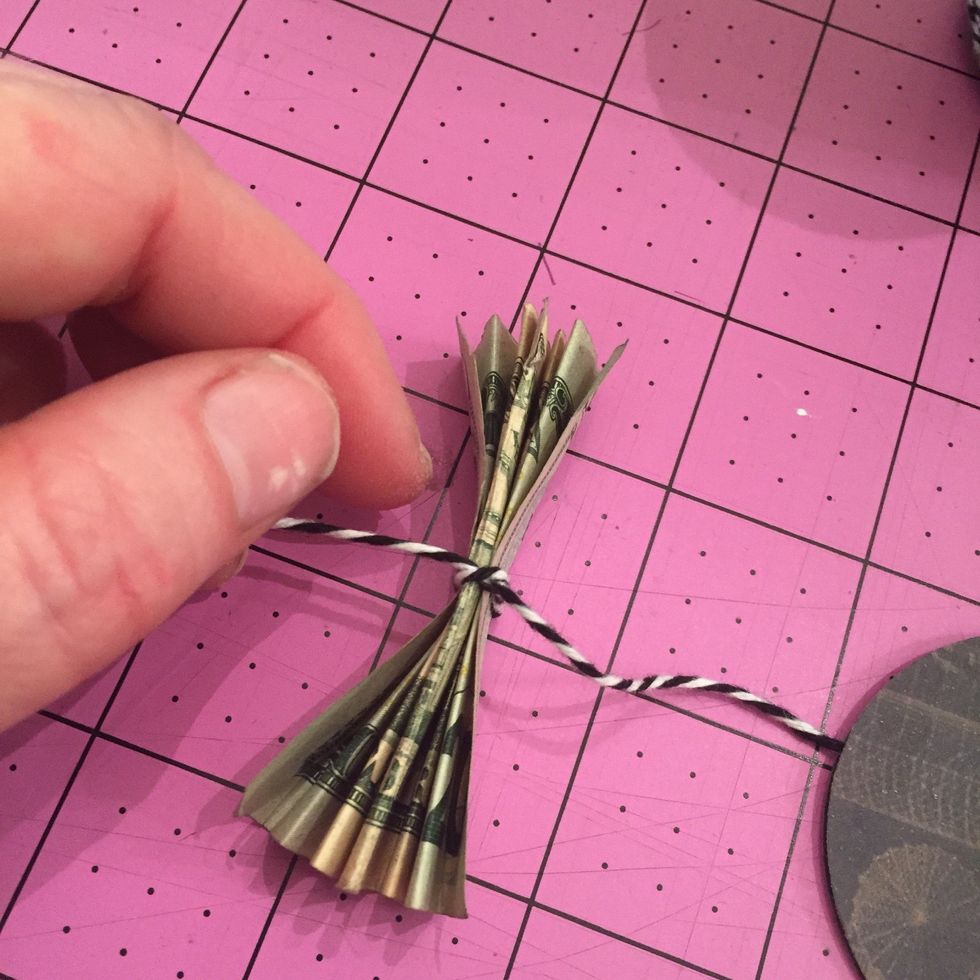
Like this
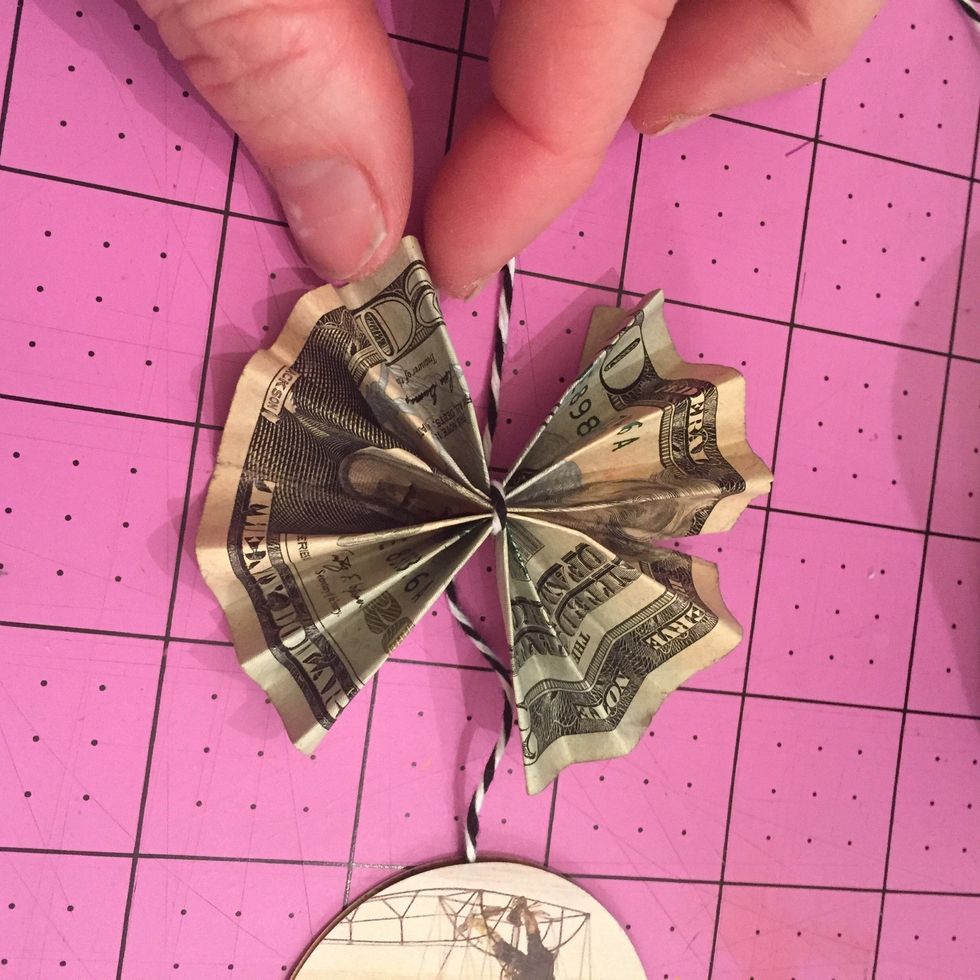
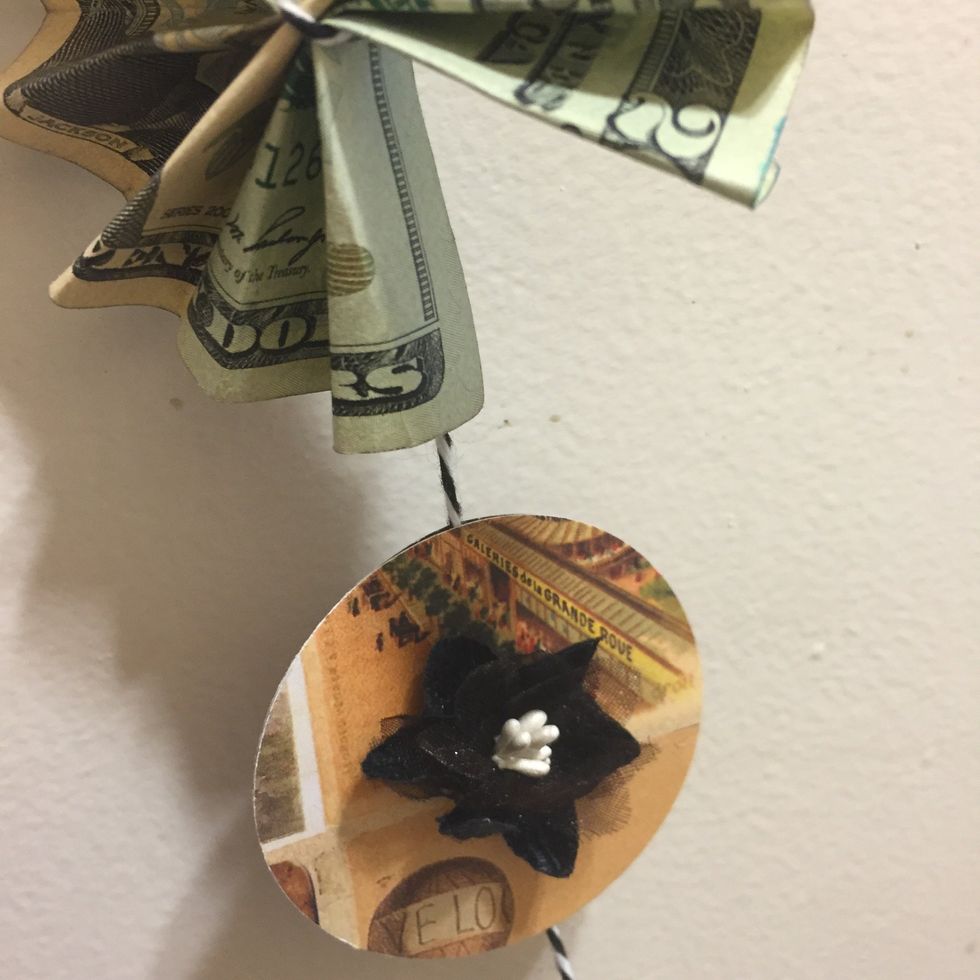
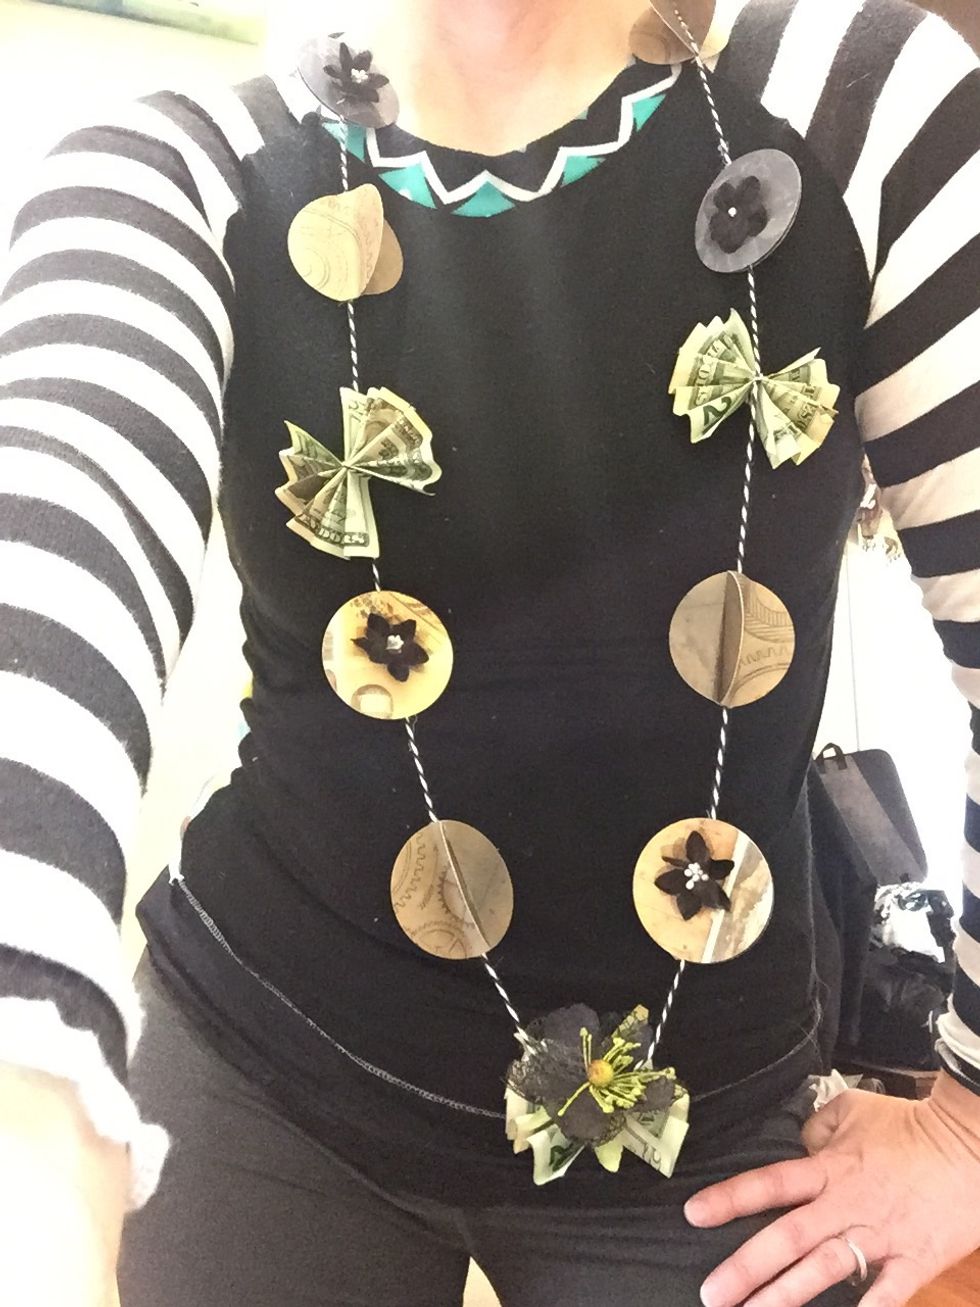
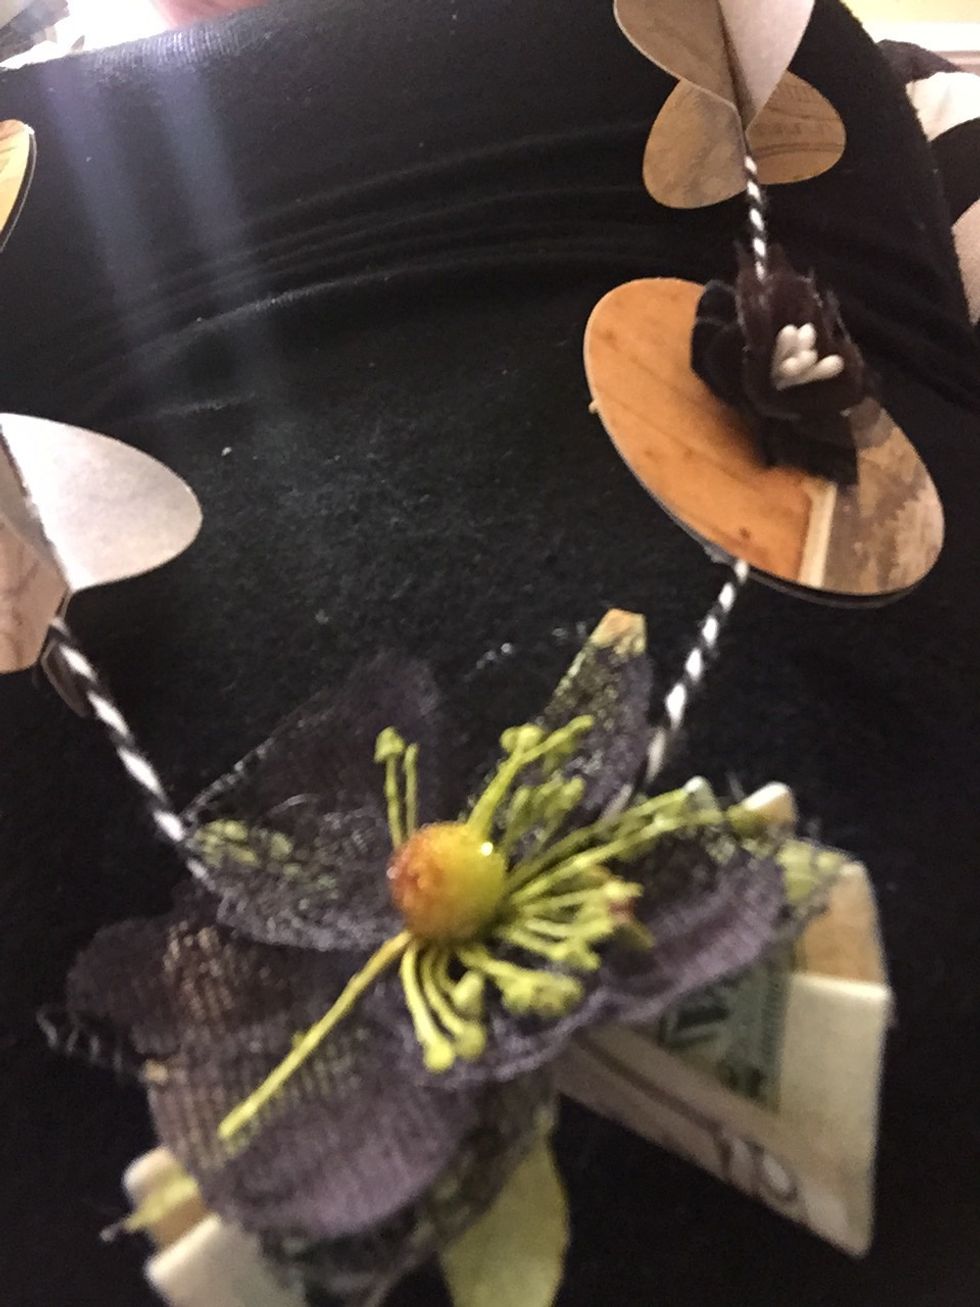
Now fanout the money. Do two more circles, more money, two more circles, and more money and you're done!
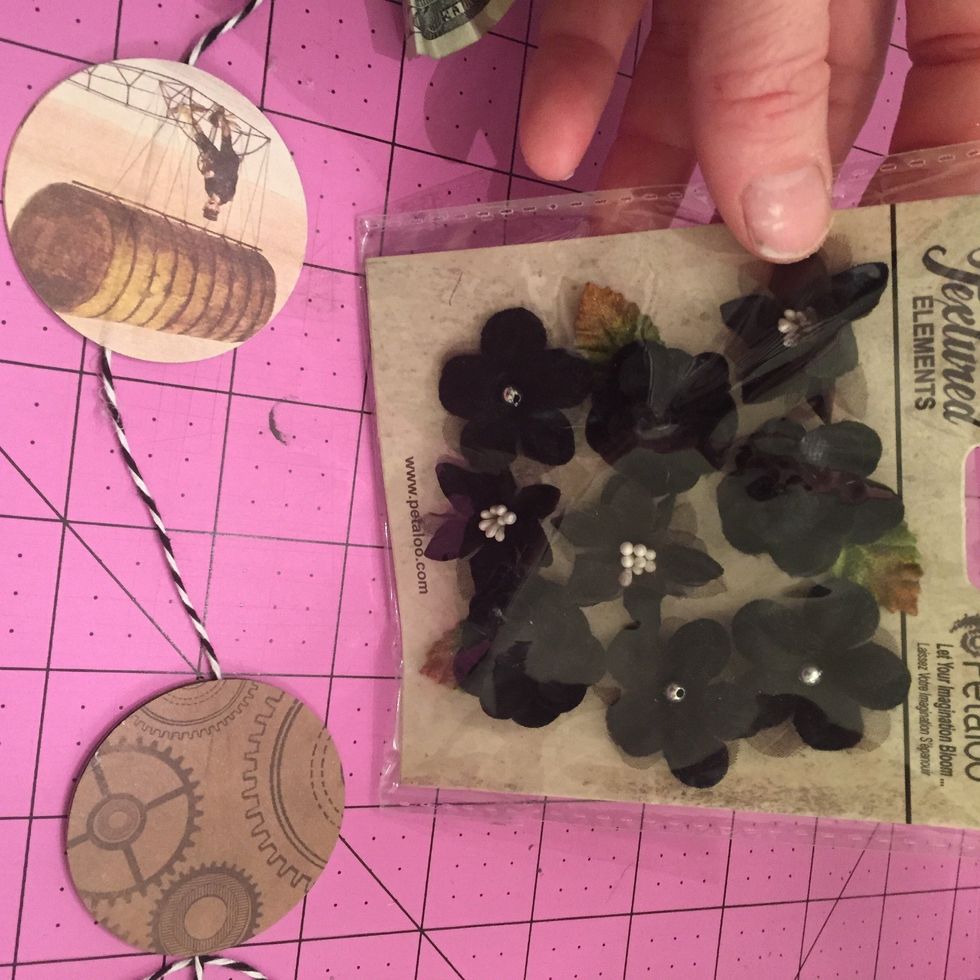
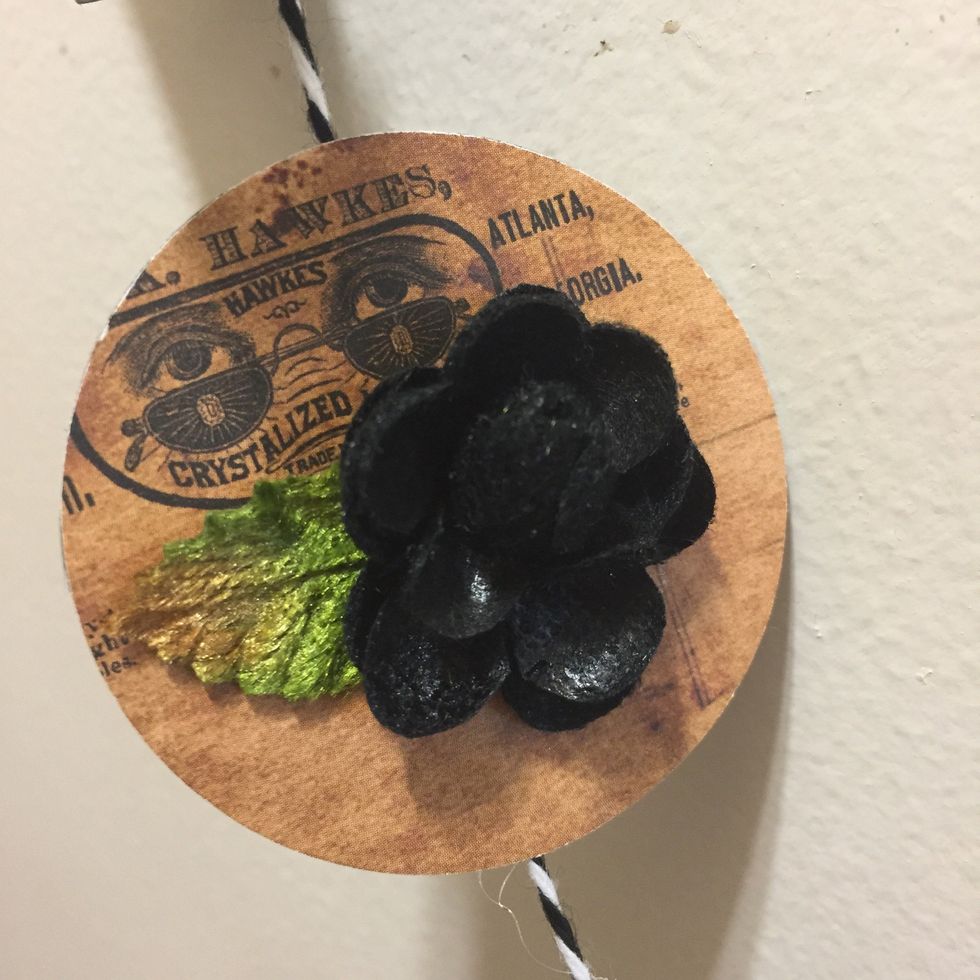
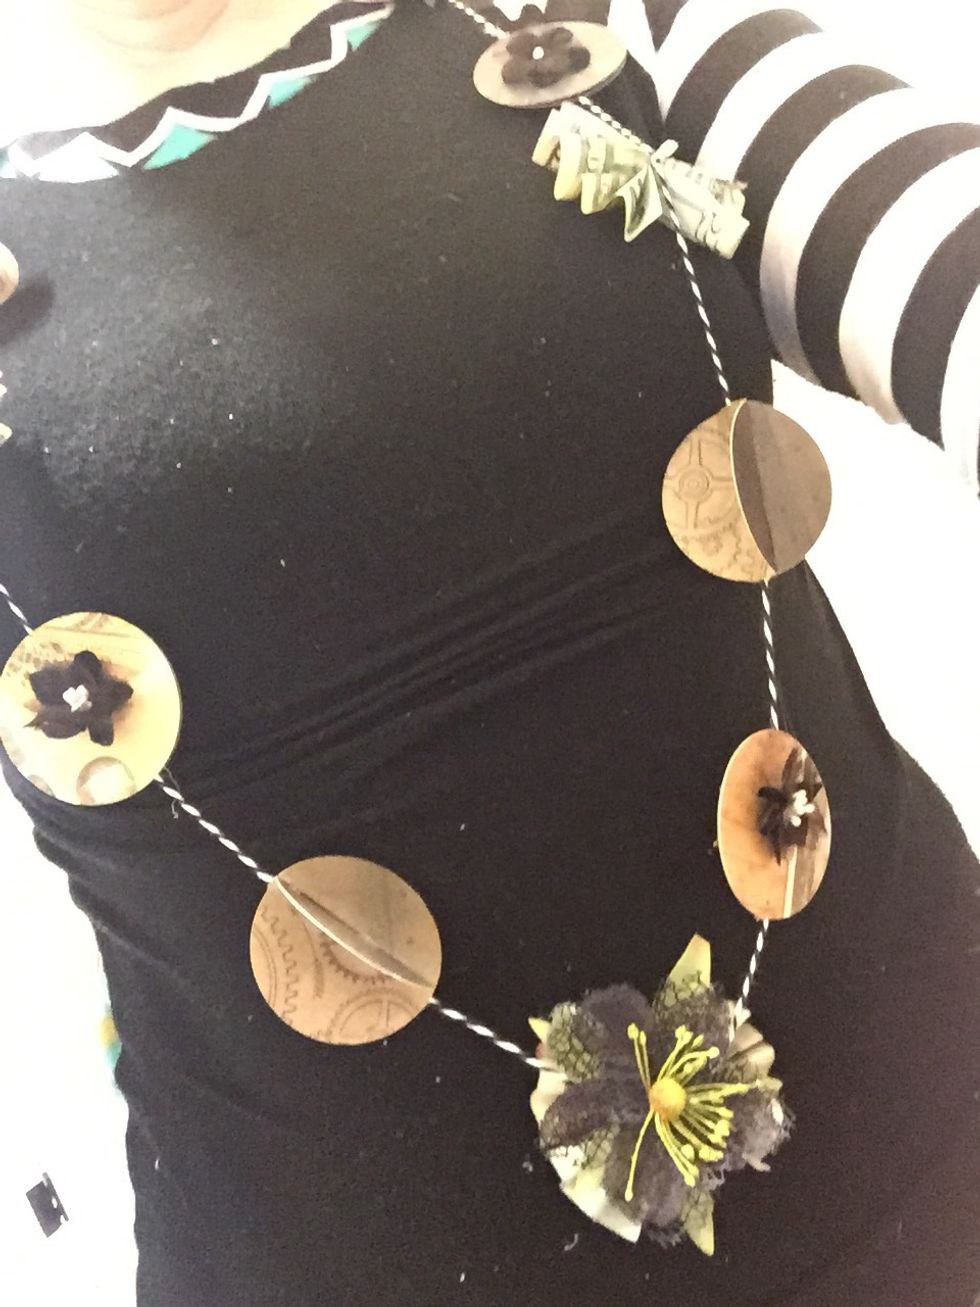
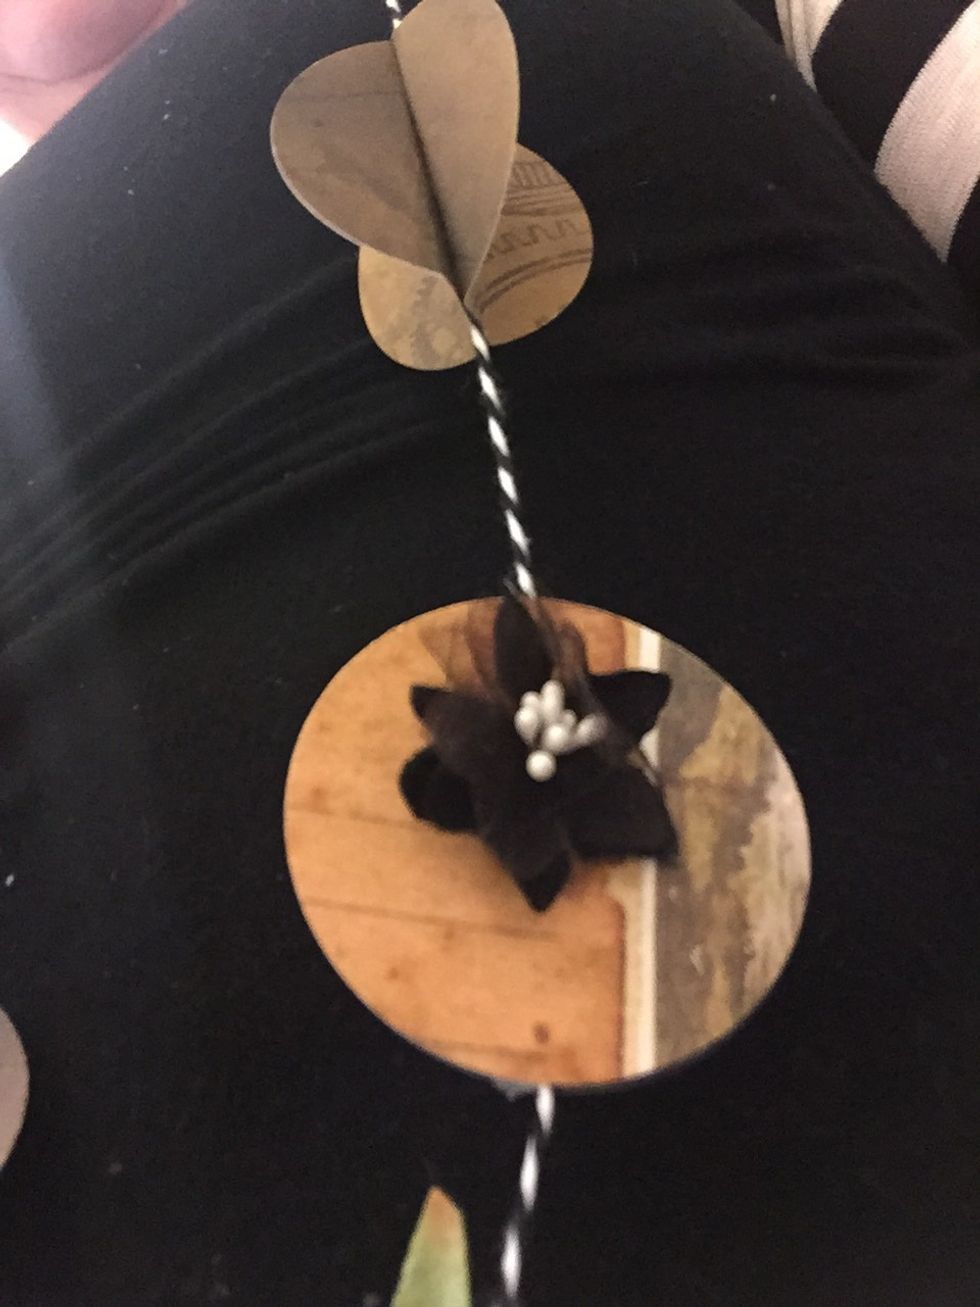
Now decorate. I used Petaloo flowers on each side of one of the circles, and for the other circles I pulled out the edges to make them dimensional
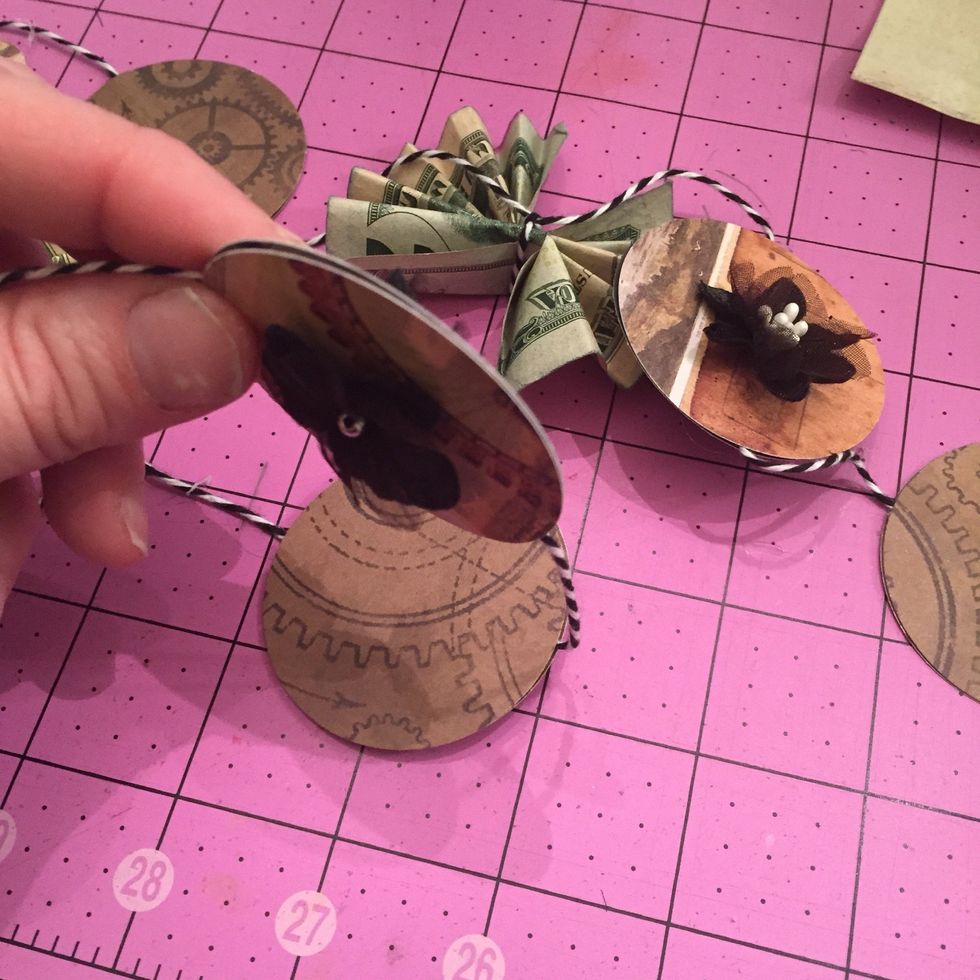
And looks best when you put flowers on both sides

This shows you how I folded out the edges
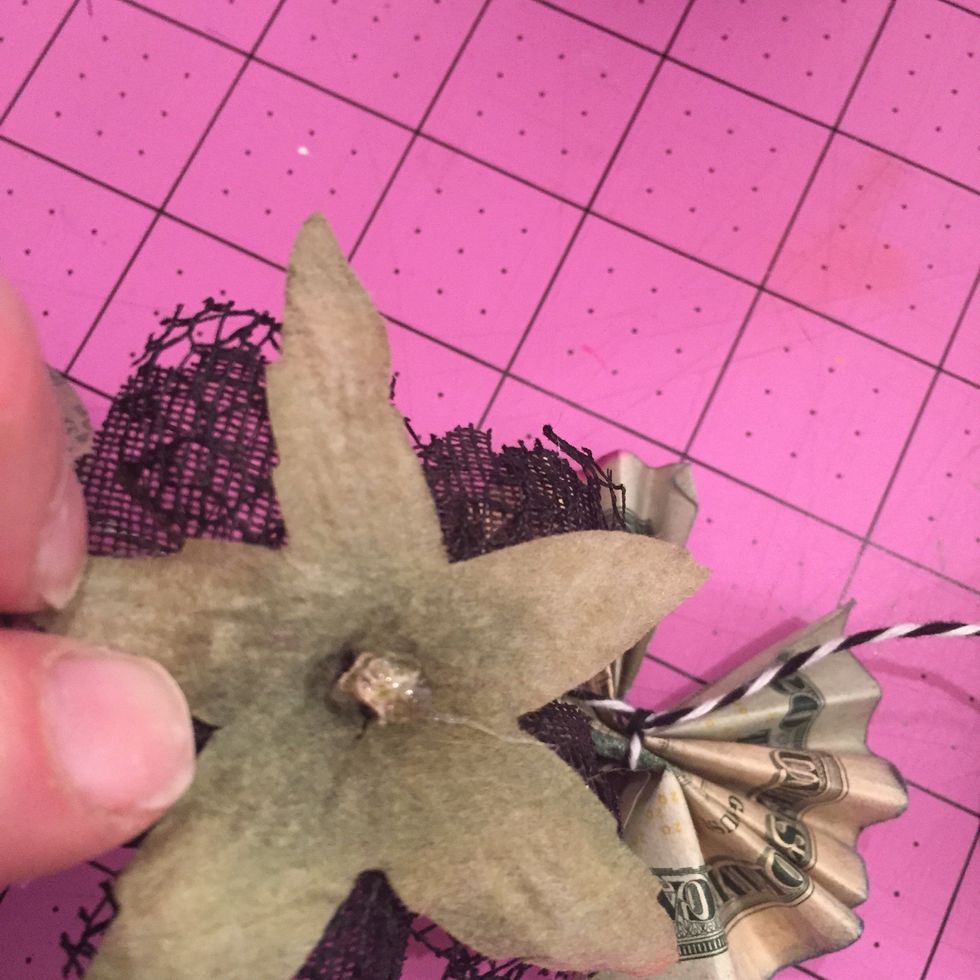
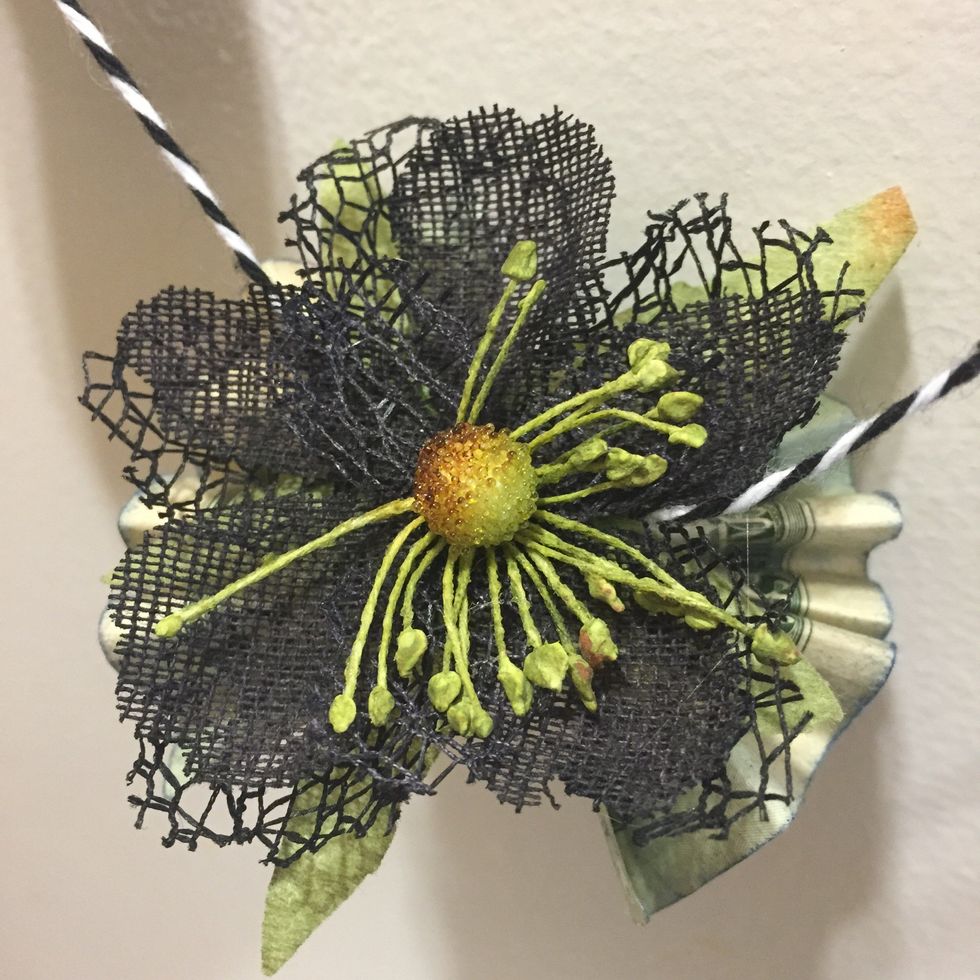
I used a Big flower for the focal point. I just got a dot of hot glue and I put it right on top of the knot of the cash
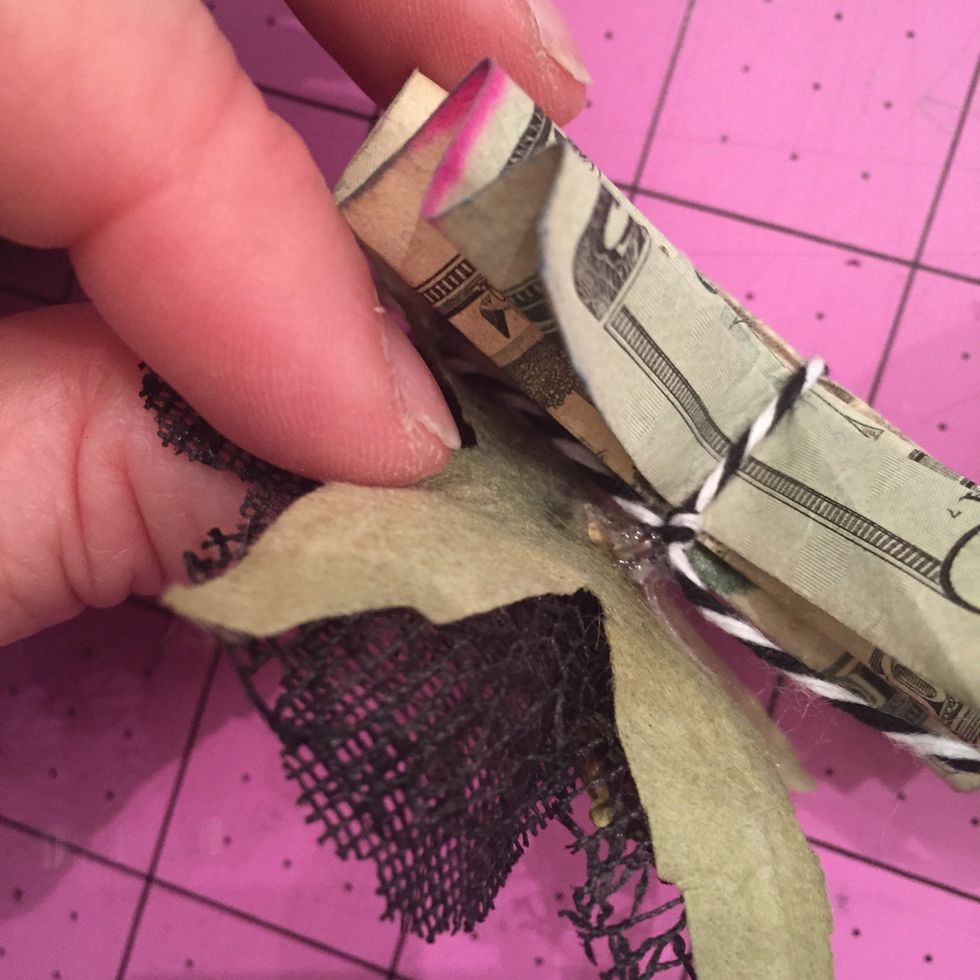
Like this

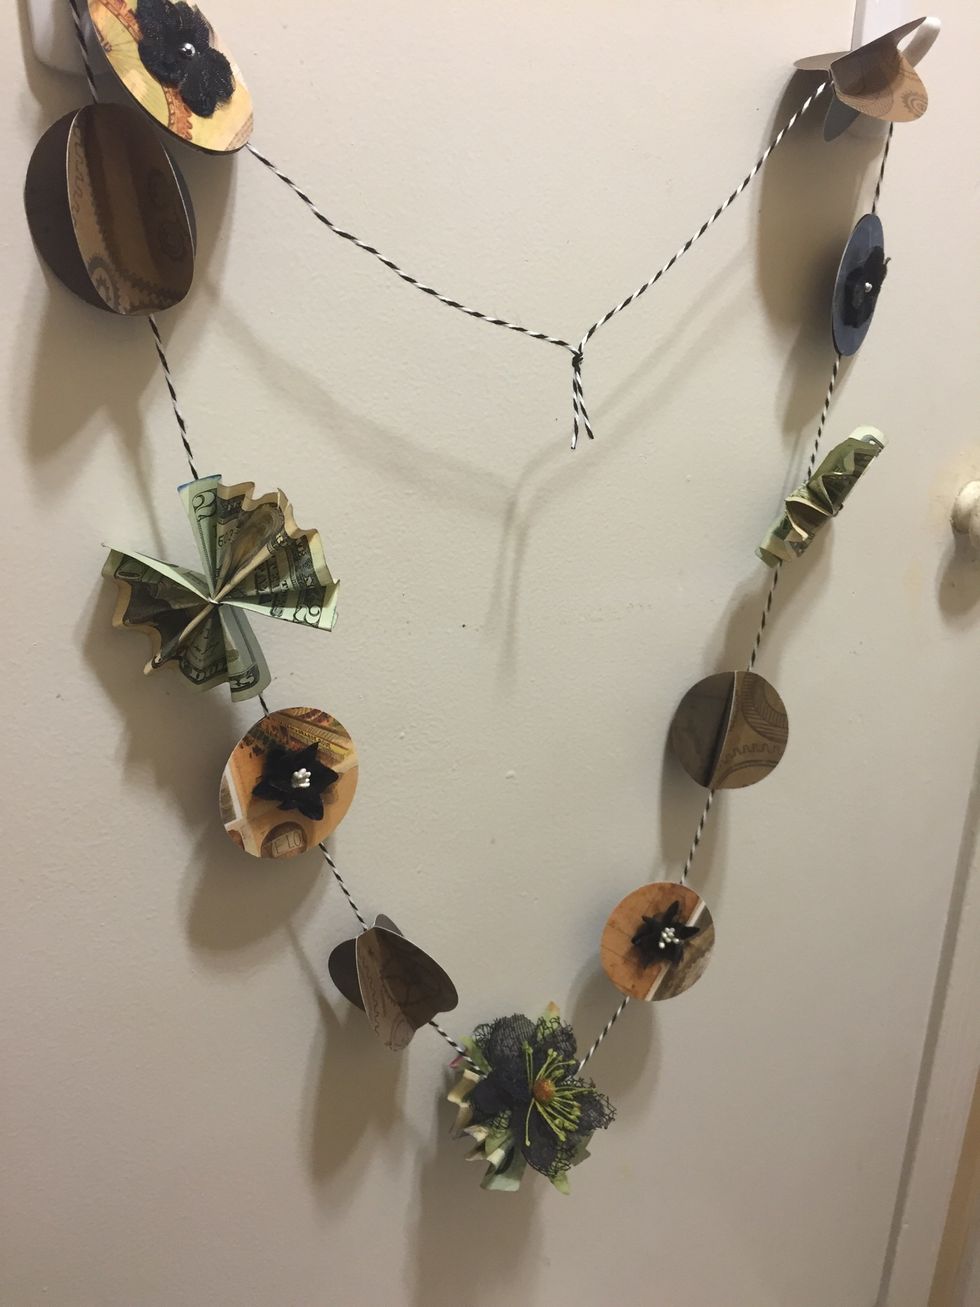
Now all you have to do is tie a knot in the end
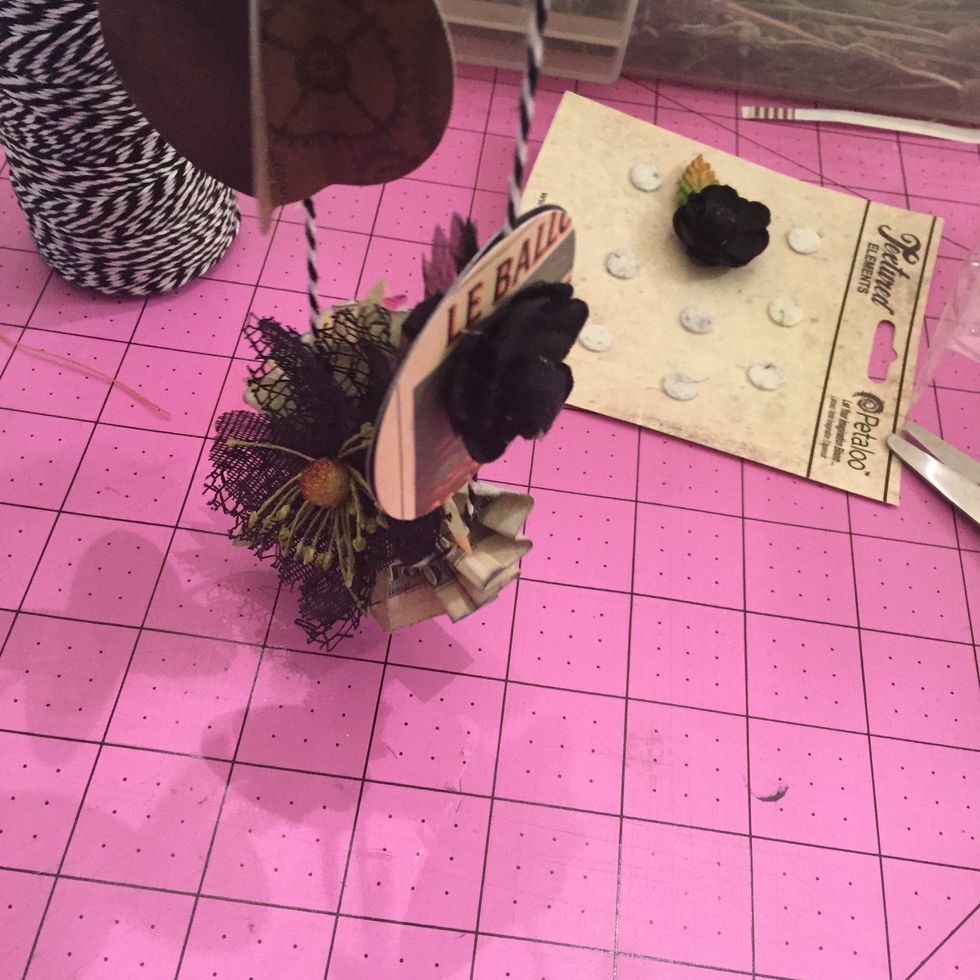
Making sure the focal flower hangs down straight in the middle

And here it is!
My name is Denise Hahn and I am a designer for Petaloo flowers. you can visit their blog at Petaloo.com or my blog at inmyblueroom.blogspot.com