The Conversation (0)
Sign Up
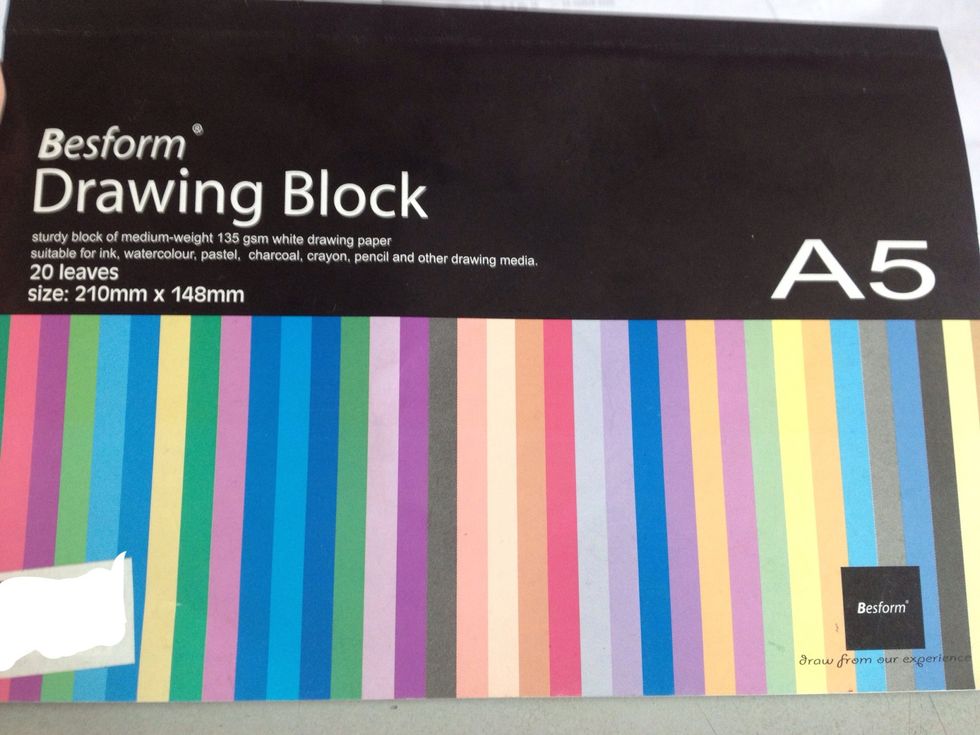
I used A5 drawing block, it makes good card stock.
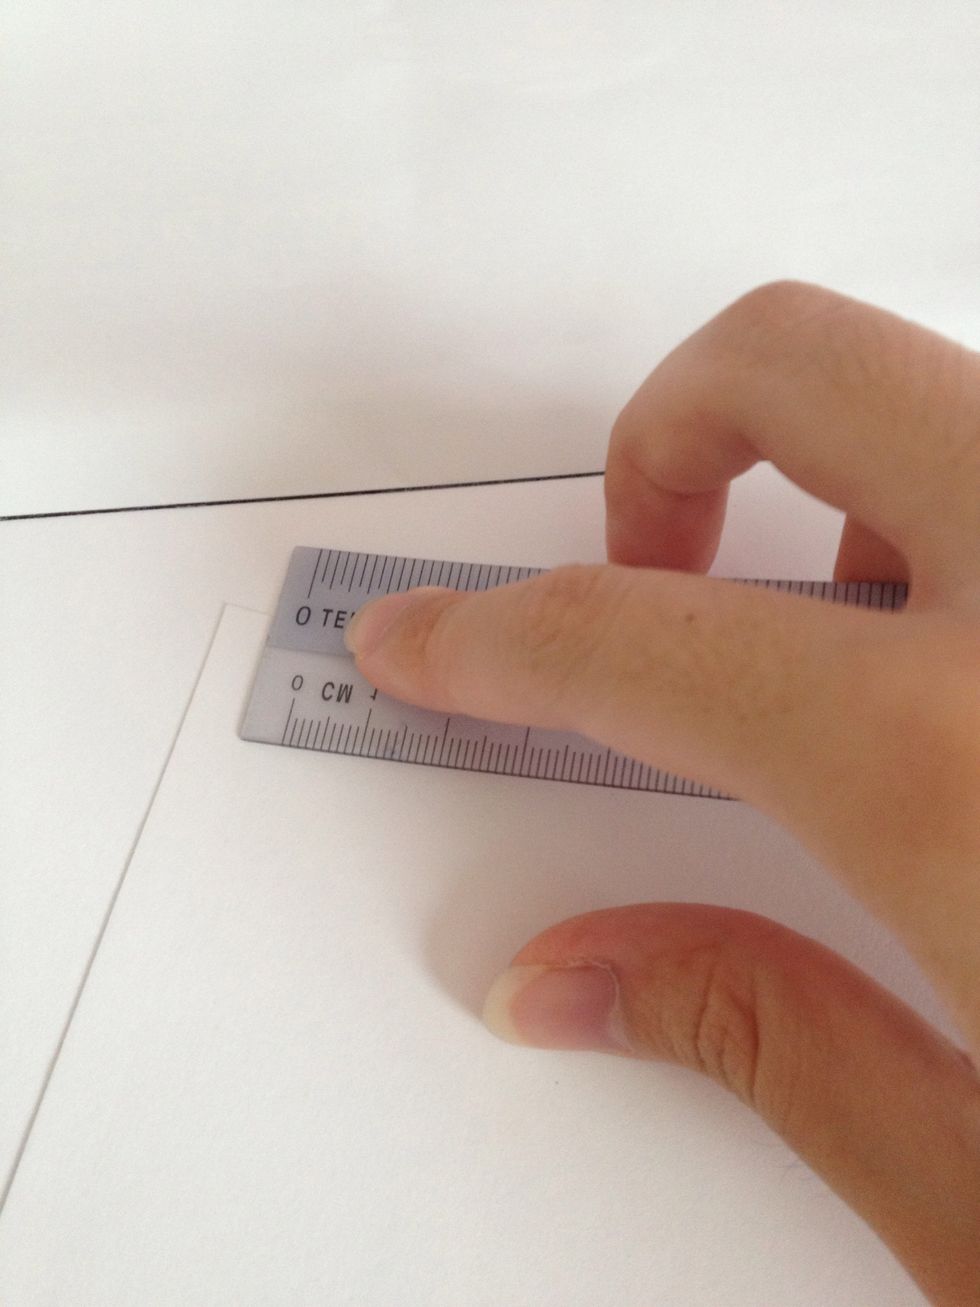
Tear out a piece of drawing block, and fold into half. Rub the creases down with a ruler. Fold over to the other side and repeat to get neater creases.
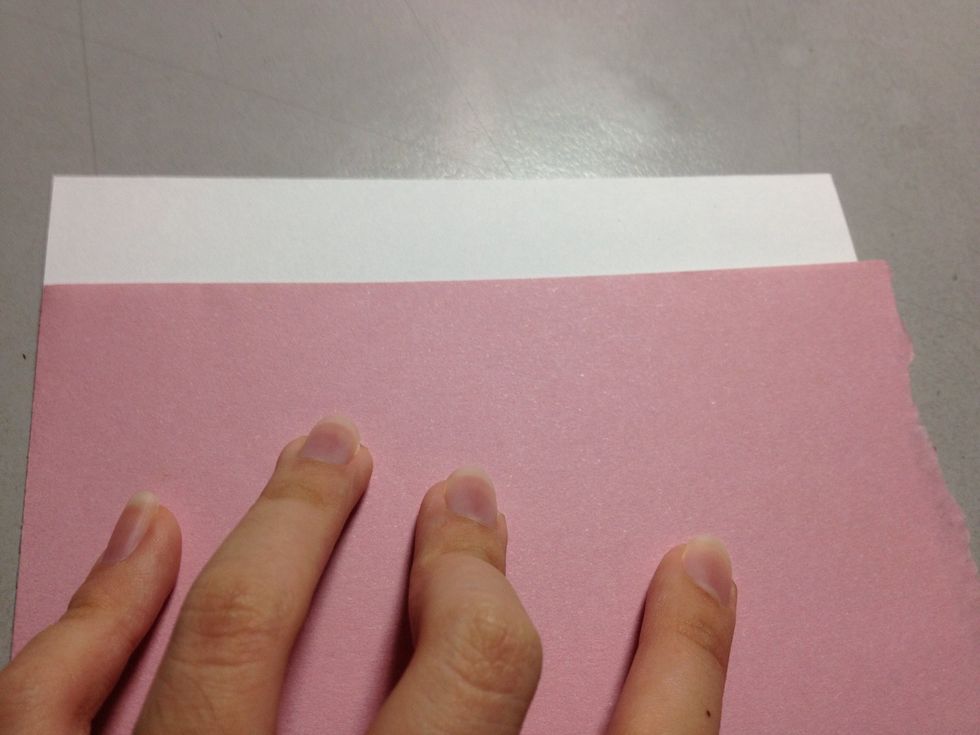
Find a piece of coloured paper which stretches over the entire length of the card.
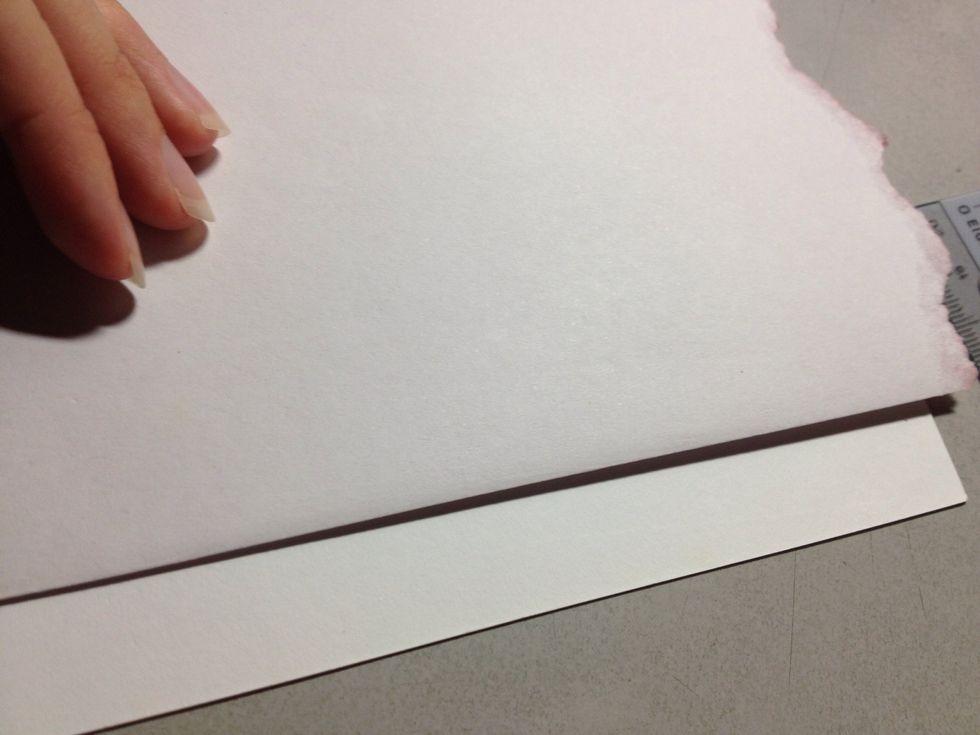
Determine where you want the coloured paper to start and stop on the card, and fold over the paper accordingly. Cut the paper.
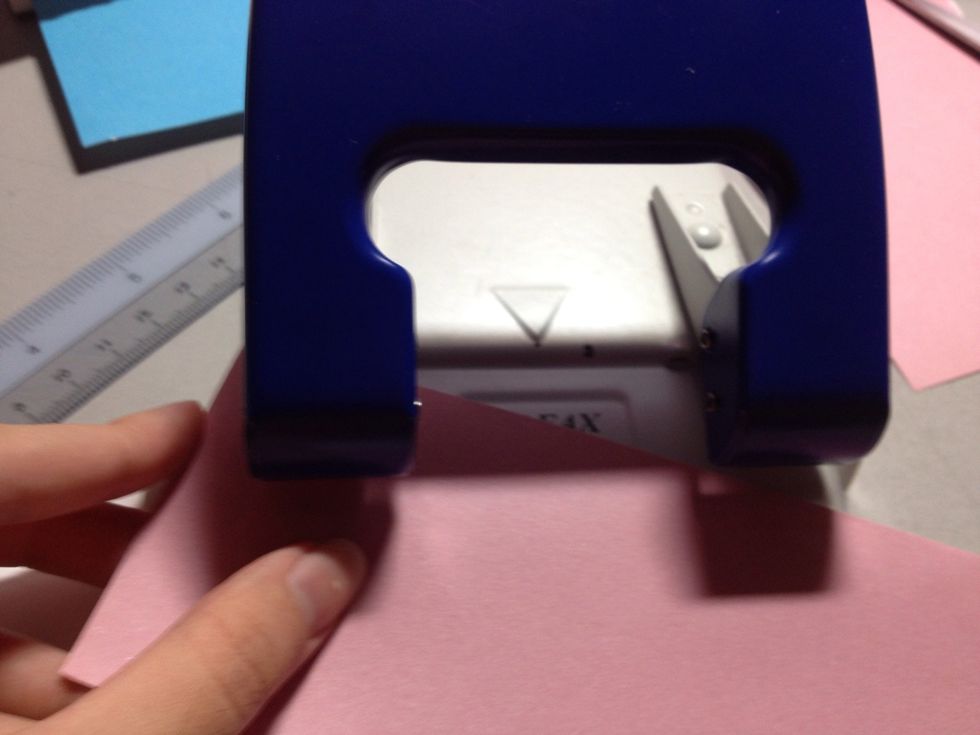
Hole punch the top left corner of the paper with a single hole.
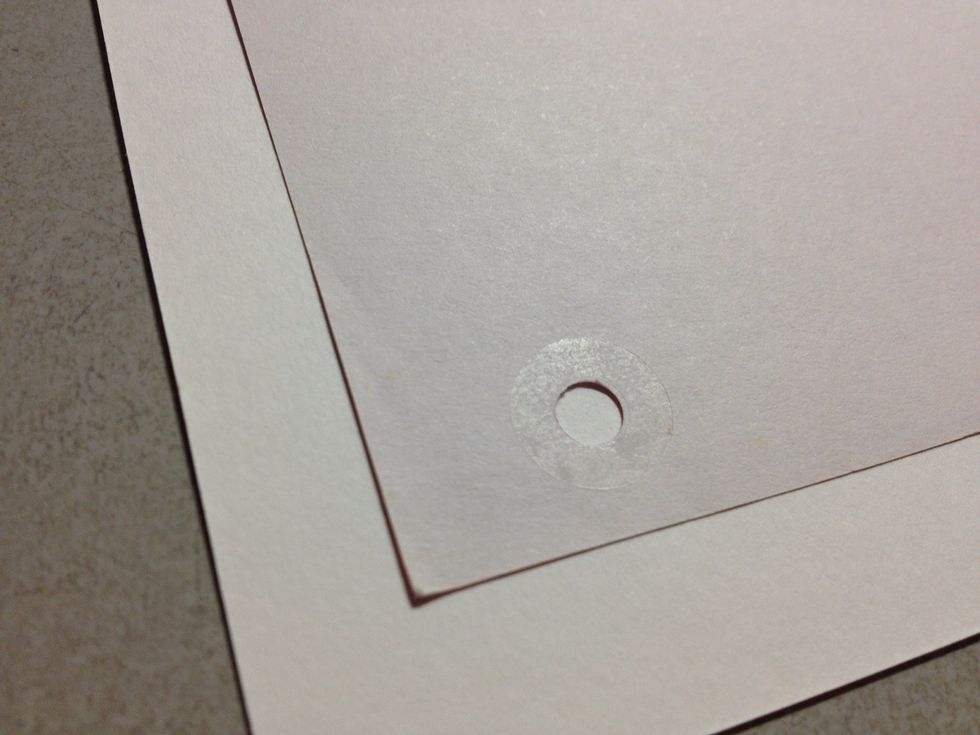
Place an enforcement ring at the back of the paper. The last thing you want is for your card to tear if your friend pulls it out from a massive pile next time.
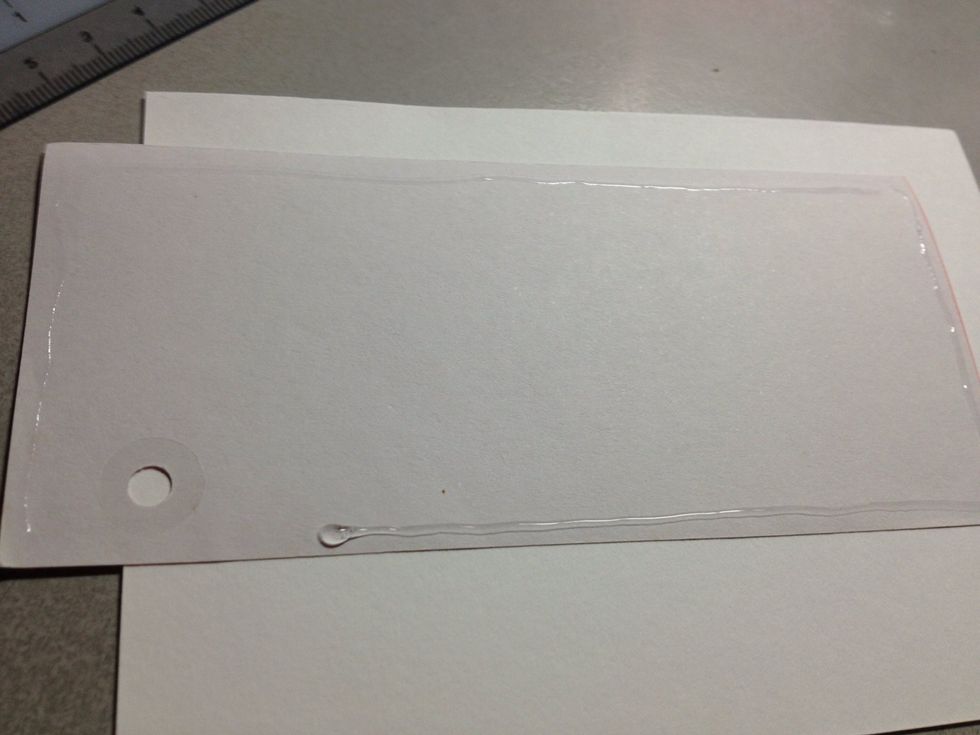
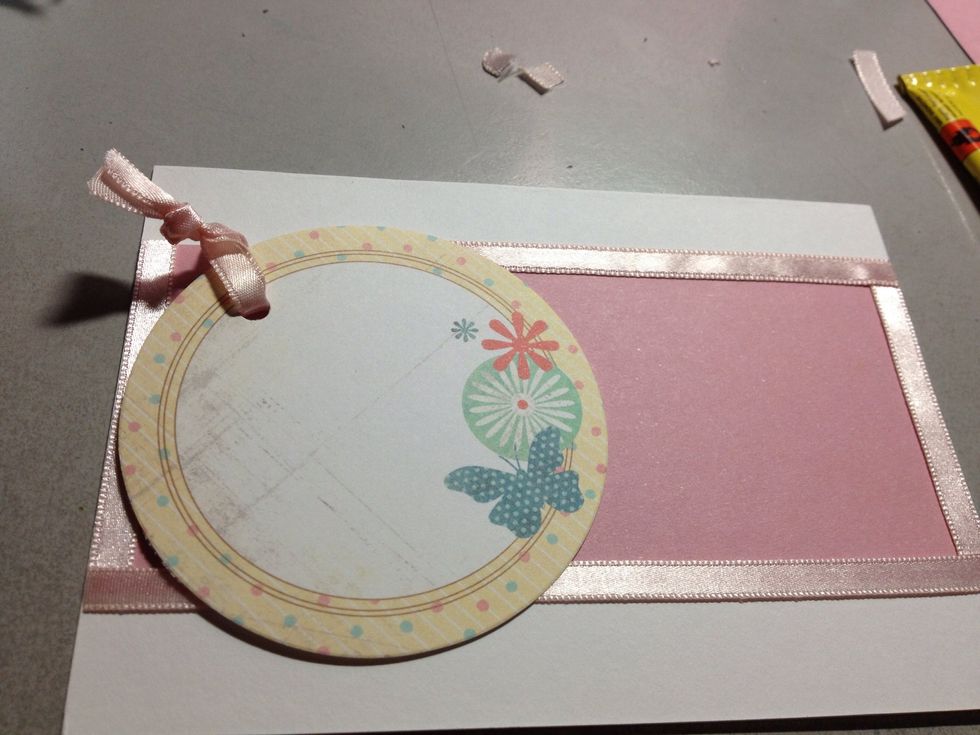
Glue on all borders of the paper, except near the hole. Stick onto card.
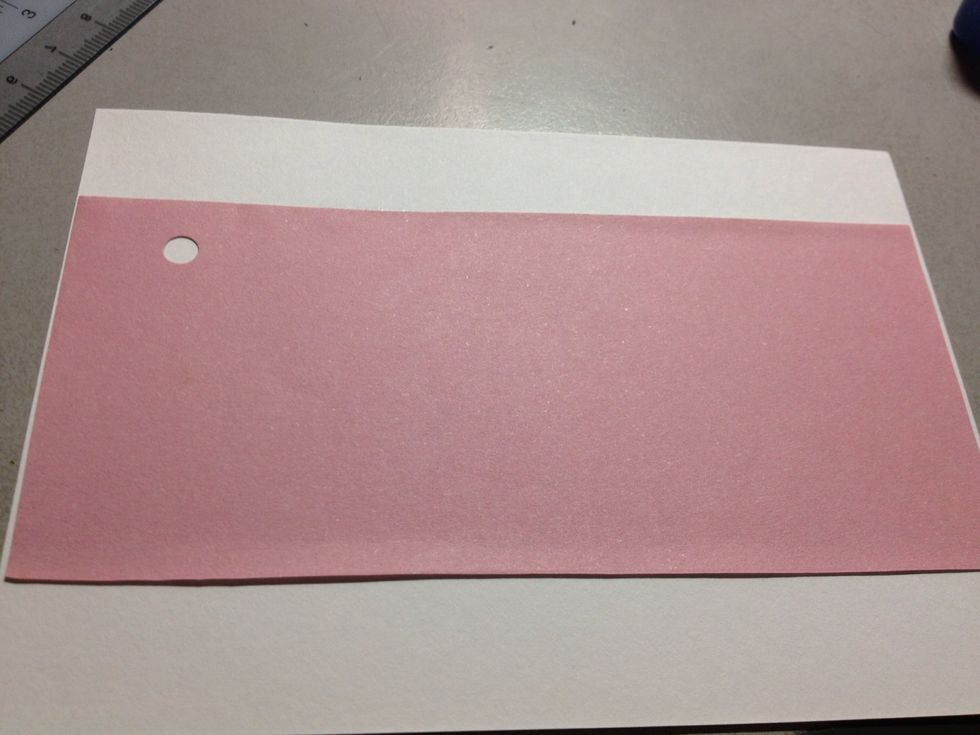
I didn't cut the paper properly, it doesn't cover the entire length of the card nicely like I wanted. Never mind, here's what I'll do...
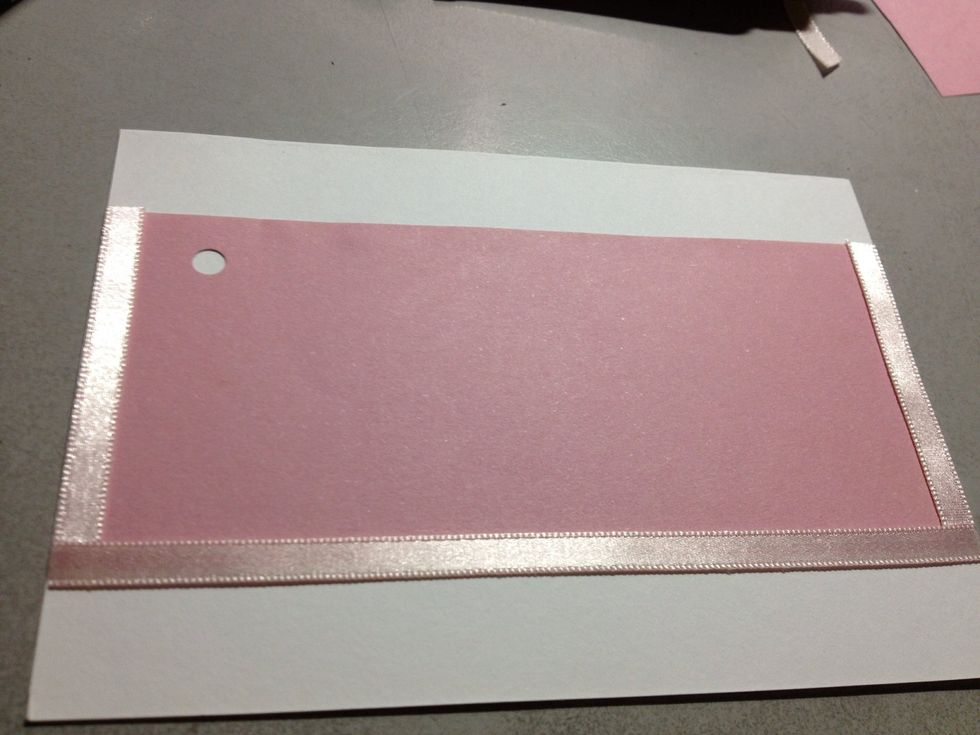
Glue down some ribbons along the borders as such. This ribbon should be the same one that you're going to use for the gift tag later.
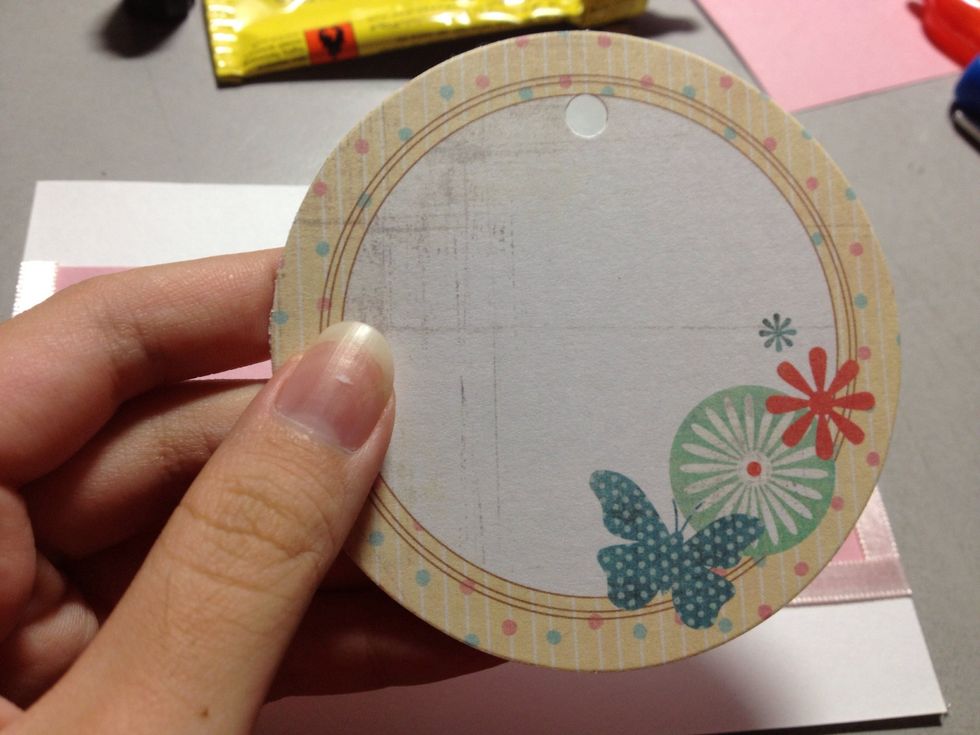
Punch a hole in the "gift tag". I bought this card outside but you can easily make your own tag by cutting out your own shape and decorating it, or pop by your craft store and see what you can find.
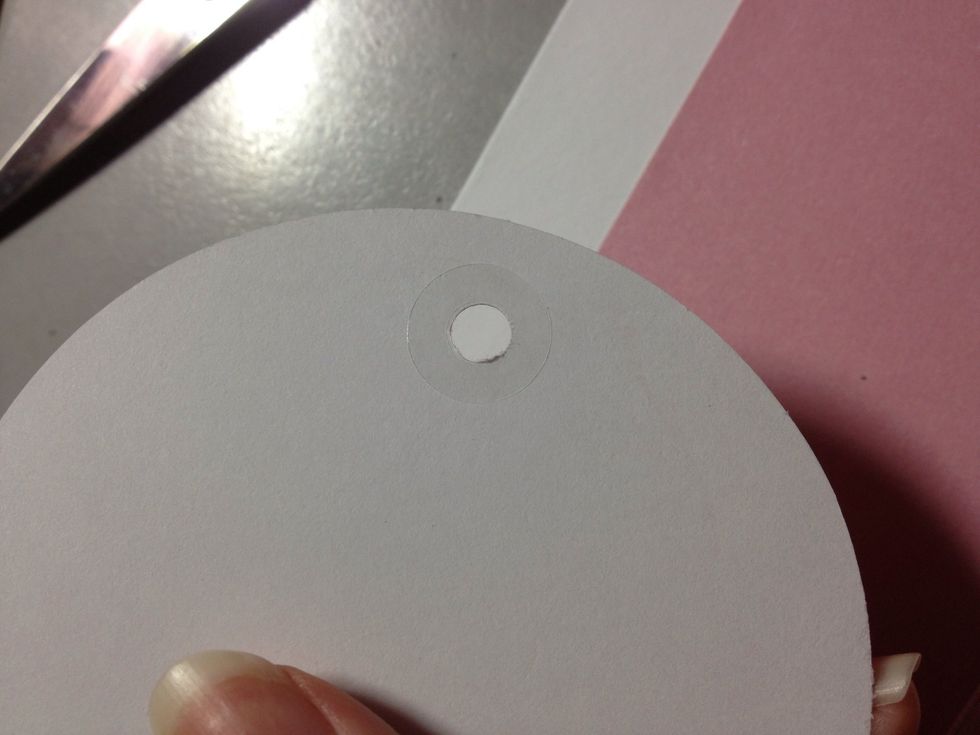
Enforcement ring at the back.
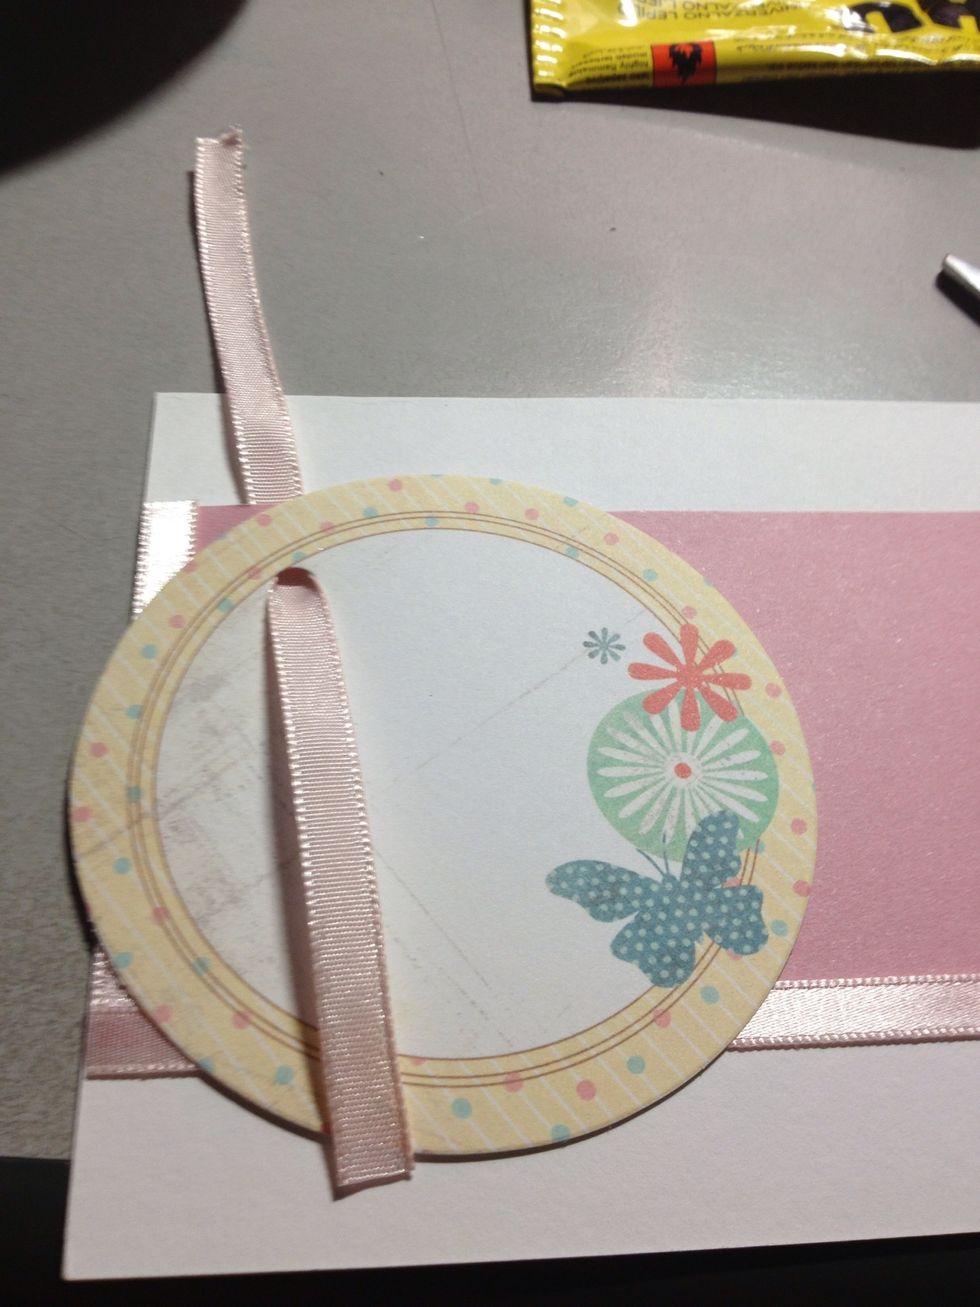
Thread a ribbon through both holes. The ribbon I used ended up being too short, you might want to use a longer piece.
Tie up the ribbon (it's too short because the tag can't dangle properly like a normal gift tag). Glue down some ribbon on the top border, except near to the hole.
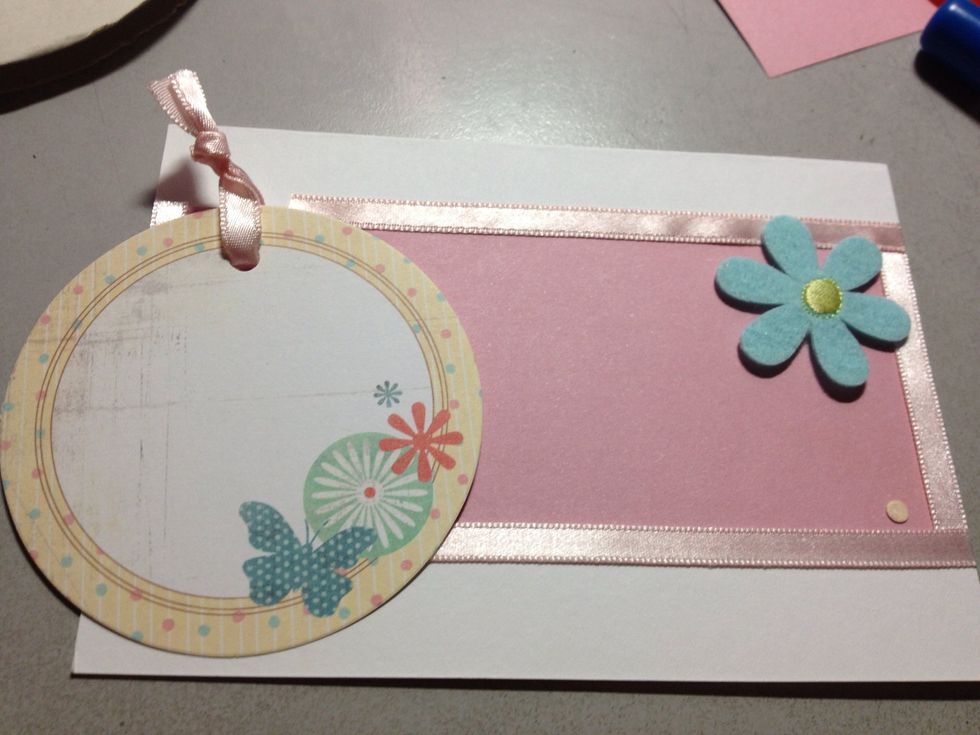
Feel free to write your own message on the tag, such as "Thanks" or "Happy Birthday". I added some decorative stickers to dress up the card.
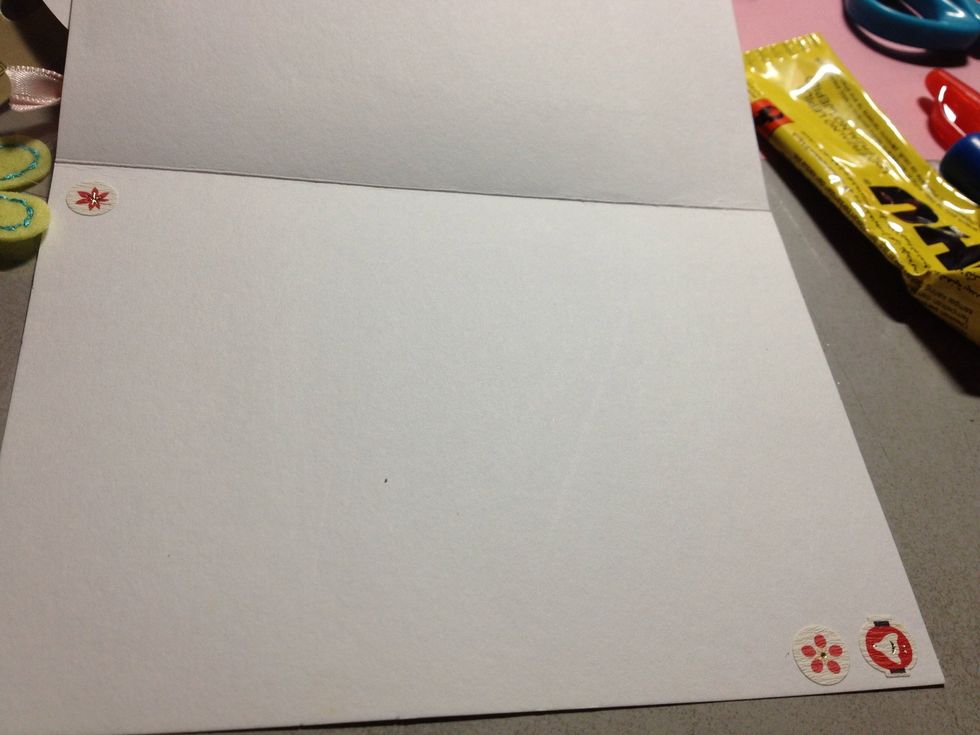
For the inside of the card, some Japanese stickers which I bought from Japan ages ago.
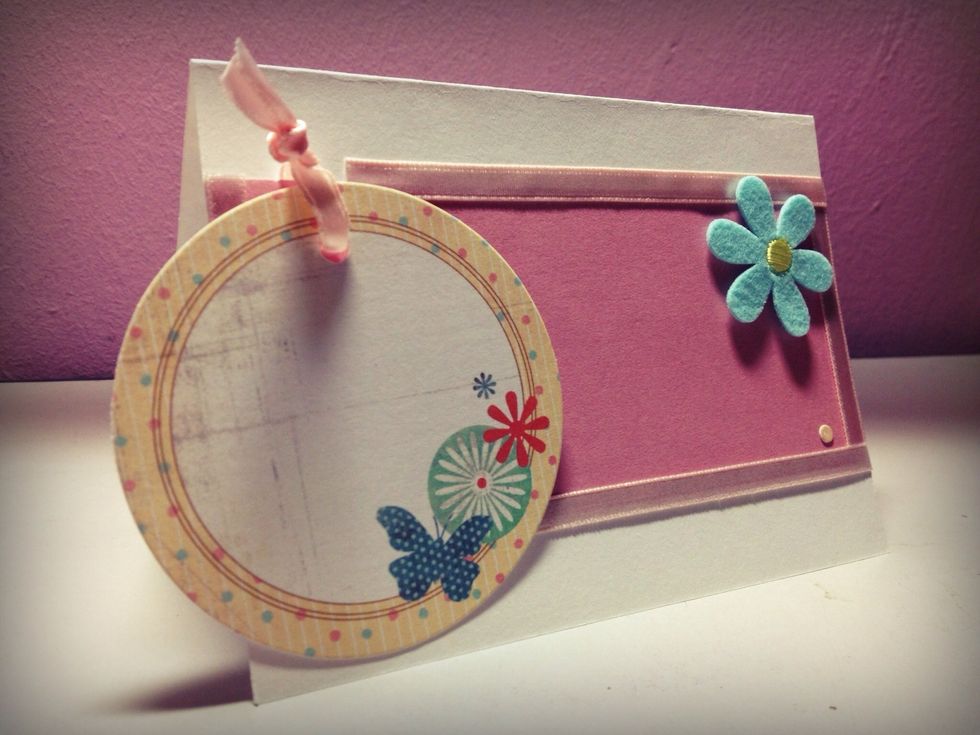
Finished product! More card guides available on my profile.