STEPS
TOOLS
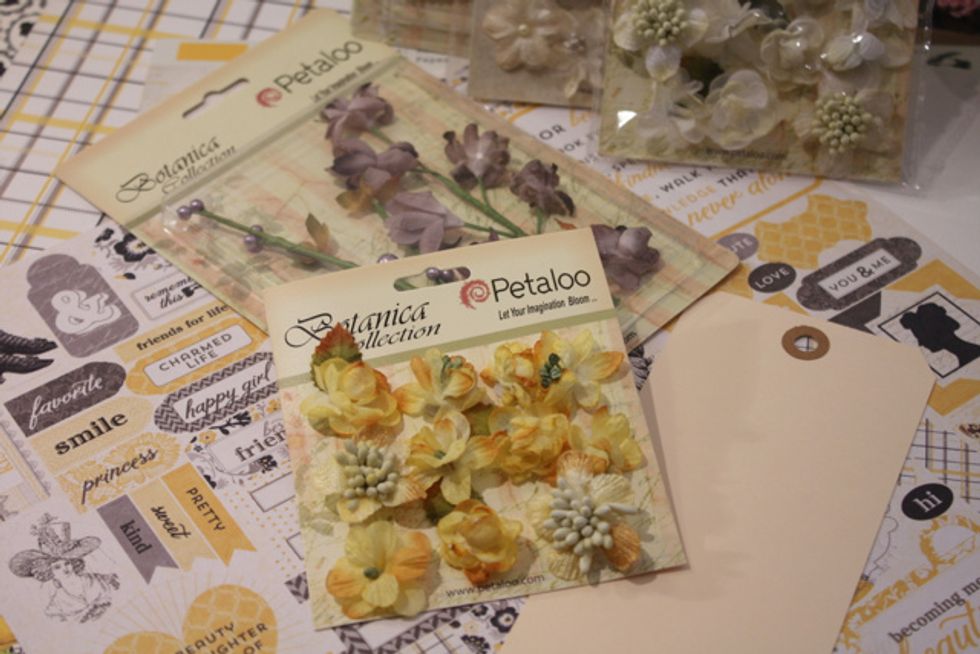
Authentique Papers and Petaloo Flowers can be found at many online scrapbook retailers
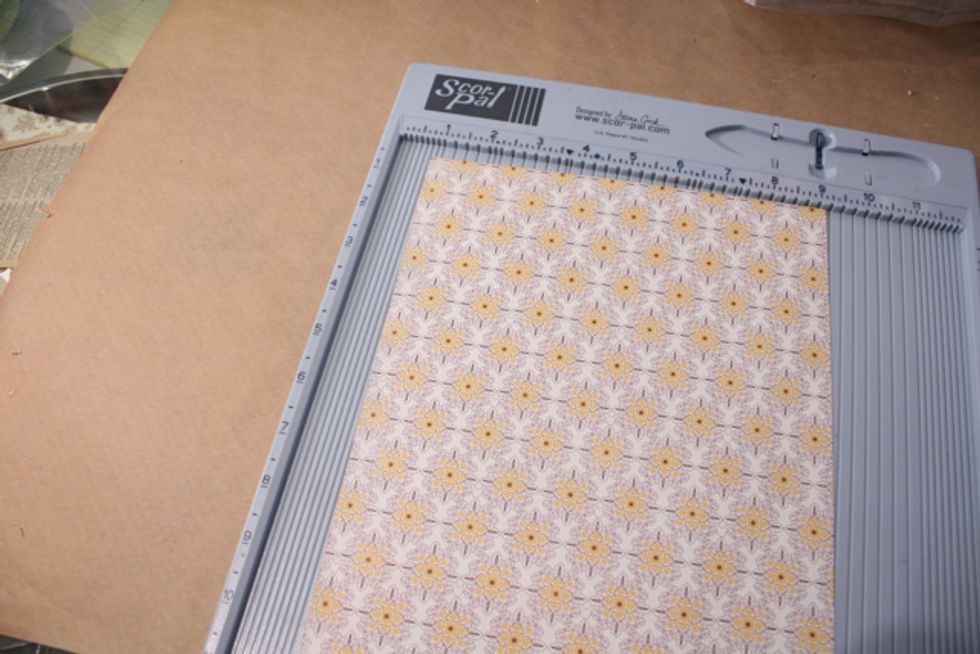
Cut a piece of 12x12 Authentique Paper down to 8.5x11 inches
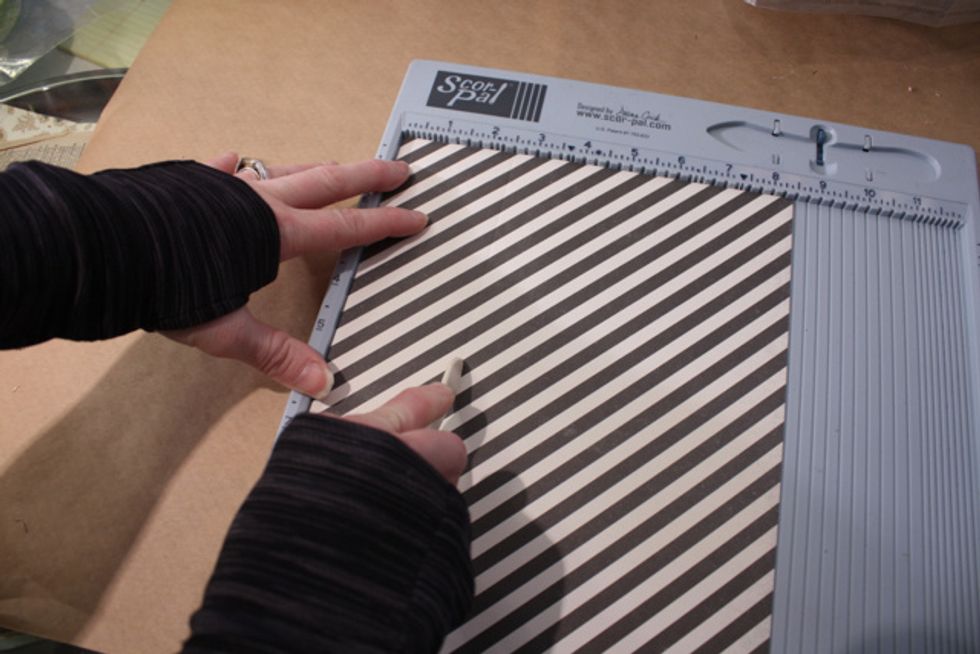
Flip over to back side and on the long side score at 2.5 inches on both sides

then flip to short side and score in at 3.5 inches on each side

fold up at all the score marks
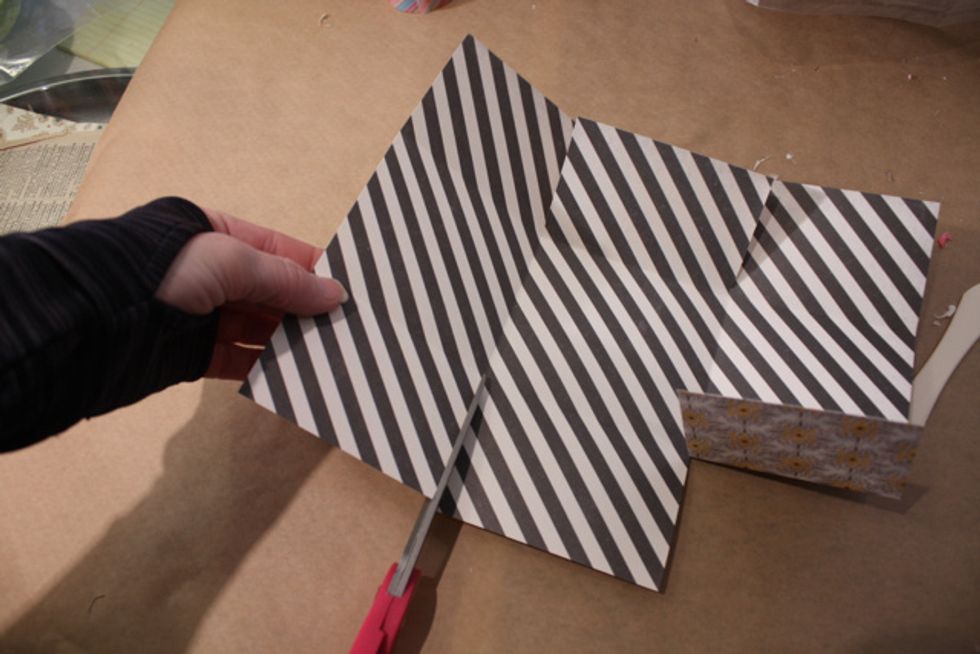
snip in at the 2.5 inch side, just into the four corner folds. Don't cut past the fold!
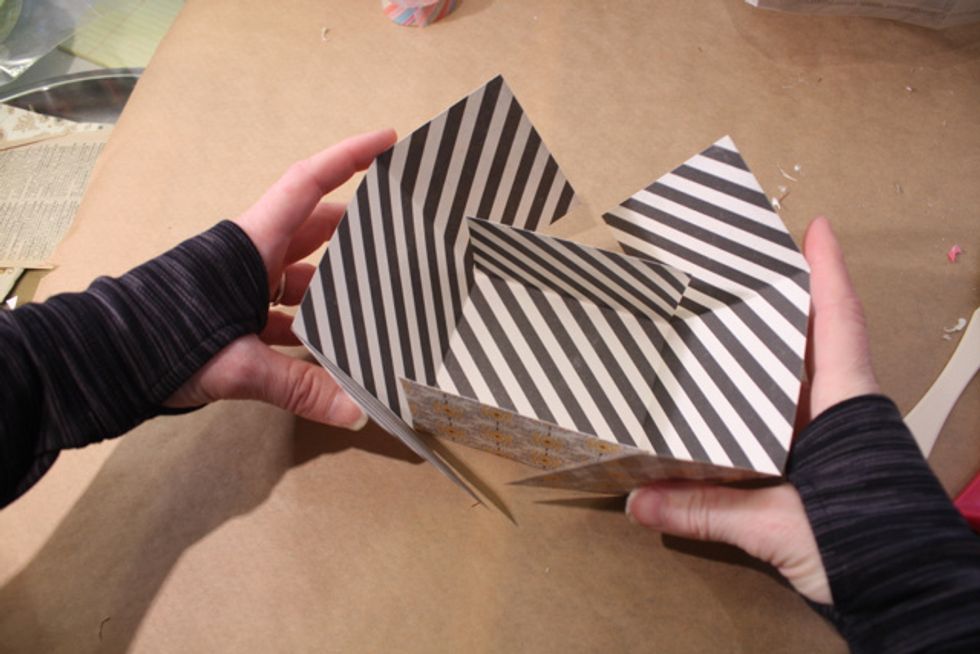
Flip in the two shot flaps and fold up the long flaps like shown to create the box shape
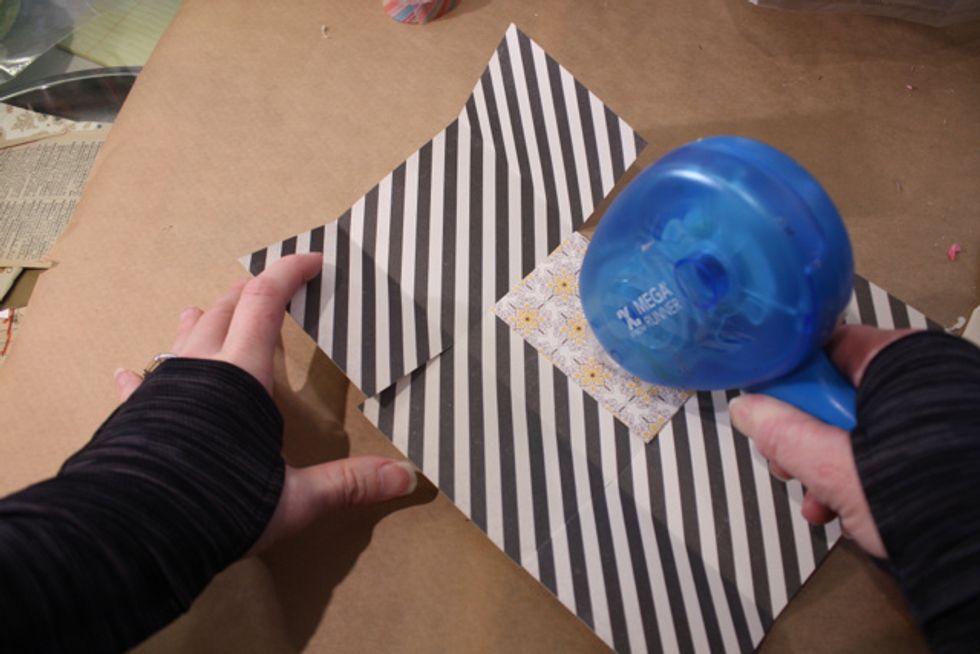
Add adhesive onto the short flaps on the inside of both sides
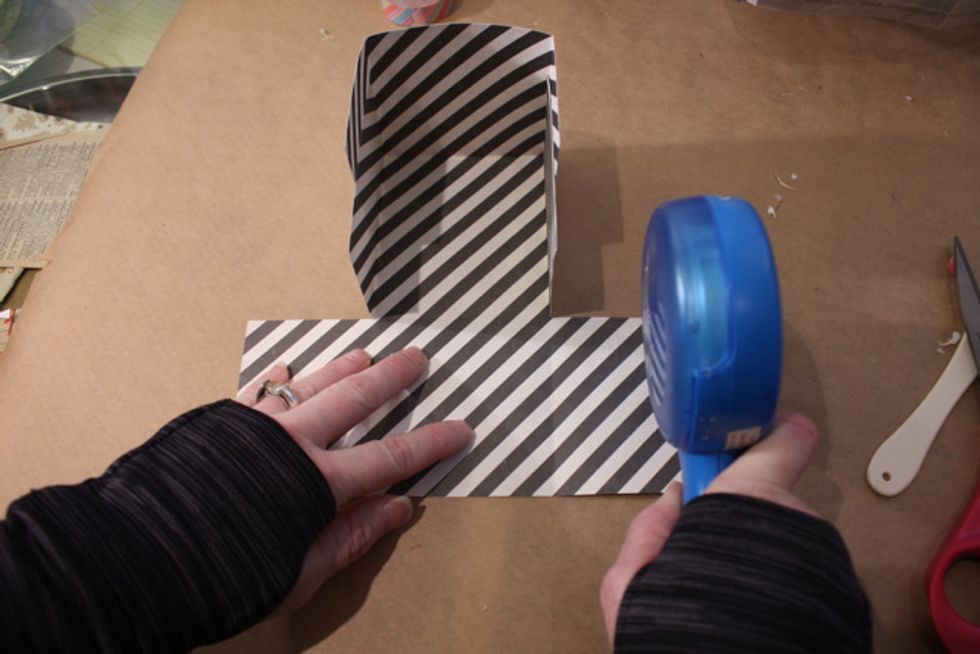
Flip and square up on side and stick down- then add a little more on the two remaining flaps
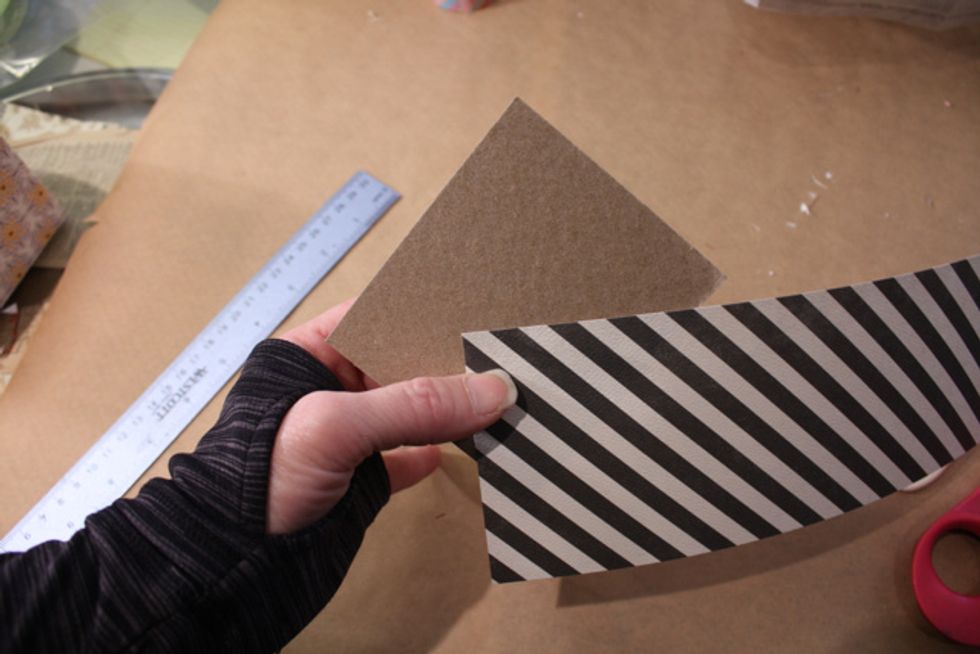
Optional- to give my box some added strength I cut a piece of chipboard to fit the base and covered with some left over paper from the box- stuck together and placed on the bottom
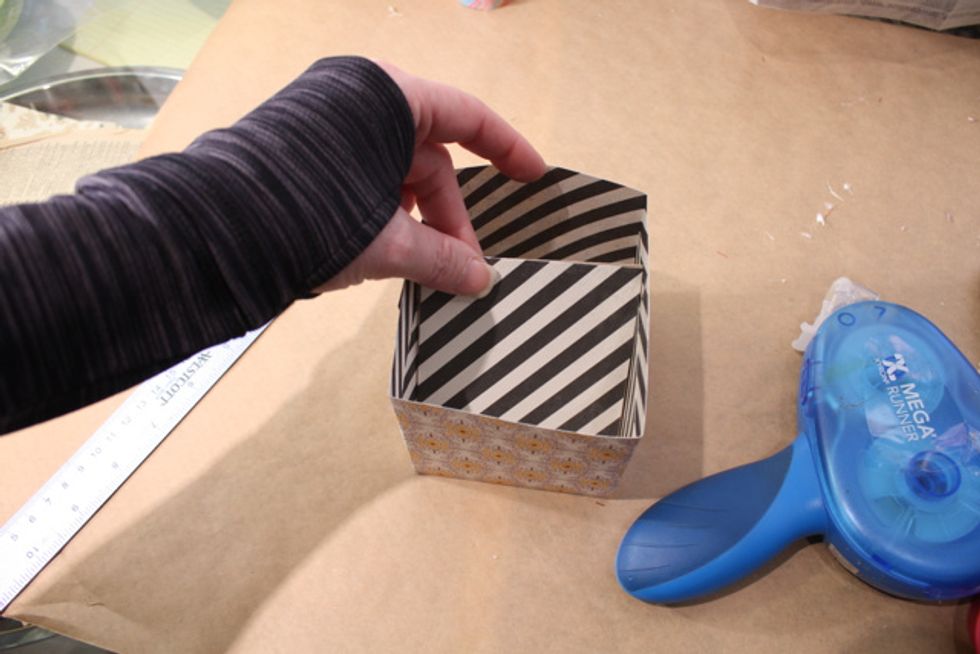
Like this!
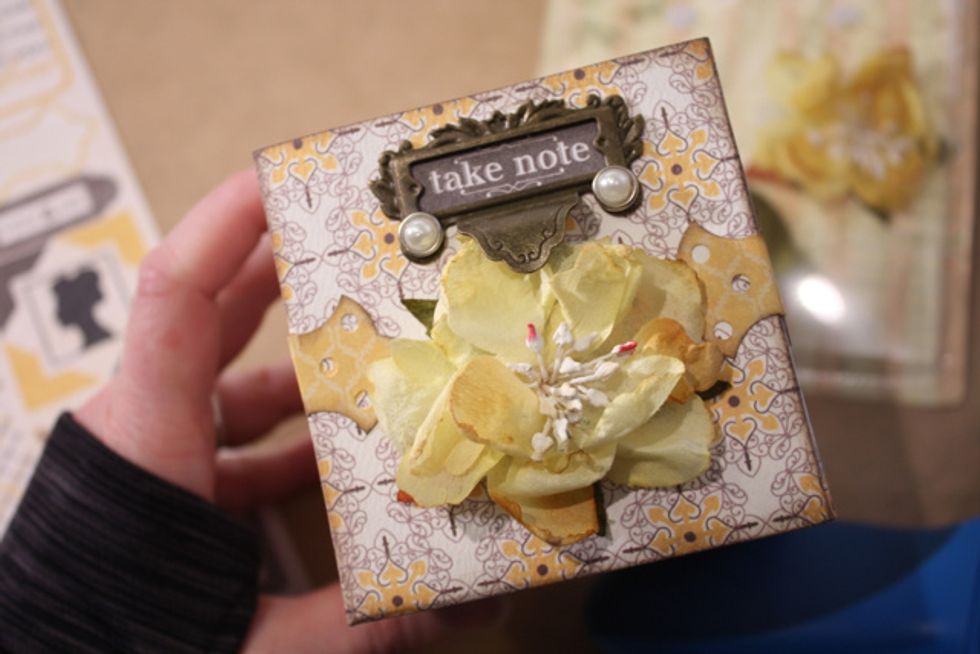
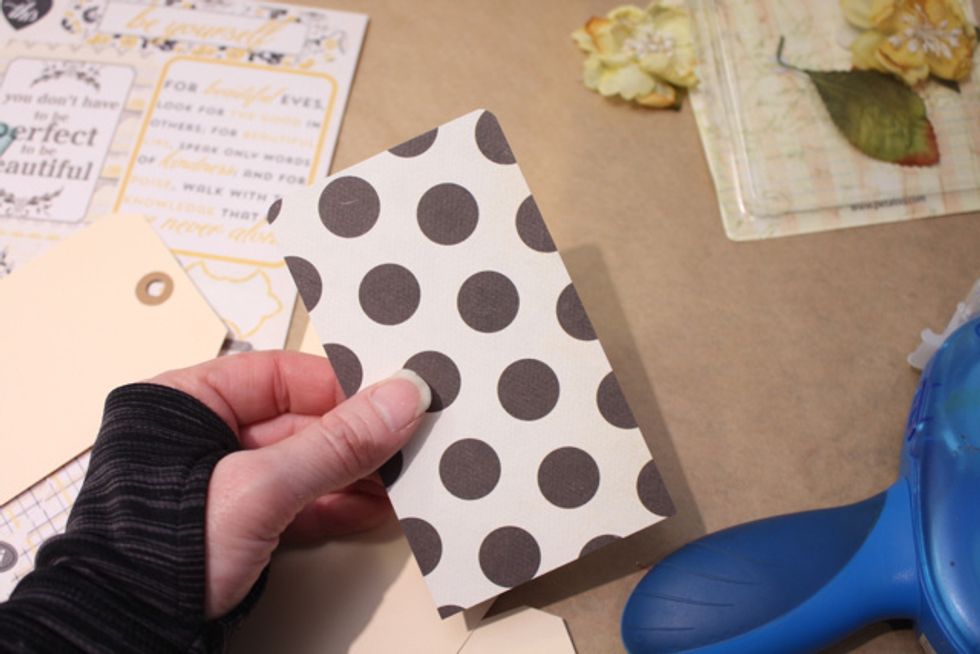
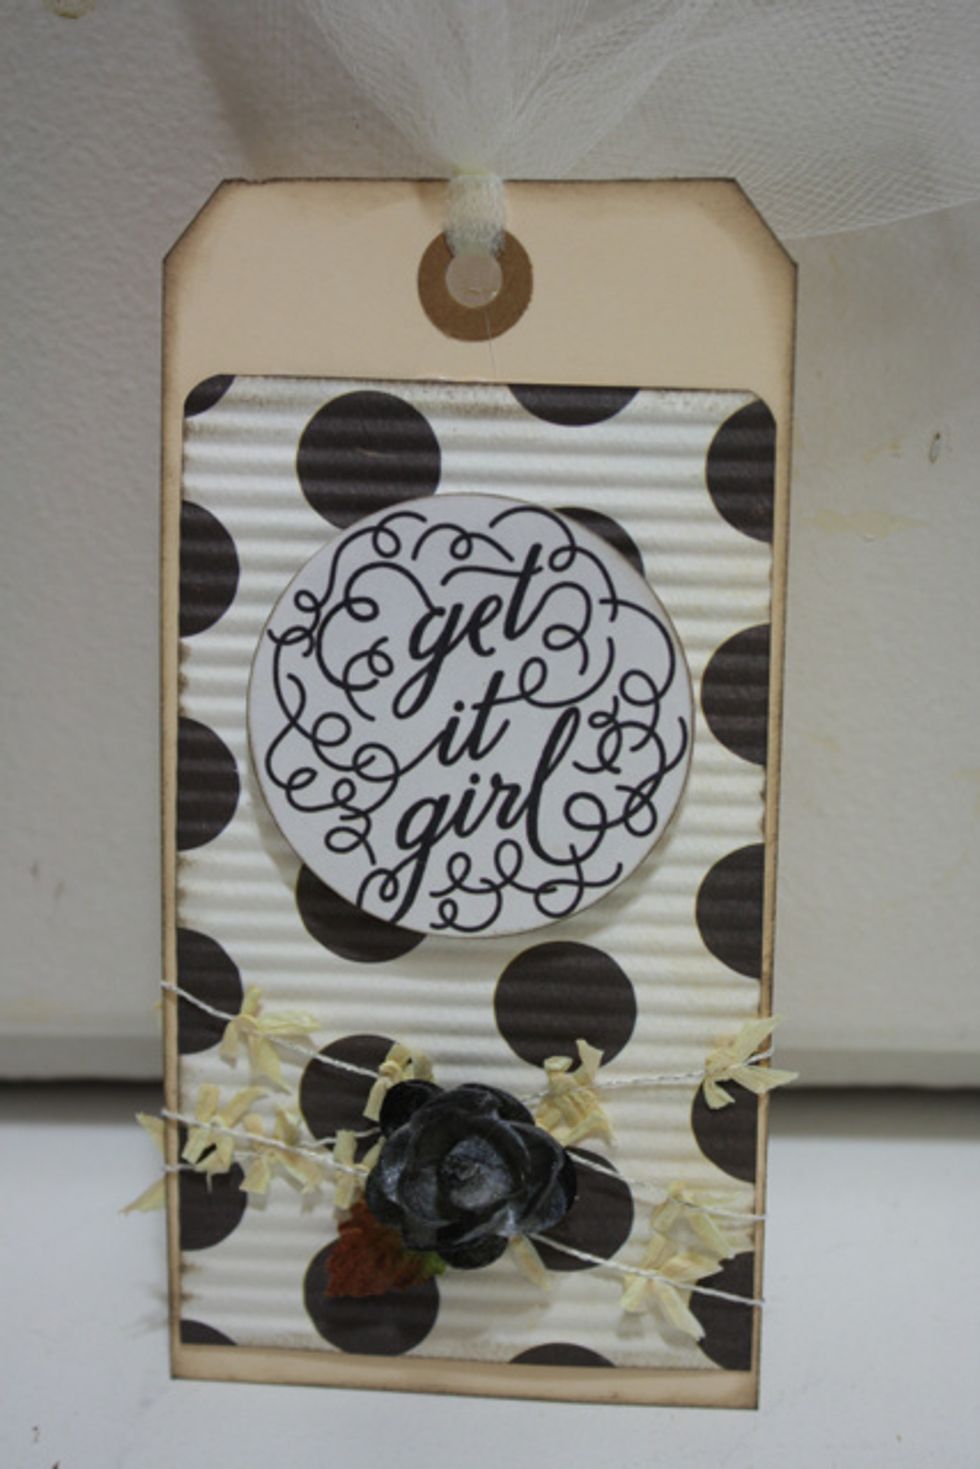
To create the tags, I used a 6x3.5Inch Stock Manila Tag for a Base. Then I cut some Authentique Cardstock at 5.25X3 inches wide. (You can also just cut your own tags directly from the cardstock
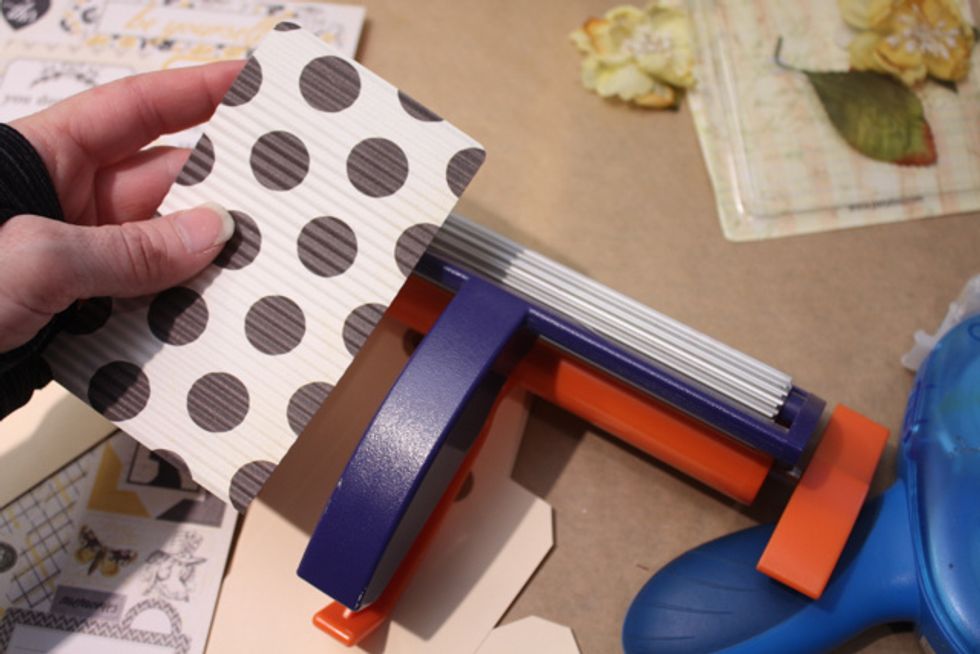
To ad some depth and texture I used a Fiskars Corrugator tool
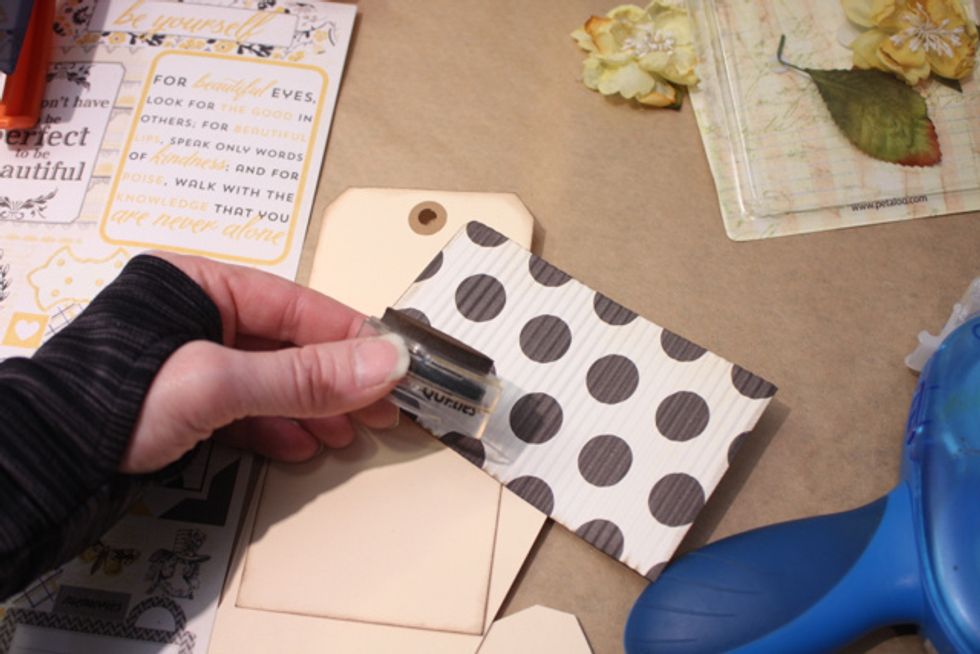
Then I inked all the edges or the base card and cardstock and stickers I used
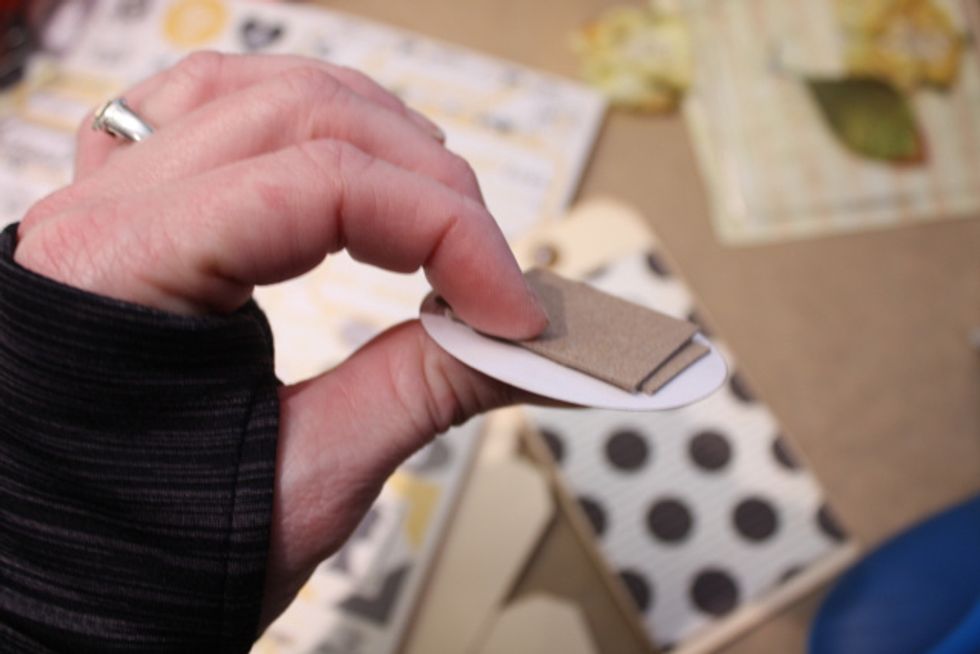
Before adding the sticker I built up some extra chipboard and hot glued it together - you can also use Foam Squares
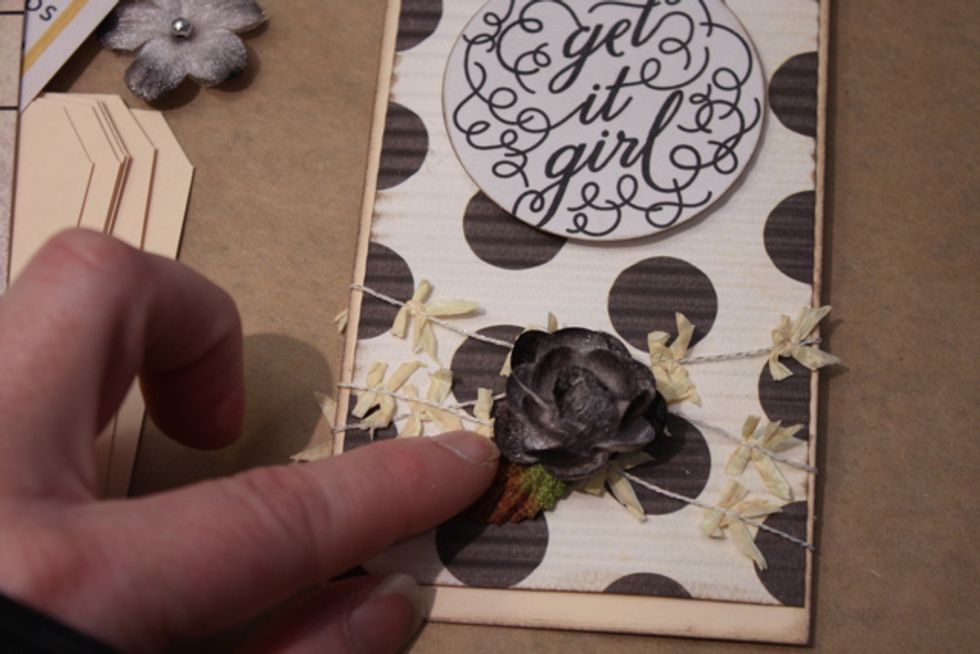
I added on some May Arts trim and a Petaloo Botanica Flower in black to the center
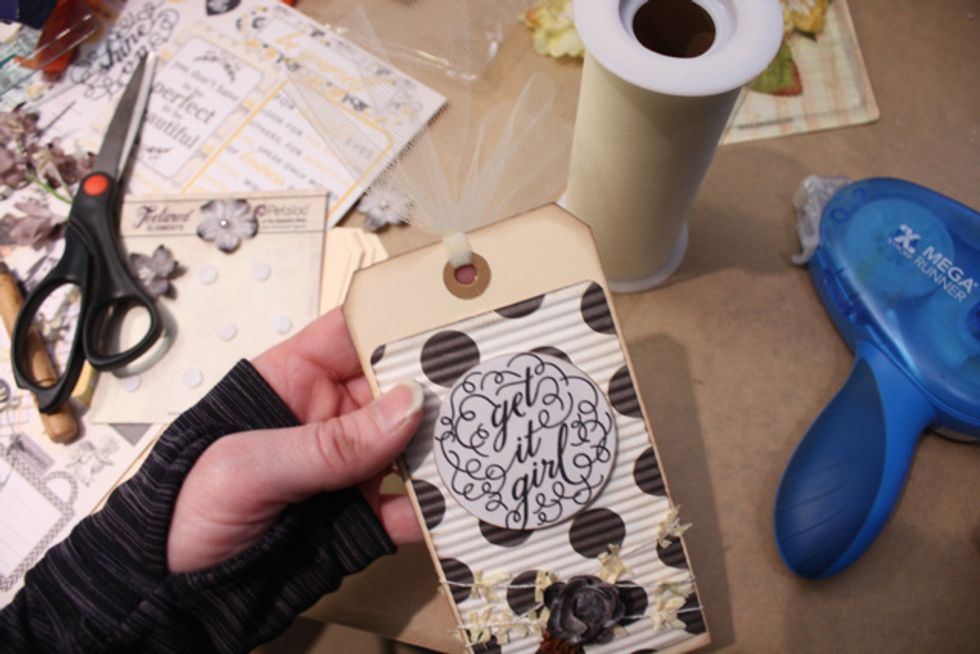
I added some tulle for the top tag tie
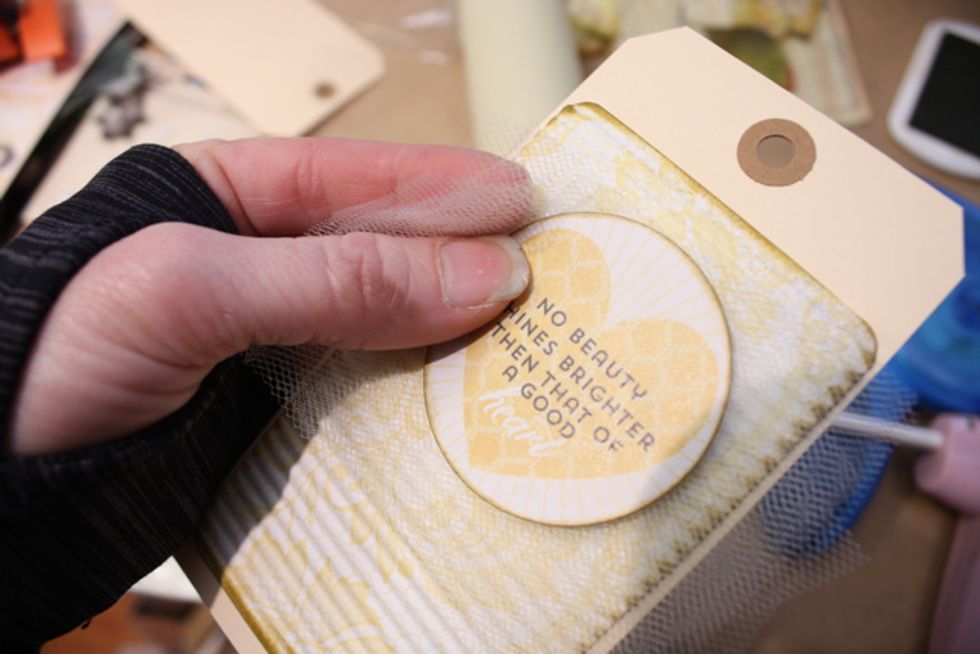
For the next Tag I did the exact same thing only added this little trick- cut a few layers of tulle bigger than your sticker
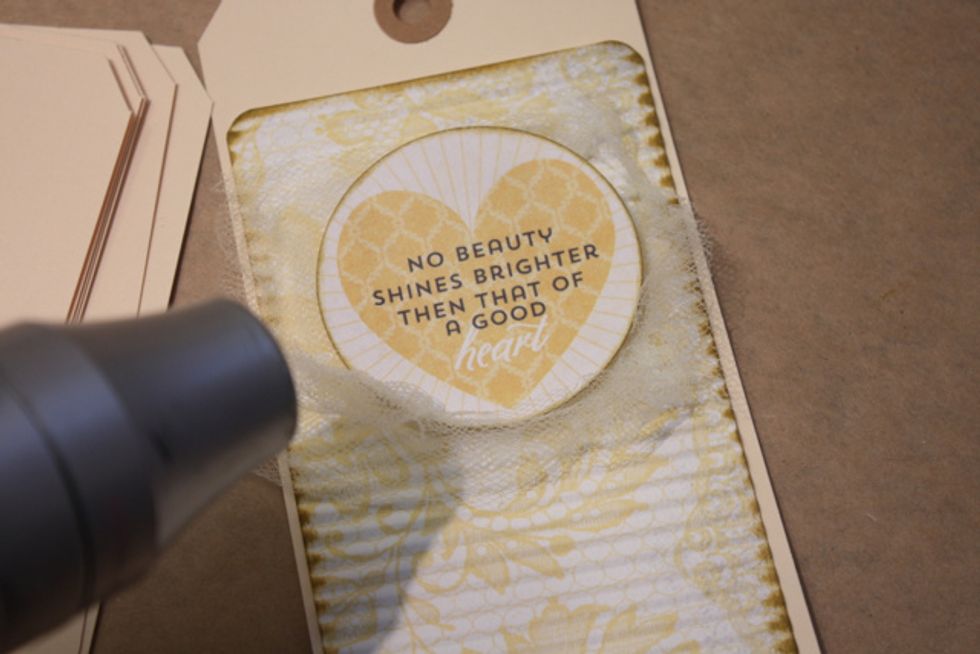
then hit it with your heat gun to give it a distressed look
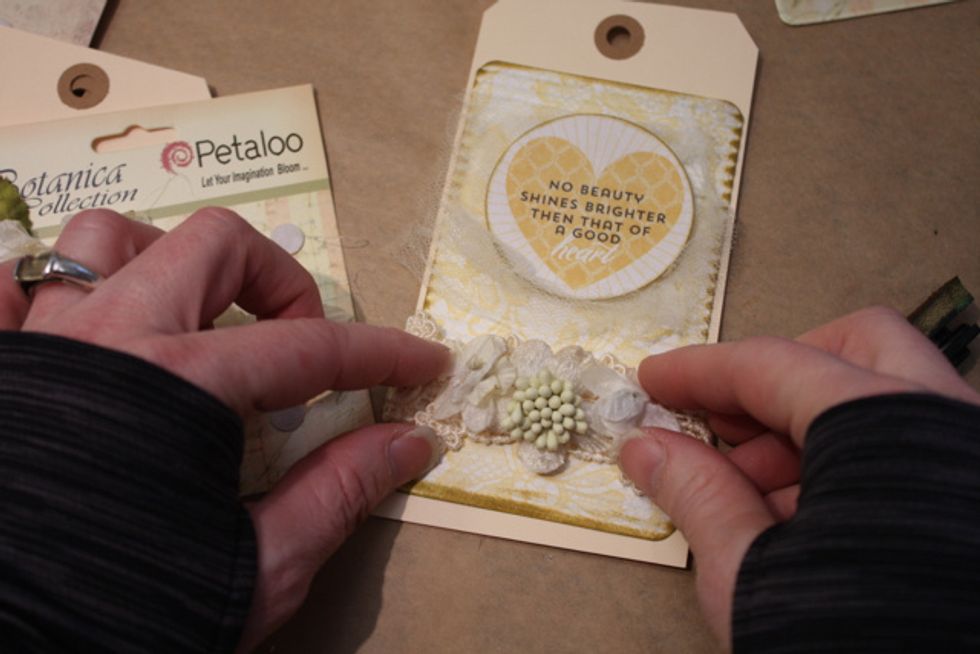
add some trim and flowers with the hot glue gun
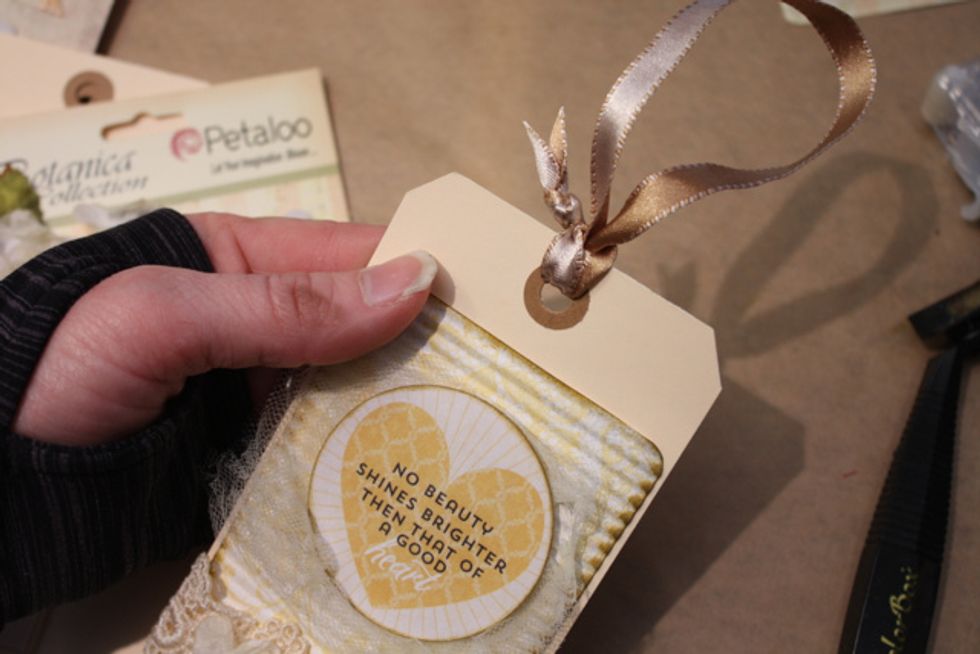
For this one I used a cool two toned ribbon from May Arts
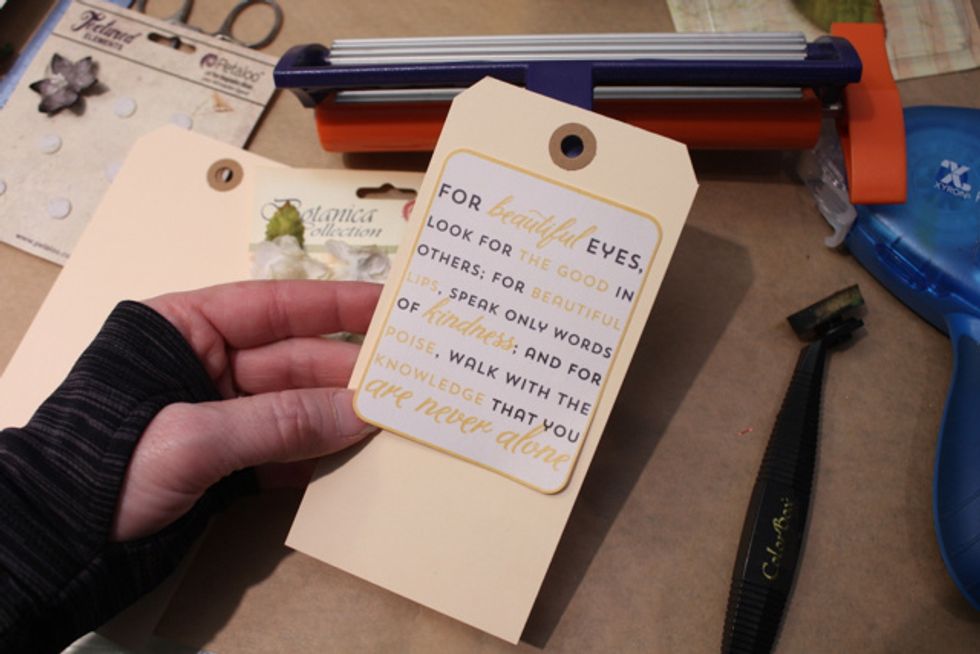
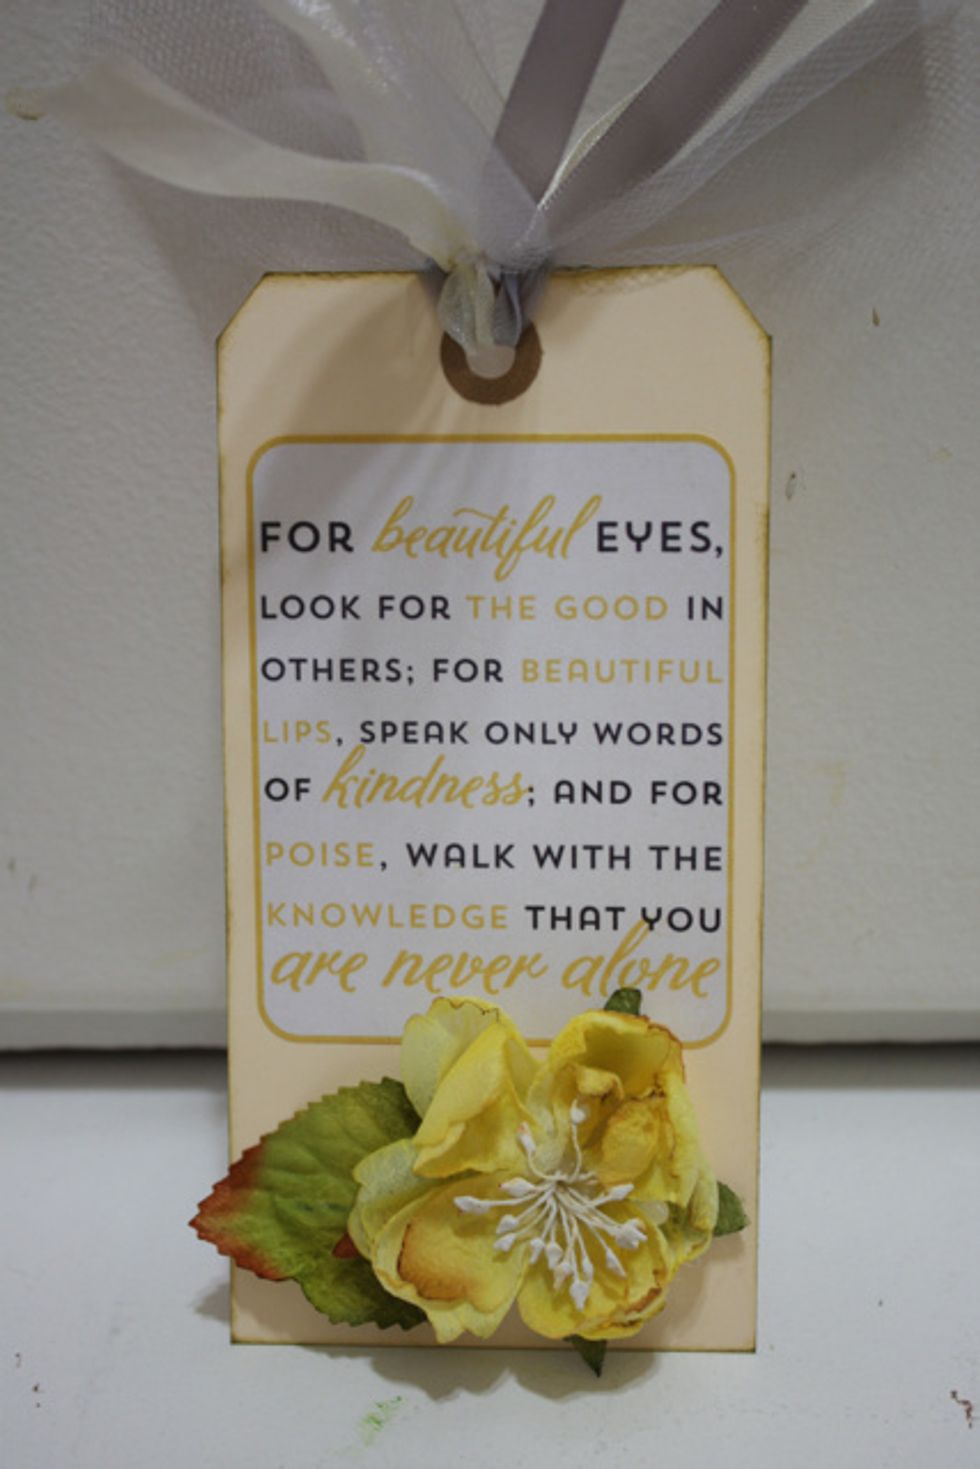
This one was super easy! I just inked and added on an Authentique sticker from the Beauty Collection
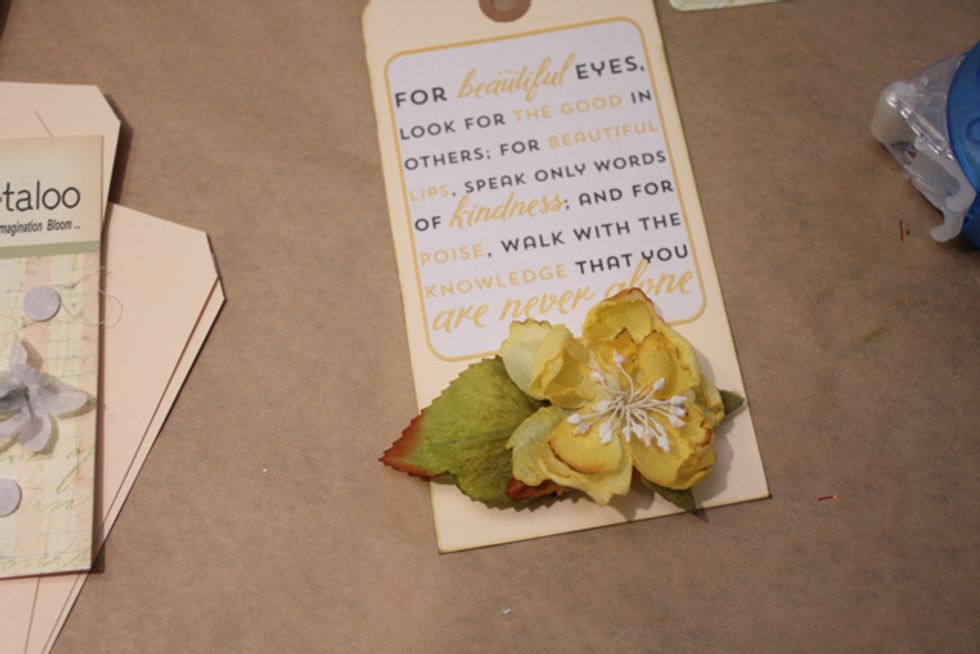
and a Petaloo Botanica Flower and leaf
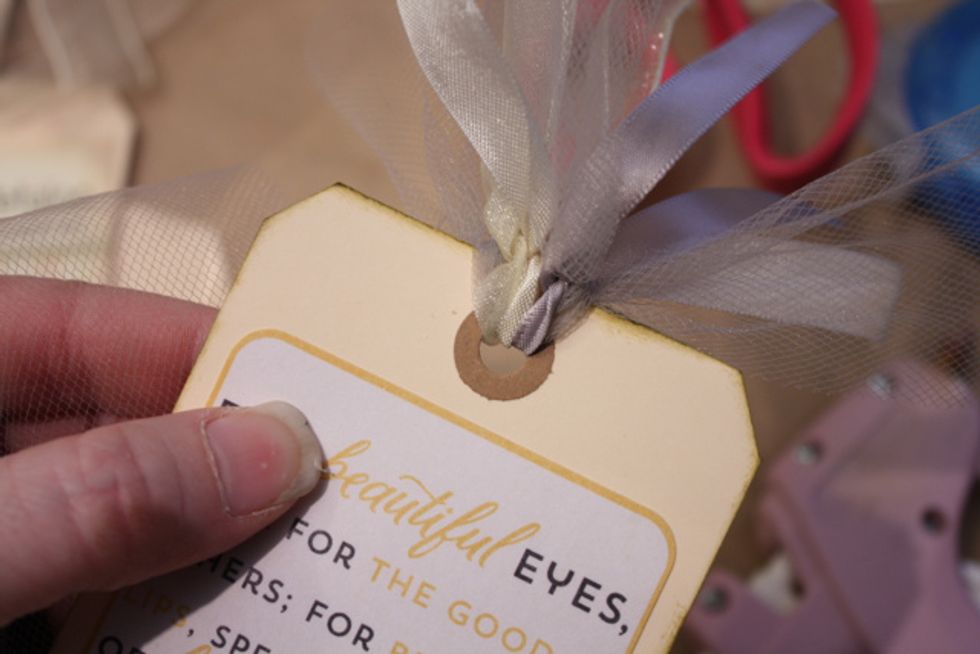
since the tag was simple I put extra trim at the top and tied each on individually
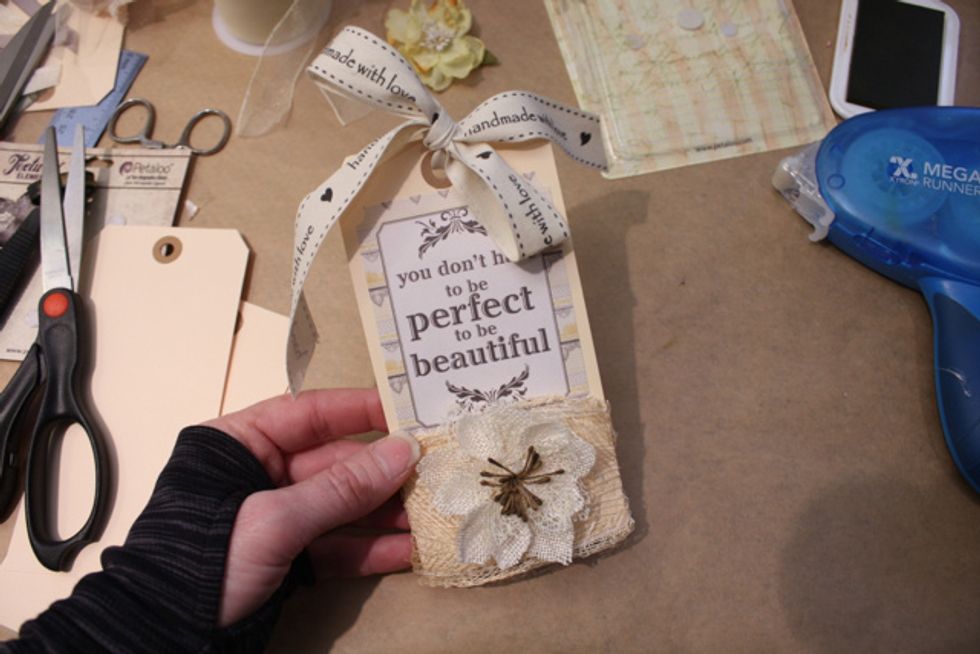
here is one more just like the last with a tied on bow
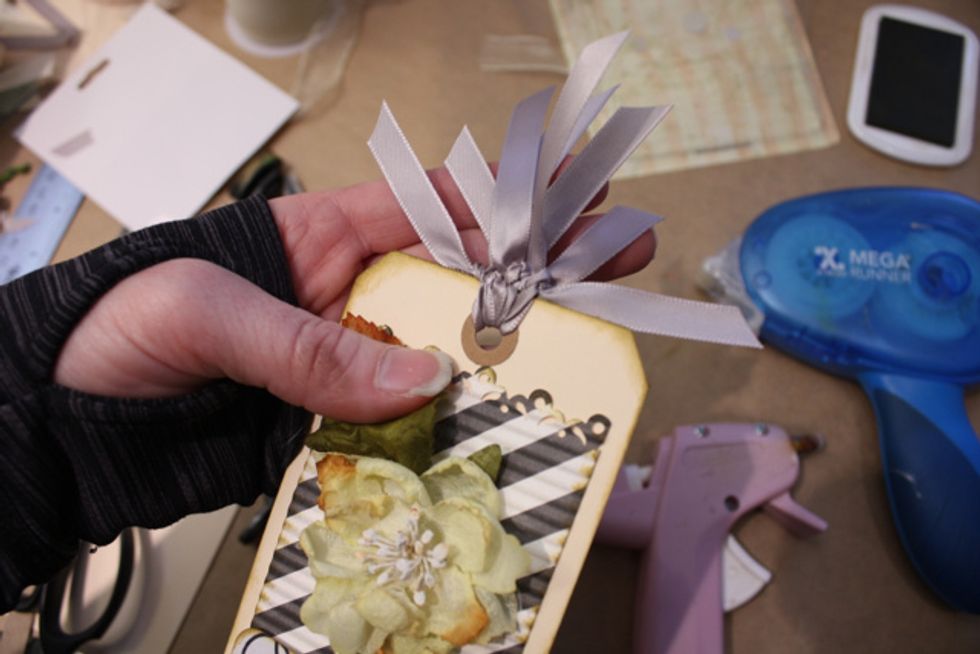
and another where I used satin ribbons tied on individually
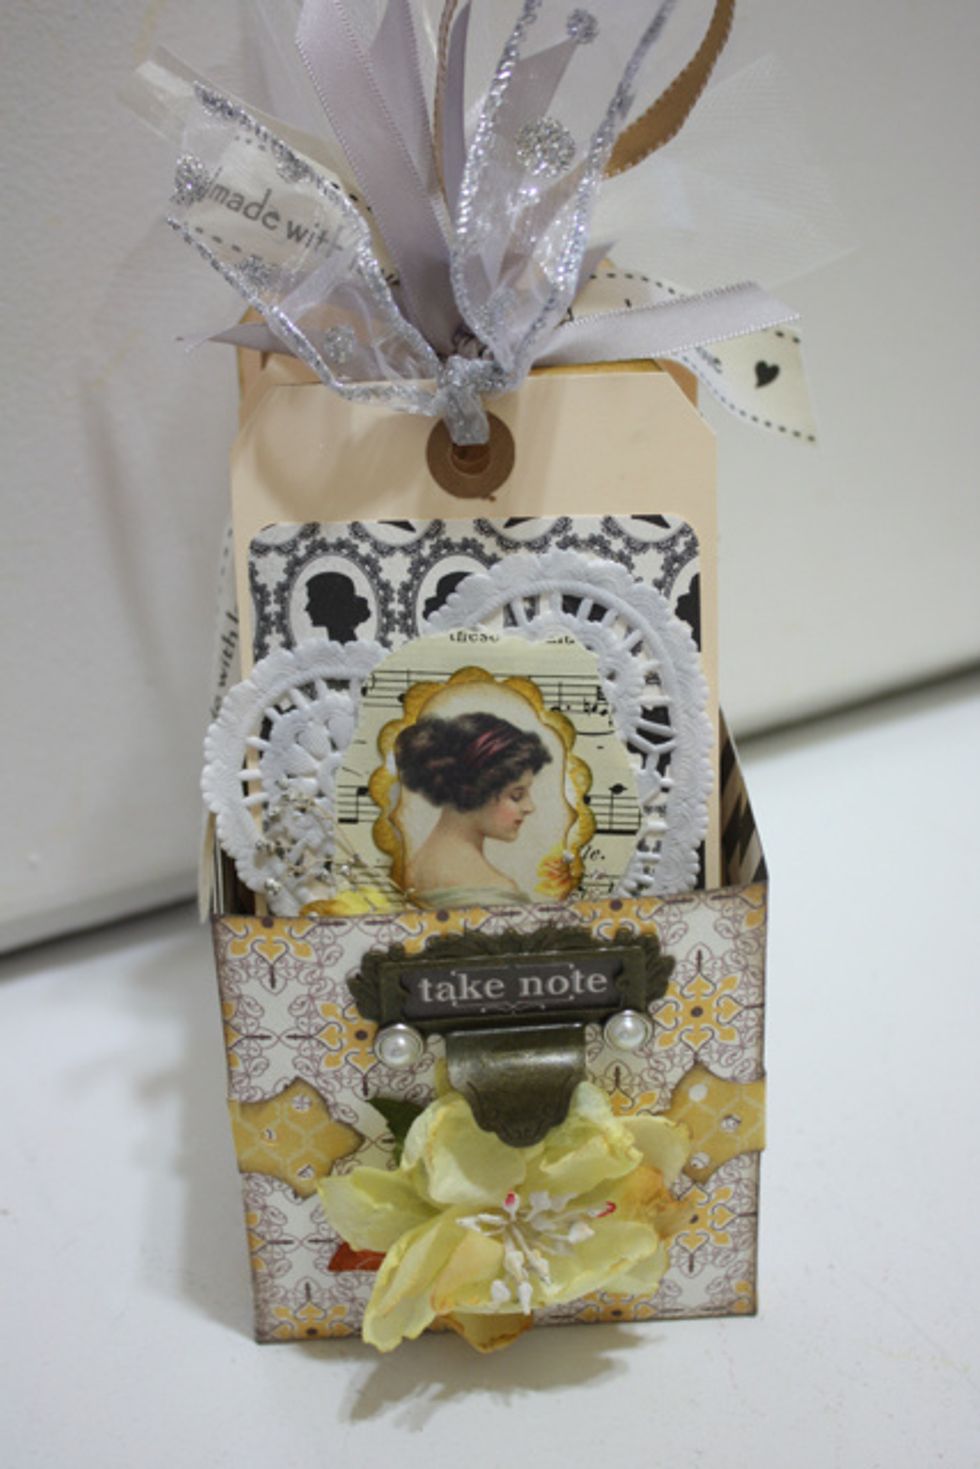
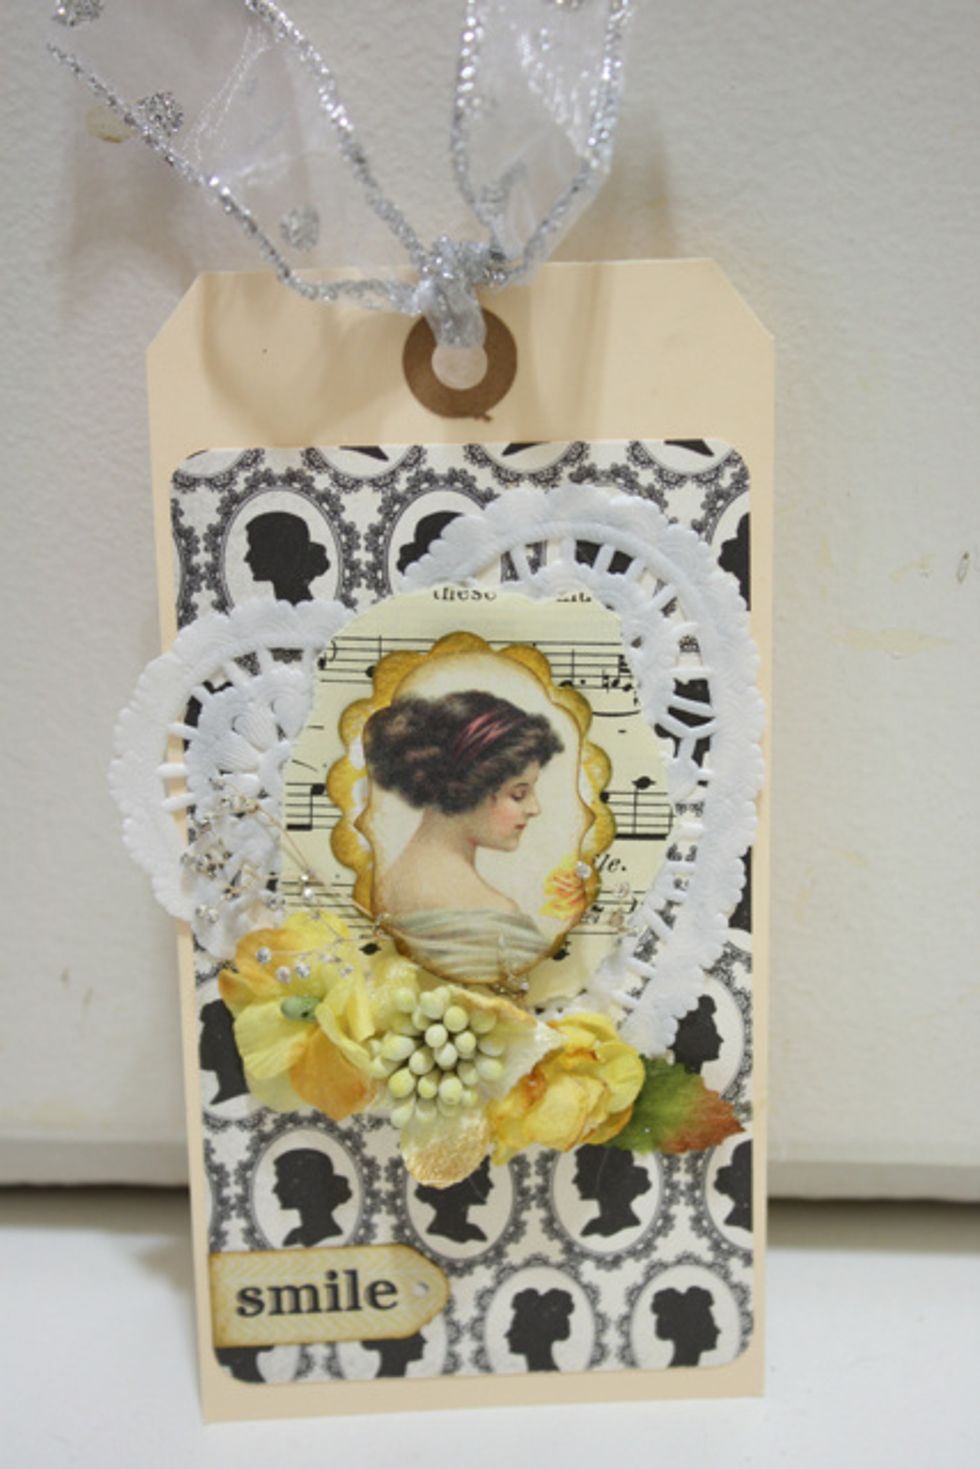
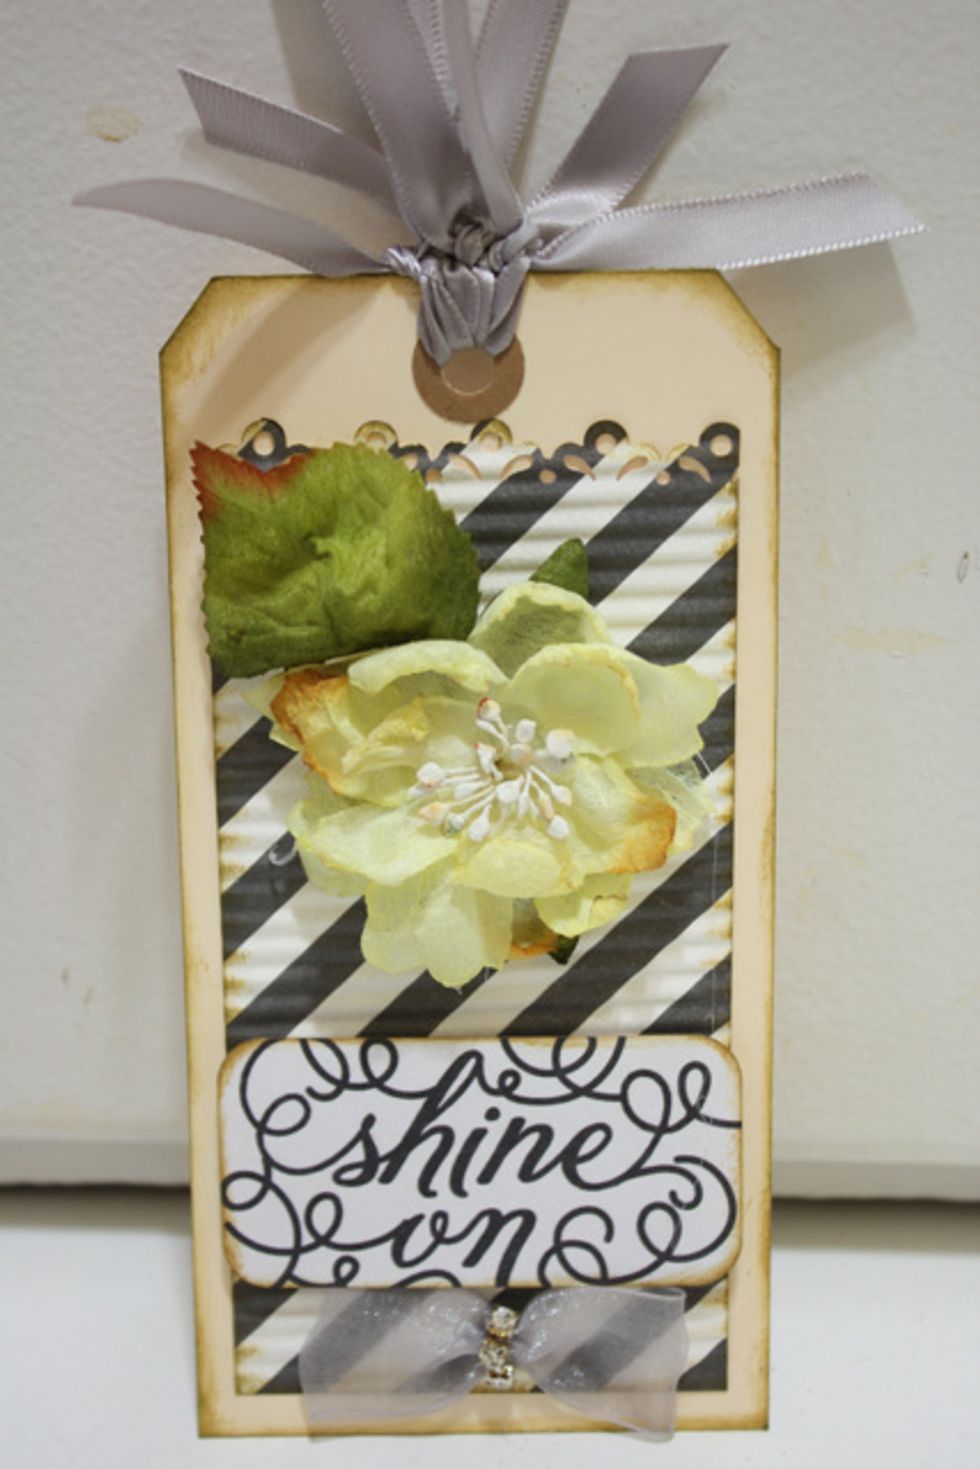
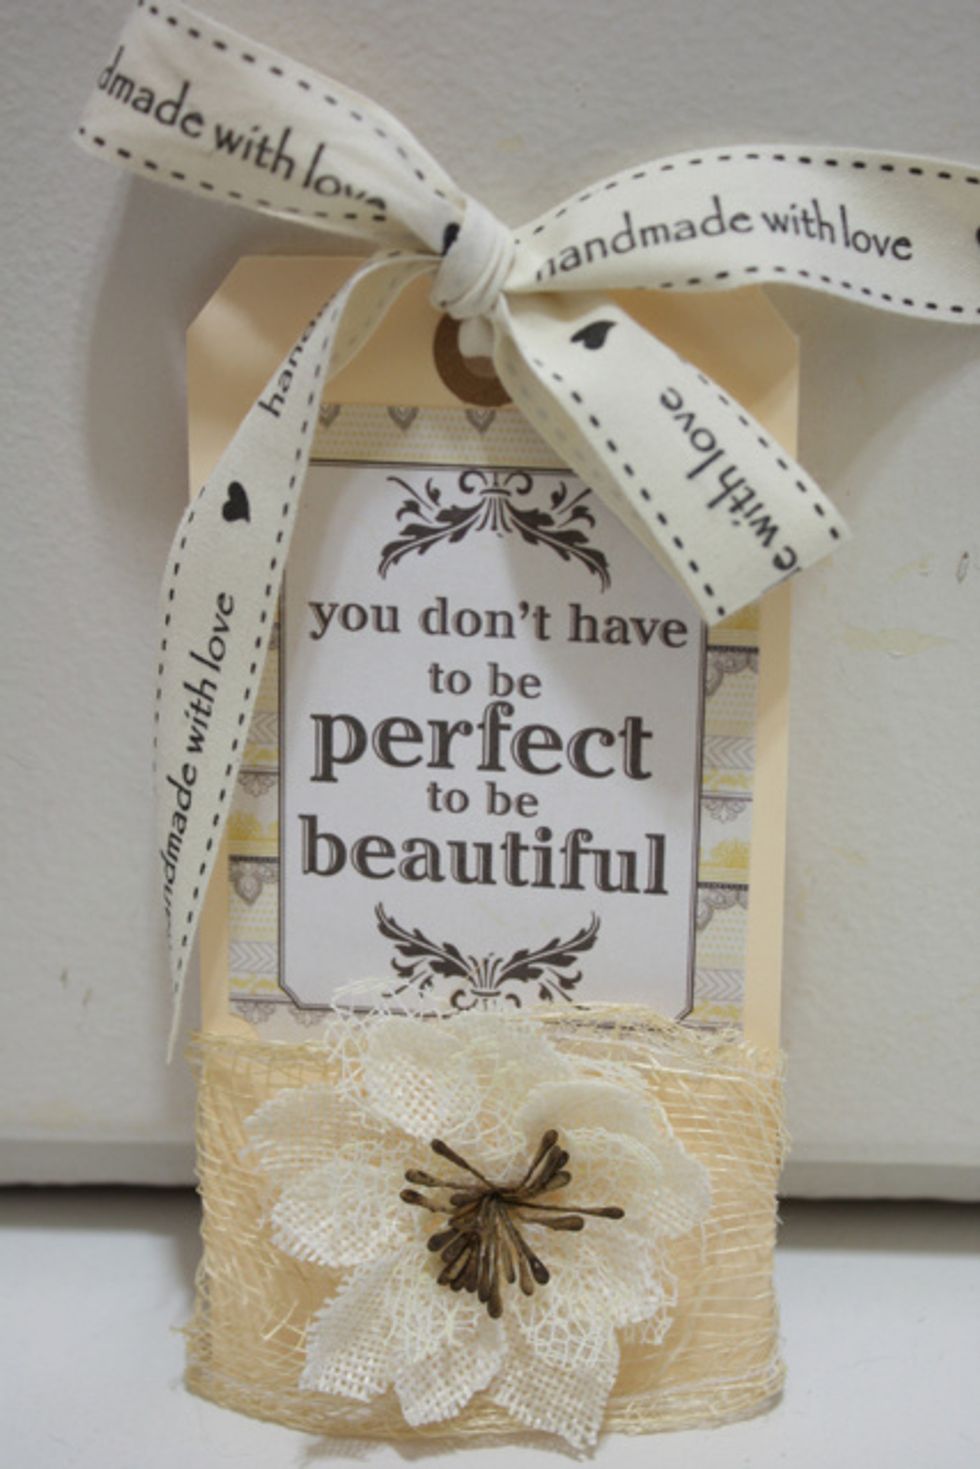
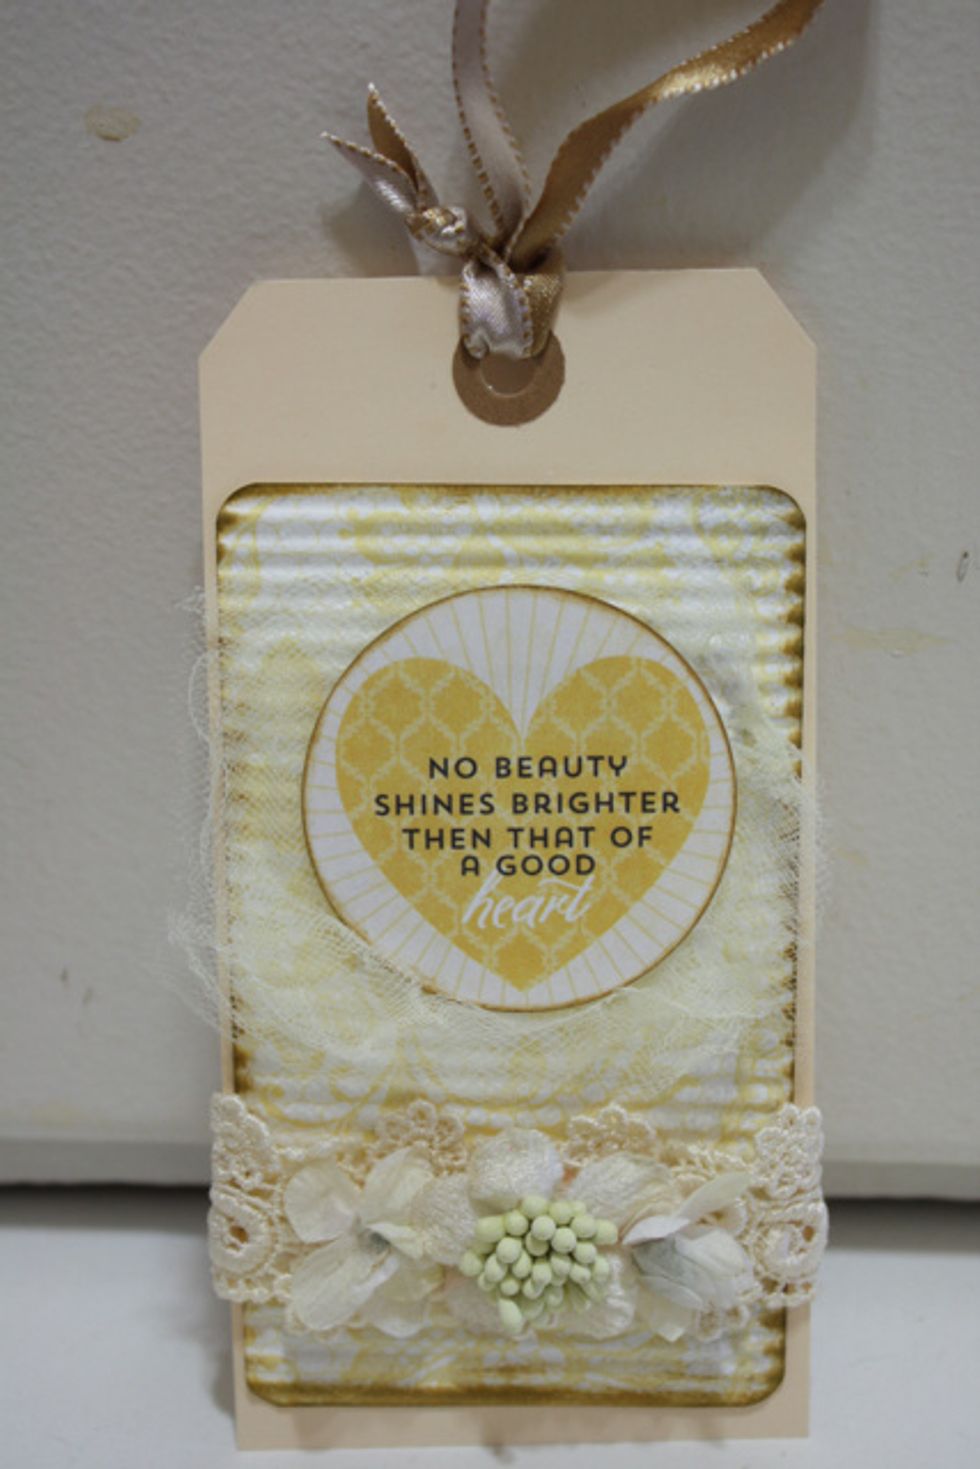
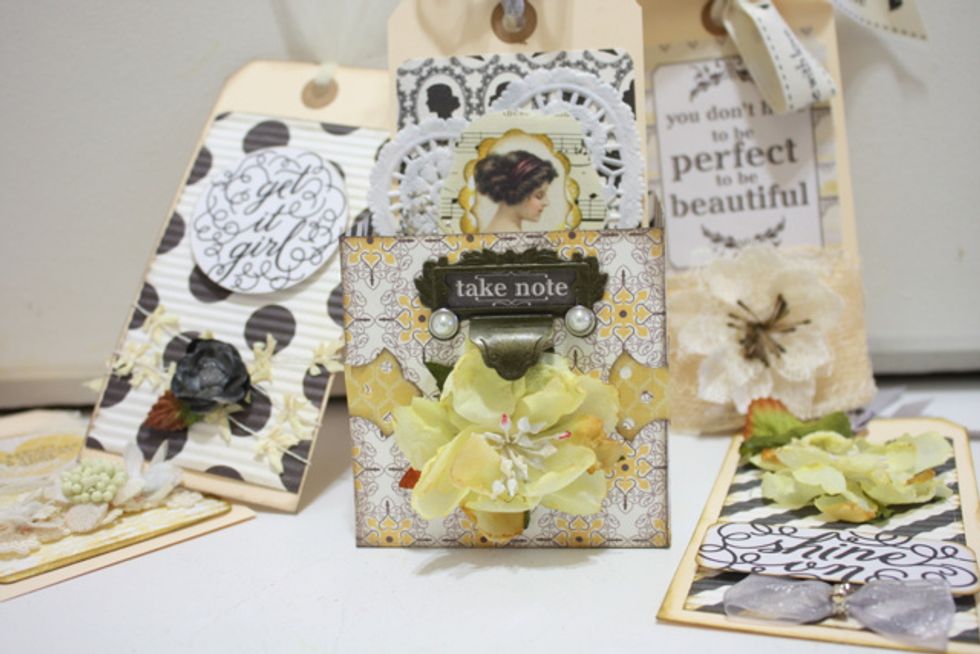
Okay so I did the last one extra fancy! Now just drop them in your customer box! I added a bunch of pics at the end of this tutorial for each tag- have fun!
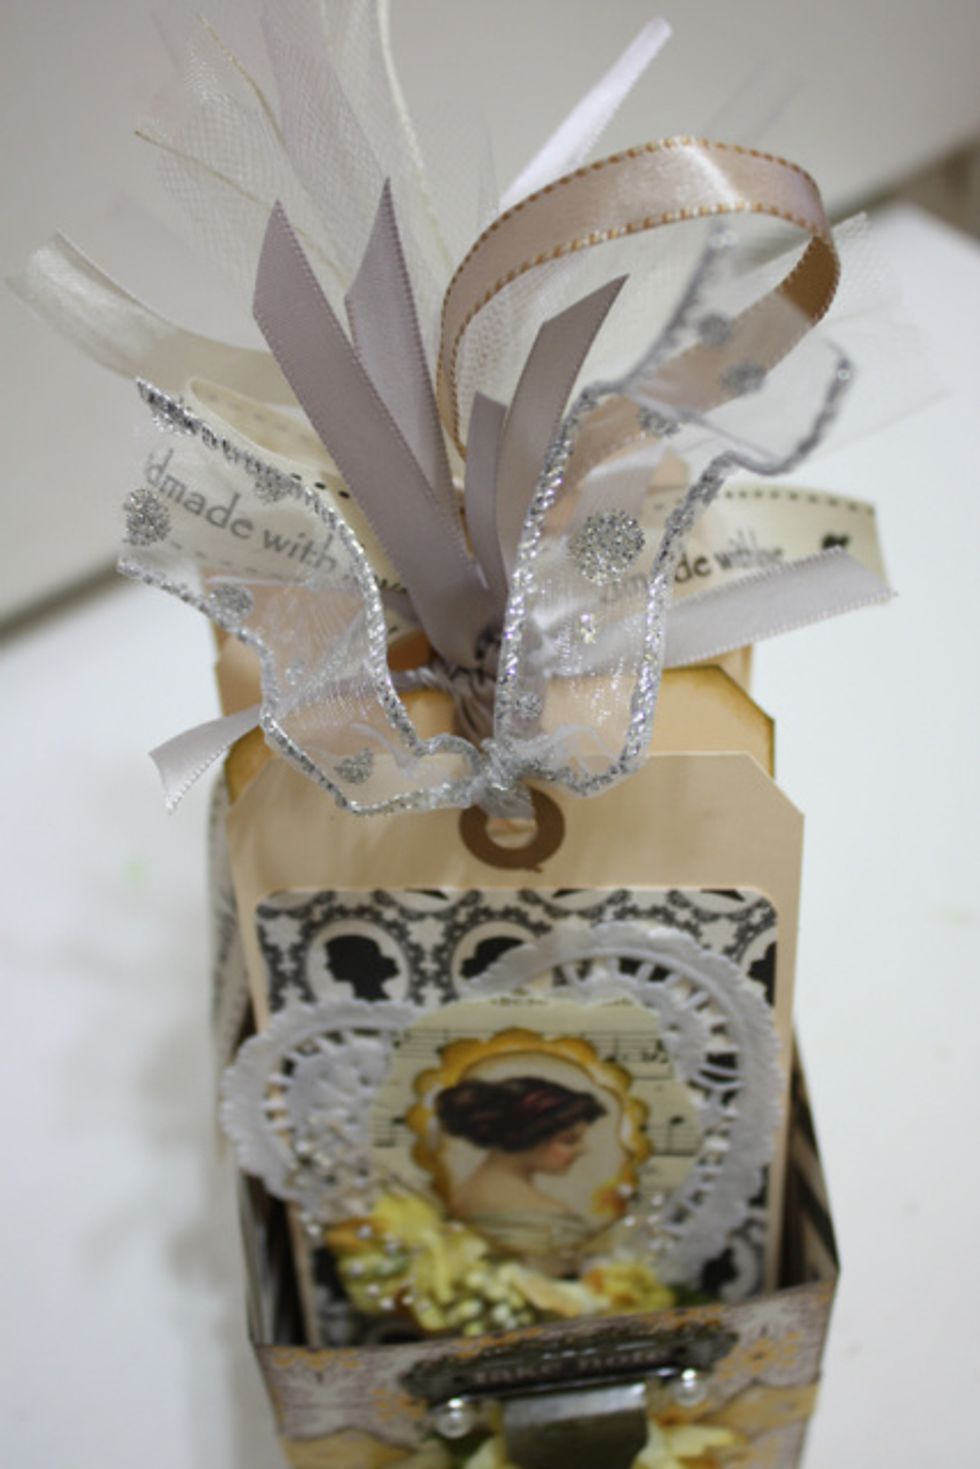
I love how all the ties look so fun coming out of the top! Now anytime I have a gift I need to make I can just grab a tag!
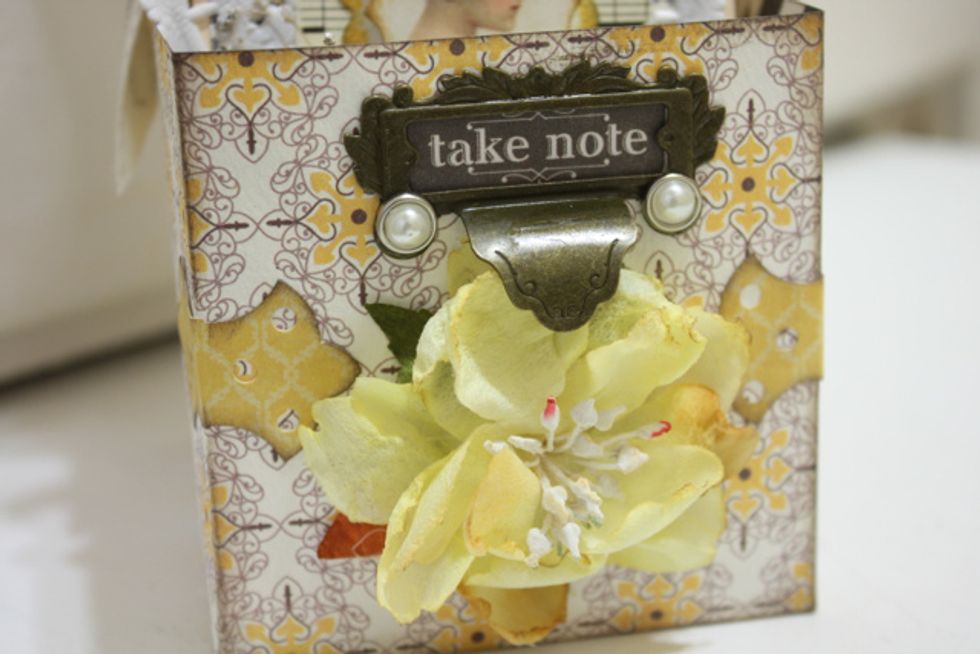
follow me at inmyblueroom.blogspot.com or Petaloo.com
- Authentique Collection Classique: Beauty
- Petaloo Flowers
- Xyron Tape Runner
- Hot Glue
- ScorPal
- Paper Cutter
- Colorbox Distress Ink
- Supplies for decorating
Long Beach, California
The Conversation (0)
Sign Up