The Conversation (0)
Sign Up
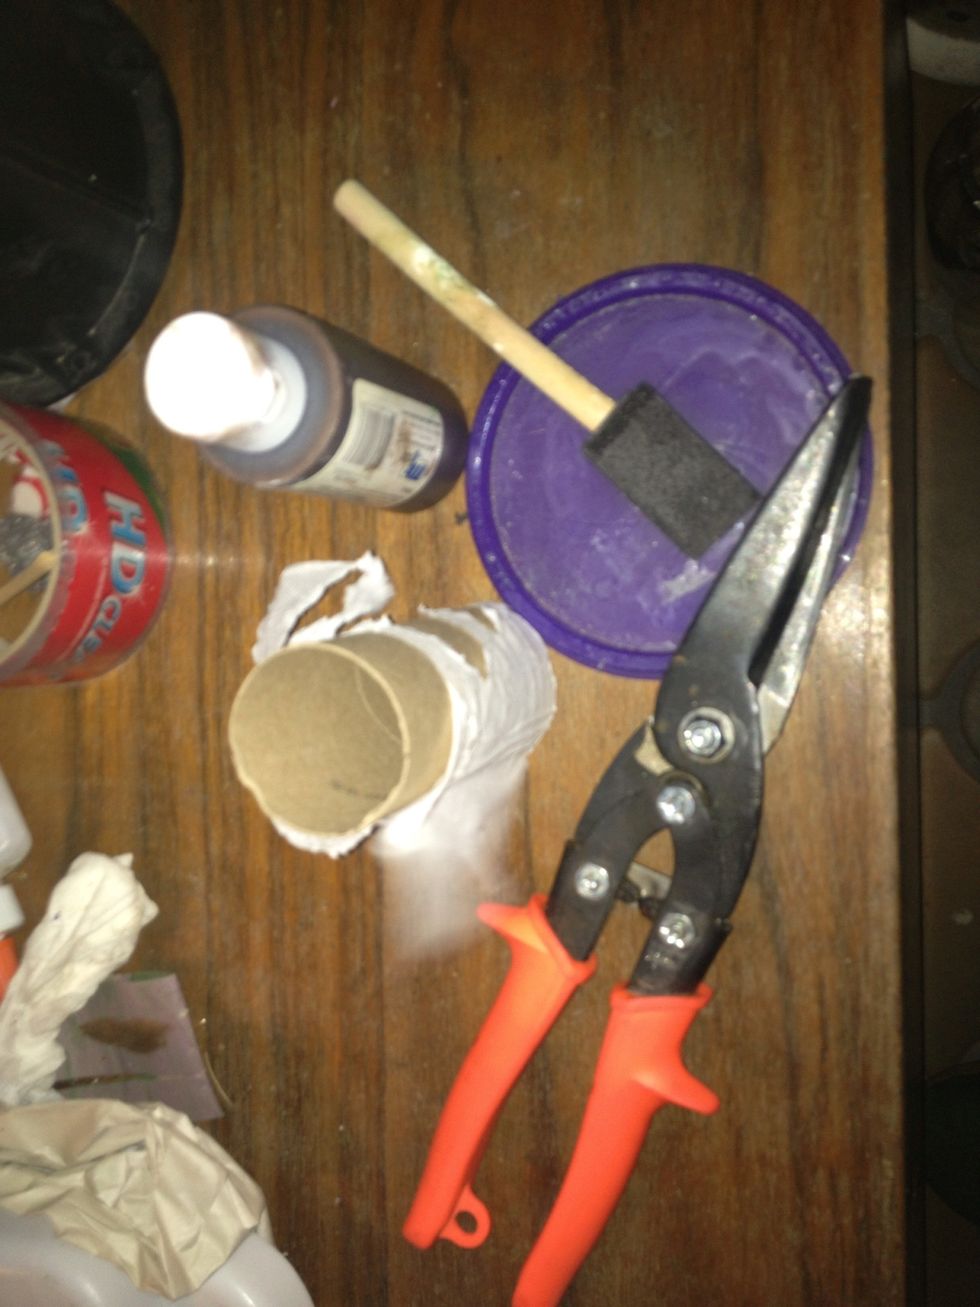
Gather your stuff....
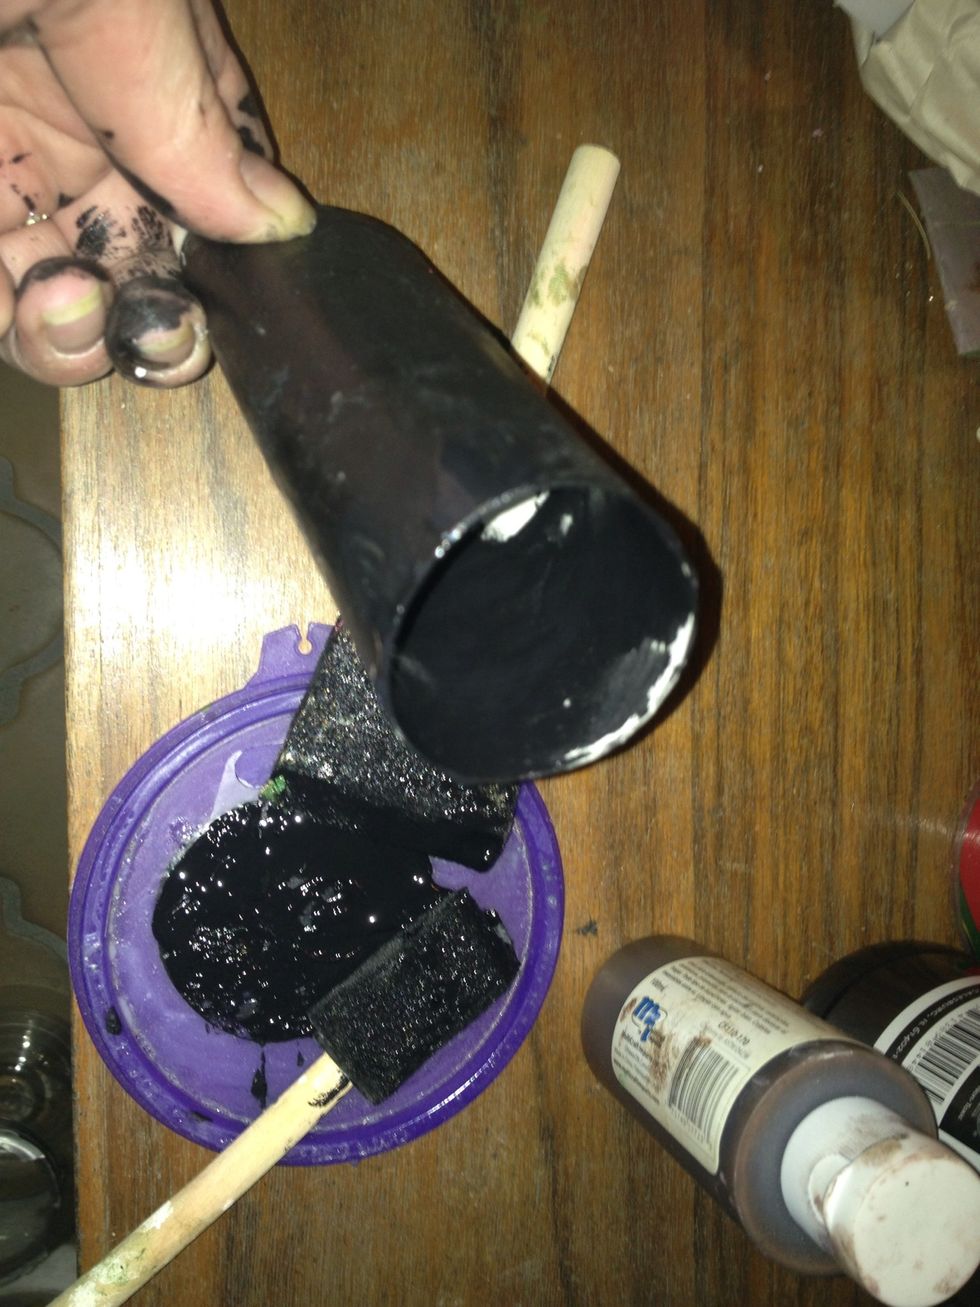
Start with paper roll... Paint inside of rolls first so they can dry while you paint outsides. The paint job doesn't have to be perrrrrfect!
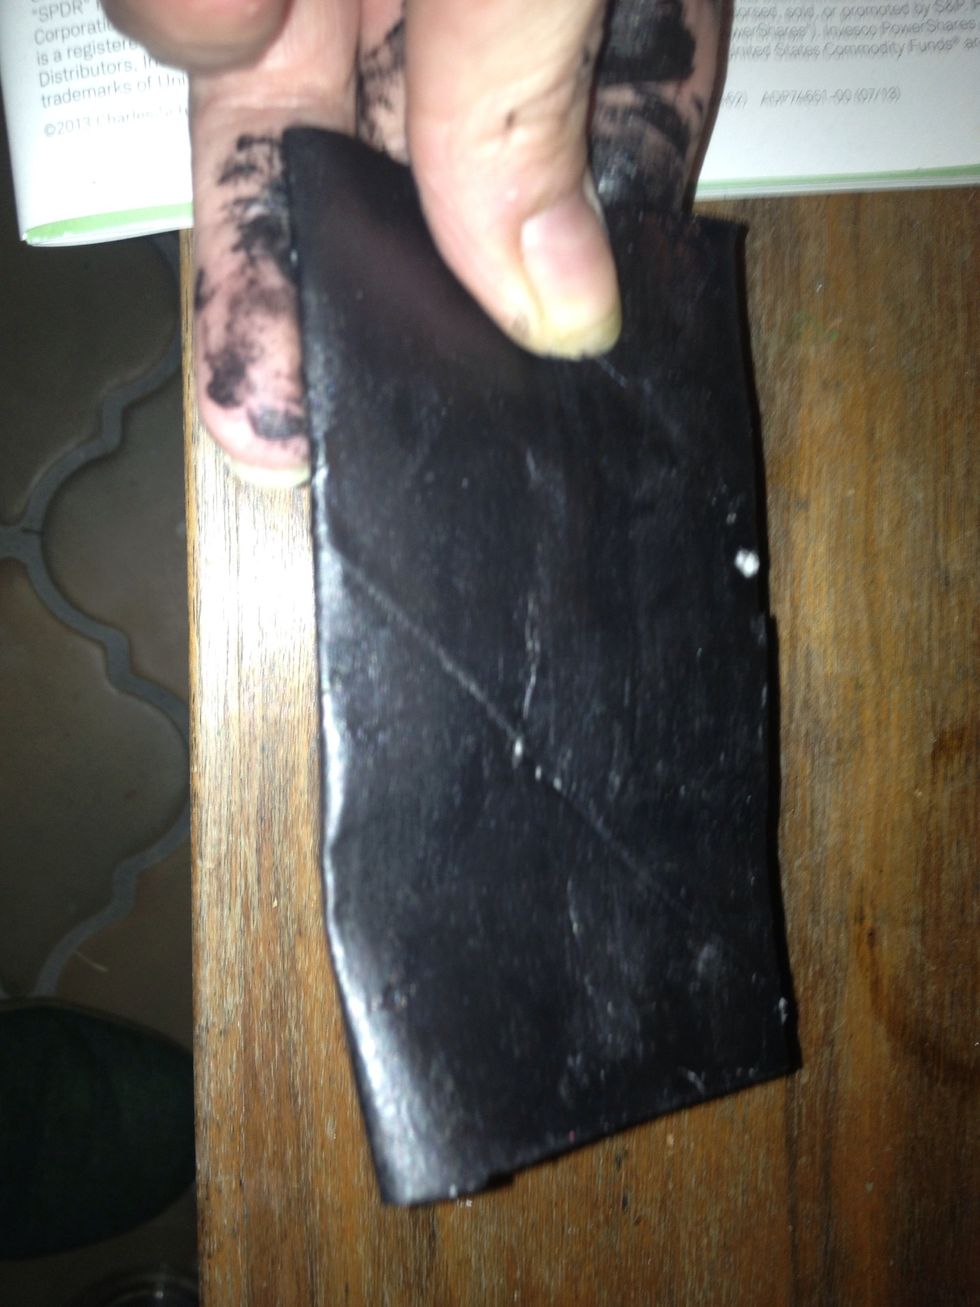
Smoosh down roll and cut
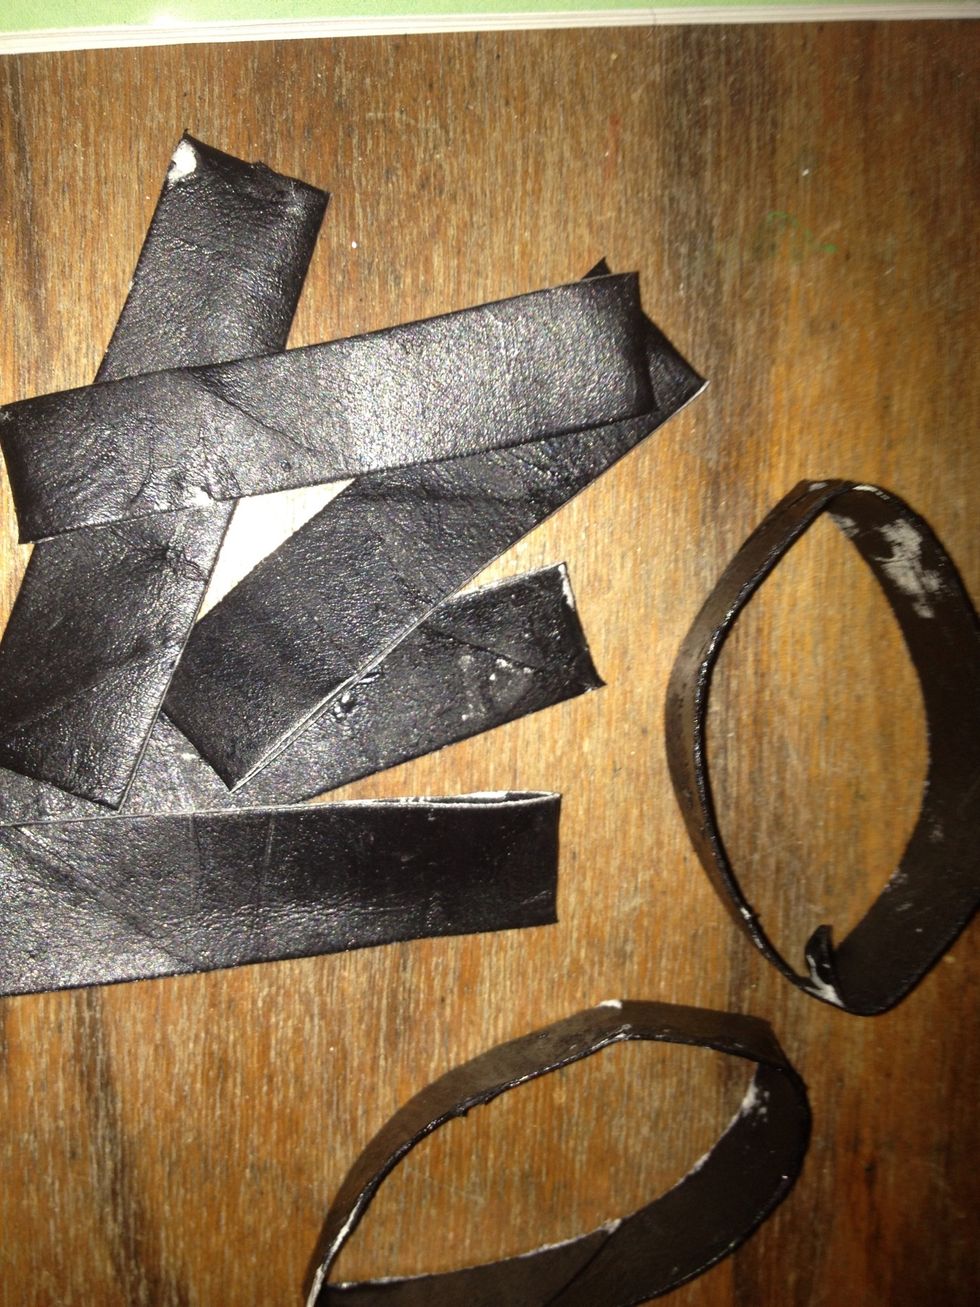
For each ghost you will want to rings for eyes and two for mouth. You can use one half for eyebrows, some for hair or eyelashes or even a swanky moostash and goatee <---where is spell check?!!?
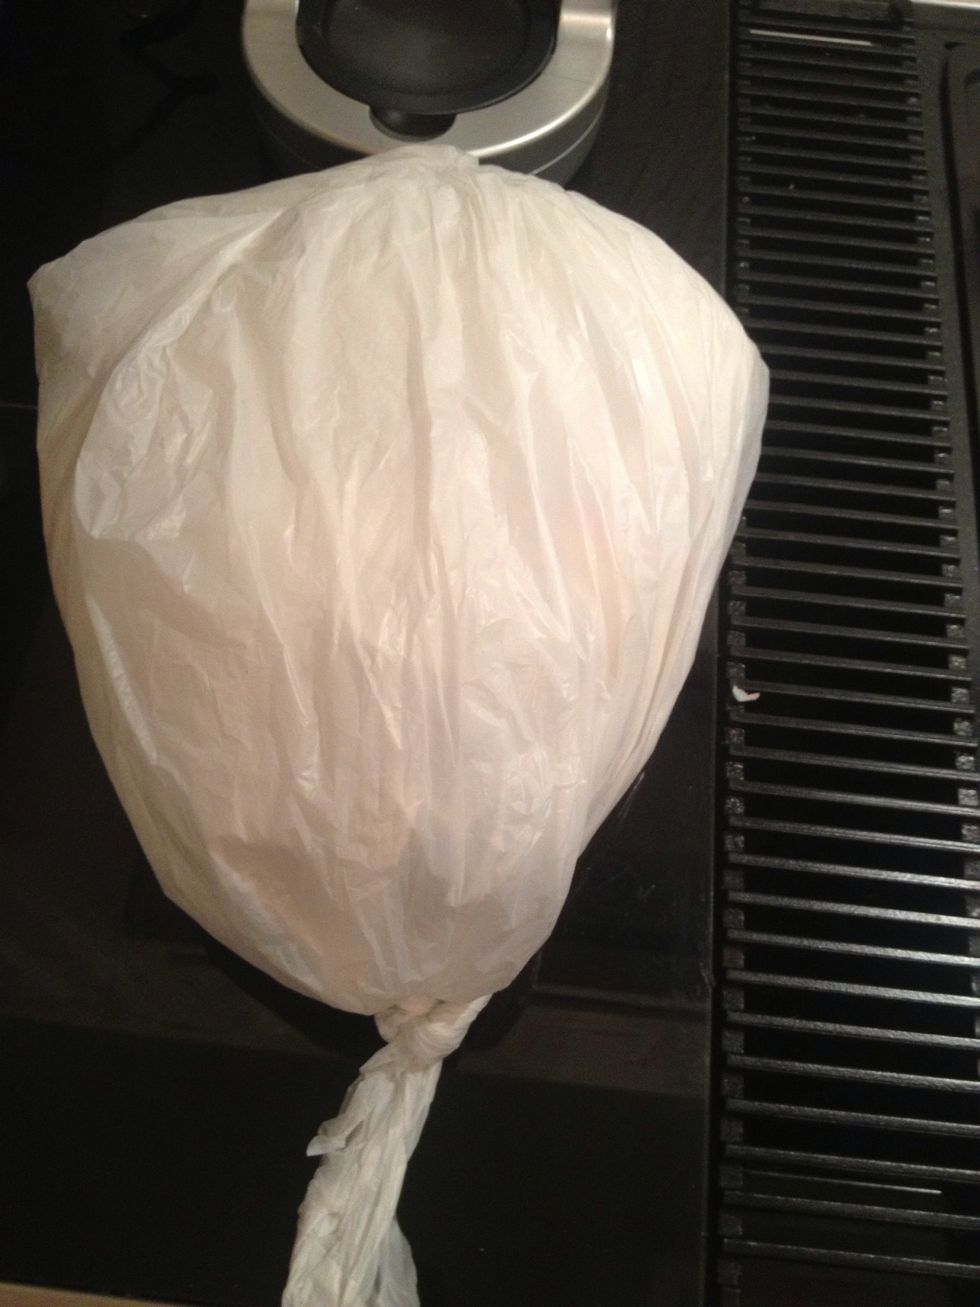
Get white plastic bag and fill and shape to desired look.
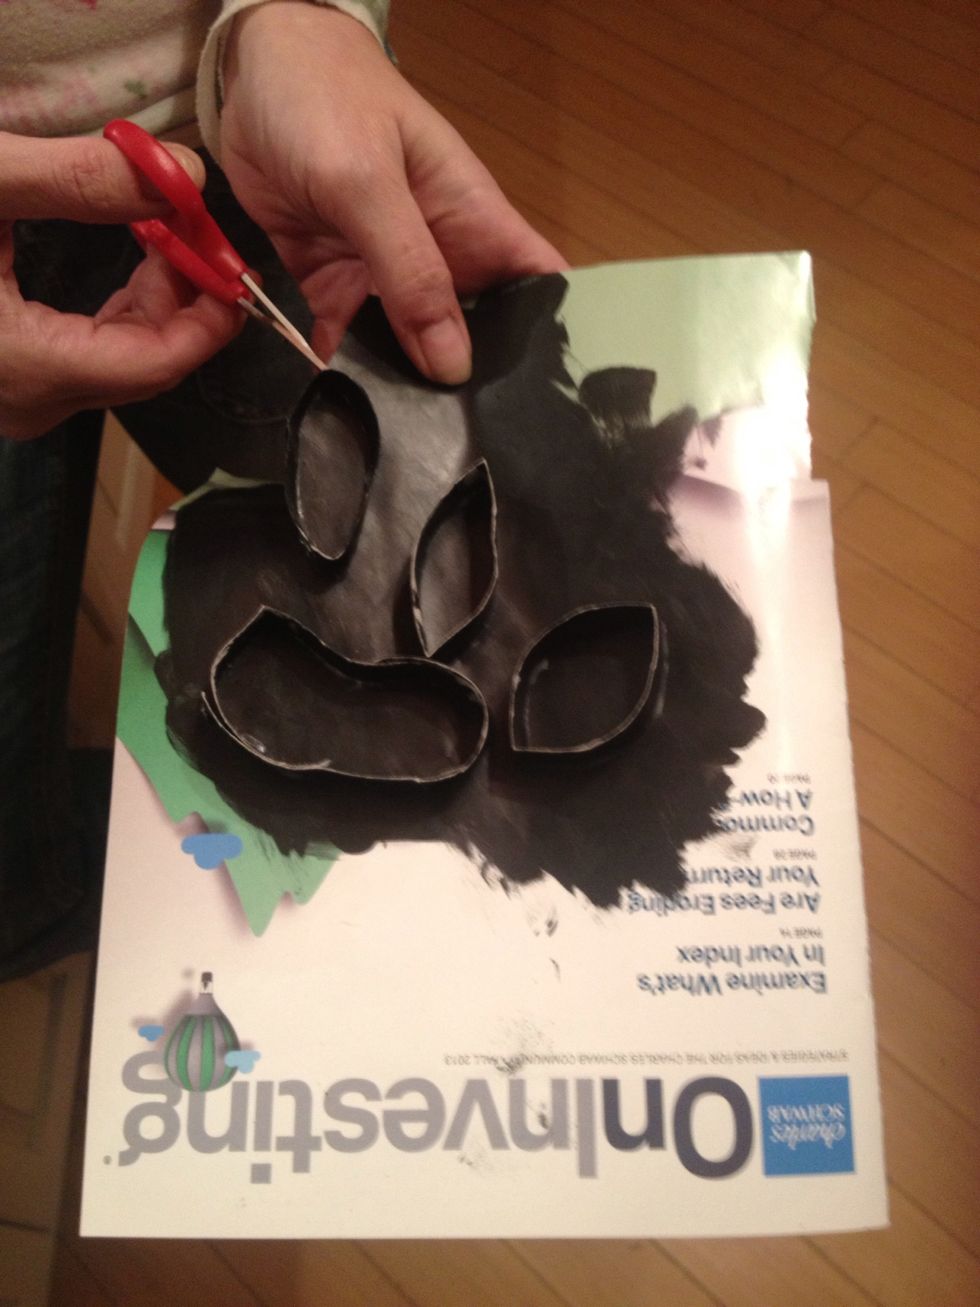
Paint paper black then glue rings to paper. Have a sip of coffee...and then...Cut rings and paper.

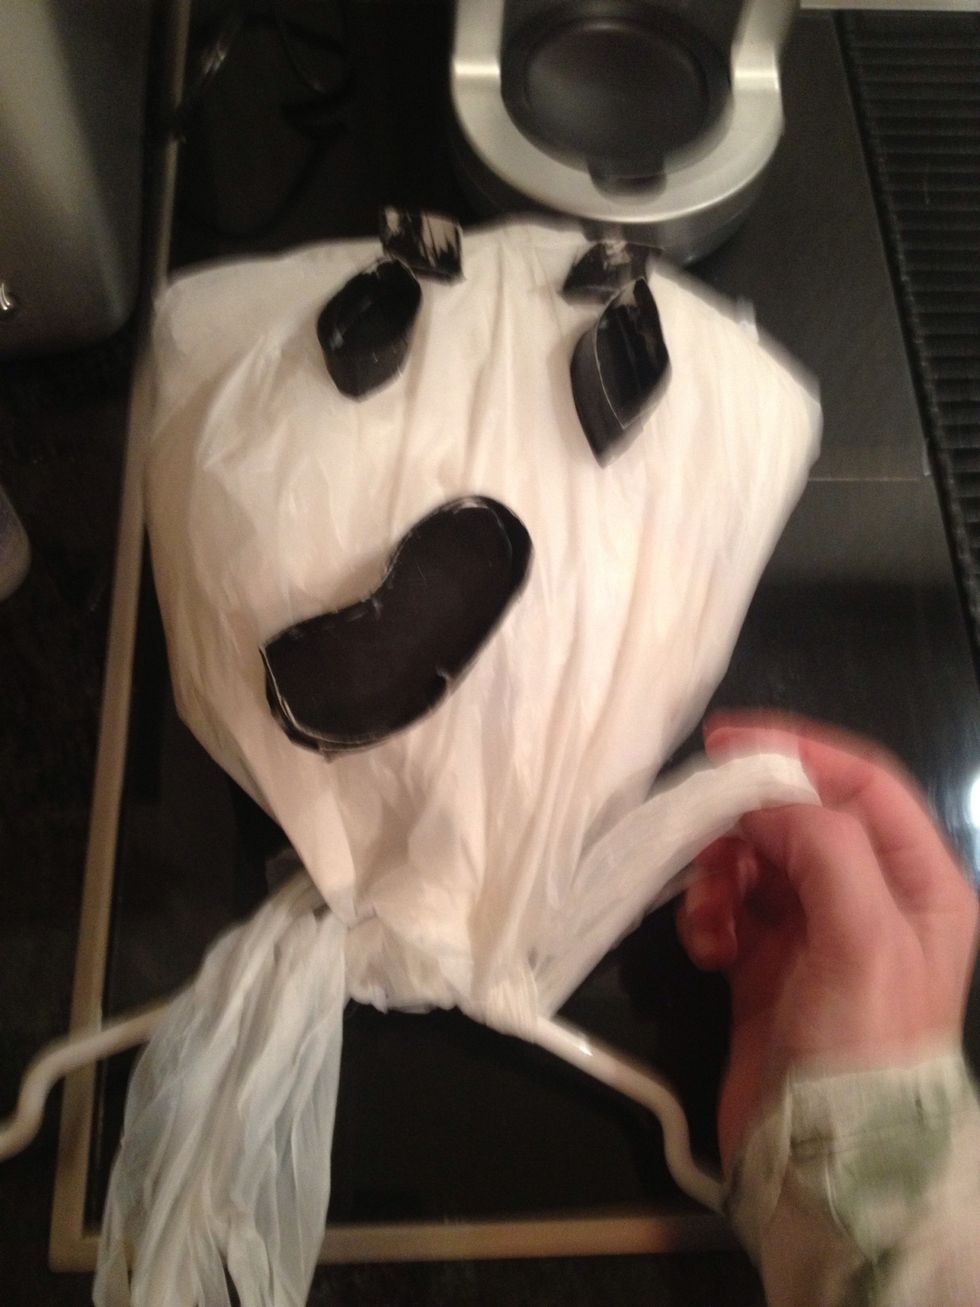
Glue rings to formed head.
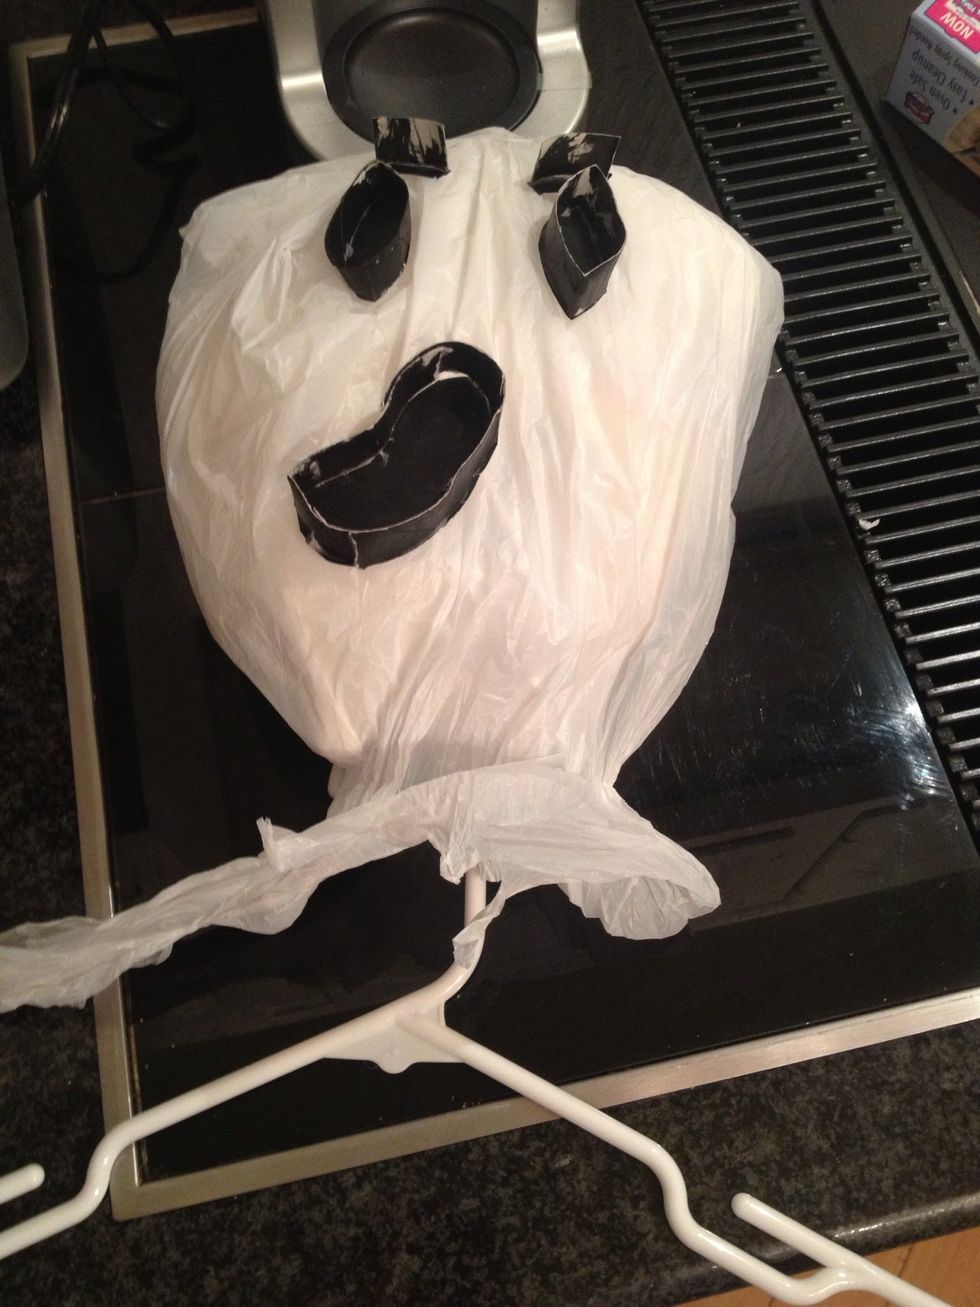
Tie head to hanger. Tape or staple paper and or other bags to hanger to make chest and then body. *extra tips Pull and stretch plastic to make more realist texture and attach string to various areas.
But wait!!!! If you order now you also get an extra extra tip! Tie the heads in different positions. Let some flop or tilt downward or to the side.
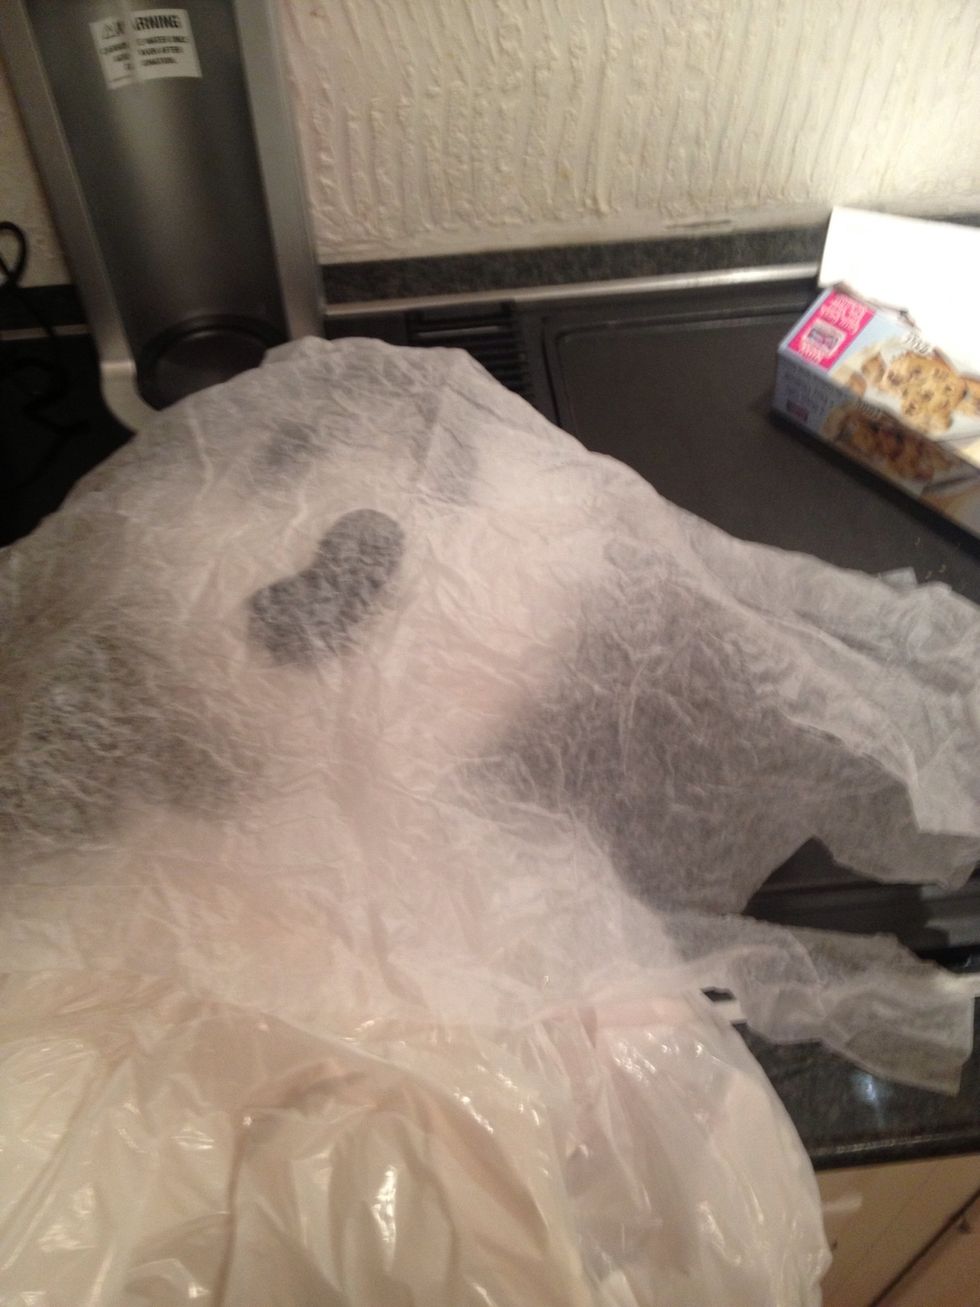
Crumple wax paper or even iron if you feel real pro style (to remove the shine. Stretching the plastic will also help remove shine from the bags! Either Staple or hand sew the wax paper over head.

Add more plastic bags to make shape.
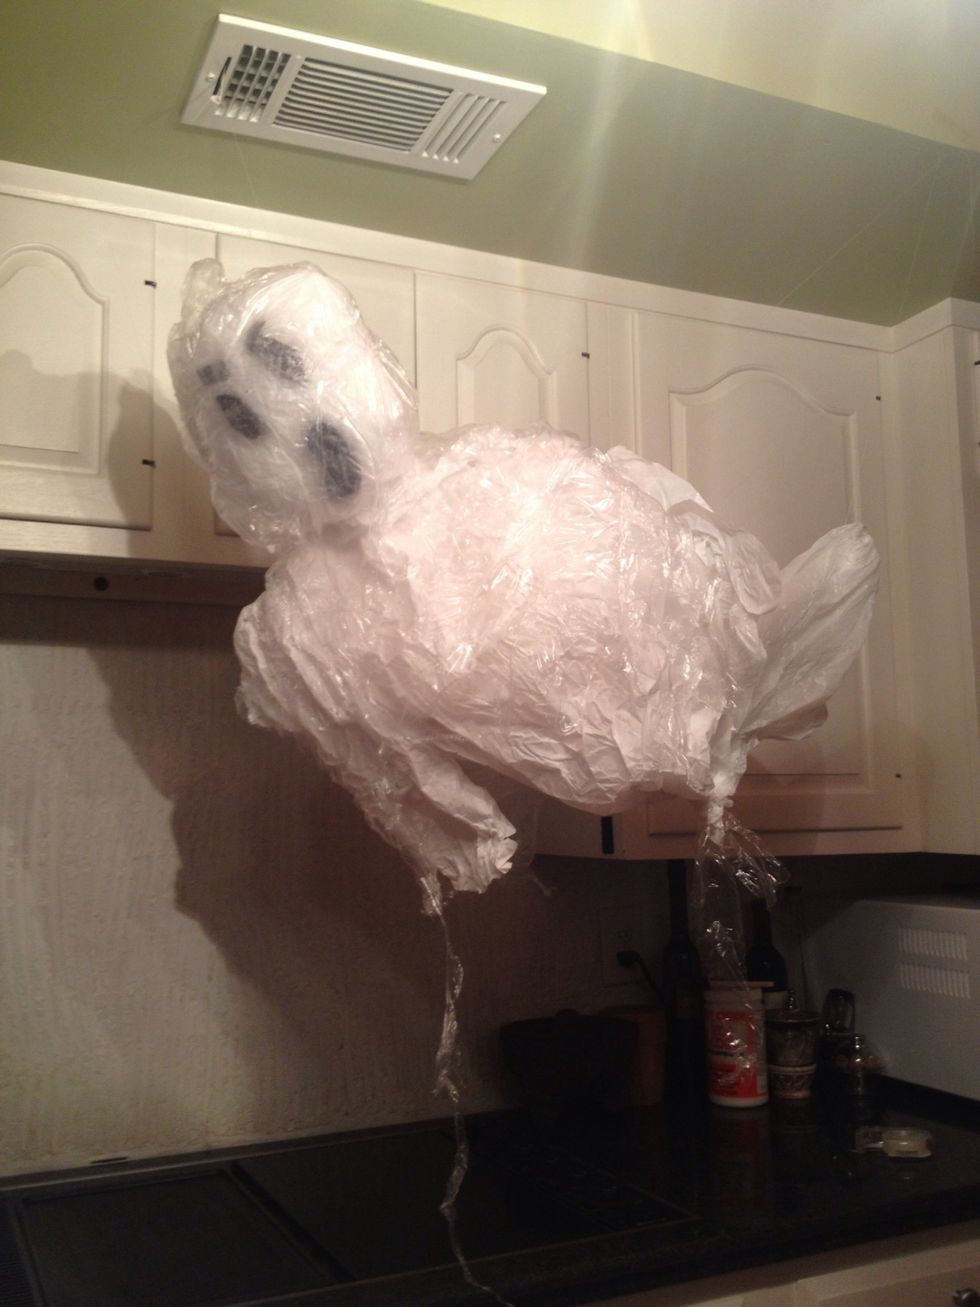
And there you are. Your very own upgraded trash bag ghost! Total time per ghost if you do assembly line style is about 15 minutes. Happy Hollowsweenies!!!