The Conversation (0)
Sign Up
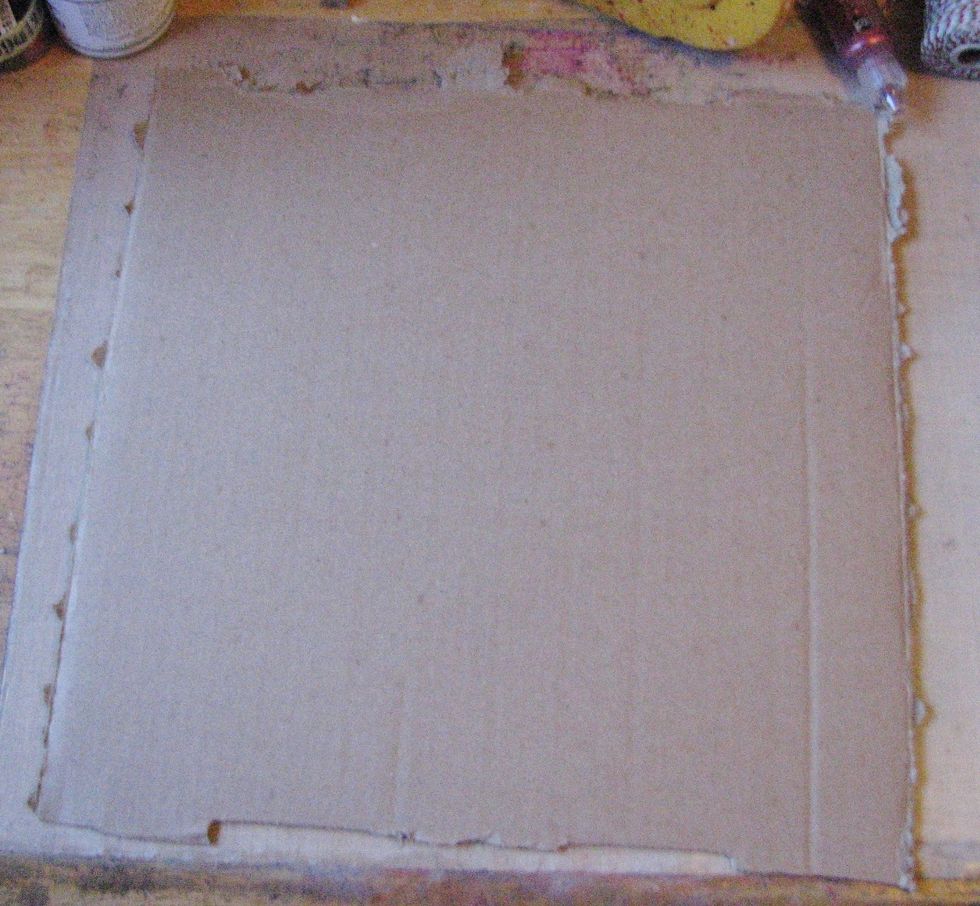
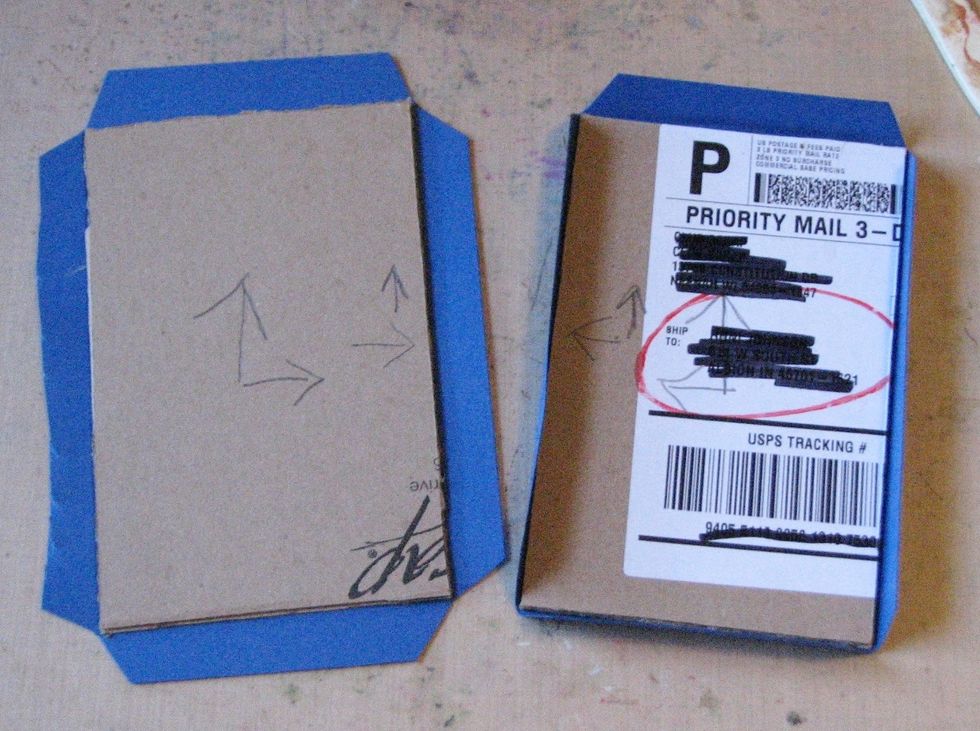
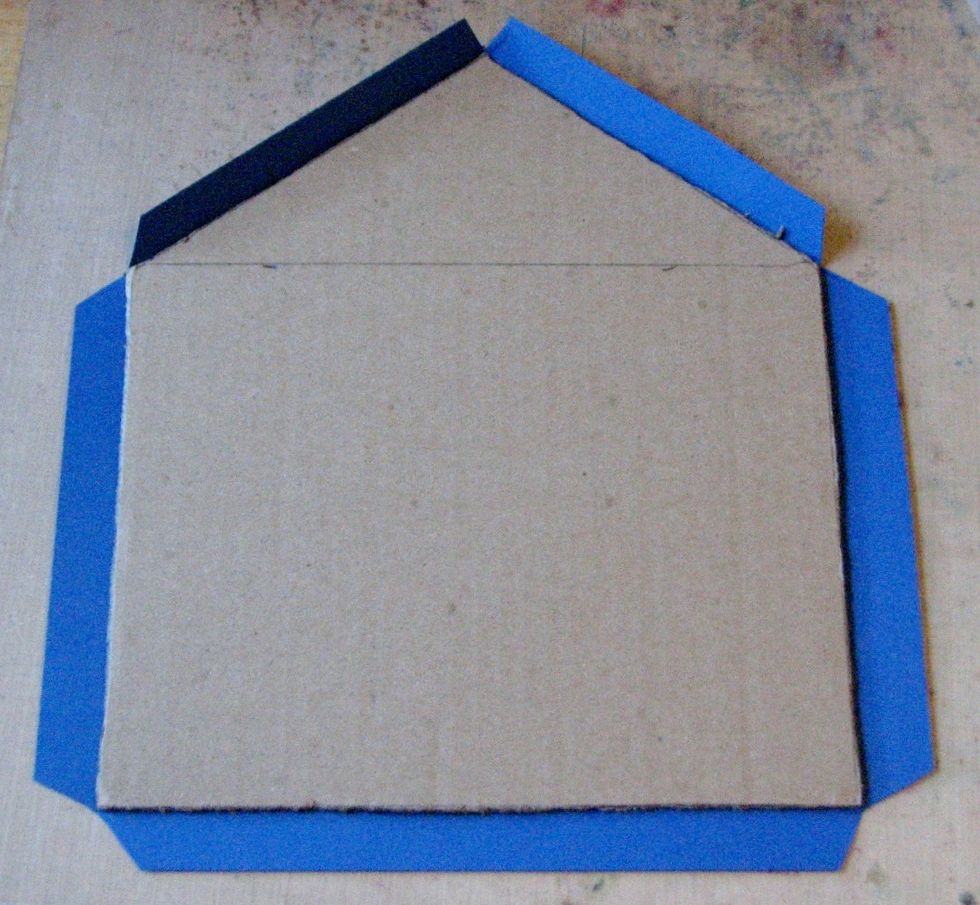
If you are using the pizza box that the Club Scrap kit comes in, trim off the sides so you are left with a nice sheet of chipboard (example is 13"x13").
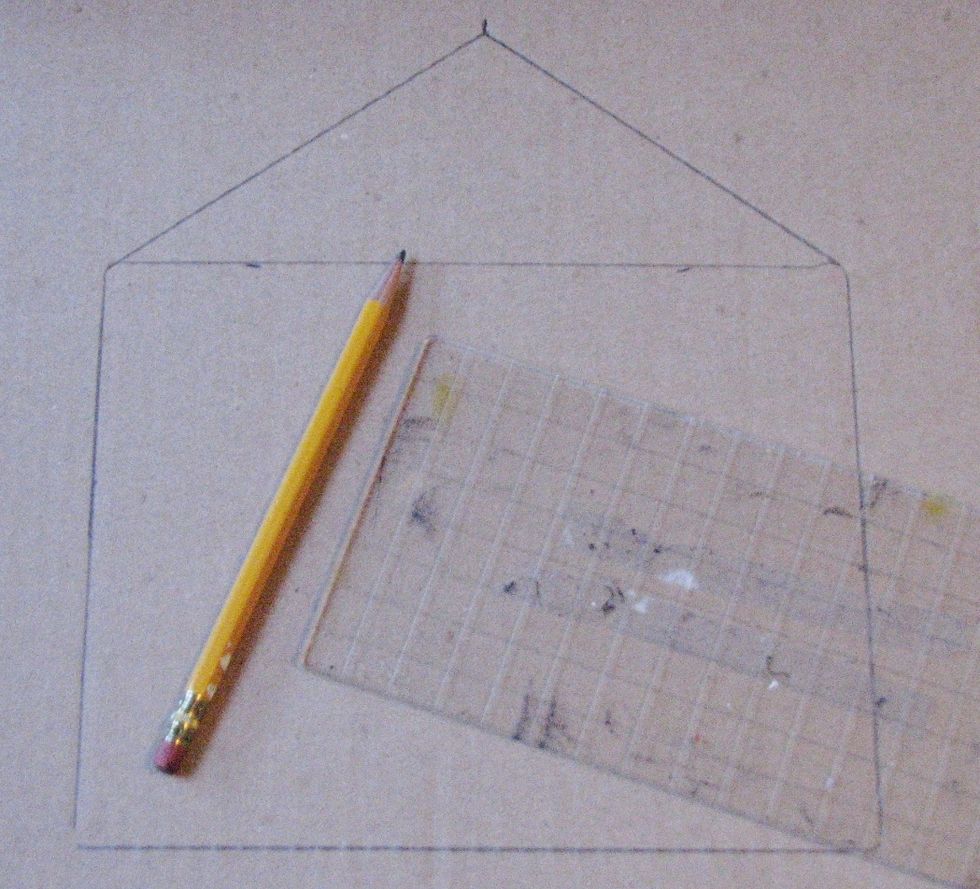
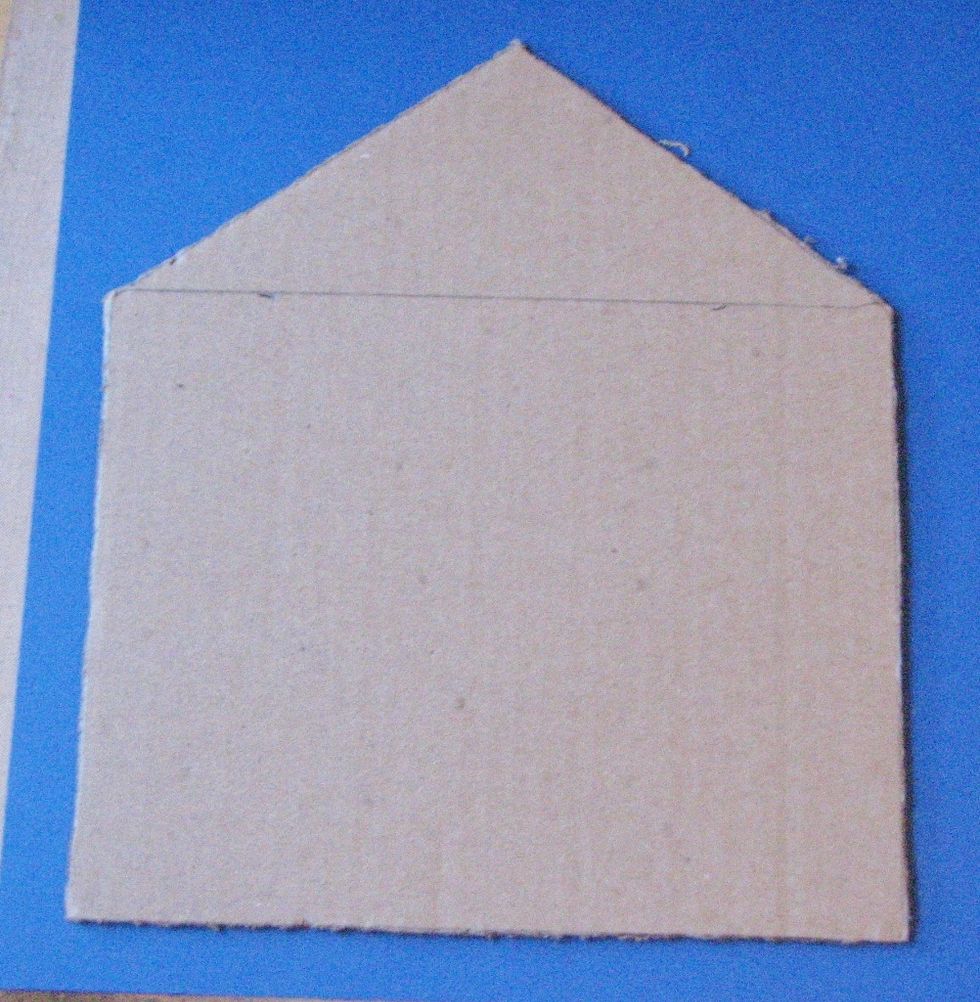
Trace the general shape of your house on the chipboard. The base of this house measures 8" across x 6.5" tall not including the peak. The peak adds an additional 3".
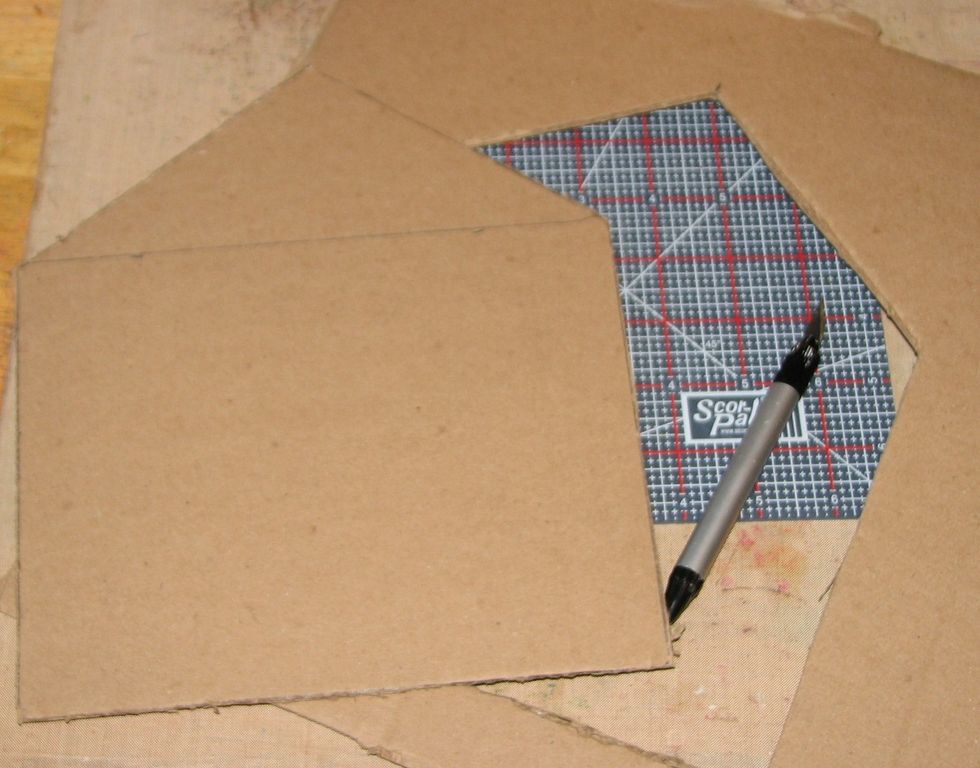
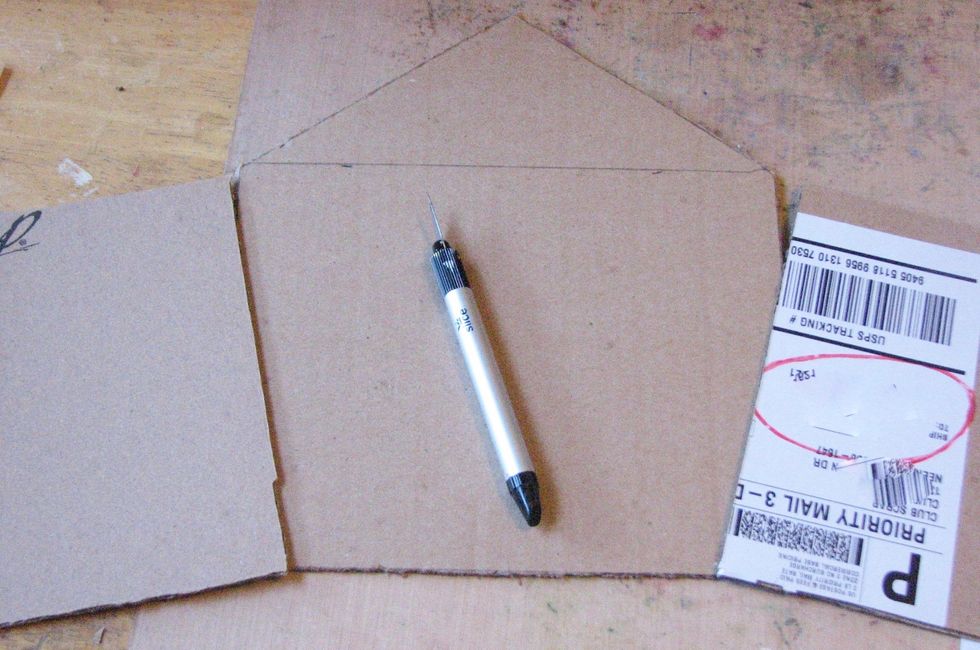
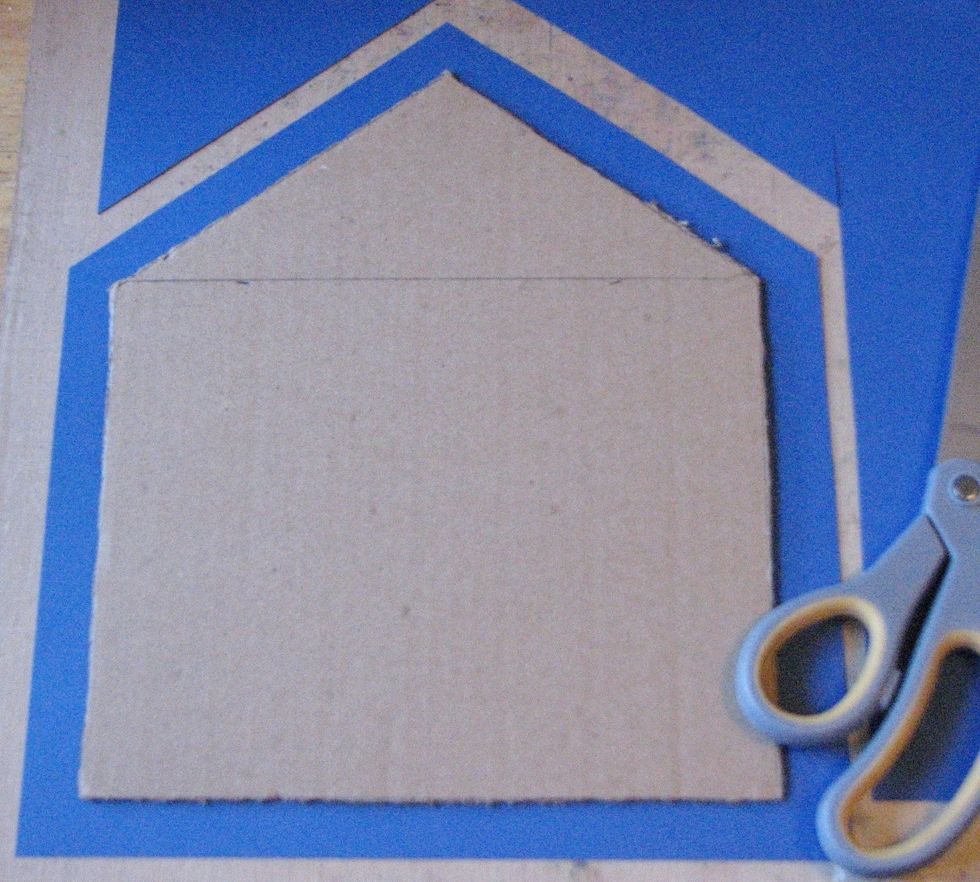
Trim the house from the rest of the chipboard using a sharp craft knife.

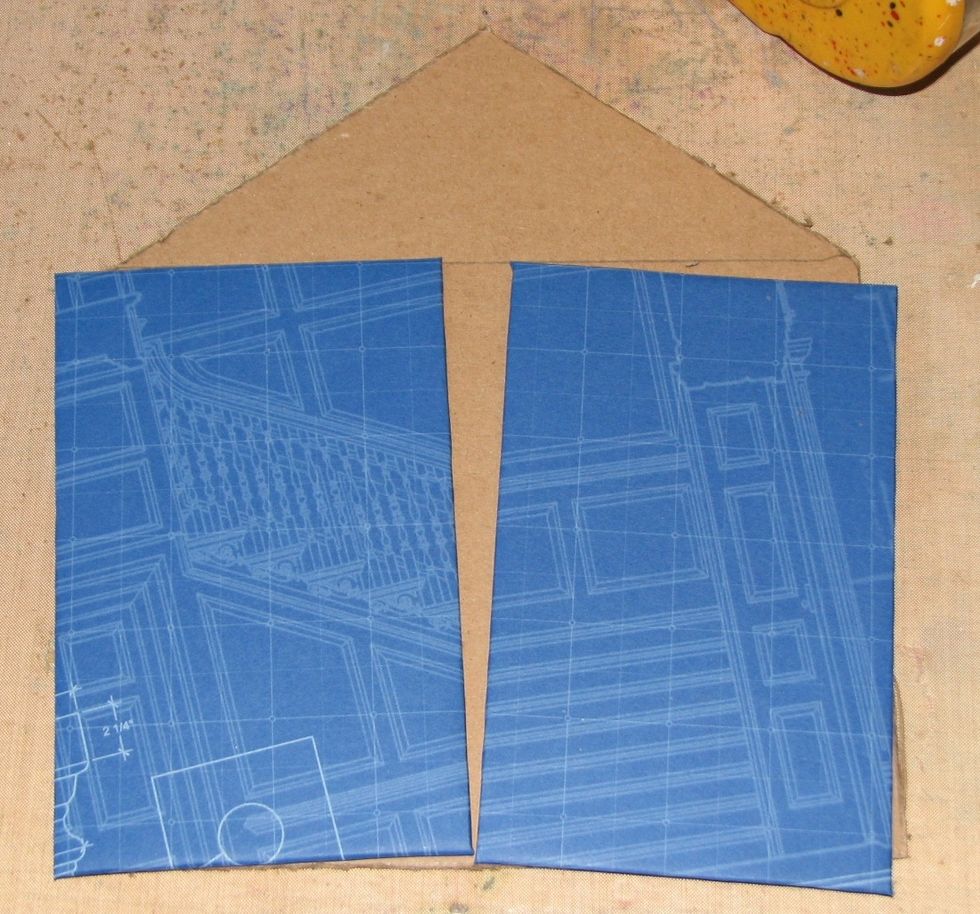
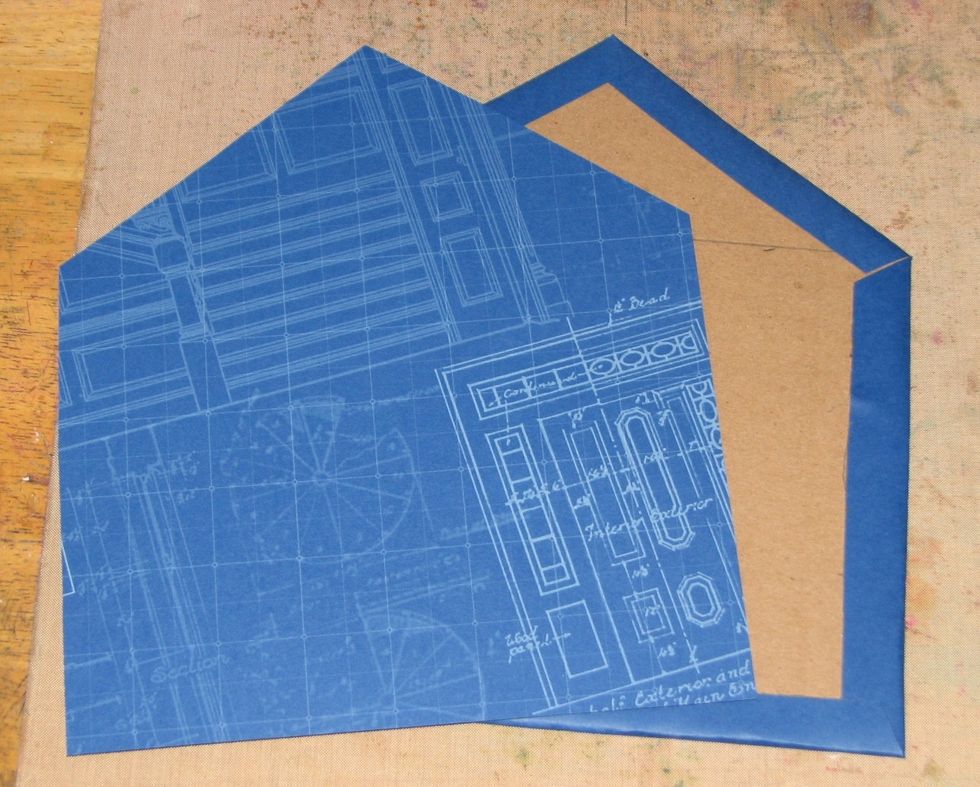
Trace a rectangle onto the second piece of chipboard that is the same size as the base of the house - in this case 8" x 6.5"
Cut the rectangle out. You can now cut the rectangle in two to create two doors for your album or leave it whole for a single album cover. I am using two doors to create a gate fold album.
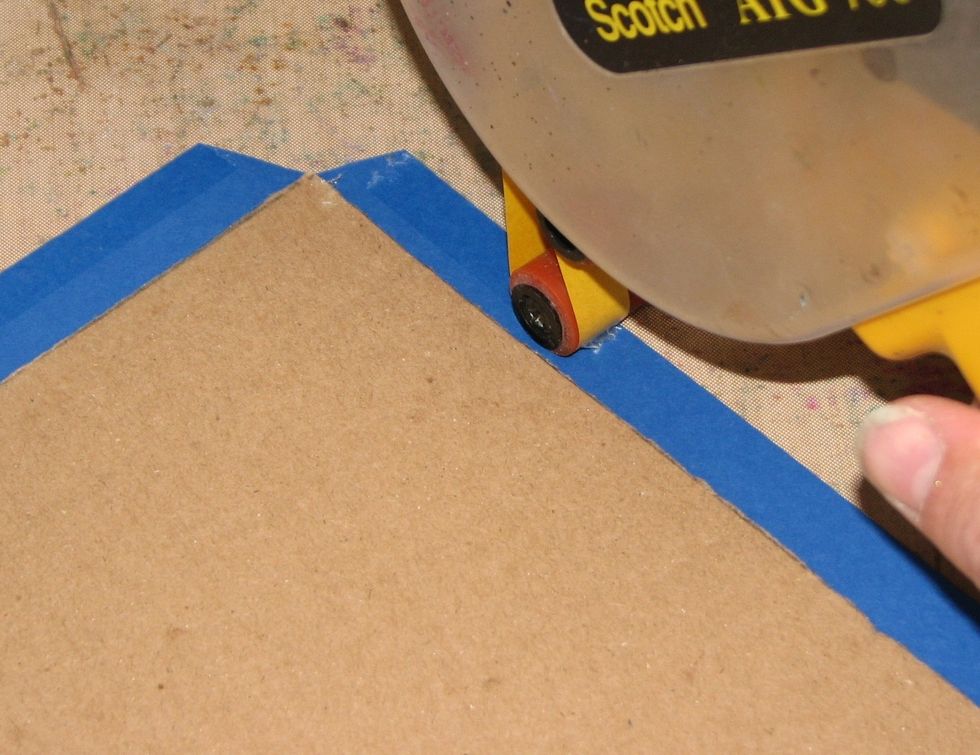
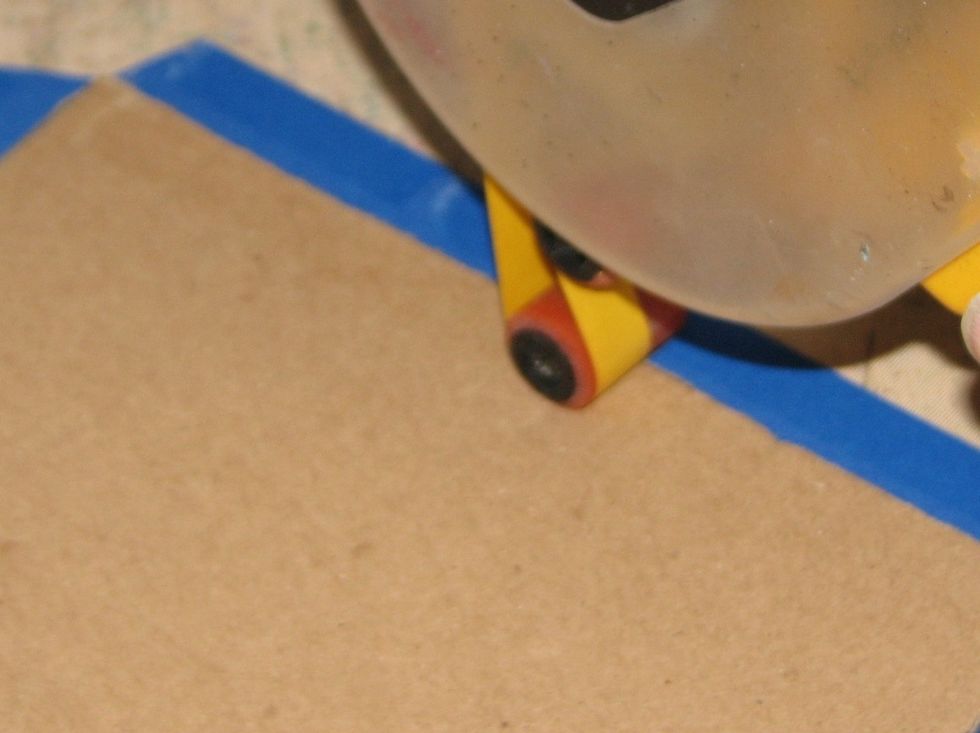
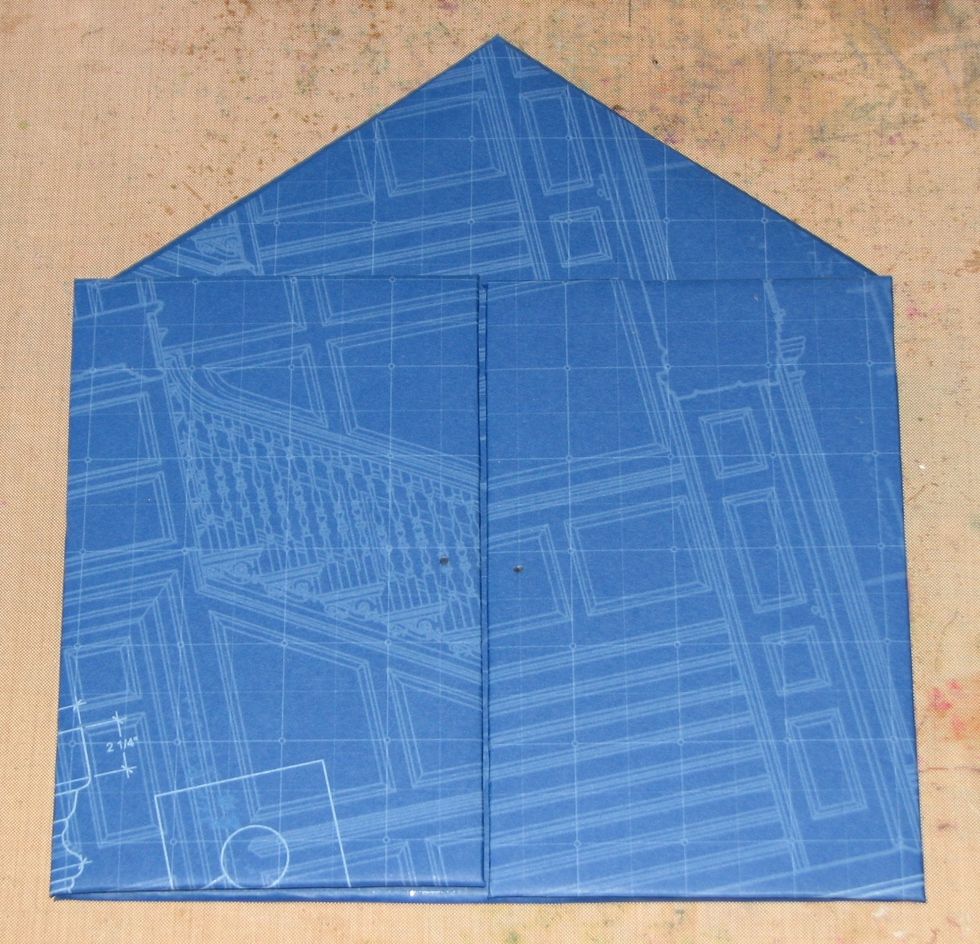
Cover both doors with cardstock - cover front - glue to the cardstock; trim leaving 1/2" around all edges; cut away corners, fold over and glue down. Trim a cardstock panel to cover back of doors.
Finished doors.
Cover the album base just as you did the doors/front covers.
Mount the album base onto cardstock and trim away excess.
Cut away corner notches and crease flaps.
Apply adhesive to both the cardstock tab...
and the chipboard base.

Fold the flaps over to secure.
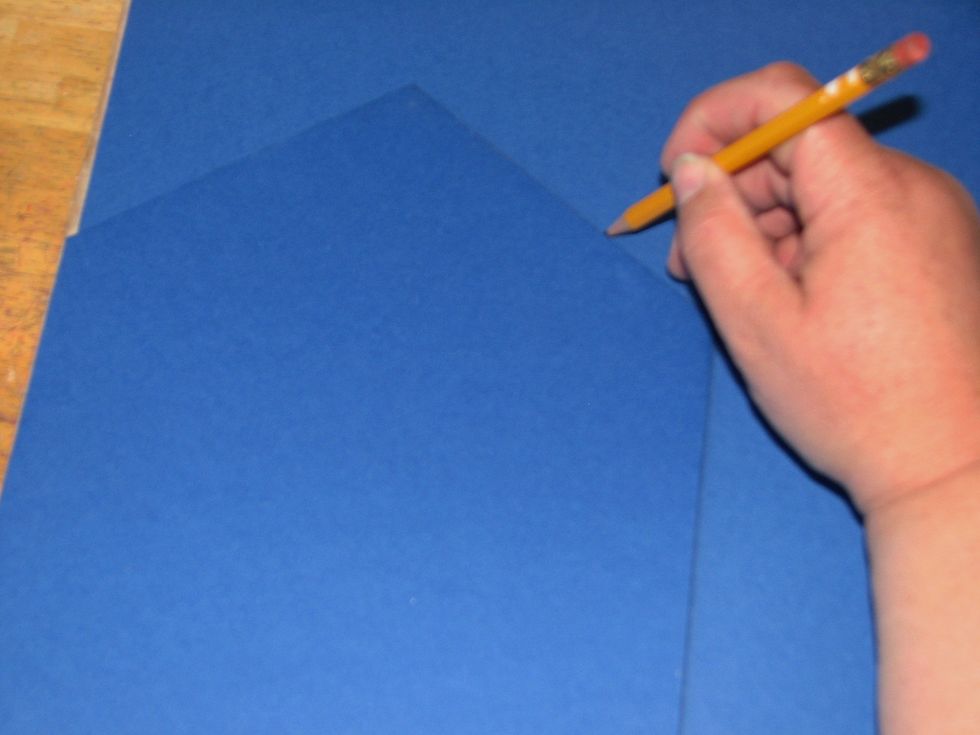
Trace the house shape onto a second sheet of cardstock - this will cover the inside of the album.
glue it down and you're set to go!
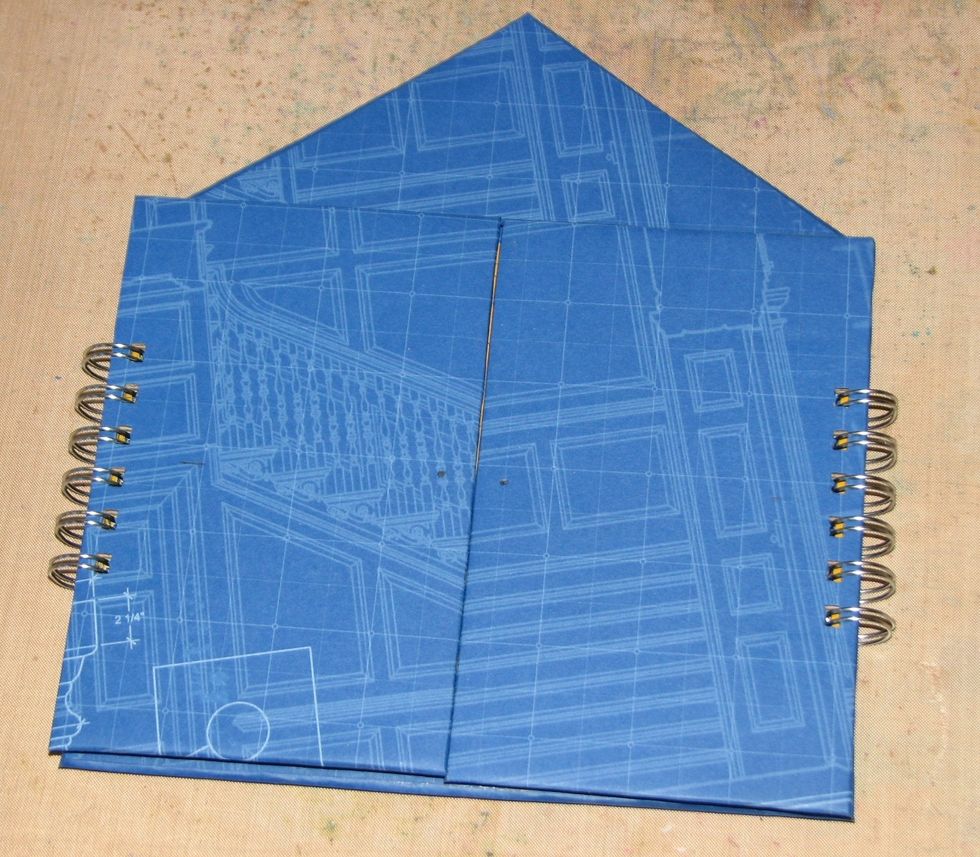
Your album base and cover(s) are finished.
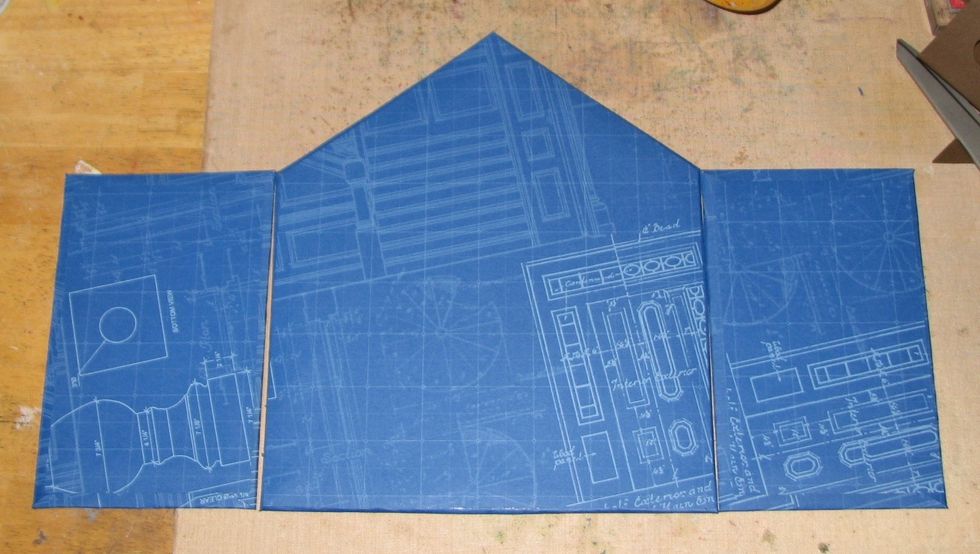
Doors/cover(s) open.
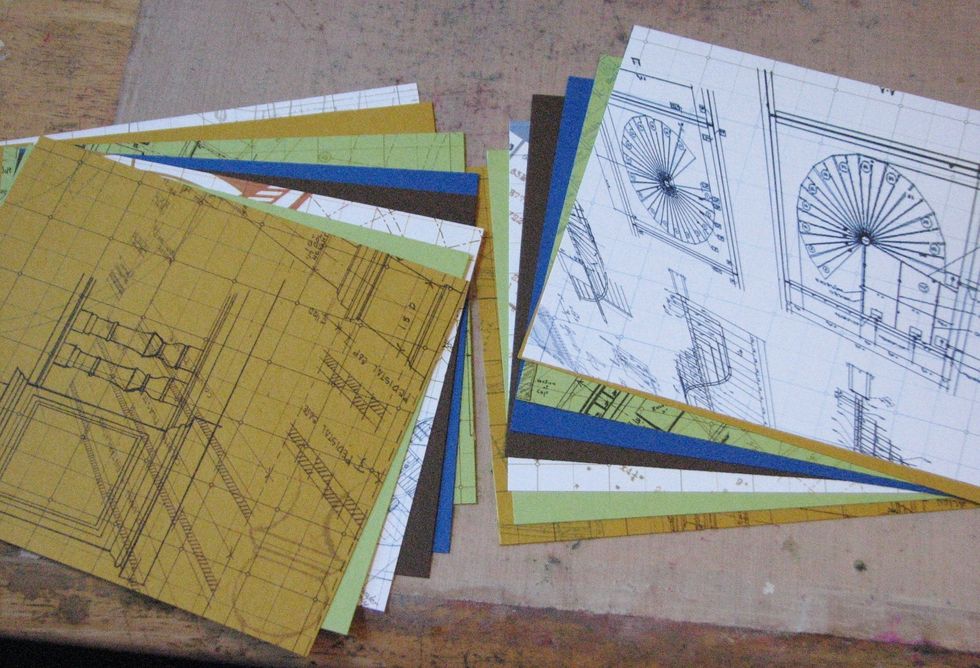
Cut pages for the album. Since the example is an 8" x 6.5" gate fold album I cut two sets of 7" x 6" pages. If you are making a single spine/cover album, cut one set of pages.
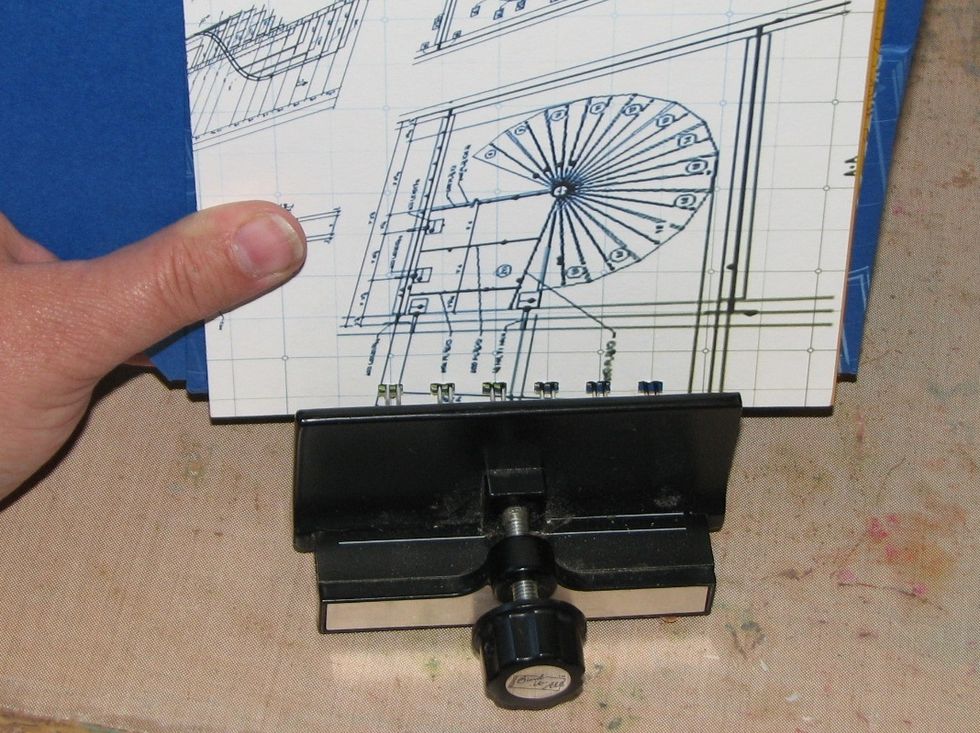
Time to bind - I start off by punching holes in the doors to ensure proper placement on the base. Center the door/cover and punch.
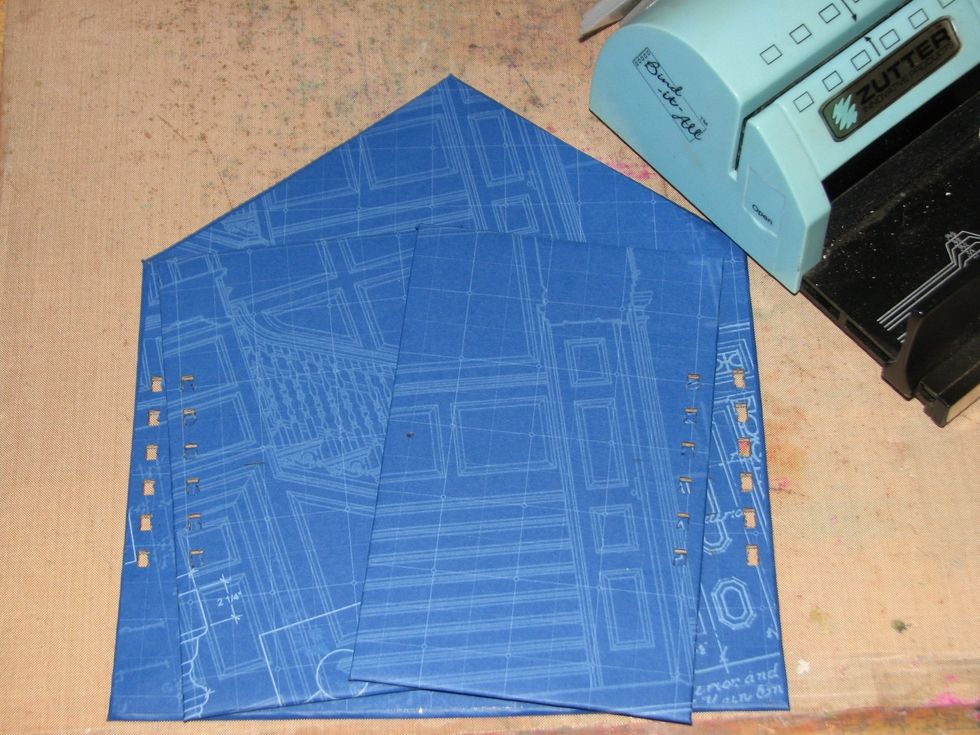
Use the doors to determine where the holes on the album base should go. I positioned them where desired, added pencil ticks and punched.
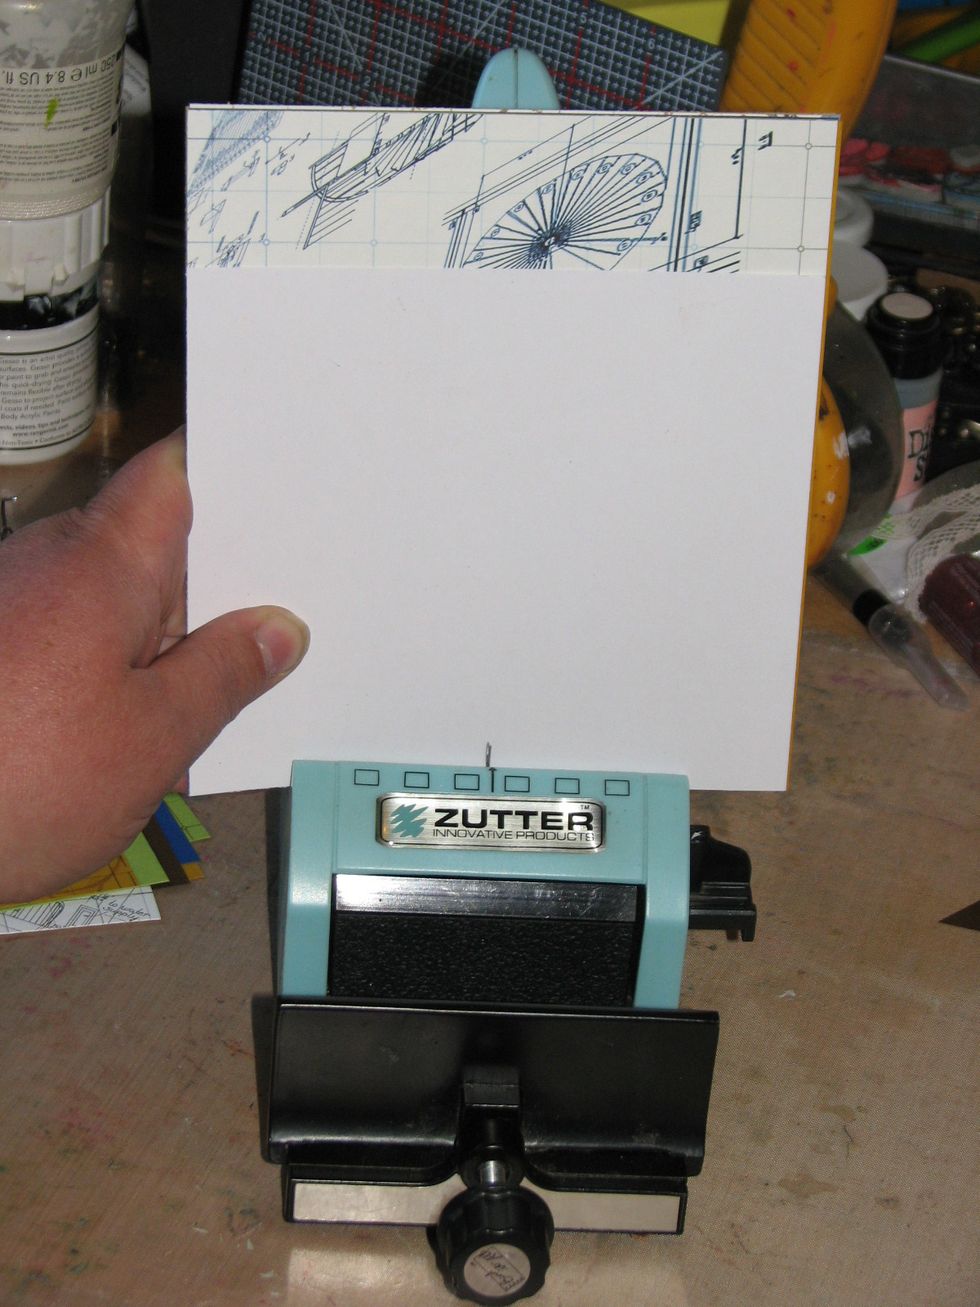
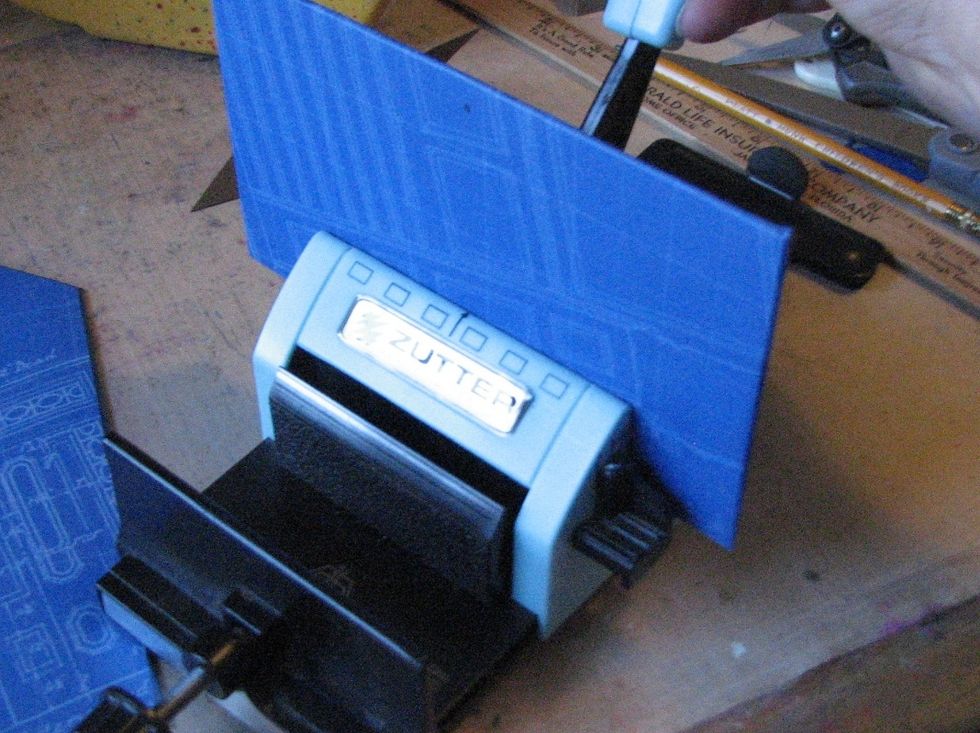
Find the center of your inside pages and align it with the given mark on the cutter. I am using a piece of scrap cardstock to use as a guide.
Once holes have been punched in the album base, cover and pages, insert a piece of o-wire into the base, add the front cover and pages.
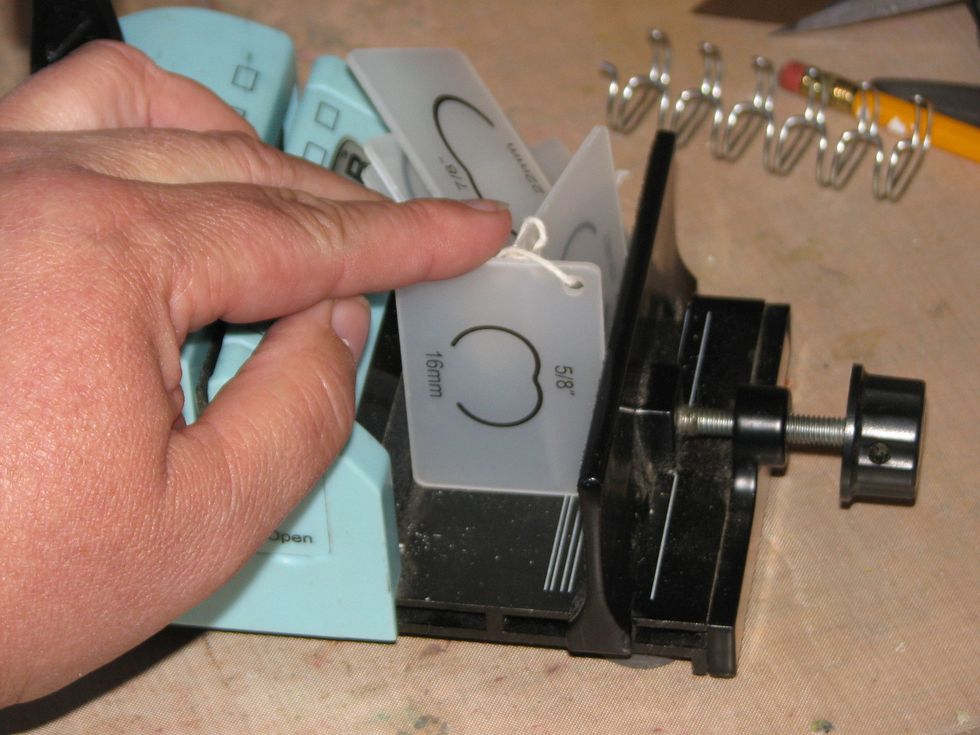
Make sure the machine is set to the corresponding o-wire size that you are using to bind your album to ensure a proper finish.
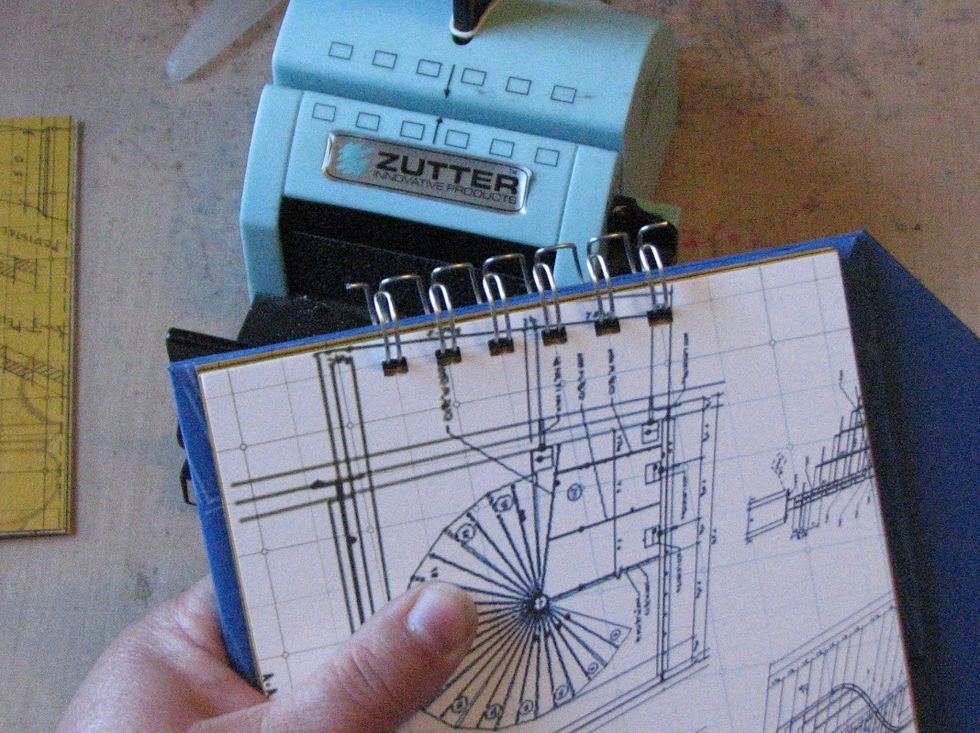
Squeeze the o-wire shut.
Repeat on the second side if you are making a bi-fold album as shown in the example.
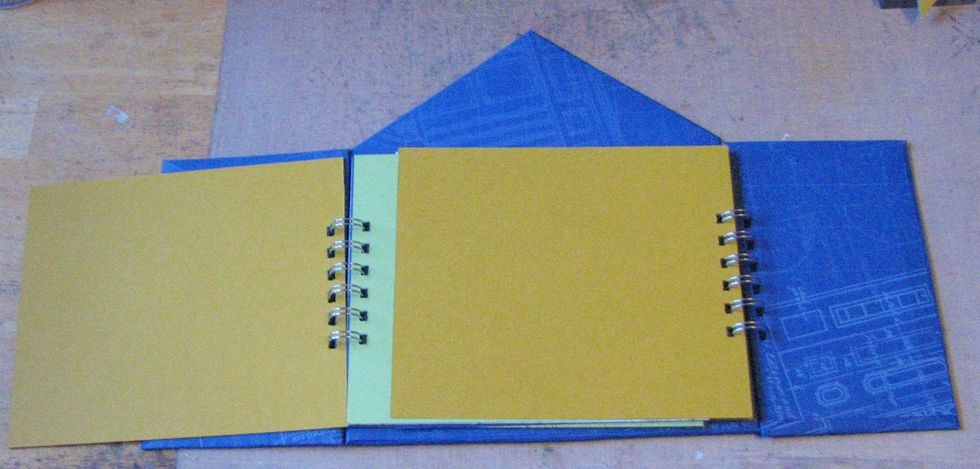
Close the pages up....
And your album is ready to be embellished!
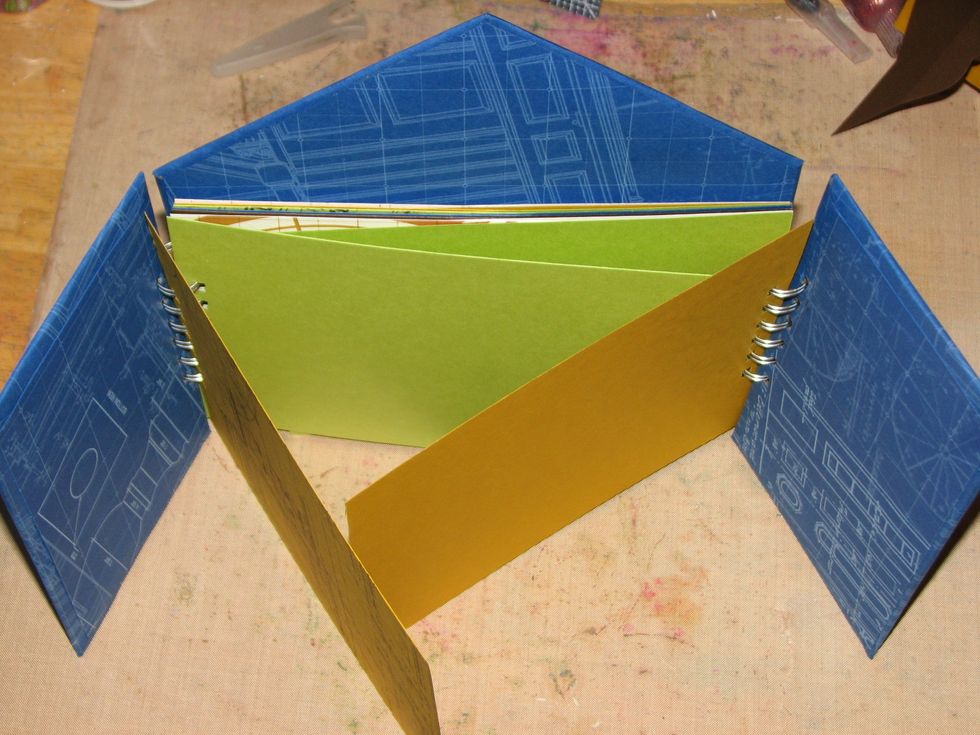
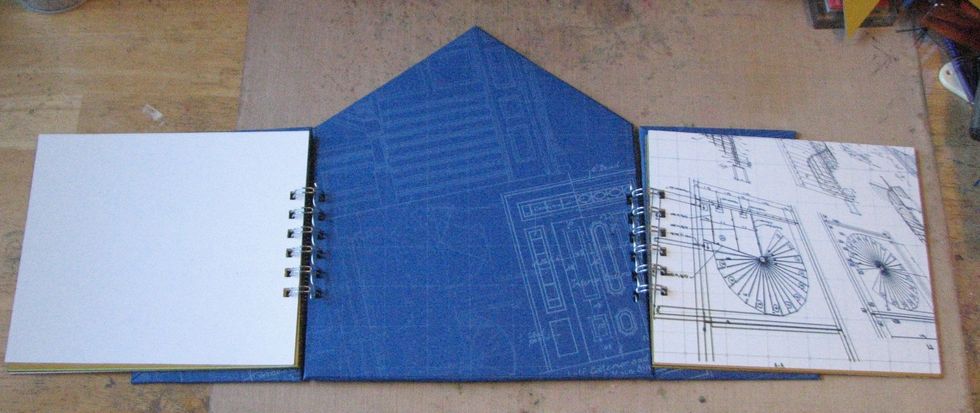
Here is a top view of how this bi-fold/gate fold album looks once it has been assembled.