The Conversation (0)
Sign Up
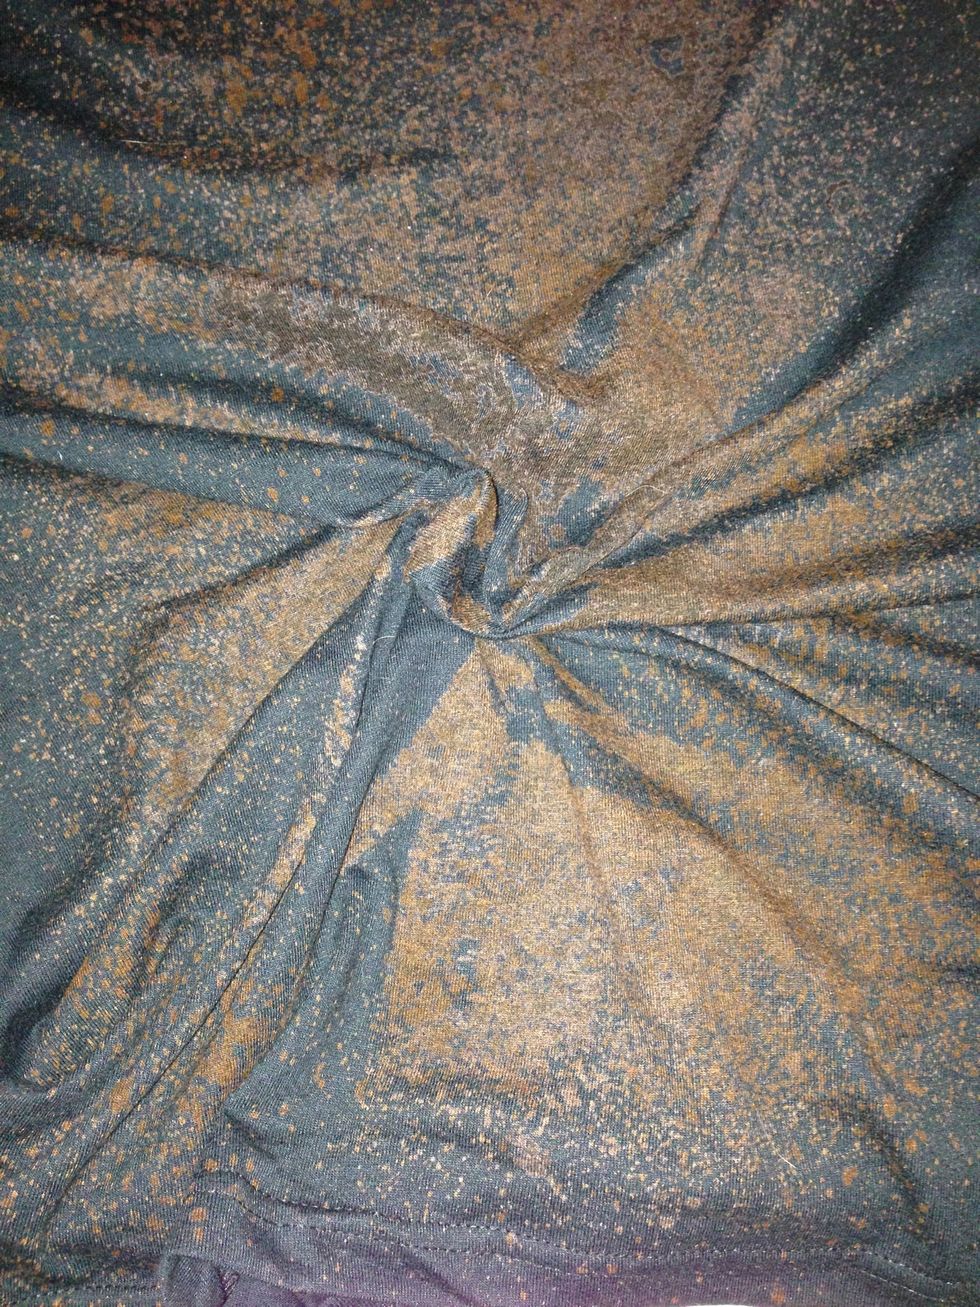
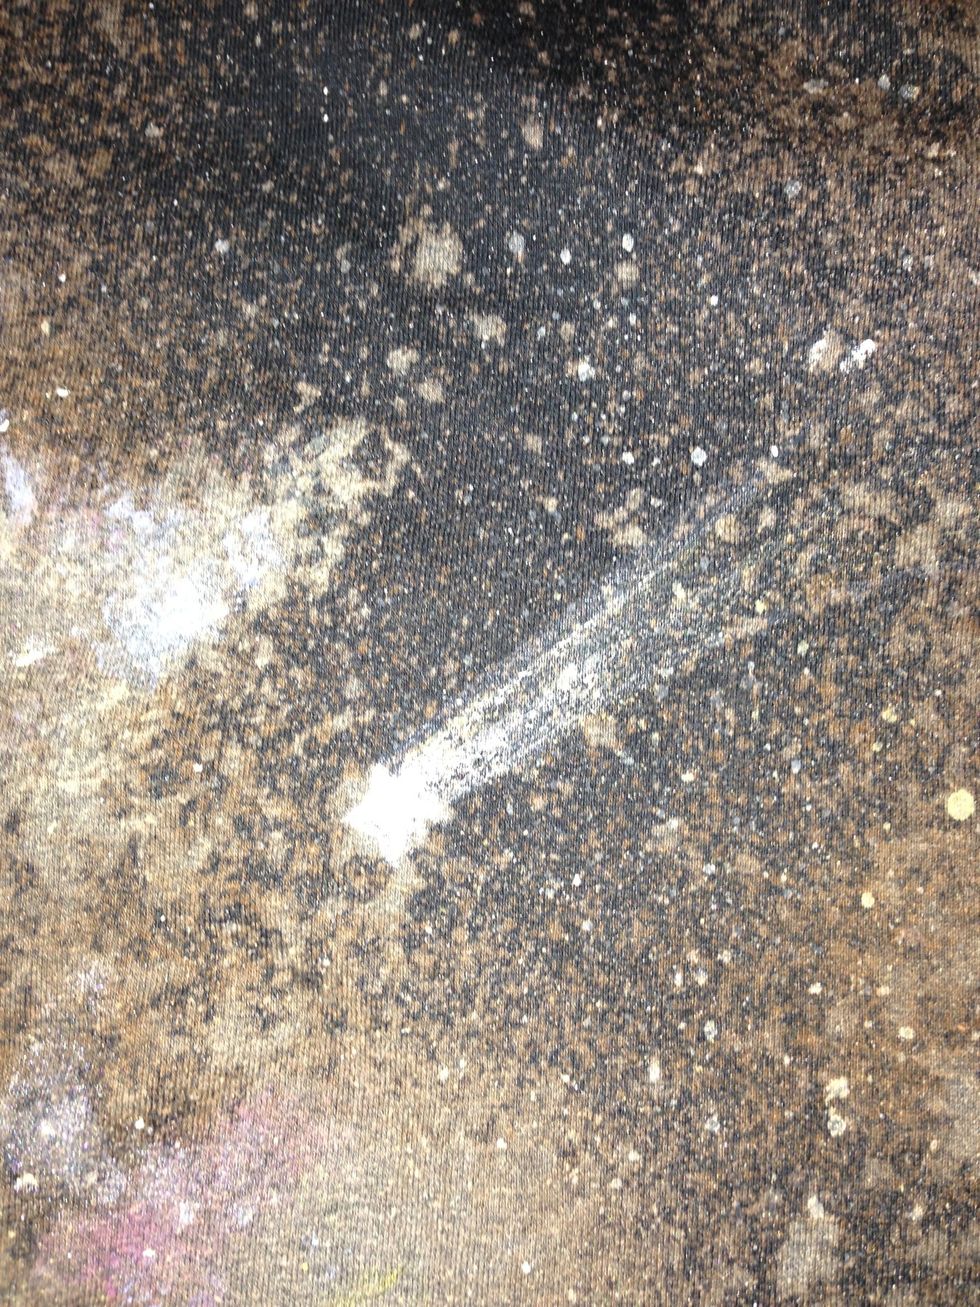
If you want a "mini-galaxy", pinch & twirl fabric and spray lightly. Then, untwirl.
We used mini star cookie cutters to make stars. We used 2 techniques. First, we set them on the shirt and sprayed them. Then, we dipped them on bleach and stamped them.

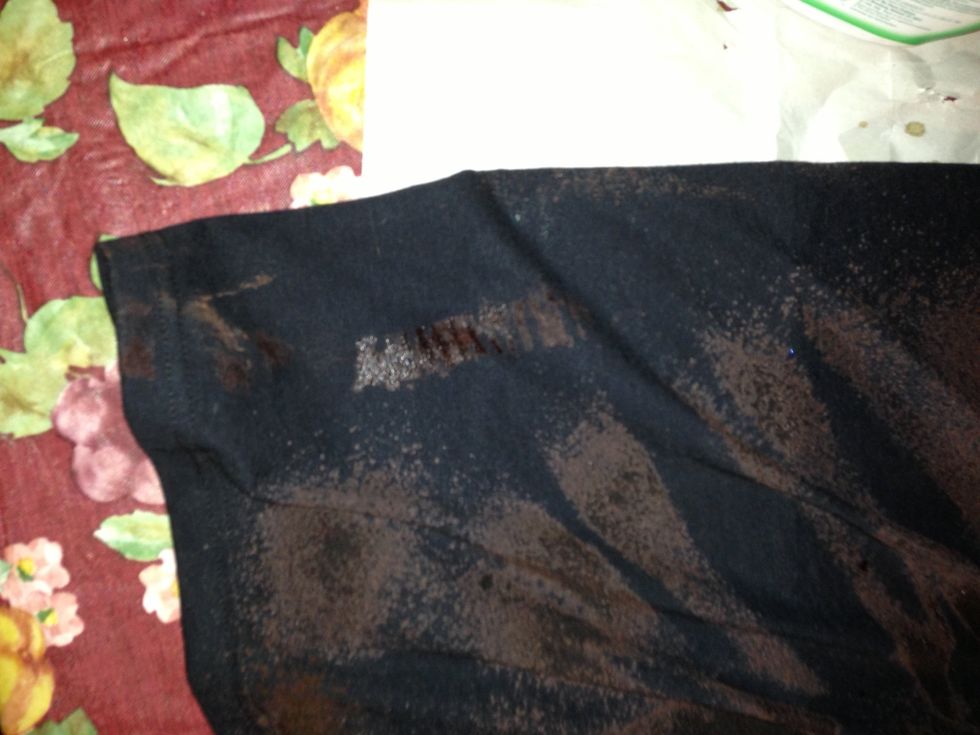
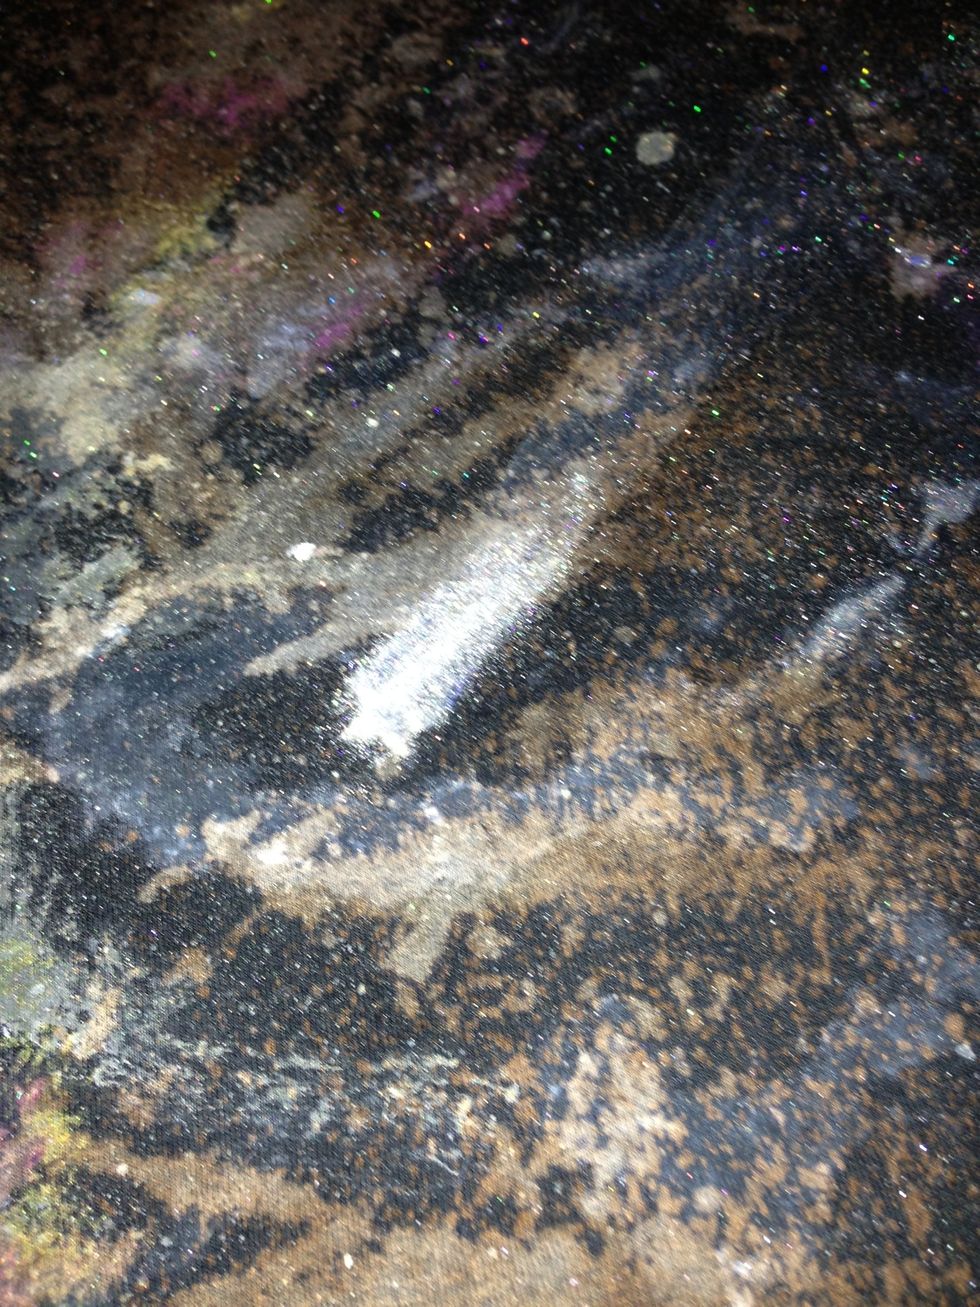
Continue to spray/drip bleach as desired. We waited a few minutes between sprays for layers of white/orange.
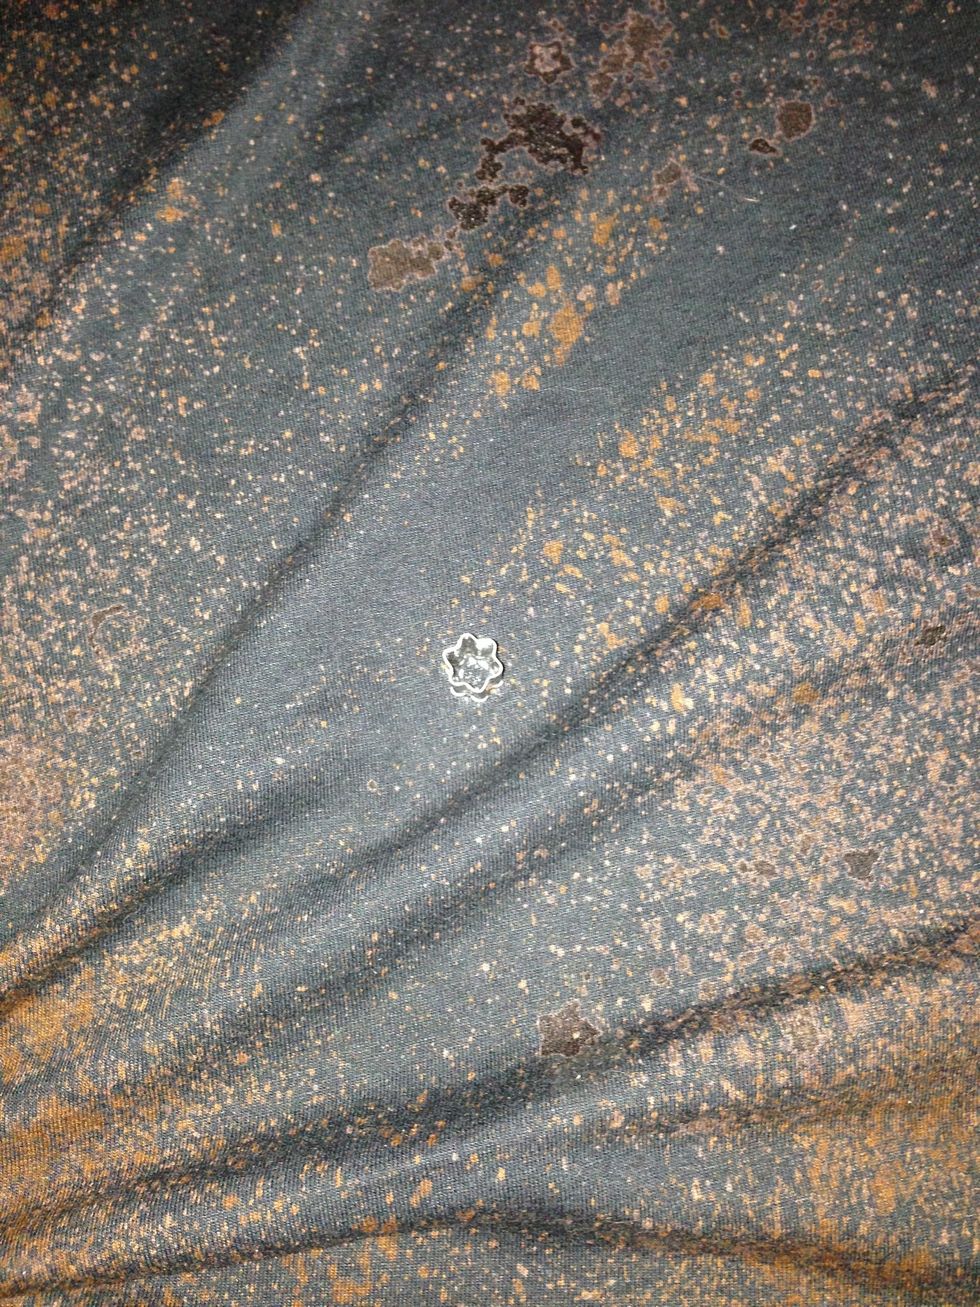
My daughter rolled the cookie cutter sideways for "Martian tracks."

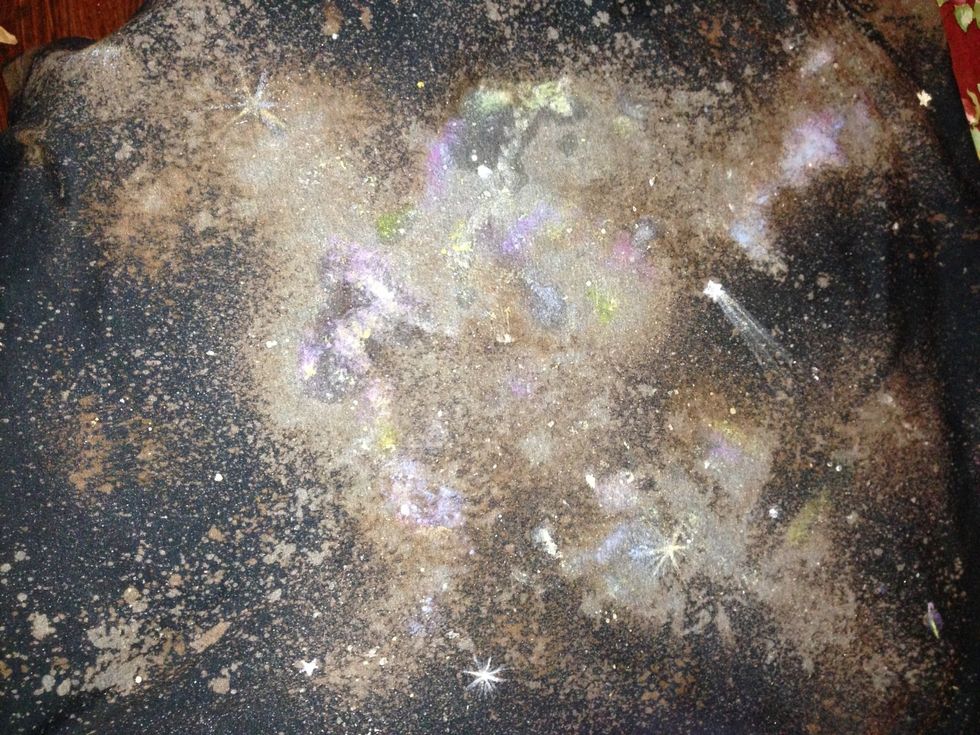
Stars forming.
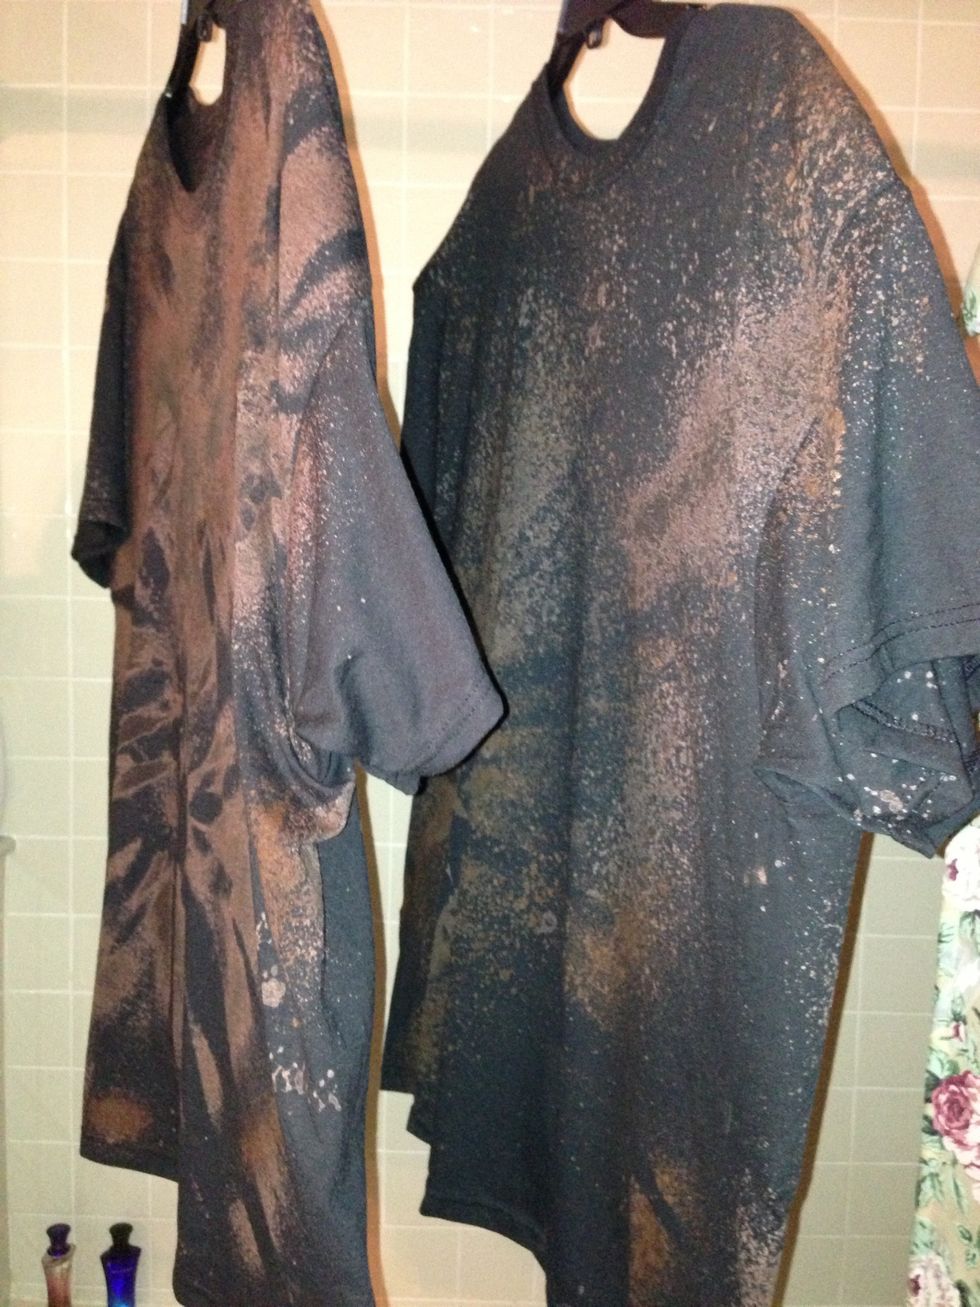
Let hang for 10 minutes. Then, put in dryer on high heat until dry. Assess whether or not they need more bleach. If so, repeat. Don't overbleach! You want some black and you don't want to burn holes!
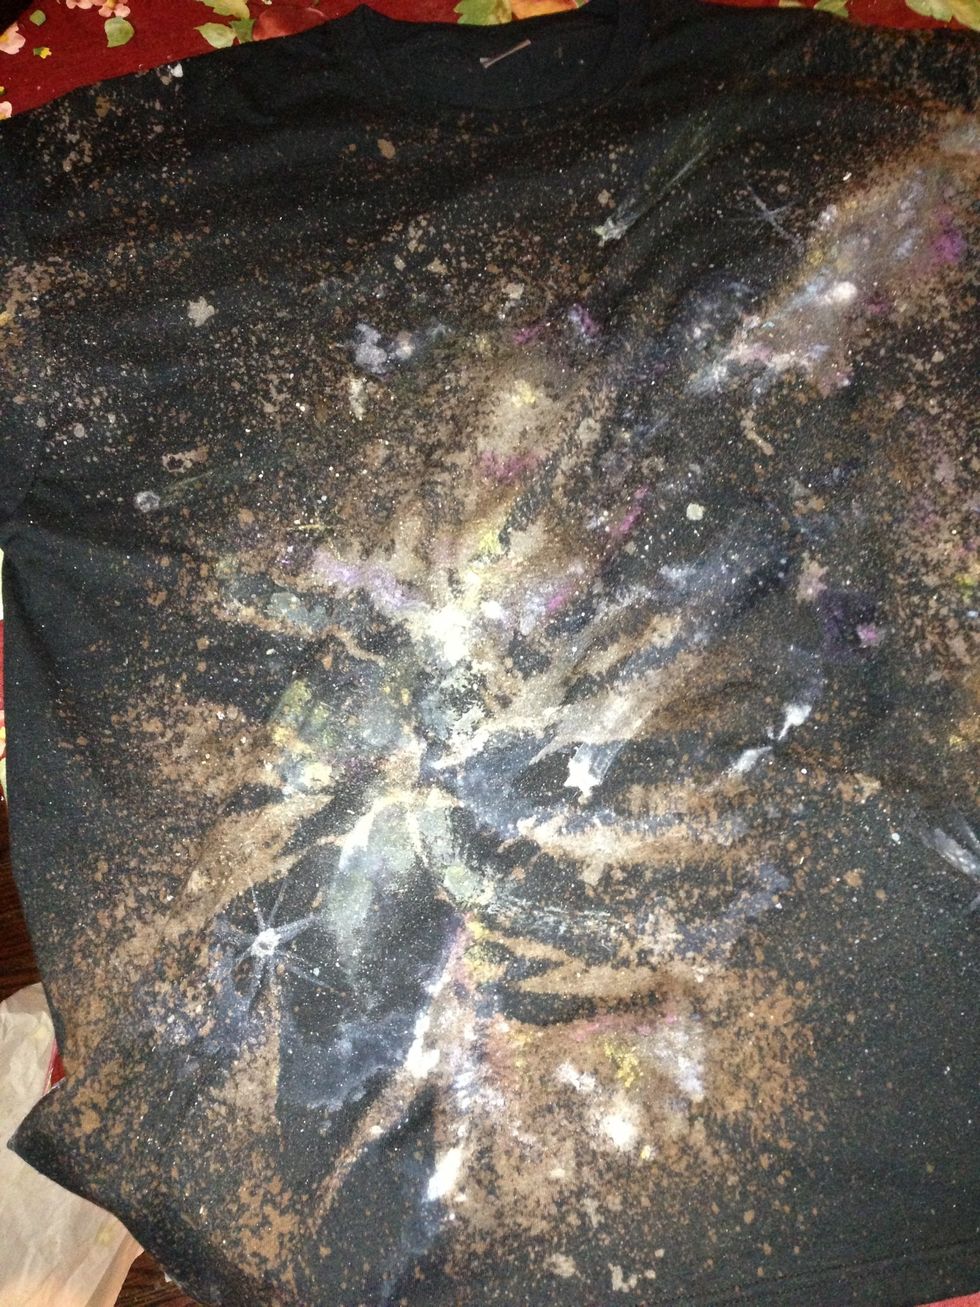
Use acrylic paints to add accents. Add colors to the edges of the "galaxies" by using a wet brush, dabbing on some paint & water and work it in.
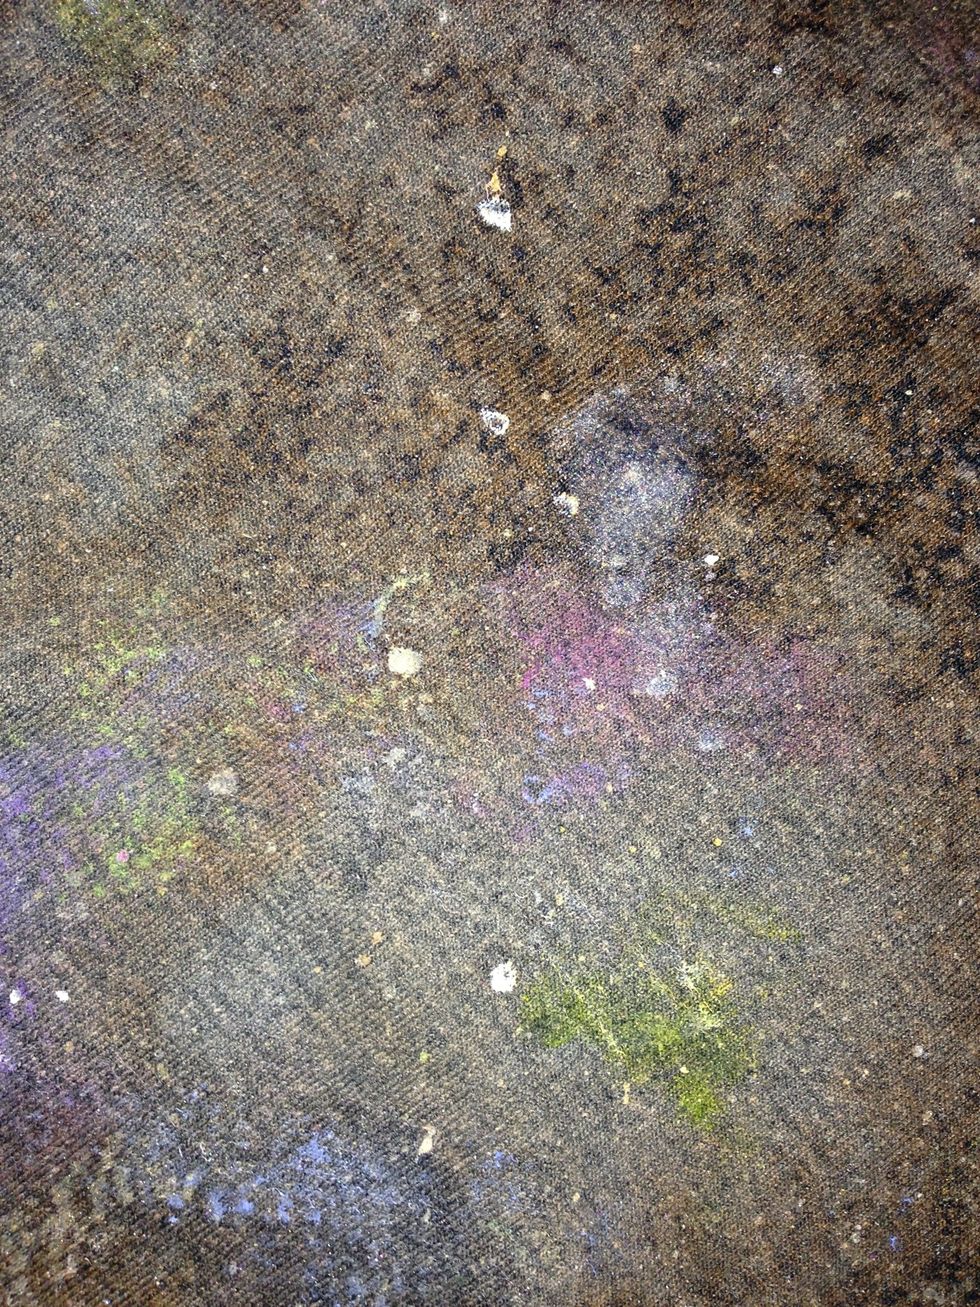
Using an old tooth brush can help work color in as a stippling tool or to splatter paint. Splattering white, silver & gold will look like stars.
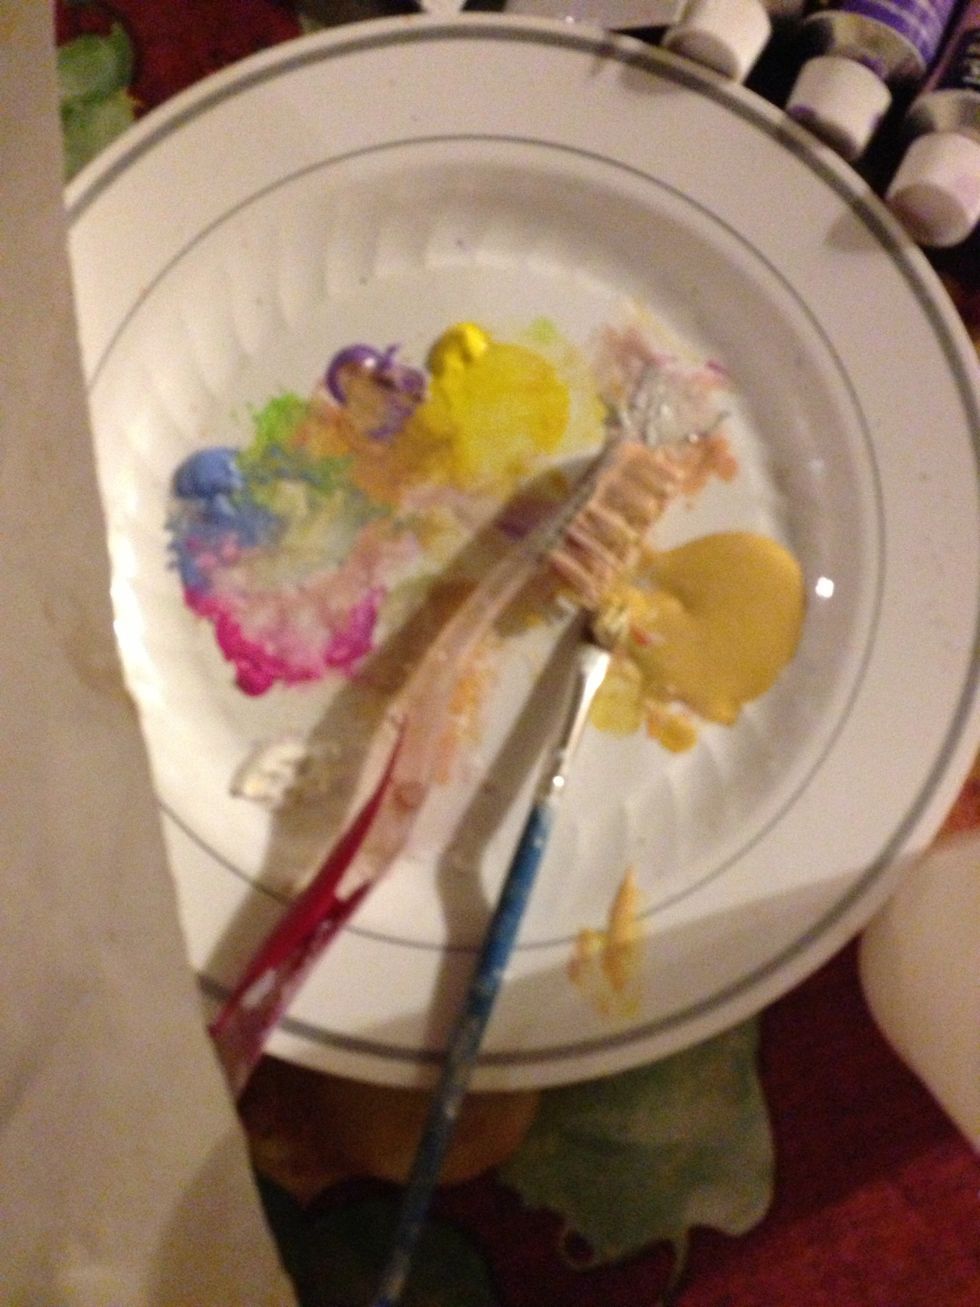
Our palettes.

Add some painted stars with twinkle.
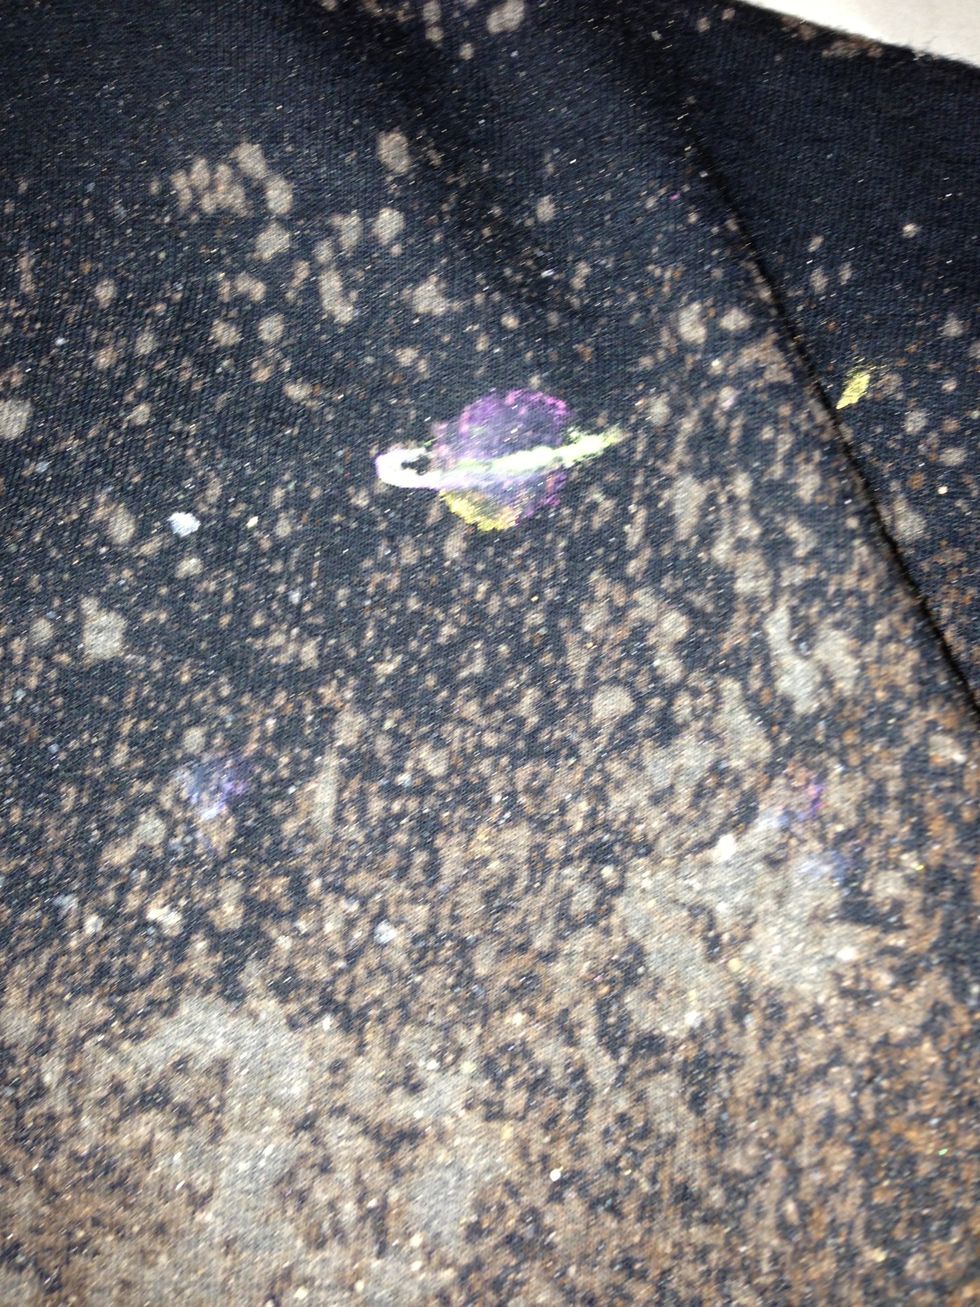
Or a planet.
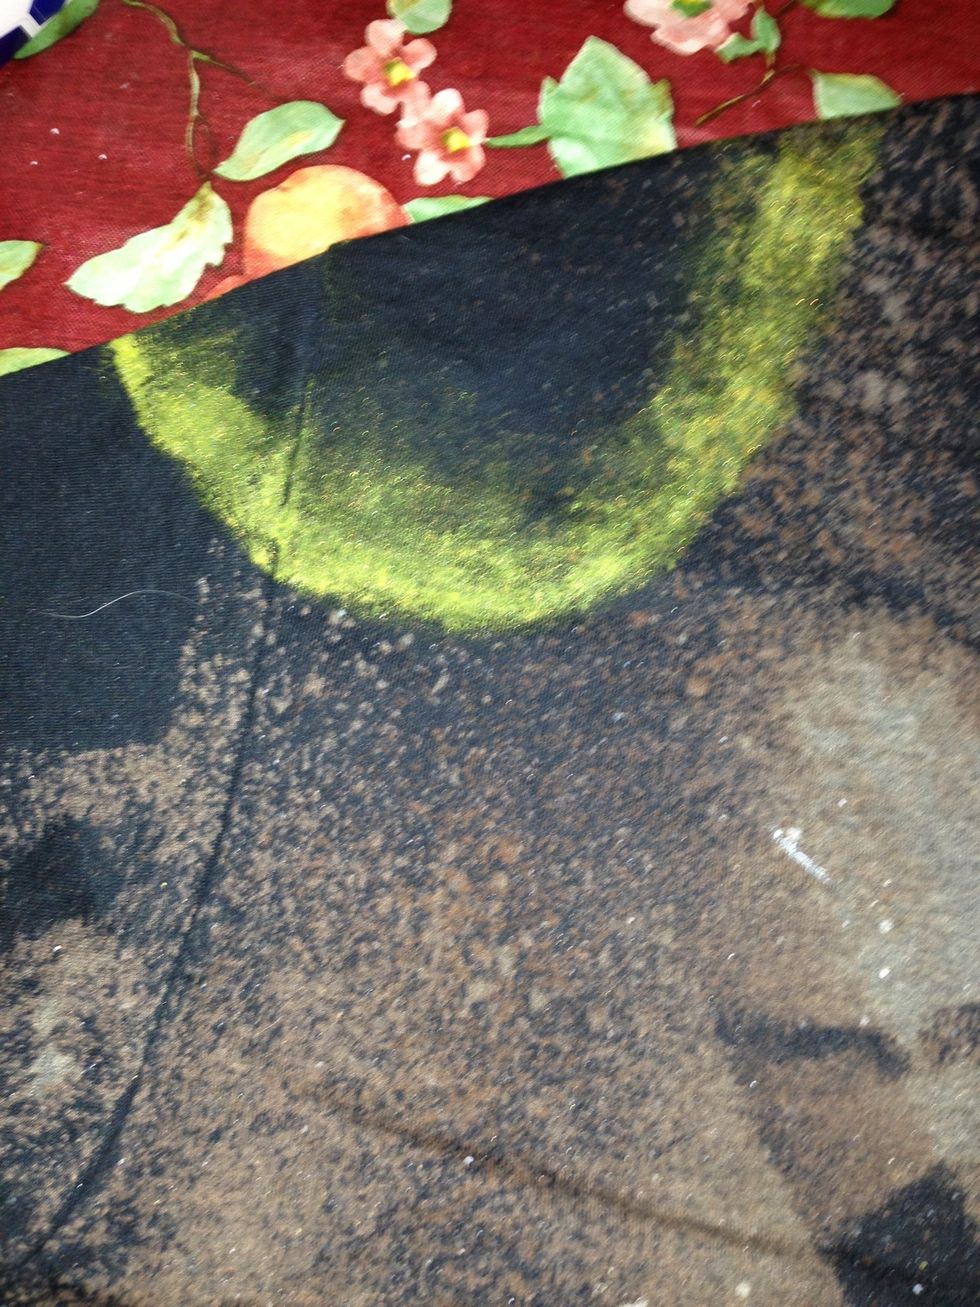
My daughter put in a black hole!
Form your galaxies!
You could end here, but we wanted glitter!

Using a special bonding material...
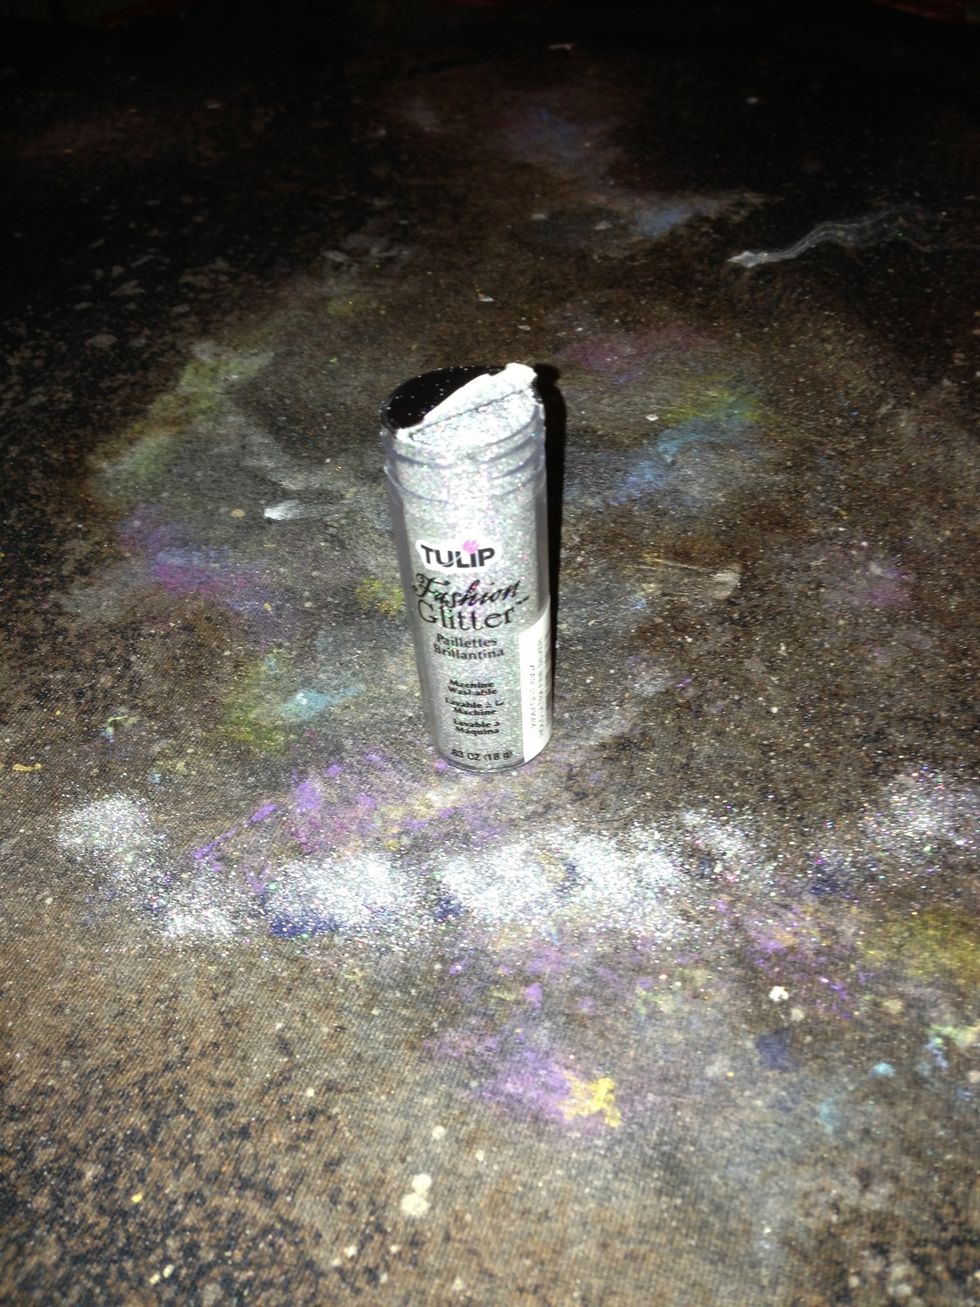
... And fabric glitter, we highlighted certain shapes.
Including highlighting some shooting stars. Follow instructions on the glitter kit.
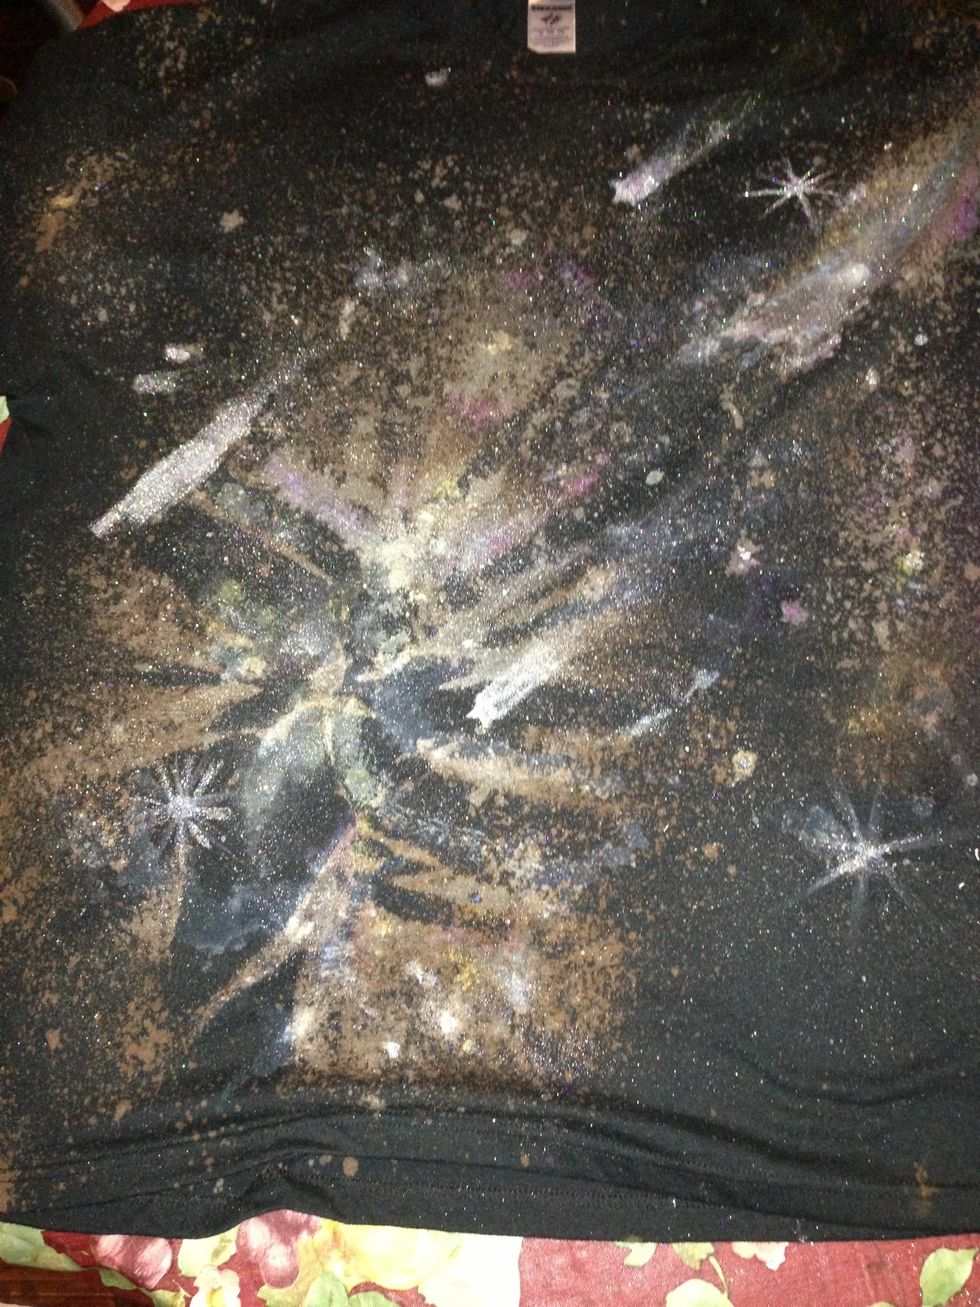
Enjoy your galaxy shirt!