The Conversation (0)
Sign Up
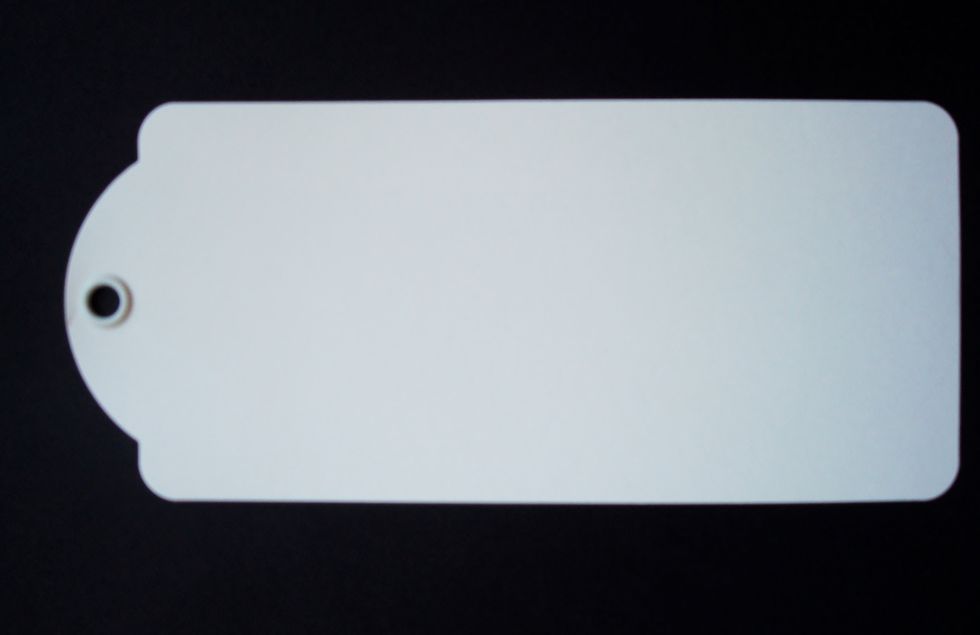
I'm using a large G45 tag, which measures approx. 8 5/8" by 3 7/8". You can also use a rectangle with these measurements.
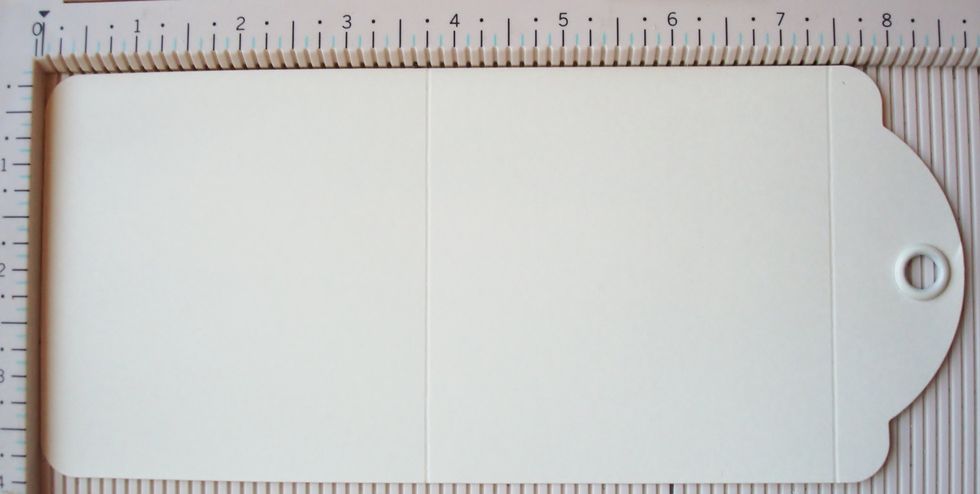
Score at the 3 3/4" and at 7 1/2".

Valley fold at the 3 3/4" mark. Mountain fold at the 7 1/2" mark - as shown. Burnish well.
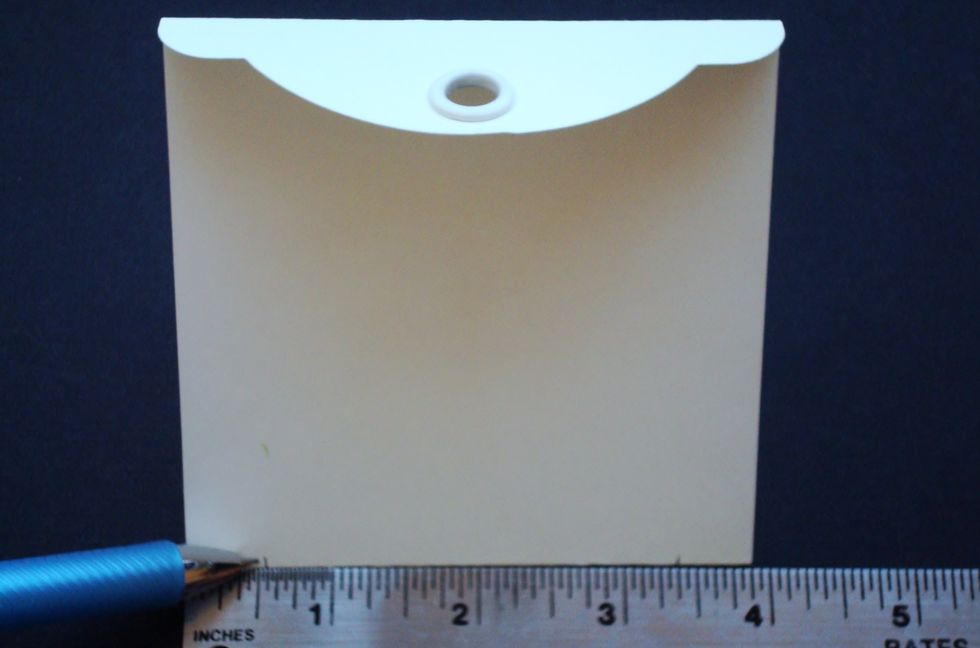
With card folded, measure 1/2" in from each end and make a small mark.
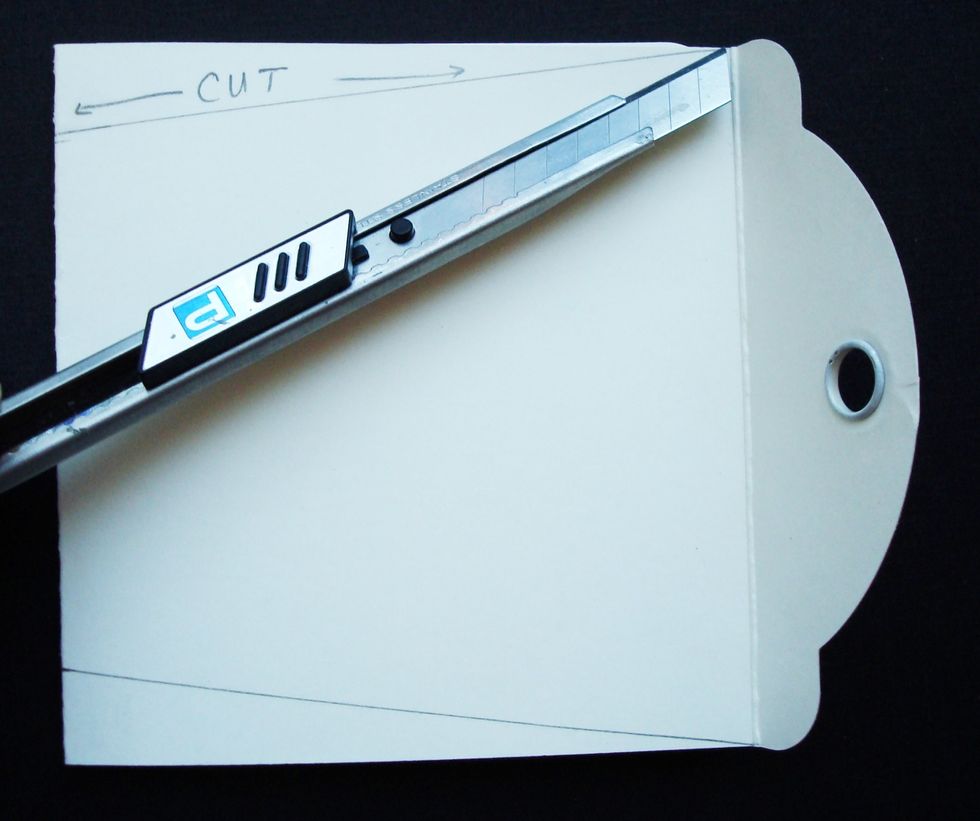
Trace a diagonal line from the 1/2" mark to the end side of the score line. Do the same to the opposite side of card.
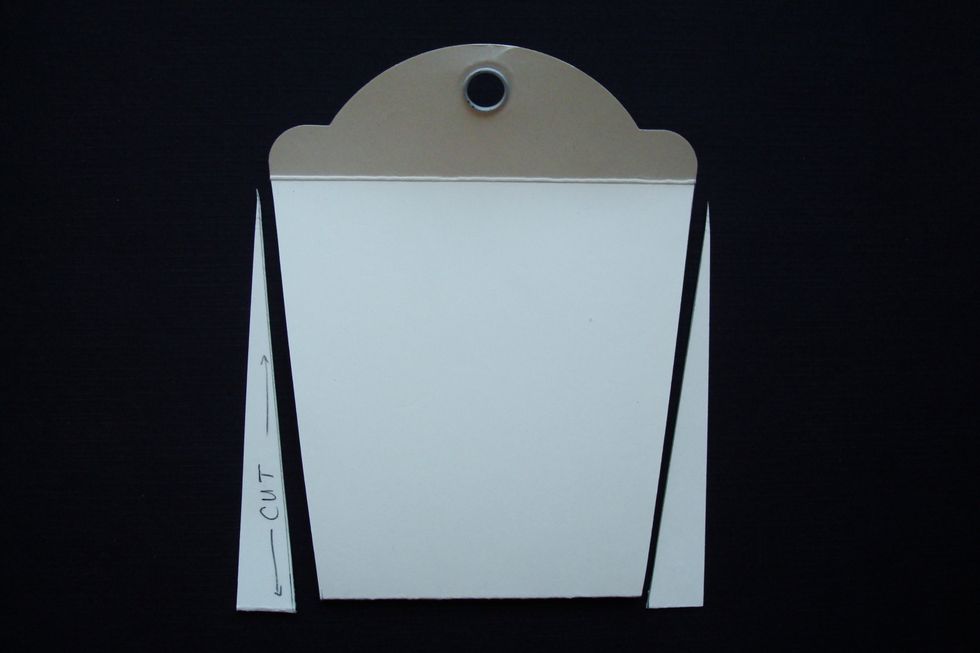
Cut along traced lines (discard cut-outs). Now you have a flowerpot shape card.
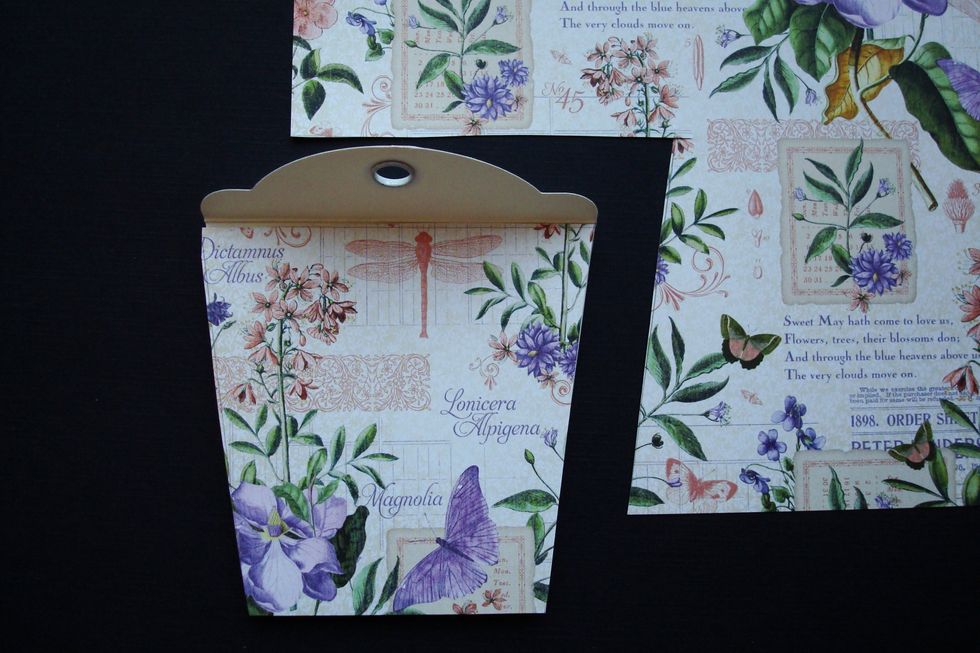
Trace the shape of the card onto your favorite paper. Trace a second onto a coordinating paper (for the back of the card). Cut out 1/4" smaller than the original card.
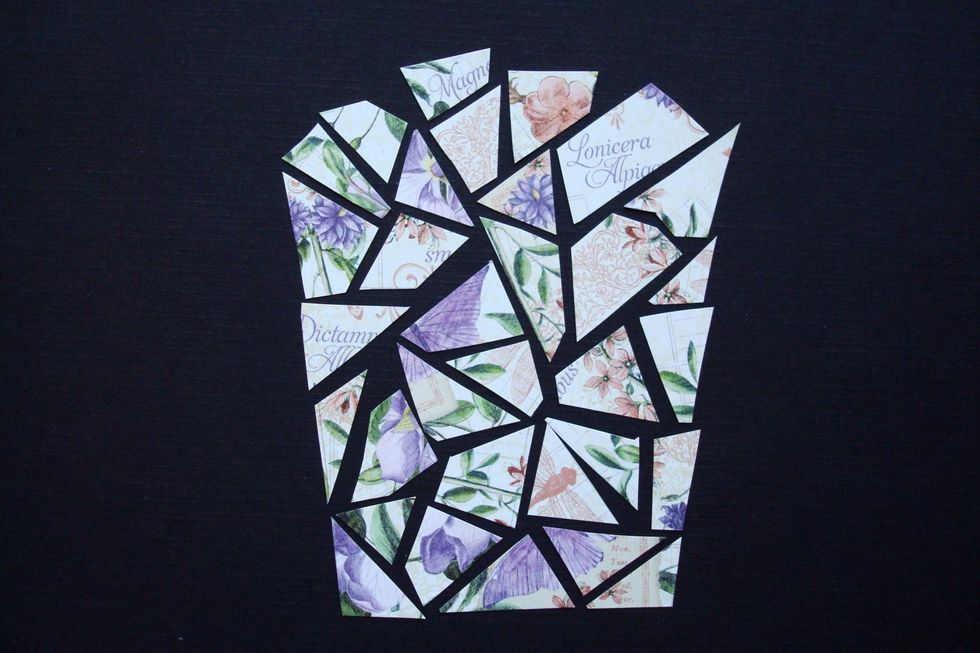
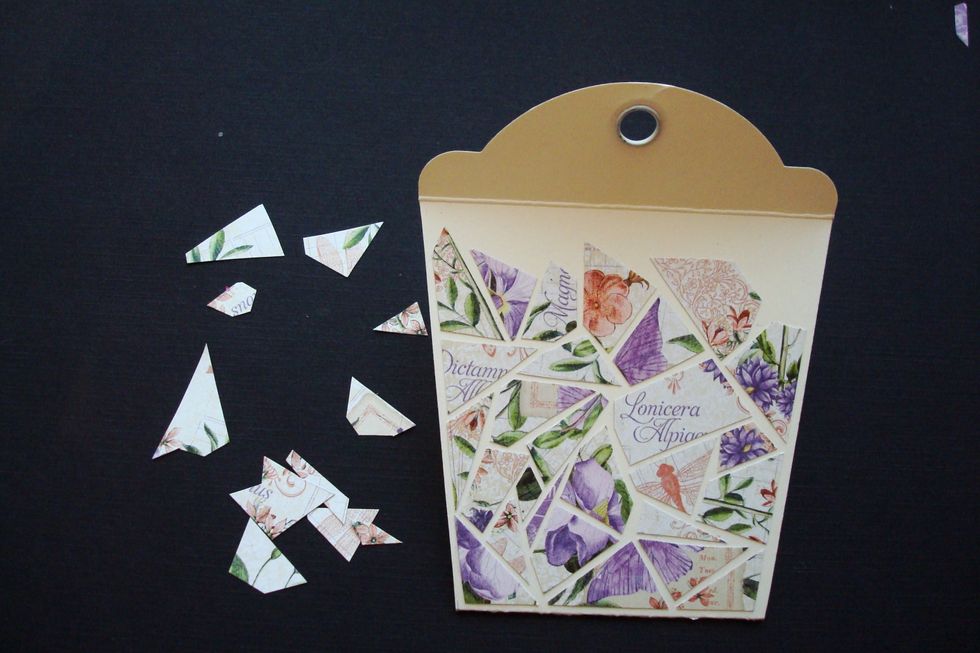
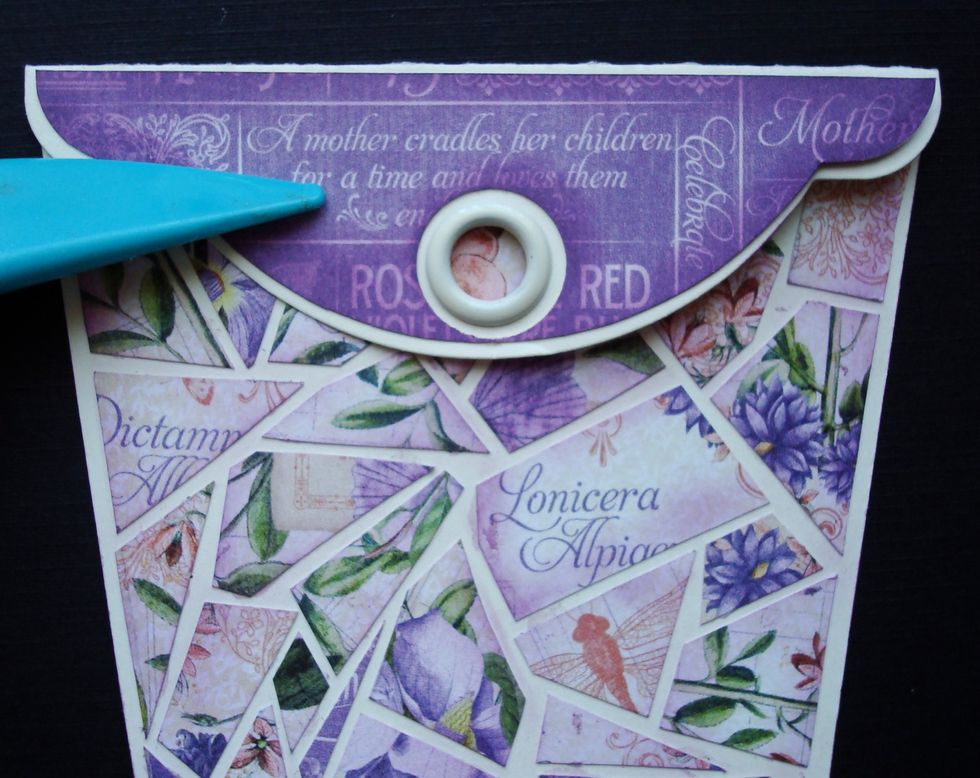
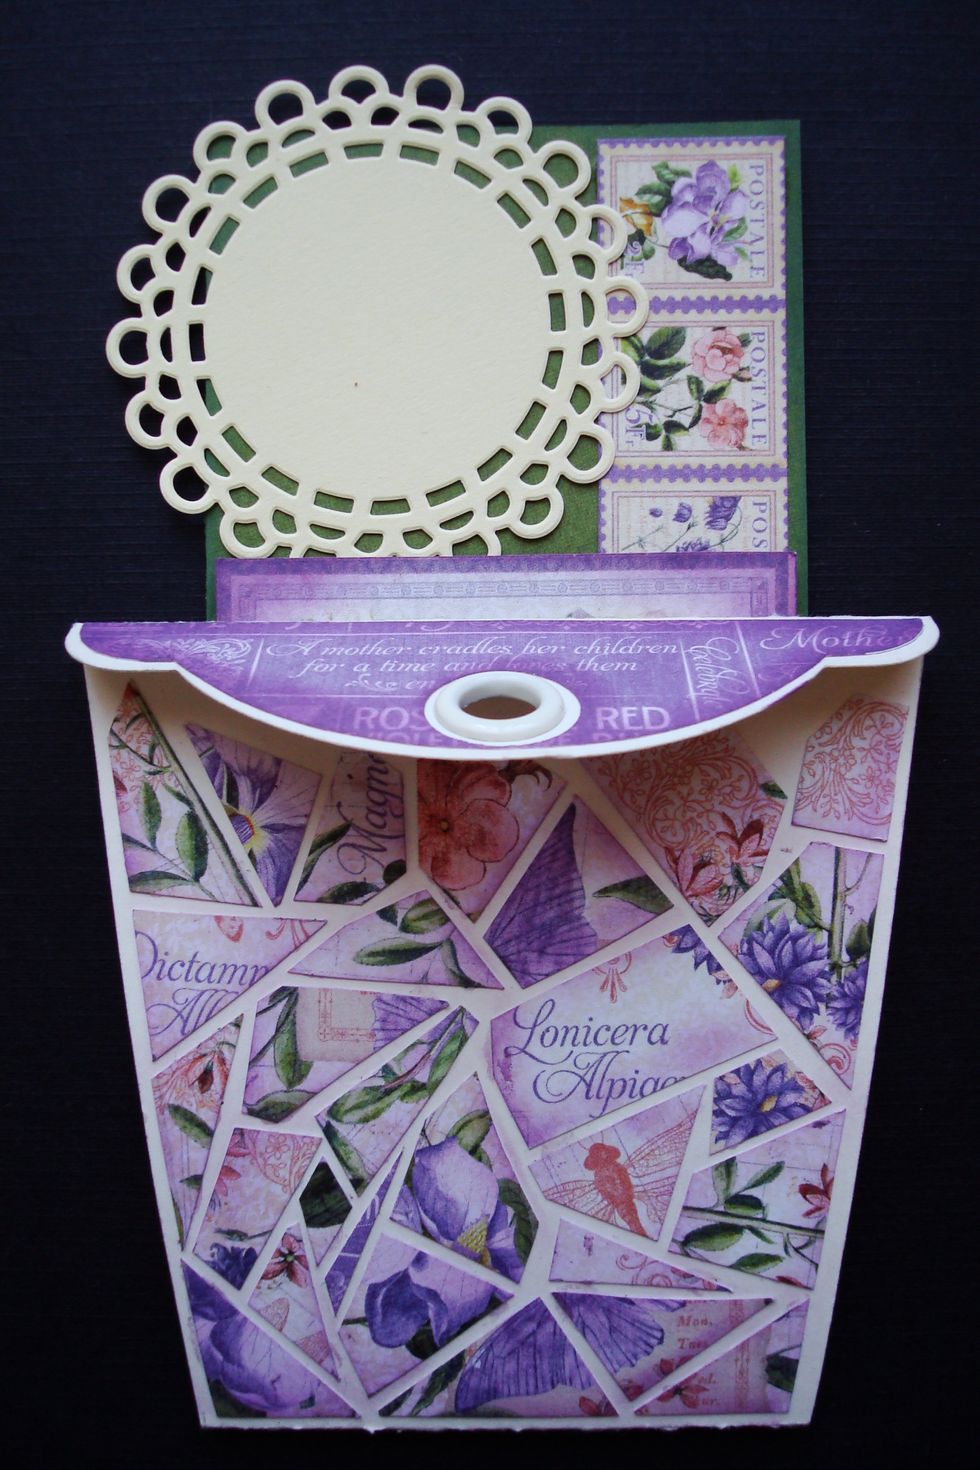
Start gluing piece by piece on the front side of card. This part can be a little tricky so make adjustments as needed. You may have to cut smaller pieces at the end to fill in the gaps.

Glue the coordinating paper cutout to the back side of the card. Here I have inked the edges.
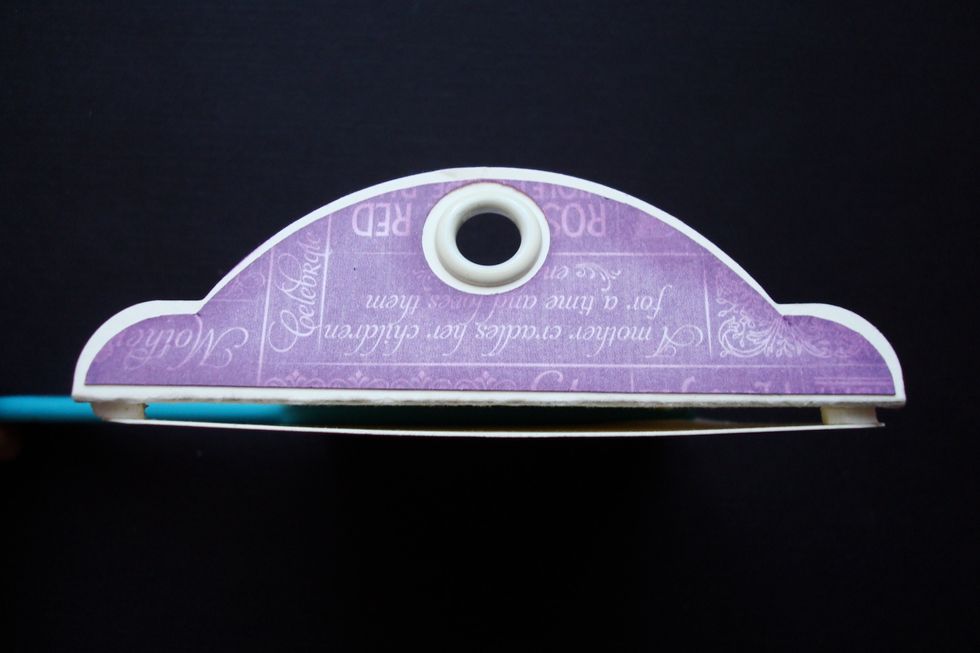
Using the same coordinating paper that I glued on the back, I have traced the top part of the card, cut it a bit smaller and then adhered it on top.
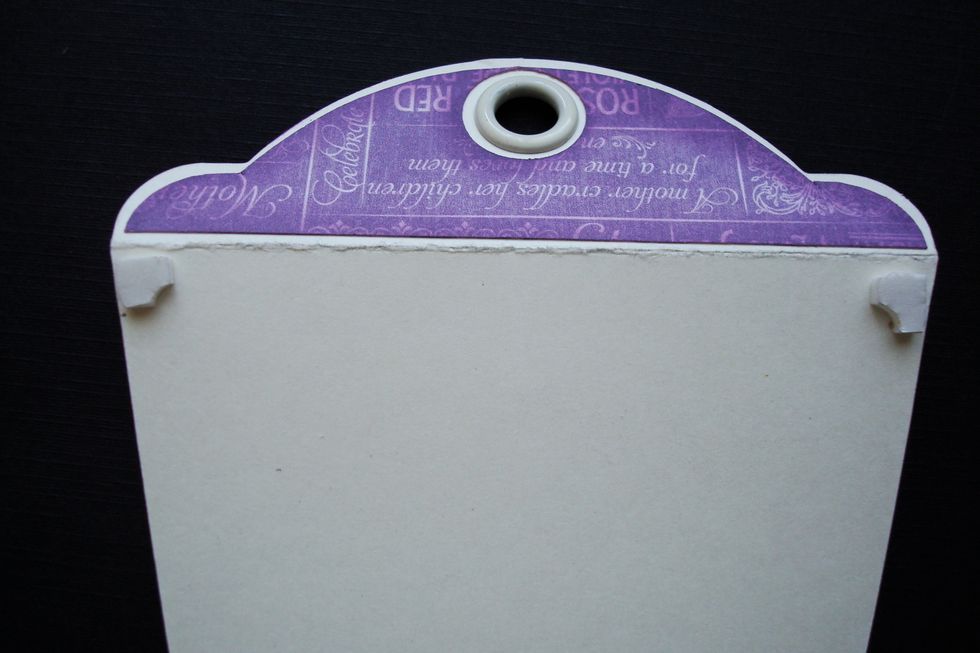
Add a couple of glue dots to the outer top corners of the card (the part that will be the inside of the card).
Bring front and back together.
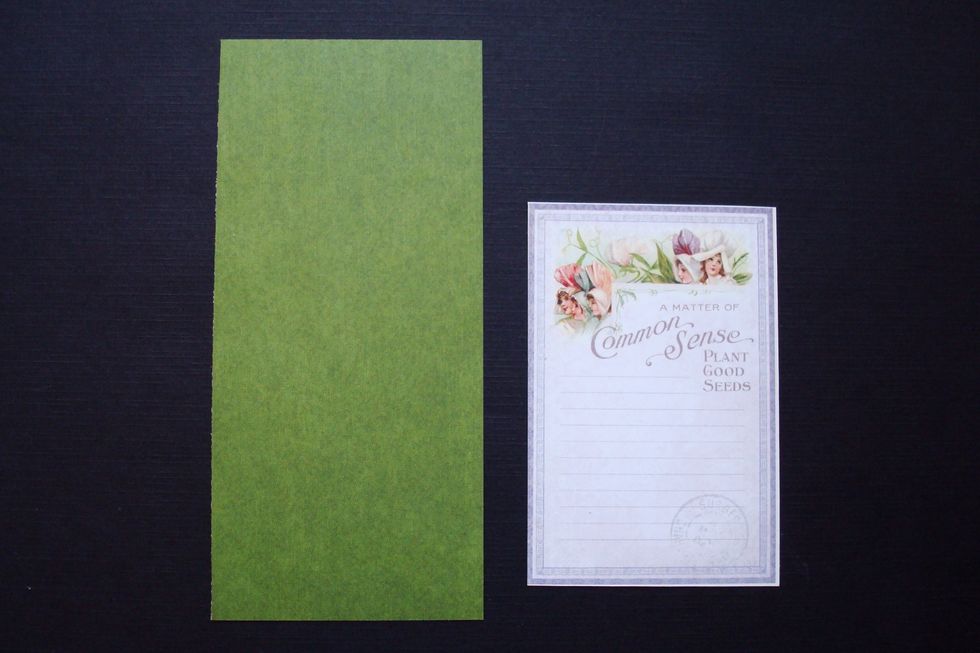
For the pull out tab- cut out a 2 3/4" by 6" piece of contrasting colored paper (green). I have another piece here to decorate this pull out tab.
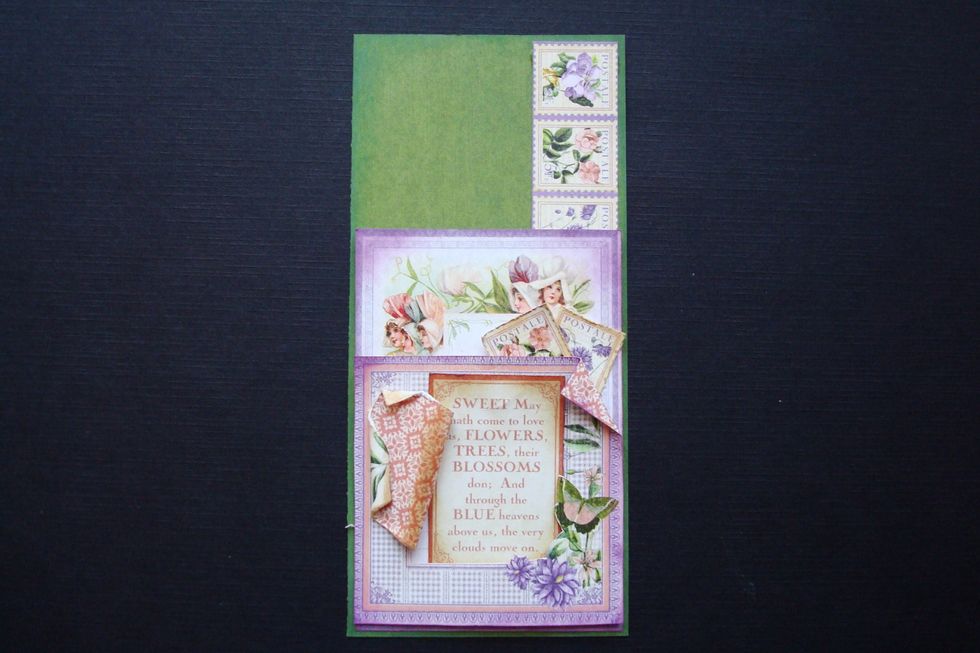
Here I have started to embellish the tab with some fussy cutting pieces. You can give it a little bit of dimension, but not too much.
Before adding the flowers or any other bulkier embellishments place the tab inside the card. Adhere flowers to the top part of the tab.
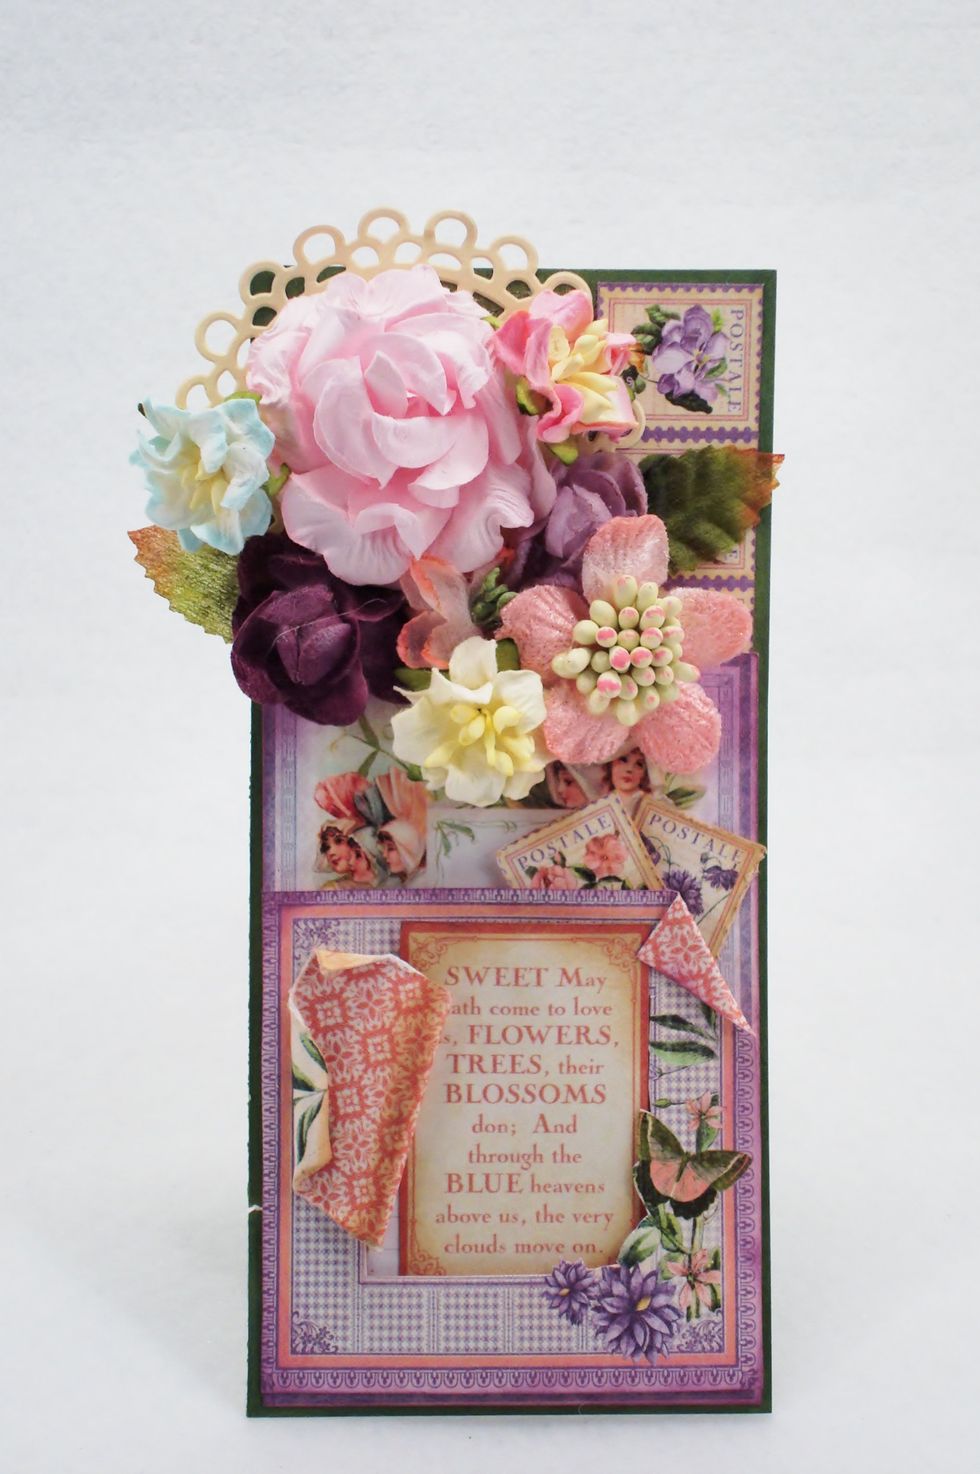
This is how the tab looks when pulled out completely.
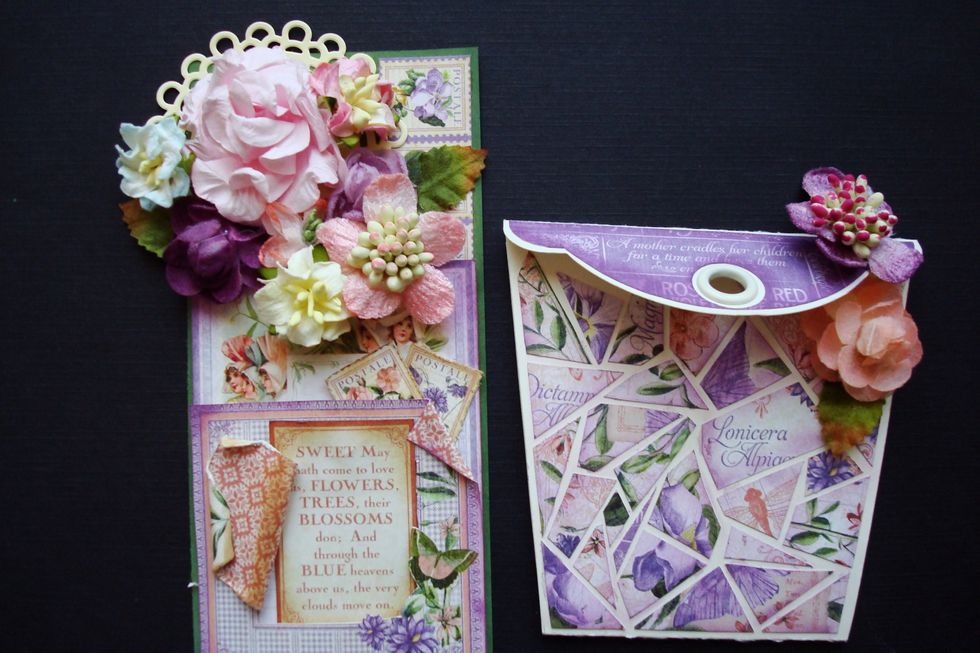
Here they are side by side. You can also add flowers to the pot.

Wrap some ribbon behind and around the pot.
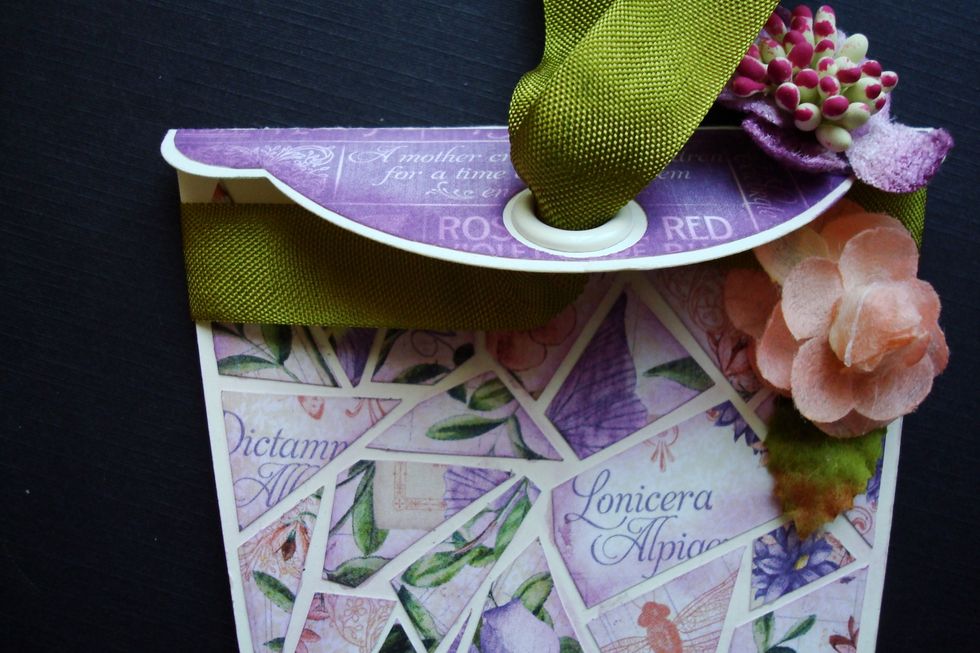
Pull the ribbon out from behind the eyelet to tie into a bow.
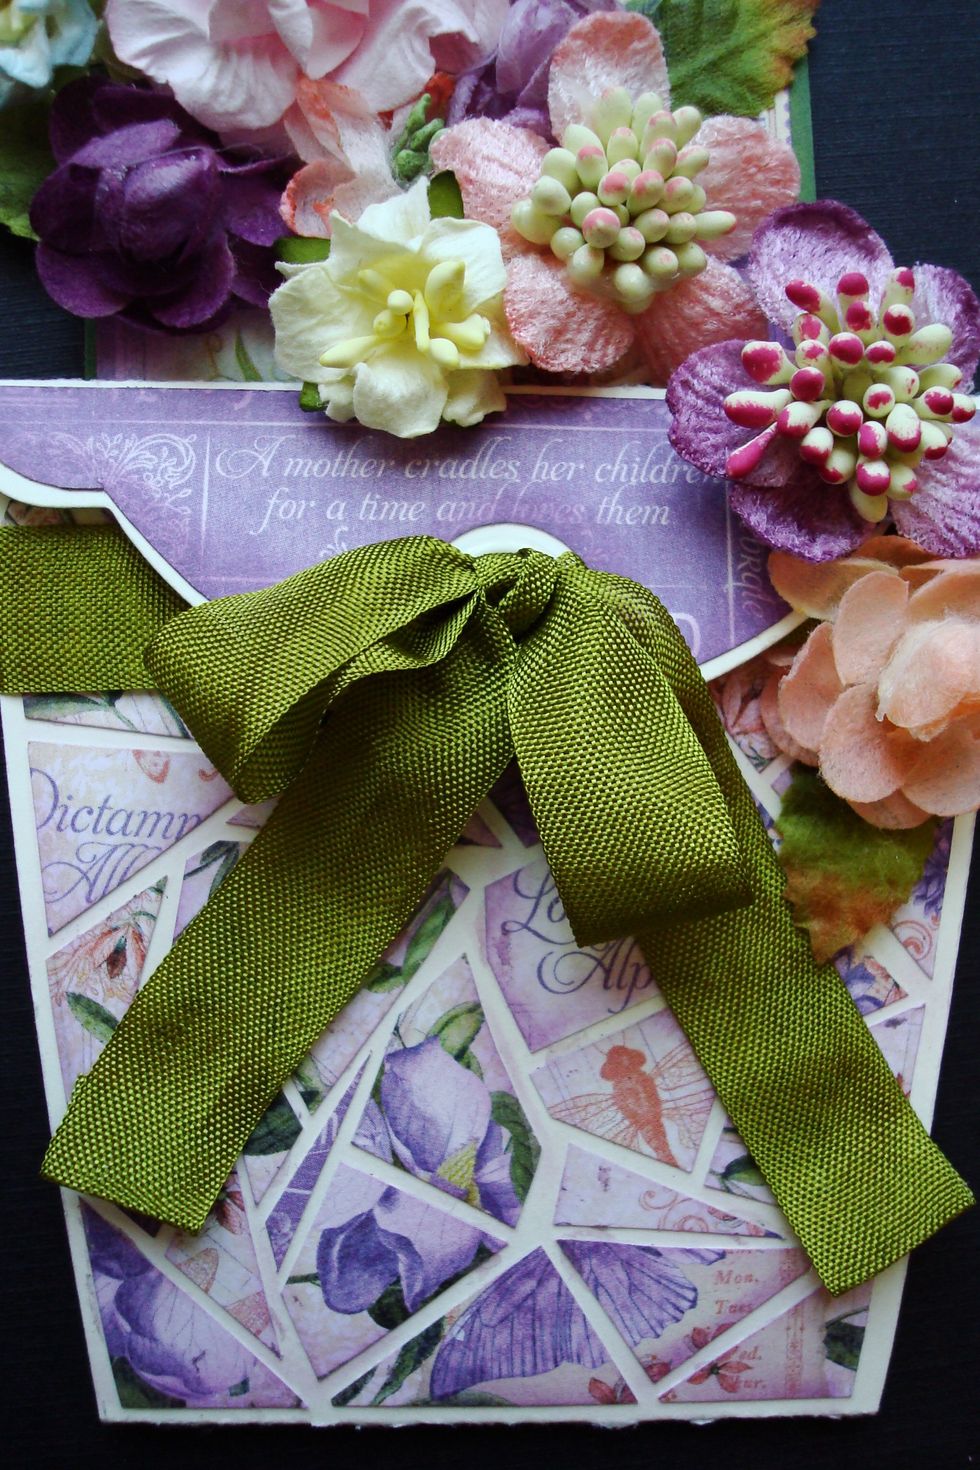
Glue the tab and the bow down to stay in place.
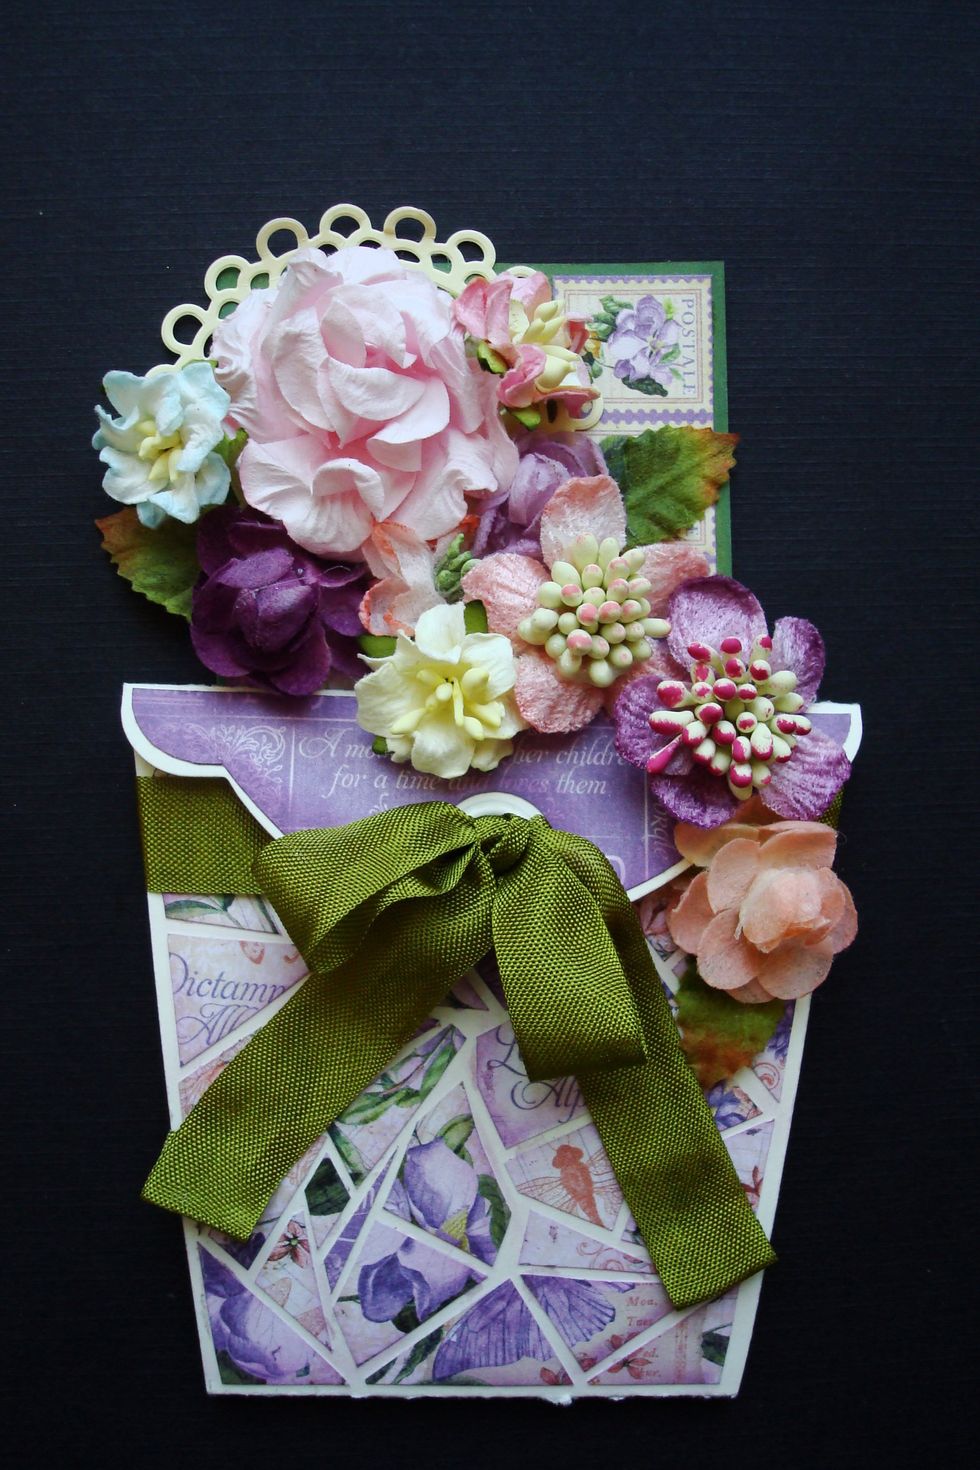
And here you have it. Your very own Mosaic Flowerpot Card.