The Conversation (0)
Sign Up
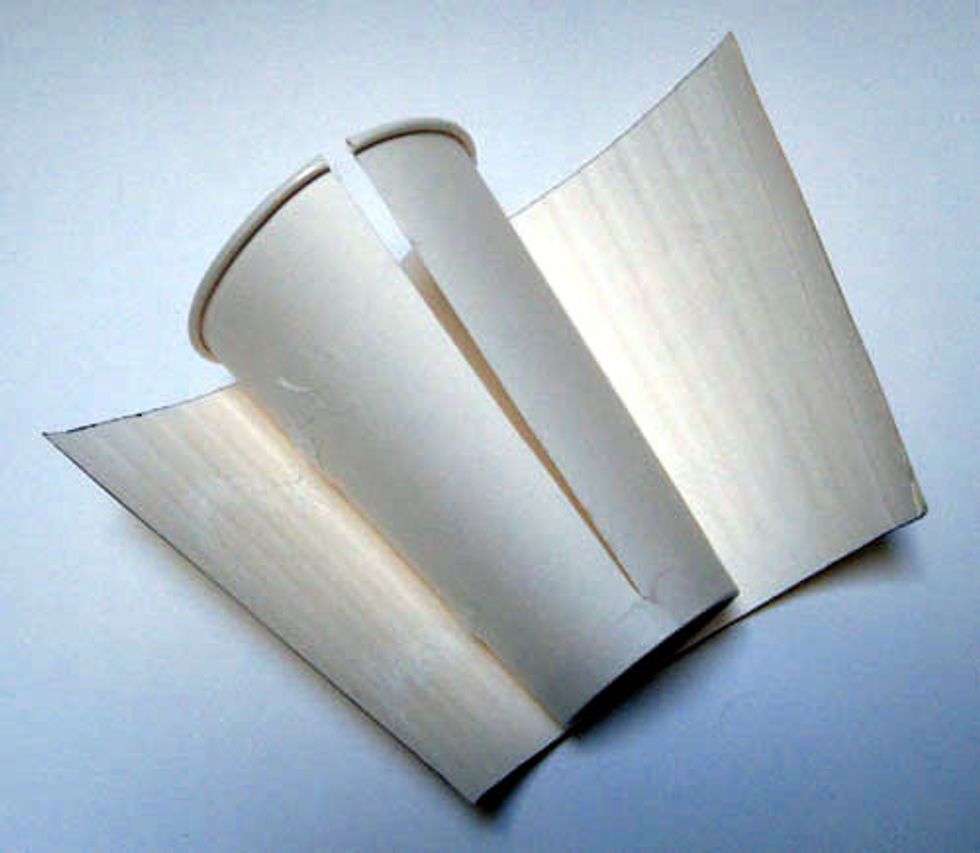
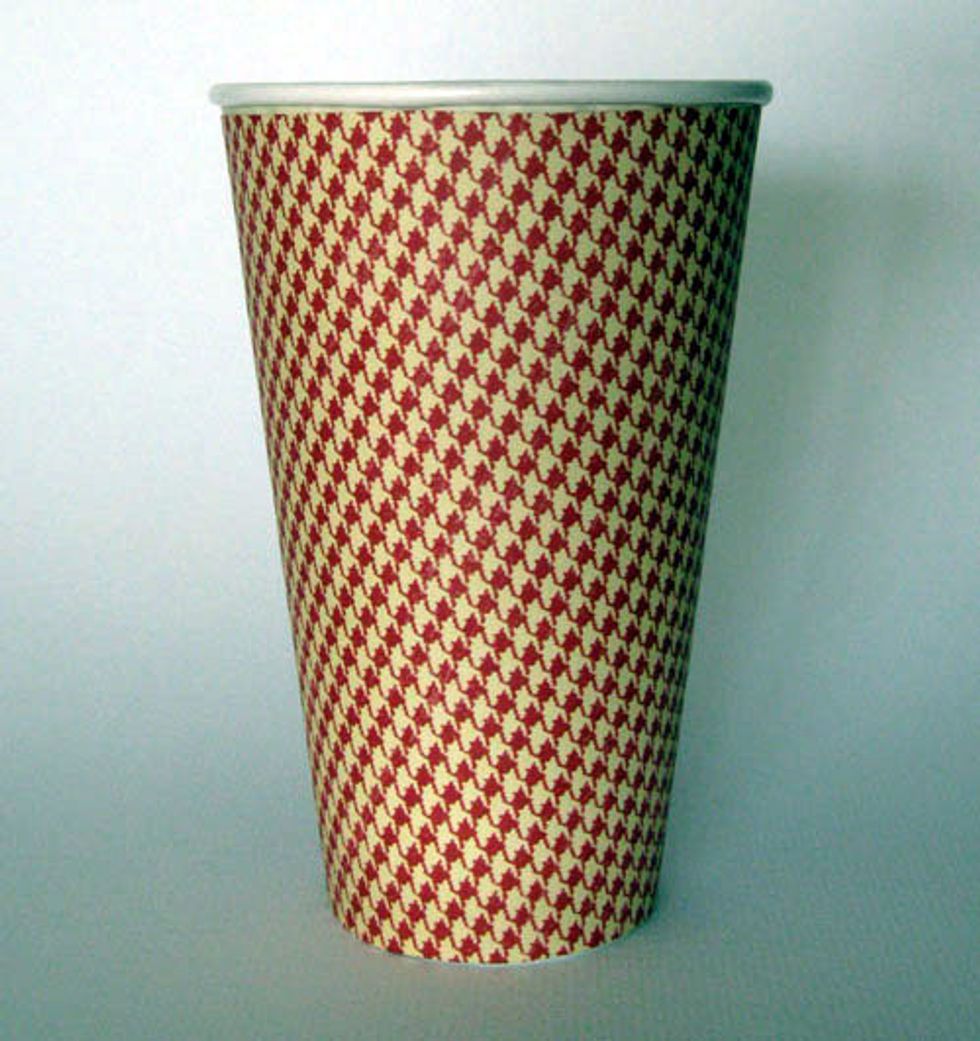
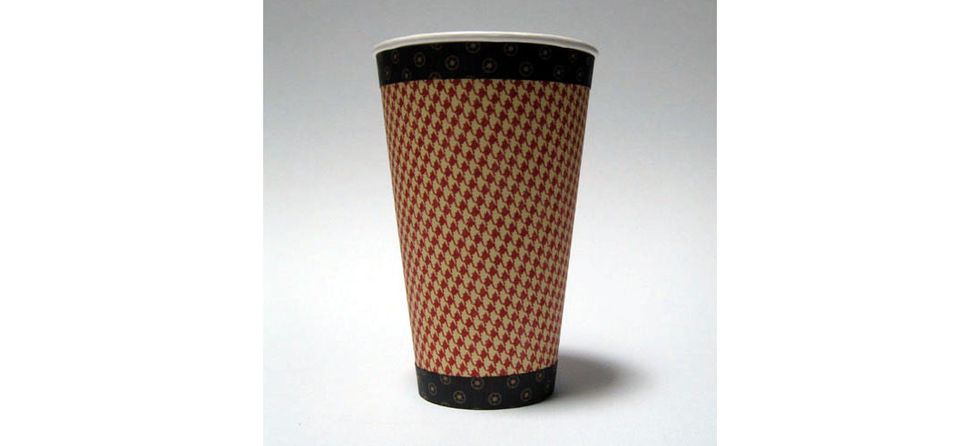
1. Cut a slit down the side of a 16 oz. paper coffee cup.
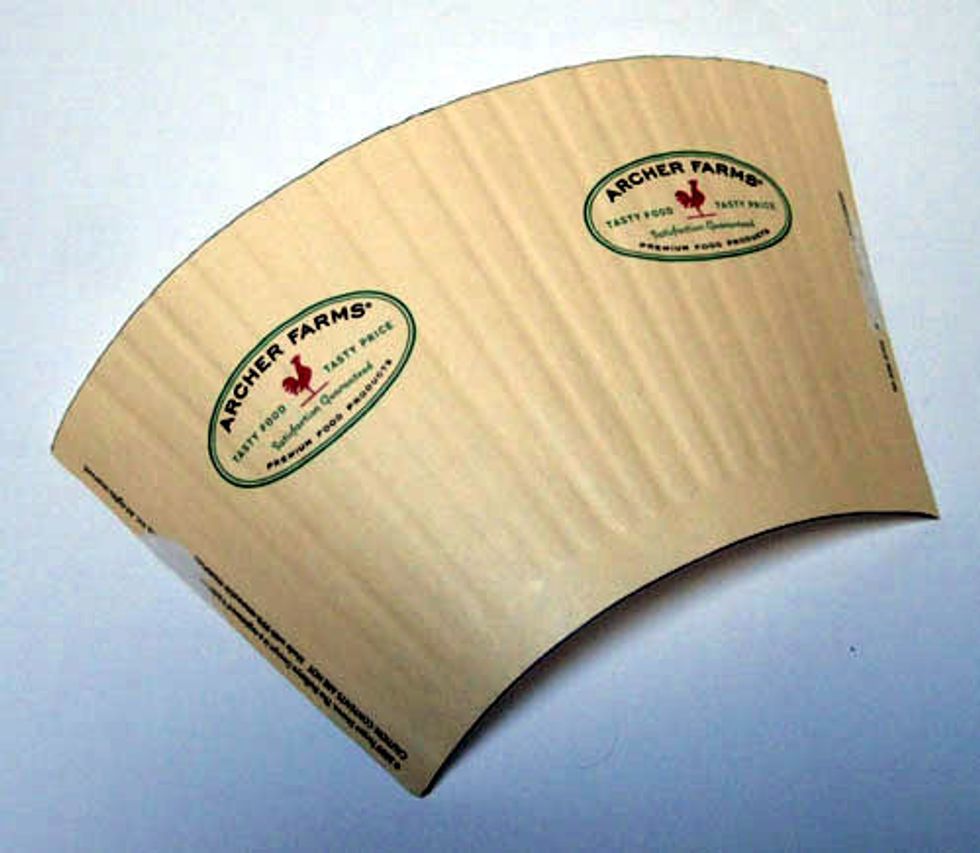
2. My cup (Archer Farms brand from Target) had a thermal layer glued to the cup. Remove that layer and use as template.
3. If your cup doesn’t have the extra layer, cut off the bottom disk and the rolled top rim of the cup. Use the remaining piece as your template.
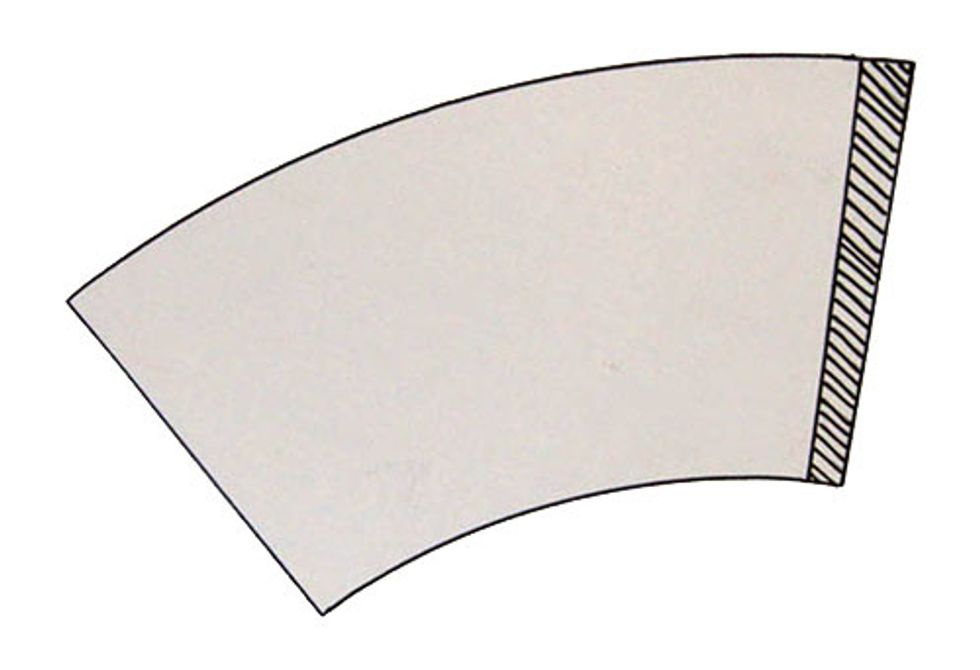
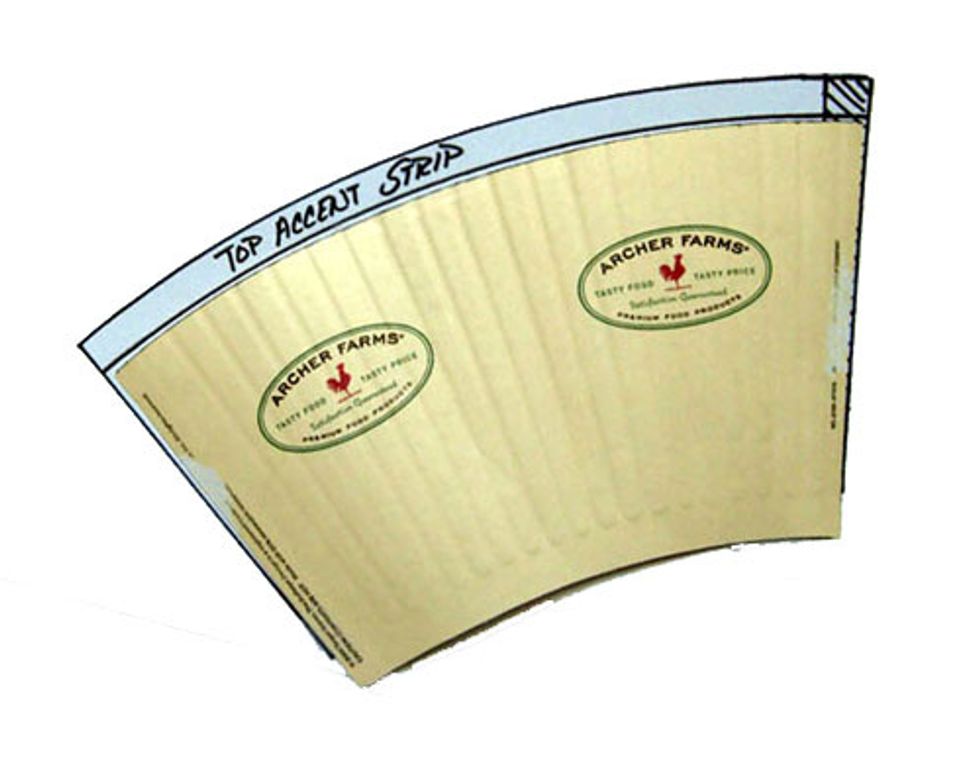
4. Trace your template onto the back of your decorative paper. Add approximately a 1/2" to the width of your template to ensure your ends overlap. (Shaded area in photo.)
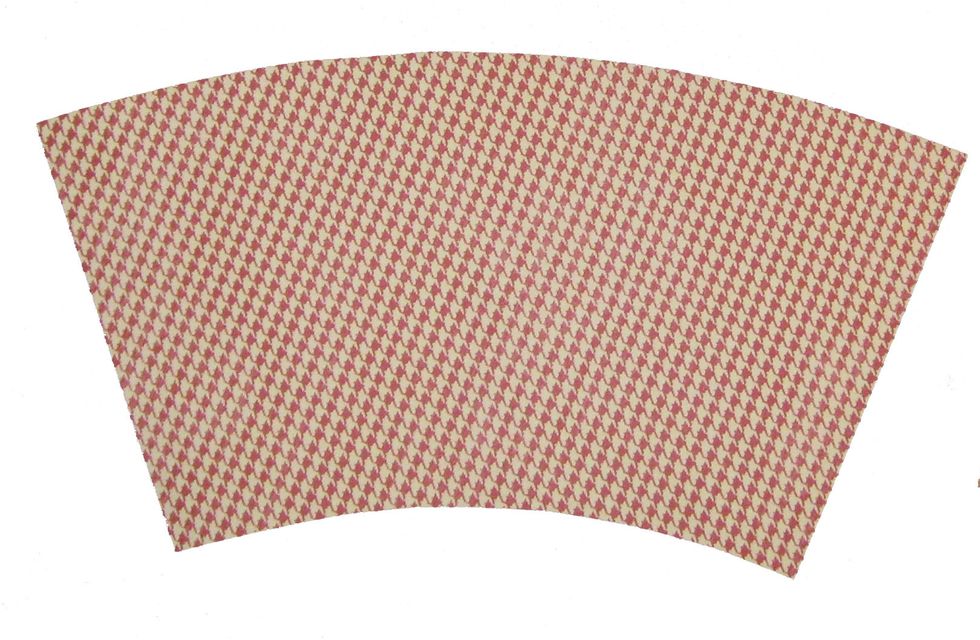
5. Cut out your cup cover.
6. Adhere cup cover to an uncut coffee cup.
7. Trace your template onto a piece of scrap cardstock. Add approx. 1/2" to the width. Move template 1/2" down from top of tracing and trace top edge again. Cut out 1/2" curved accent strip.
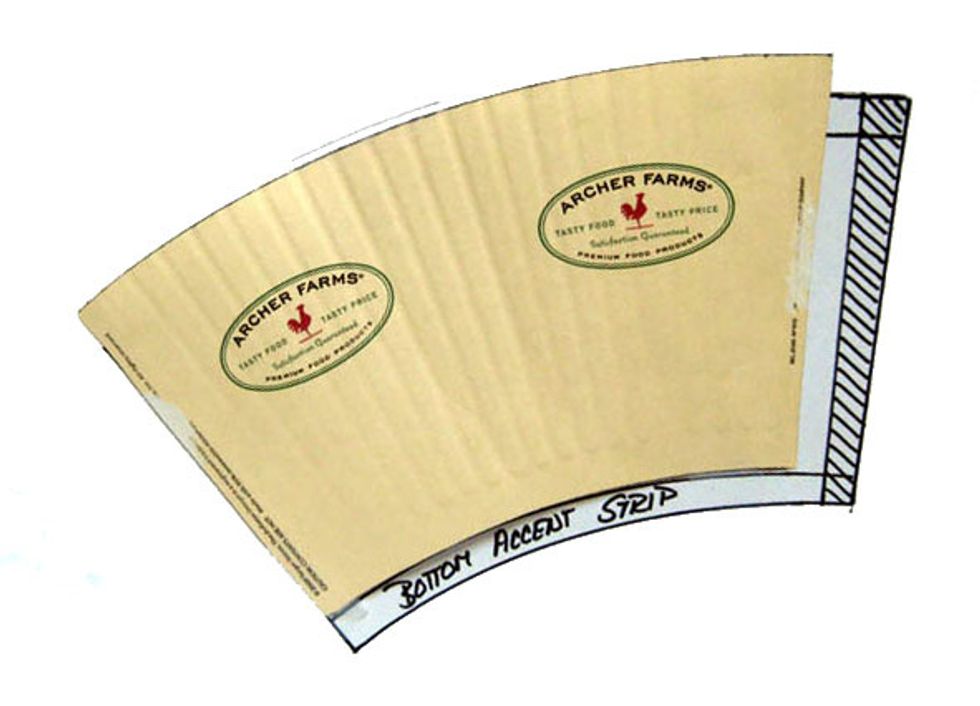
8. Move template 1/2" up from bottom of tracing and trace bottom edge again. Cut out 1/2" curved accent strip.
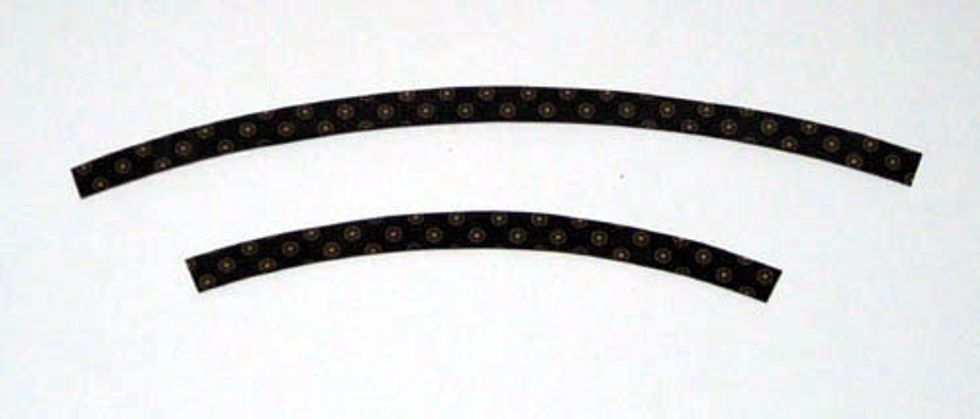
9. Trace both 1/2” accent strips onto the back of your accent paper. Cut out.
10. Adhere accent strips around the top and bottom of your cup.
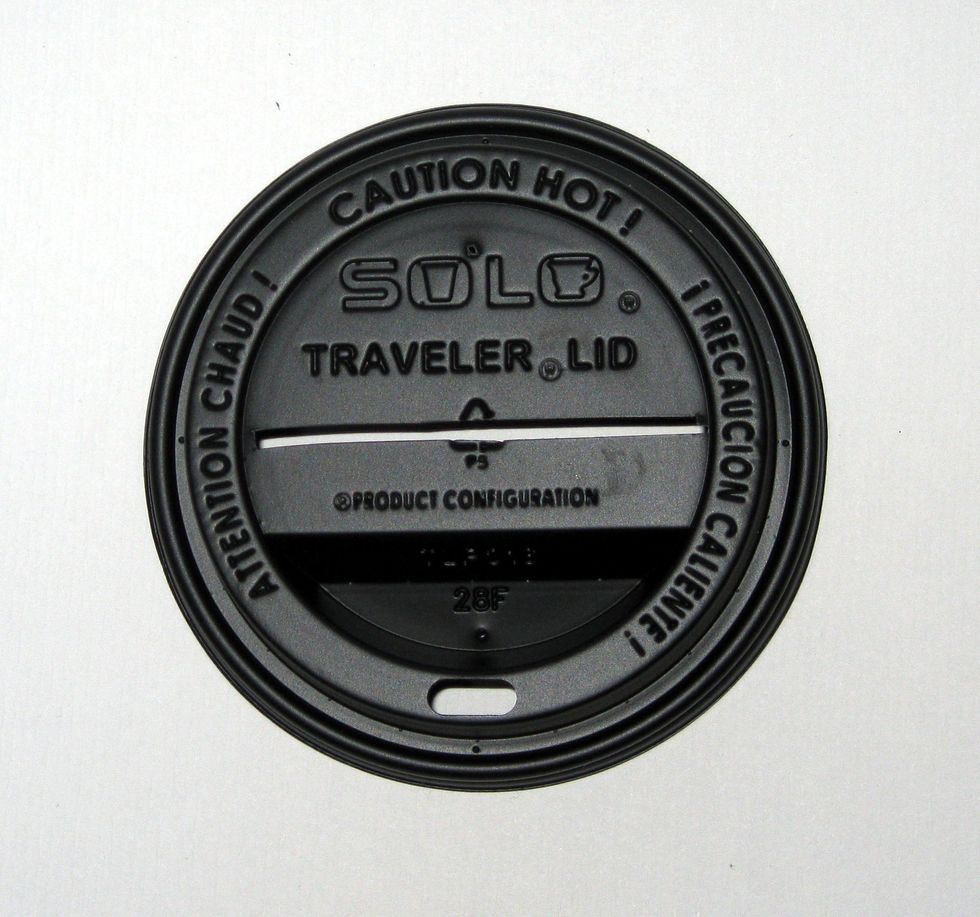
11. Cut a 1/8” wide slit into the cup lid between the edges of the raised rim.
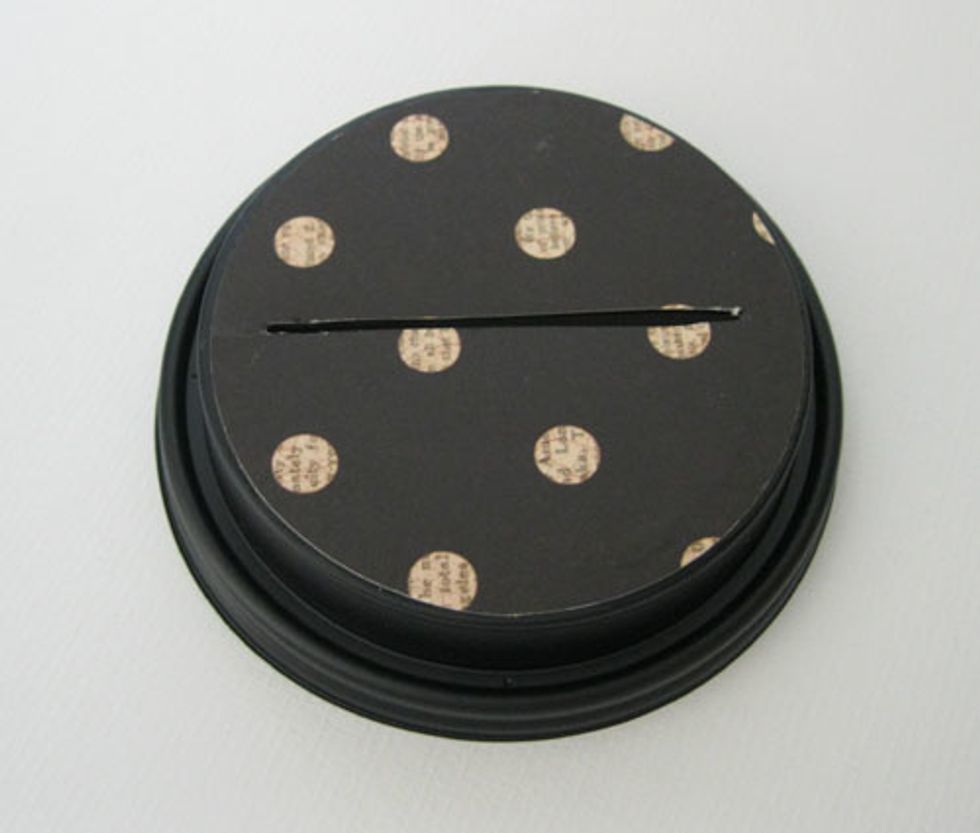
12. Cut out a 2 7/8” circle of decorative paper. Glue to the cup lid. Cut slit into paper.
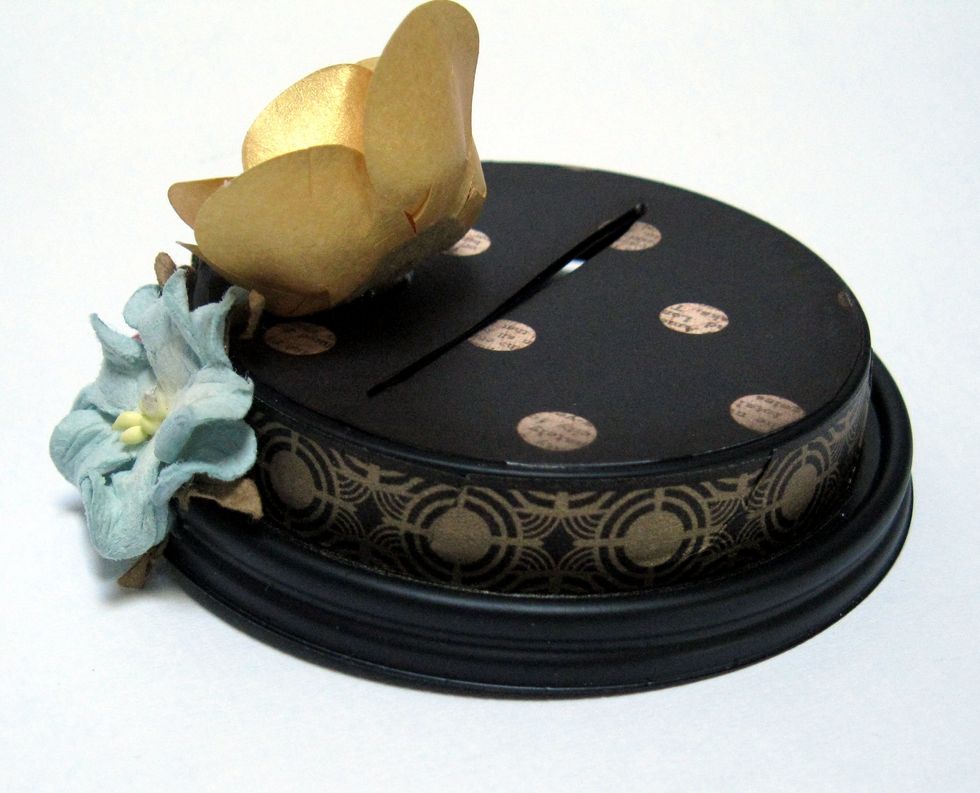
13. Wrap Washi tape around the rim of the cup lid.
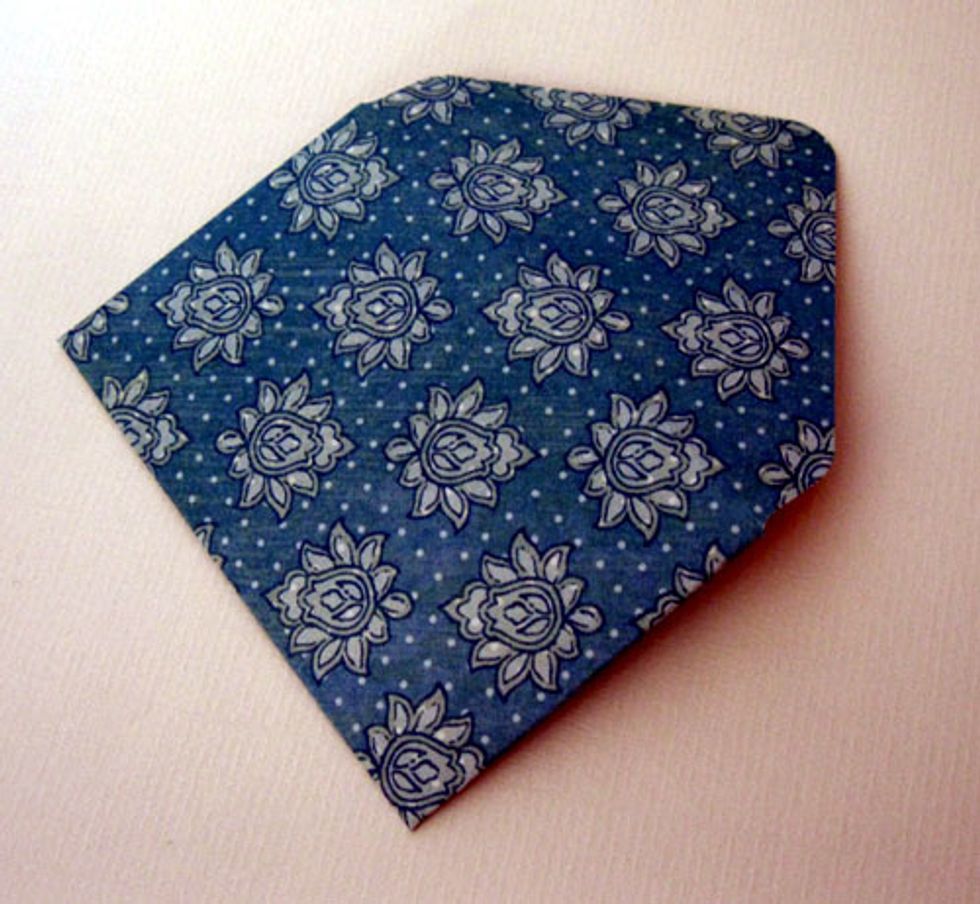
14. Create a 3 1/2” x 2 1/4" envelope to hold a gift card. If using the We R Memory Keepers Envelope Punch Board, cut out a 5” square of decorative paper and score at 3”.
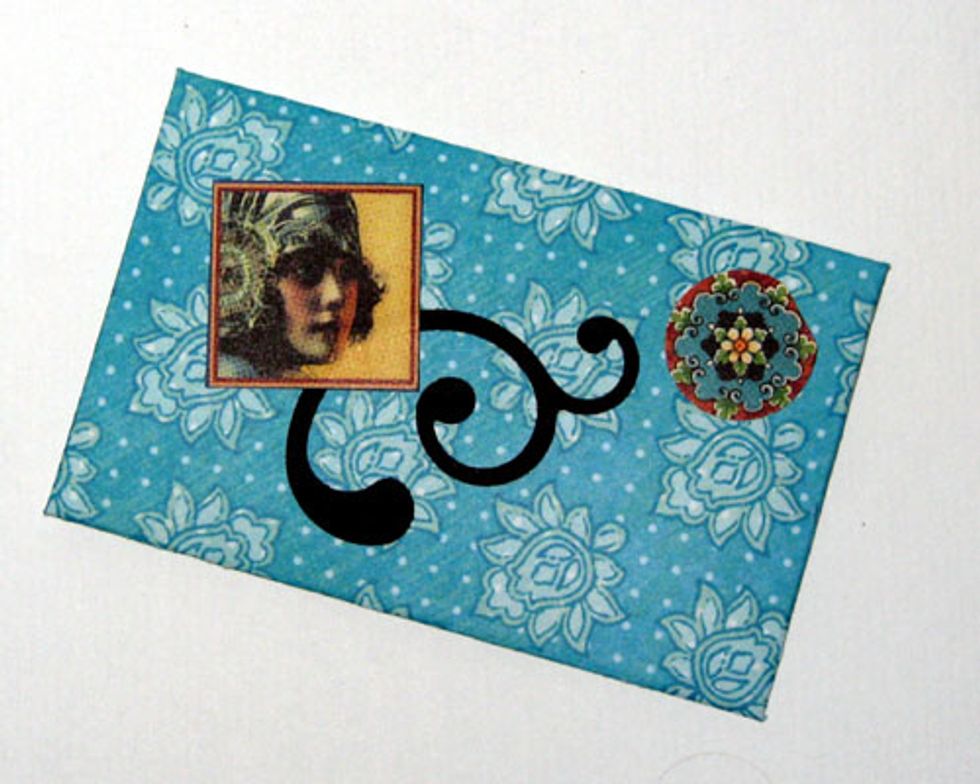
15. Decorate envelope and fill with your friend’s favorite gift card.
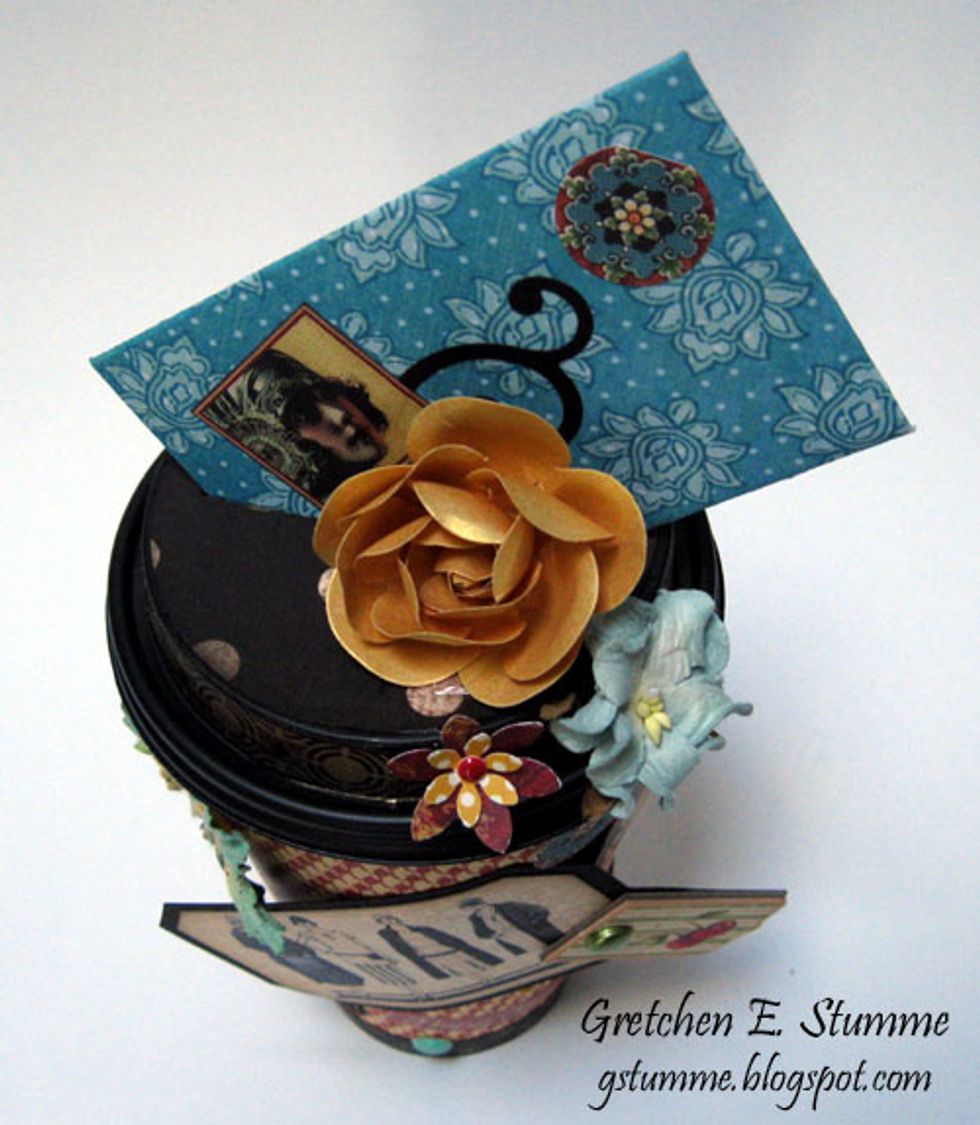
16. Secure lid to cup, slip gift card envelope into slit in lid, at an angle, and decorate cup as desired.
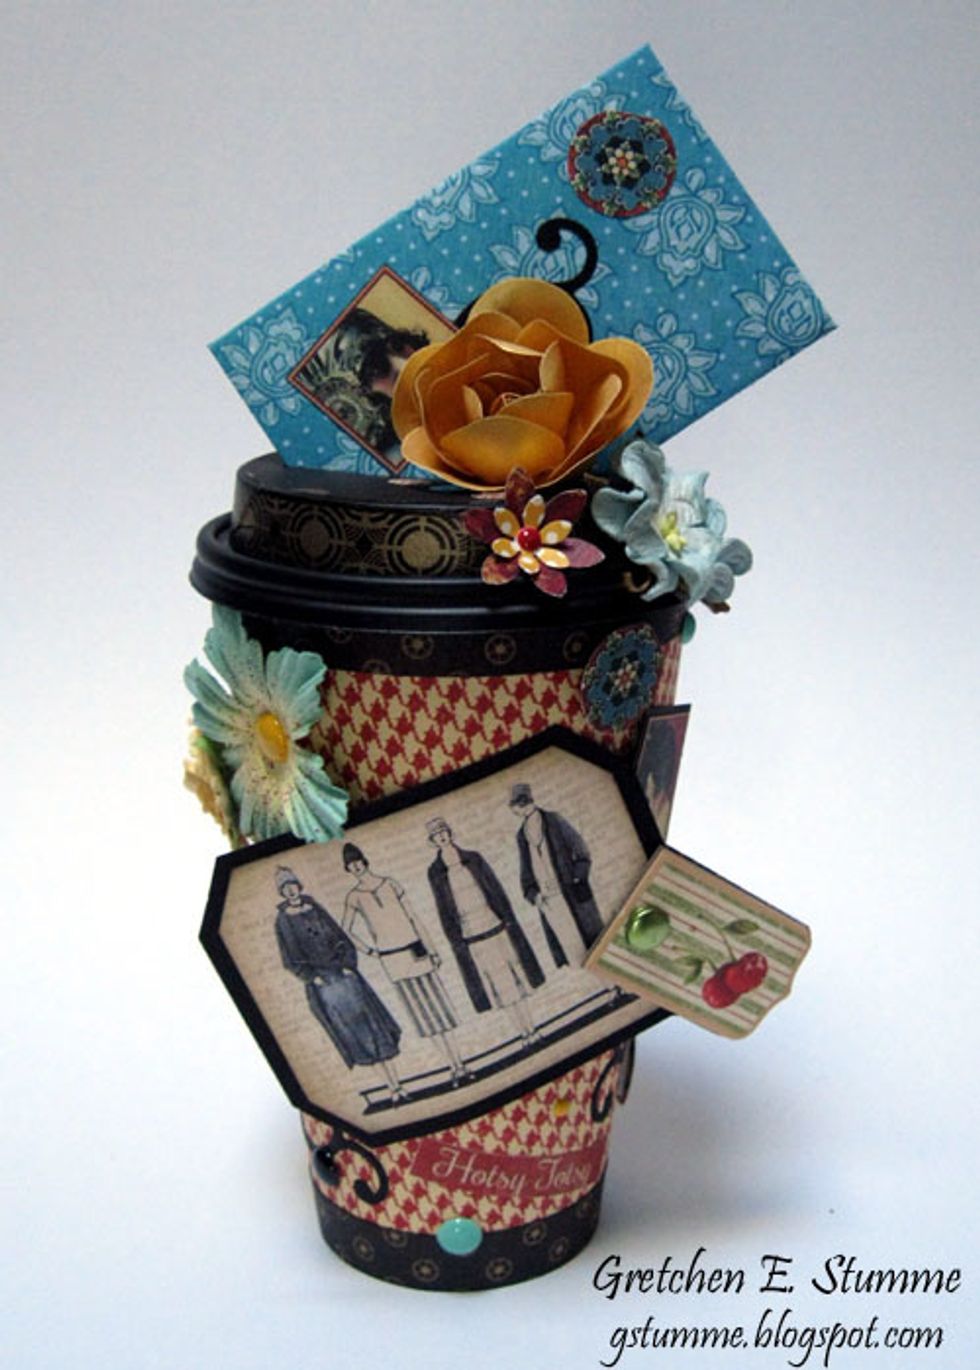
17. Present to a deserving friend! (I thought it would also be fun to fill the cup with candy.)