The Conversation (0)
Sign Up
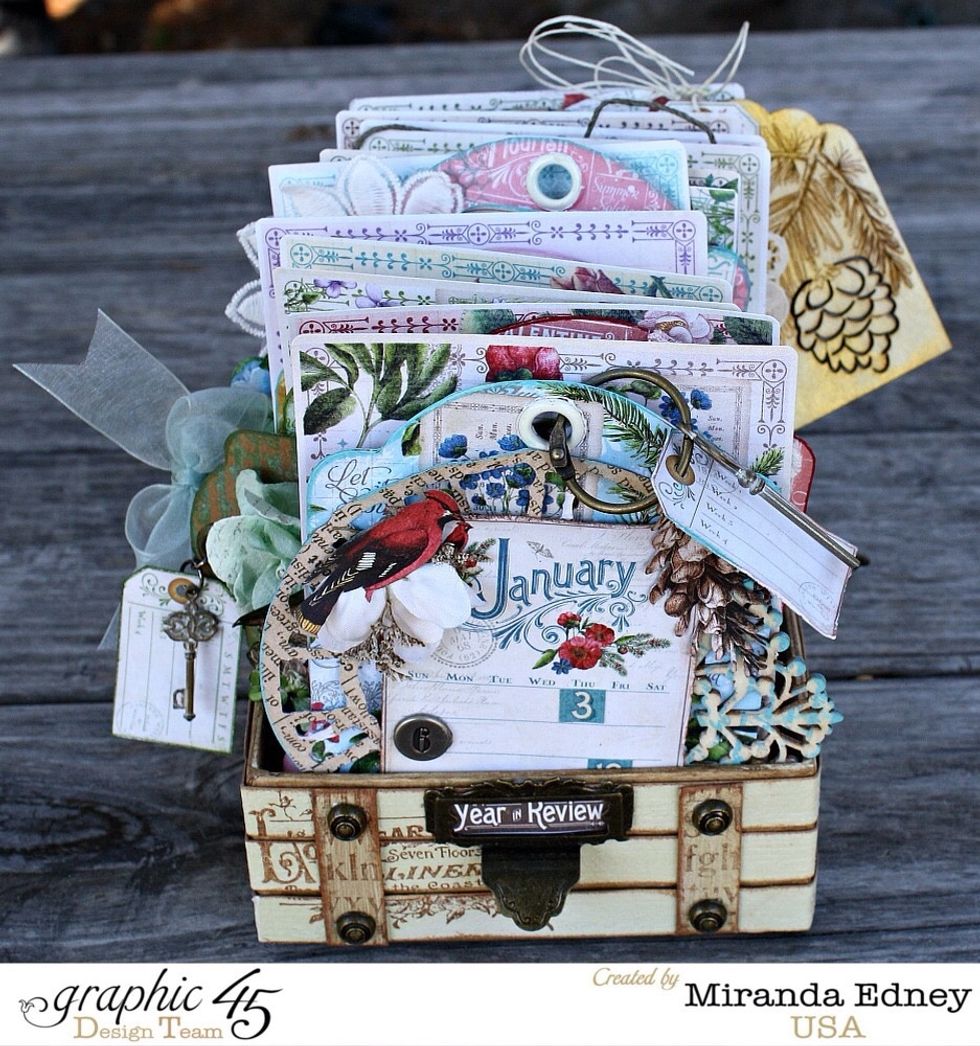
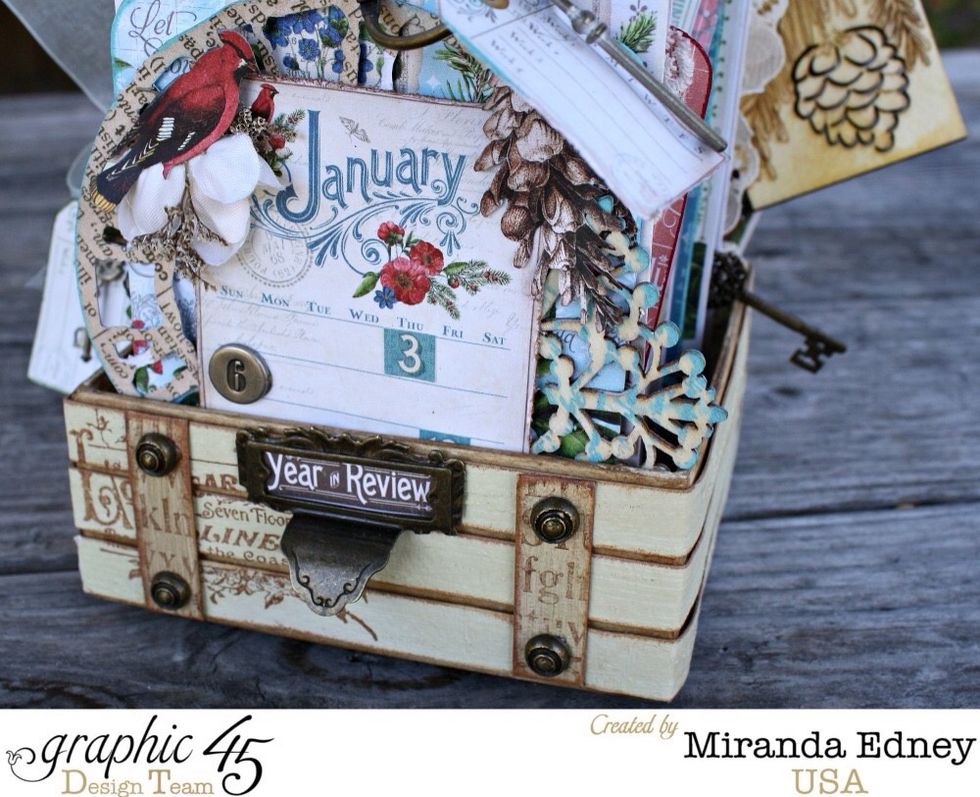
The front of each tag has the calendar section and is decorated accordingly. Each month has a matching ephemera card for more note keeping, bdays, memories.
The backs of each month have a pocket to tuck important dates , notes, birthdays, or just memories in.
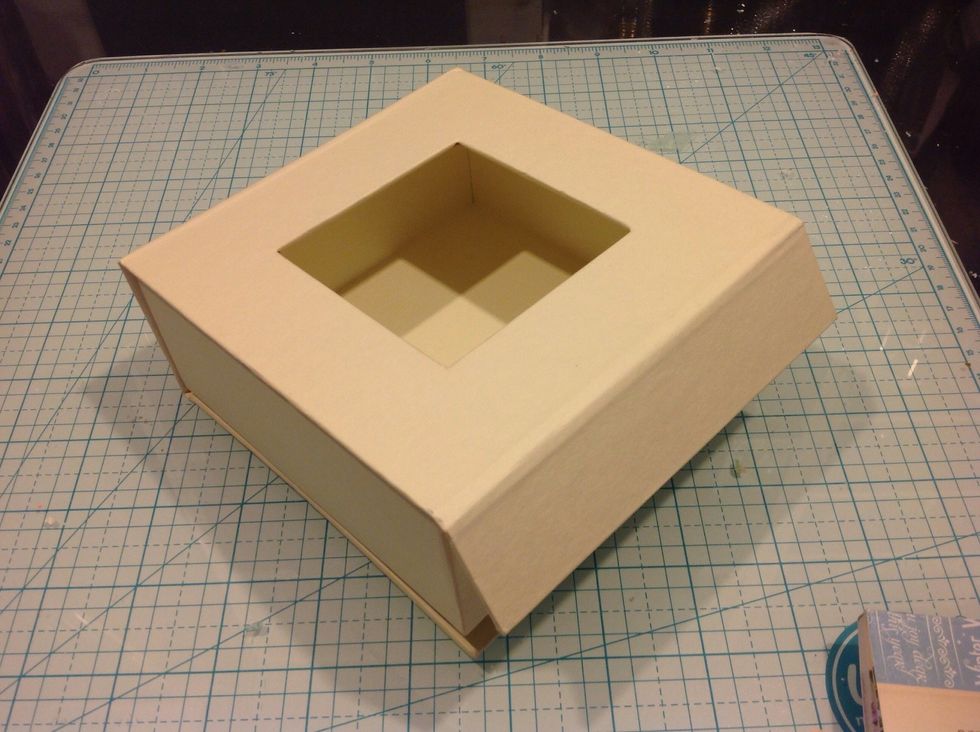
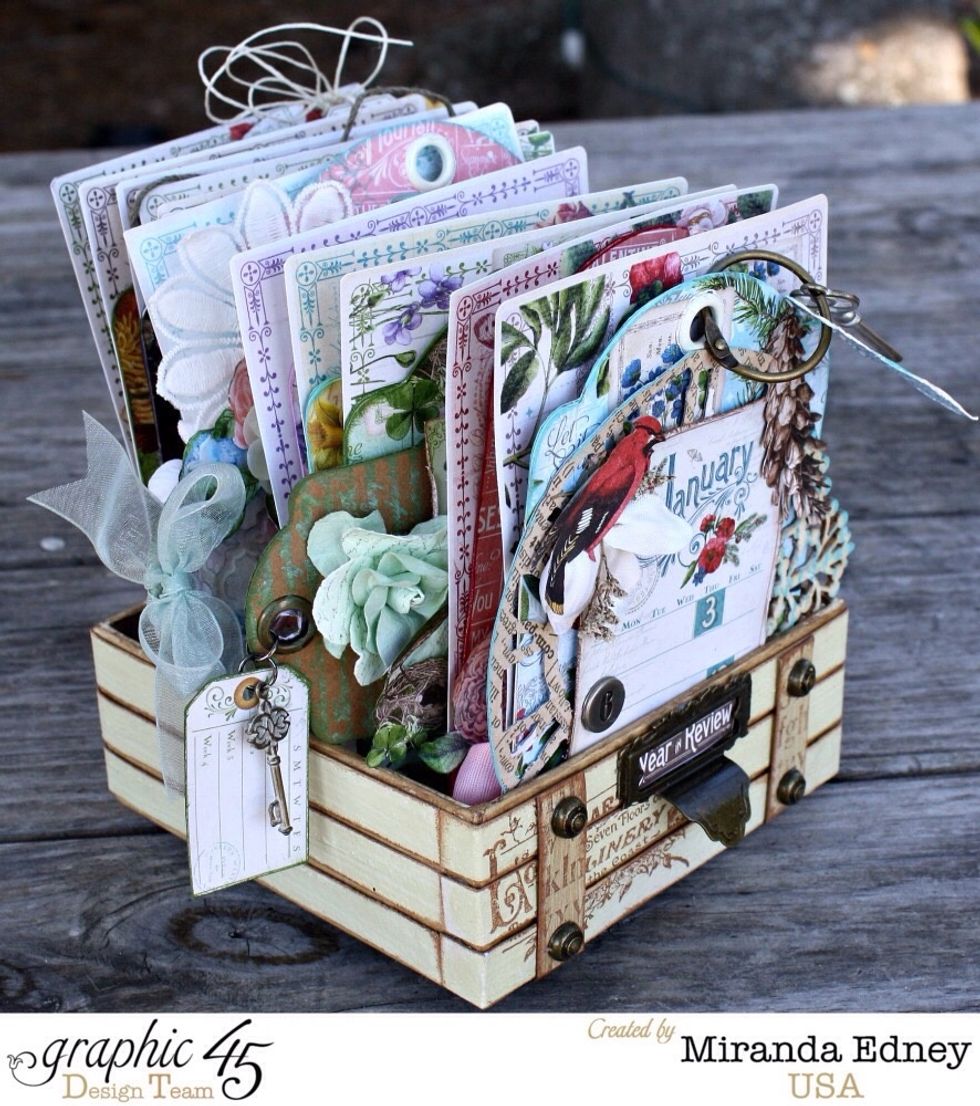
I am using one of the mixed media ivory boxes from Graphic 45 as my base.
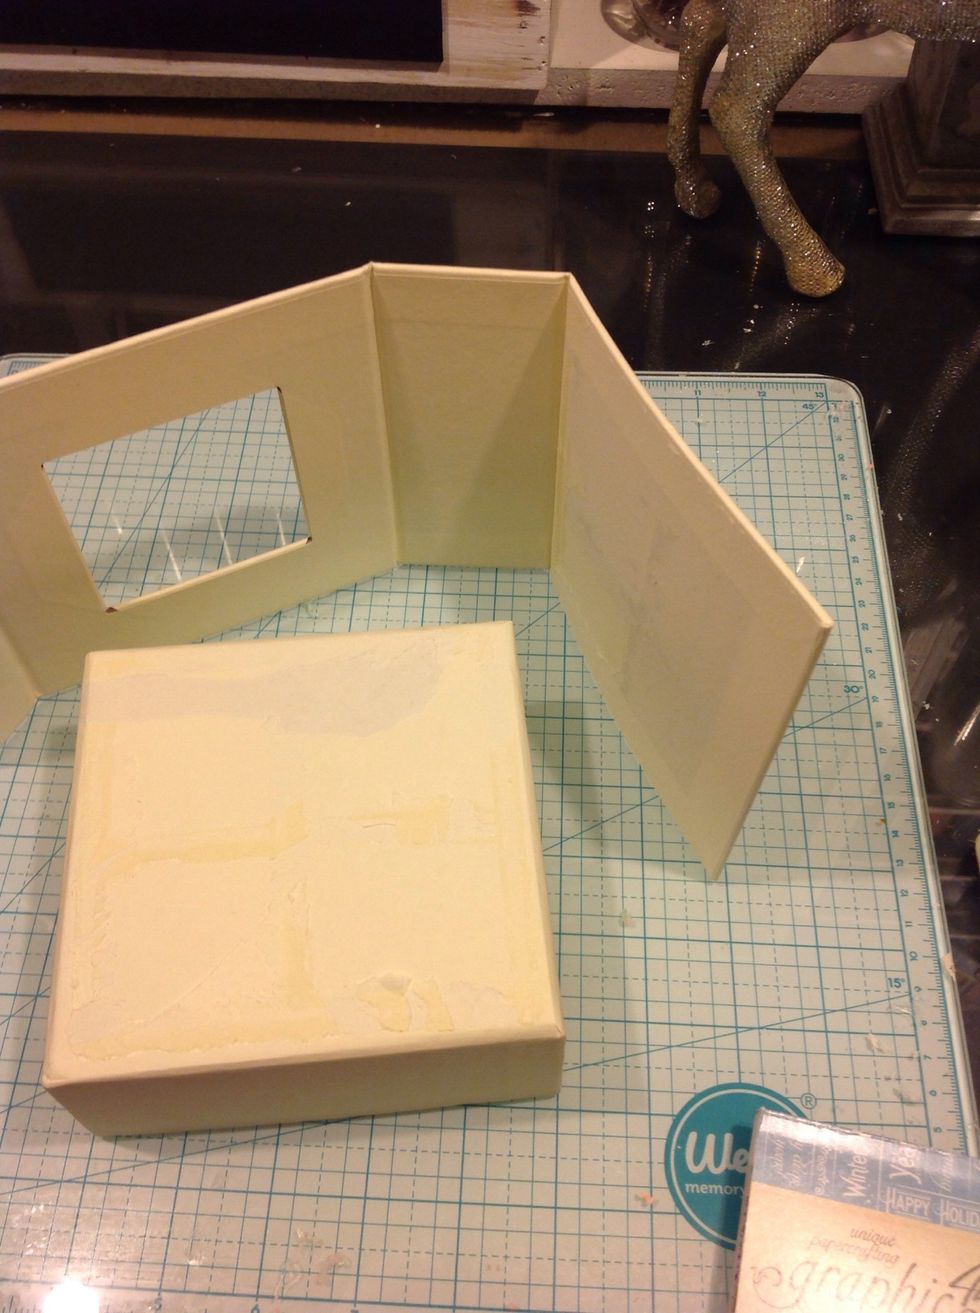
Gently rip off the box portion. I am saving the other section for a later craft. I never throw anything away.
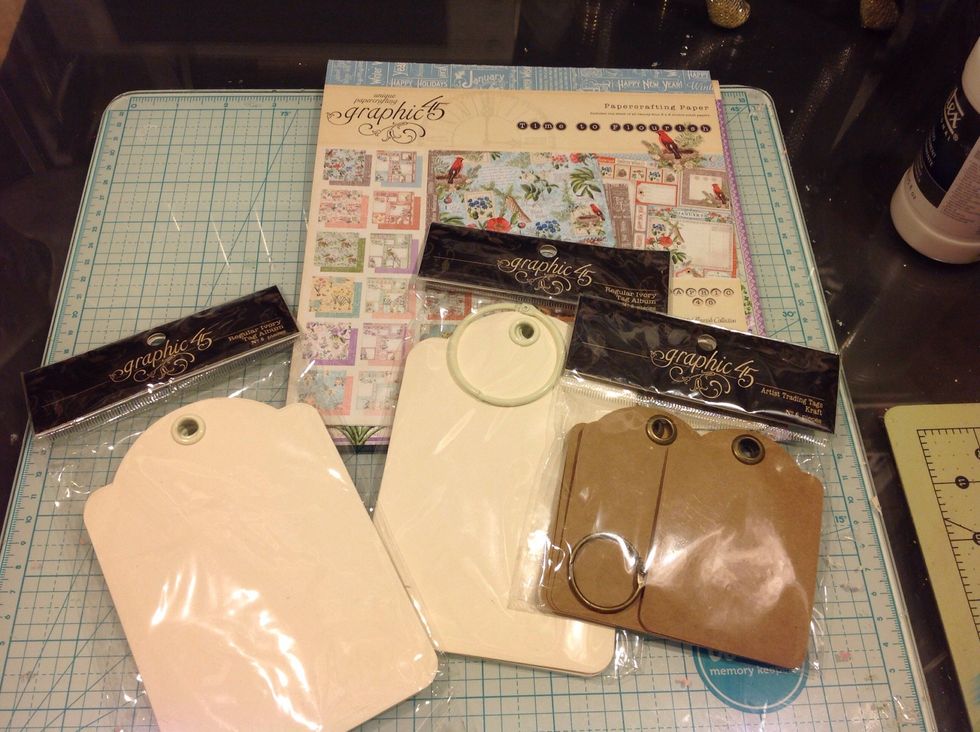
Gathering all of my Graphic 45 supplies. Time To Flourish is amazing.
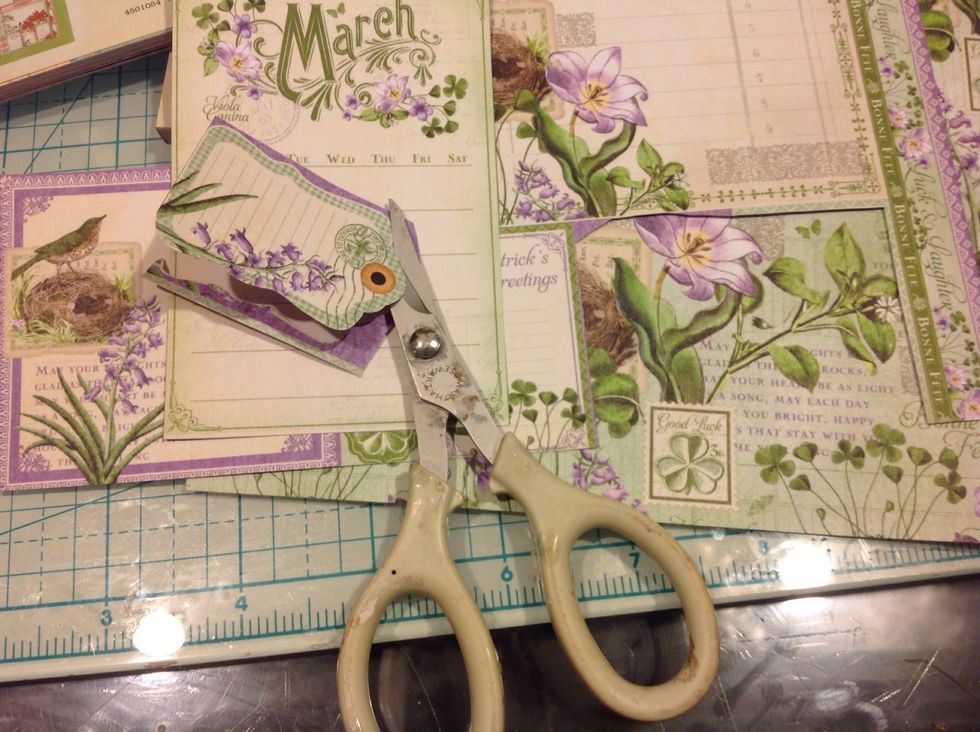
I will repeat same process for each month. Using both monthly sheets from 8x8 pad. Fussy cutting all the pieces from one, and covering front and back of tag with the other sheet.
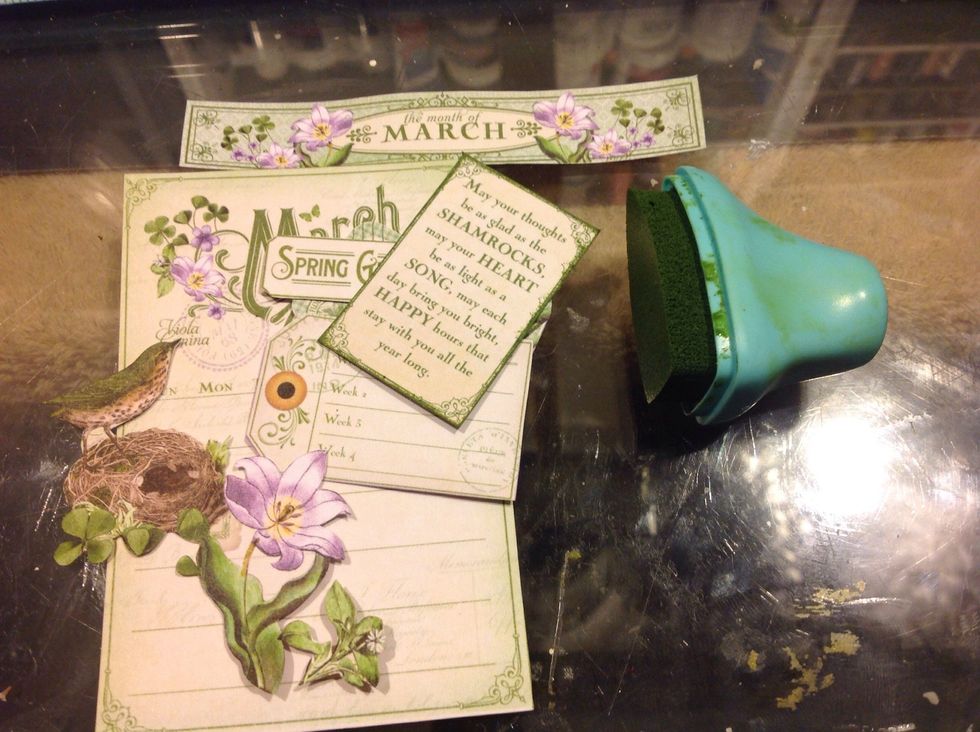
As I fussy cut each months papers inked them with coordinating chalk edger colors. I fussy cut details from the 12x12 pad too.
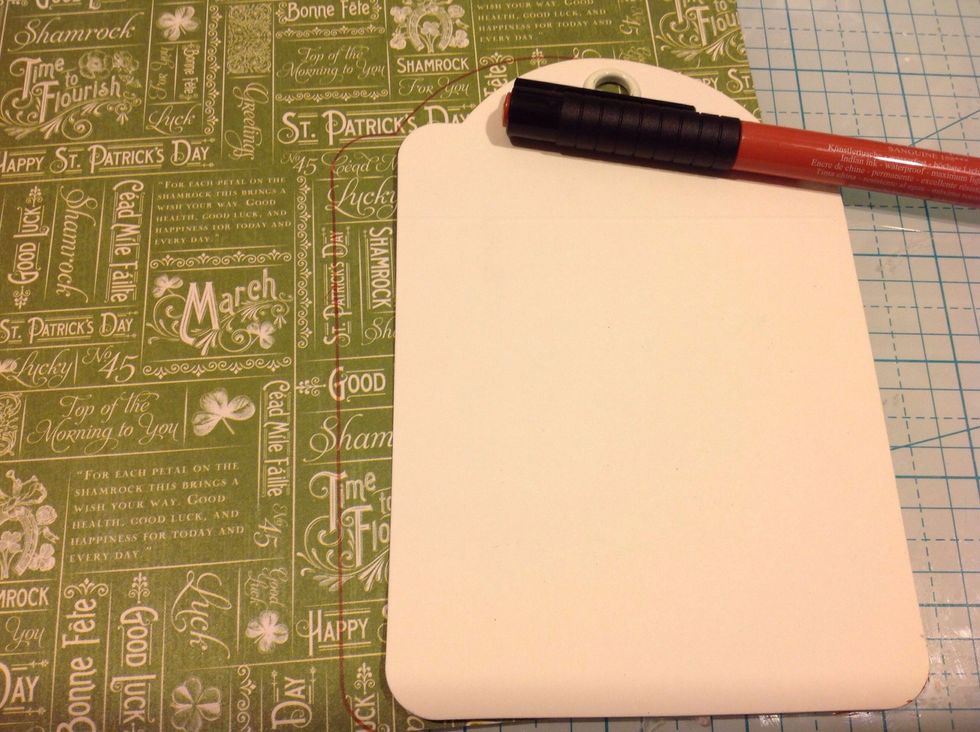
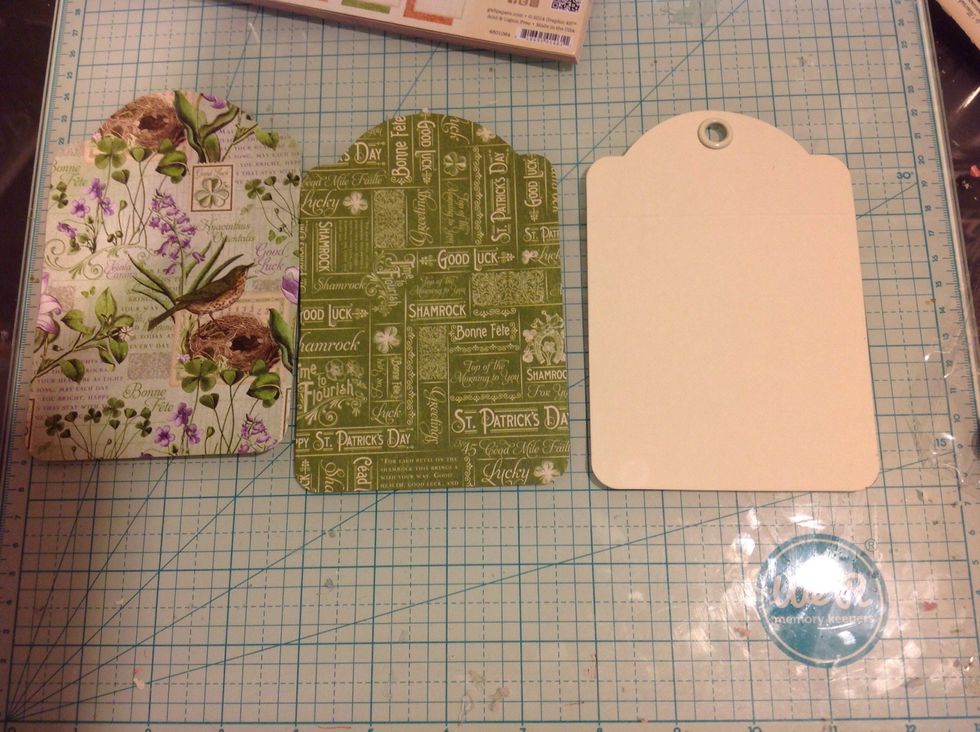
To cover my tags I traced onto my paper keeping it on the edge of the paper. This way I could get both sides cut from one sheet of paper.
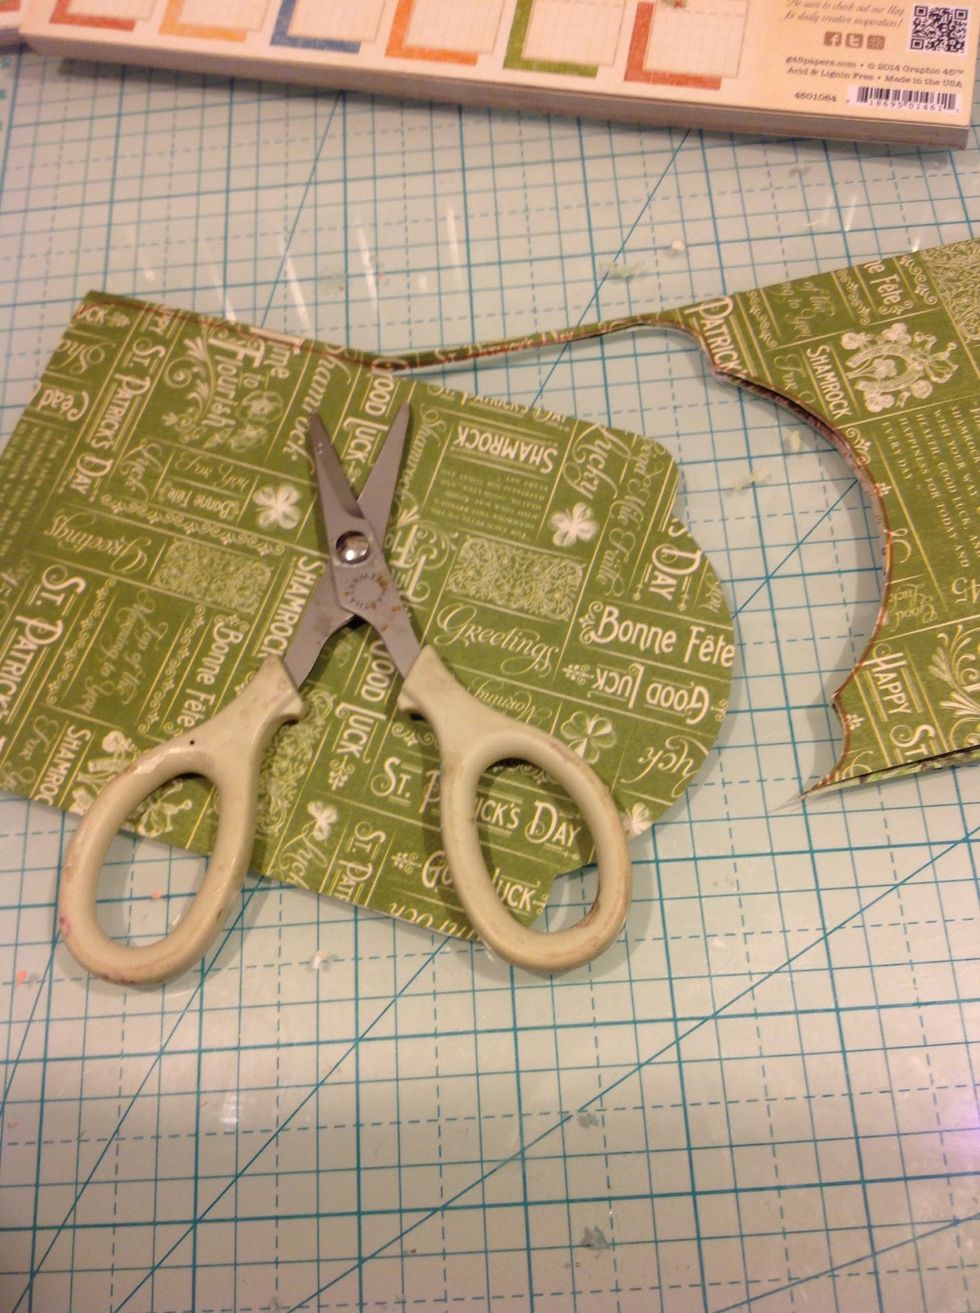
I then FOLDED a the paper in half and then cut out my shape. This cuts 2 tag shapes at the same time. And I would use the opposite design on back of the tag.
Like this :) Distress edges slightly.
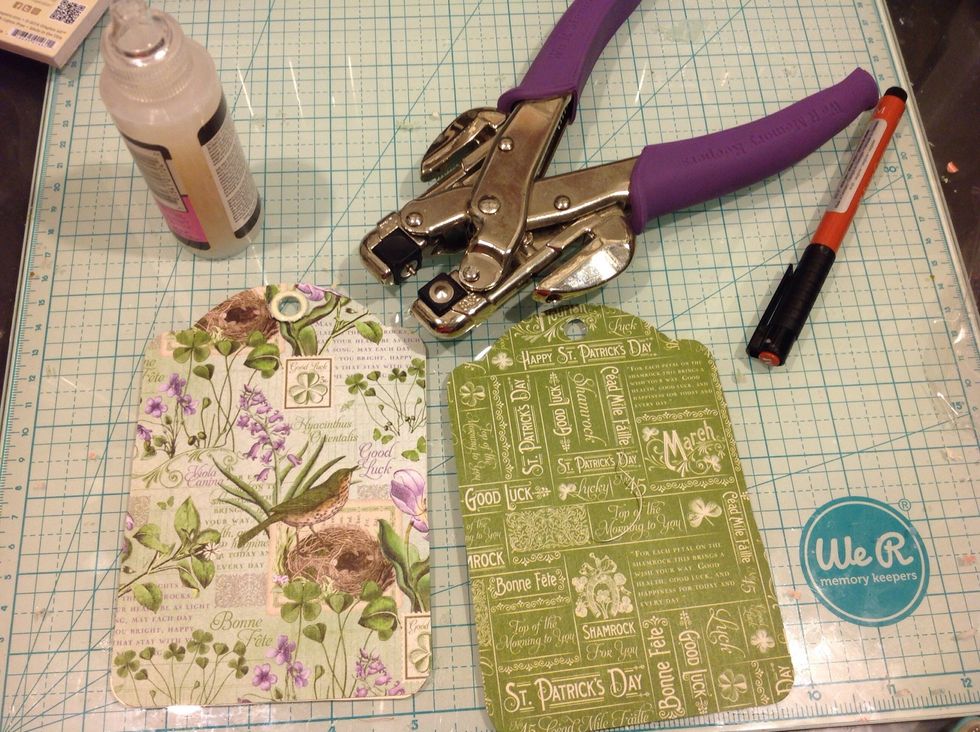
I adhered my paper with glossy accents and punched my holes with my Crop a dile.
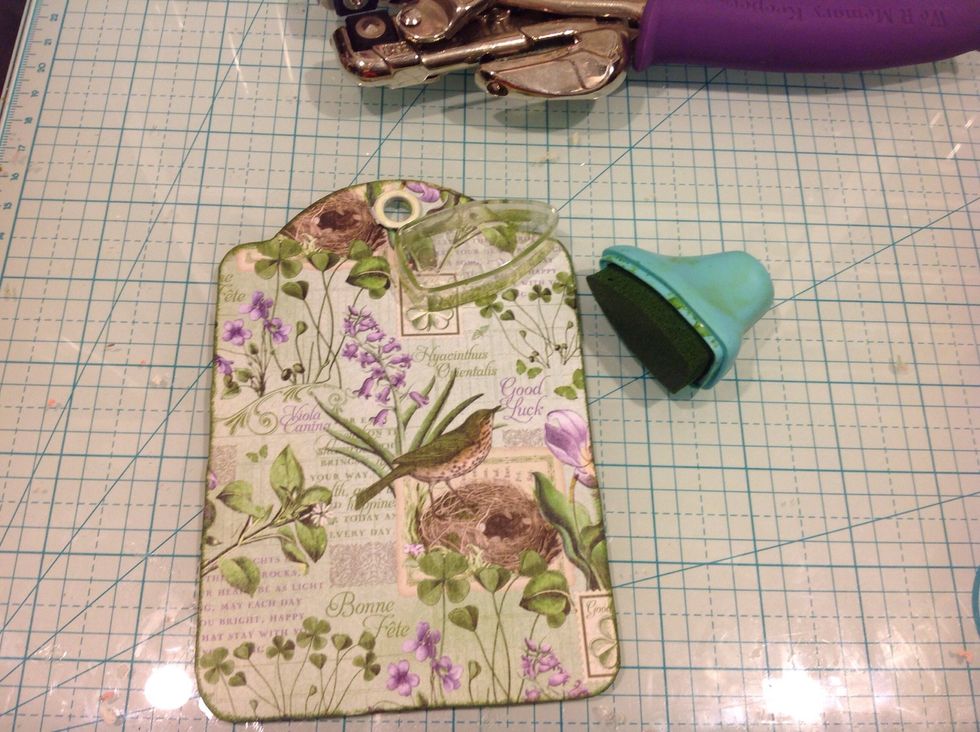
Ink your edges once adhered.
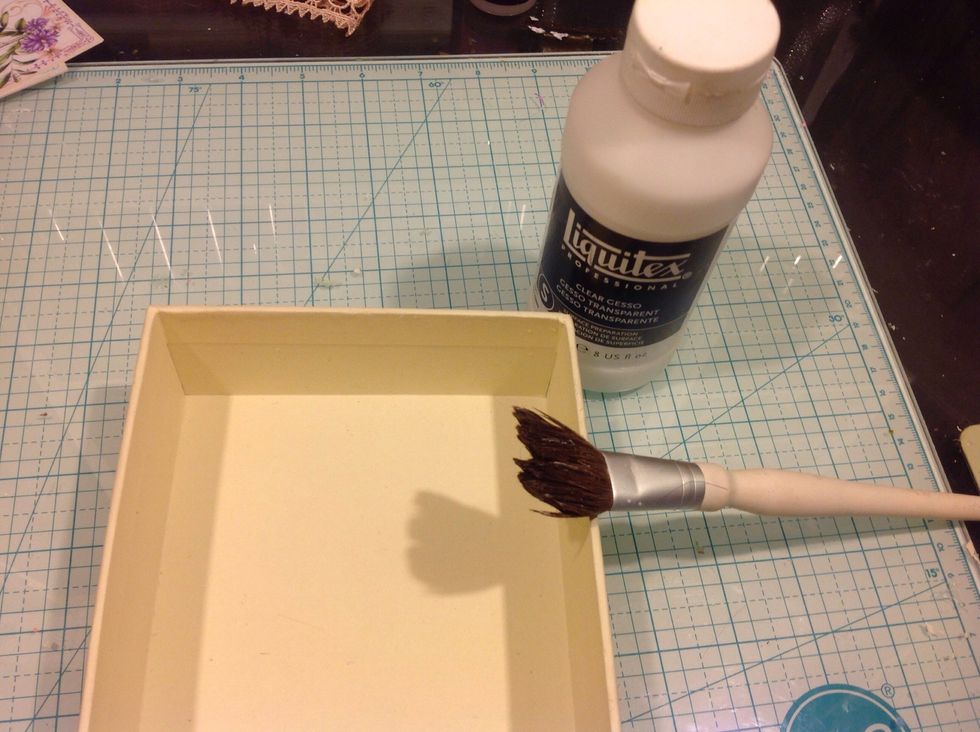
Now for the base box. I primed it with clear gesso. I didn't want to cover the ivory color up.
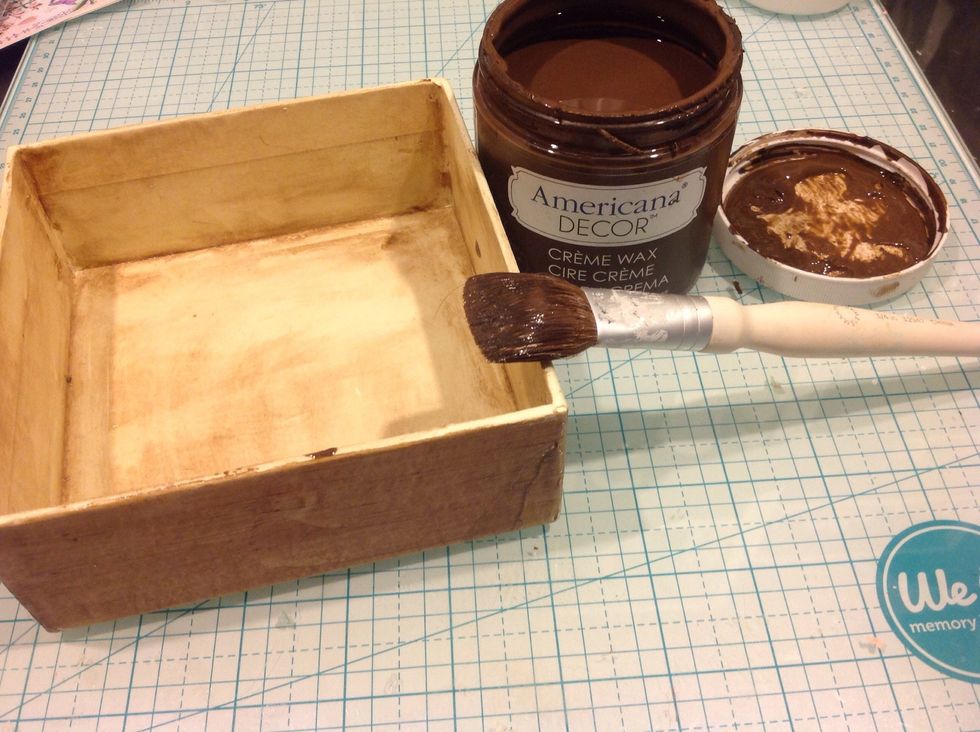
I then used an antiquing wax to distress and give it a wooden look.
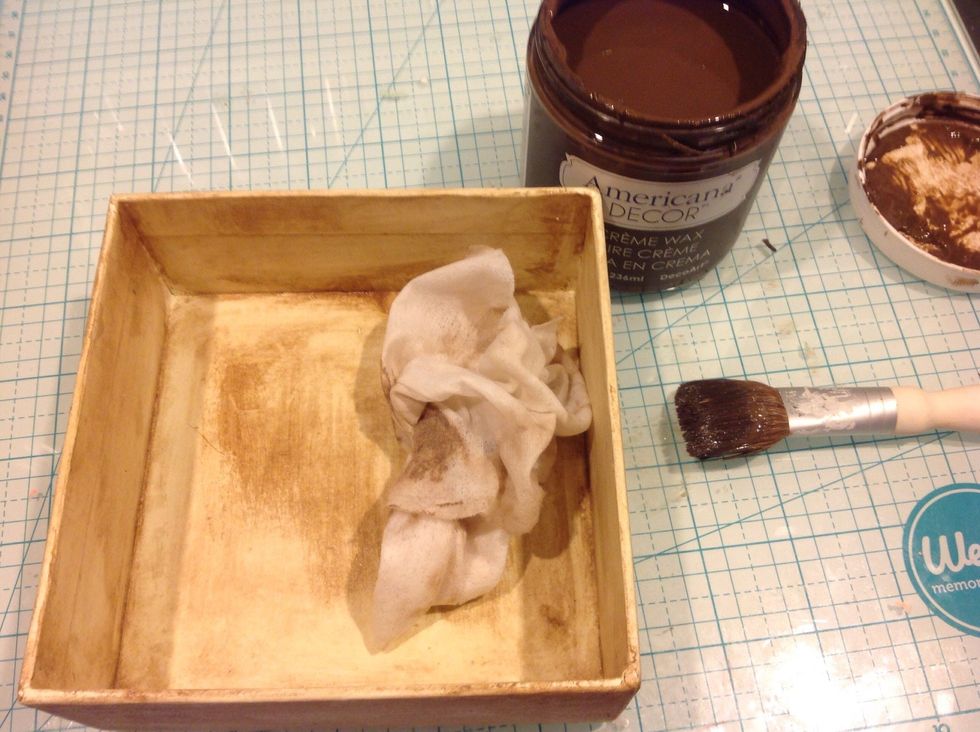
So I brushed the wax on. Then used a baby wipe to rub off the excess and give it a grain texture.
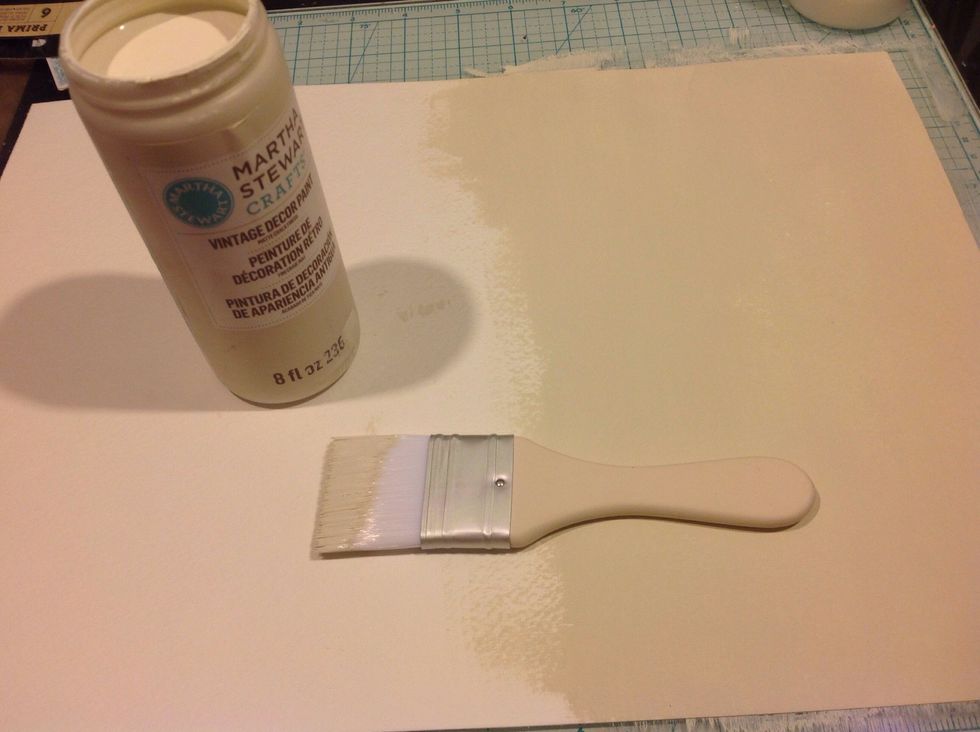
I then took a sheet of watercolor paper and painted it with a chalky vintage ivory paint.
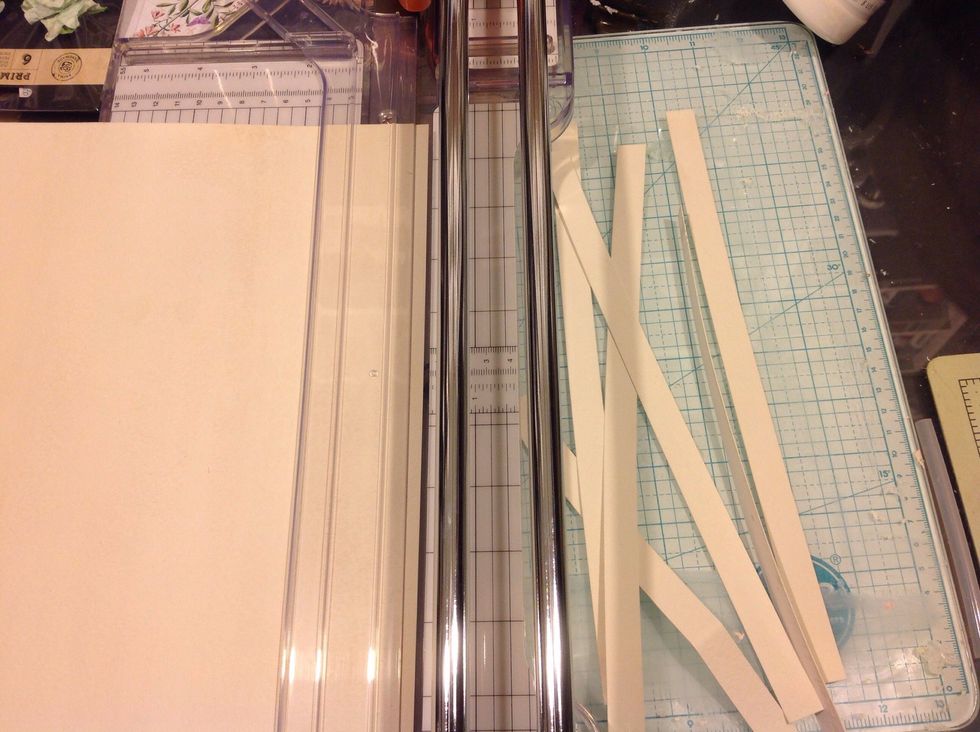
Once dry I cut them into strips. I want my base box to almost look like wood.so these will be my wooden panels.
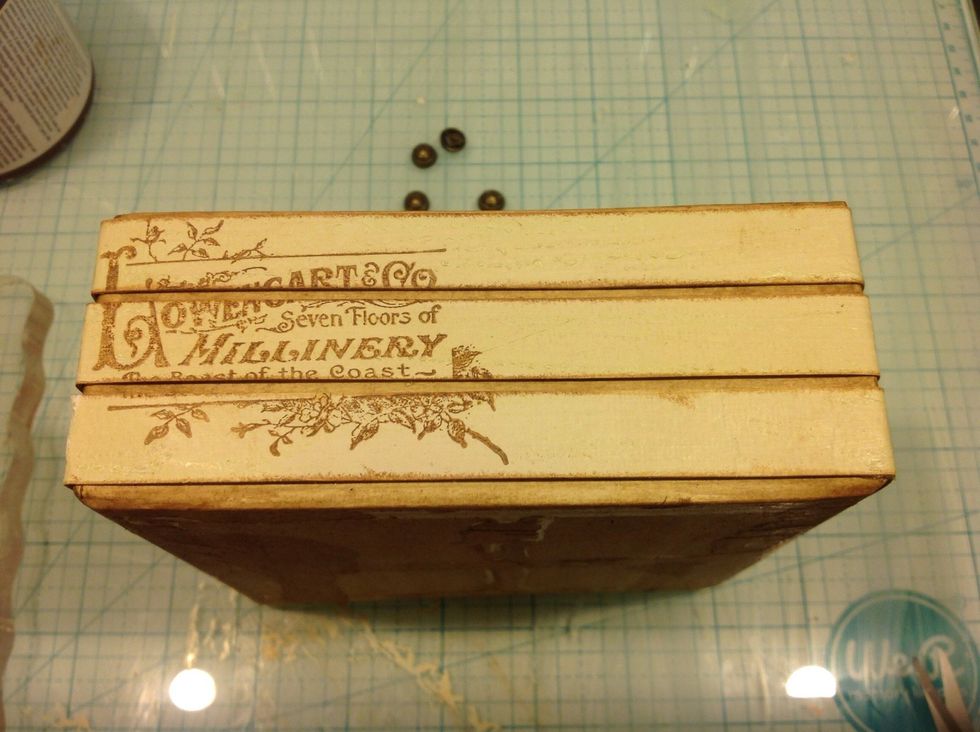
I adhered my strips around box. After I inked the edges . Then I used some various G45 stamps . I loved this effect.
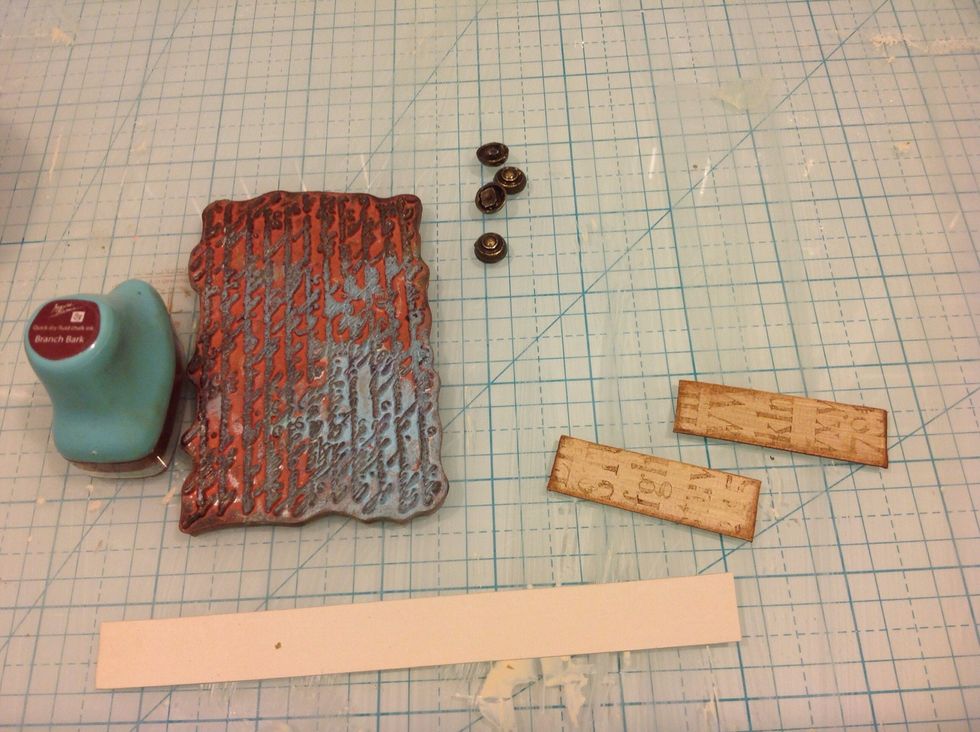
I also cut smaller strips and stamped them. I distressed them a bit darker.
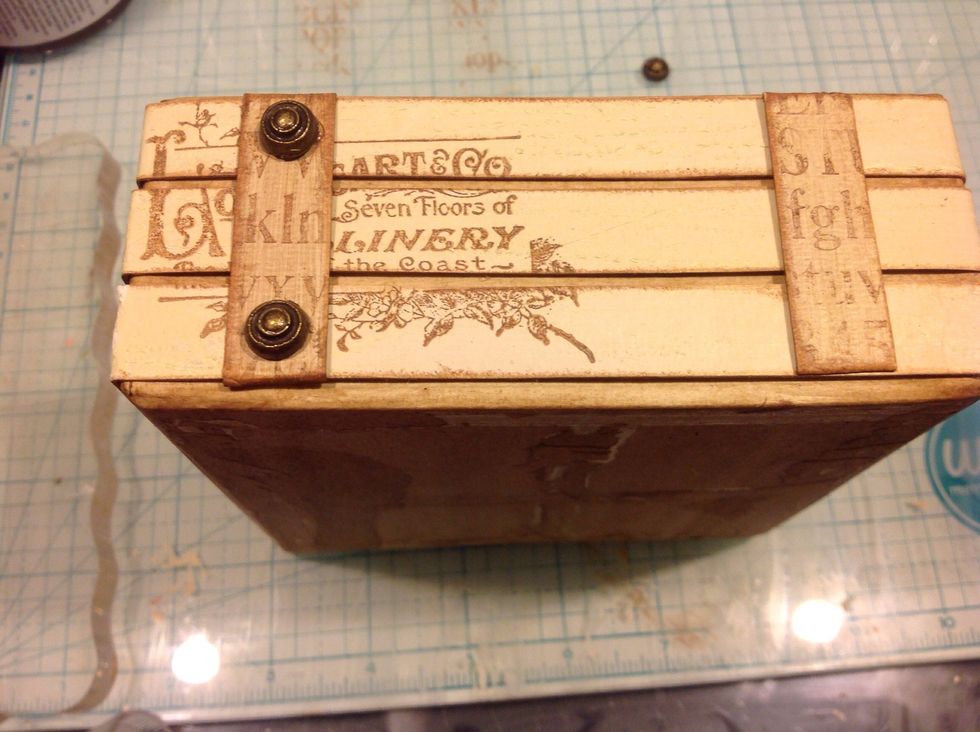
I adhered them with some Graphic 45 antique metal brads.
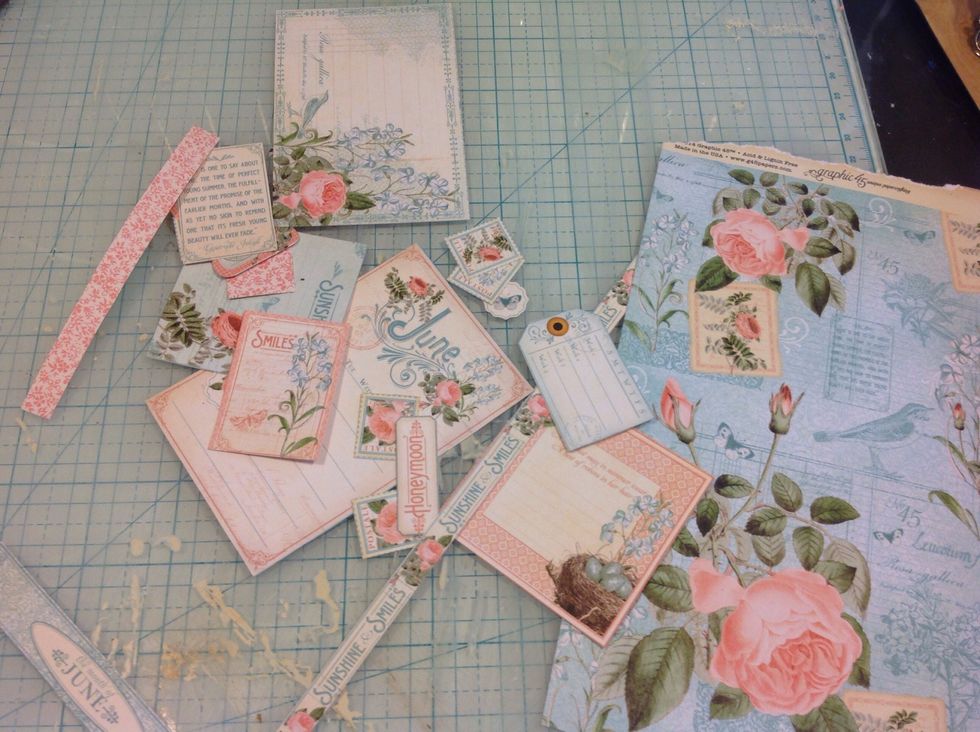
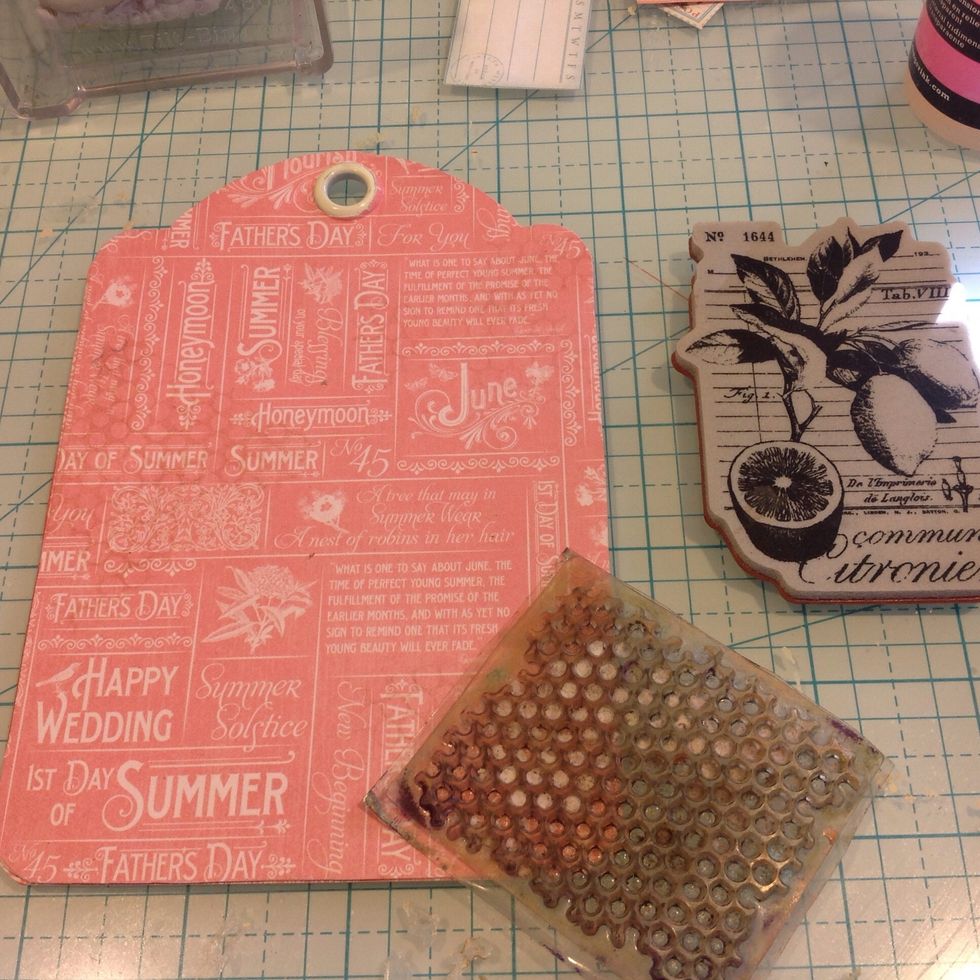
Now I will share how I did the month of June as well. This was my favorite sheets. So pretty. Again I fussy cut all the imagery I wanted to use.
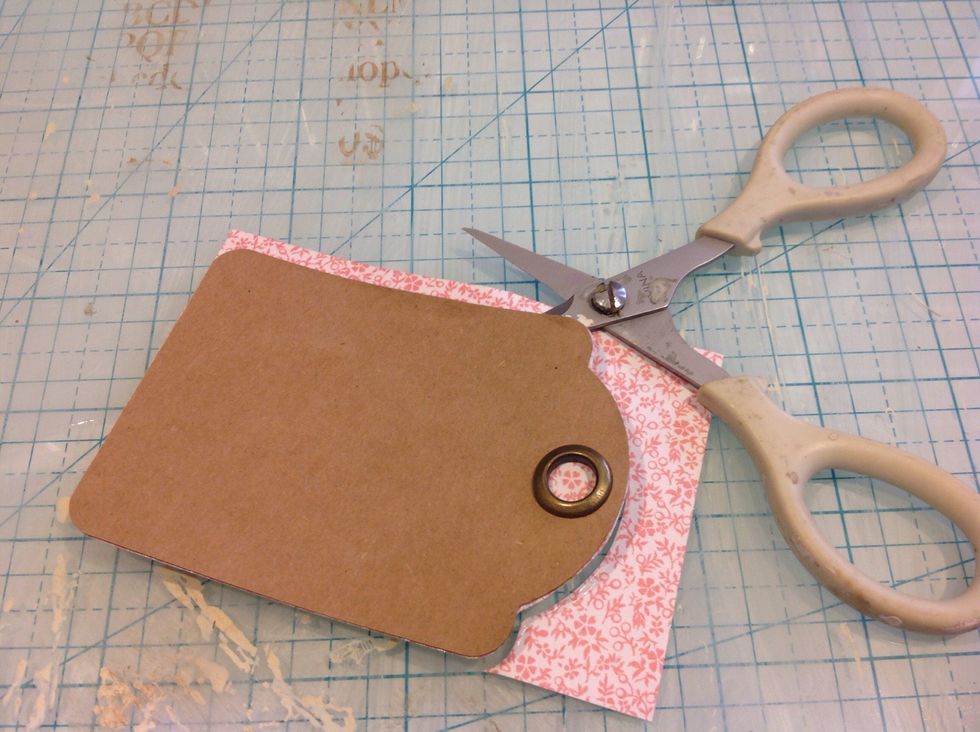
I also used some smaller Kraft tags throughout my calendar. I covered it just on the front.
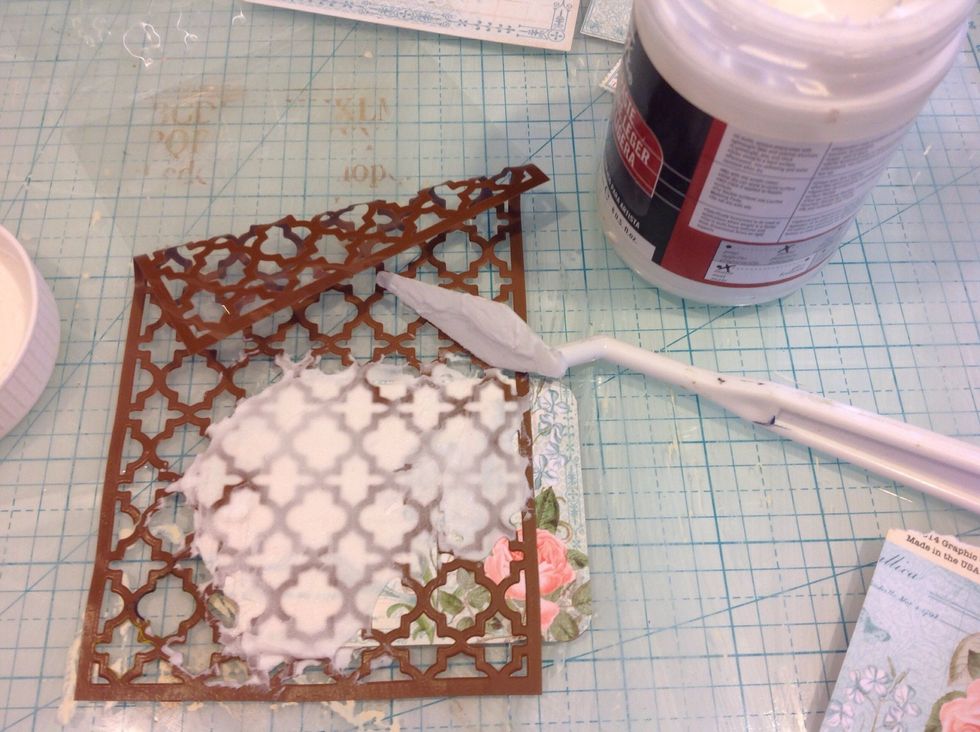
Using a stencil I applied modeling paste. Once dry I applied clear gesso all over tag to prime it for my inks.
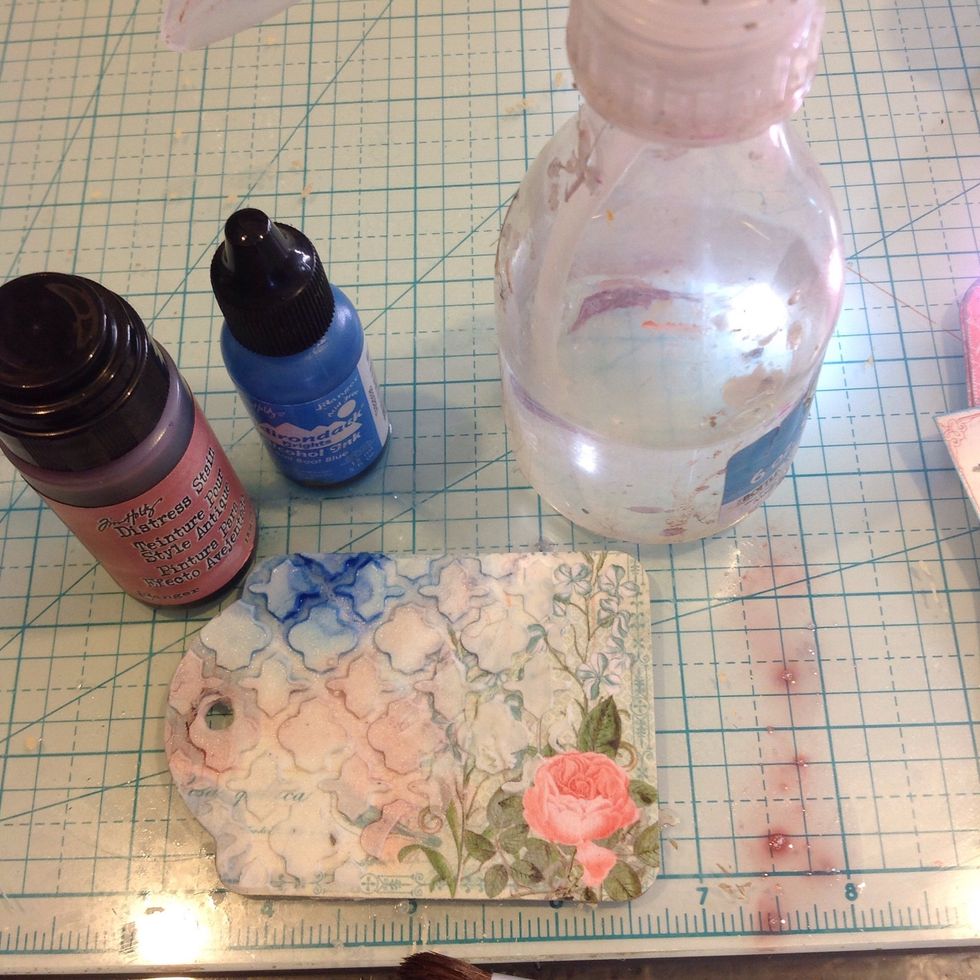
Spritz it with water then apply inks and sprays. I used alcohol inks and distress stains.
Using more stamps from my stash and different chalkedgers I randomly stamped my background.
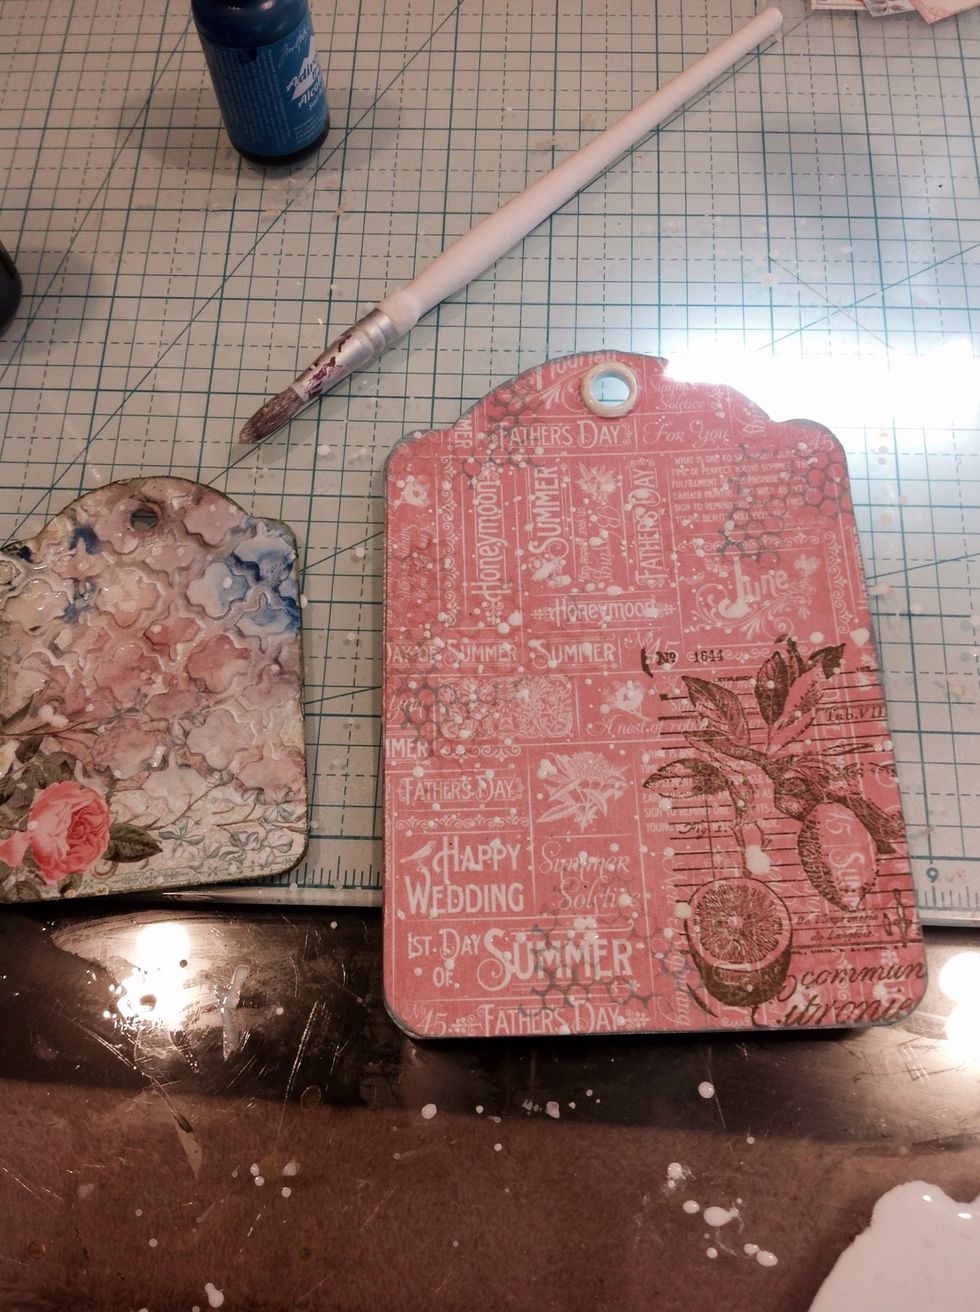
I took gesso and mixed it with water. I then dipped my paintbrush in it and flicked it all over my tags.
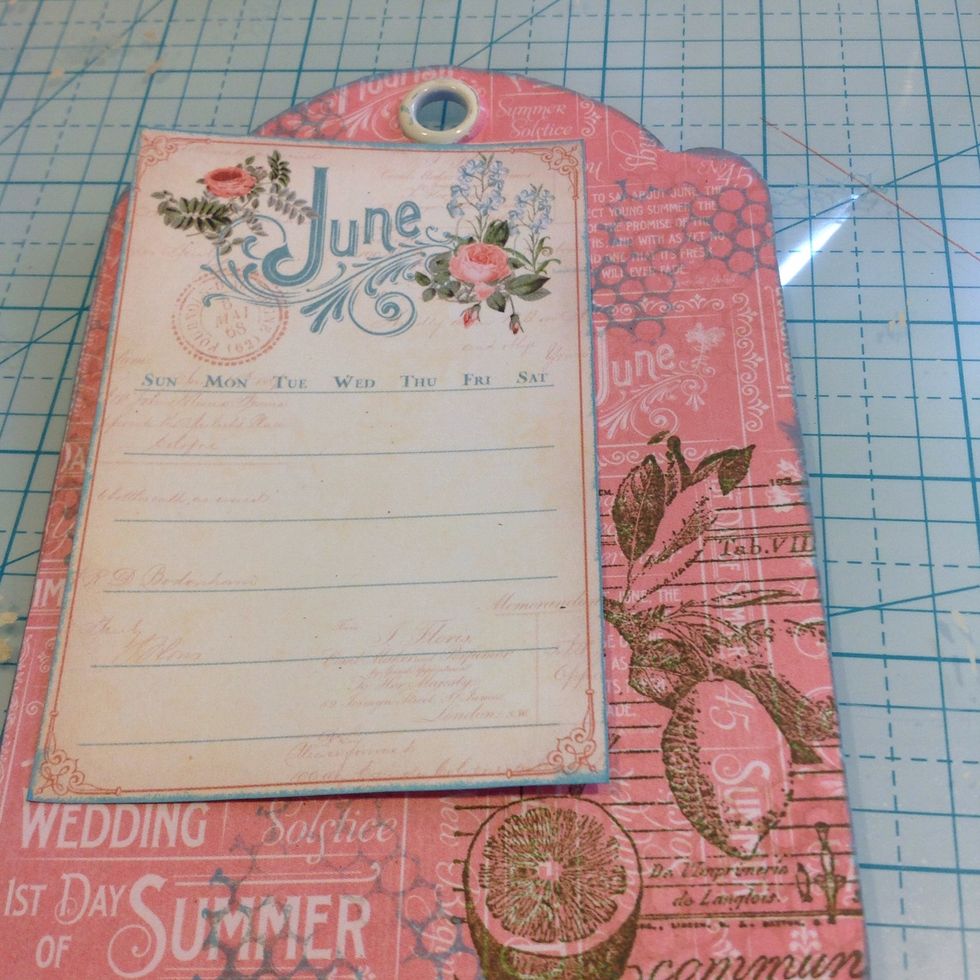
I start adding my elements using foam dimensionals on each layer for lots of detail.
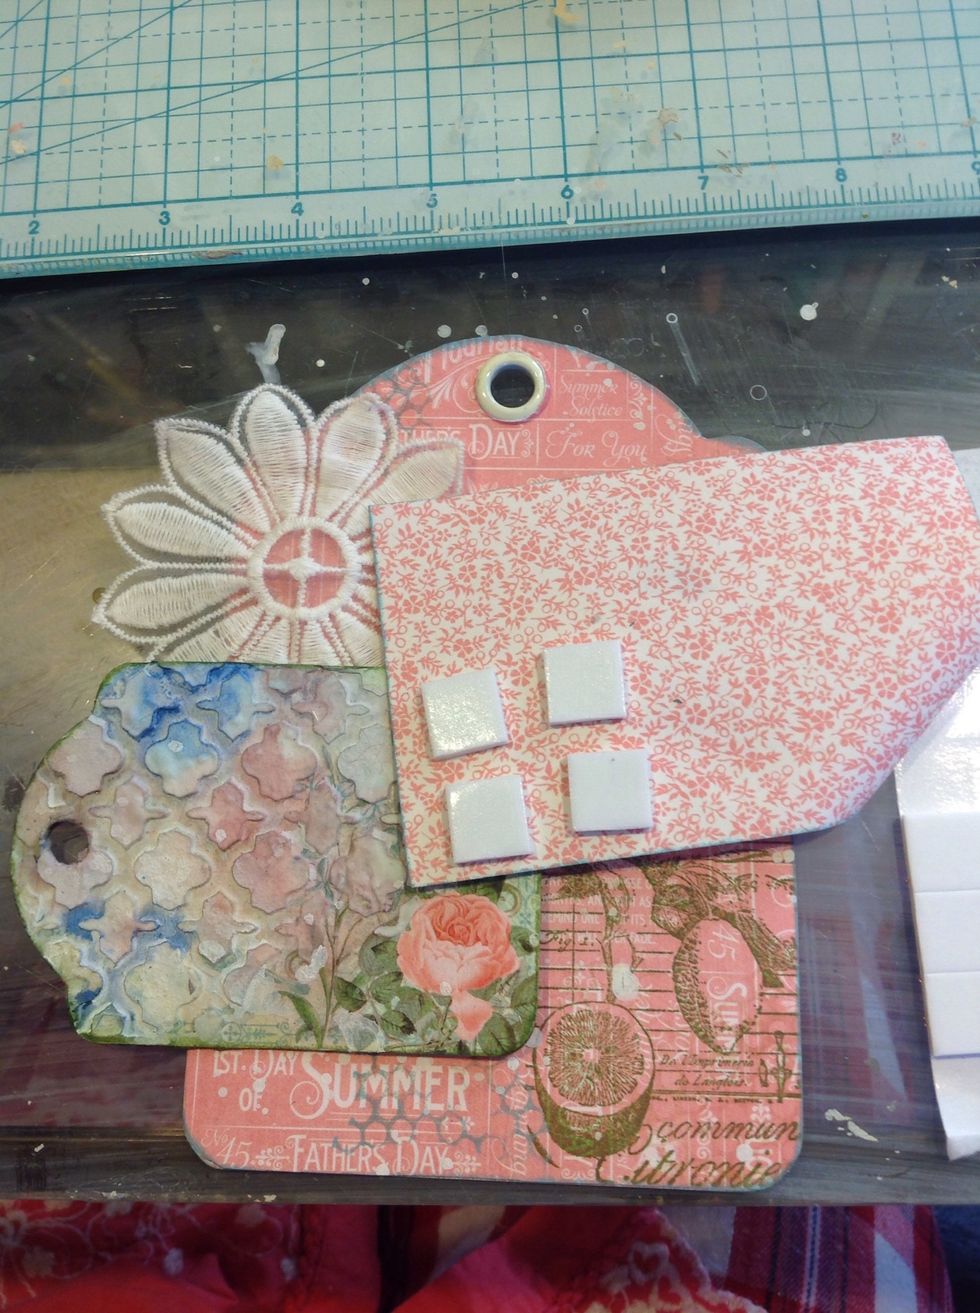
Just keep adding layers until you are satisfied with the look. Some of my months are simple, others are heavily embellished.
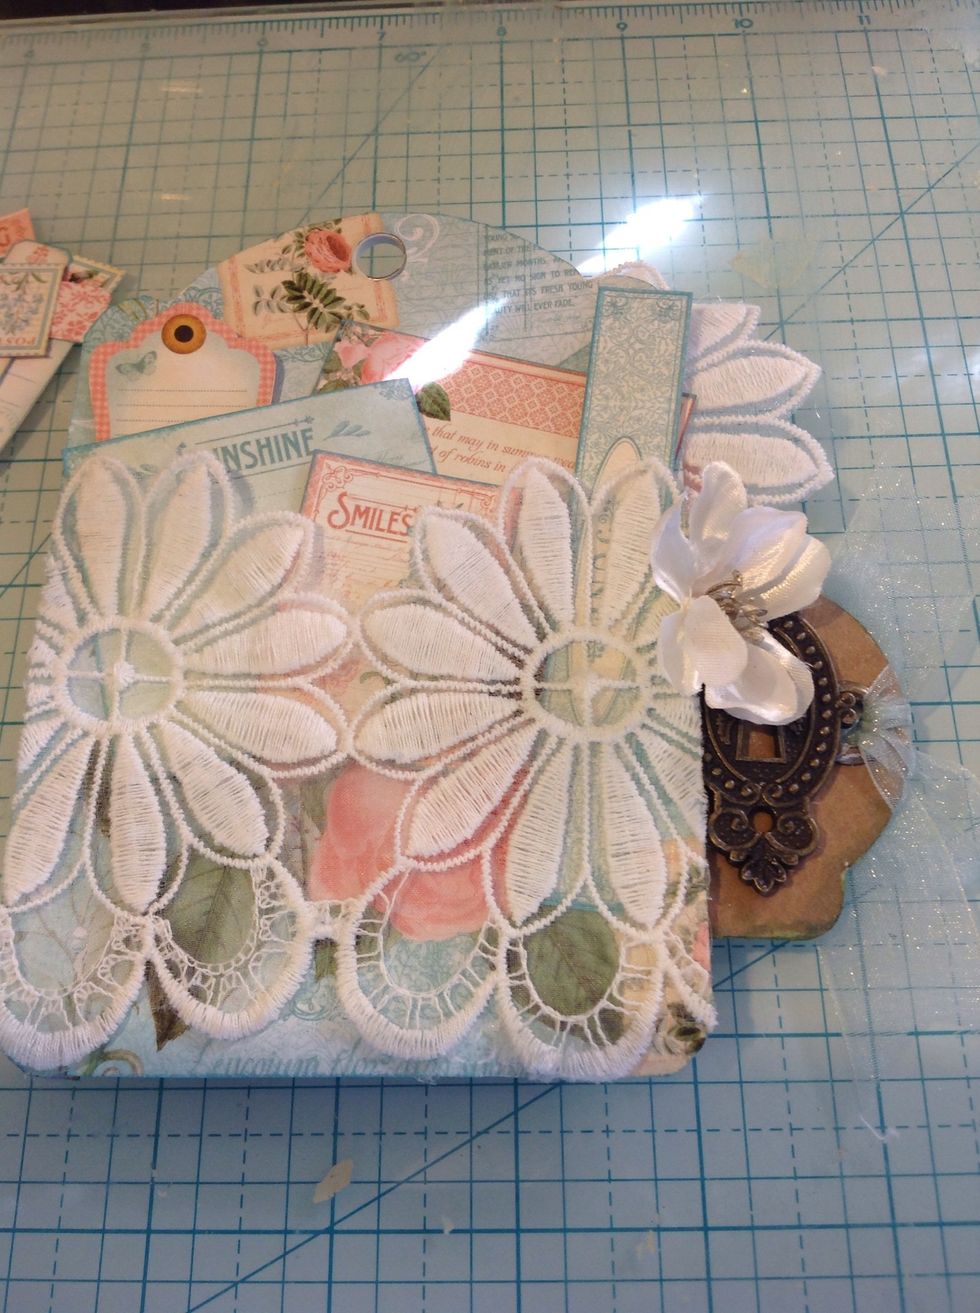
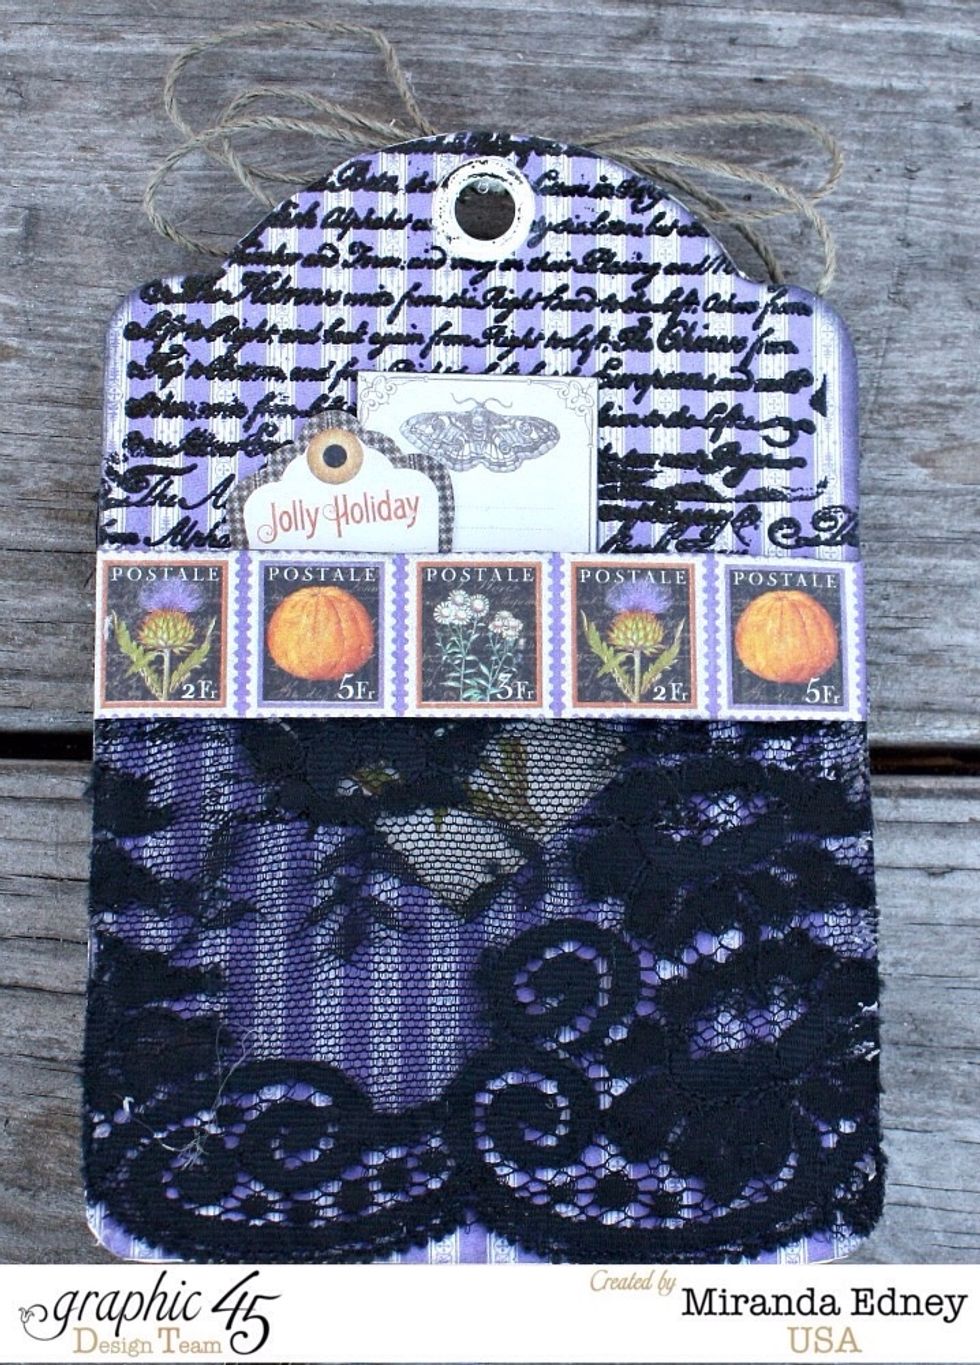
On the back of each tag I created pockets. For June I used lace to do so.
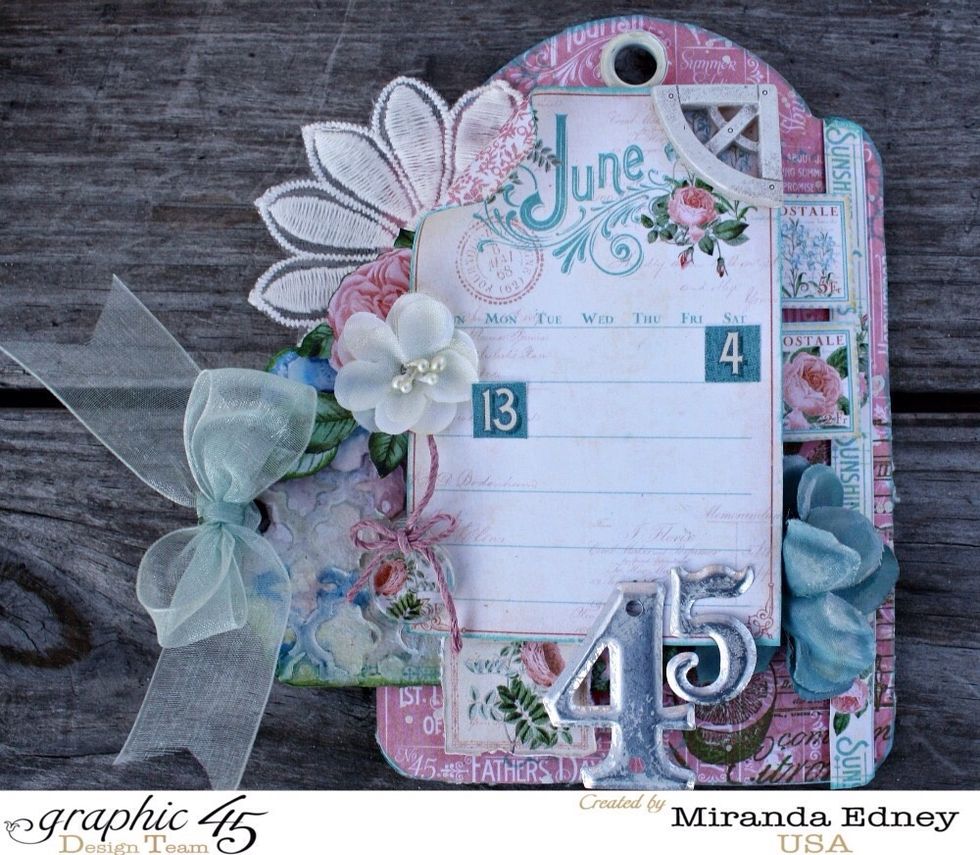
And the completed month.
That's it. Hope you enjoyed the tutorial. Hugs.