The Conversation (0)
Sign Up
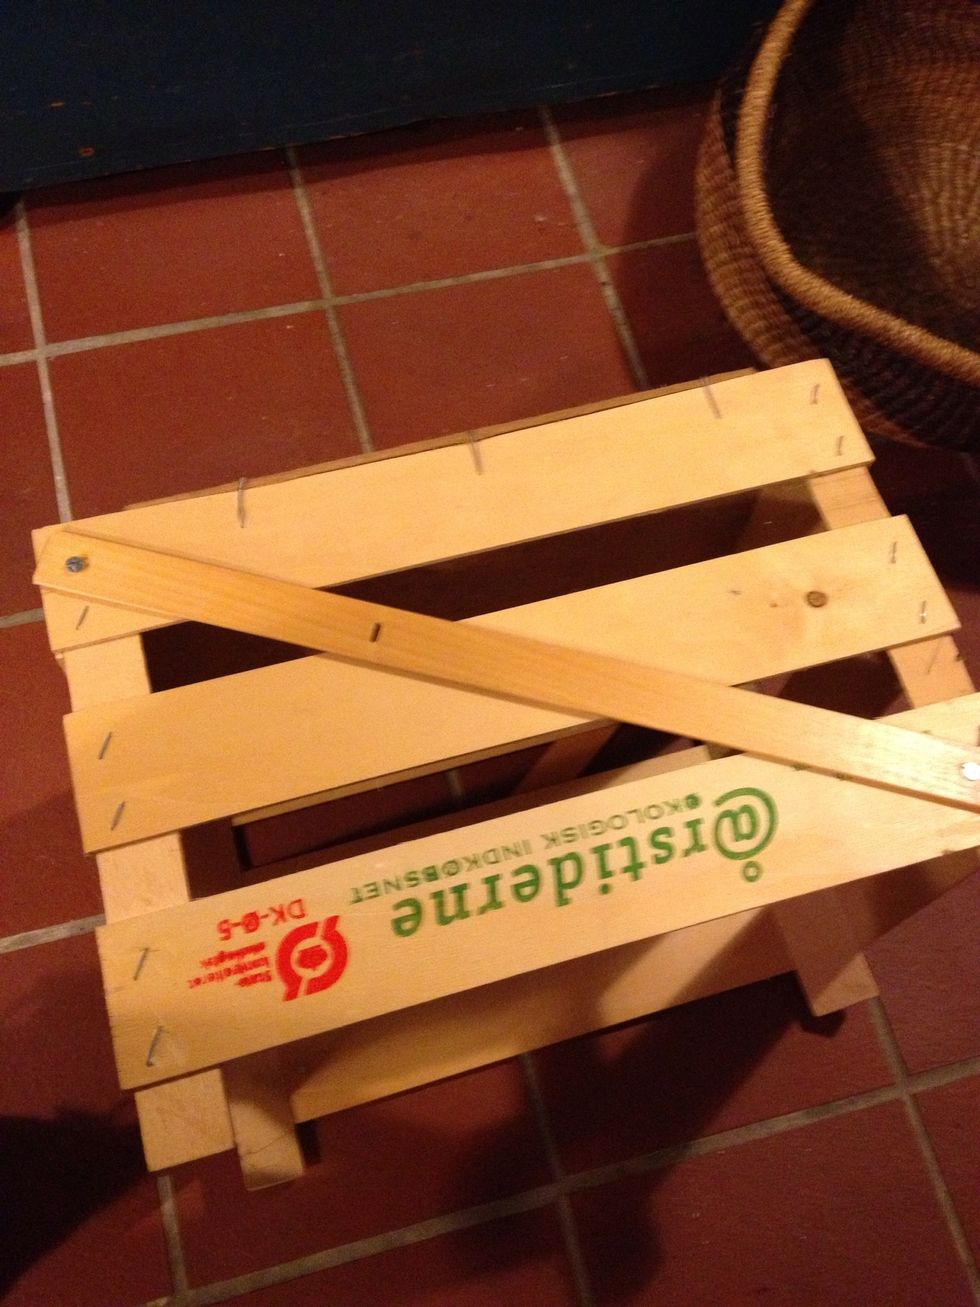
This box is an ideal size, but a bit flimsy, this will stabilise it. There is a identical piece of wood on the other side going from the opposite corners.
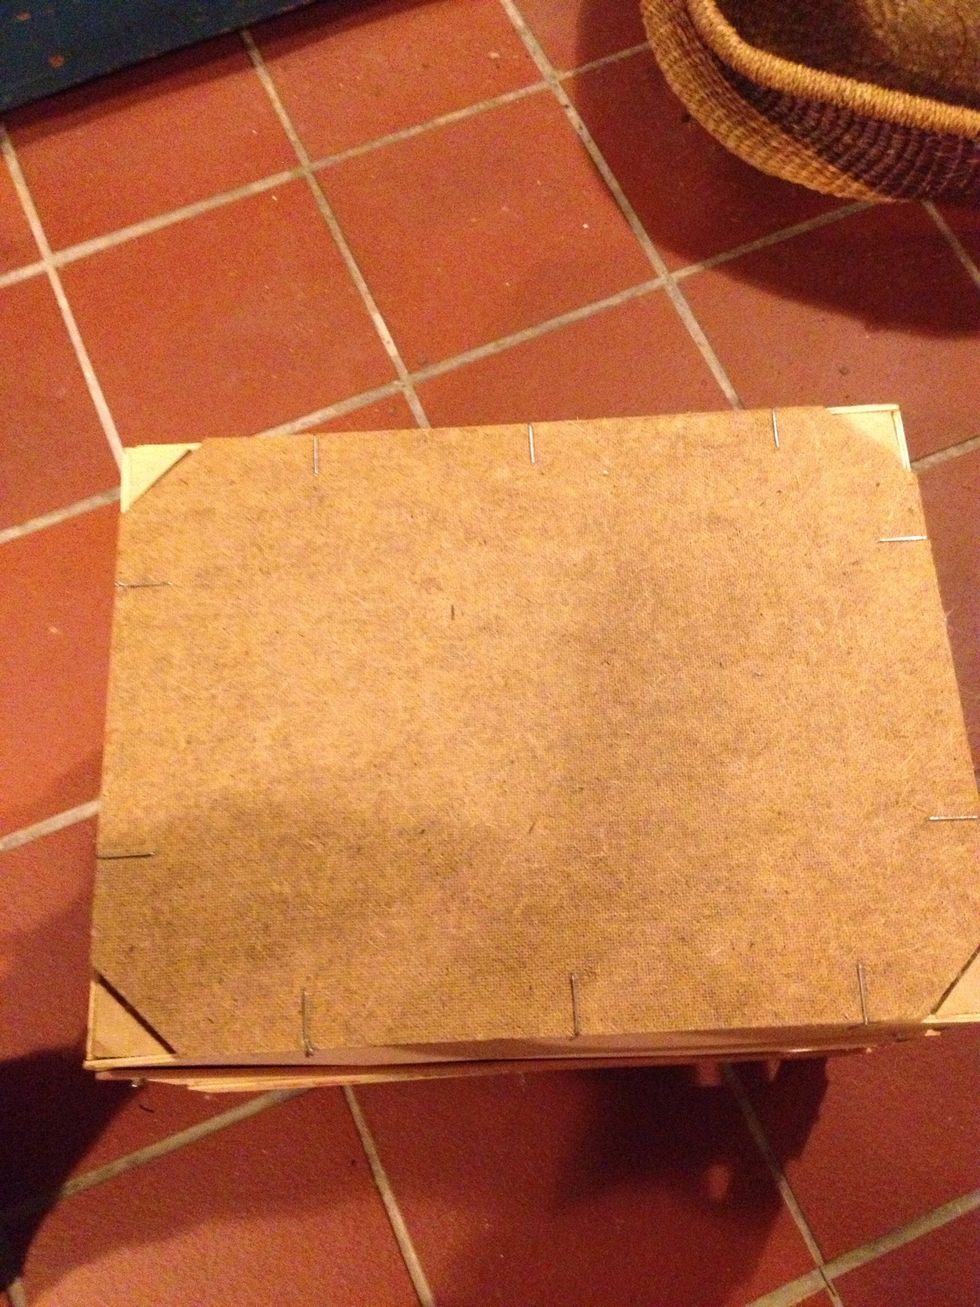
The bottom is made of Masonite and I need to keep it off the ground.

A piece of wood leftover from an other project. I measured the width of the box and sawed off two pieces.
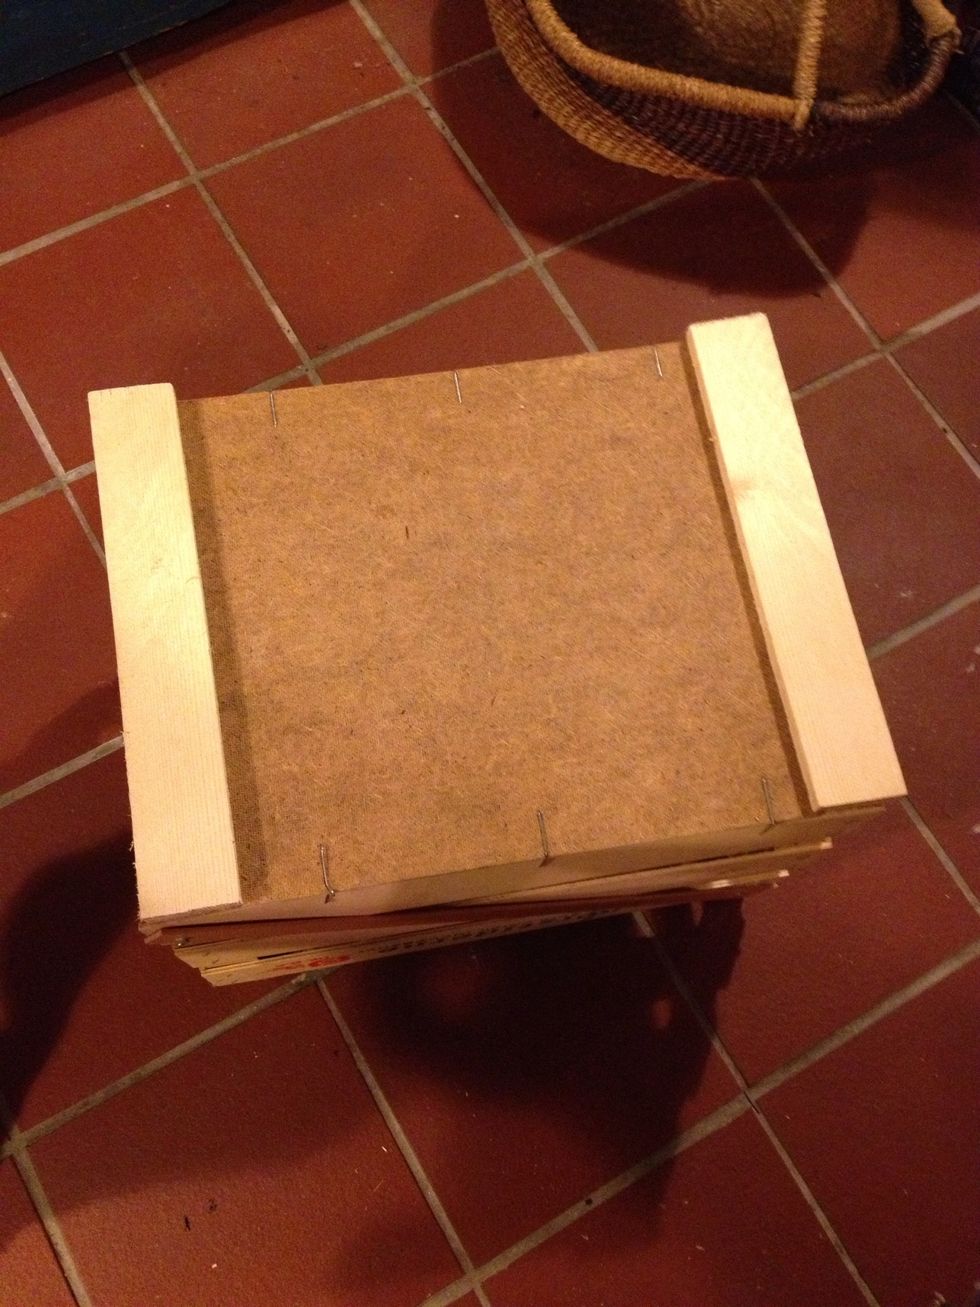
This will keep the box off the ground.
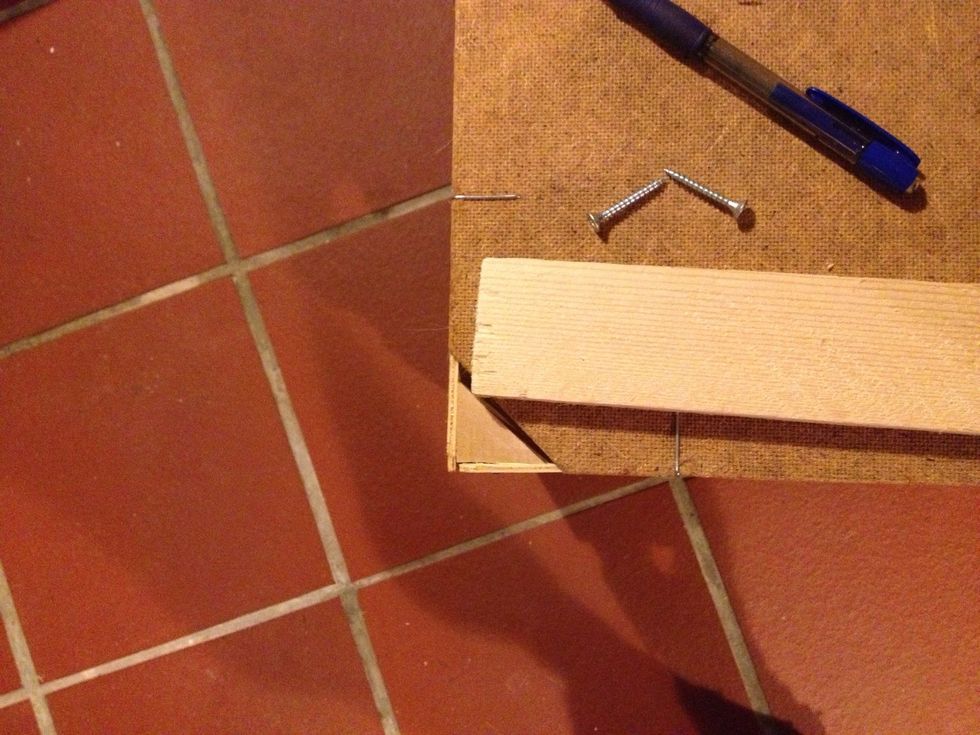
I need the screws to catch the triangular piece of wood in the corner.

Marked and ready for the drill.
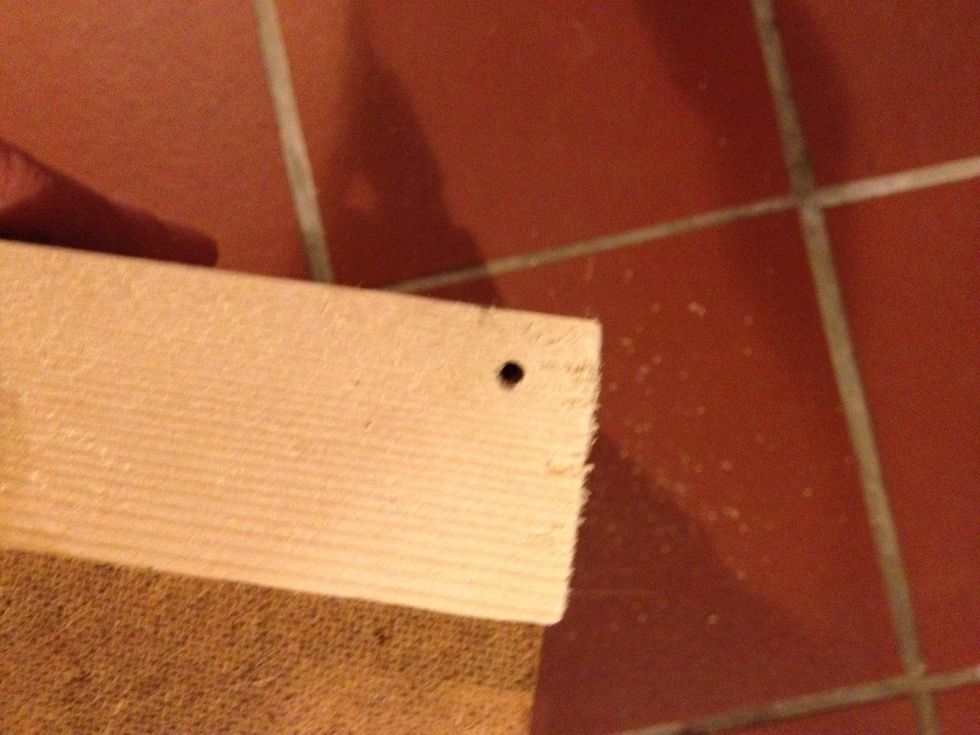
Drilled.
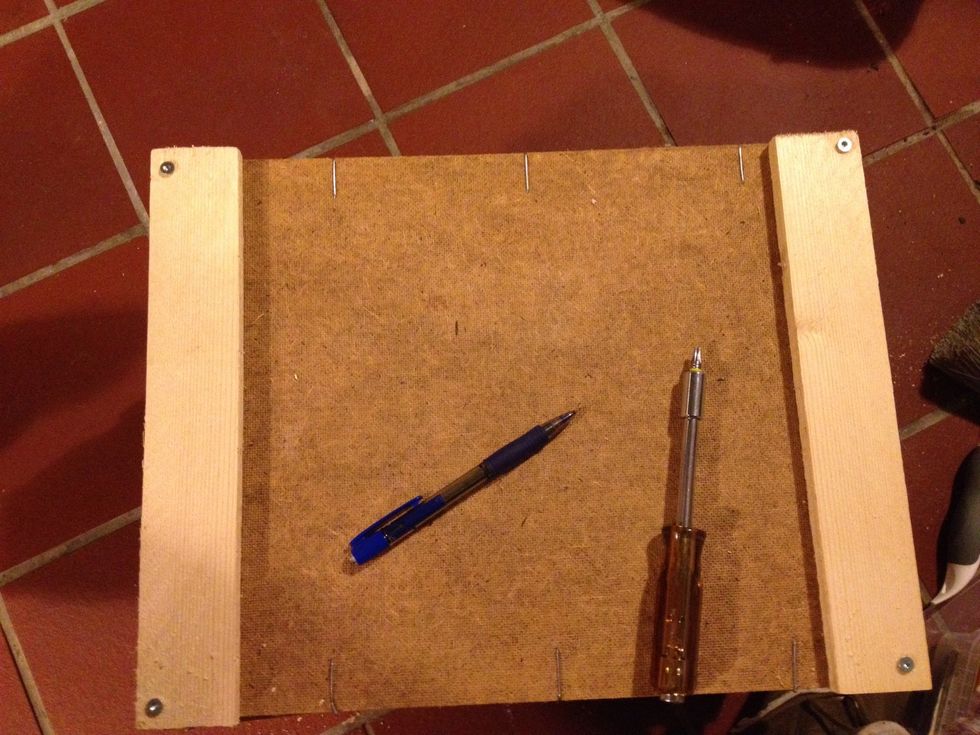
All done on the bottom. It is going to sit on a dry spot so I'm not worried about the wood rotting.
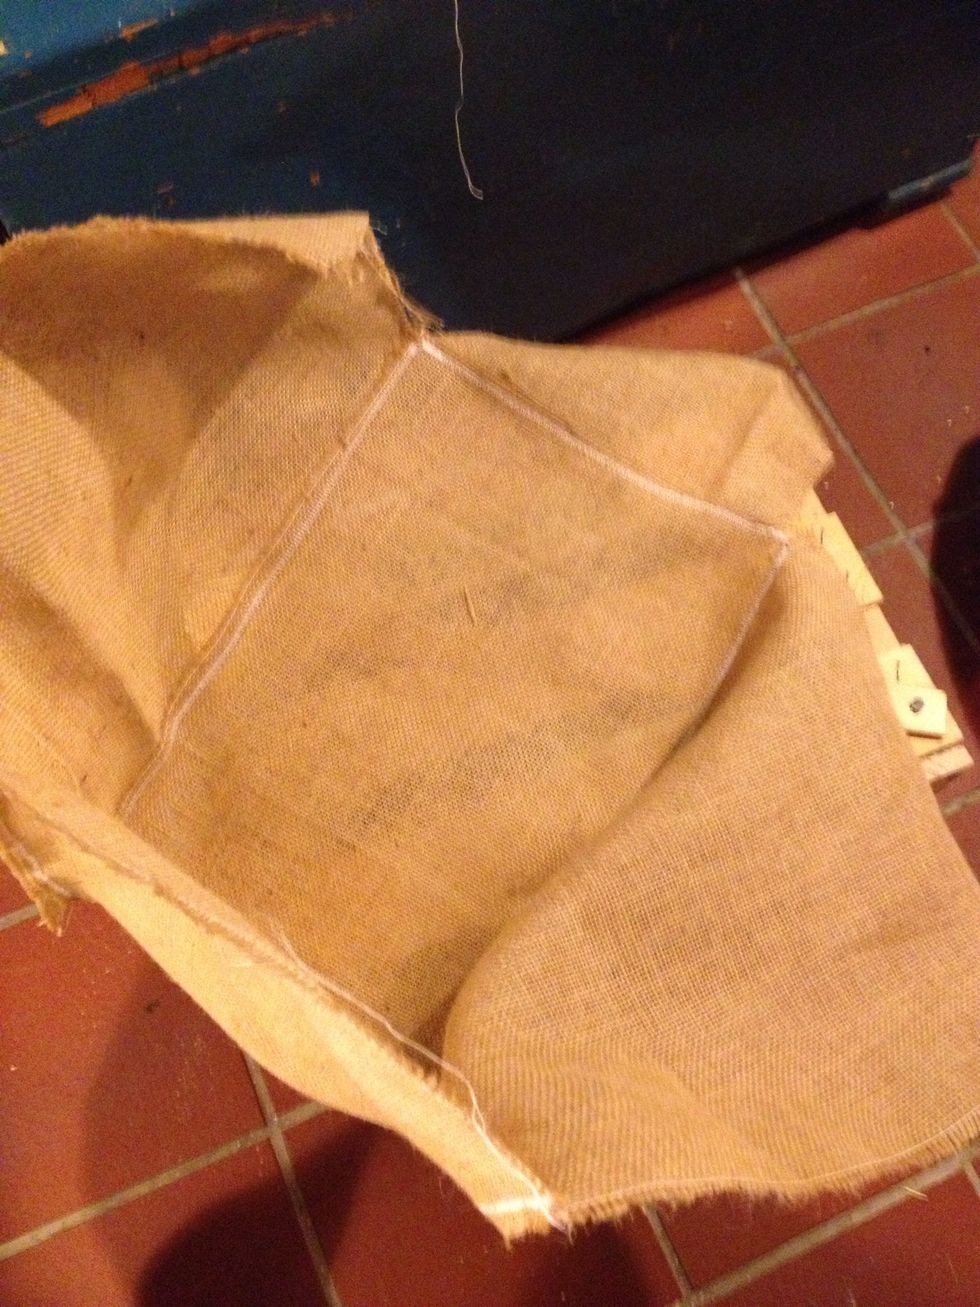
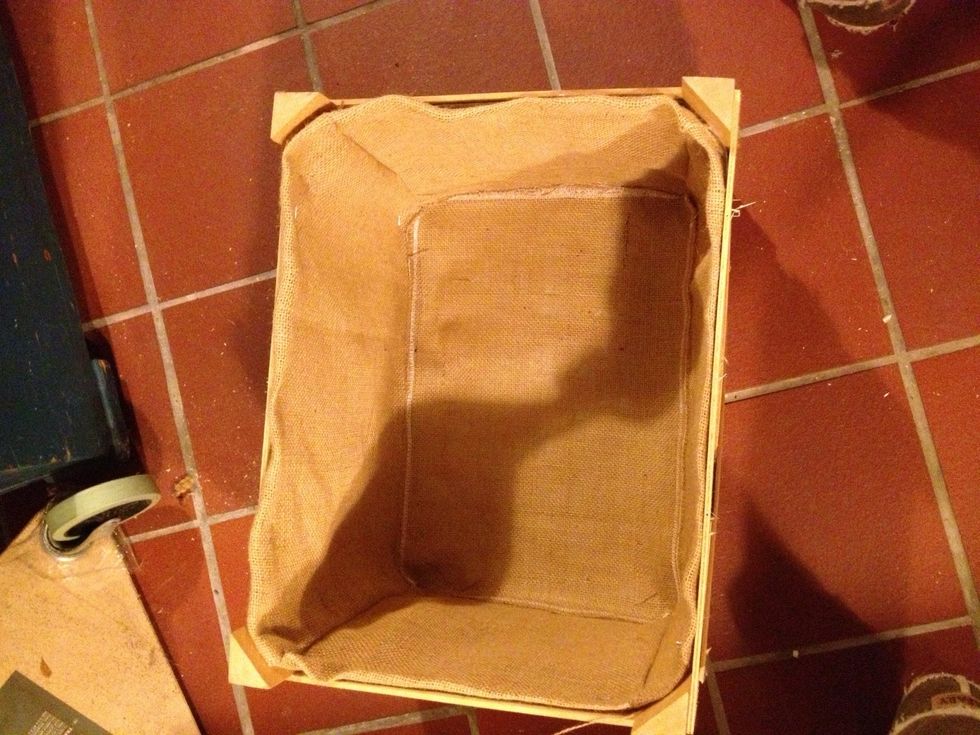
Inner lining is burlap. I measured the sides and bottom, cut the burlap and sewed it together. The end pieces still need to be sewed together.

As temperature here in Denmark can get quiet low, I need something that will give some insulation, also the burlap is too loosely woven to be light proof. So some kind of inner lining is needed.
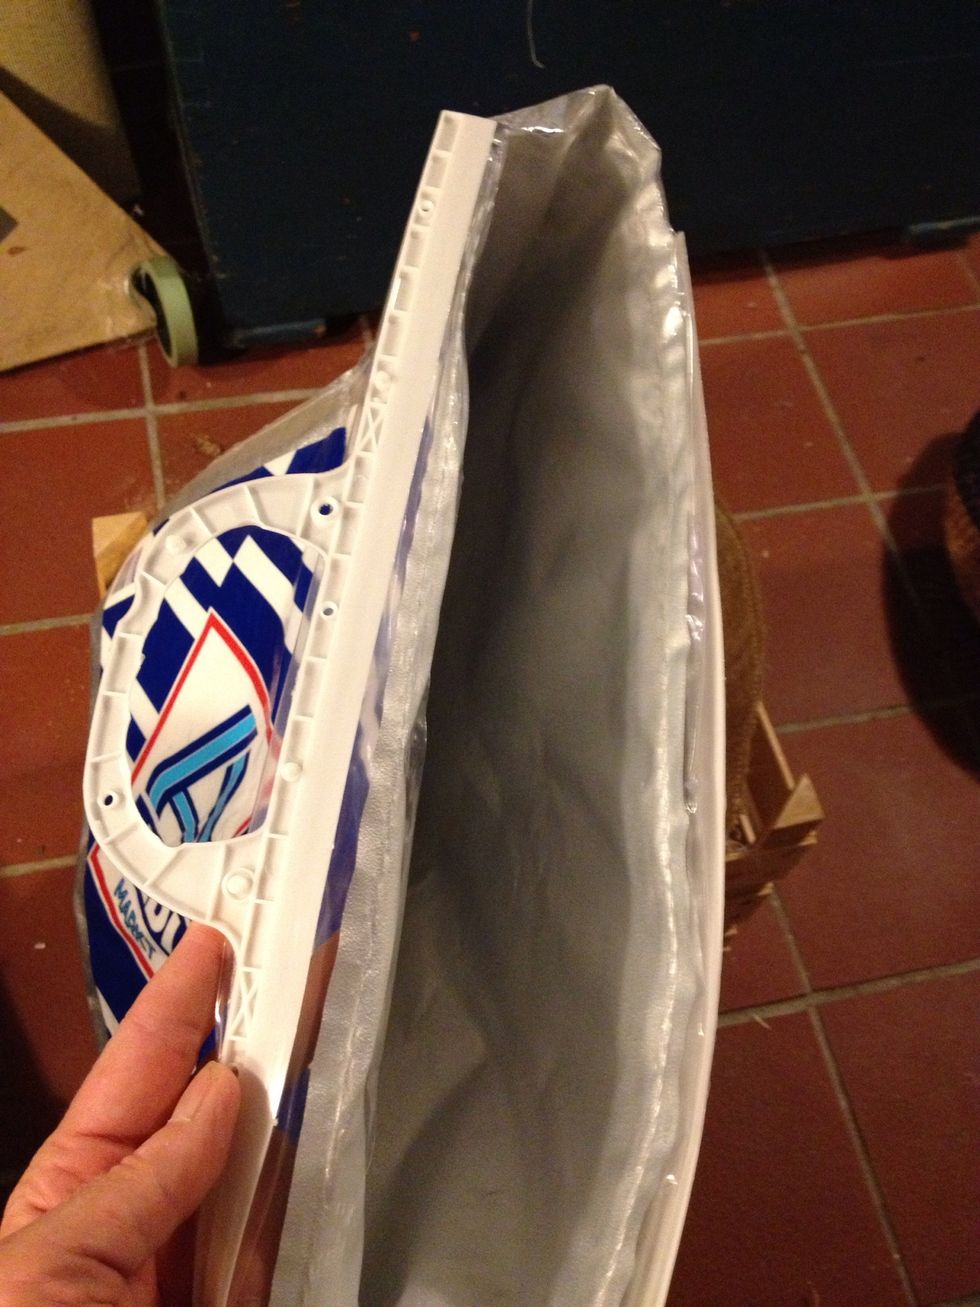
I got this thermo bag at a local supermarket for 1$. I'll use the inside thermo foil.
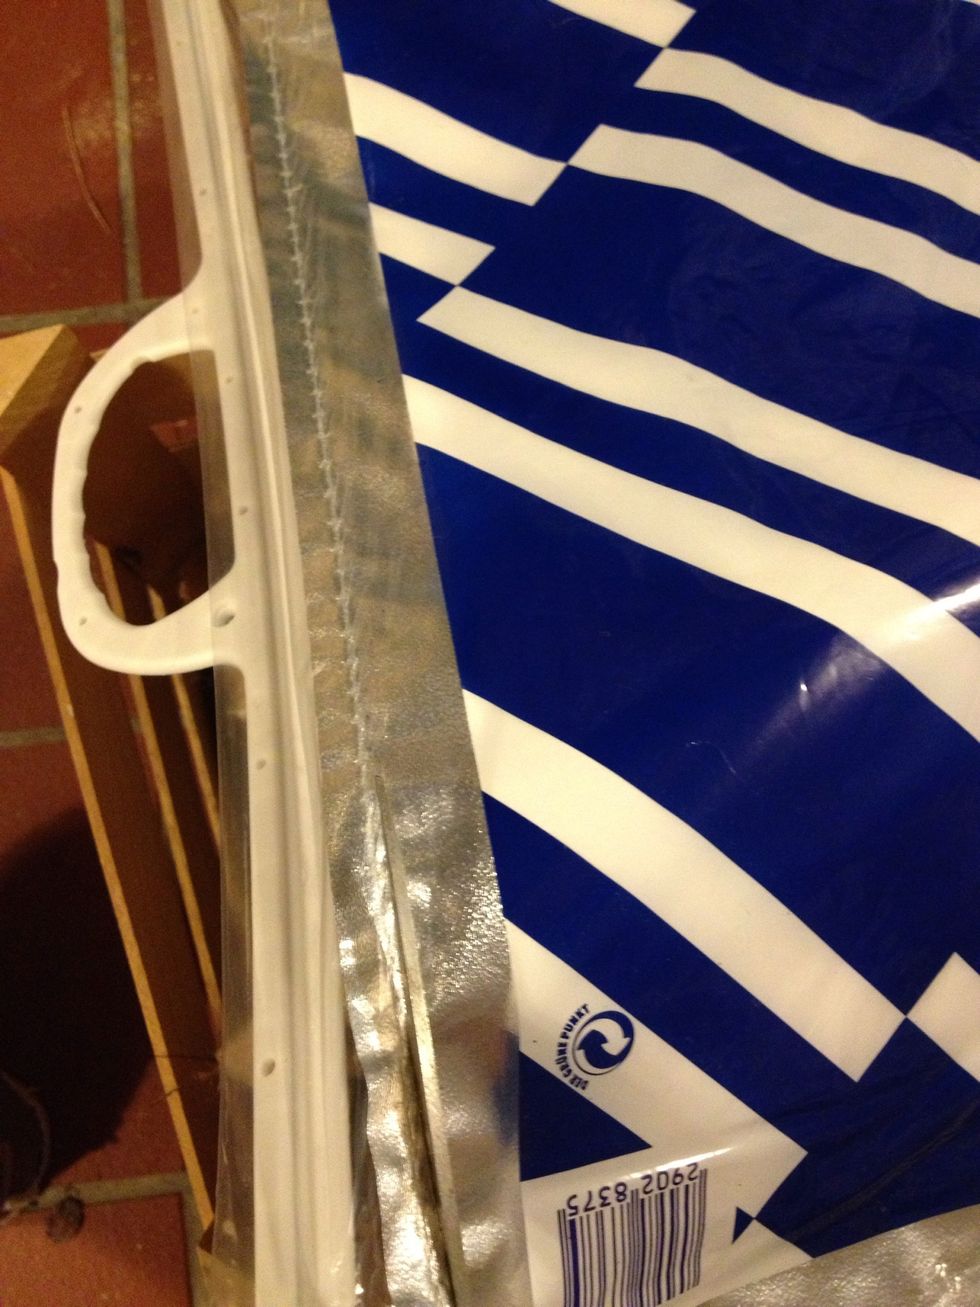
Cutting the top handles off and also cutting the two sides open.
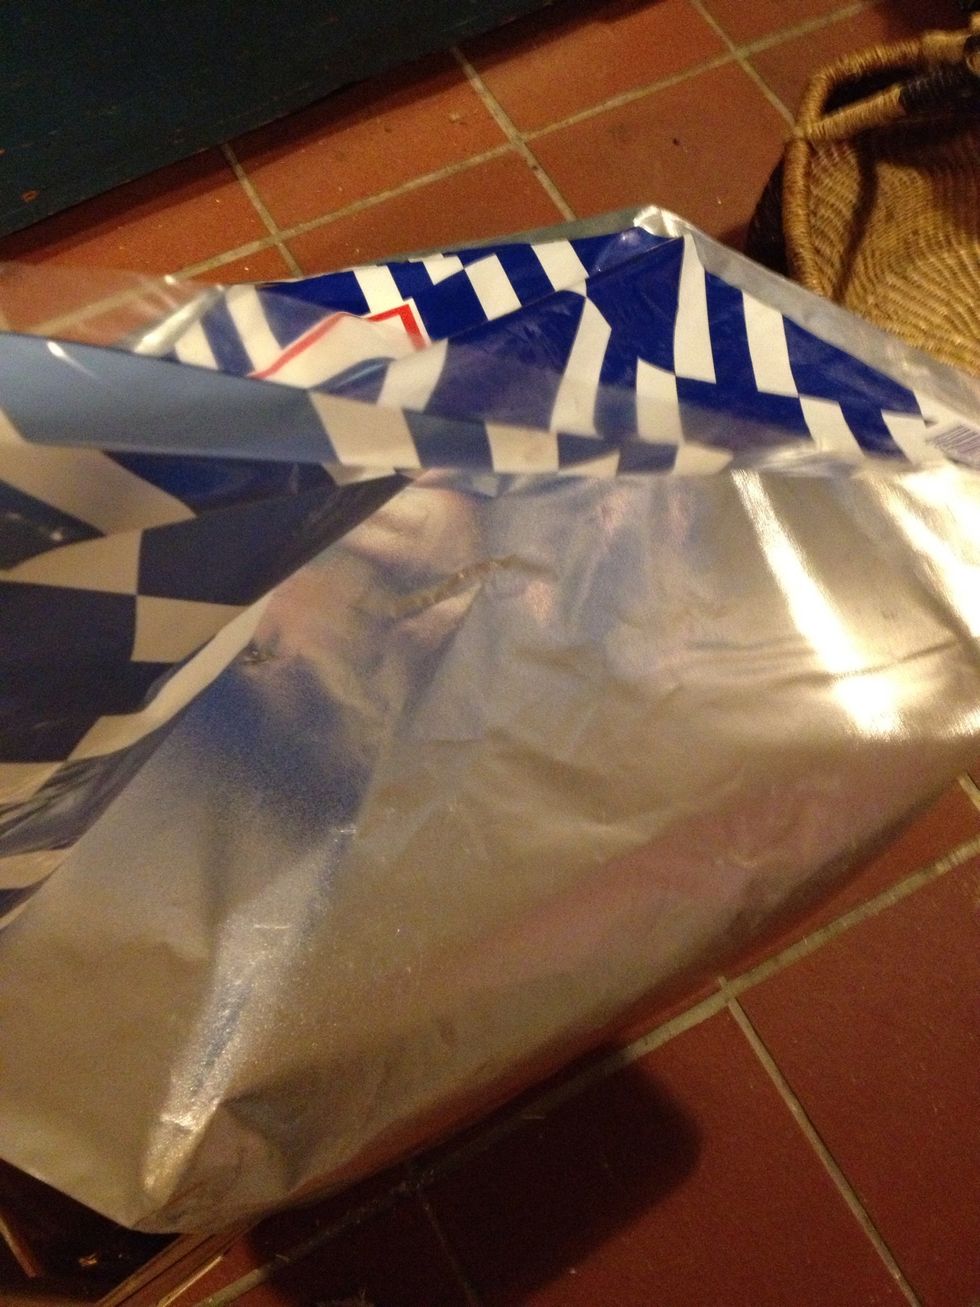
Thermo foil released.

I used my hot glue gun to secure the thermo foil inside the box.
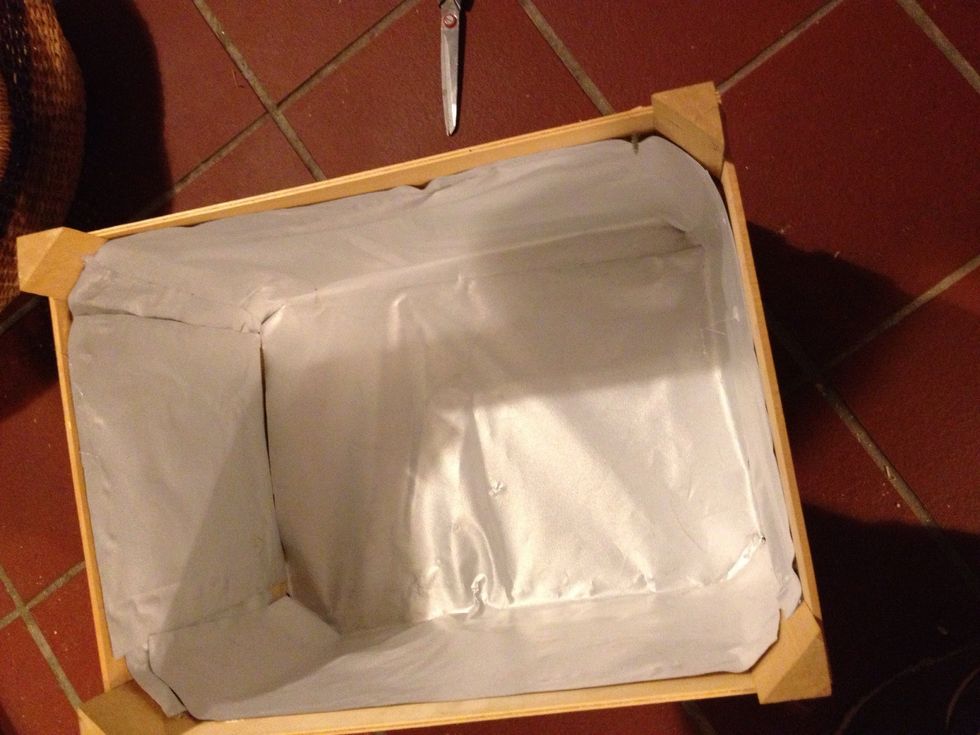
Thermo foil glued.
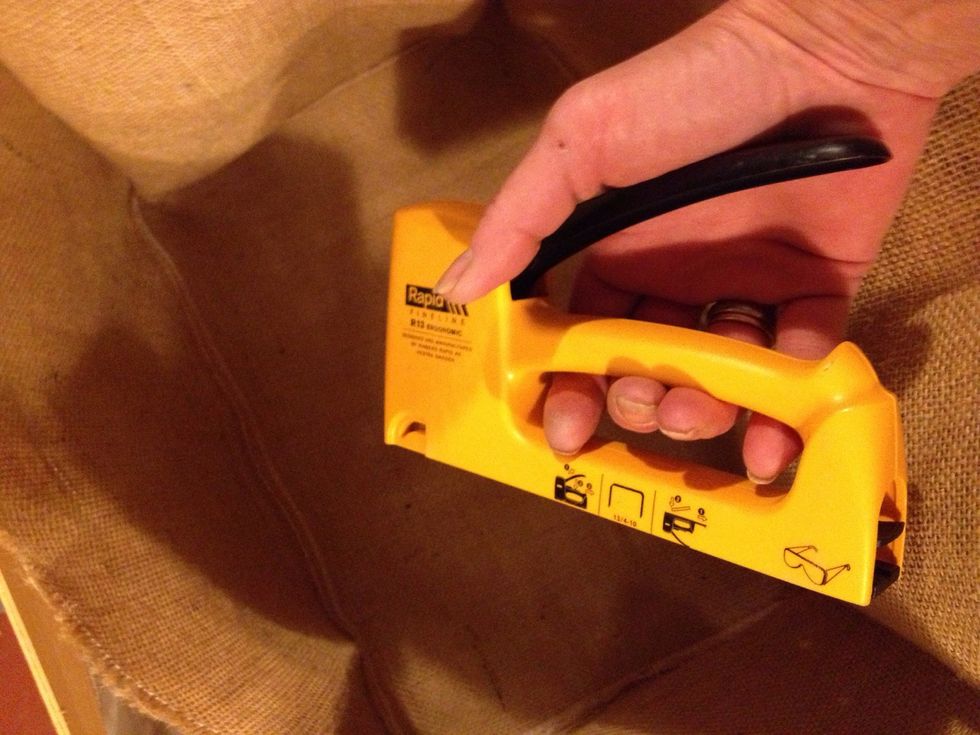
I used staples to secure the burlap inside the box.
Almost done. Now I need something to cover the box with.

An old pillow comes to my rescue.

Burlap pillowcase. See how to make an easy pillow case in on of my guides.
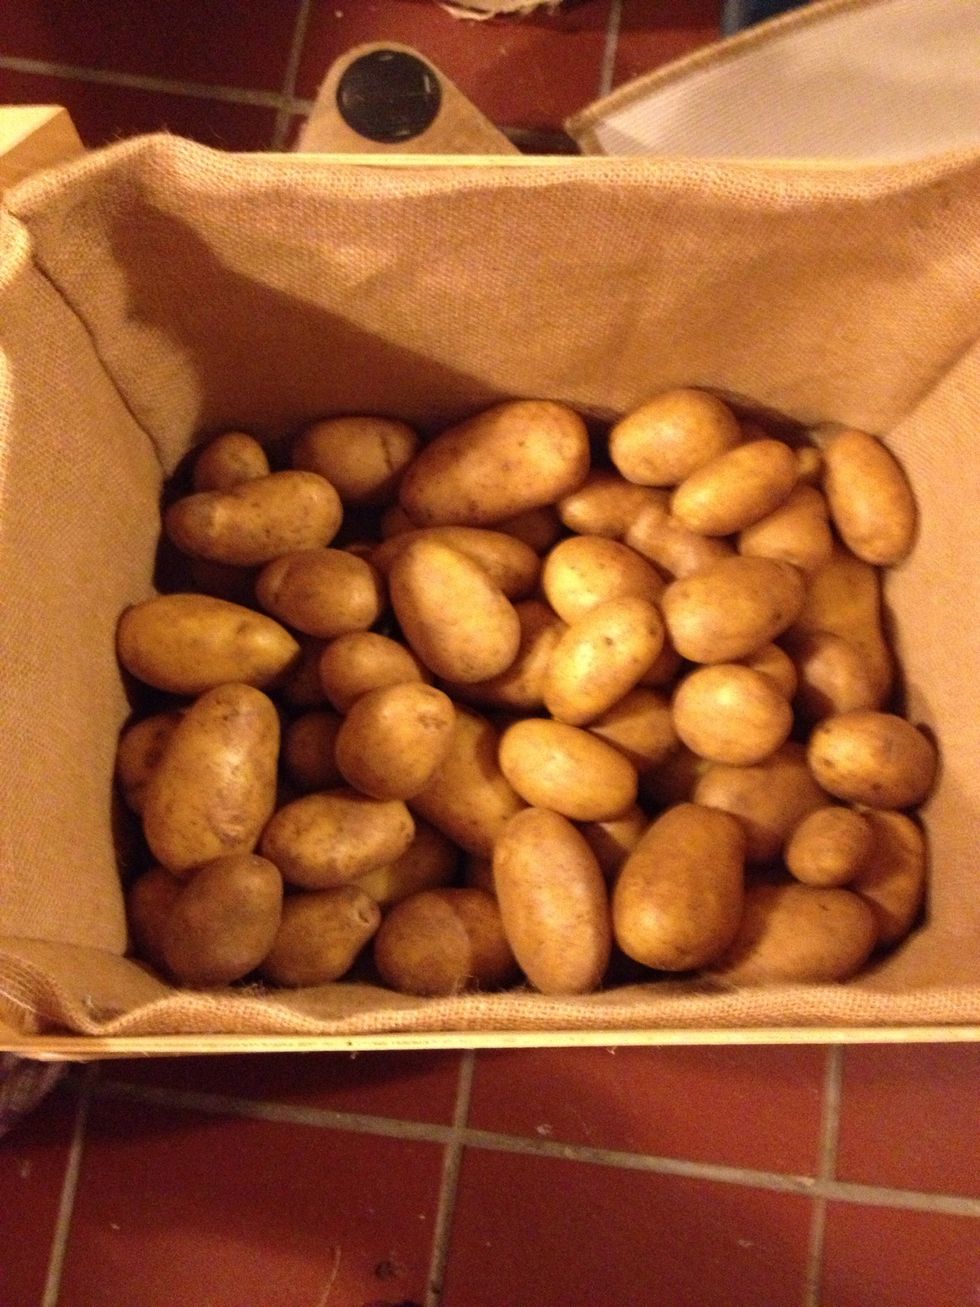
This is perfect for potatoes. Other roots like carrots and beet need to be stored in sand. I'm making a similar box filled with damp sand to keep those in.

Ready for an outdoor experience.