The Conversation (0)
Sign Up
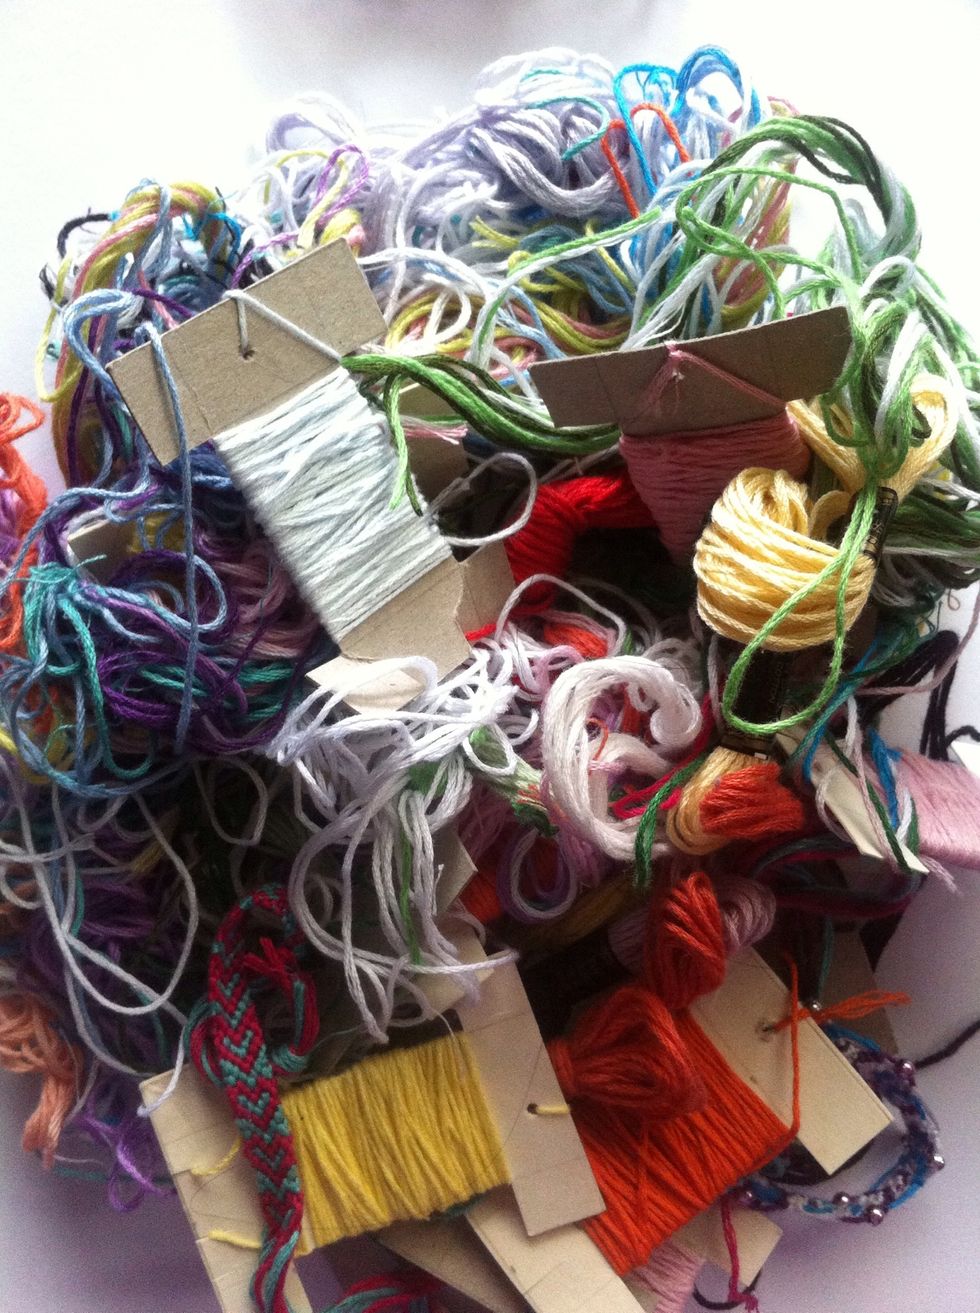
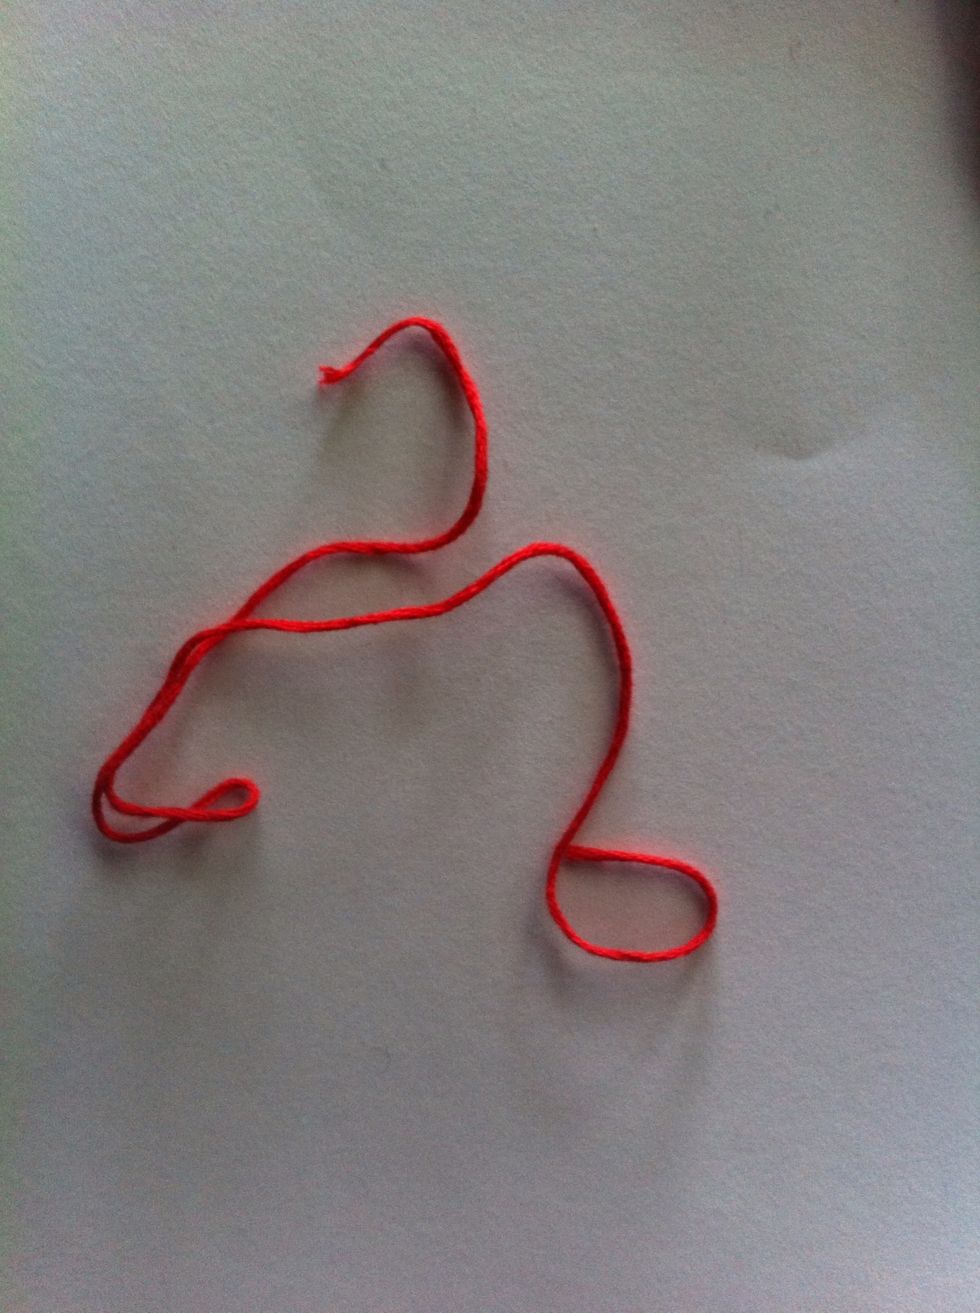
I've got bits of string everywhere from finishing bracelets and cutting excess and I don't like throwing them out so I decided to make a bracelet!
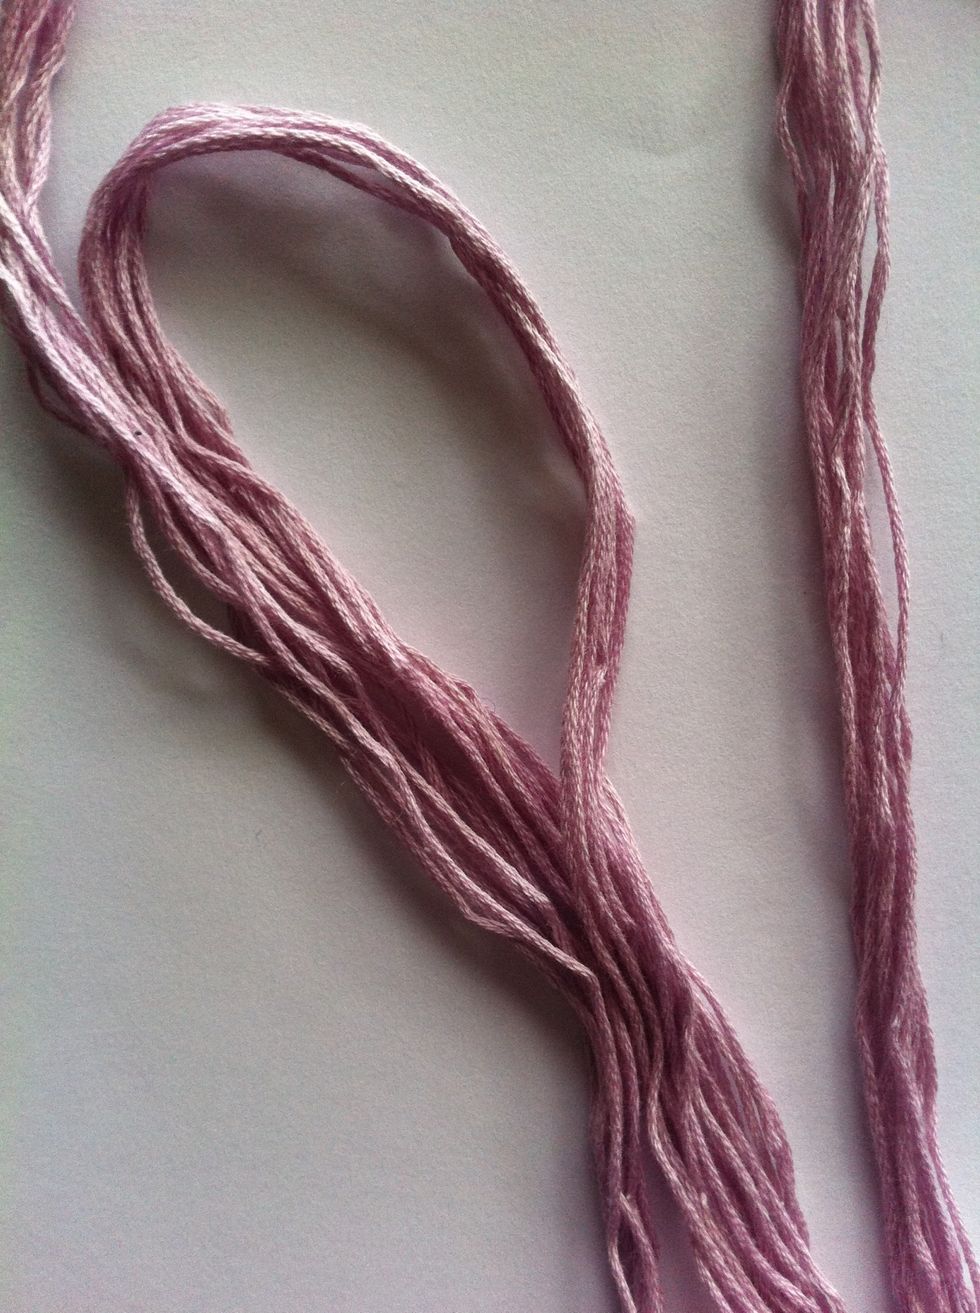
(I've already started this, but) Choose a base colour.I chose light pink. Decide how thick you want it to be. I cut 9 strings of the same length. The choice is yours.
*The base colour will only be seen on the ends.*
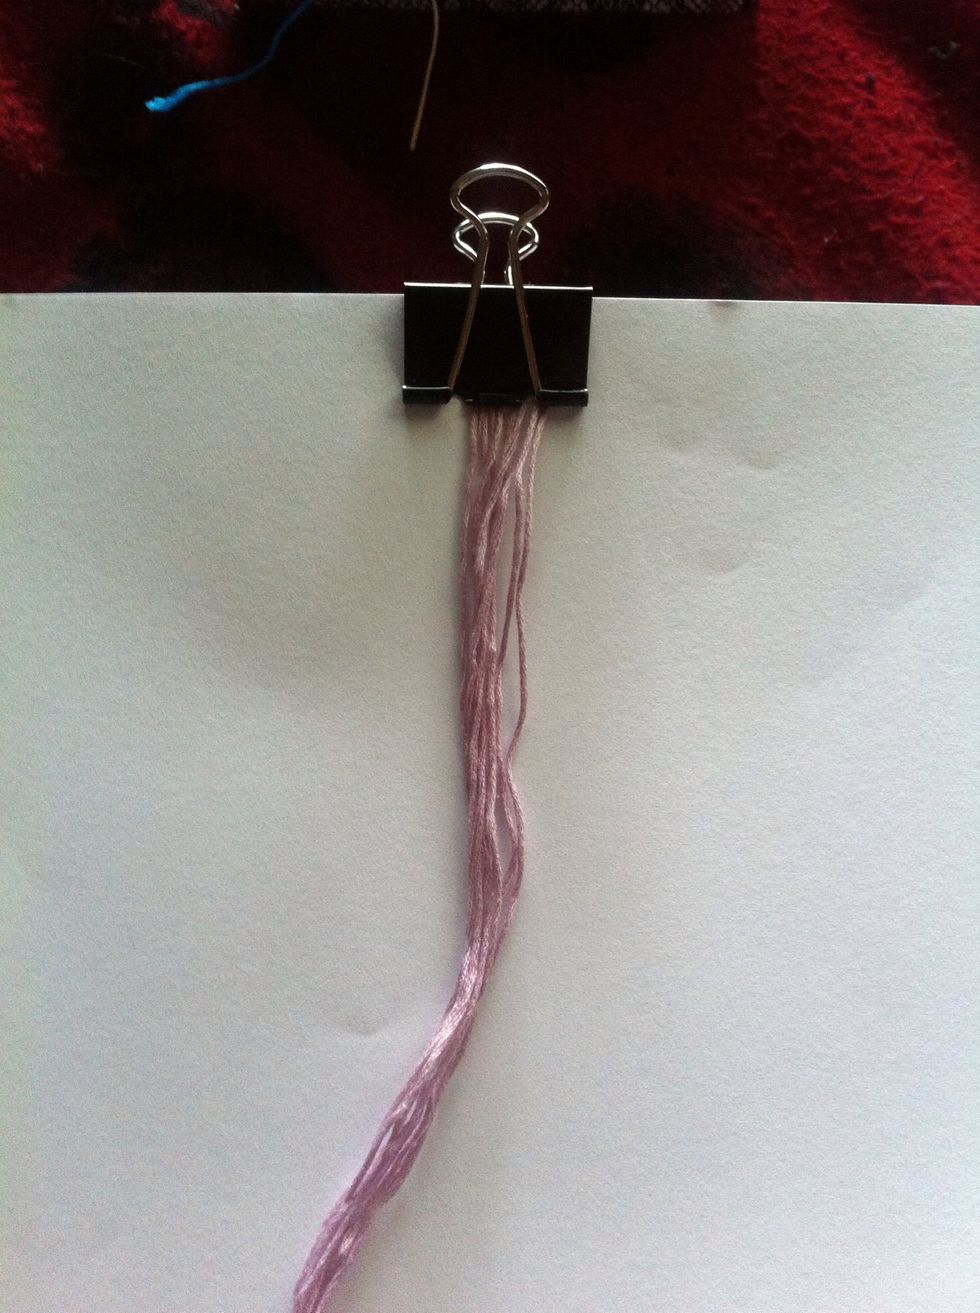
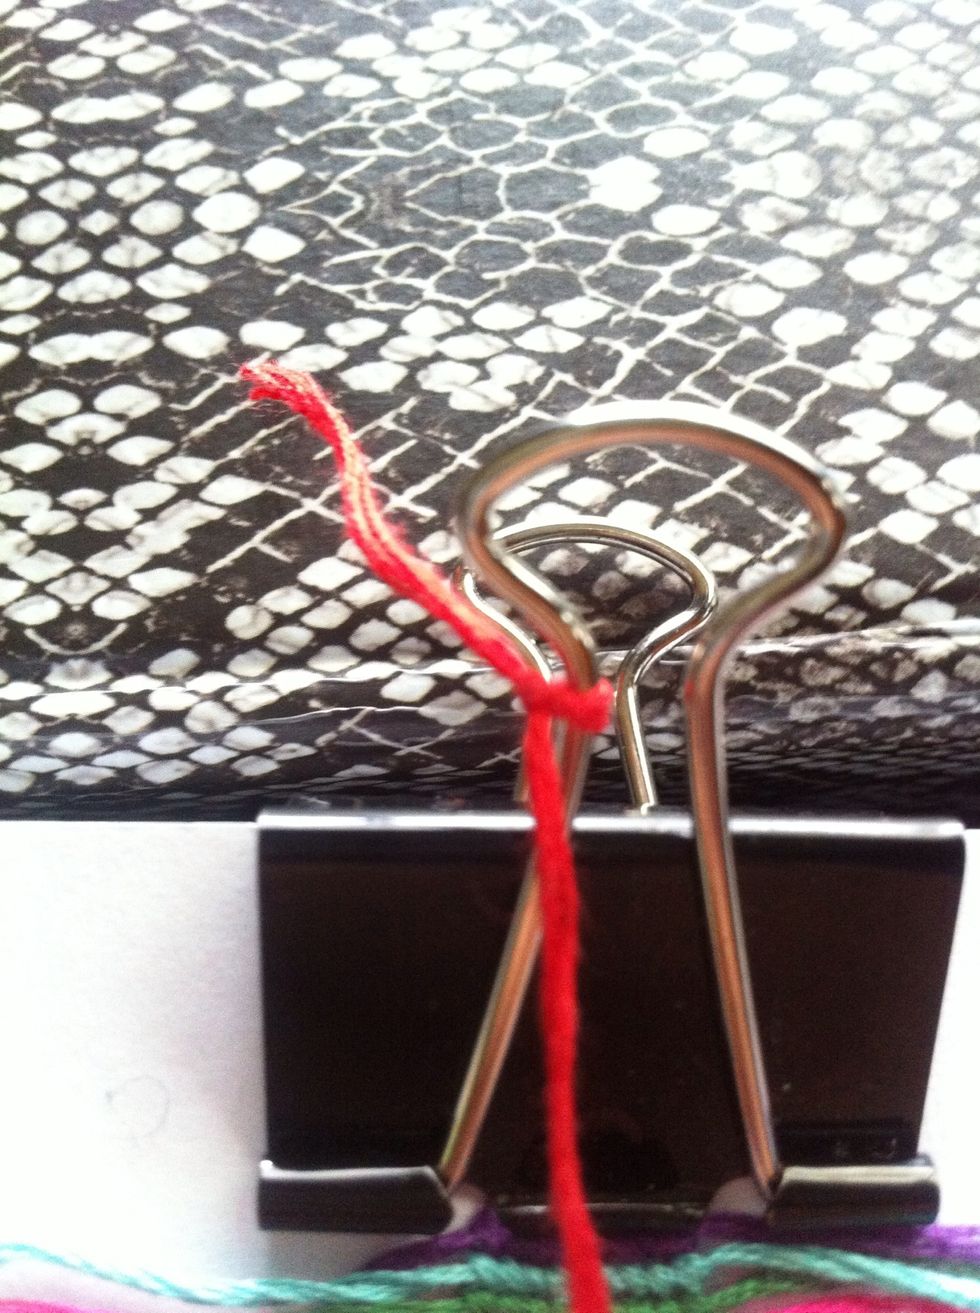
This is my favourite way of securing my strings. I recommend you do this too for this bracelet.
Make sure you tie a temporary knot!

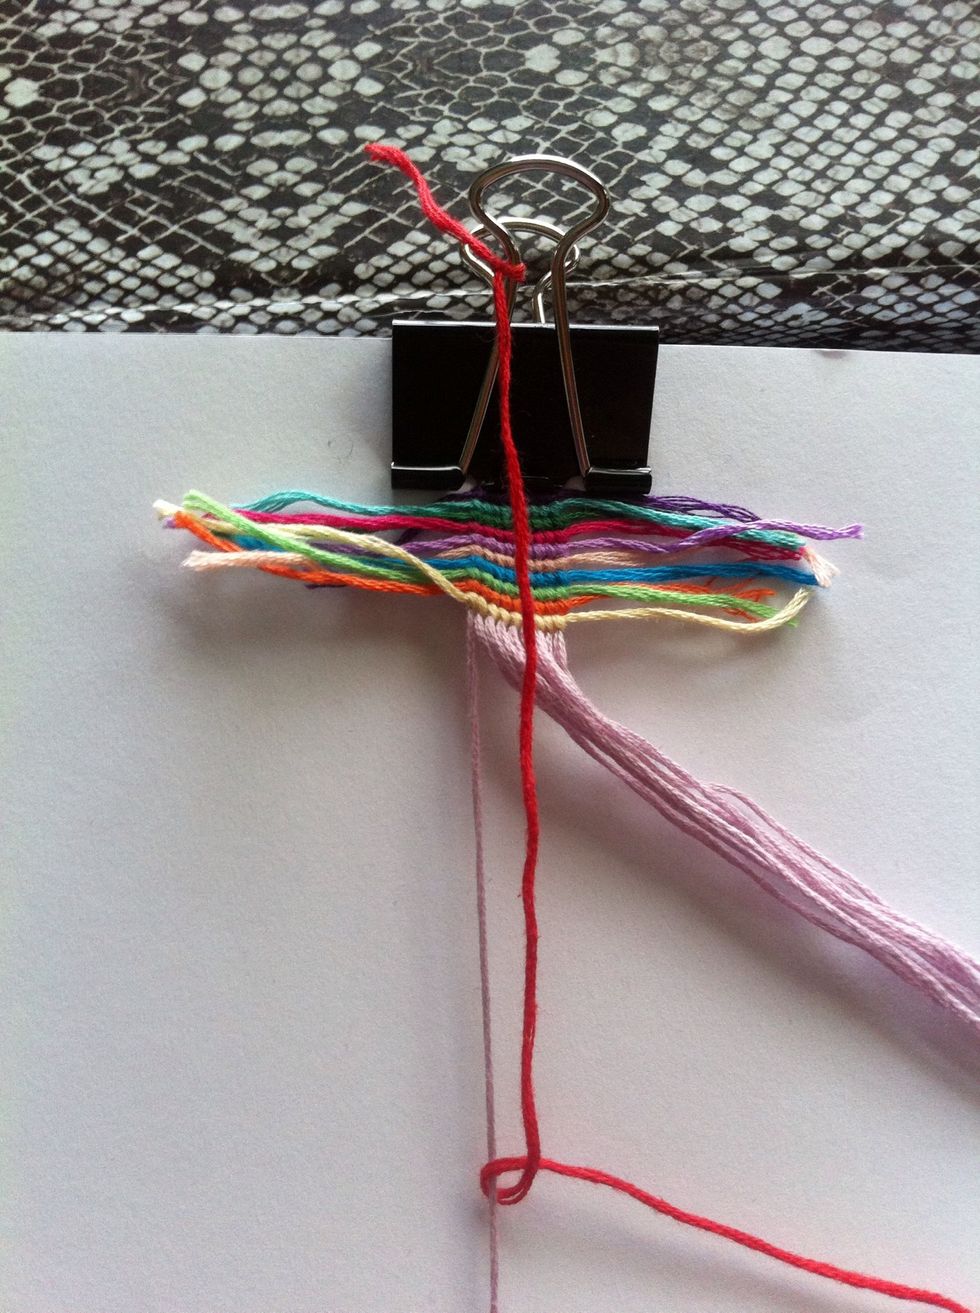
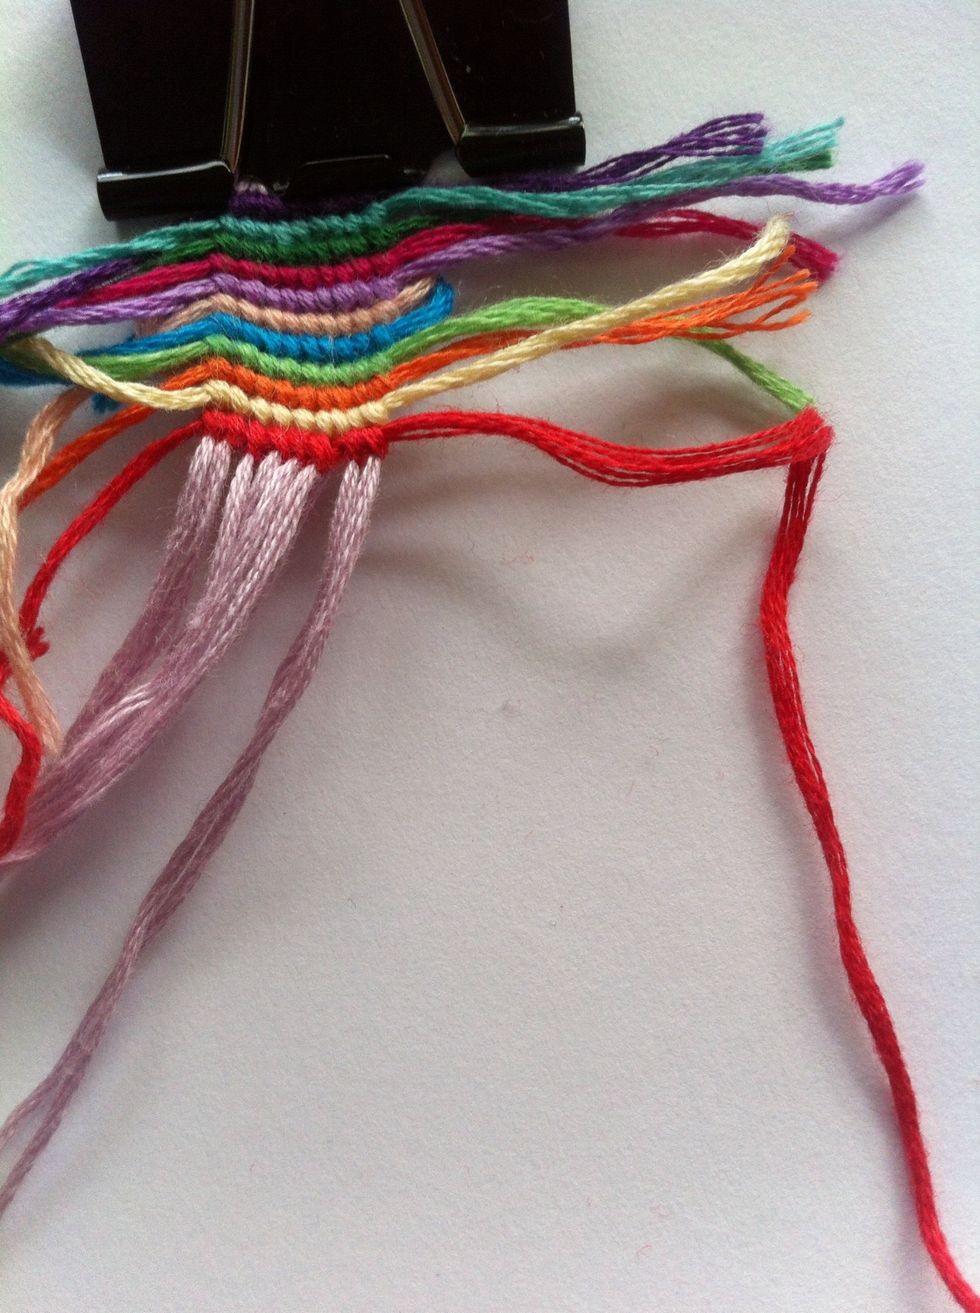
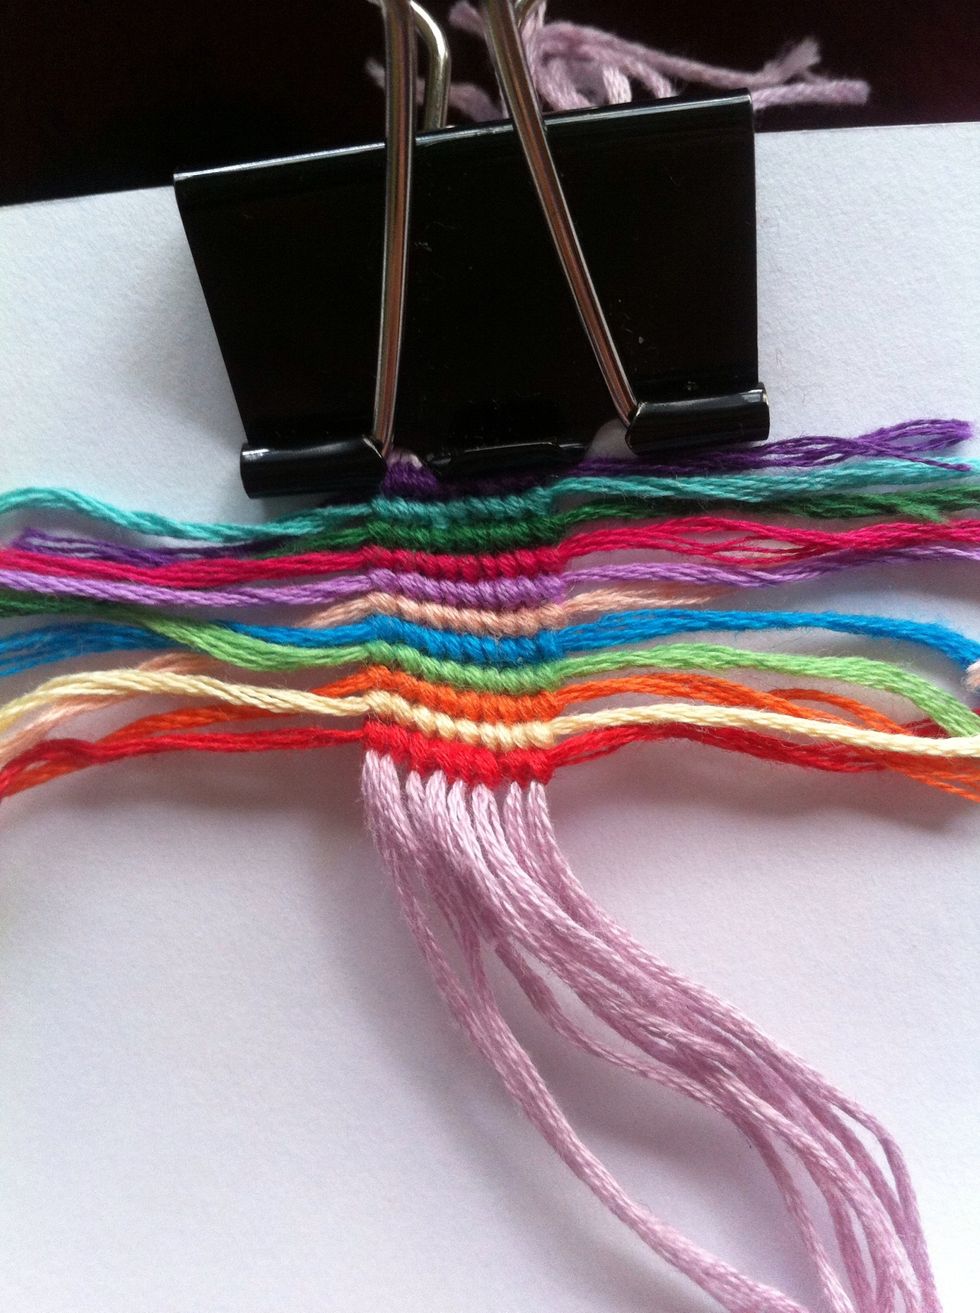
As I said before, I've already started this, but if you cut 9 strings, the thickness would be like this.
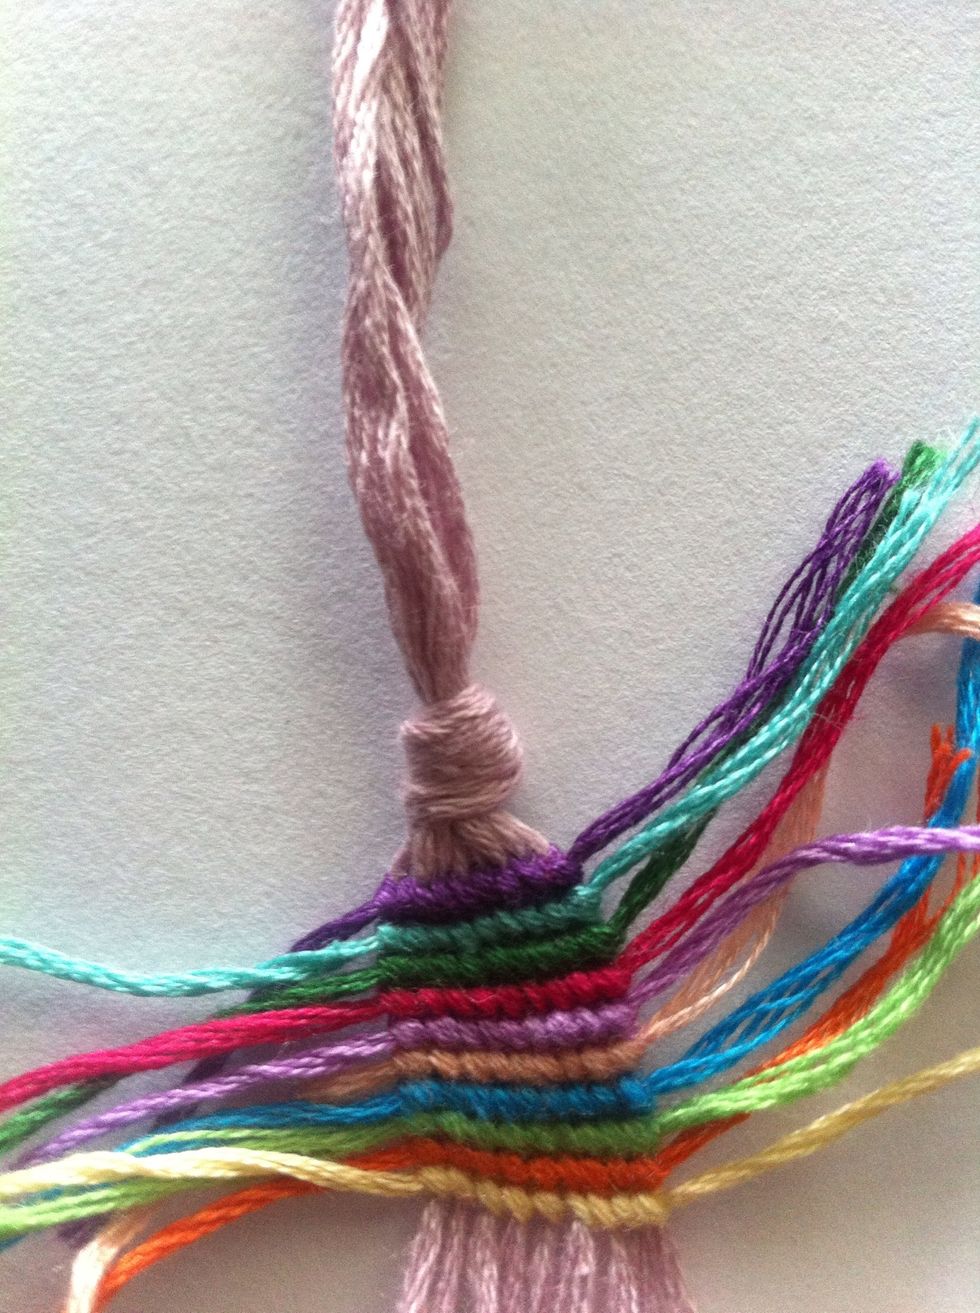
Now, grab a colour of your choice. (The length should be about 25cm)
Tie a double knot onto the clip.
Make a forward knot ('4' Knot) over the first string of your base colour.
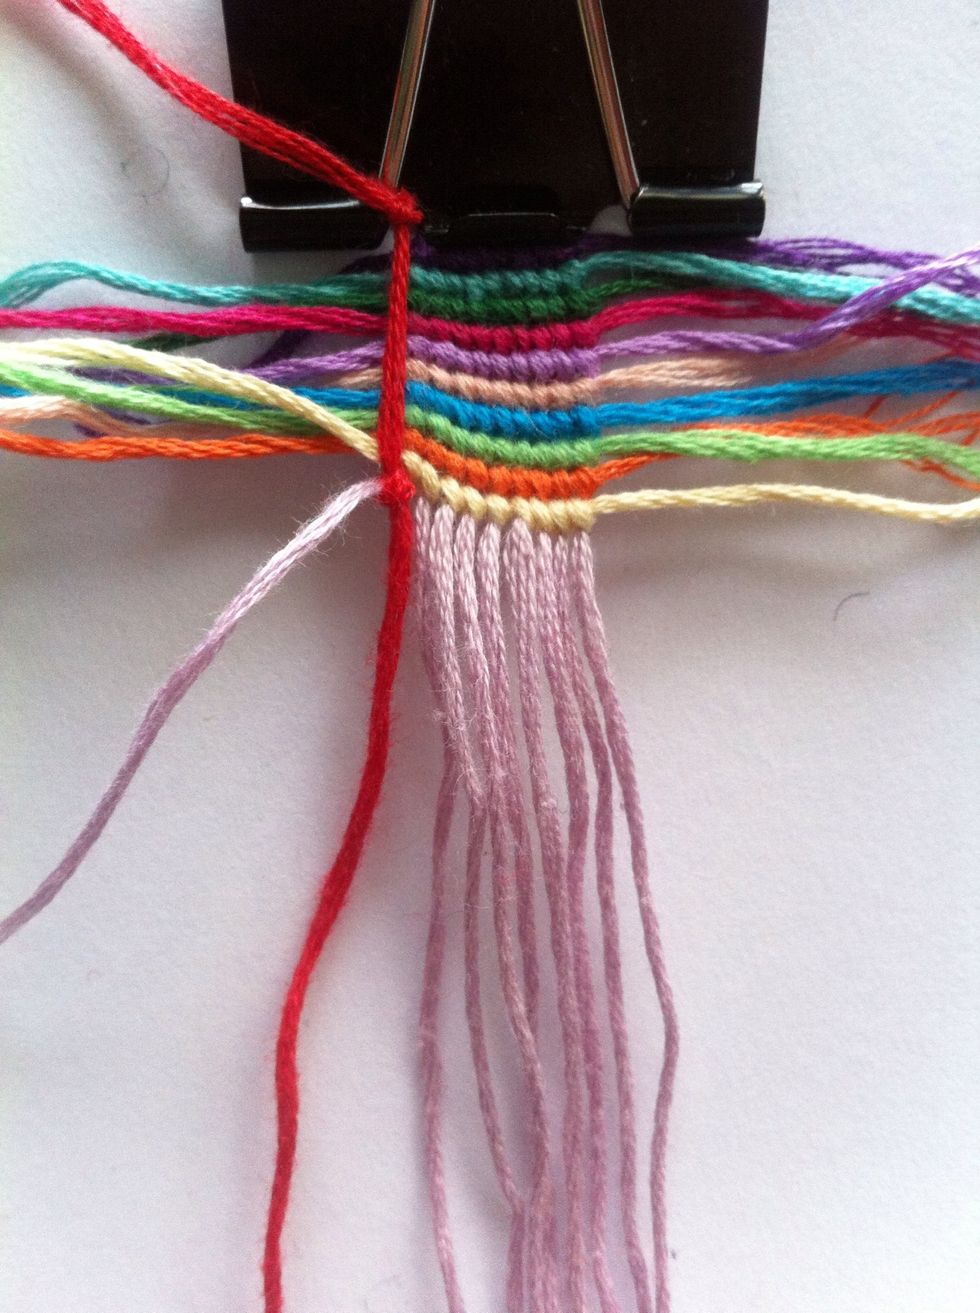
Grab the next string in line.

Tie a forward knot with the scrap string.
Repeat until you've done a whole row.

Cut the excess.
And cut the other end.
And then you just repeat! When you reach your desired length, just trim the ends to make them even.
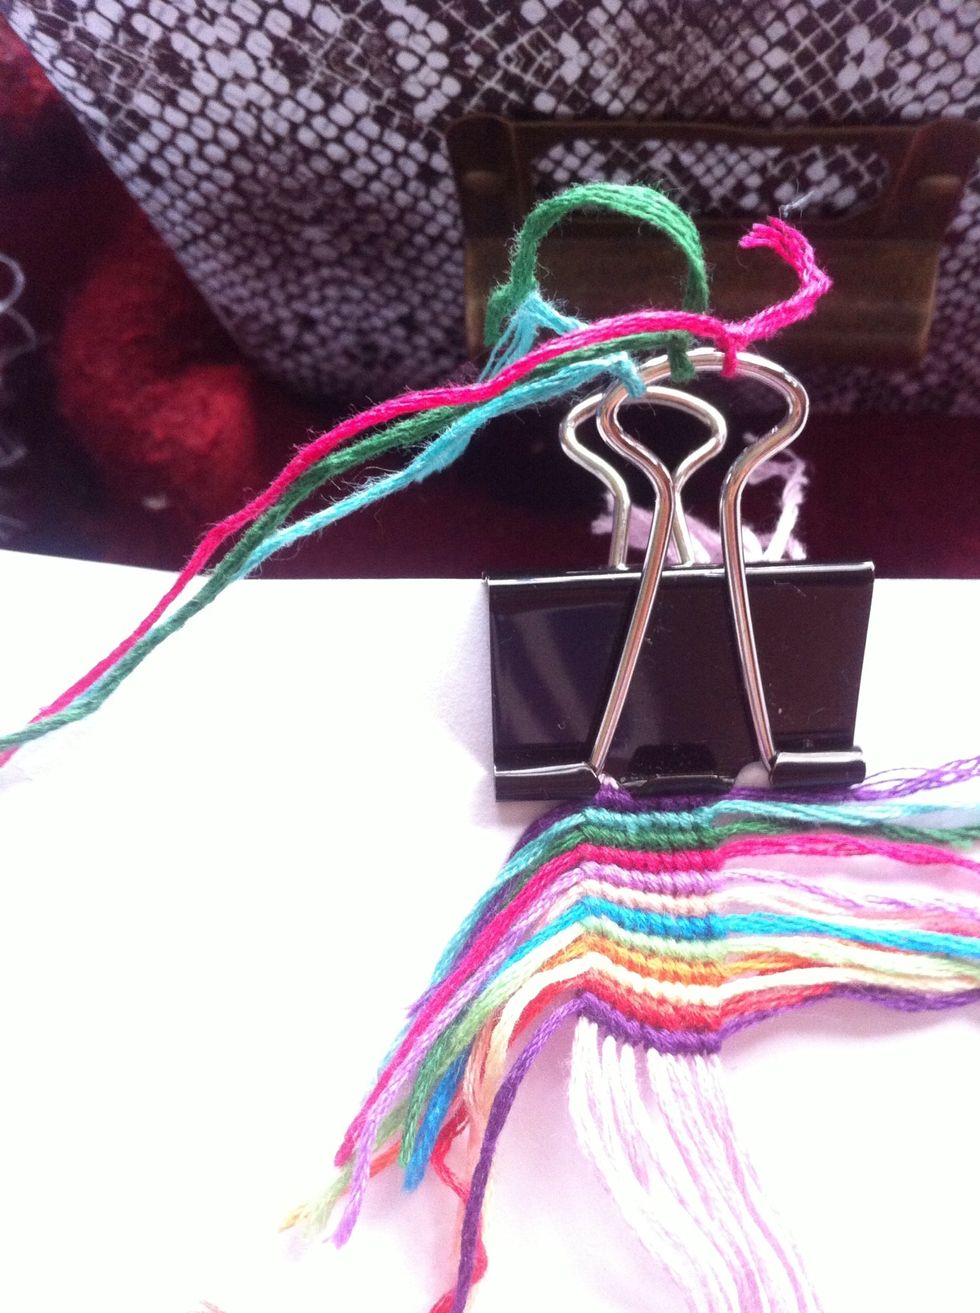
Tip: You can tie more than one scrap string onto the clip!

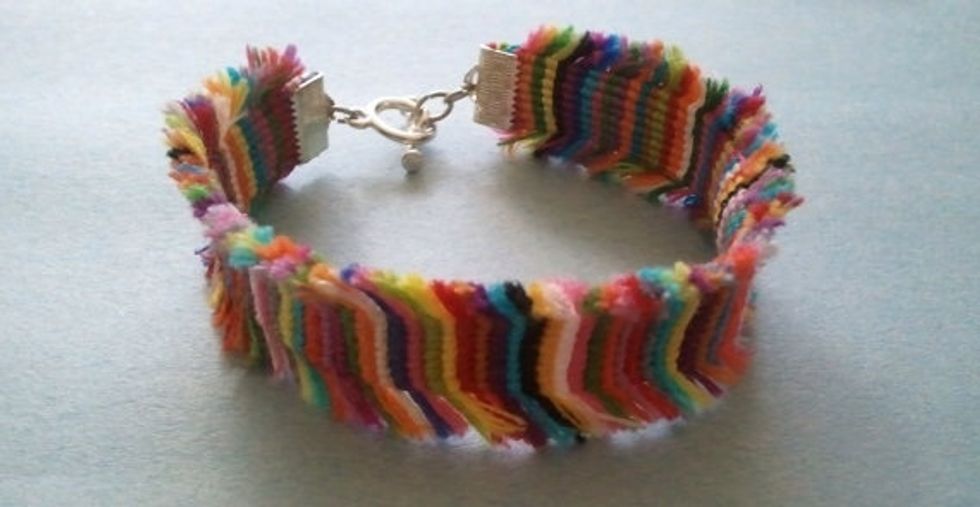
(Not my pic) What the finished bracelet will look like 😊
Bad quality, but here's another example
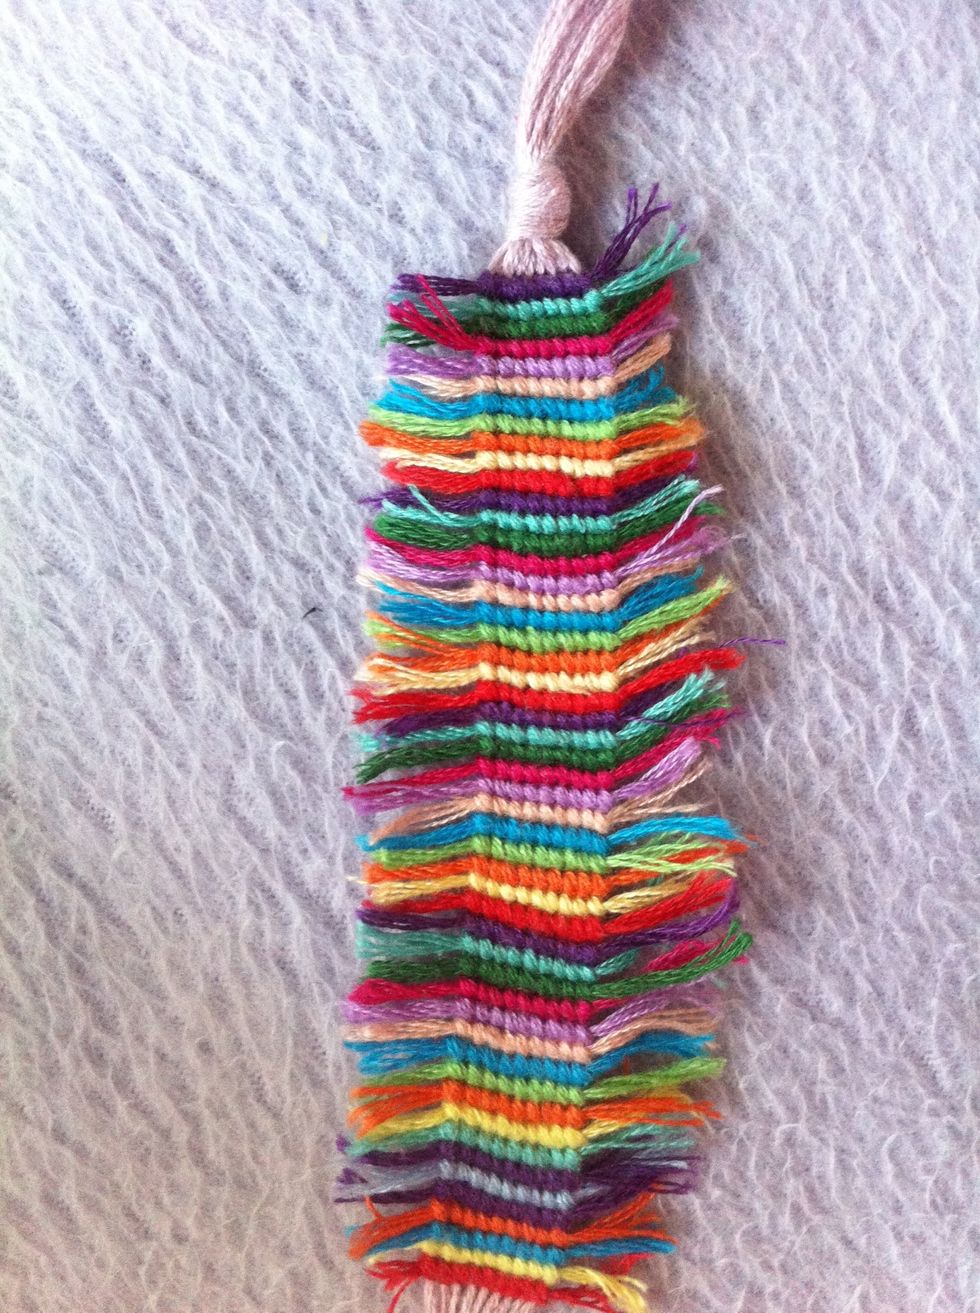
(UPDATE) I haven't finished yet because I have school but this is mine so far. 😊
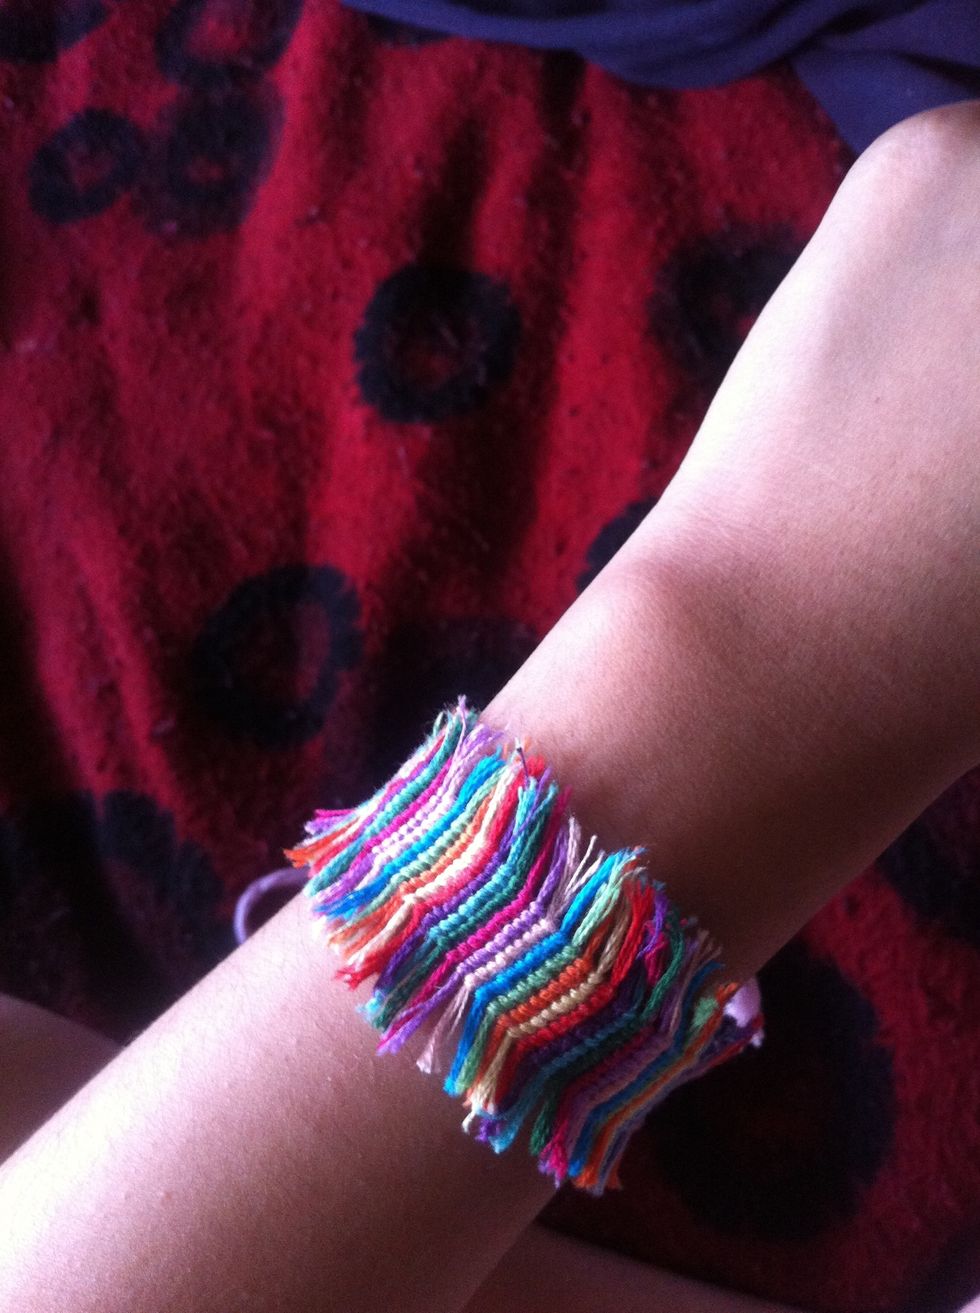
When you wear it ..
Thanks for reading my guide! 😊 If you like friendship bracelet guides and other random things check out my other guides.