The Conversation (0)
Sign Up
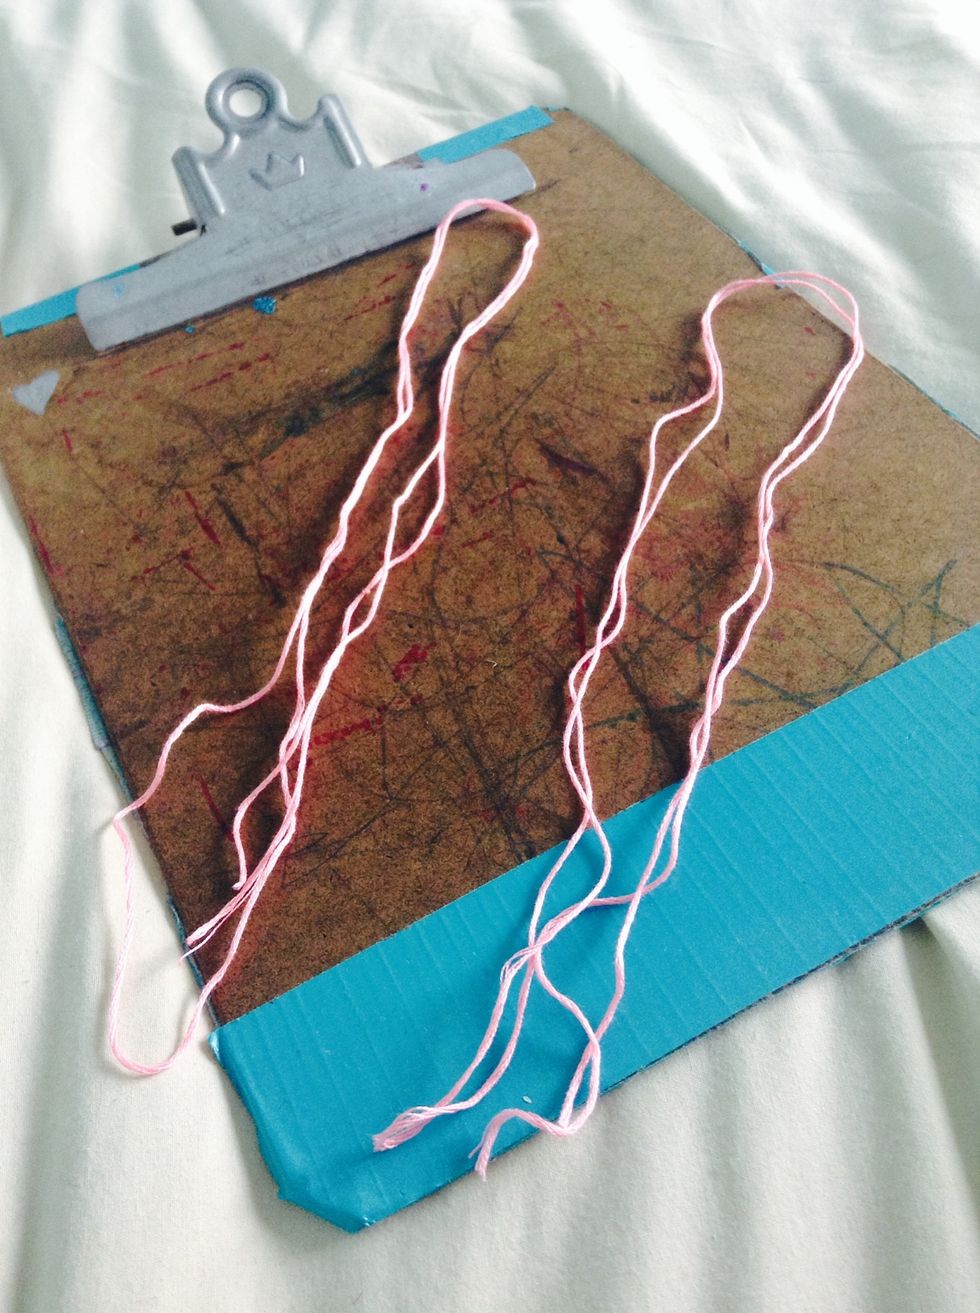
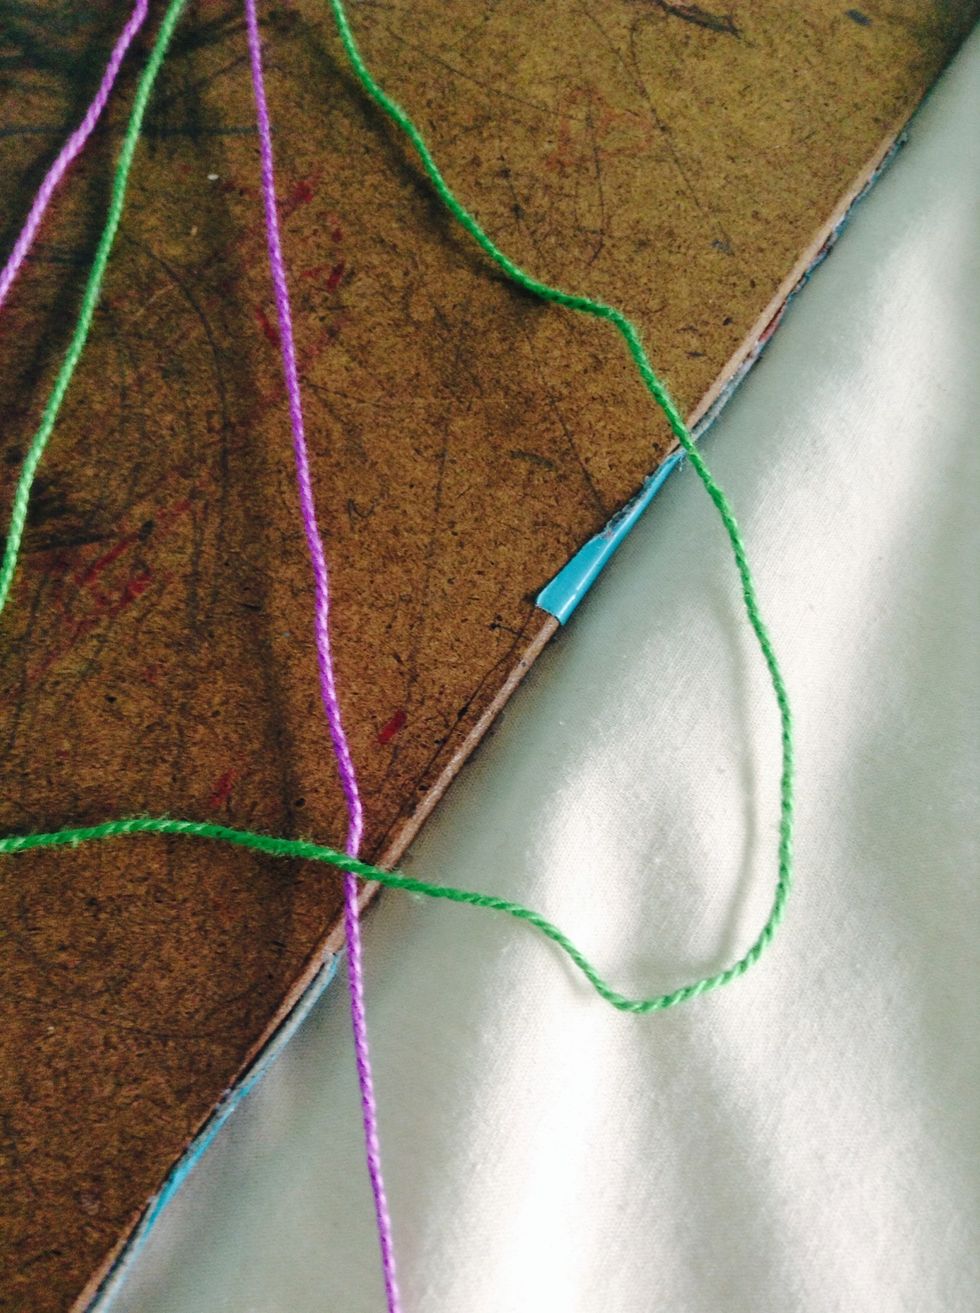
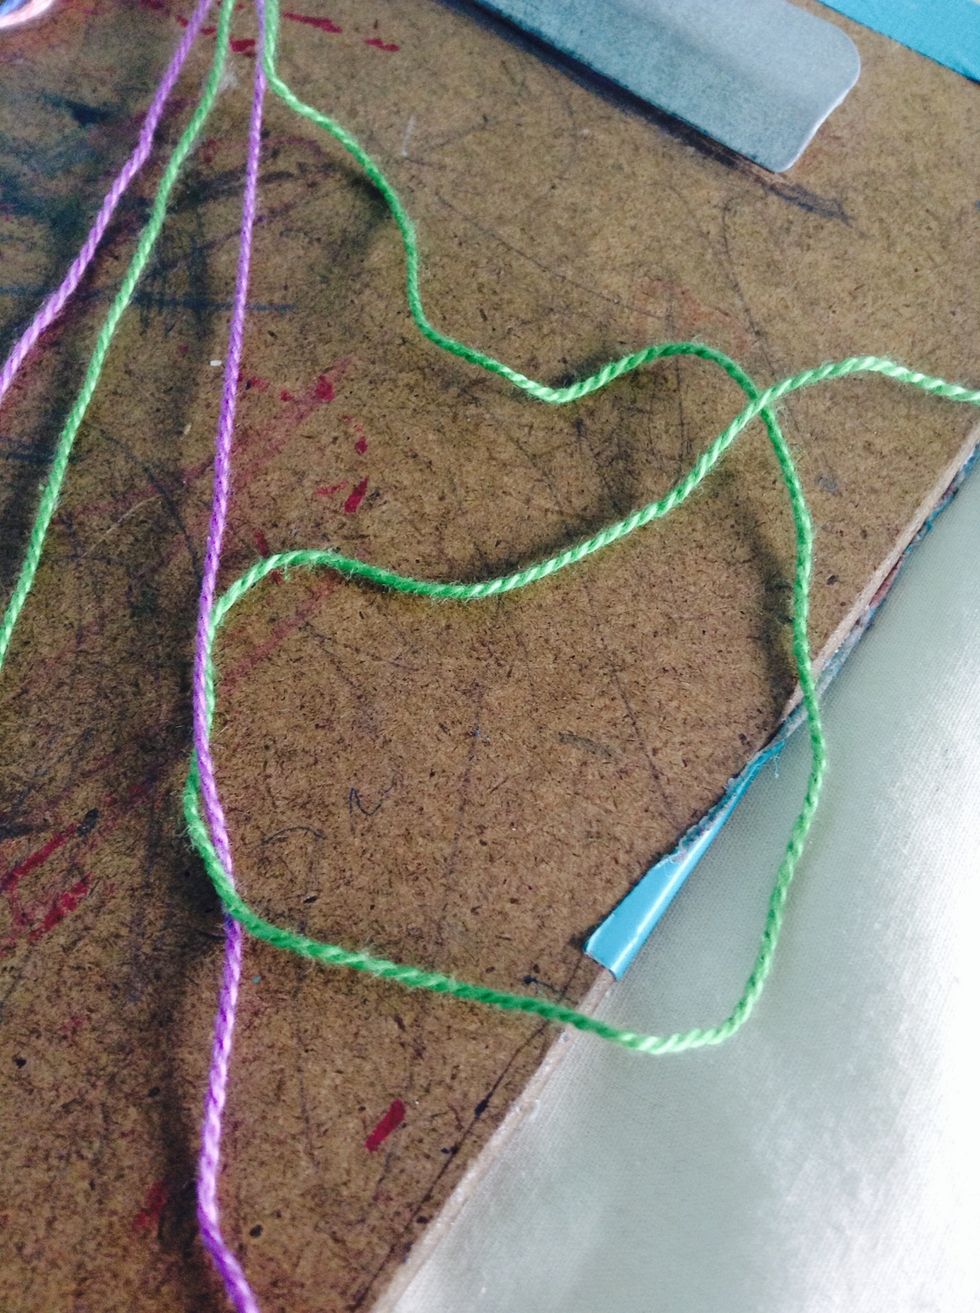
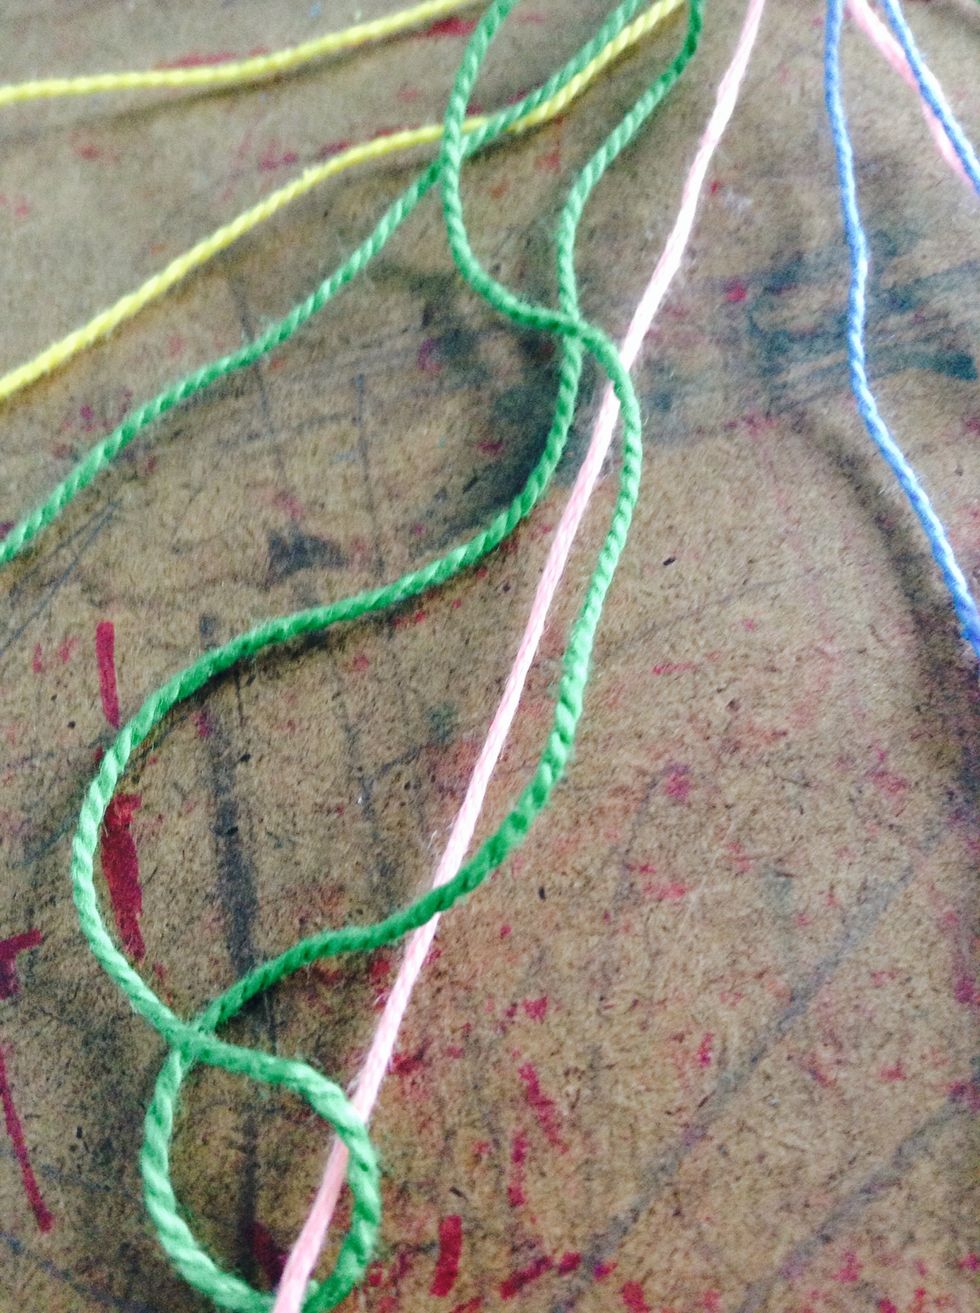
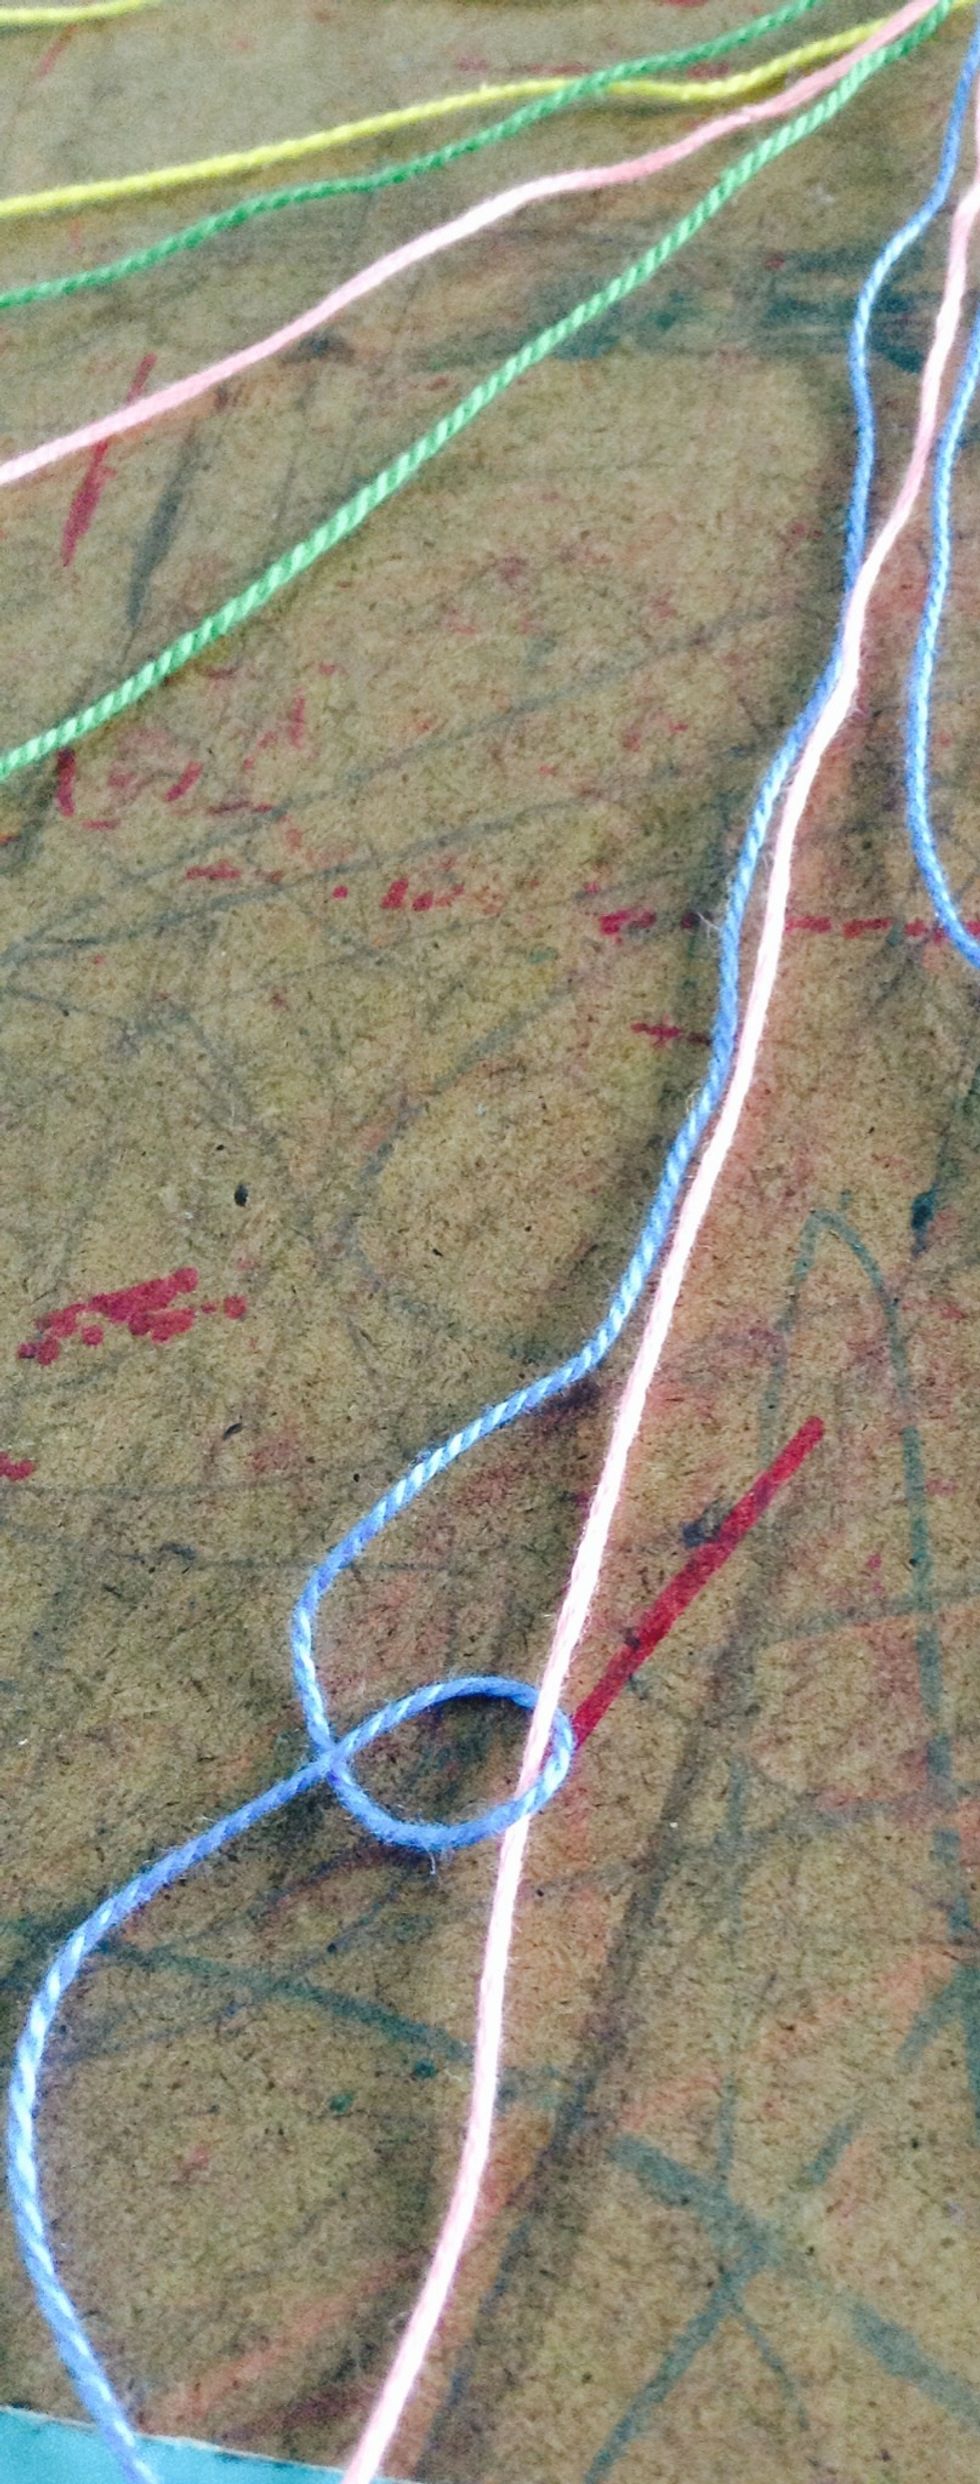
First, measure out 2 pieces of string about the length of your arm, plus another 1/2 arm. (You can do 1 then cut the other piece to that exact length.)
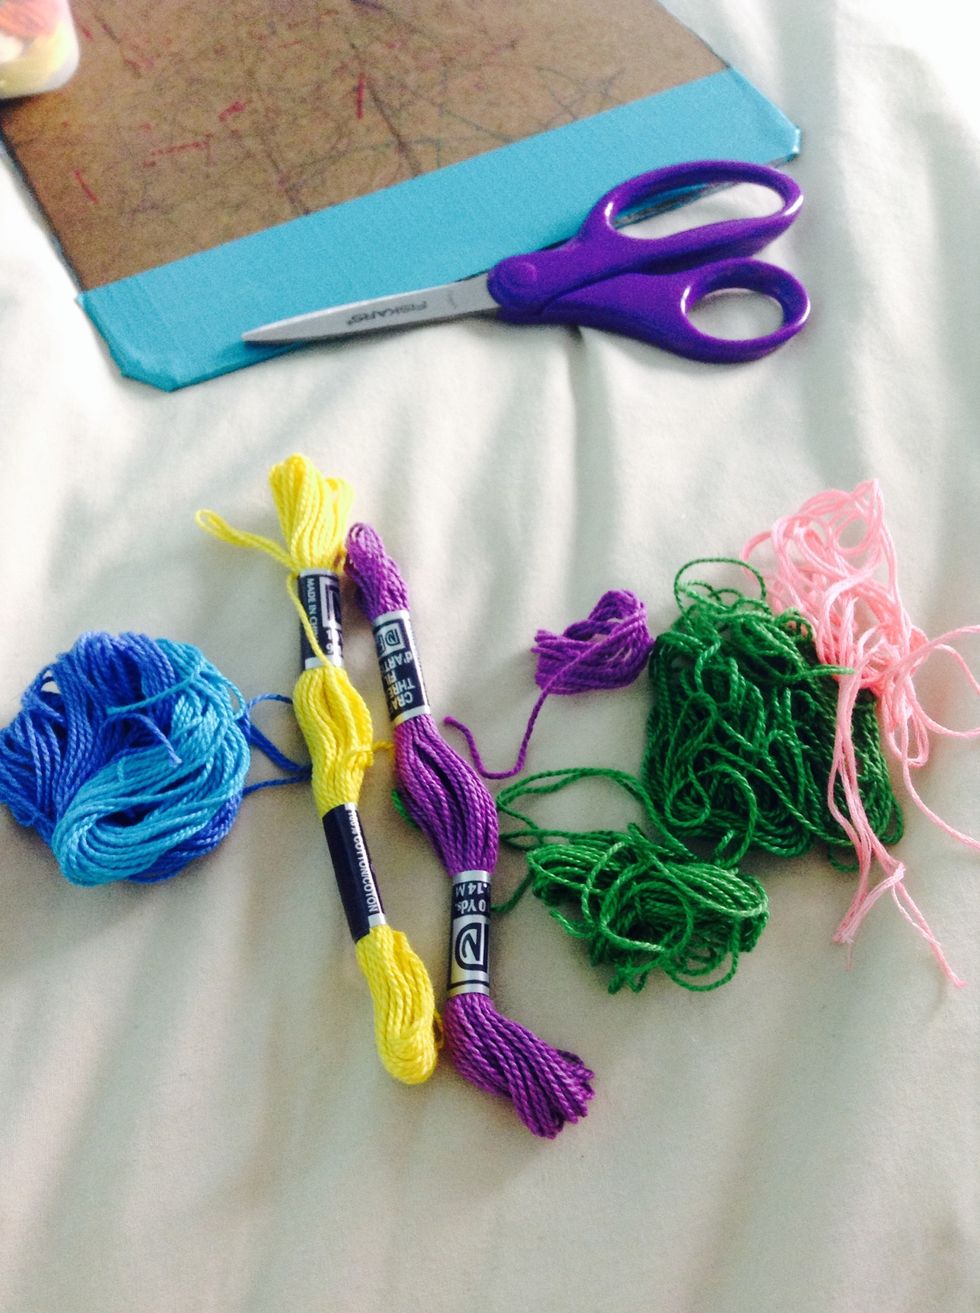
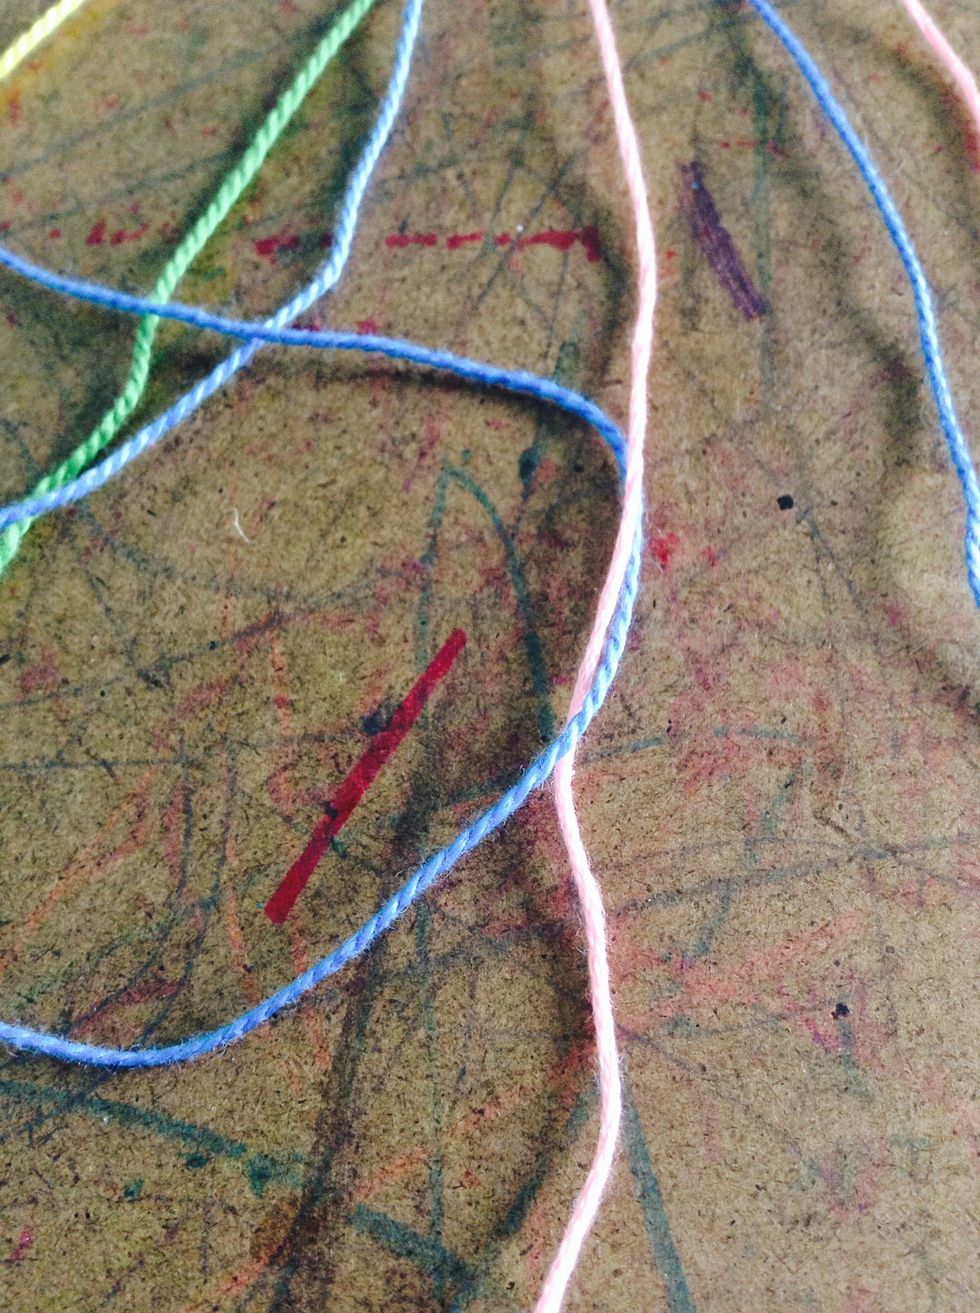
These are all of the colours I'm using. You'll need 6 total colours (for 12 strings in total)
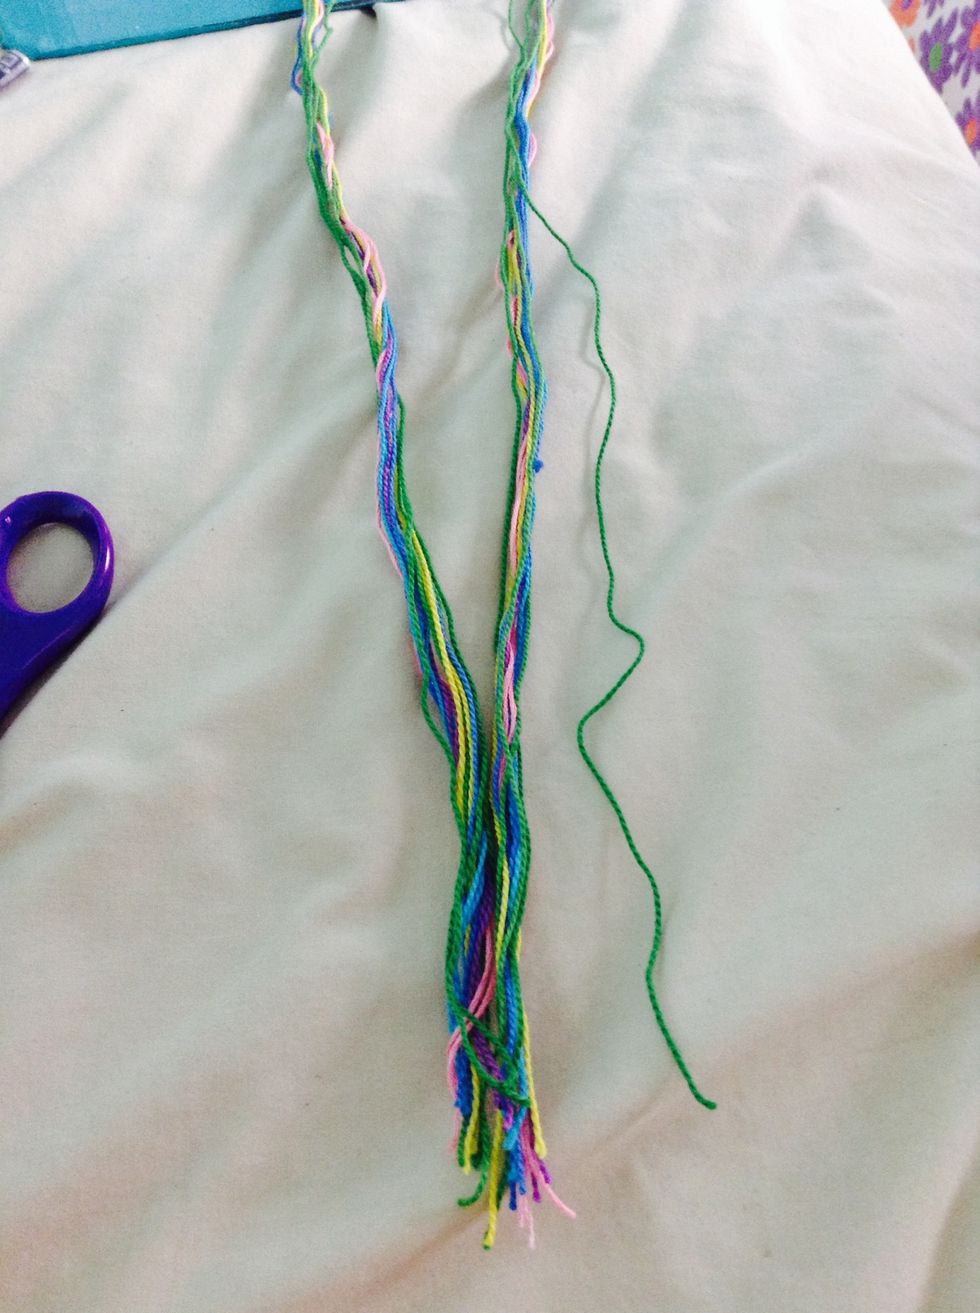
Use 1 piece of string that you started with first and use that to cut the other 10 (or 11) pieces of string.
Order the string by any colour you want, but the order should be AB, AB, CD, CD, EF, EF.
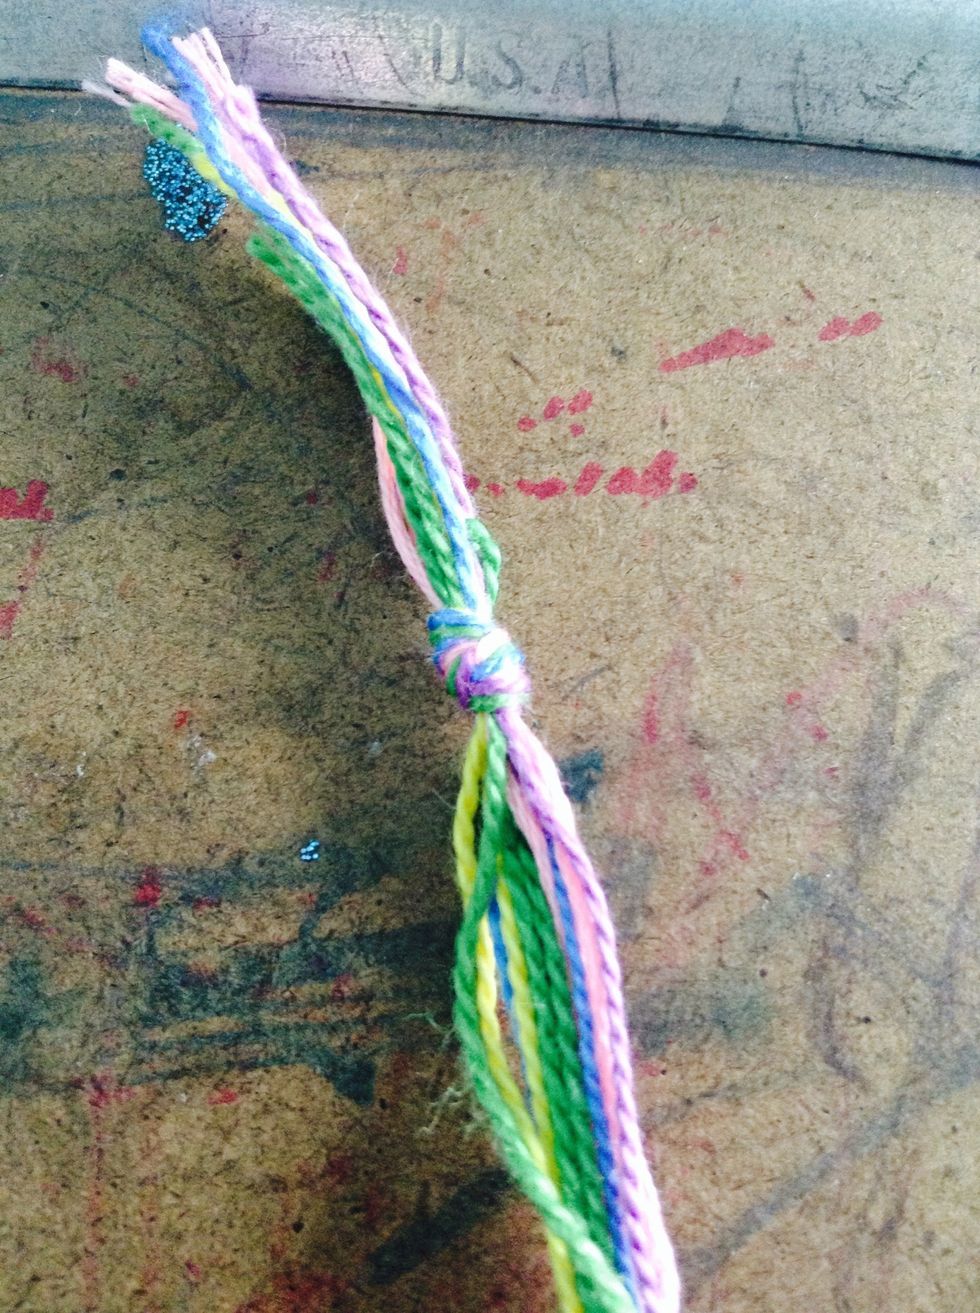
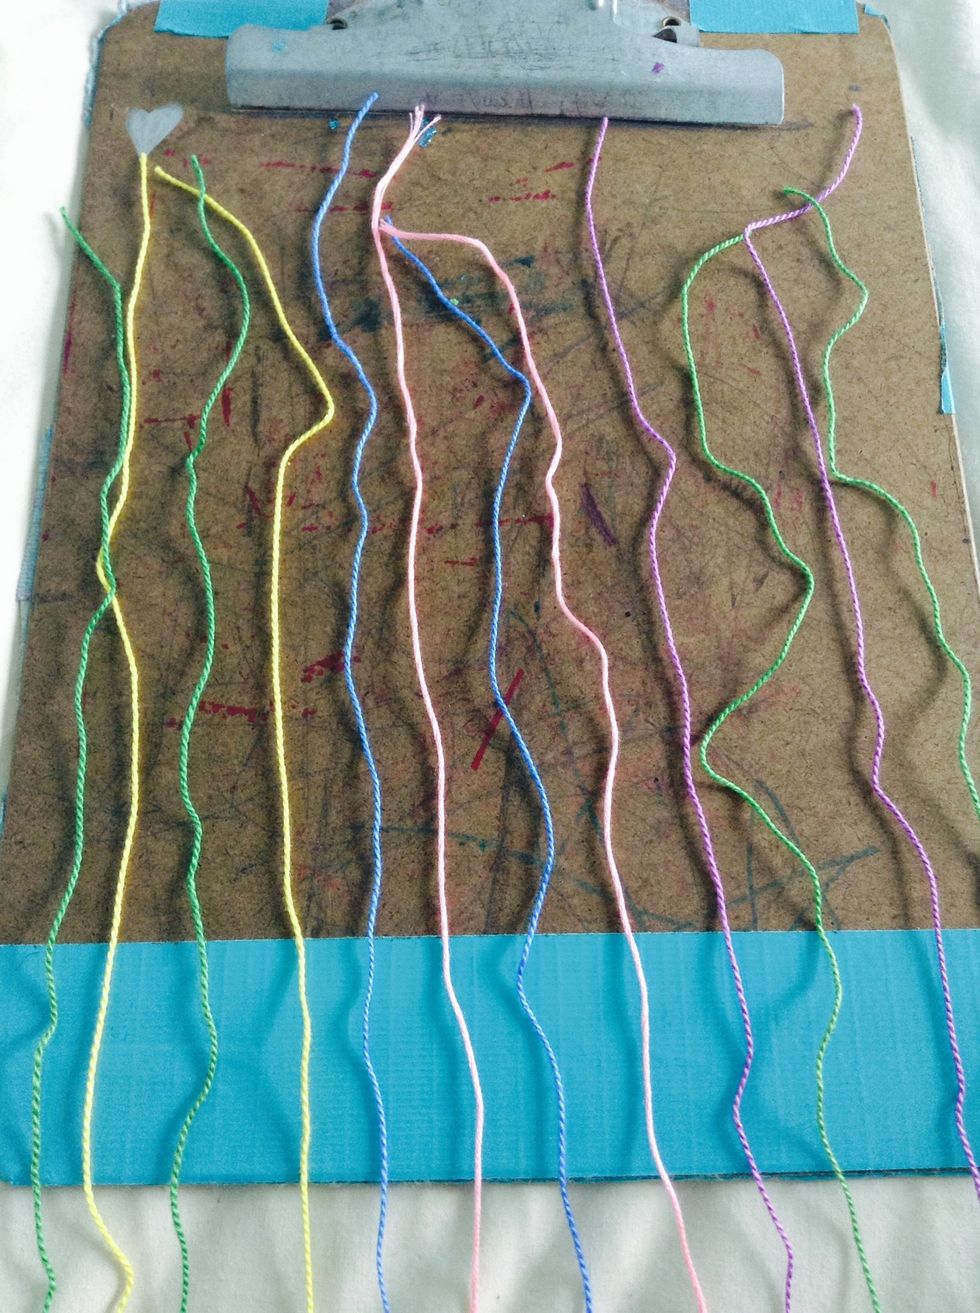
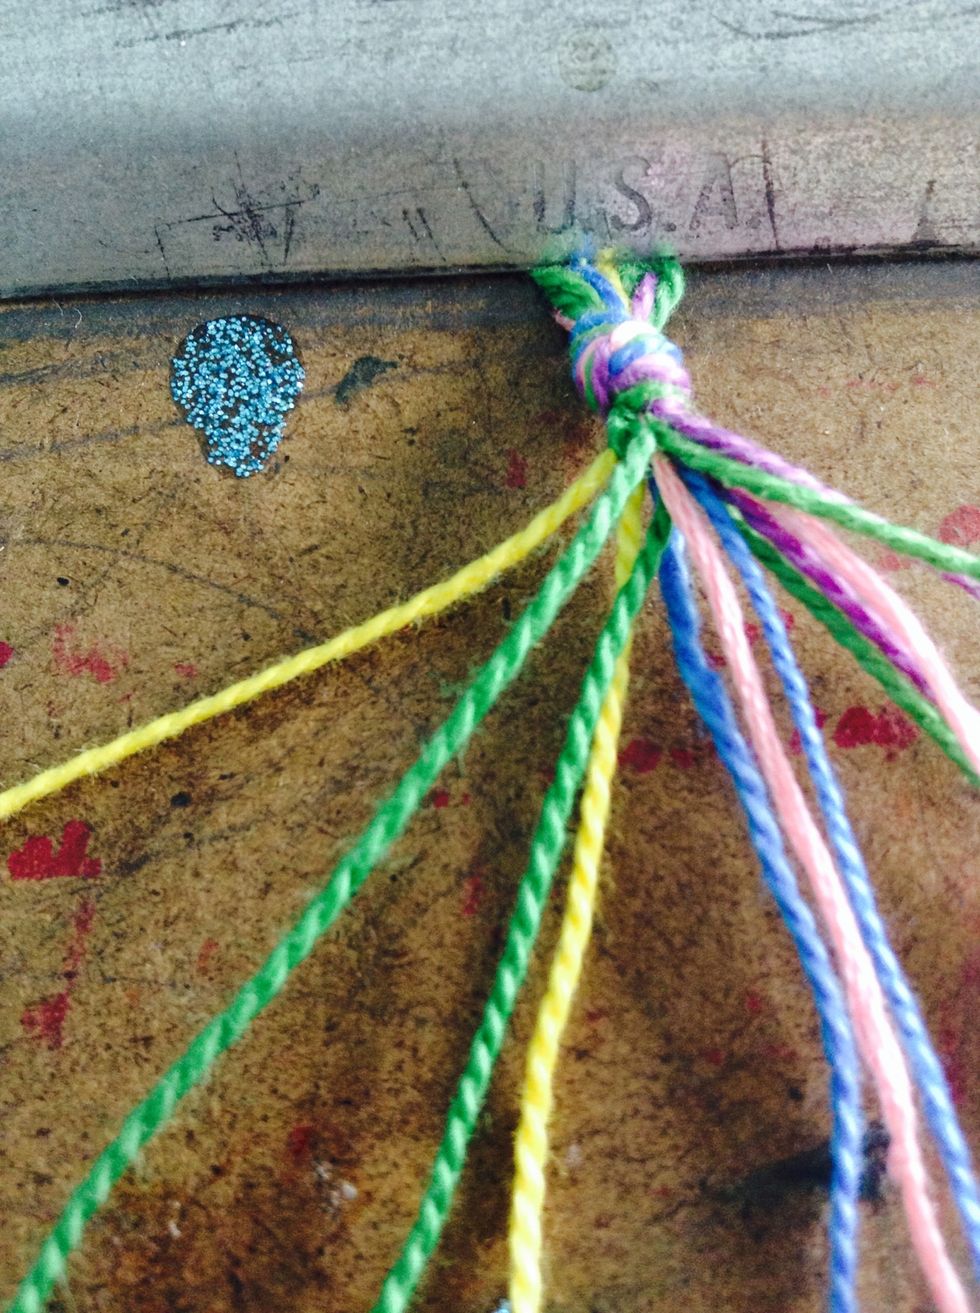
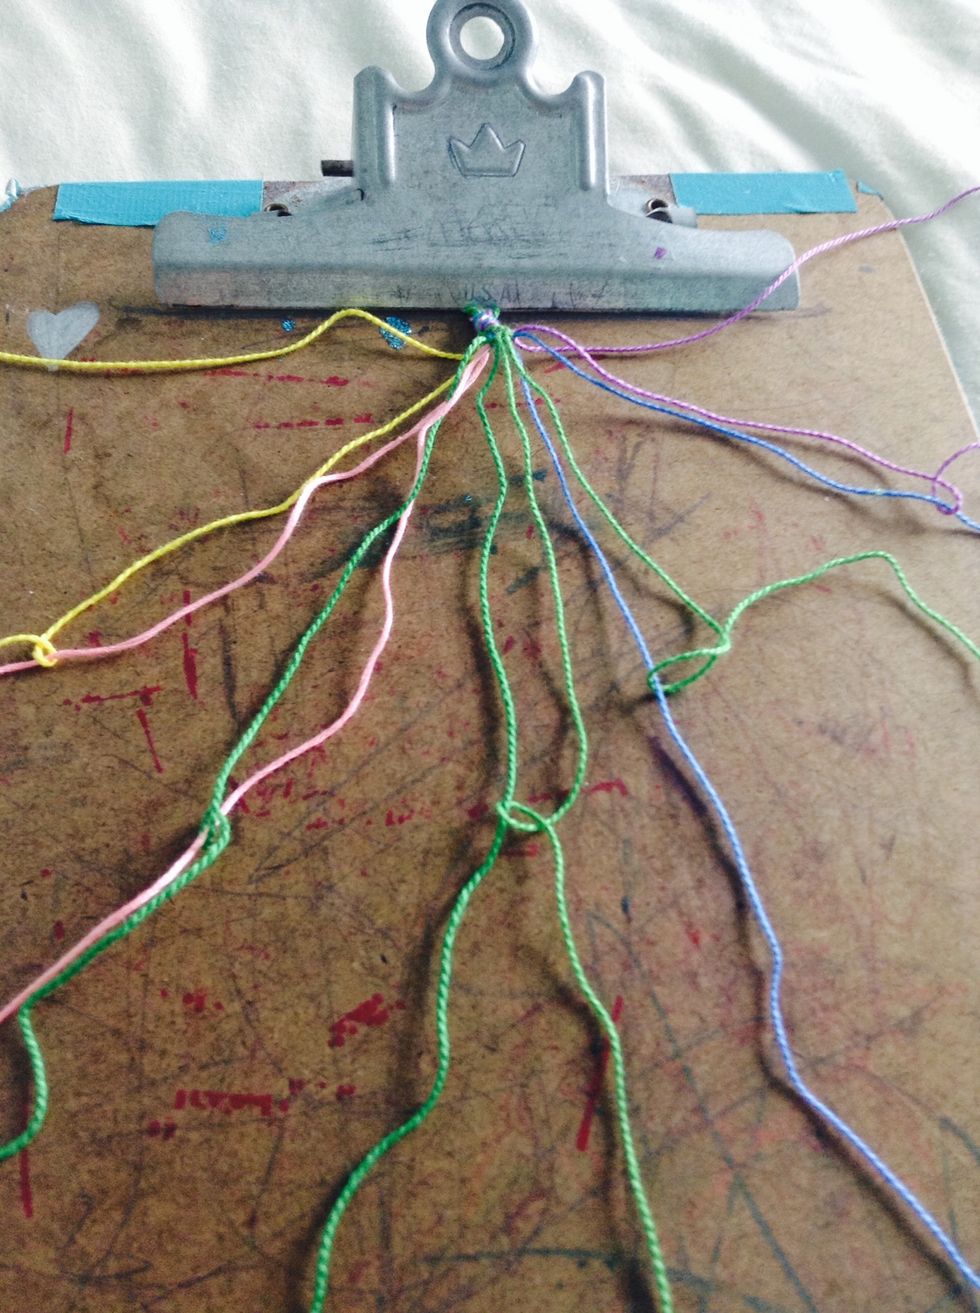
Tie a knot at the top to secure all string together (make sure you have enough to make a closer later).
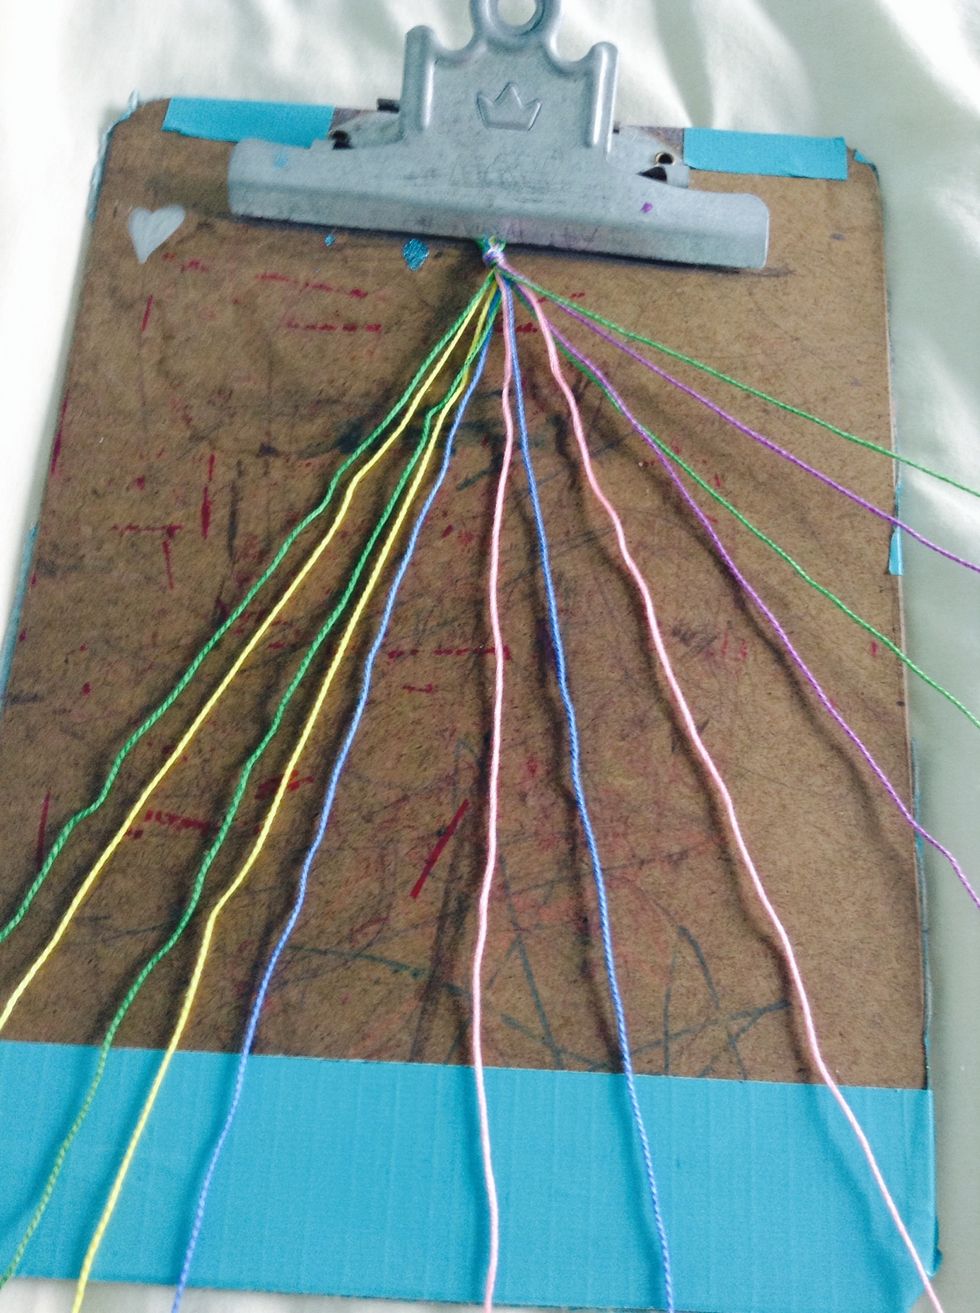
Then order your string in the order I said in step 4.

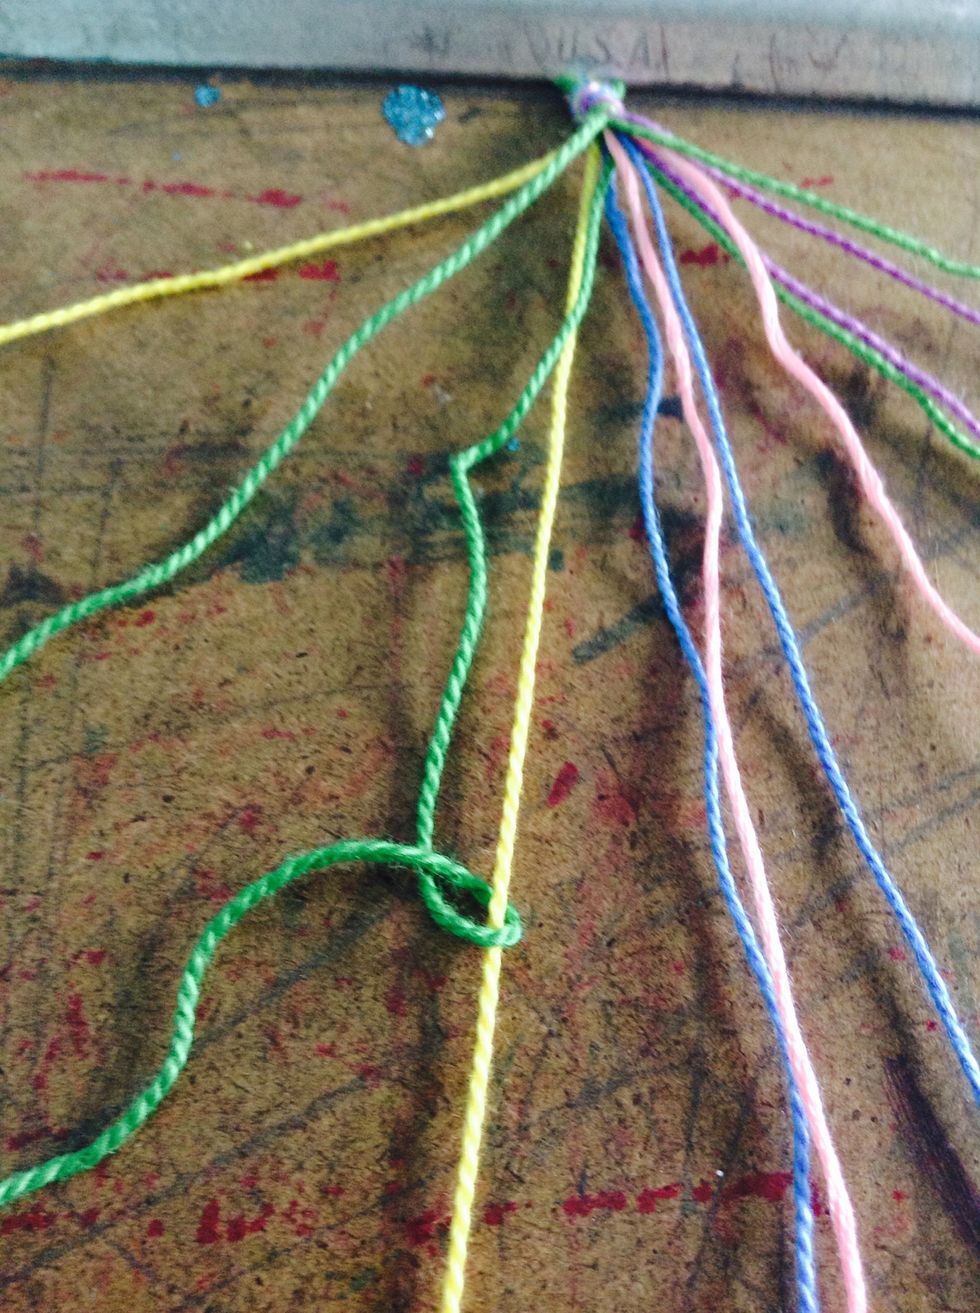
(Also, instead if starting right away, you can braid it first then start.) But take string A and make a 4, crossing over top of string B

Loop string A underneath string B and over the 4 of string A

Pull string A (while keeping a grip on string B) and make a knot.
Make sure to do 2 knots (that was only 1).
Do the same with A2 and B2
And the same with CD
When it comes to EF, you'll have to go backwards. So make a backwards 4, starting with F and crossing over E.
Loop F under E and back over F to make that 4. Pull through and it makes a little knot.

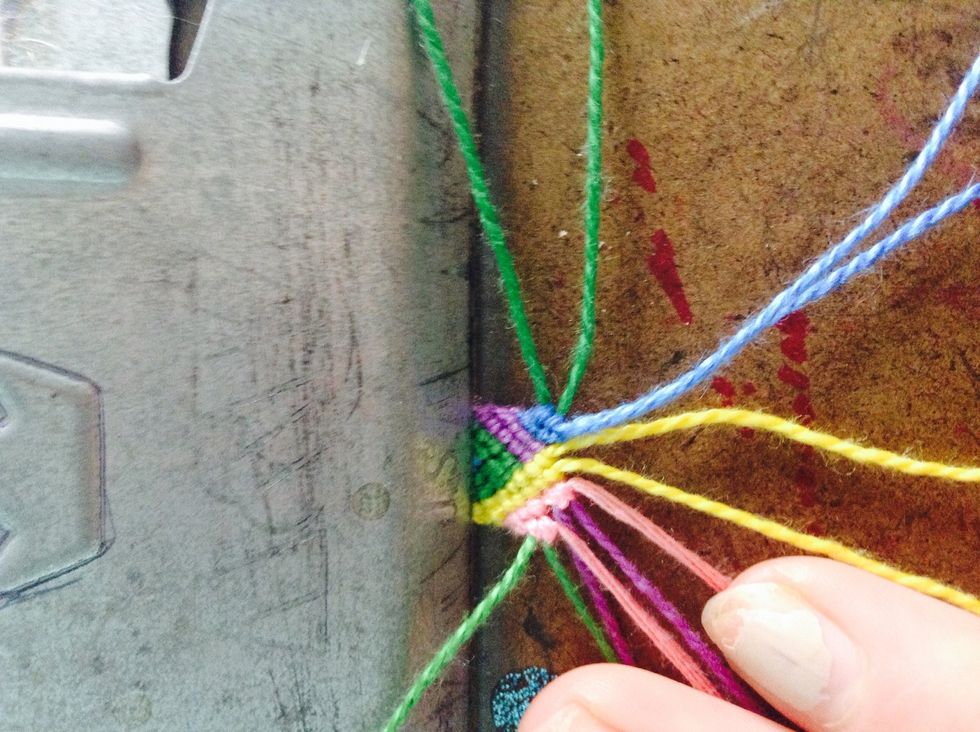
Now, on the left, start with B and do the 4 with A2
B2 should be done with C1. You keep going down the line but make sure you don't use the same string twice in a row.
Loop D1 over C2

Loop F2 over E1 and F1 over D2

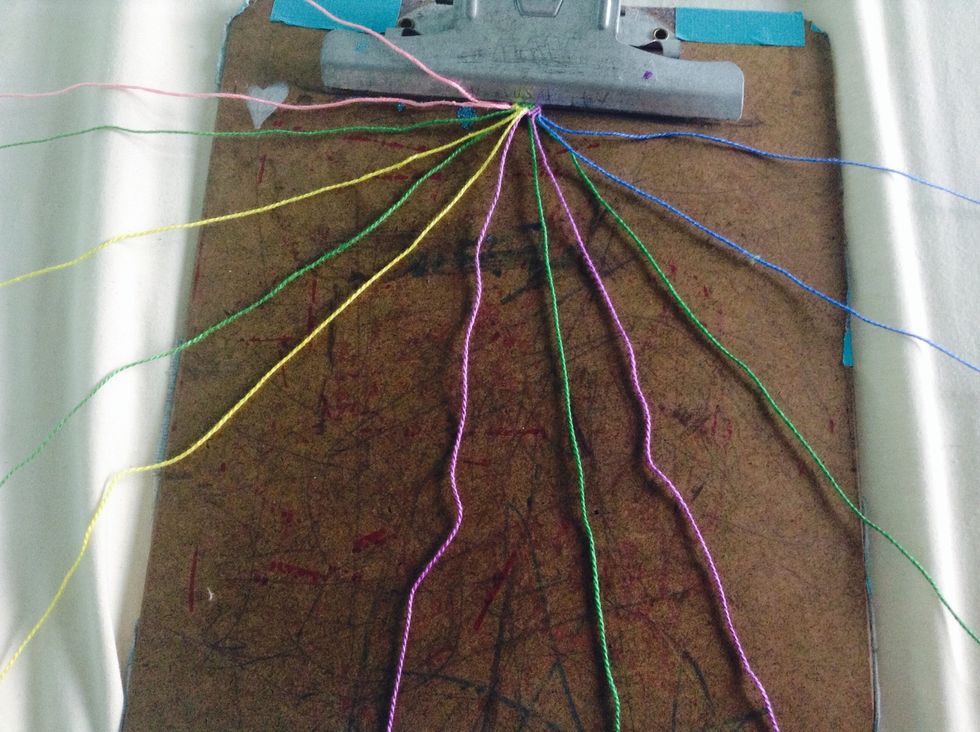
This is what it should look like, color string wise.
Repeat the steps, but with the next colors.
Now, the 2 pink strings and the 2 blue strings are on the ends.
After going for a while, you'll see the pattern.

This is what it looks like; I had to keep going back to make sure I knew where certain strings ended and others over lapped.
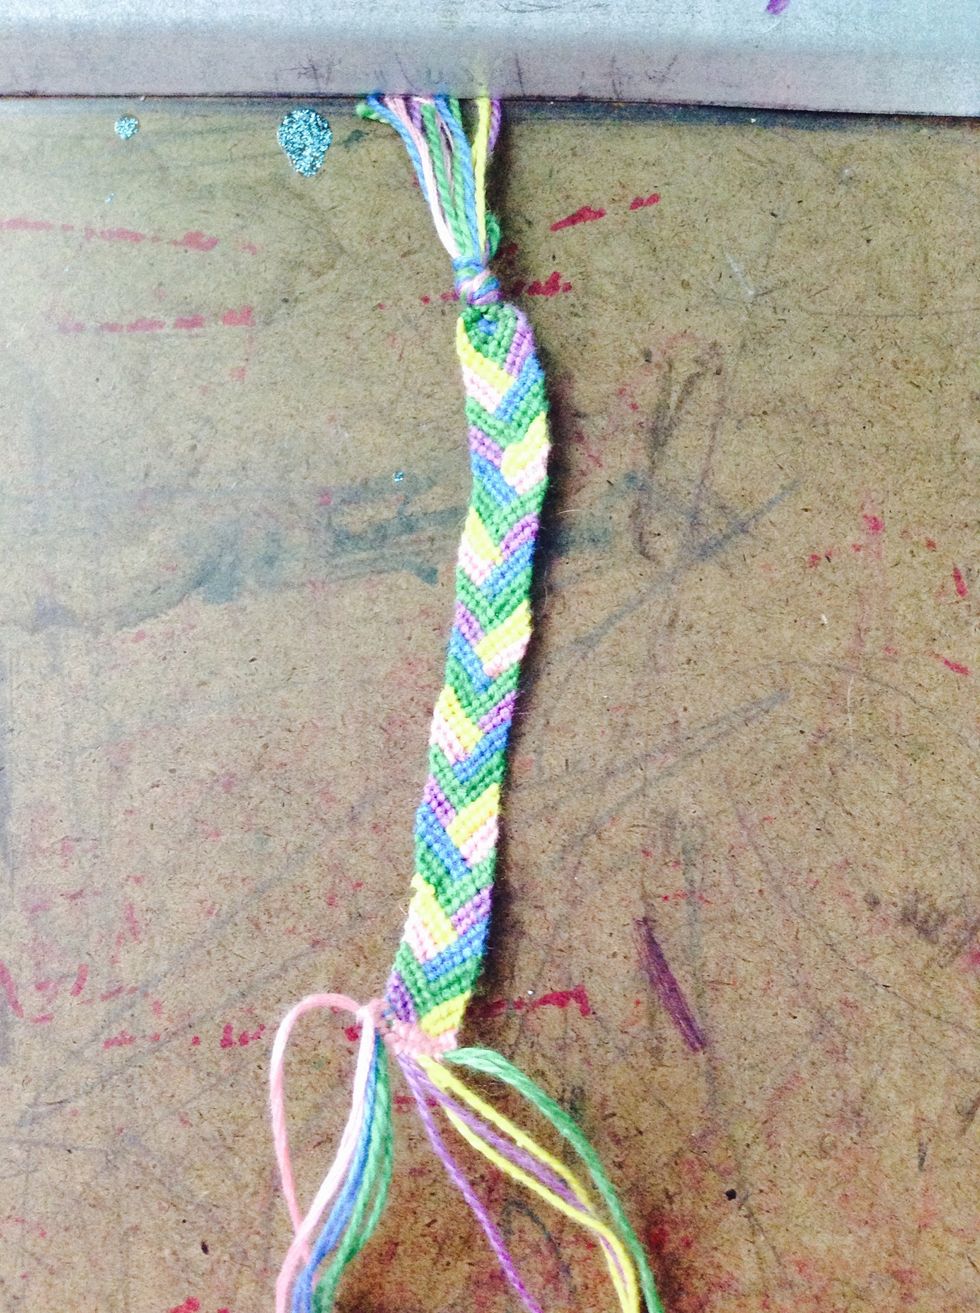
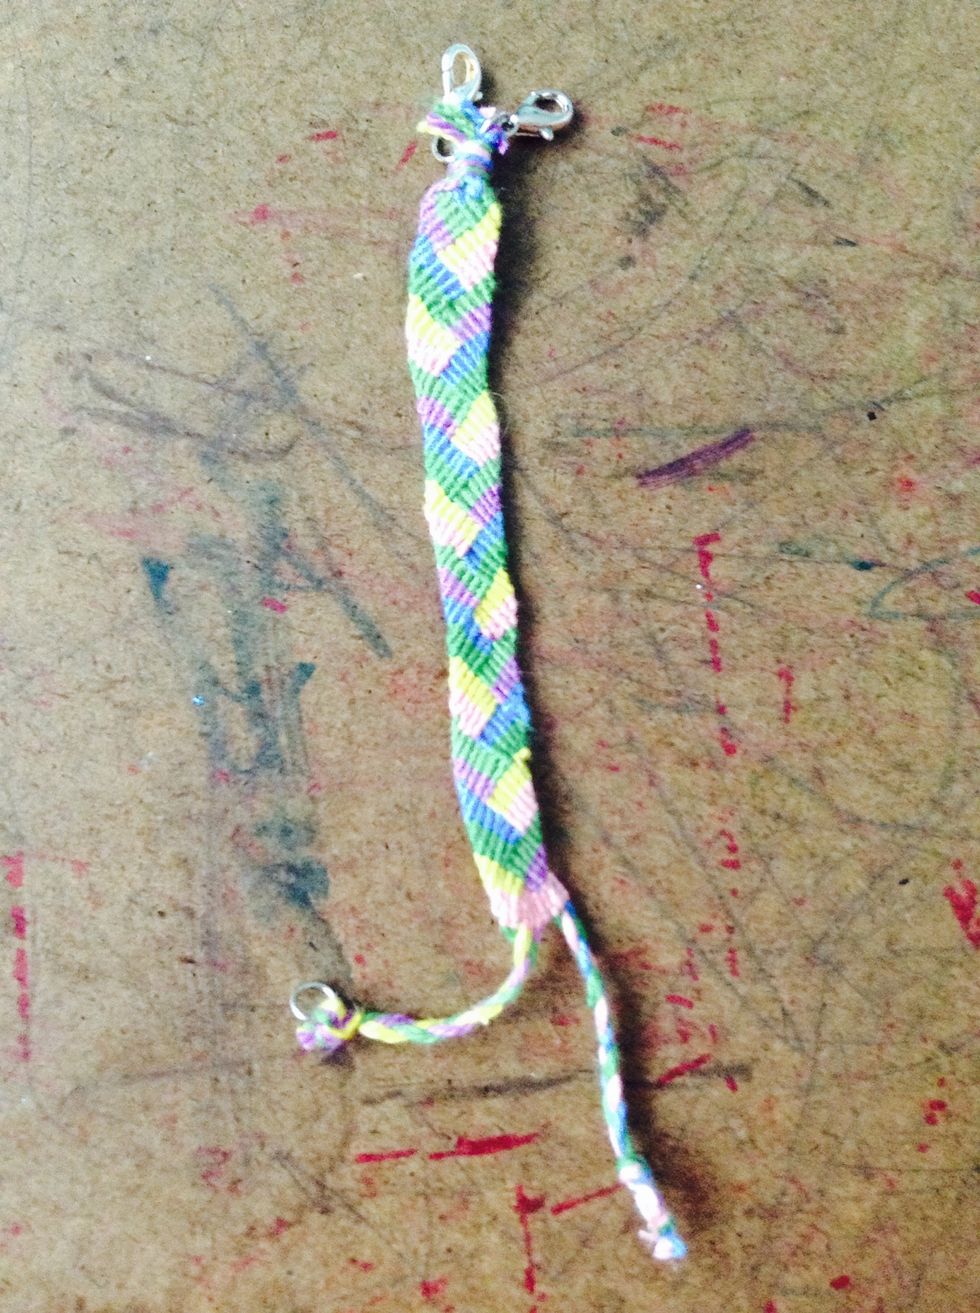
This is my final product.
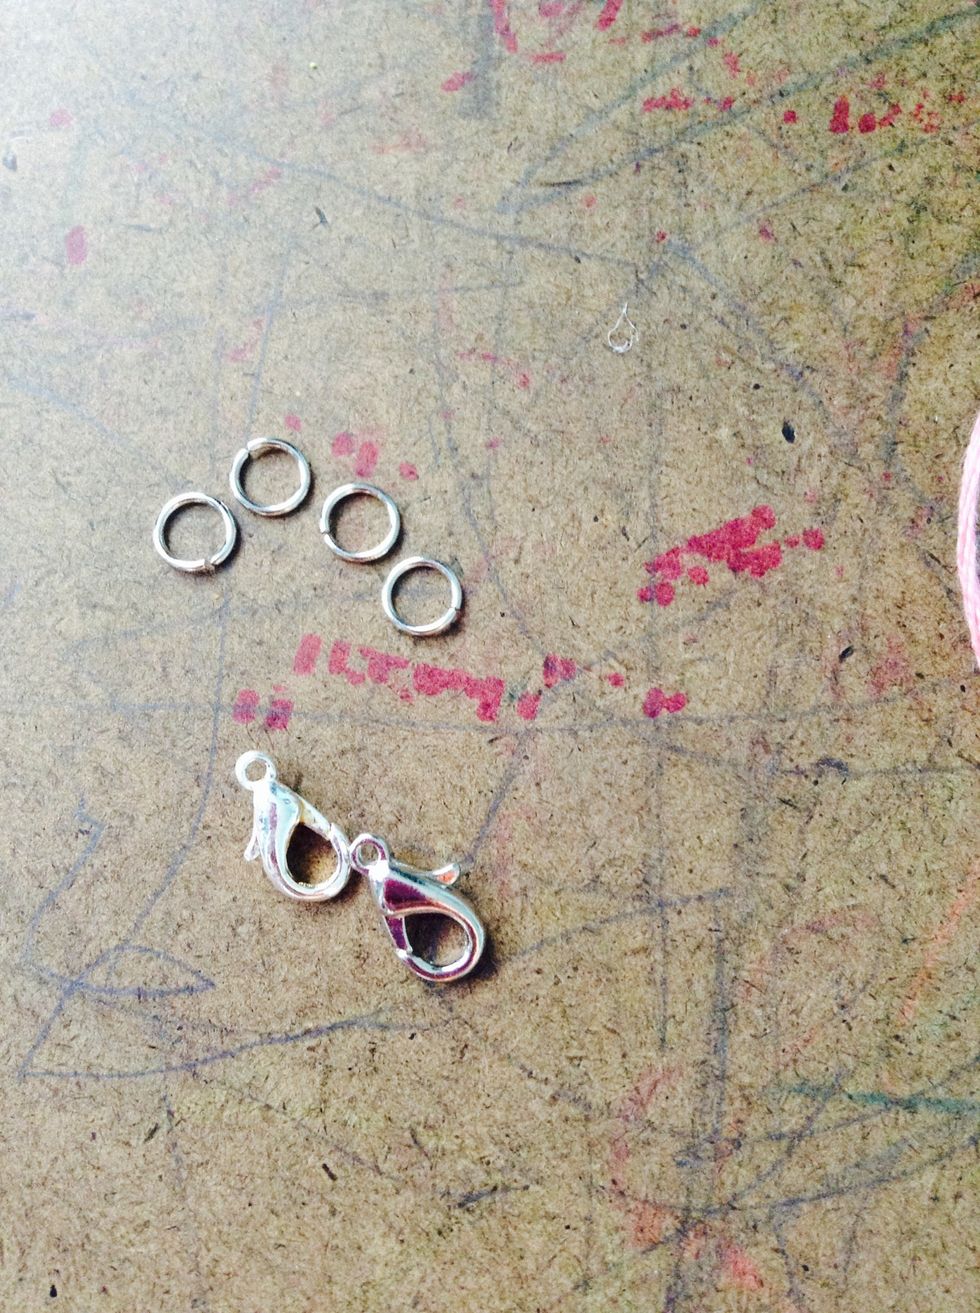
Now, grab 4 jump rings and 2 clasps (of you don't want to use buttons).
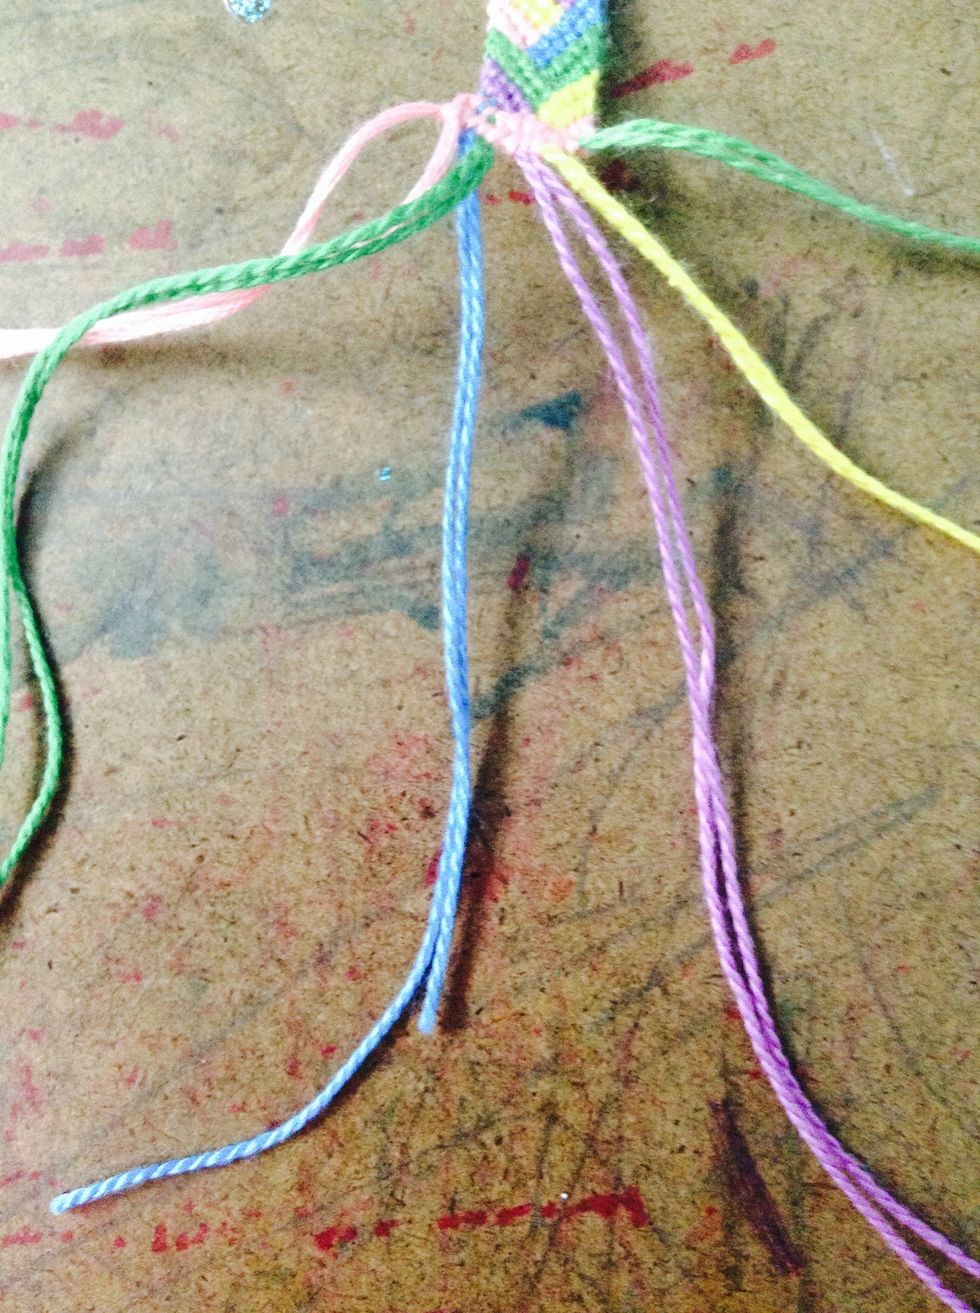
Divide the colors into 2 sections.
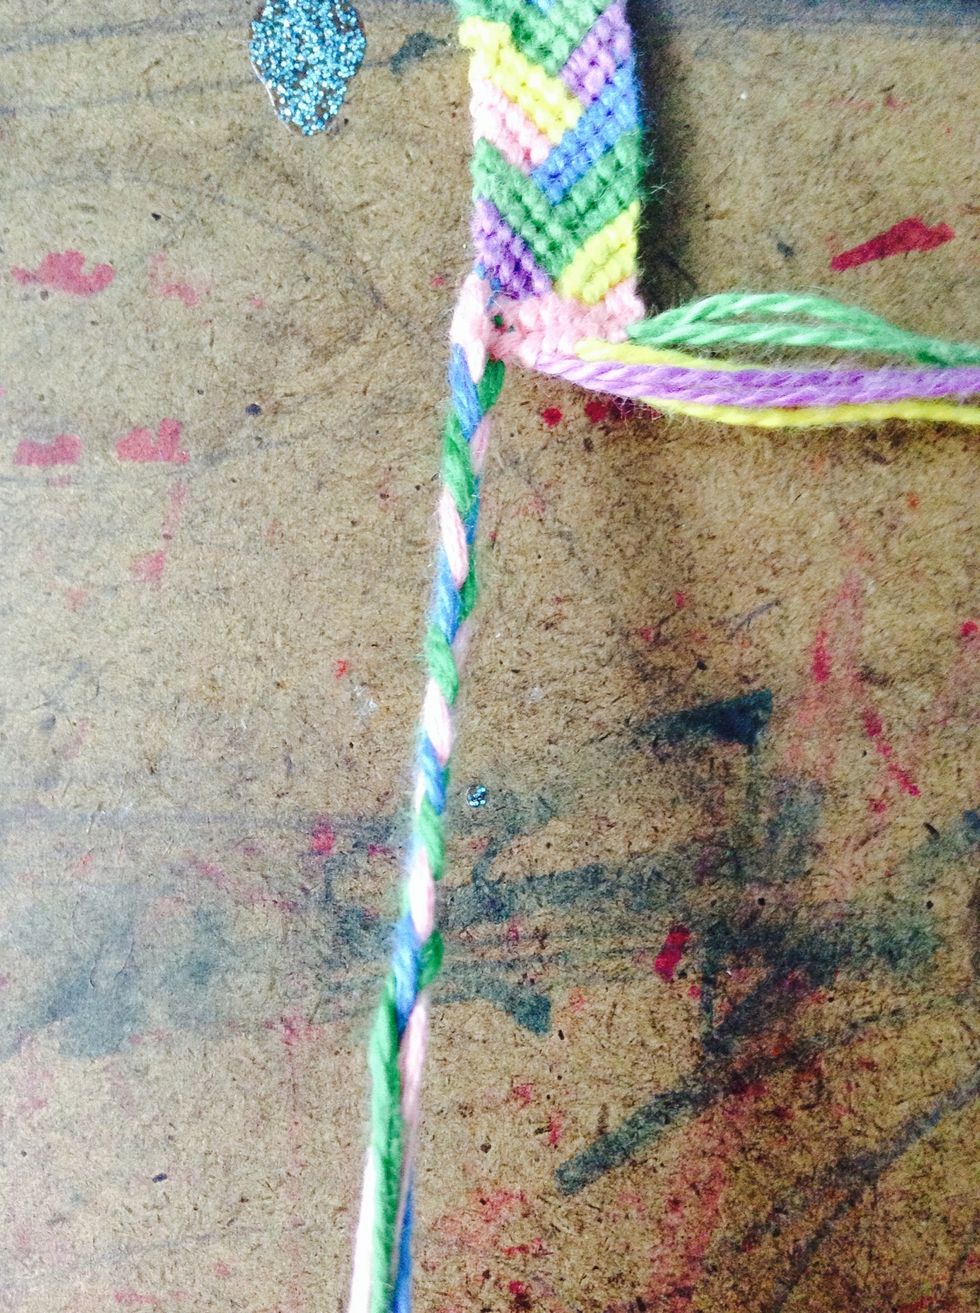
Braid 1 section of colors.
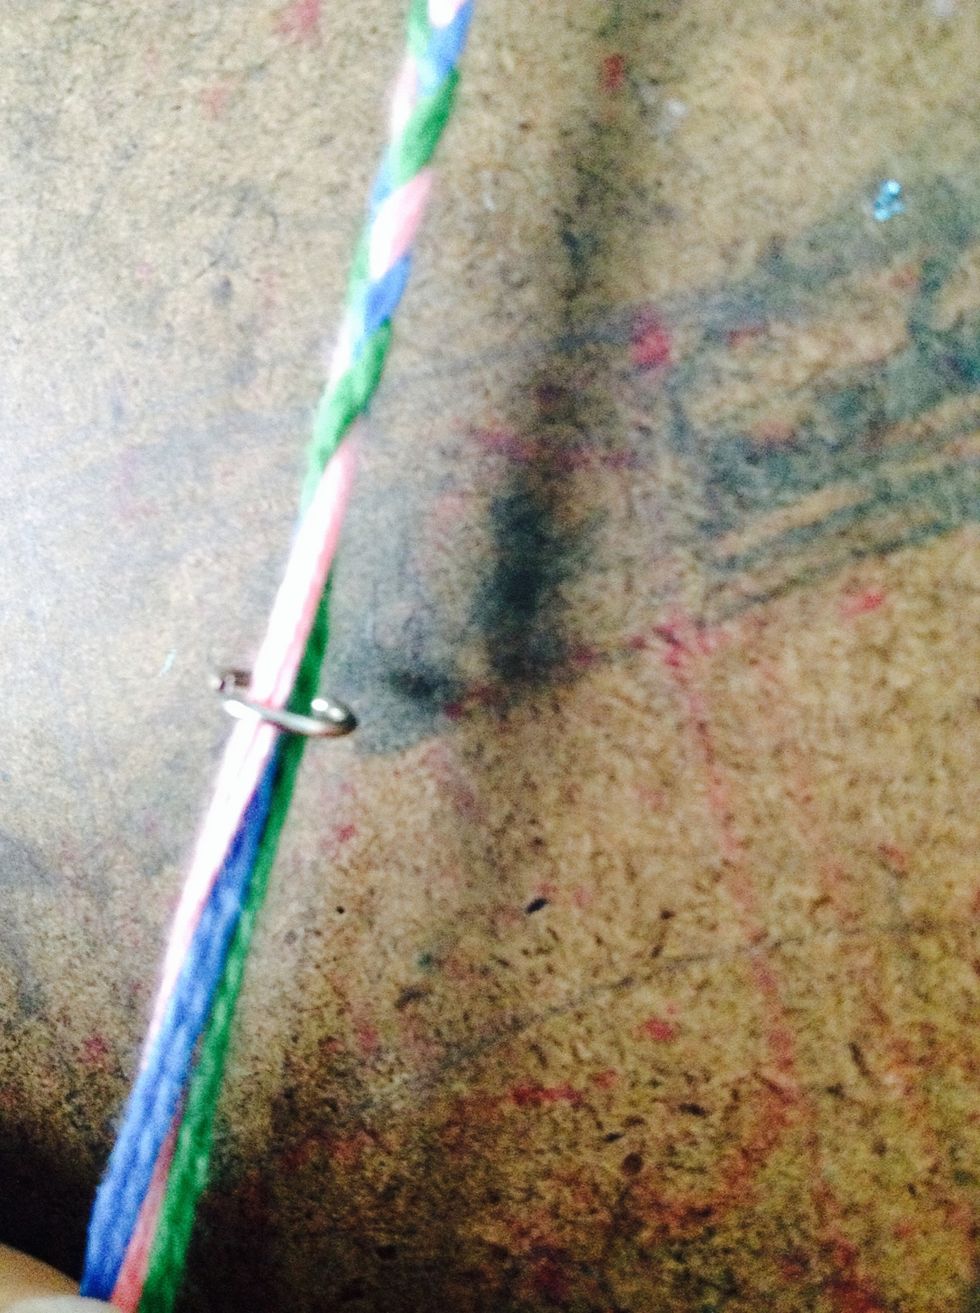
Slide the jump ring in the middle.
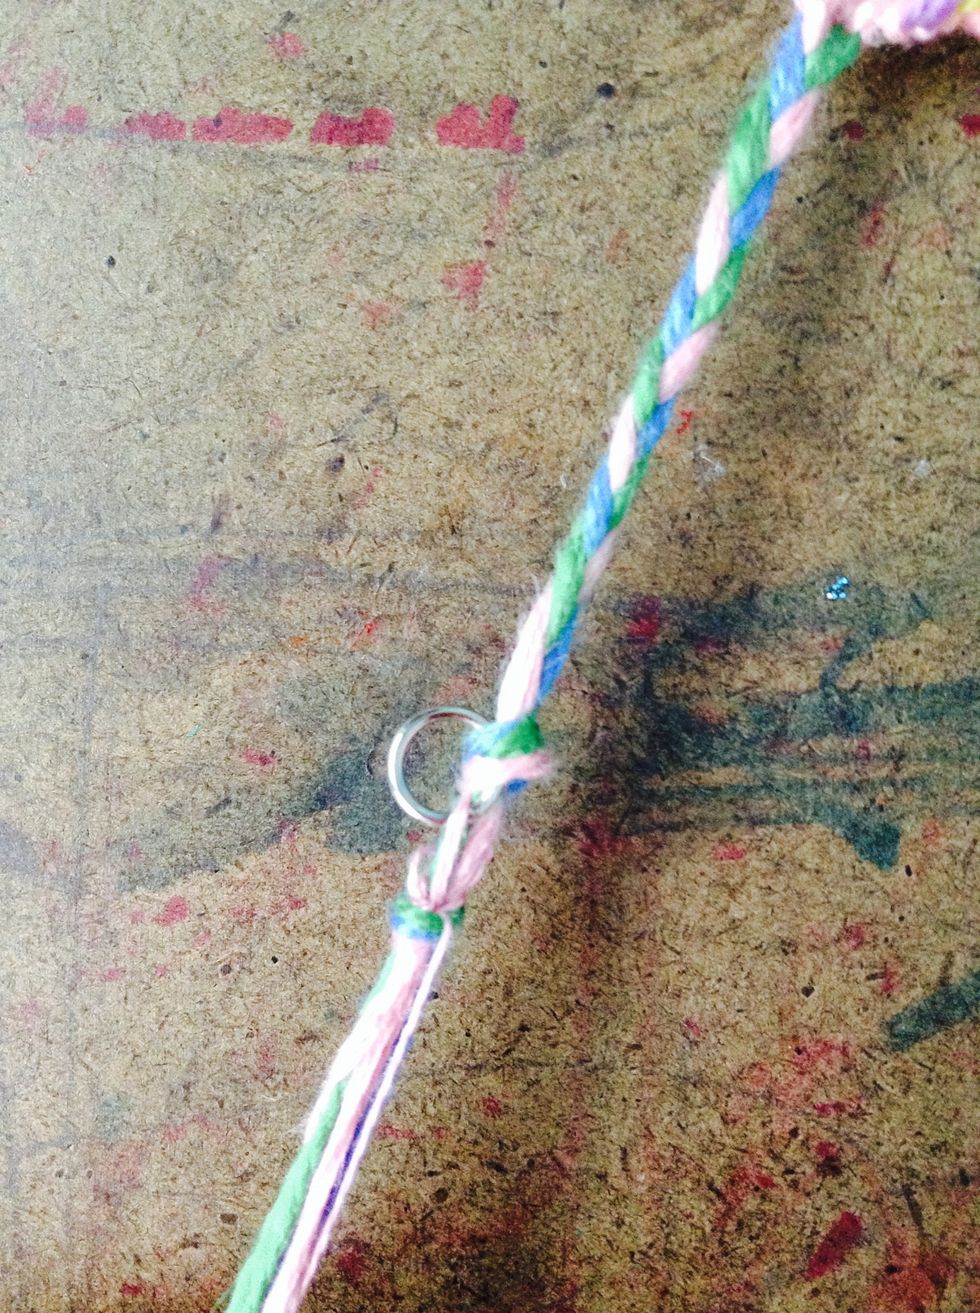
Tie a knot into the jump ring. I tied another to make sure it was secure enough.
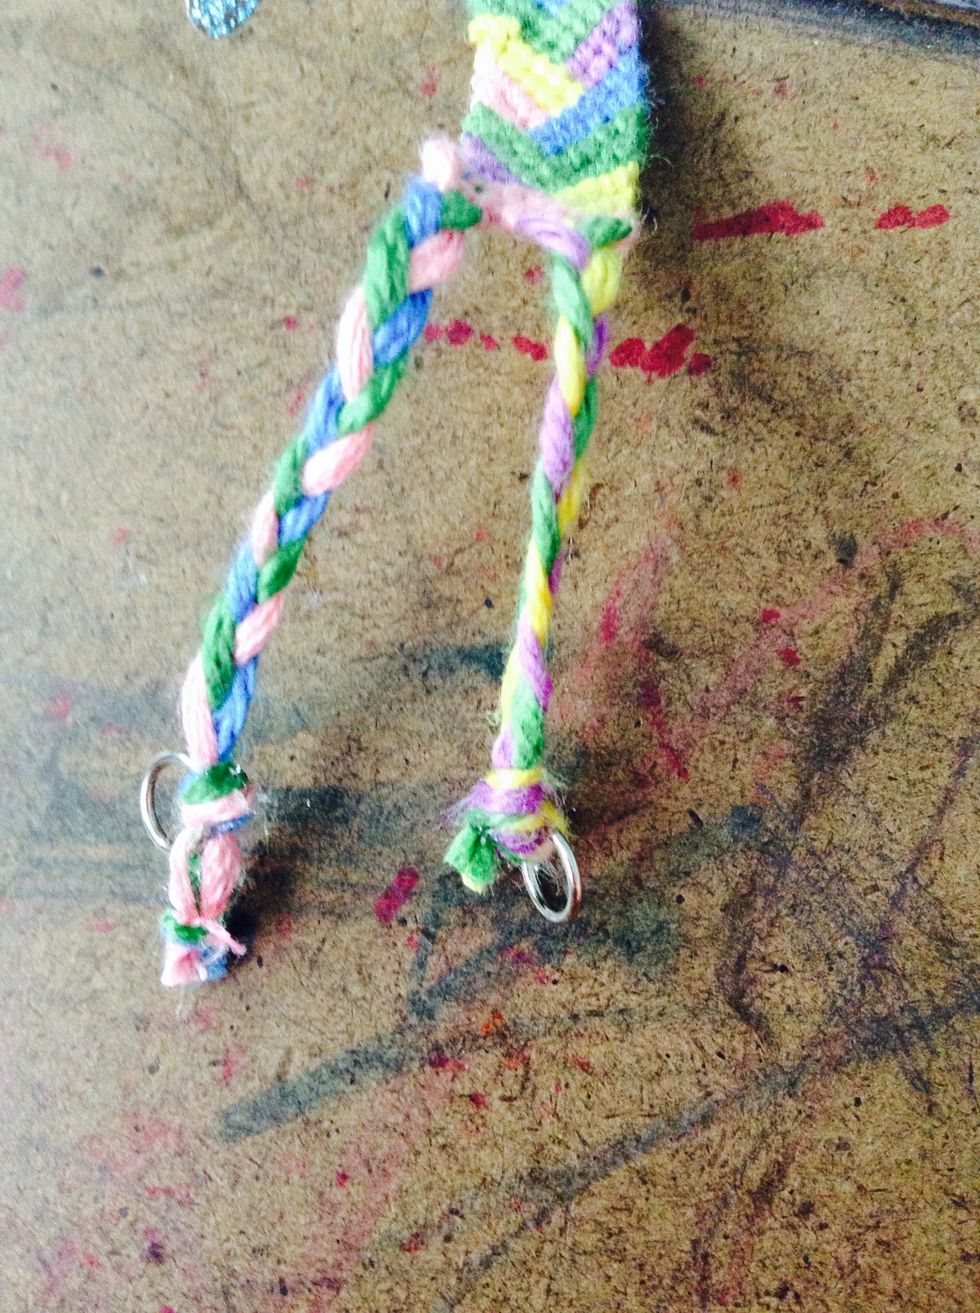
Do the same with the other side.
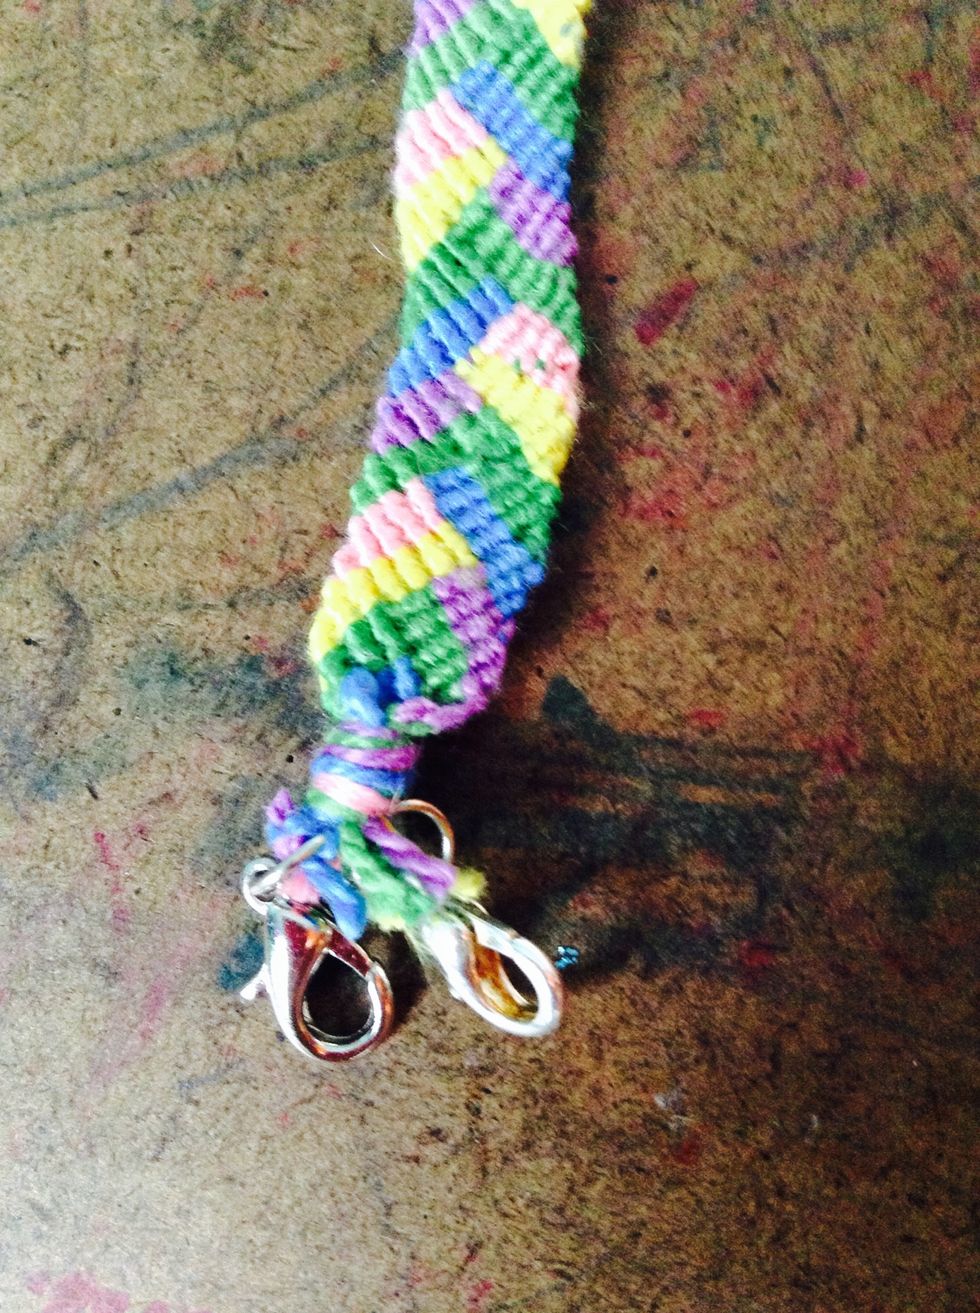
You do the same with the other 2 jump rings on the other side and add the clasps.
This is the final product :)
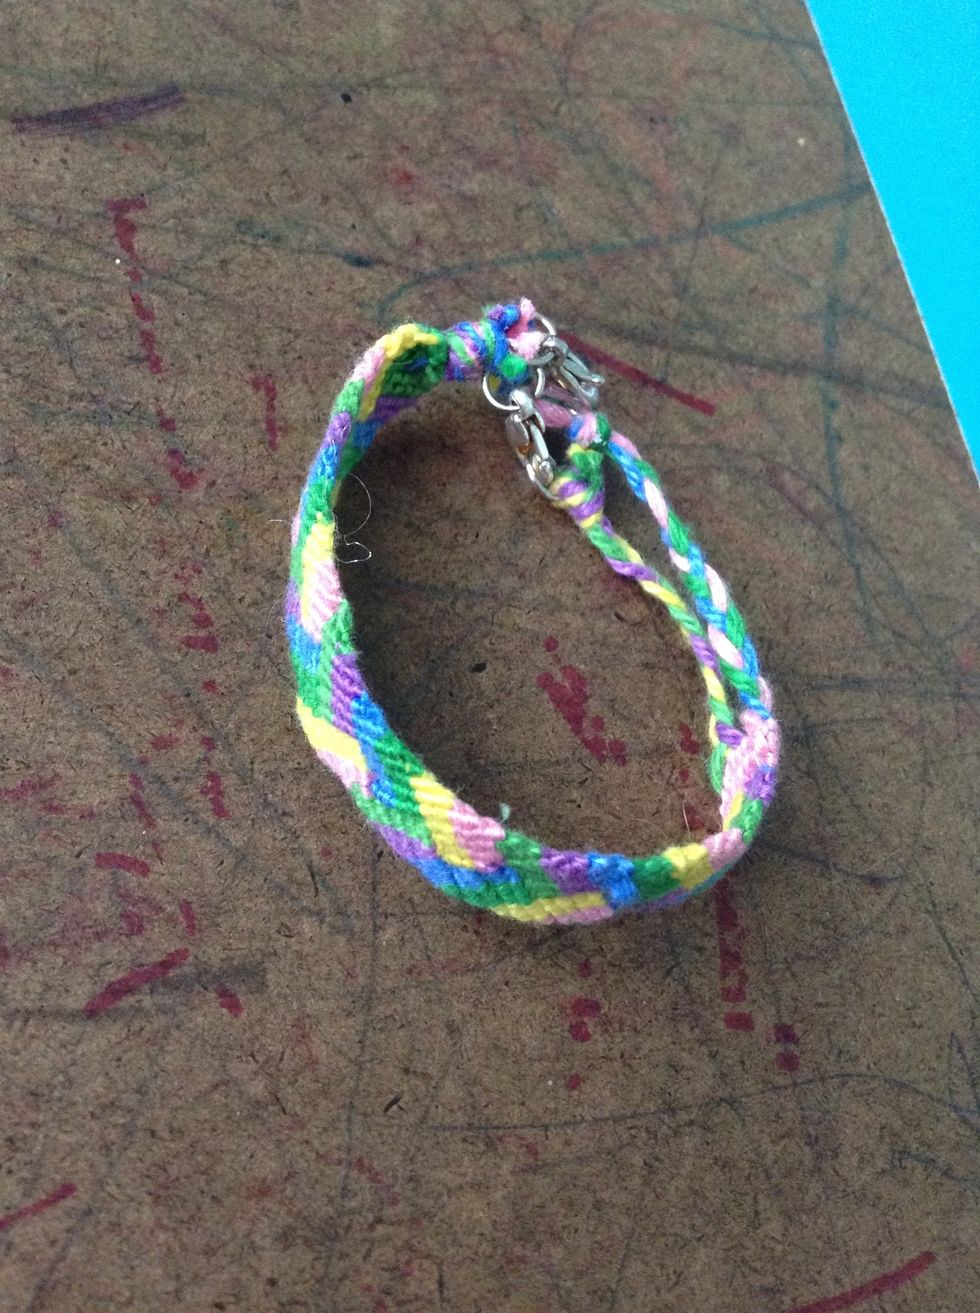
You can also super glue the knots to make sure they stay of you'd like.