The Conversation (0)
Sign Up
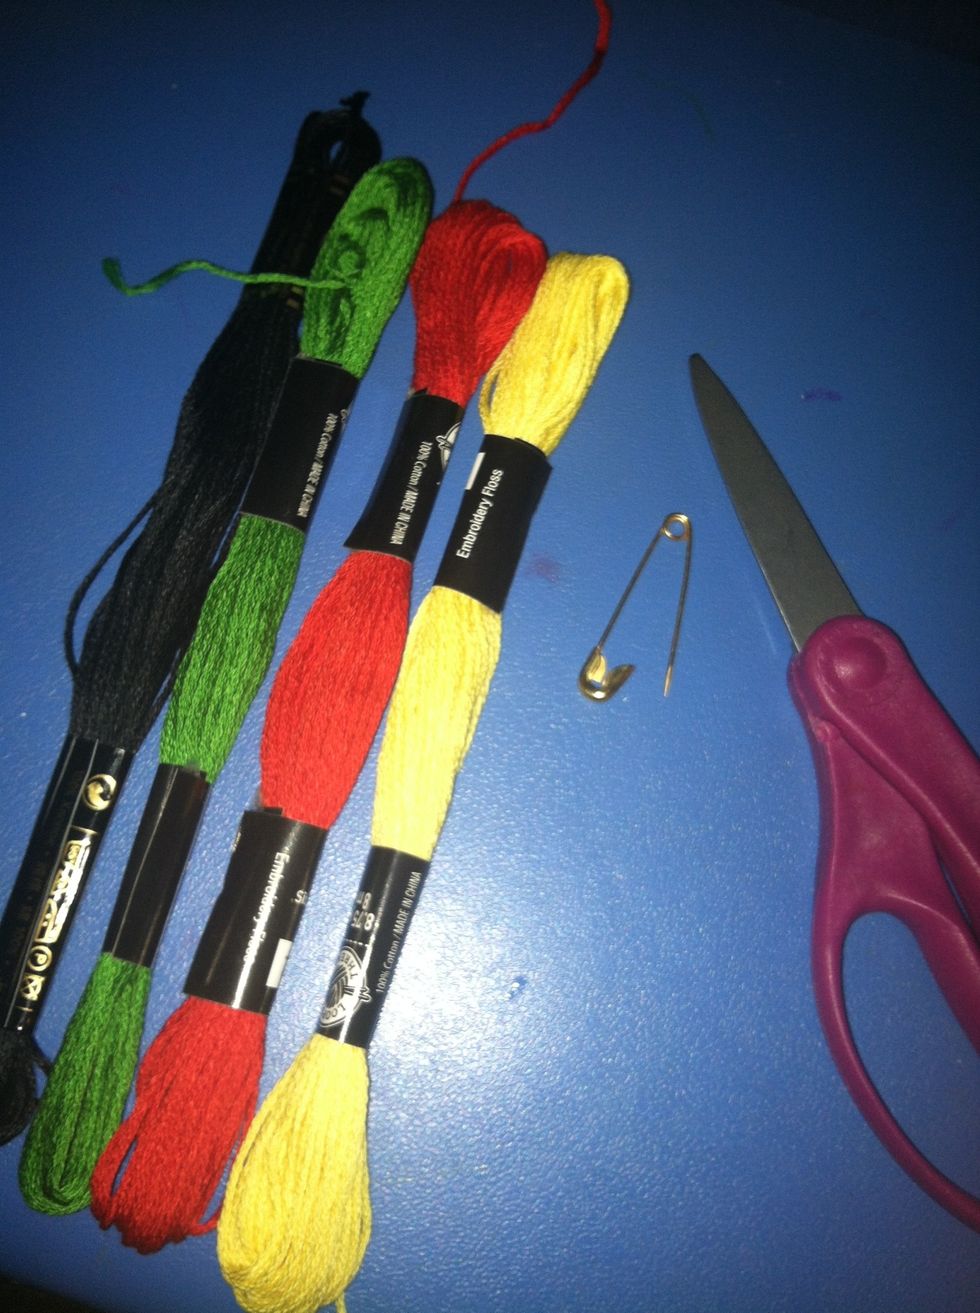
Gather your supplies. I am using 4 colors, but you can use as many as you'd like! It's just a little bit more work.
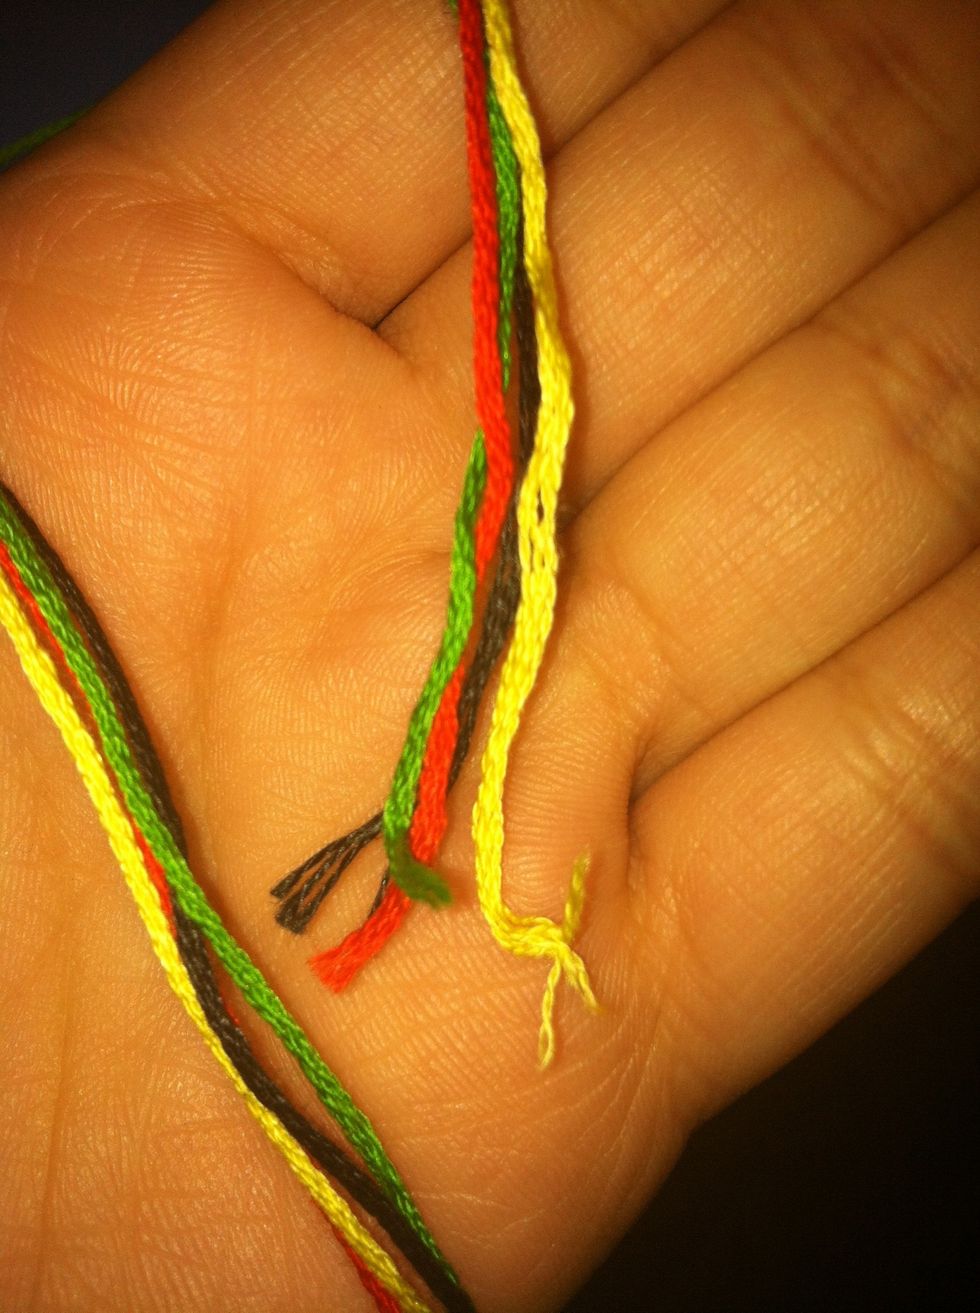
Put the ends of each of your colors together and measure out the desired amount of string. I usually cut about 24 inches... Which may be a bit much. Ah well.

Double knot the ends of your string. Make sure to leave about an inch or two of slack before the knot. This will make it easier to tie the bracelet when you finish.
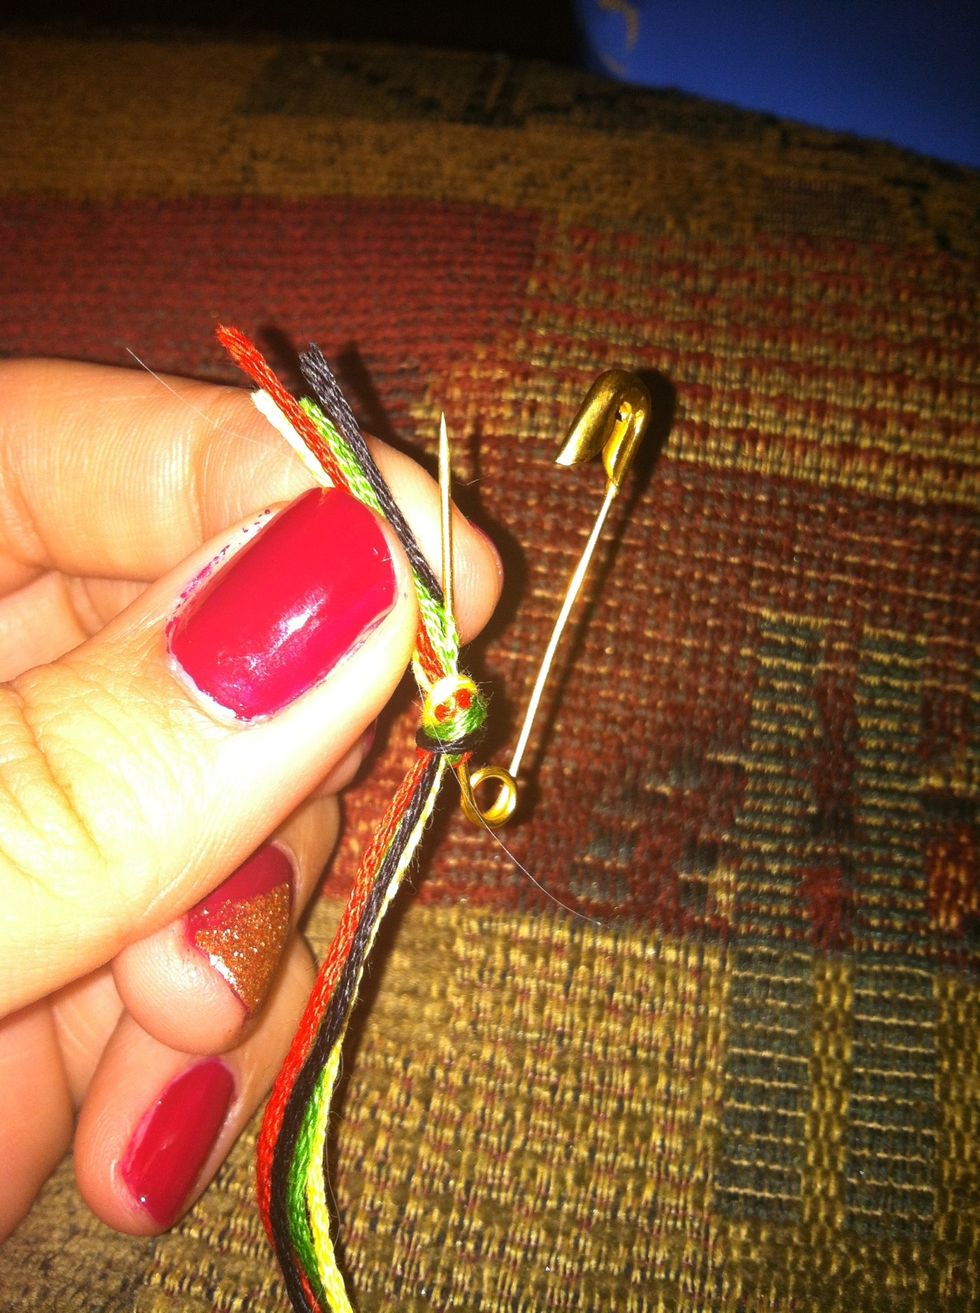
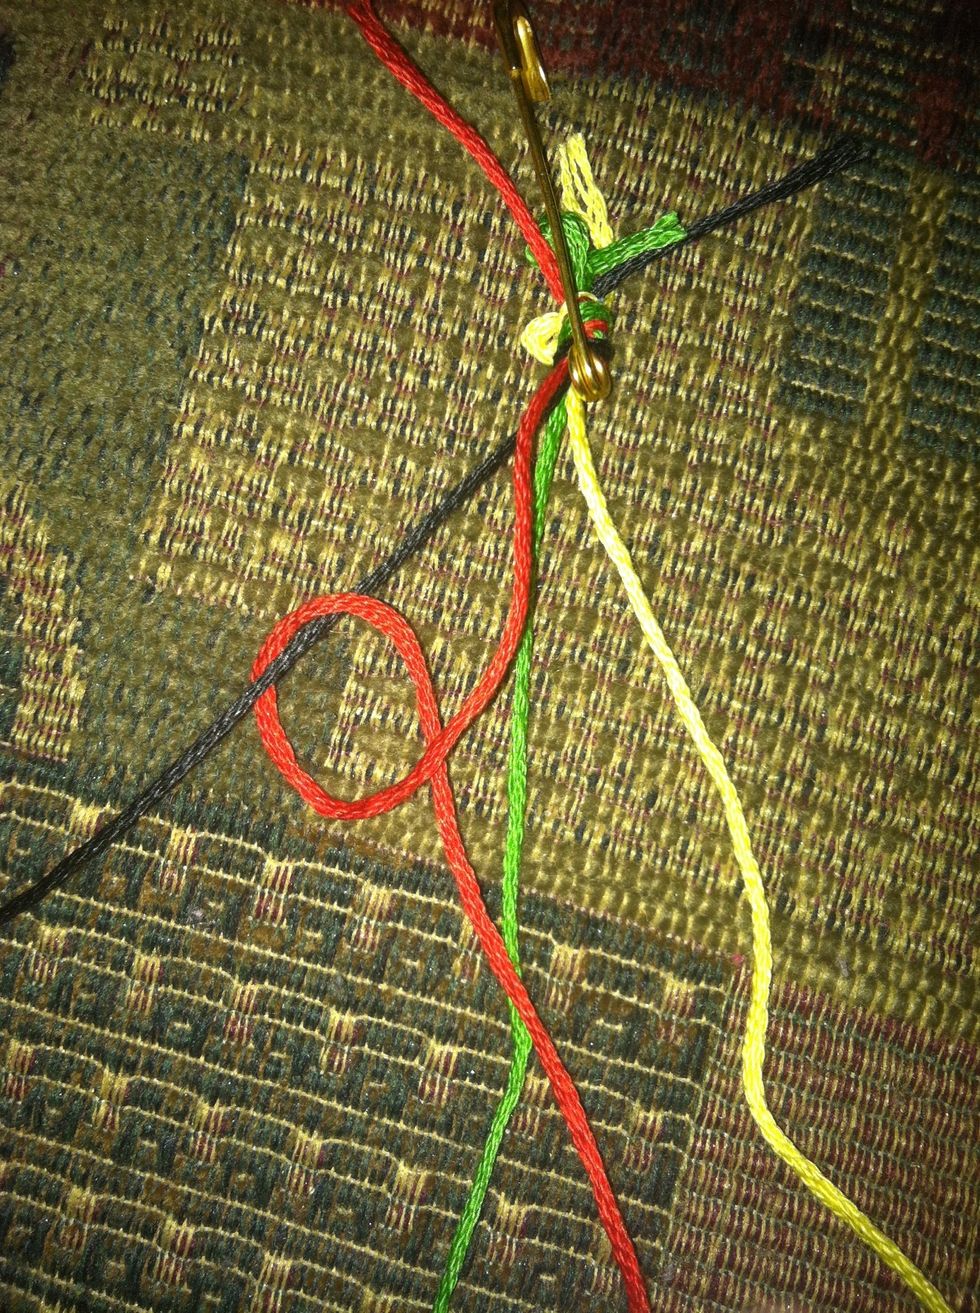
Stick your safety pin through the knot. Then, pin it to a nearby surface. Whatever you pin it to will serve as your anchor, so use something you can yank on (i.e. a pillow, pant leg, blanket).
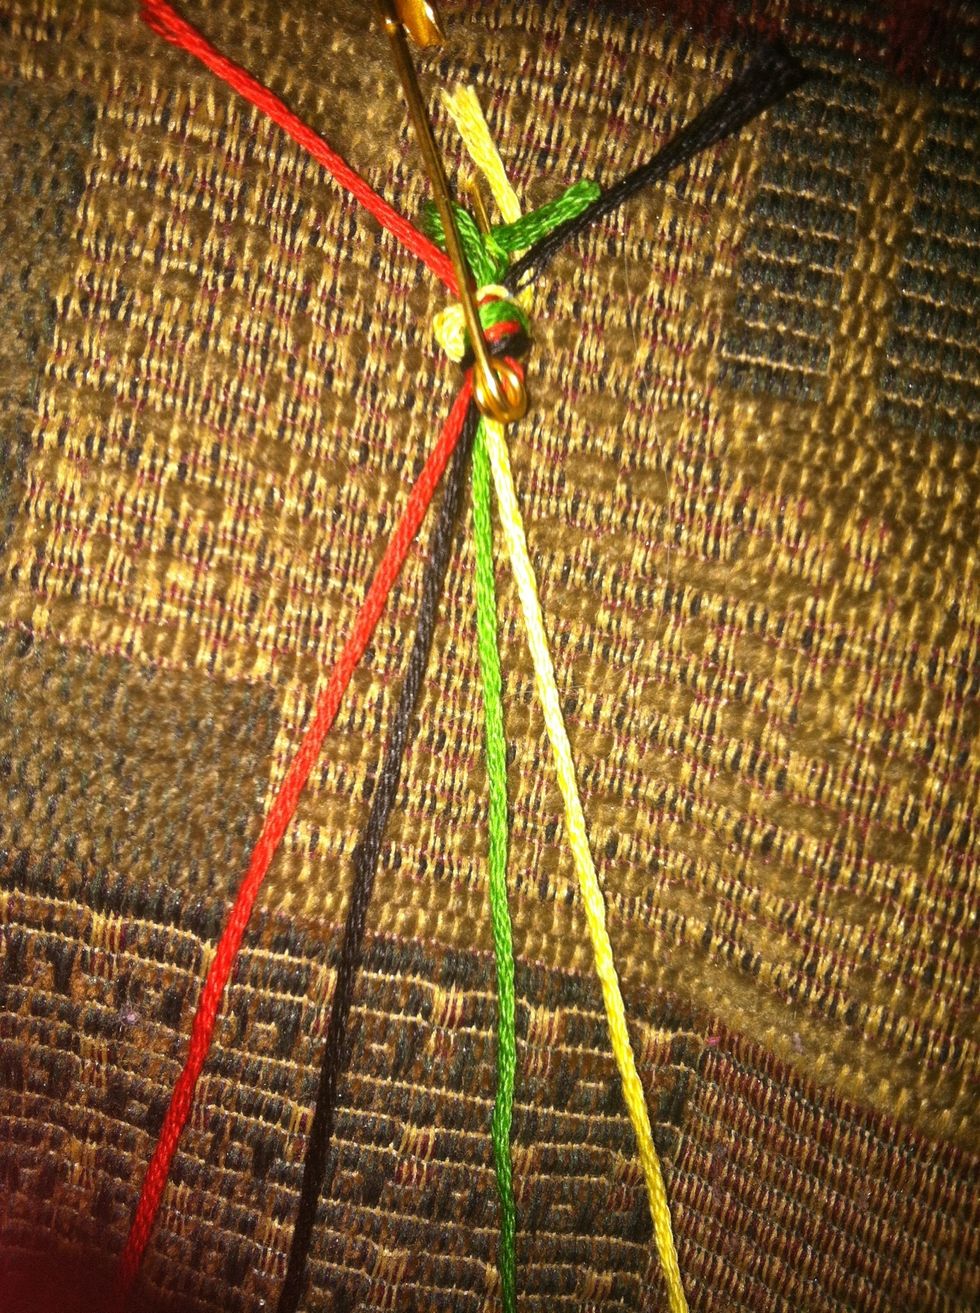
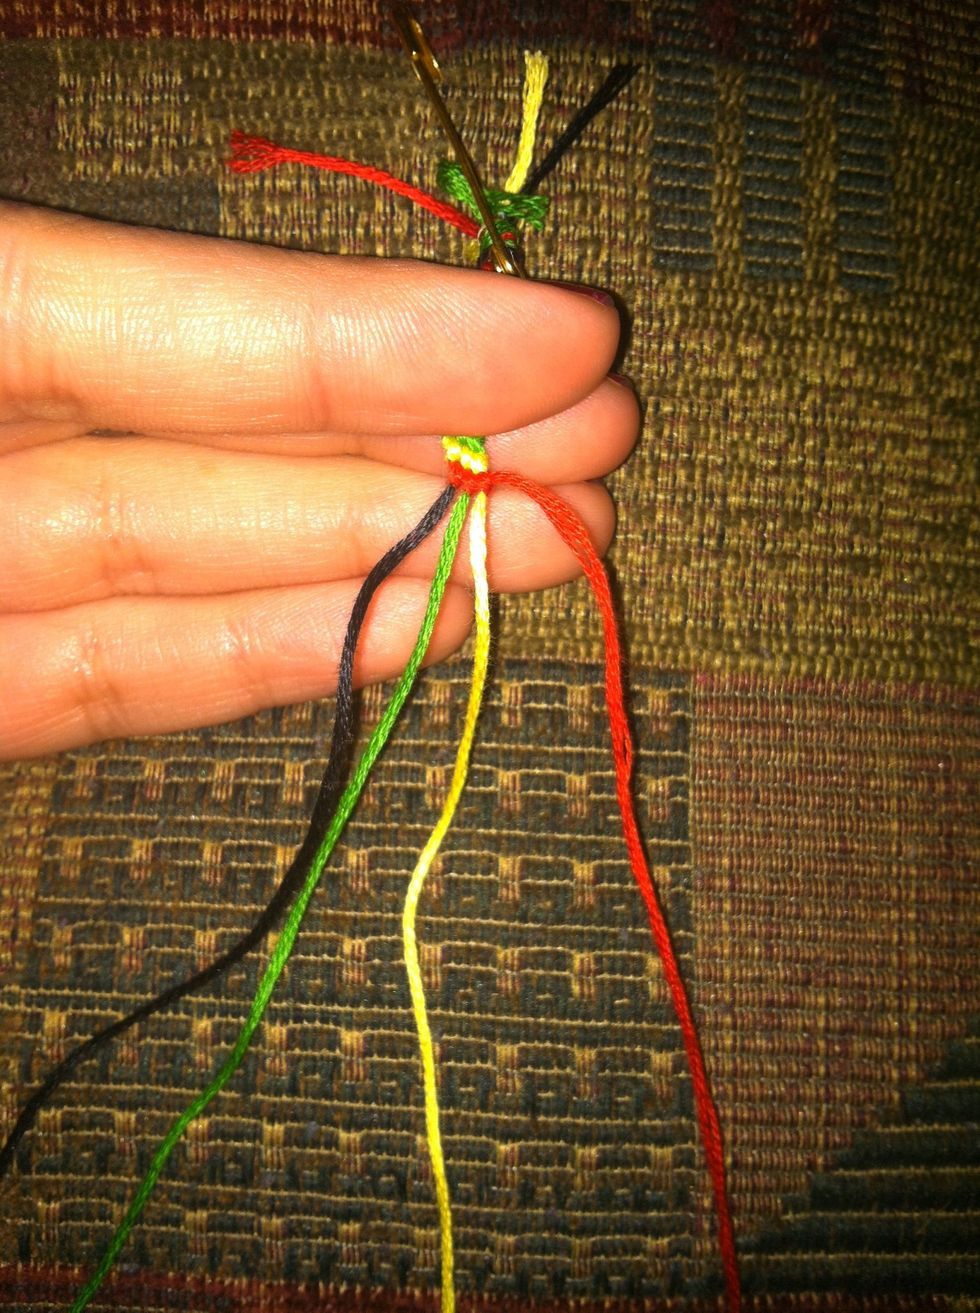
Separate the strands.
Start with String 1 (red) and pass it over, then under String 2 (black). Pull string 1 through the loop you've created, and pull the knot snug. Remember to double knot!
Continue with string 1 (red) and double knot String 3 (green), then String 4 (yellow), moving left to right.
String 2 now becomes the first string. Continue with the same steps of double knotting, moving left to right. Always start with the far left string, until it makes it's way to the far right.
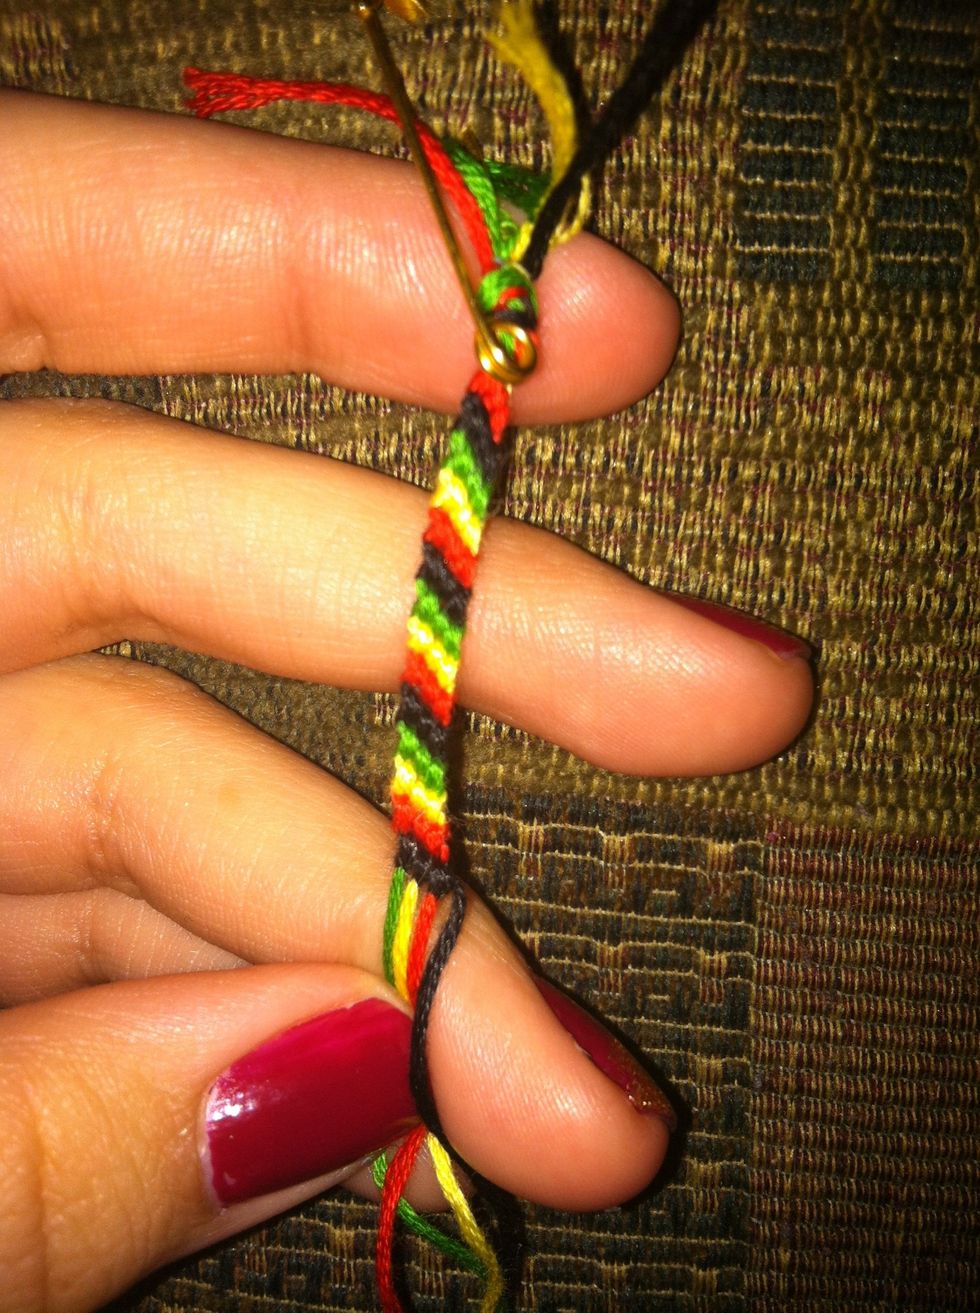
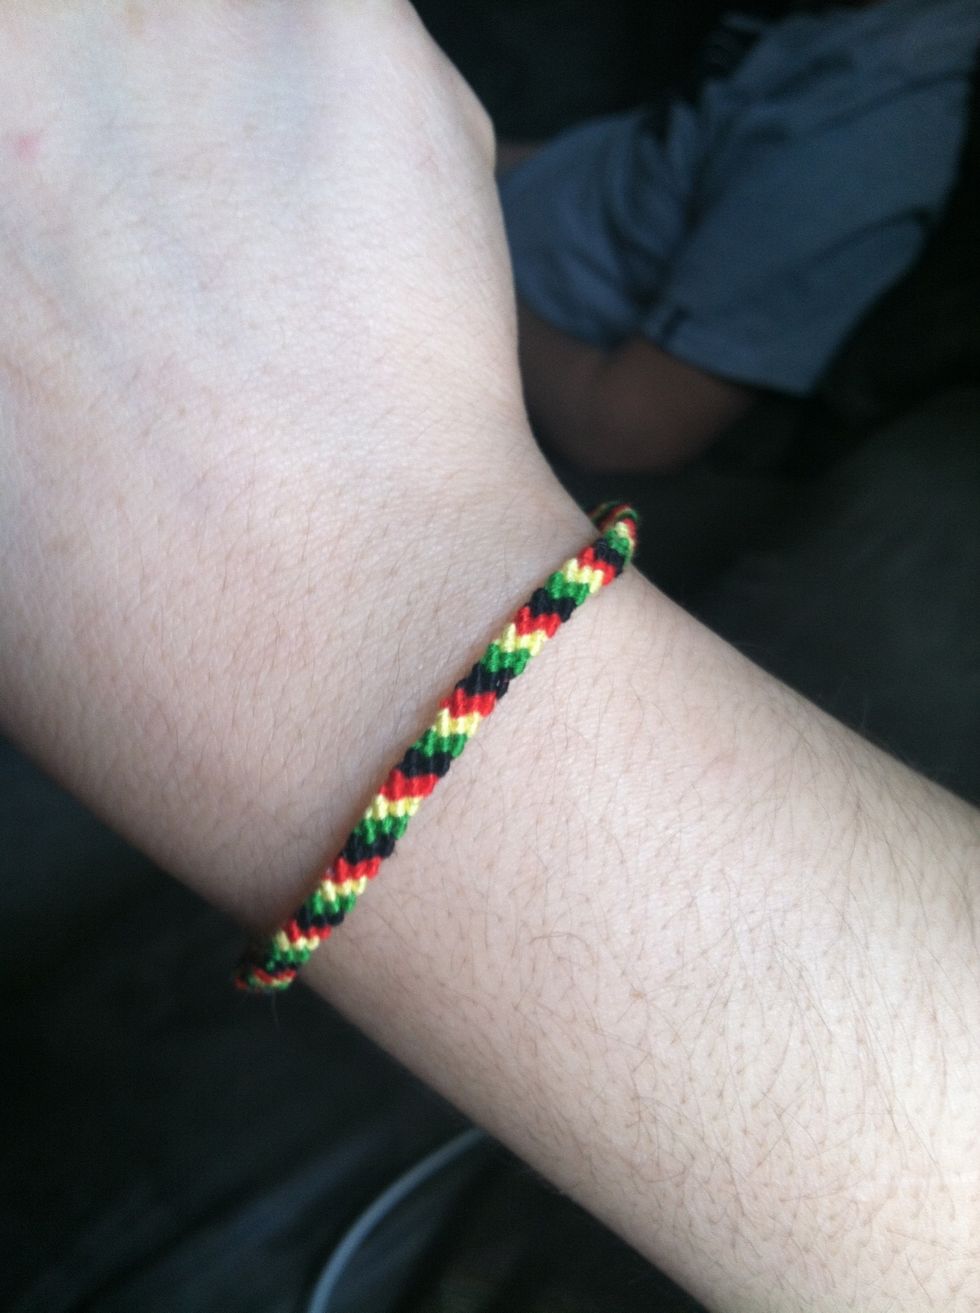
Keep going until your bracelet is as long as you'd like it to be. This is what it should look like :)
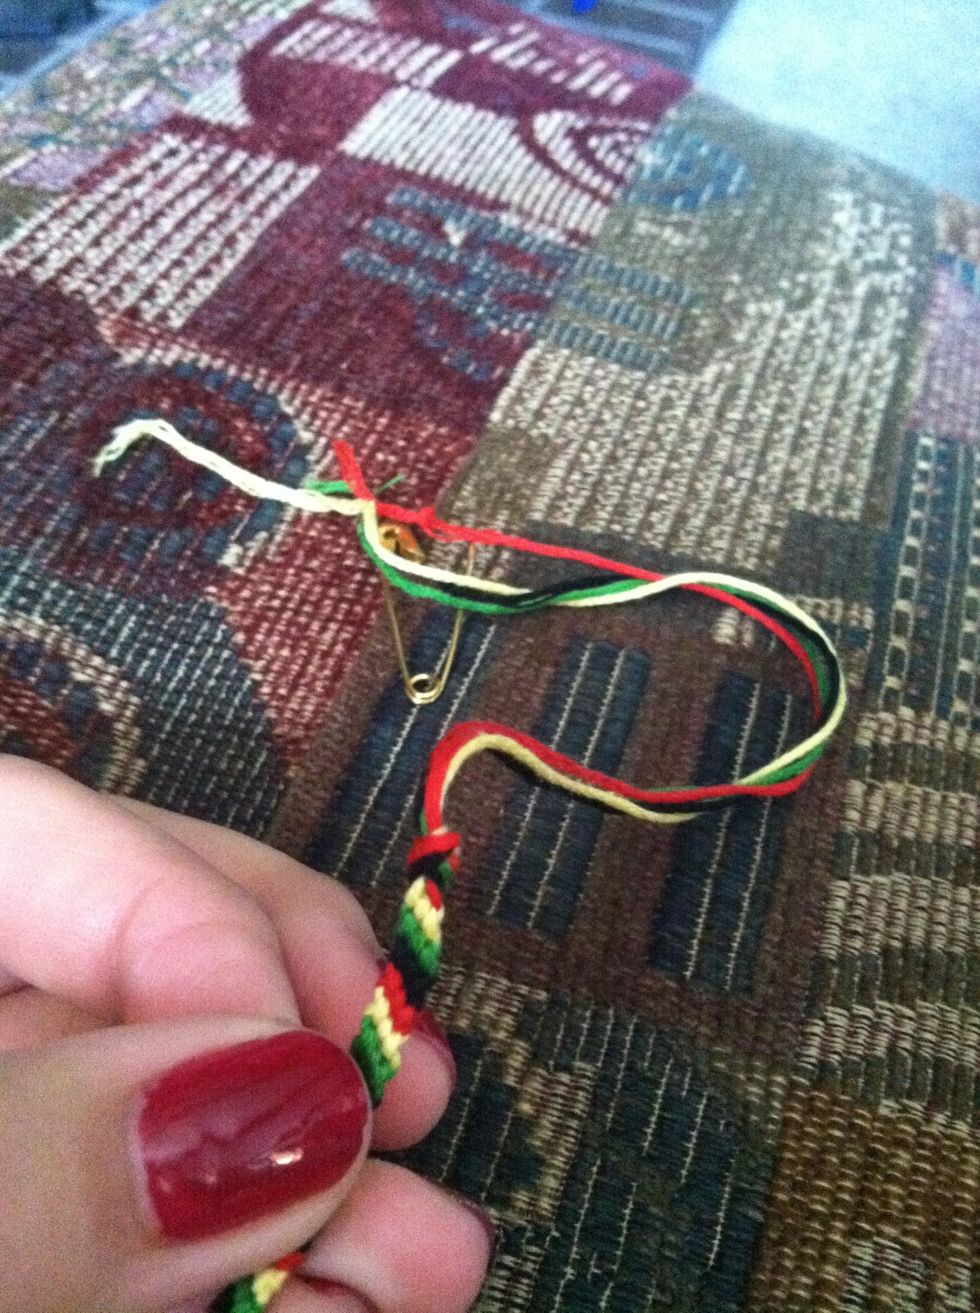
Once you've reached your desired length, double knot the ends, just as you did in Step 3. Trim the leftover strands, leaving about 1 to 2 inches, and remove your safety pin.
All done!