The Conversation (0)
Sign Up
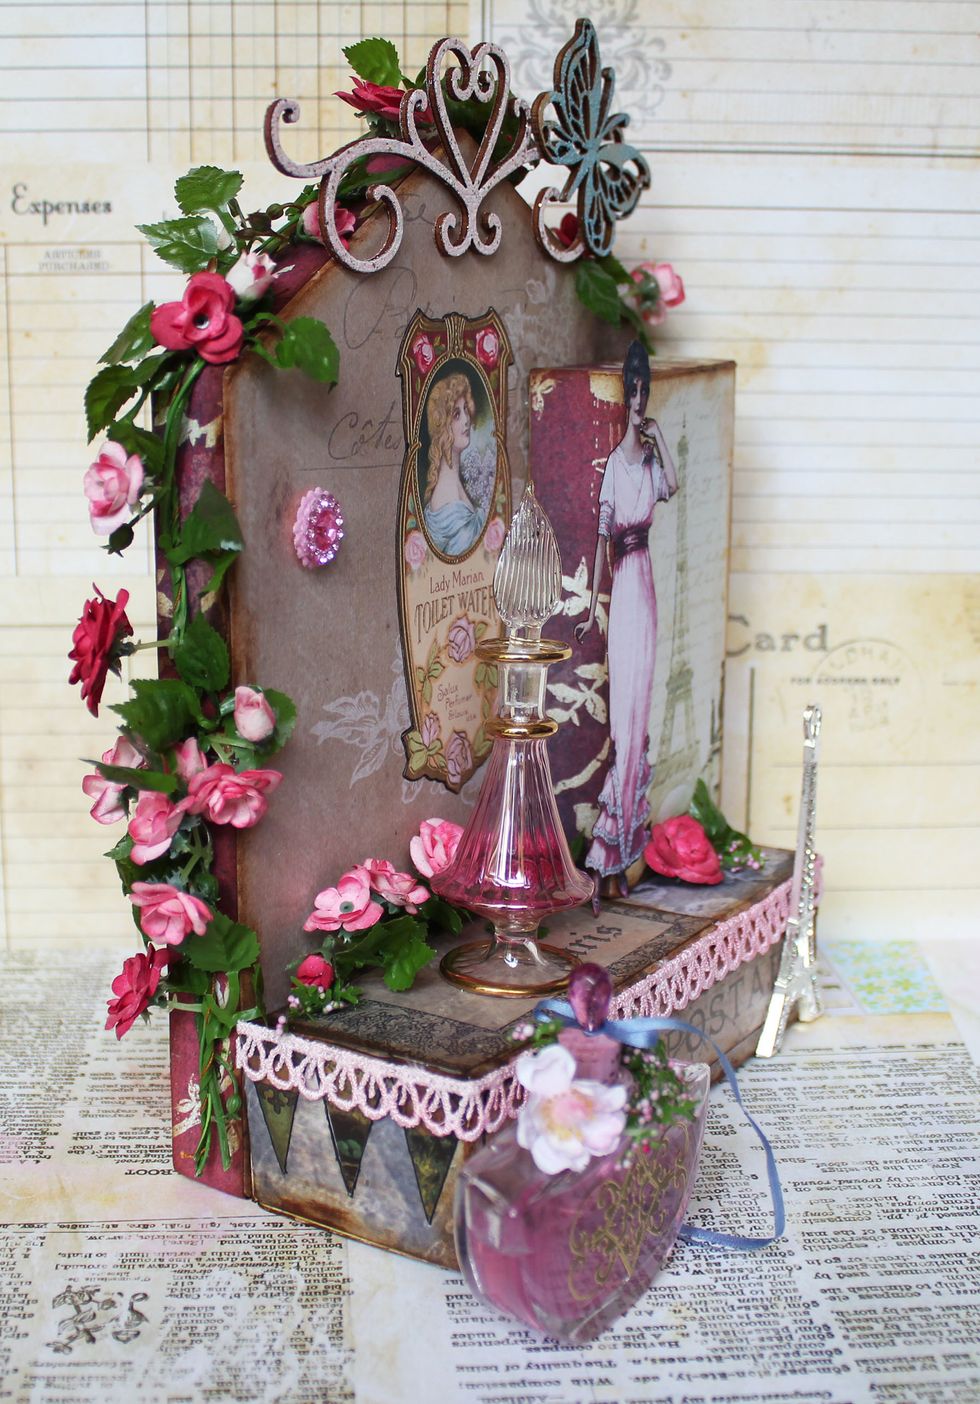
Side view showing the multiple levels of the perfumery.
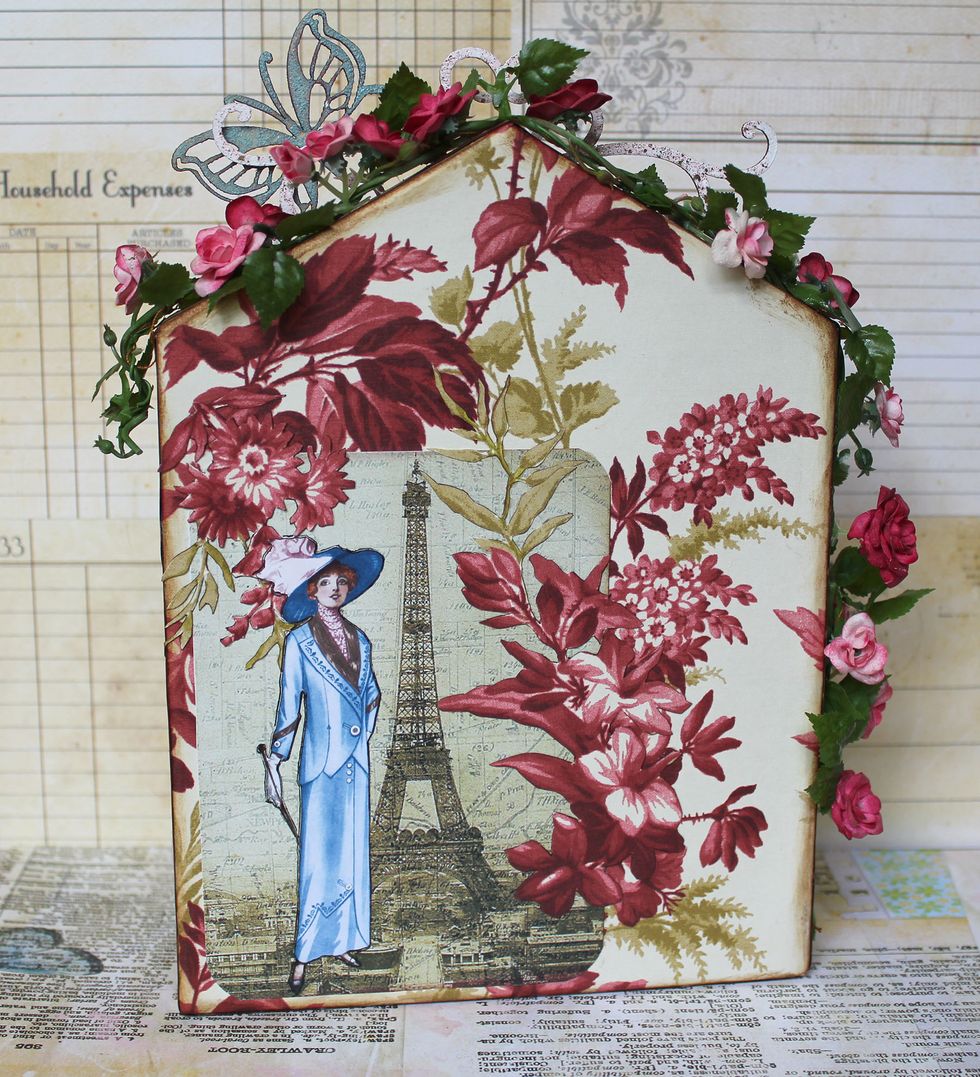
Back of the piece. I always like my pieces to be viewed from all angles.
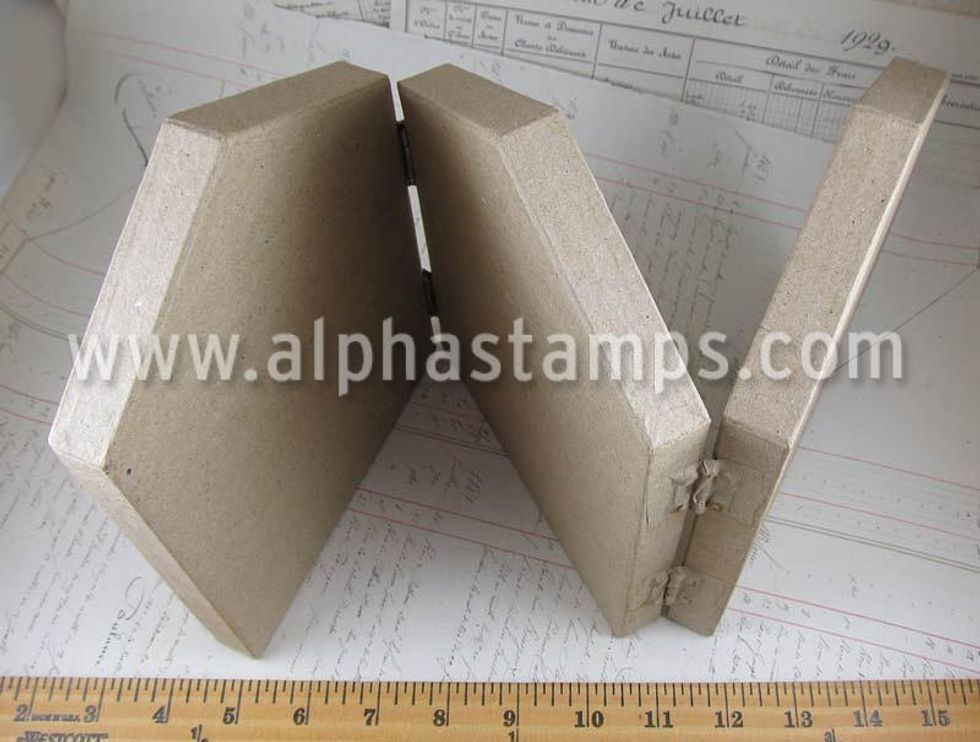
Supply - I started with the Accordion House Shrine and removed the hinges (now I have extras) to use just one section.

Here are the dimensions and pattern I drew up for the platform box. 6x2x1 inch.

The dimensions and template I drew up for the box atop the base. 4.5x2x1 inch
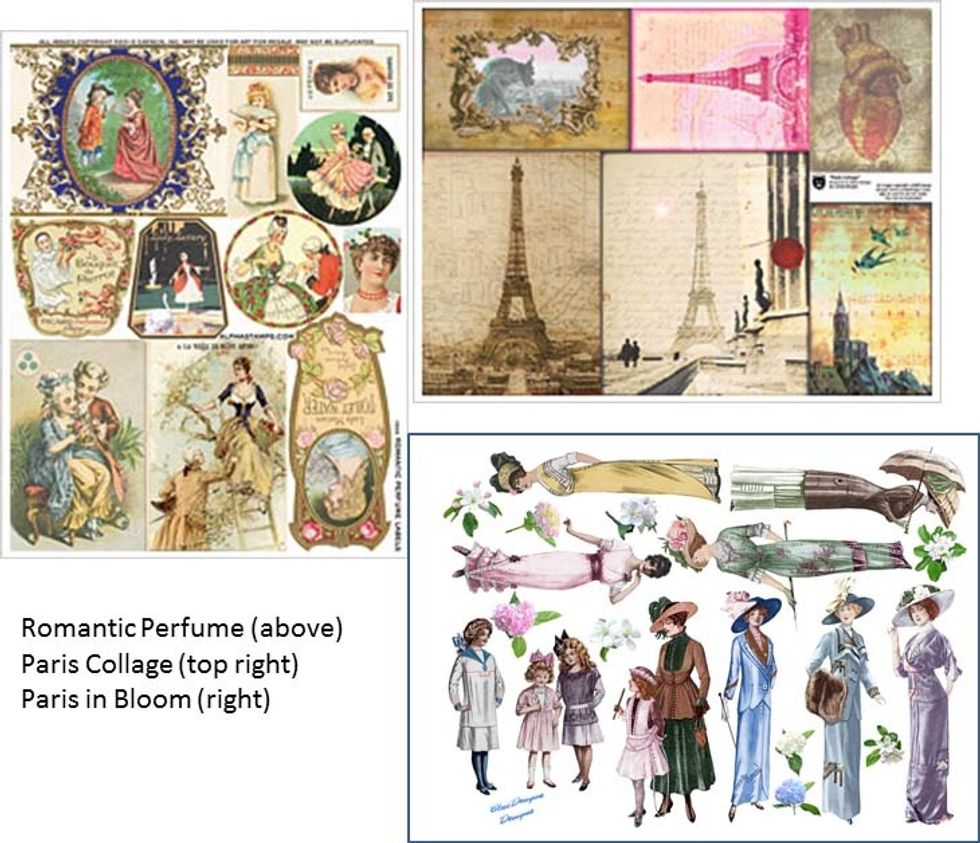
Supply - Collage Sheets I used - available at Alpha Stamps.
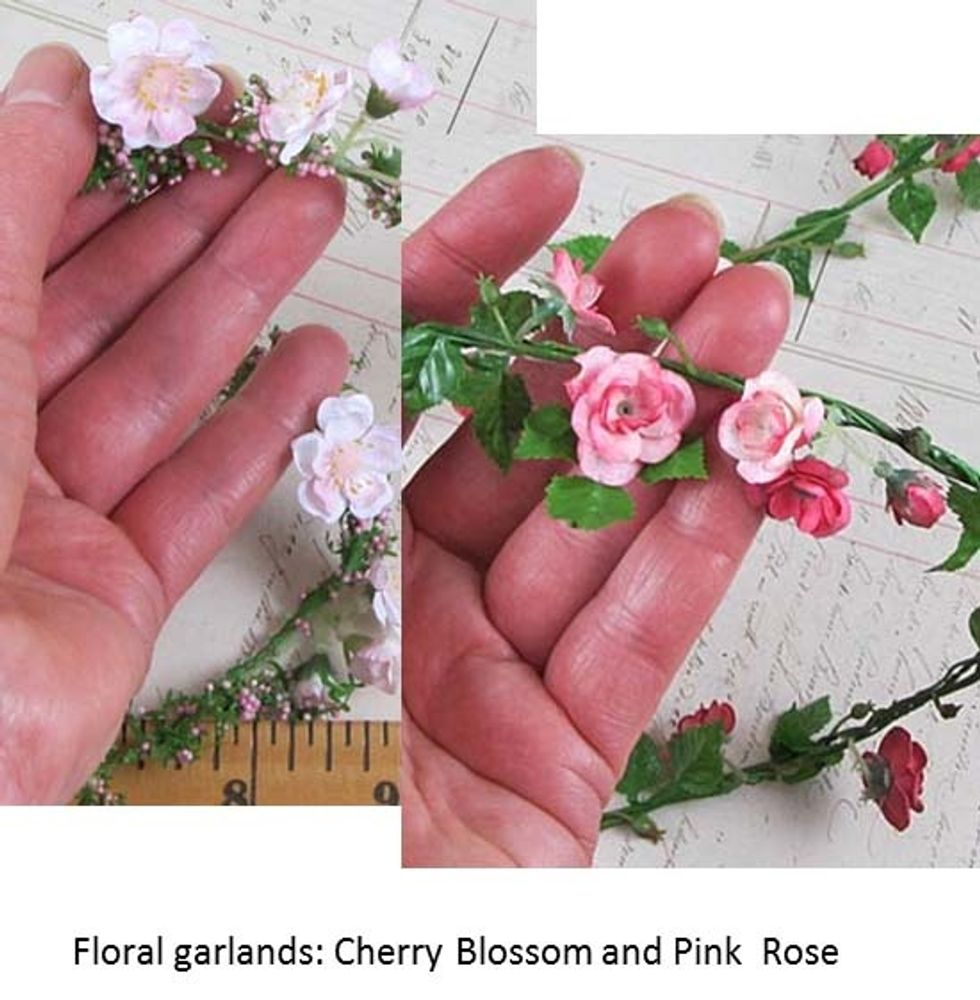
Supply - Pink Rose and Cherry Blossom garlands - available at Alpha Stamps
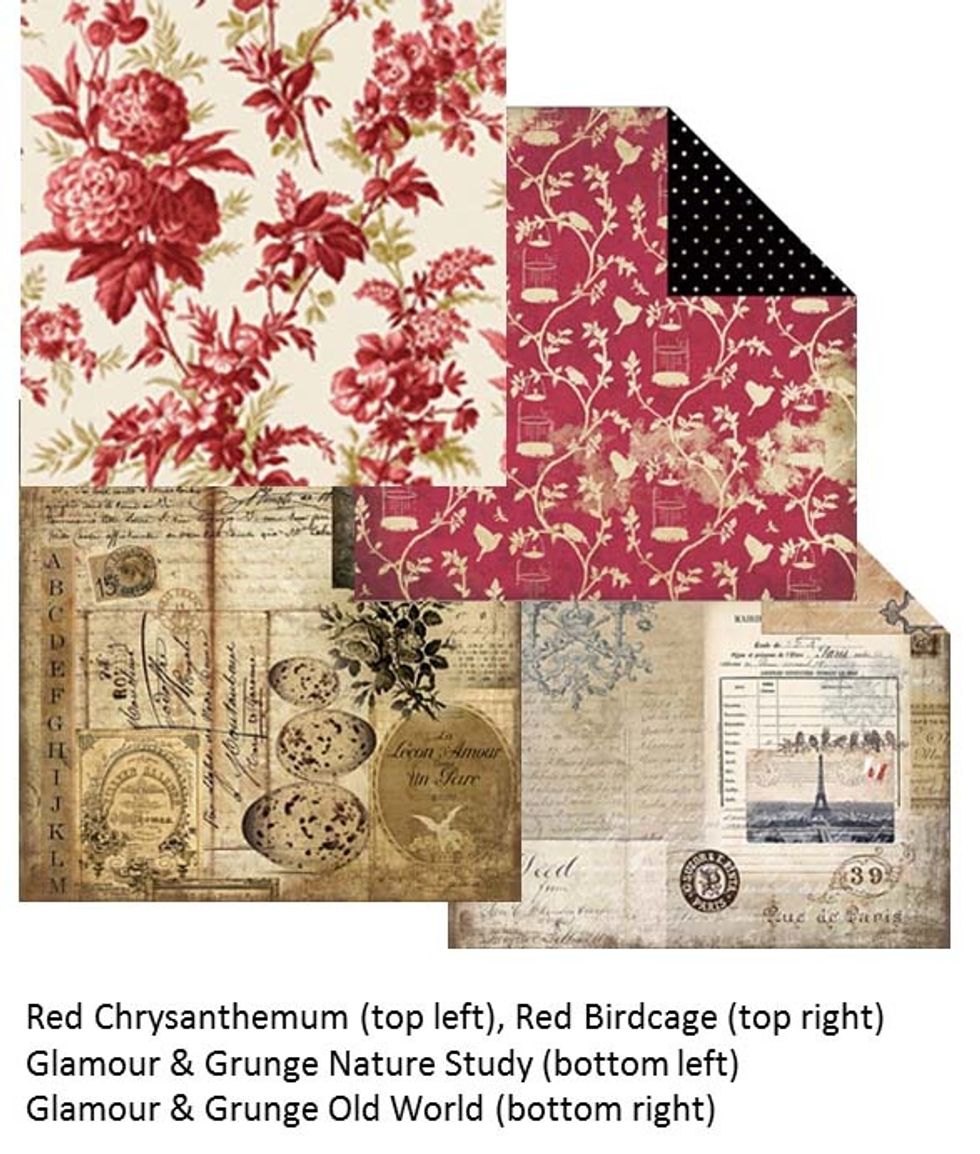
Supply - Scrapbook papers - available at Alpha Stamps.
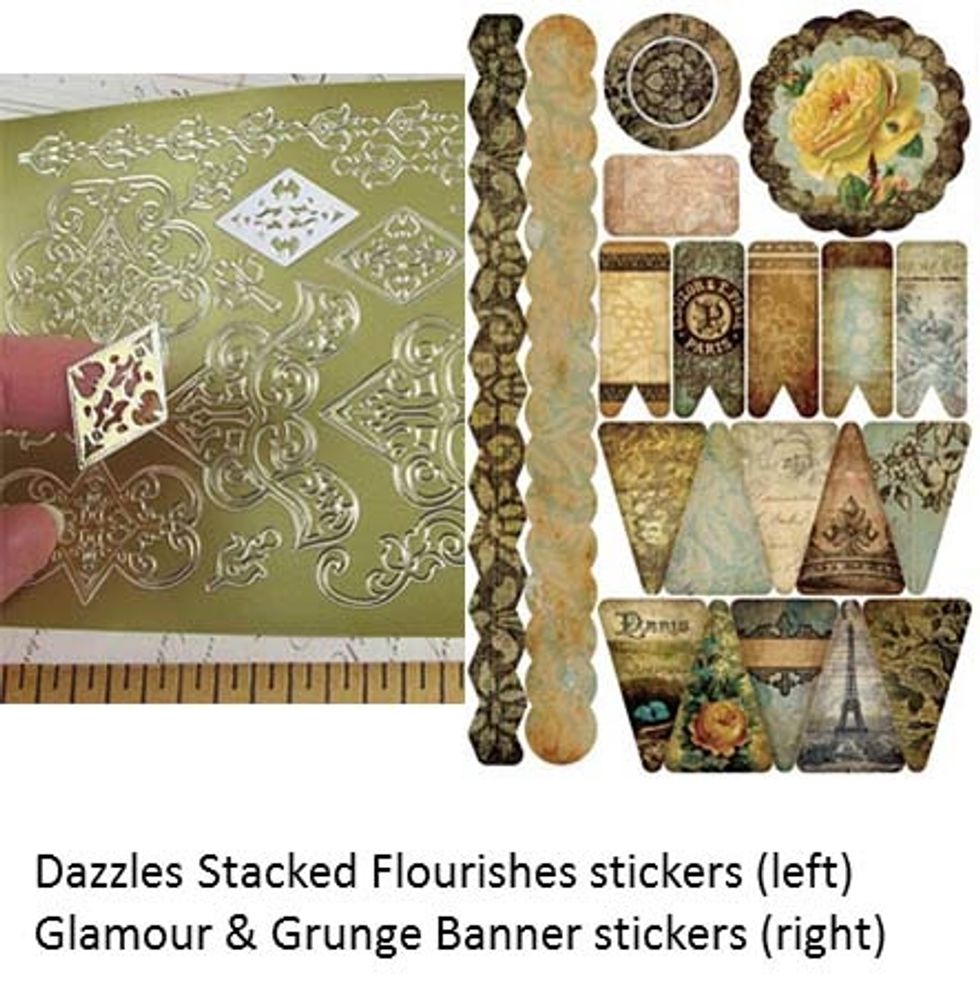
Supply - Stickers - available at Alpha Stamps.
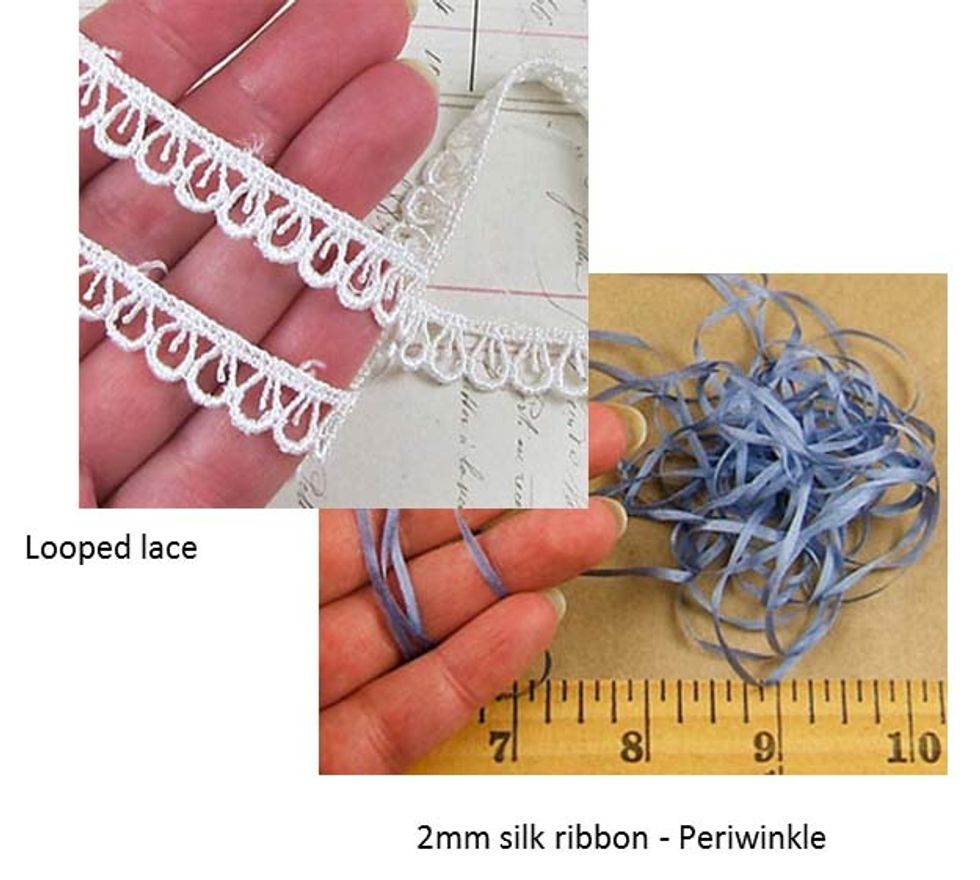
Supply - More trims, lace and silk ribbon - also available at Alpha Stamps.
Supply - Once you fill your perfume bottle with liquid, if you want to seal it use glossy accents around the neck and cork and it will seal permanently.
Supply - I ran my collage images, figures, and cutouts through the Xyron...with the exception of the woman added to the front of the small box as only half of her would be attached.
For more stability I glued my pattern to a piece of cardstock and did a rough cutout, then glued it to the wrong side of my scrapbook paper. I used Tim Holtz non-stick micro scissors to cut out..
If you only glue it to scrapbook paper (no extra thickness) you could use your Scor-Pal to score the fold lines.
If using the thicker version score the fold lines CAREFULLY using an exacto knife. Go light at first, you'll soon see how much pressure to use. Better to make a few light strokes than cut through it!
Use a bone folder or similar item to sharpen the folds.
Folded box before gluing. I used Glamour & Grunge Nature Study paper for the two boxes.
Follow alphabetized tabs on the pattern to glue together.
Box after gluing.
Of course distress the edges. I used Vintage Photo.
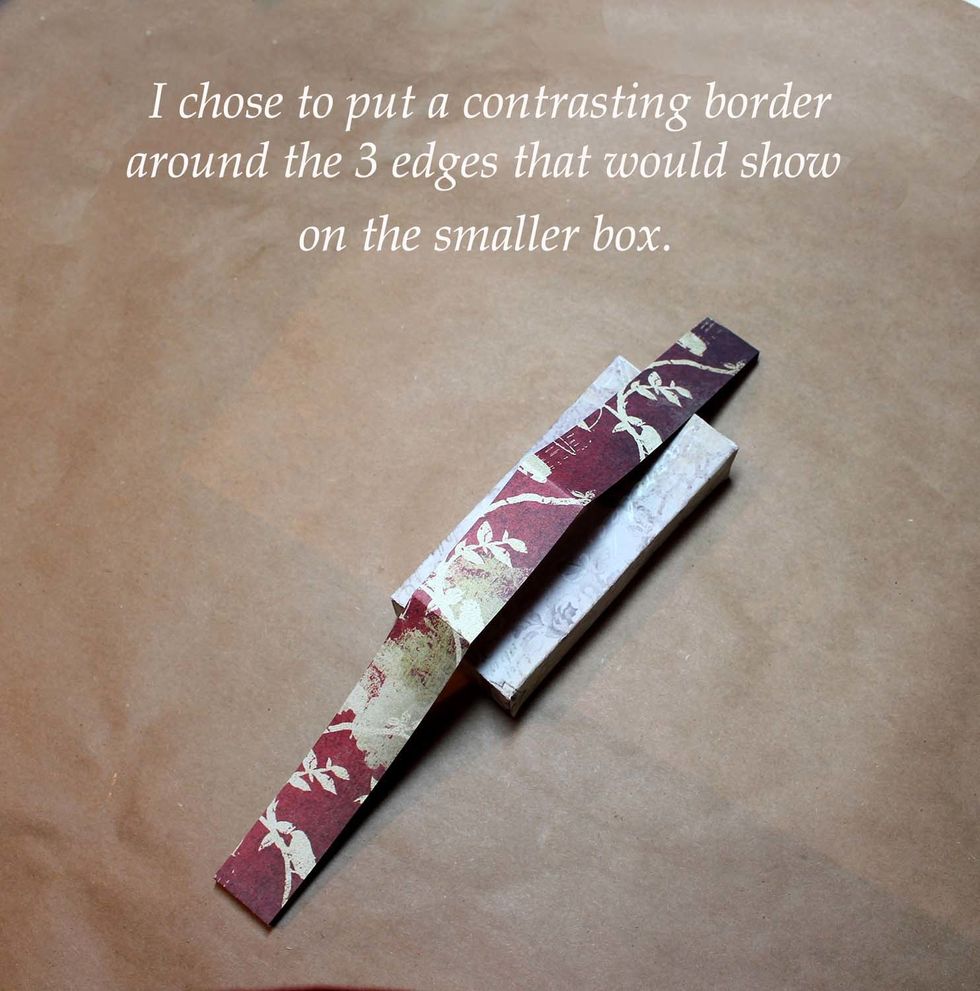
I added a border around the 4.5" box to stay with the red theme. Cut it slightly smaller than the 1" thickness. Distress the white edge before adding. I used the Red Birdcage paper which I love.
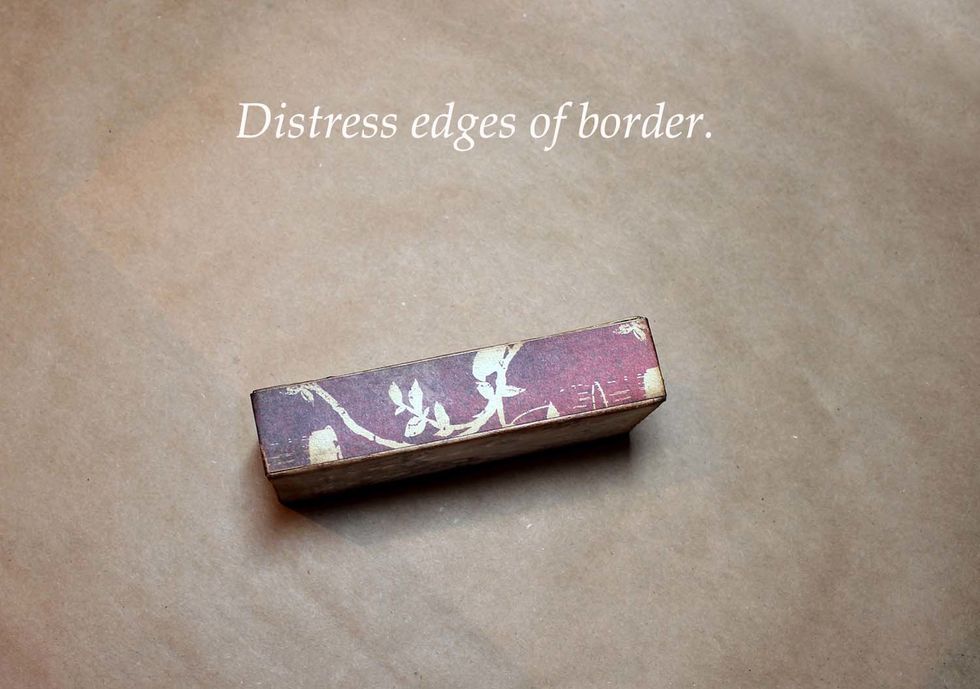
And of course, distress the edges once it's on. My border was an afterthought so I really could have done the distressing of both box and border at one time.
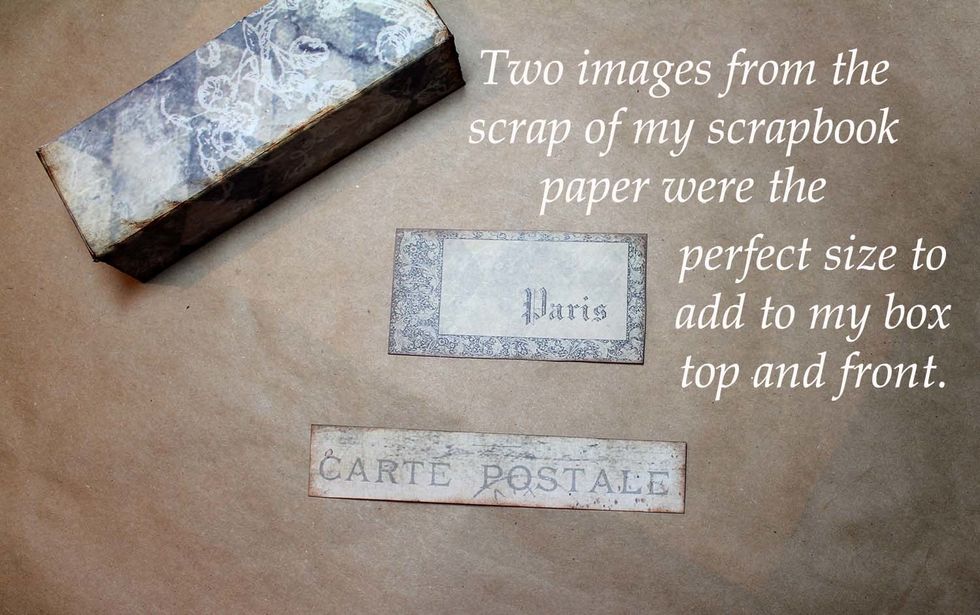
Luckily I had perfect cutouts I could use from the scrap of my paper to add to my platform box. I distressed them before I glued them on.
I felt the piece needed a little pink tone over the brown so I blushed across the front of the box and front background with a touch of Tattered Rose distress ink. Go lightly.
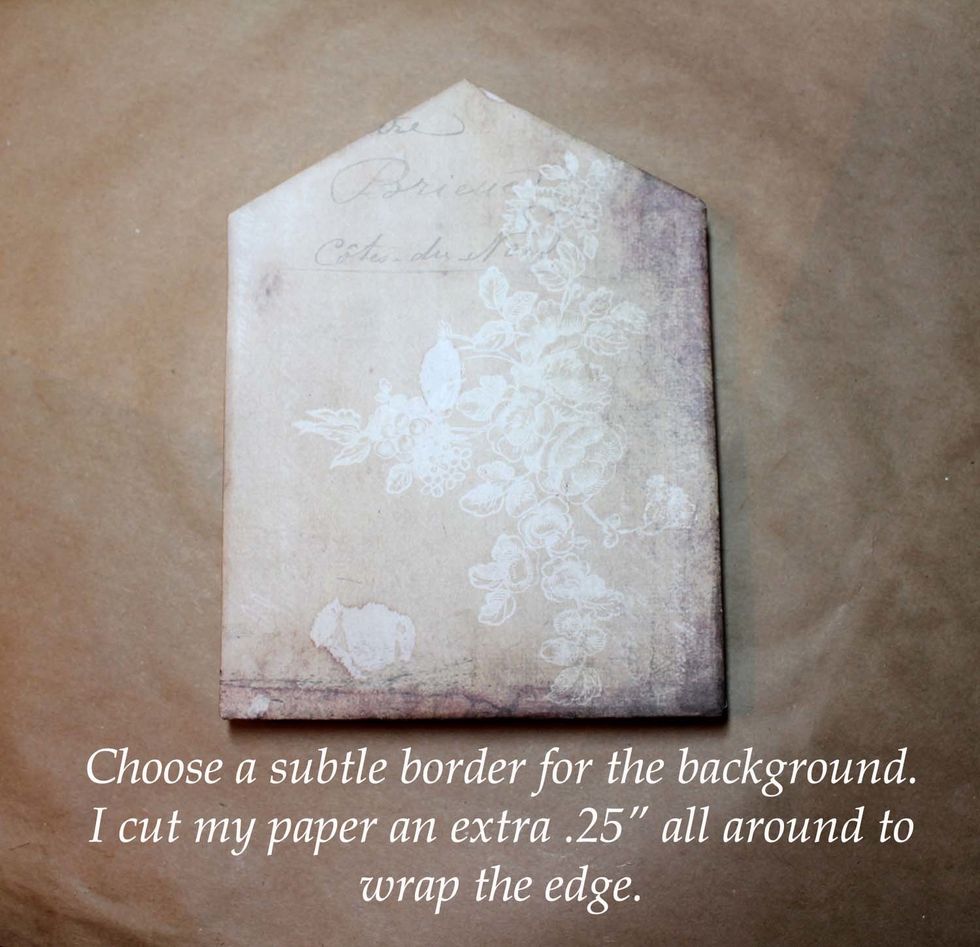
I used Glamour & Grunge Old World paper for the front. It has a subtle design with interest but doesn't detract from the overall piece. I cut my paper .25" extra all around to wrap the edge.
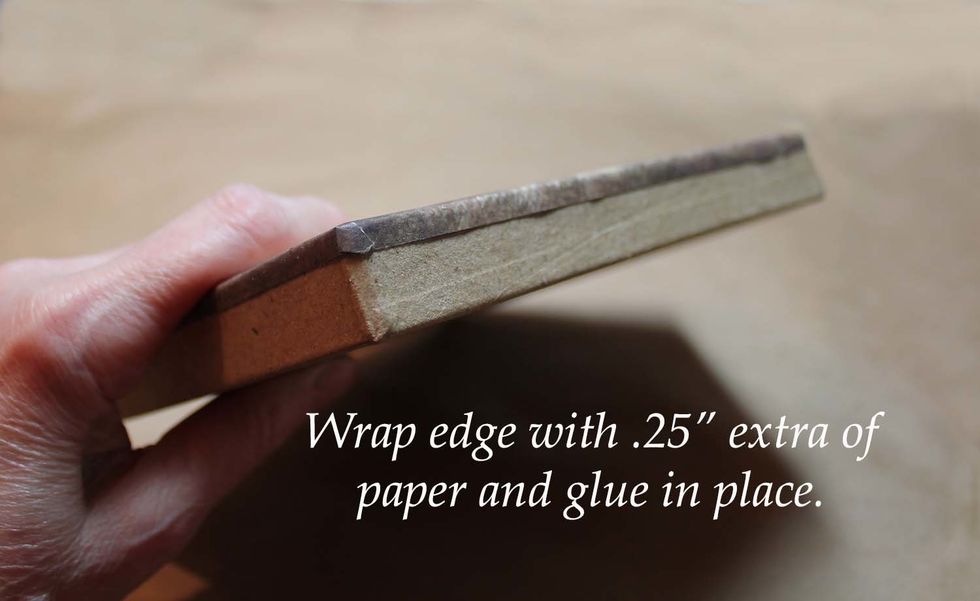
Wrap the edge with the extra .25" paper. Glue down.
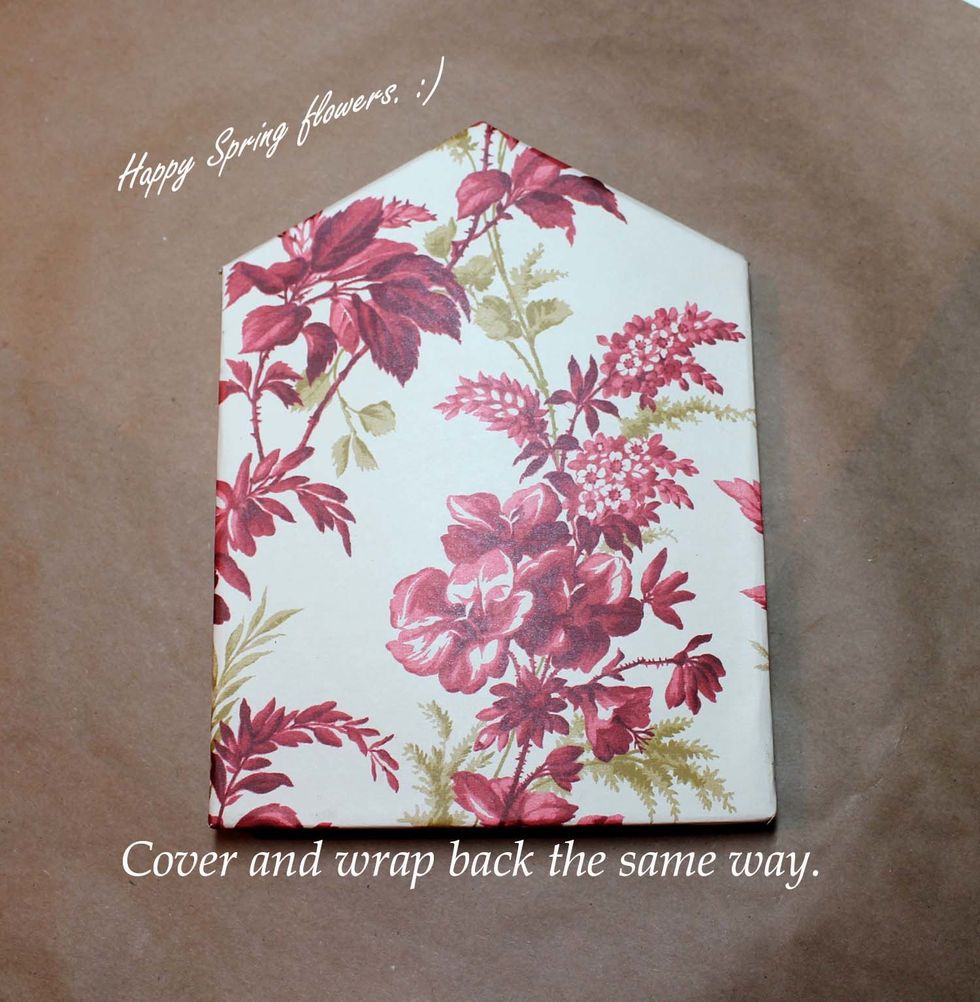
I used the lovely Red Garland paper with it's blooms to give me a colorful floral background. After all, Paris is in bloom! :)
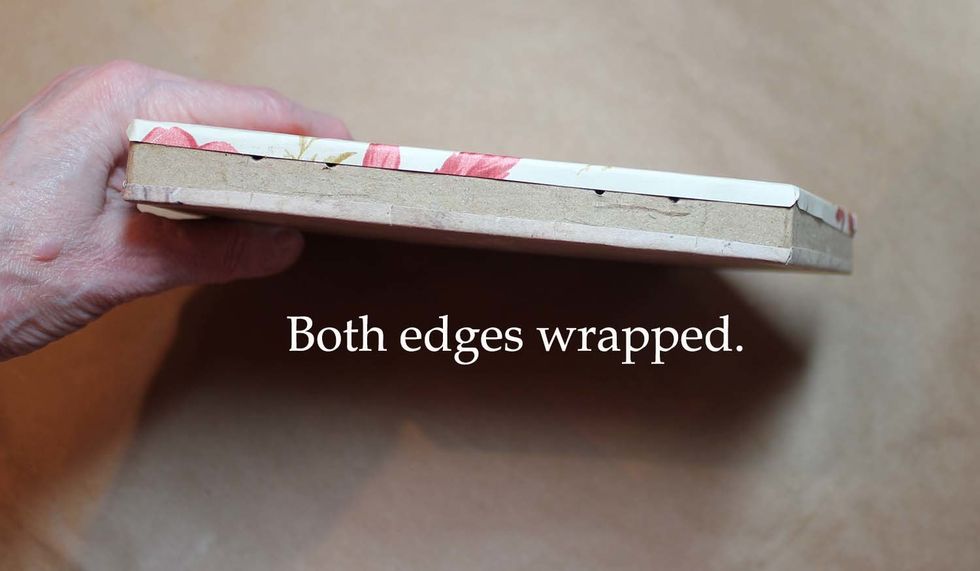
Both edges wrapped.
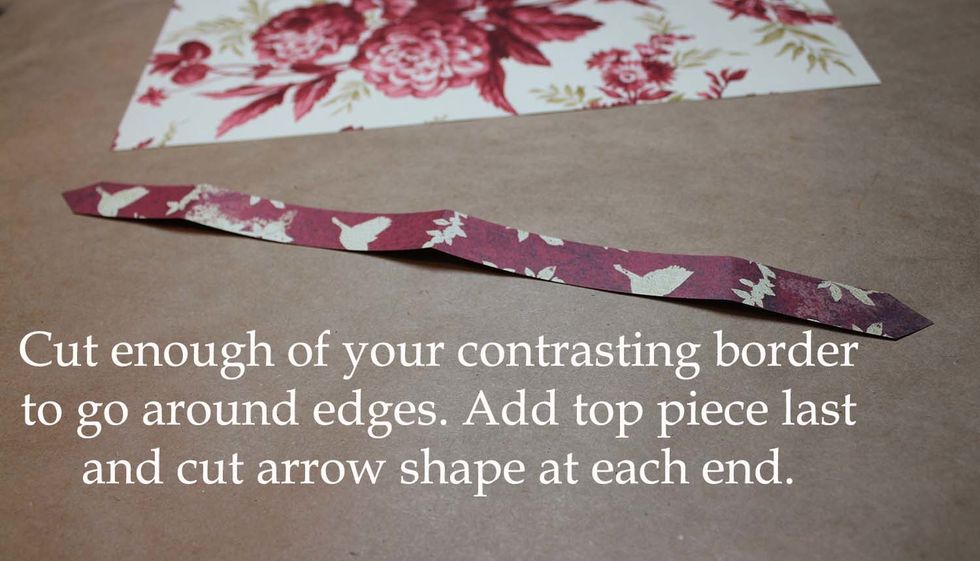
I added the Red Birdcage border around all edges and distressed. Add the top piece last and cut arrows at each end as they aren't as noticeable as a straight cut. And they look intentional. :)
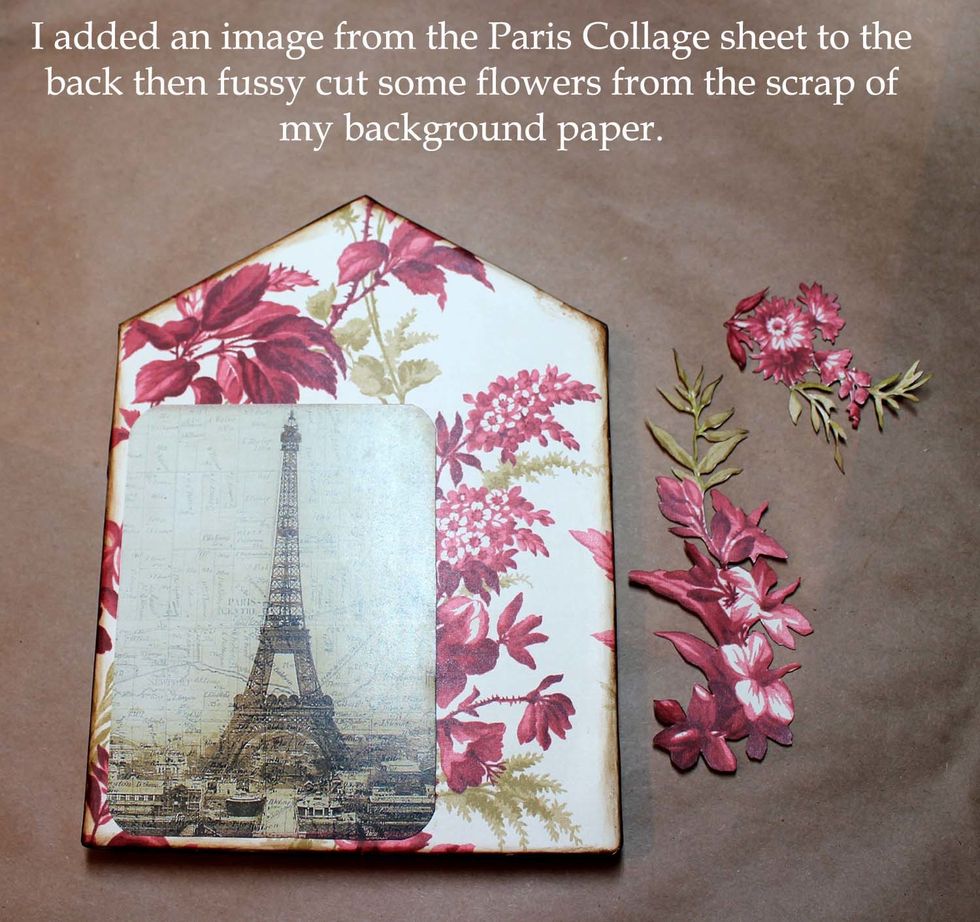
I added the Eiffel Tower image and distressed the edges, and fussy cut some flowers. I went around the flowers with a vintage Photo distress pen to color the white edges before gluing them down.
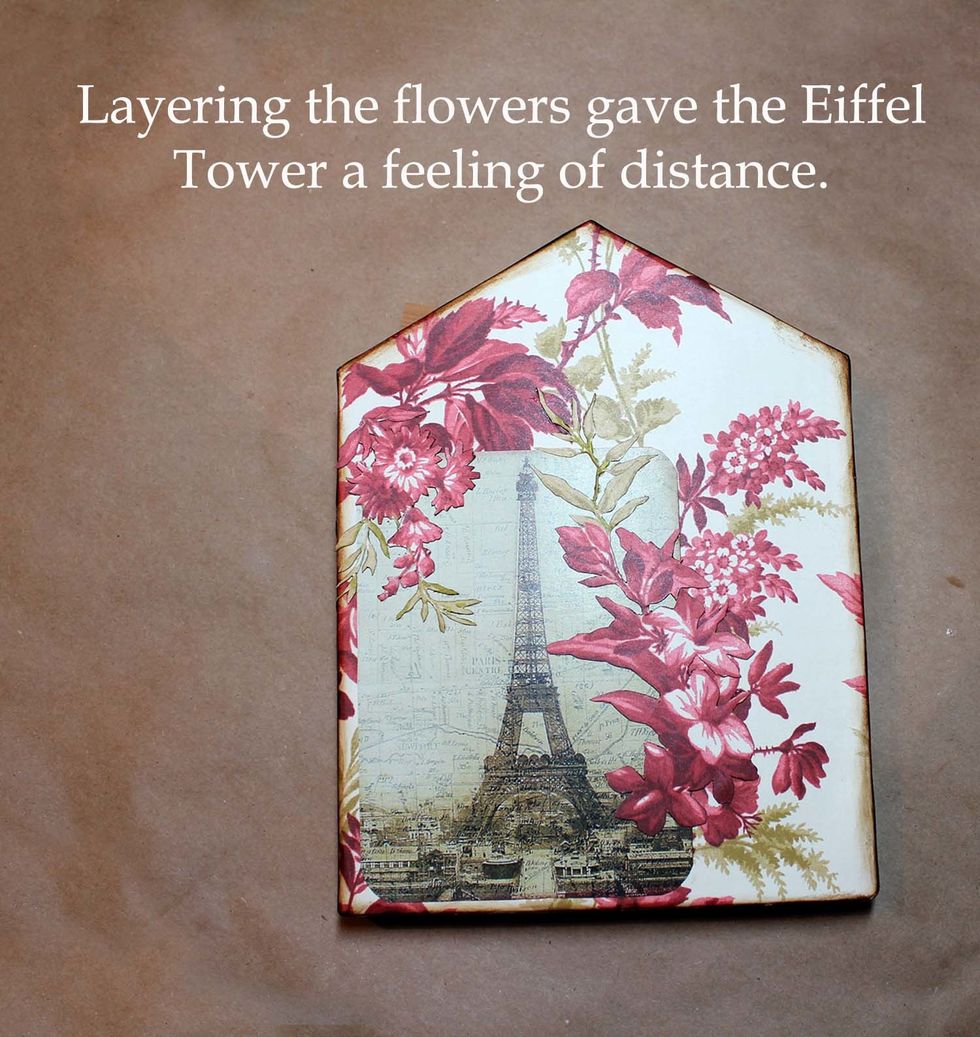
Then layered them over the Eiffel Tower image to create distance.
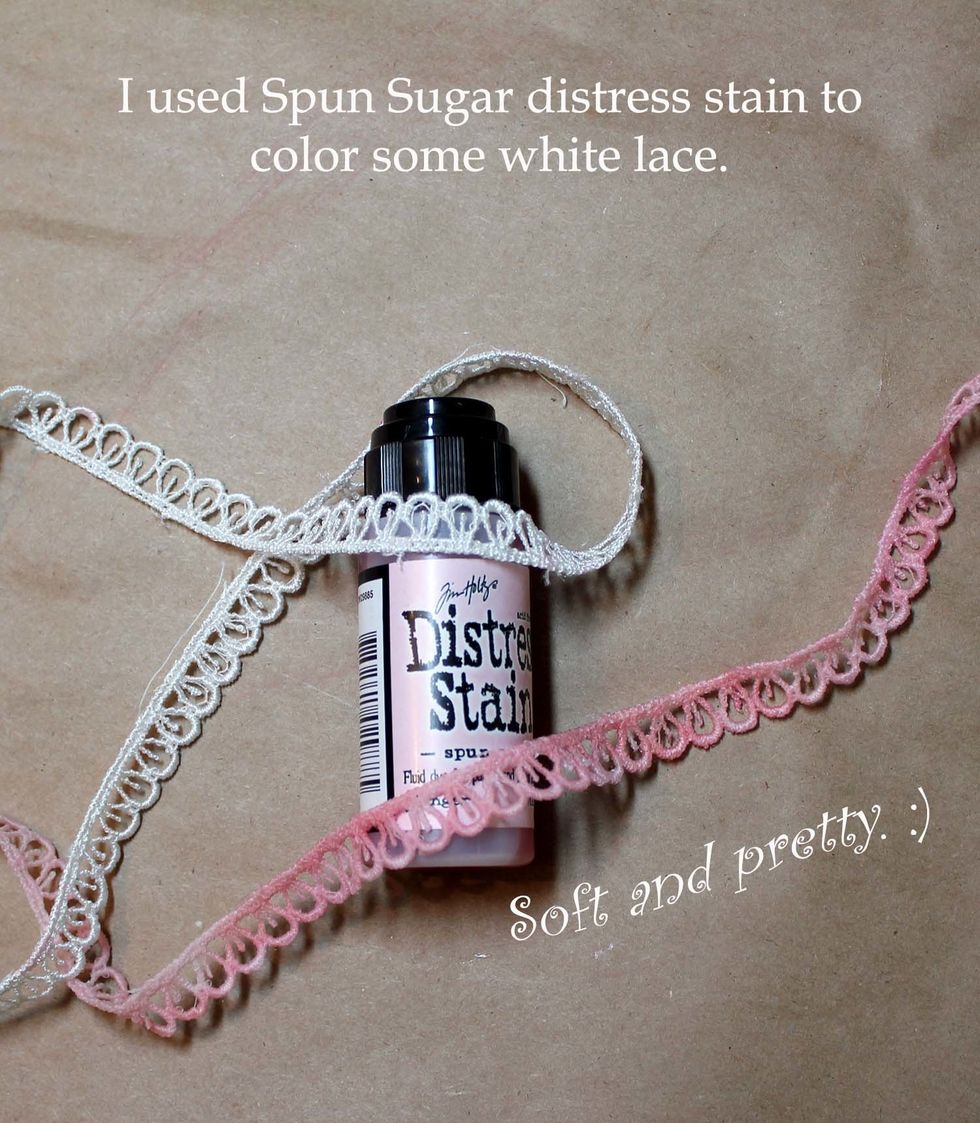
I used Spun Sugar stain to color my lace to a soft pink. Just dab some stain on your craft mat, spray with water, and swirl your lace into the liquid. So easy. So pretty. :) Add to platform box.
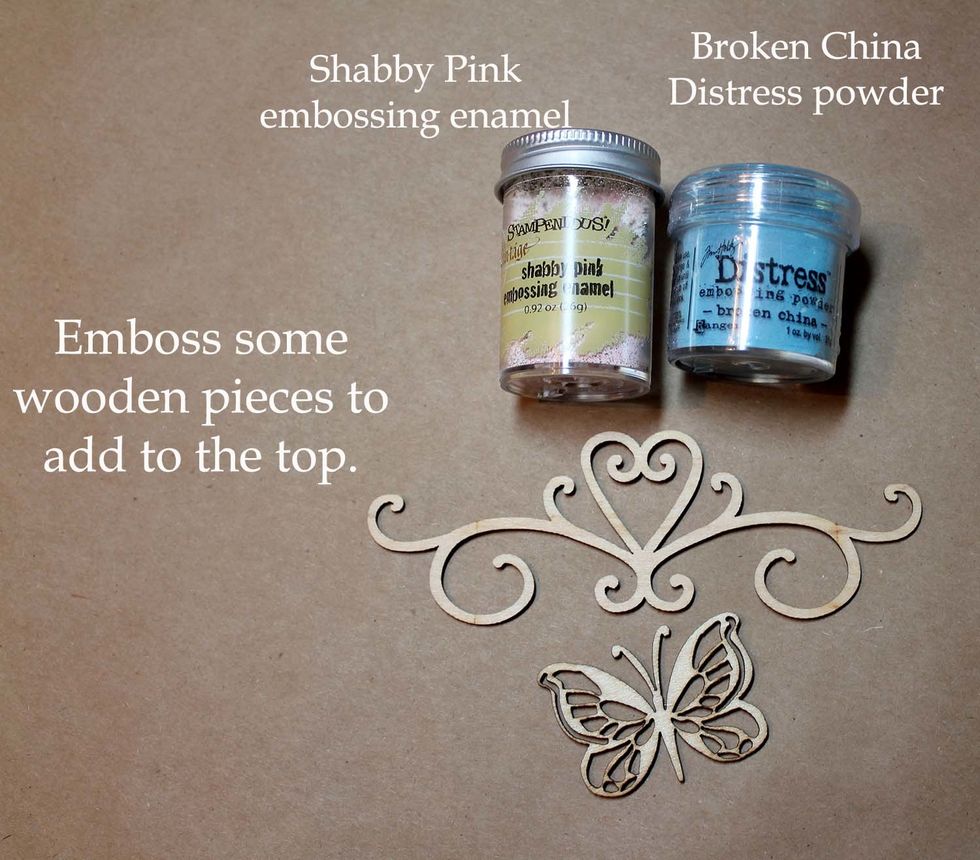
The wood flourishes are Kaisercraft (Scrapbook); Shabby Pink embossing enamel (Stampendous); Distress powder (Tim Holtz).

The Shabby Pink is a lustrous pink background with gold chunks...beautiful. The distress enamel leaves that shabby chic worn look. I wanted small touches of blue in the layout.
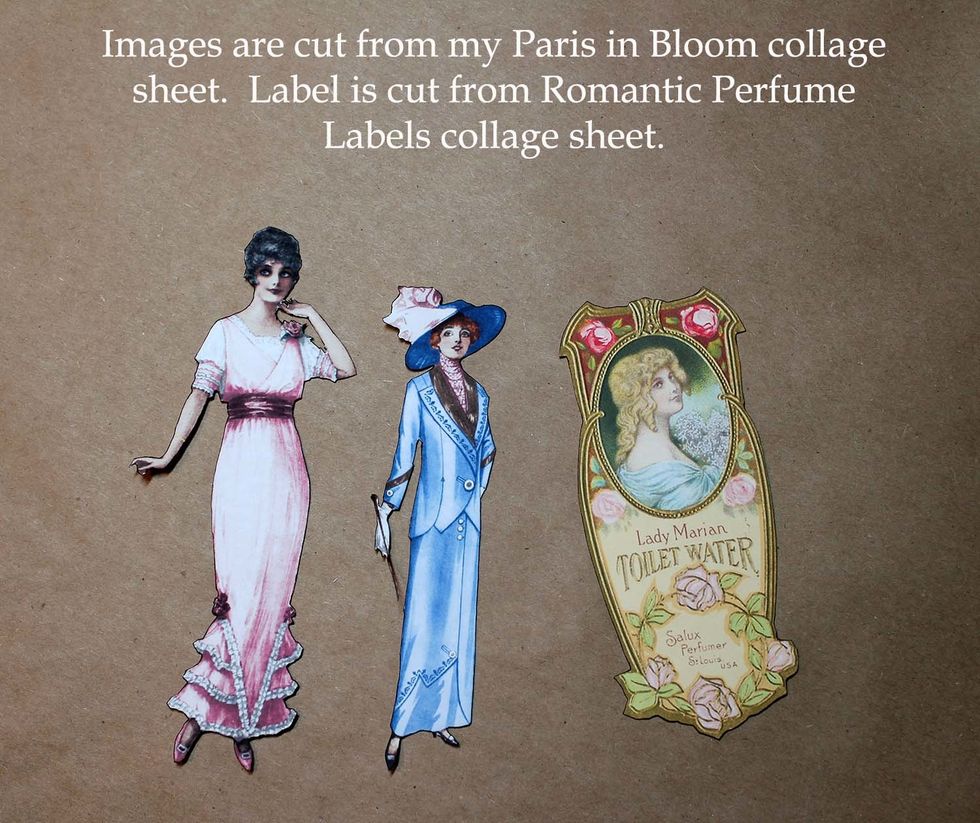
Cut your images from the Paris in Bloom and Romantic Perfume labels collage sheets. Edge using Vintage Photo distress pen to eliminate the white edges.
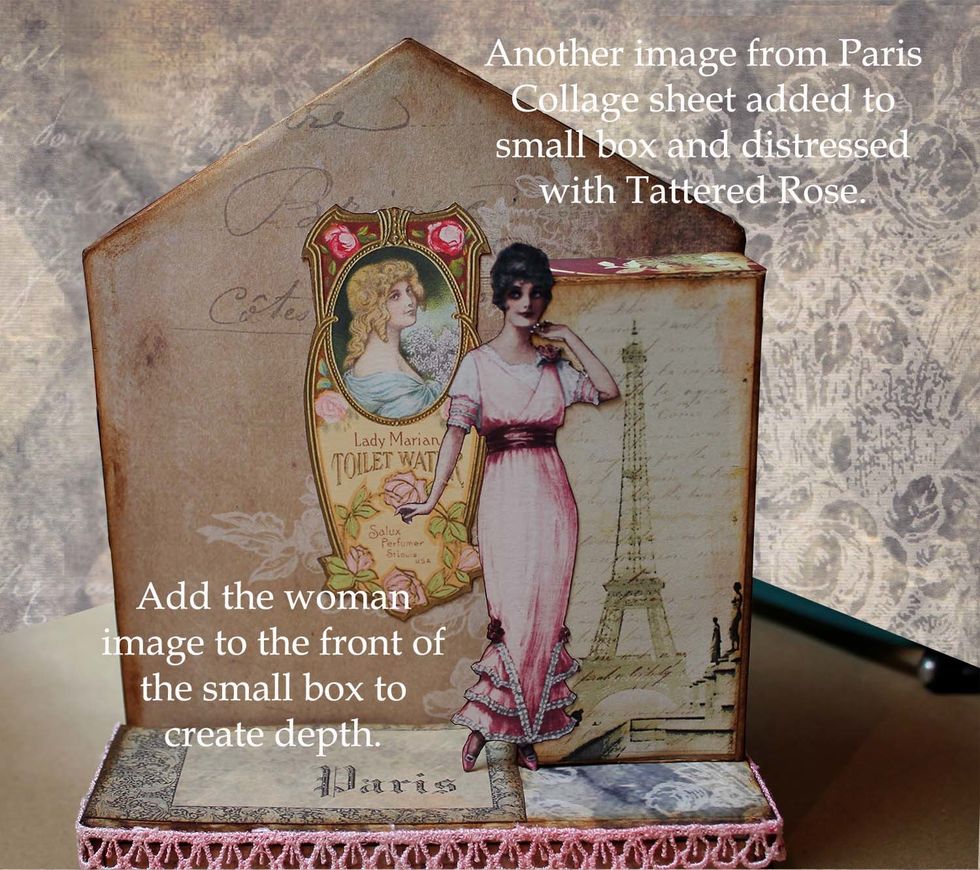
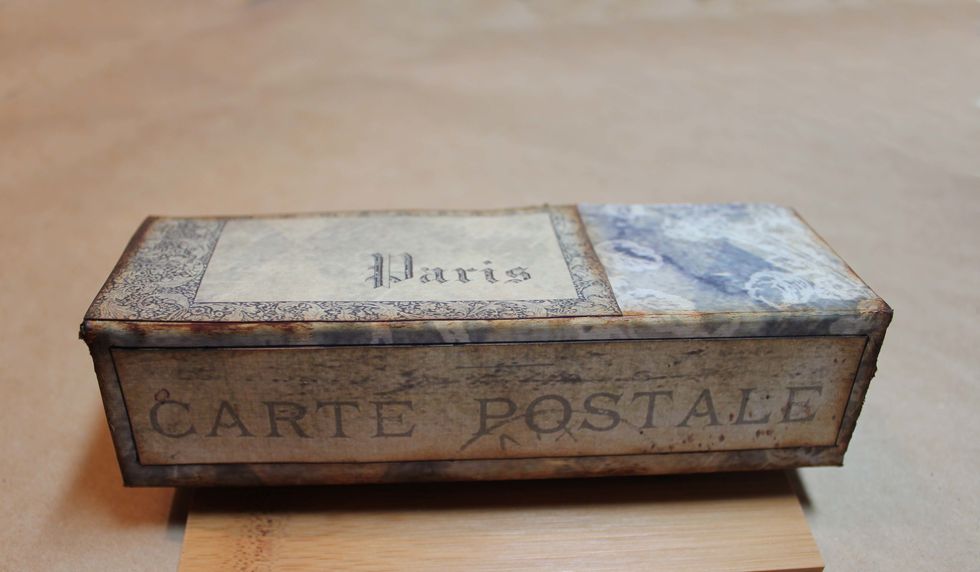
Add the perfume label to the background. Add an image to the front of the small box. Add the woman to the front of the box to give depth.
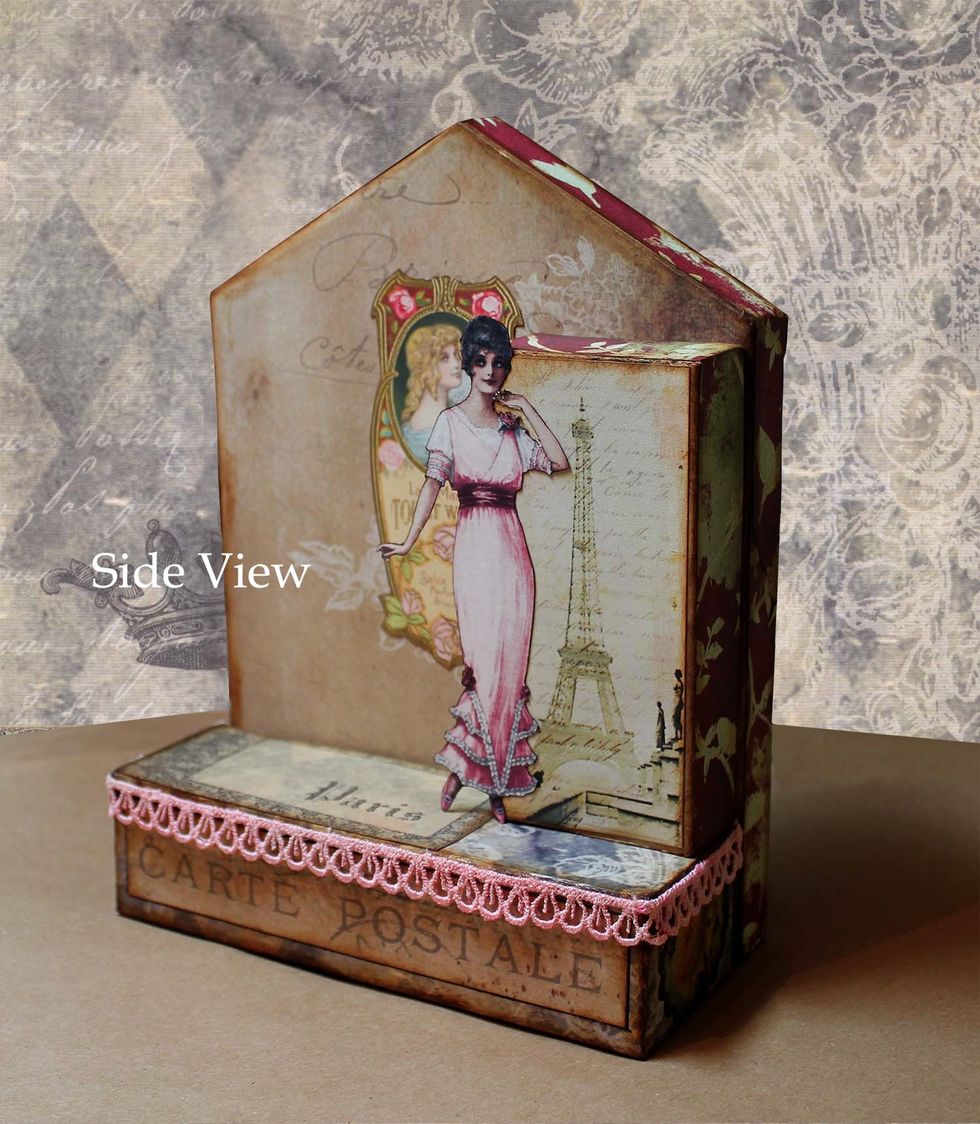
Side view.
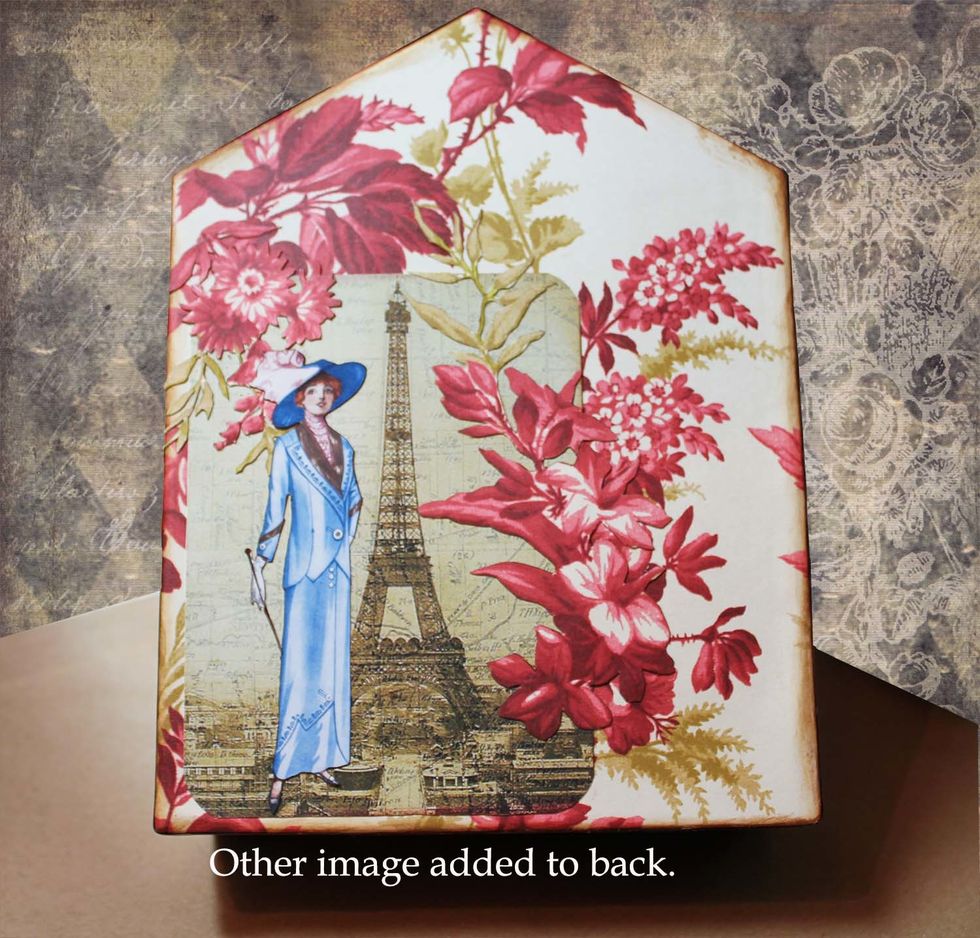
Add female image to back.
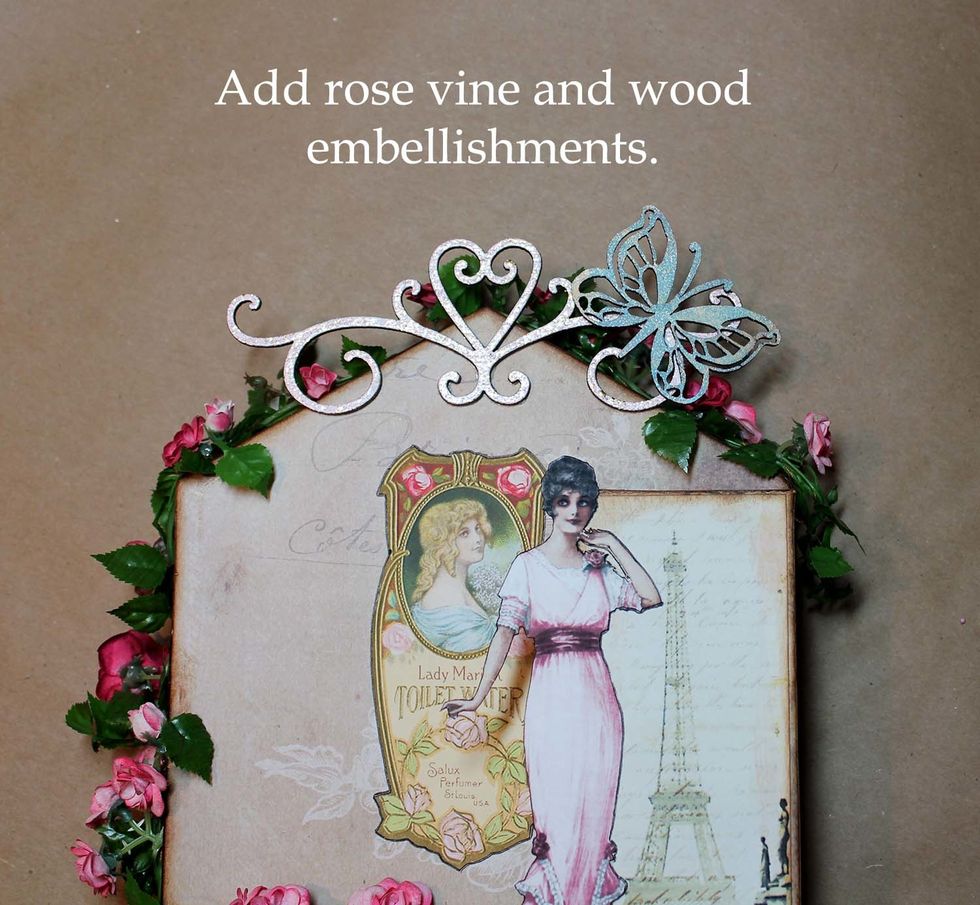
I added the rose garland first, then the wood embellishments. I needed to staple the garland in a couple places to hold in place, then glued extra flowers and leaves over the staples to hide them.
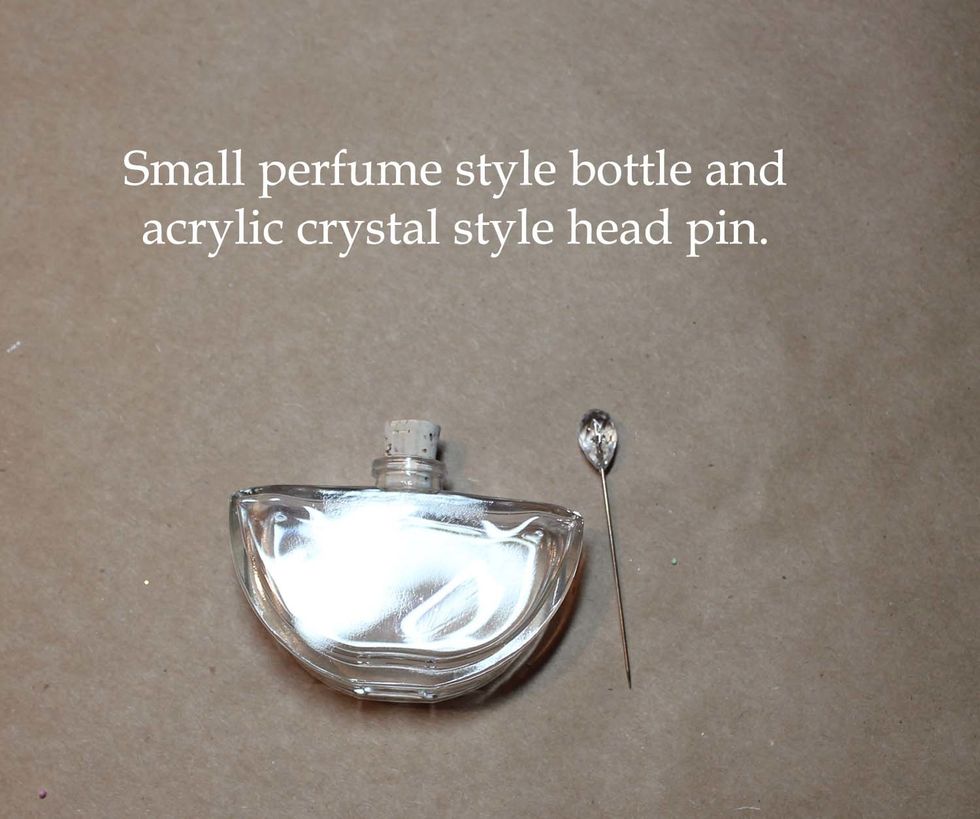
This is a small perfume style bottle that came from eBay. I got the headpins from Scrapbook.
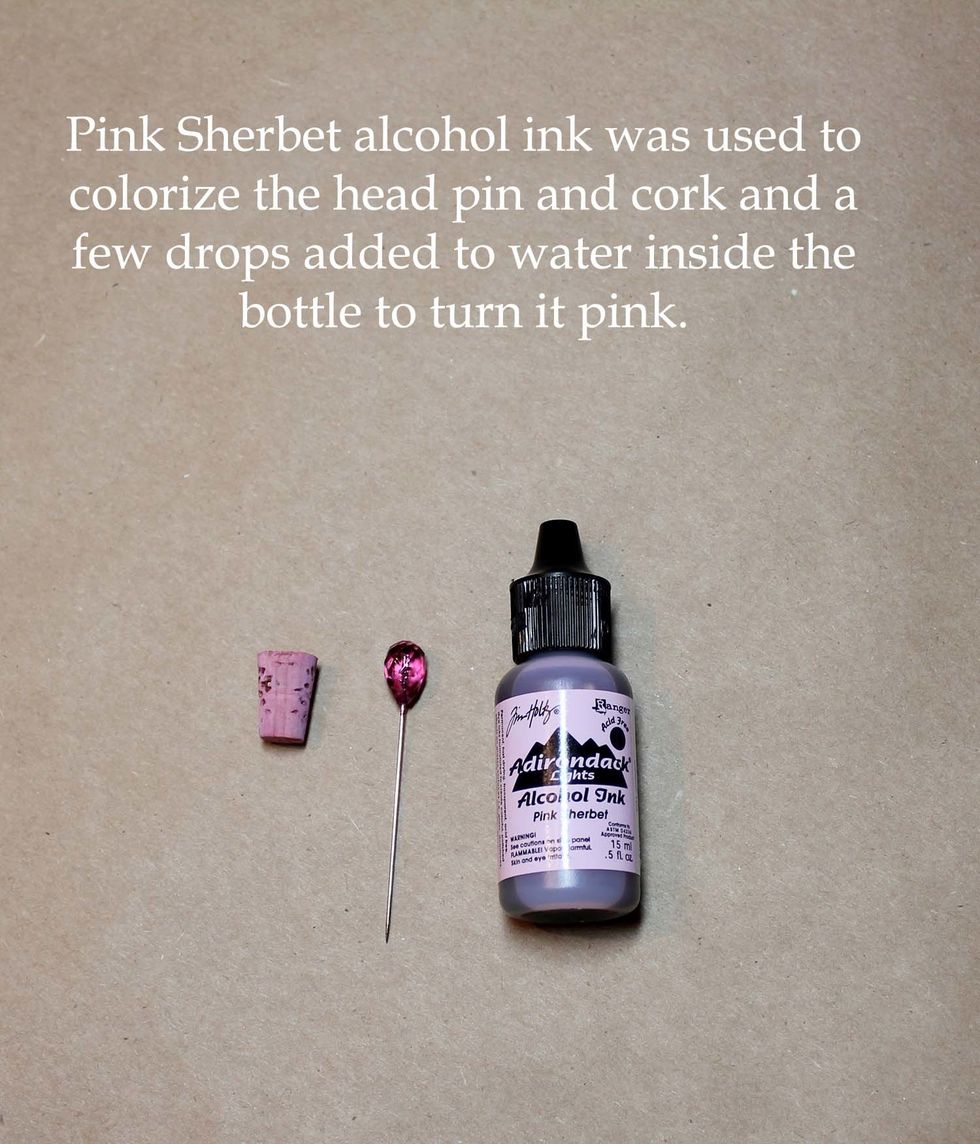
Pink Sherbet alcohol ink was used to color the headpin and the cork of the bottle. Cut the shaft of the pin short and stick it into the cork. Add a few drops of ink to water in the bottle to color.
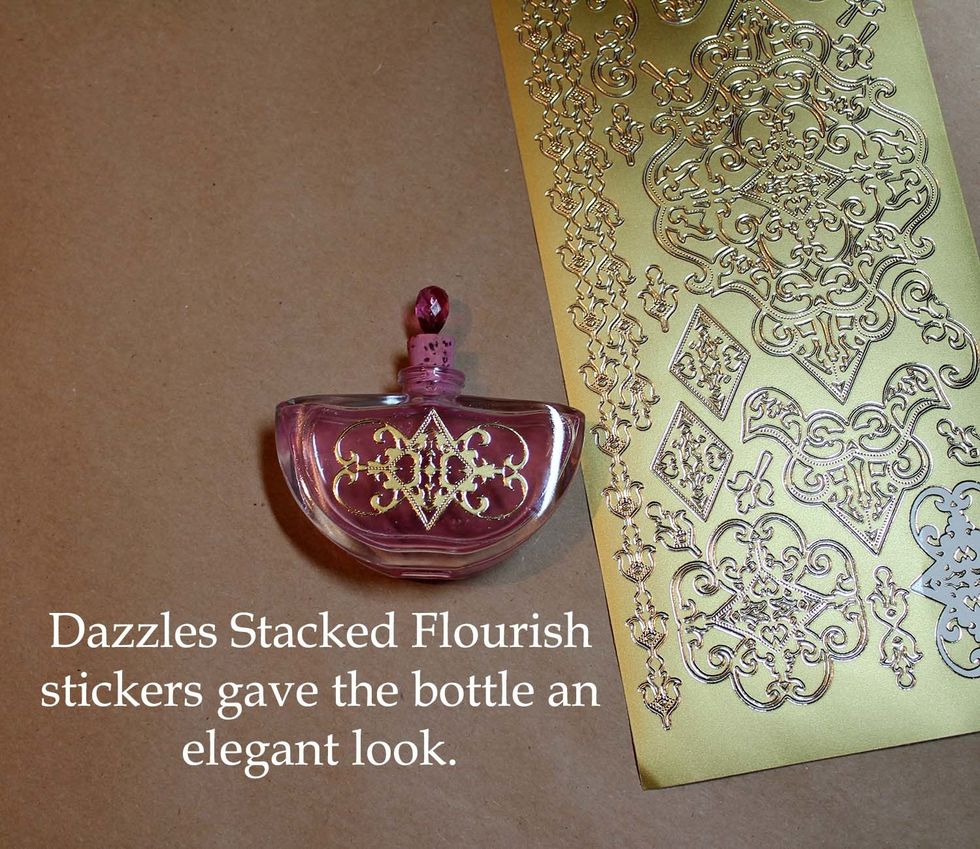
Give a pretty gold shimmer and romantic flair to your bottle with Dazzles Stacked Flourish stickers. Very elegant...as it should be for our Parisian ladies. :)
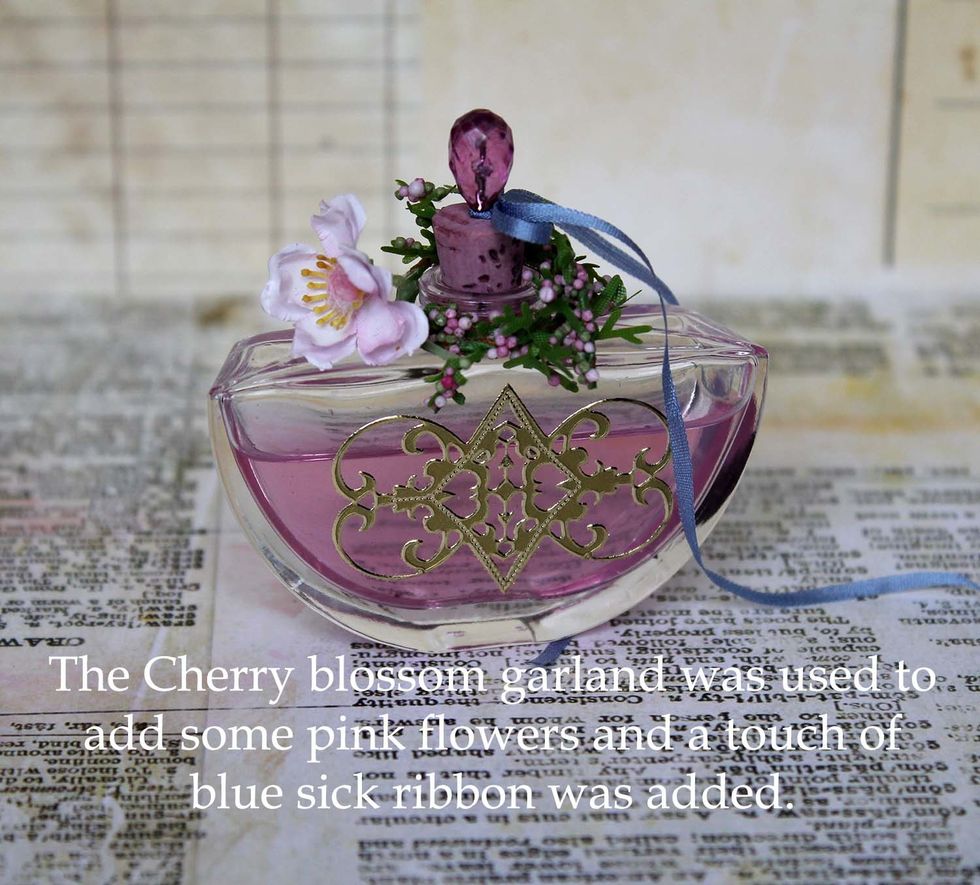
To finish the bottle I added a cherry (blossom) on top. Cut a piece from the garland and wrap around the bottle neck. Add a tiny blue ribbon to set it all off.
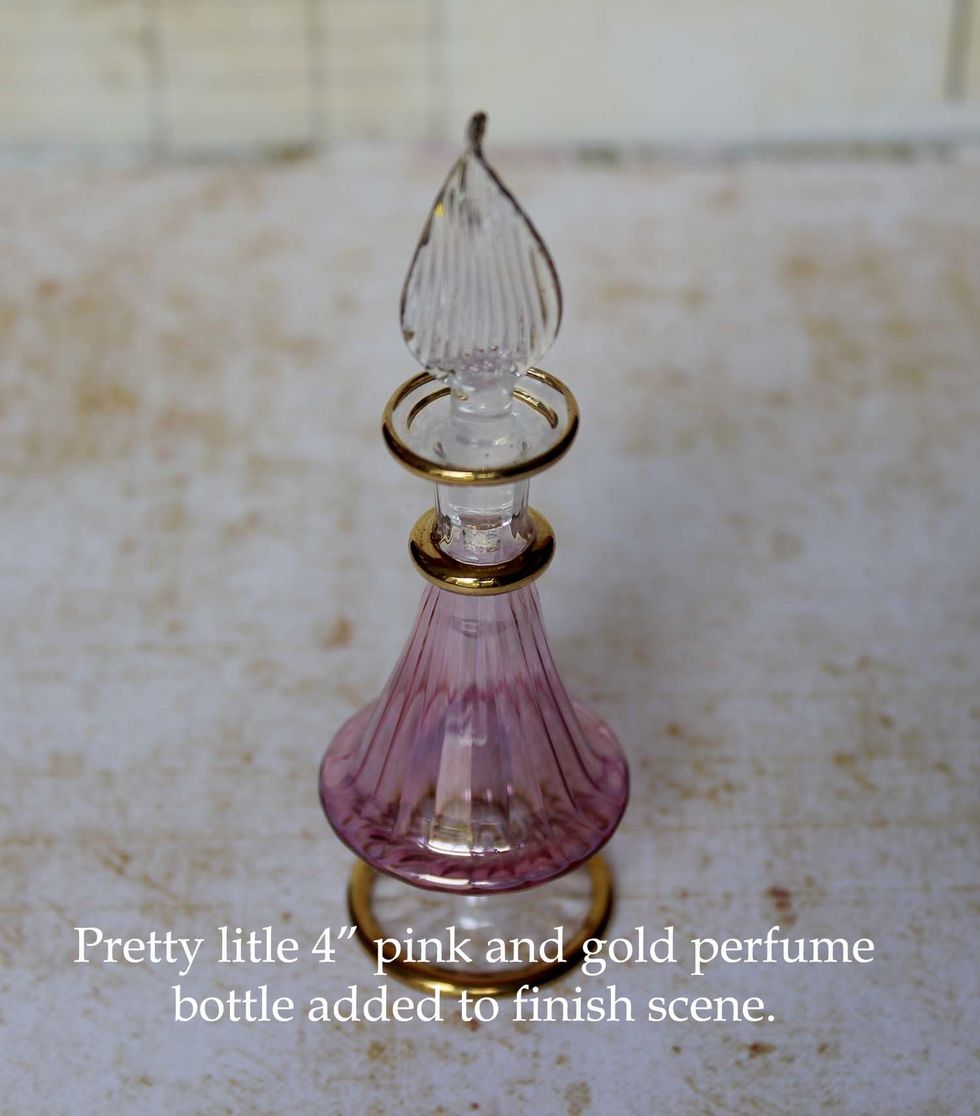
This is a cute little 4" perfume bottle I picked up while out shopping one day. It was the inspiration for the piece.
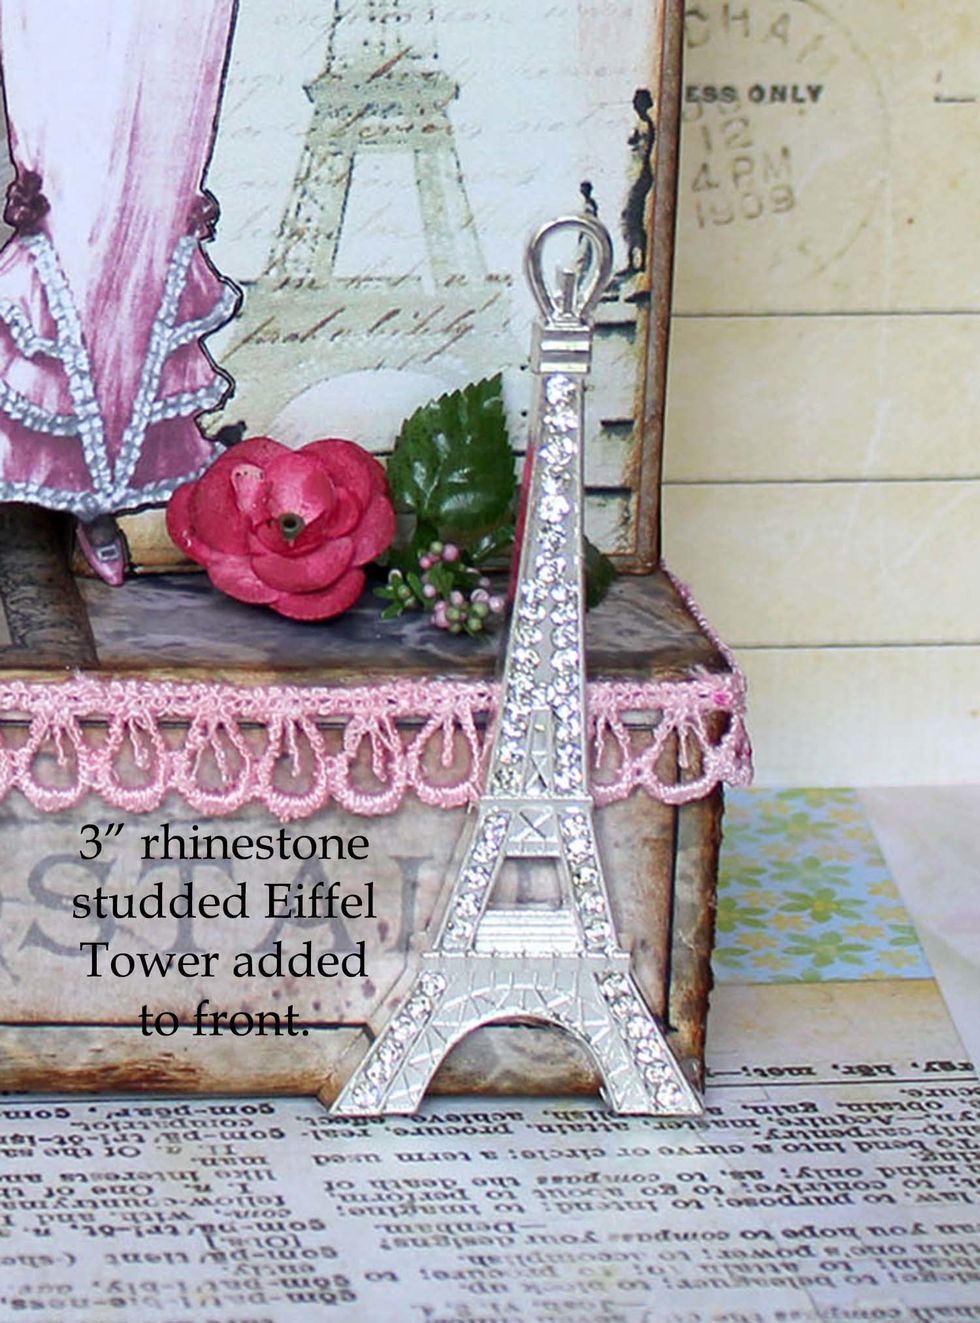
Another sweet little touch is this 3" tall rhinestone studded Eiffel Tower added to the front of the platform box. Oo La La