The Conversation (0)
Sign Up

We used scrap fabrics (washed and dried to preshrink) and a plastic parking sign to make our basket. You will need a few tools to make the job easier.
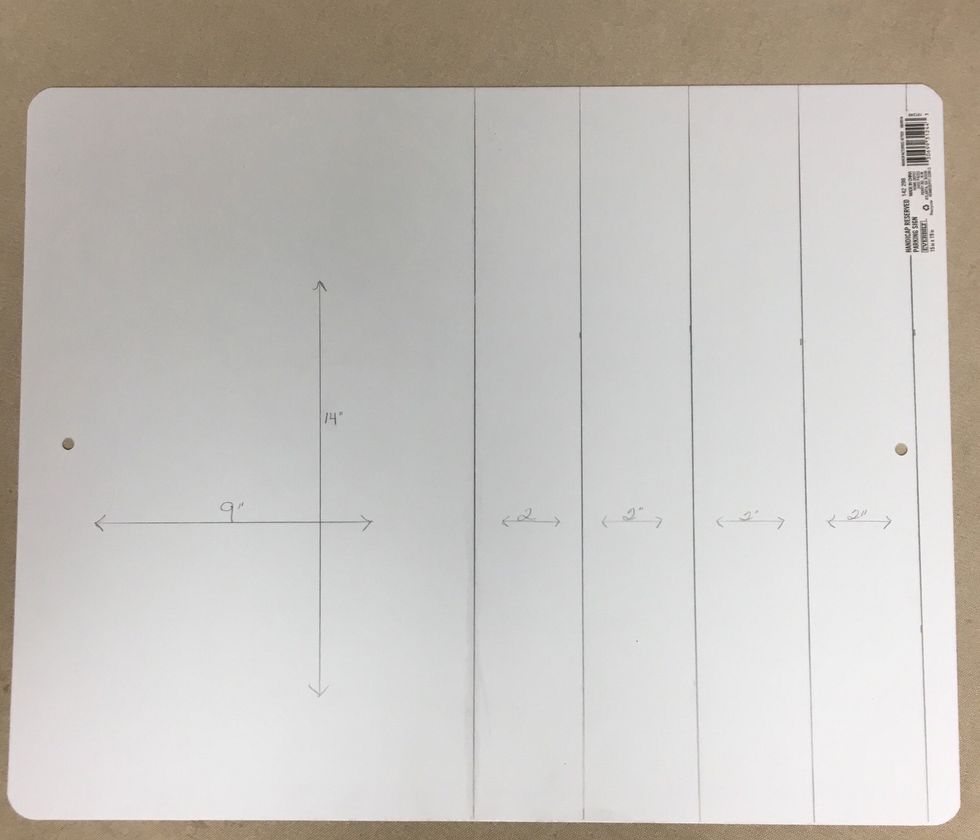
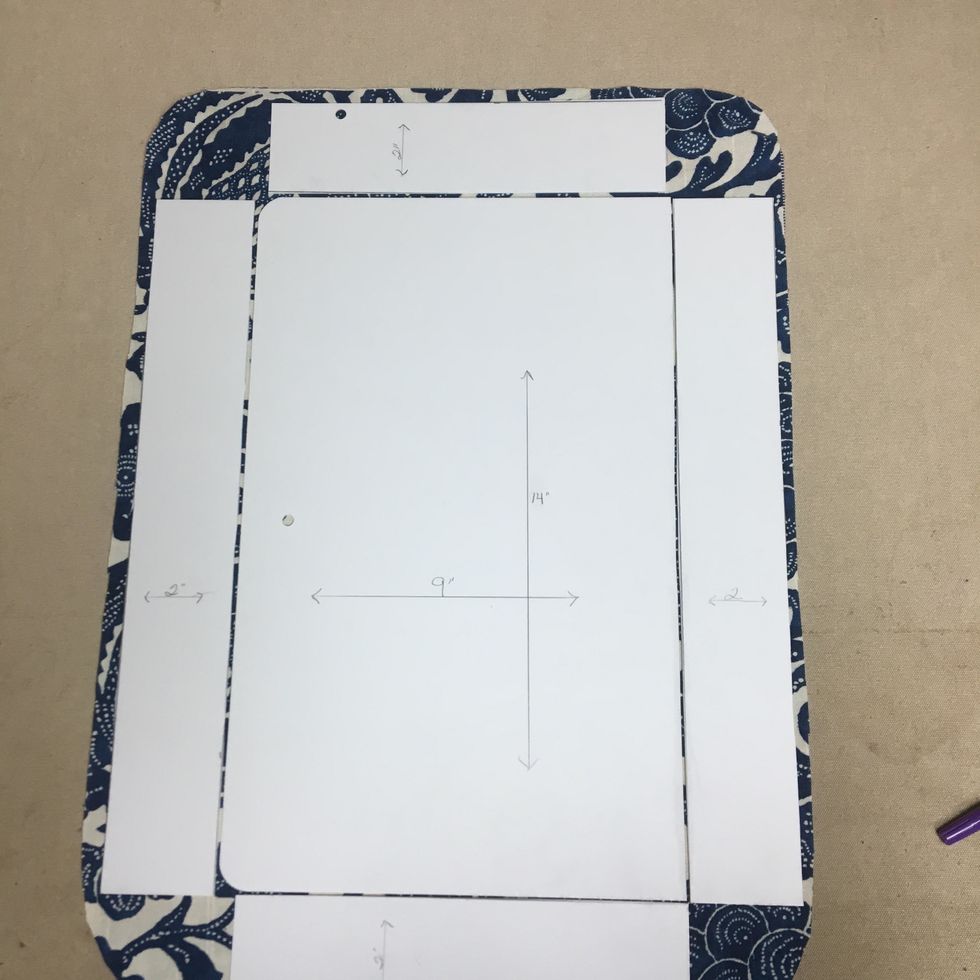
First determine how big you want your basket to be. We decided ours would be 9 x 14 with 2" sides, however we ended up trimming them down to 1 1/2". Then we drew the lines on the back of the sign.
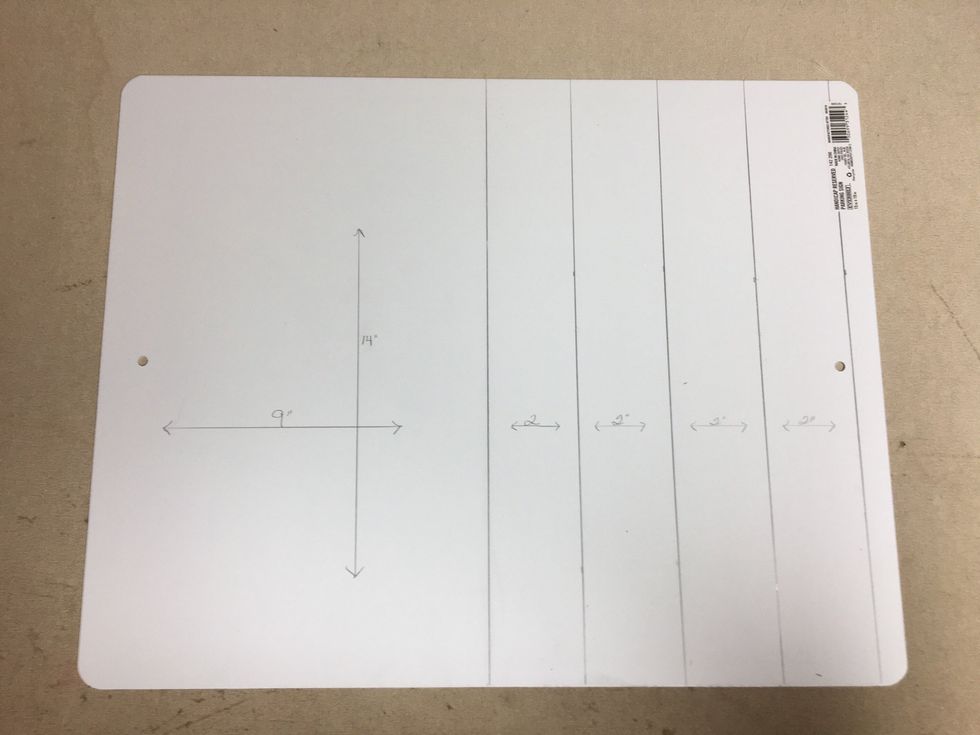
You will need the bottom, 2 long sides and 2 short sides. We cut all the sides the same length in the beginning.
Next, trim the end sides down to the correct length. Ours were 2 x 9 and 2 x 14.
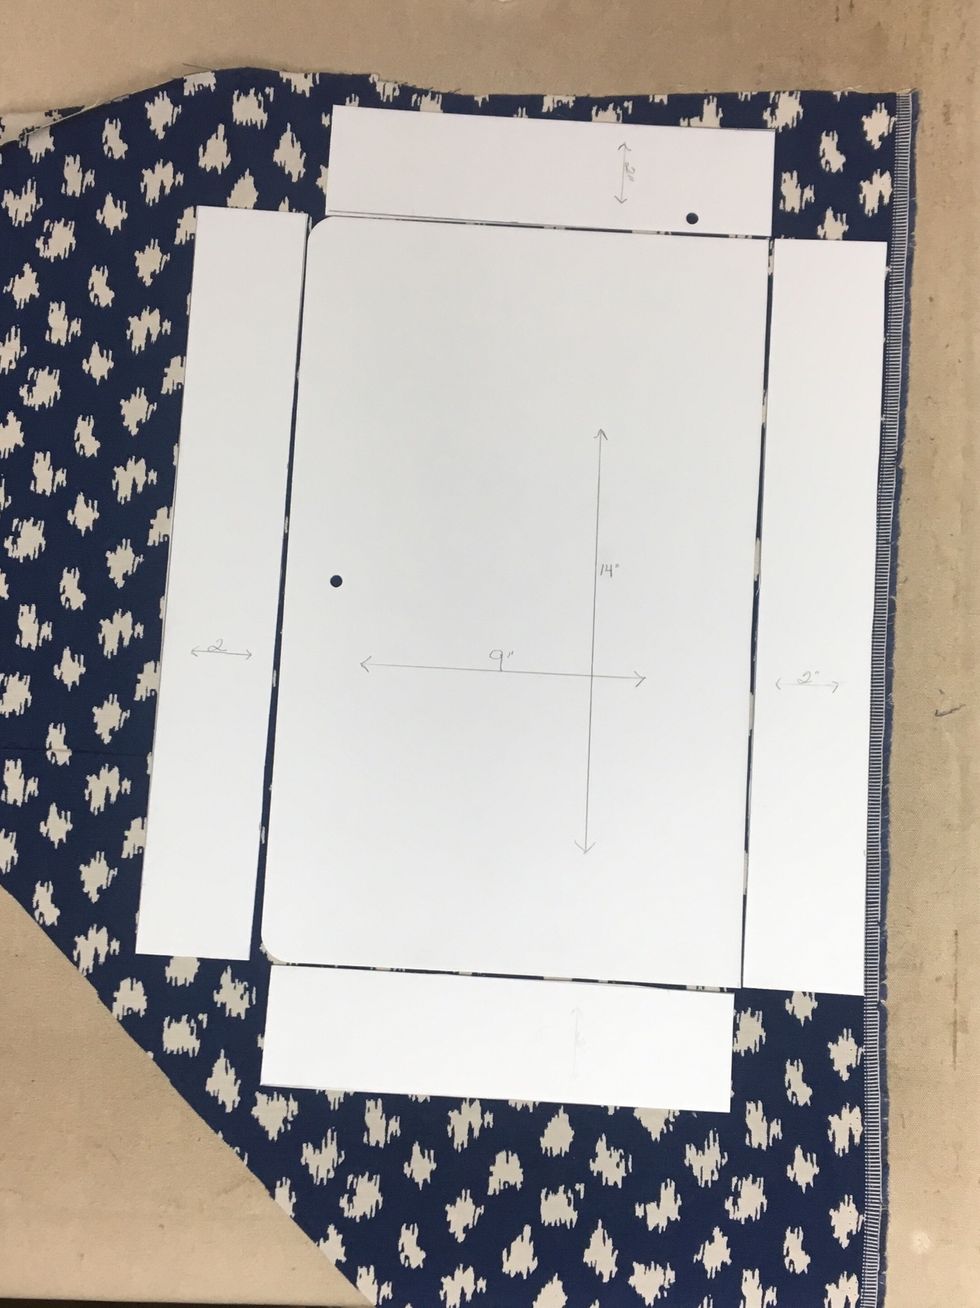
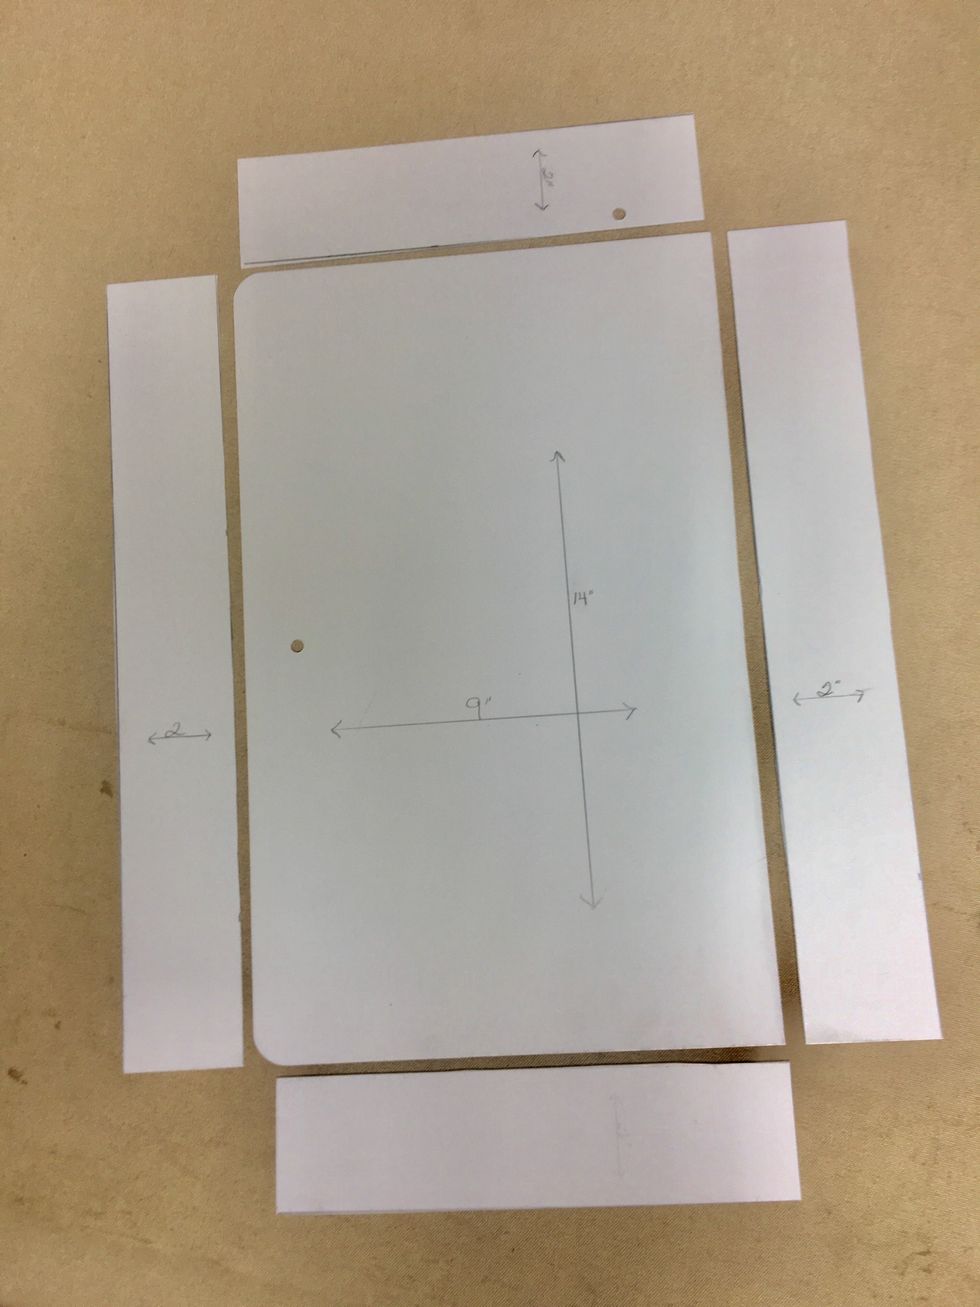
Lay the pieces out on your fabric. Carefully cut your fabric 1/2" bigger all the way around your pieces. So for a 9 x 14 basket your fabric should be cut 14 x 19.
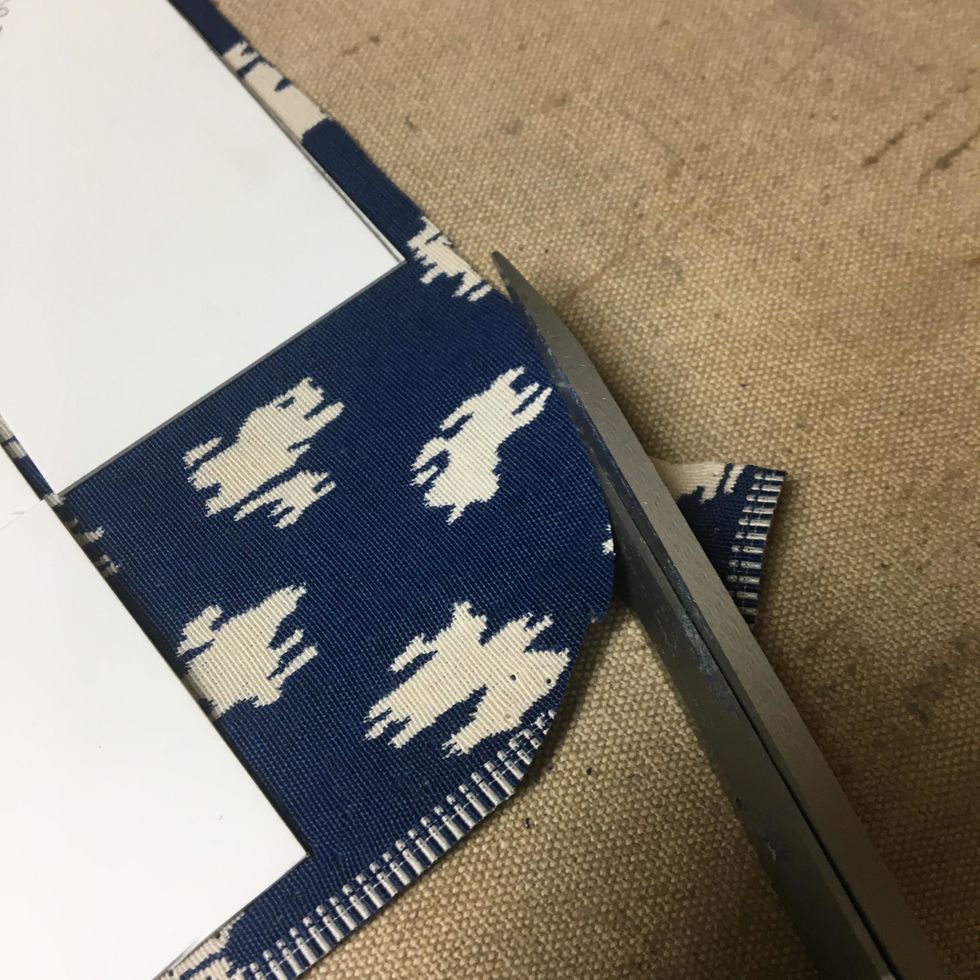
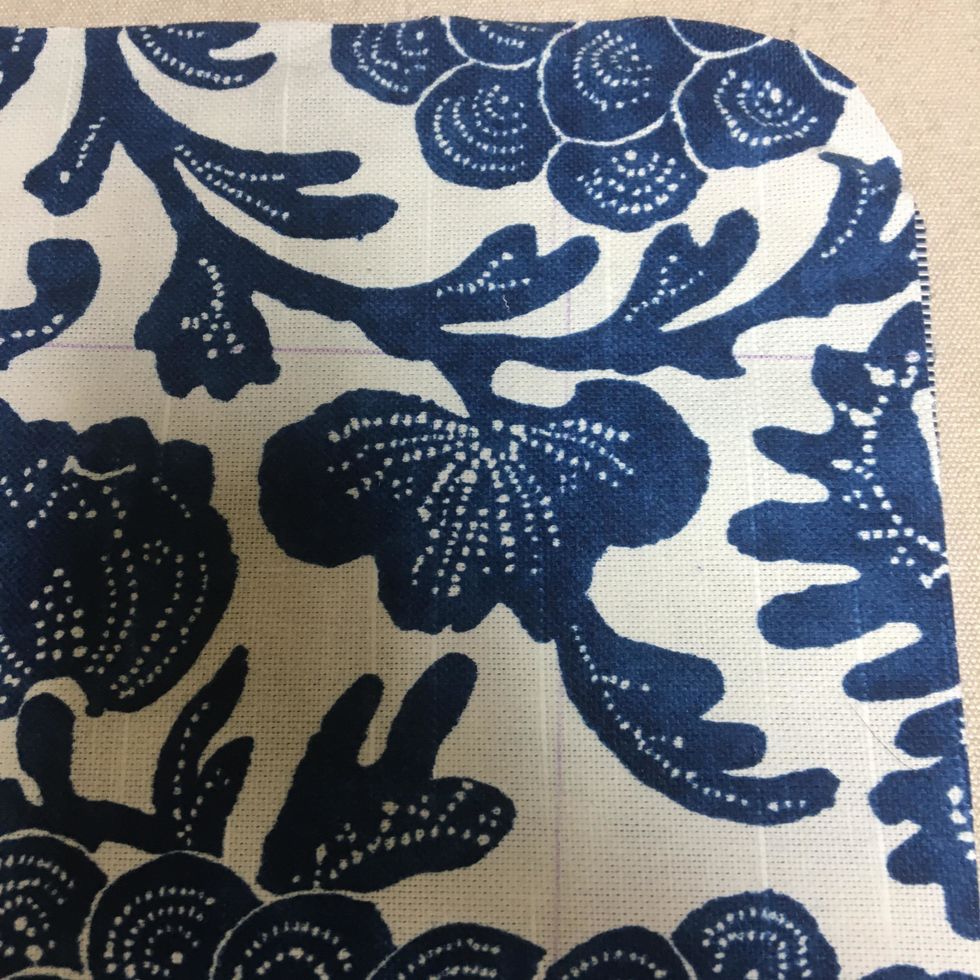
Trim off the corners so that they are rounded.
It should look like this.
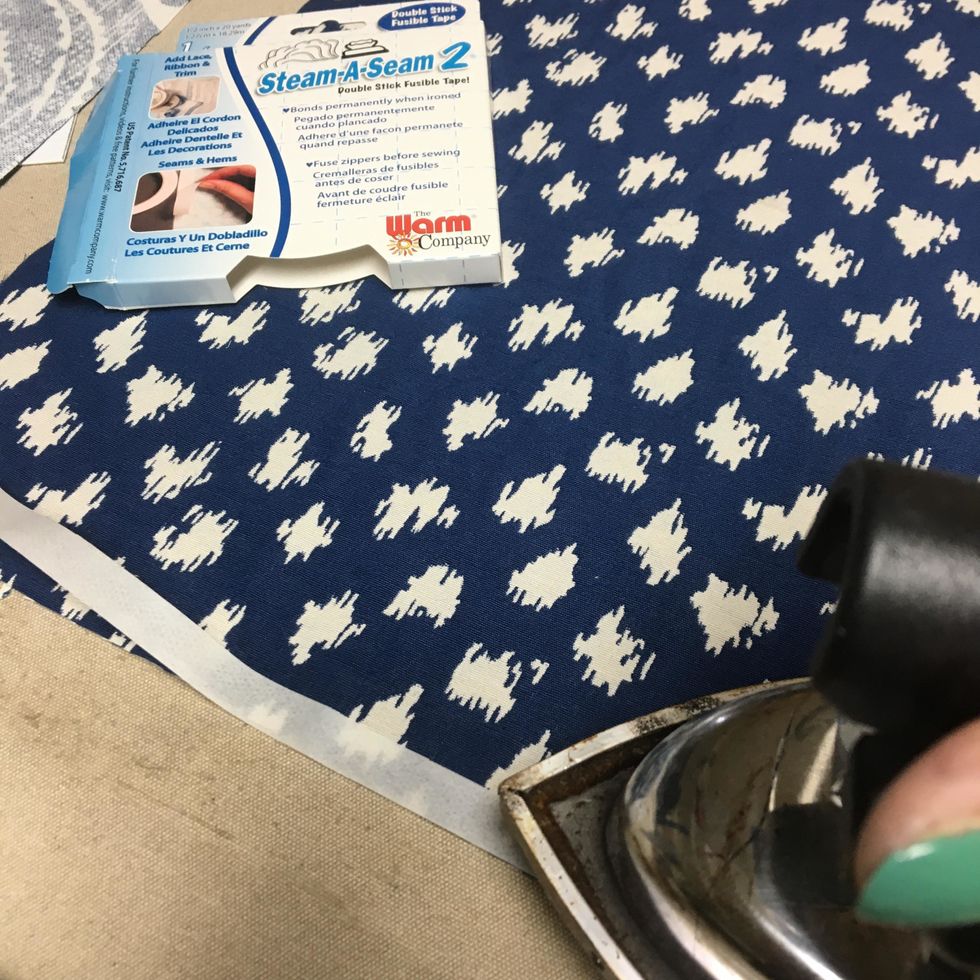
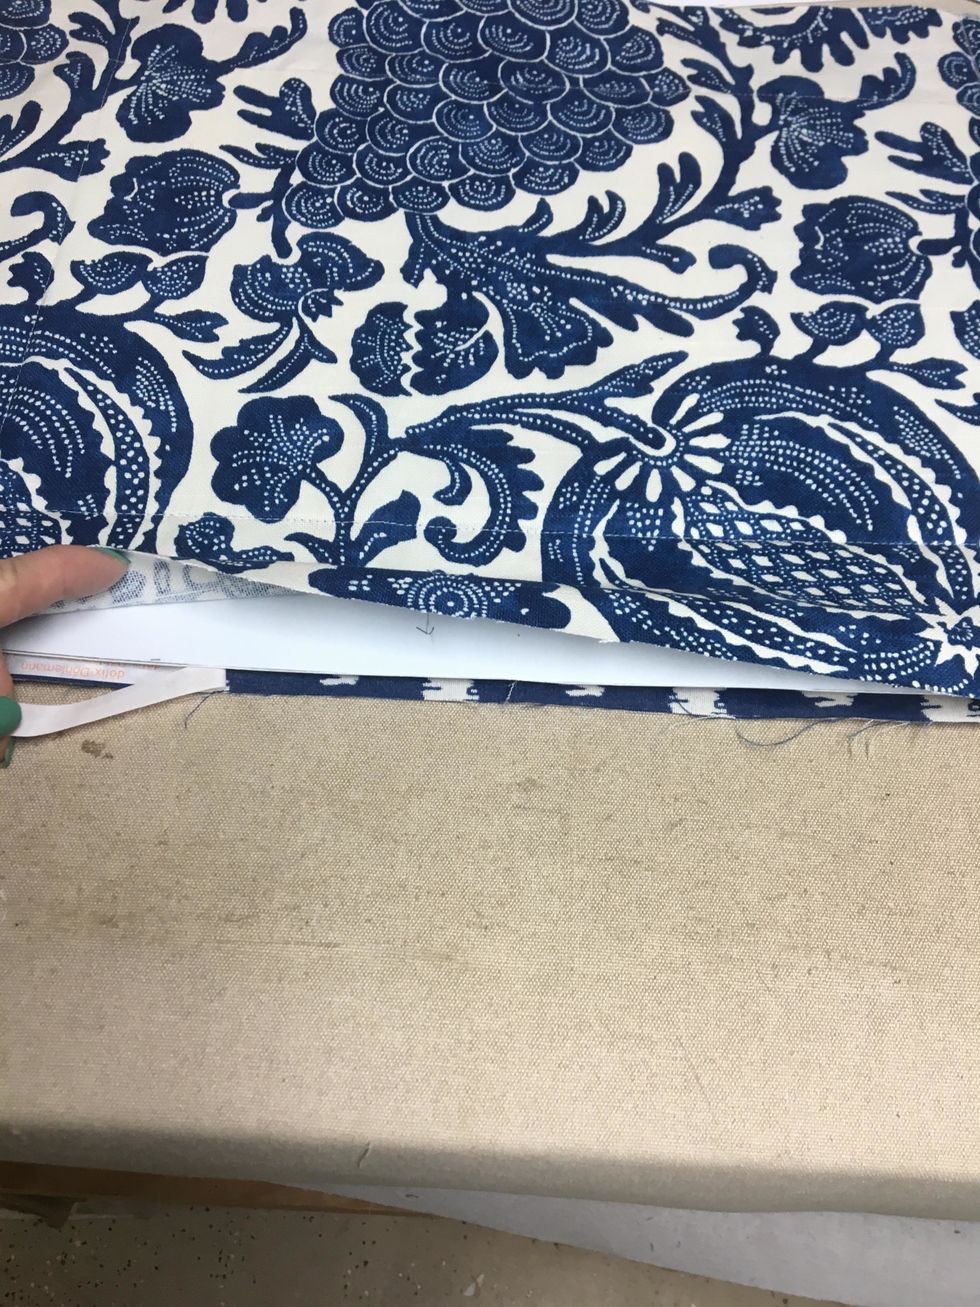
Apply SteamASeam2 around the entire edge of the wrong side of the basket back but do not remove the paper.
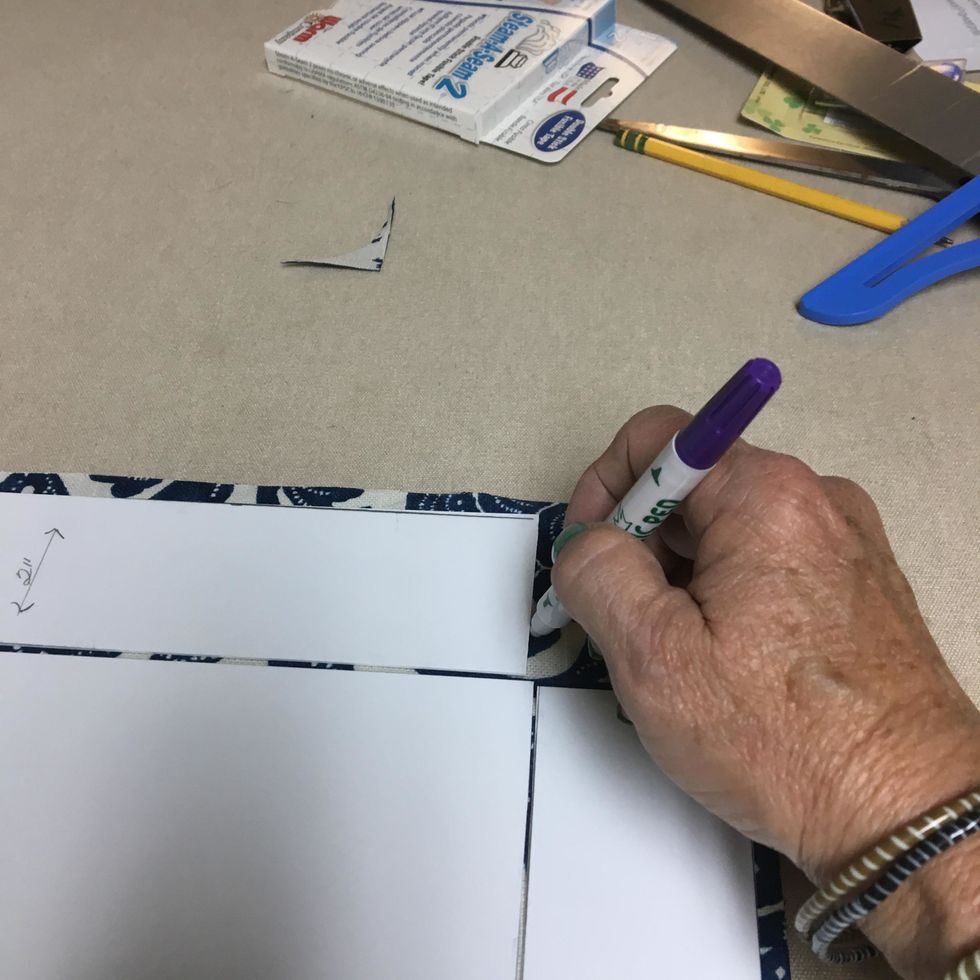
Using your invisible fabric marker, draw your stitch lines down all 4 sides of the basket starting at the top edge of the fabric, between the basket bottom and sides and ending at the bottom edge
The lines should look like a tic tac toe board on your fabric with the center square being very large. The lines can disappear quickly so place basket front and back, wrong sides together and stitch.
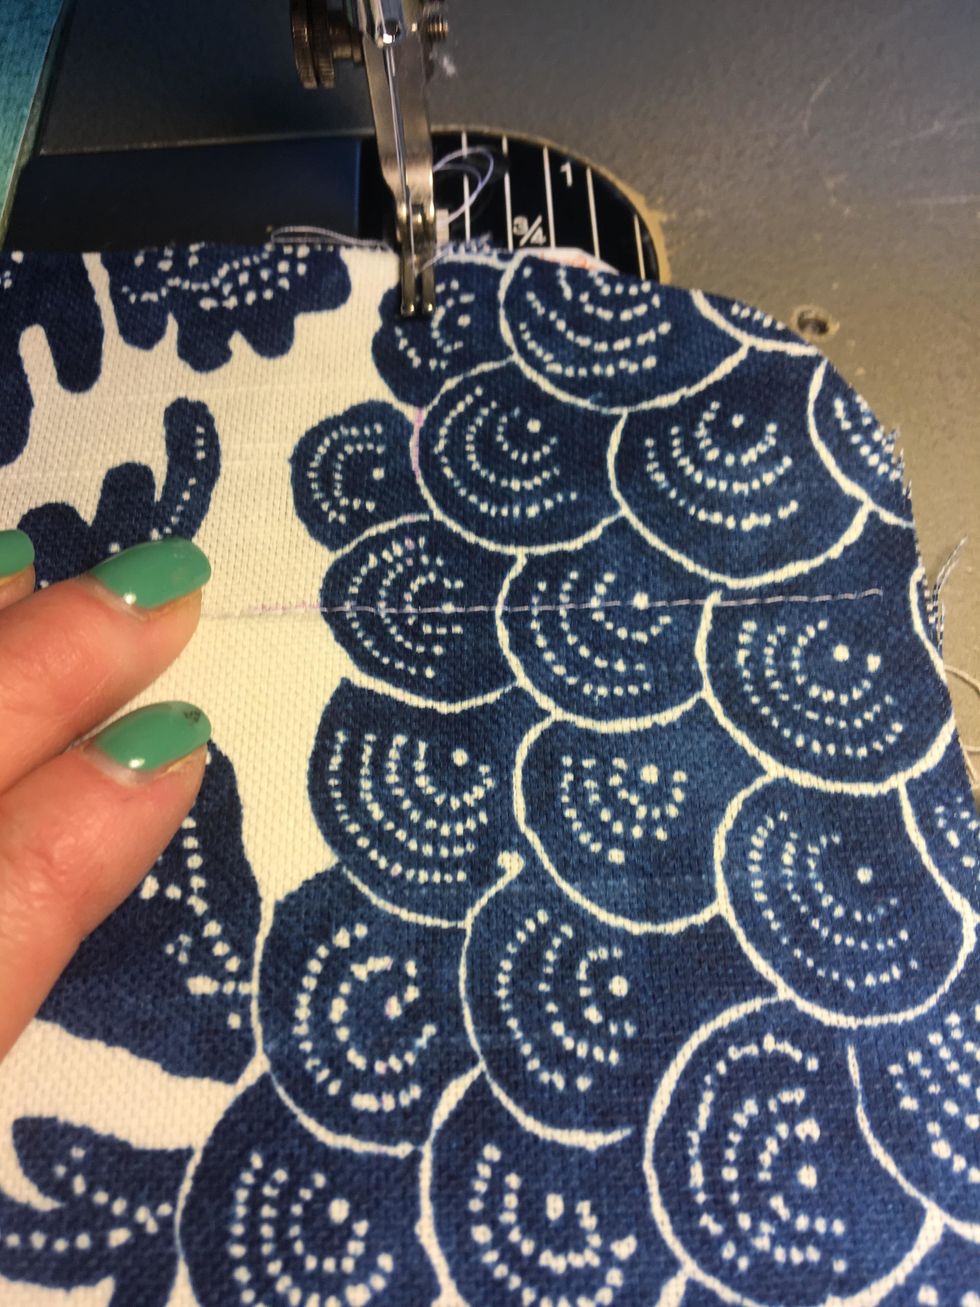
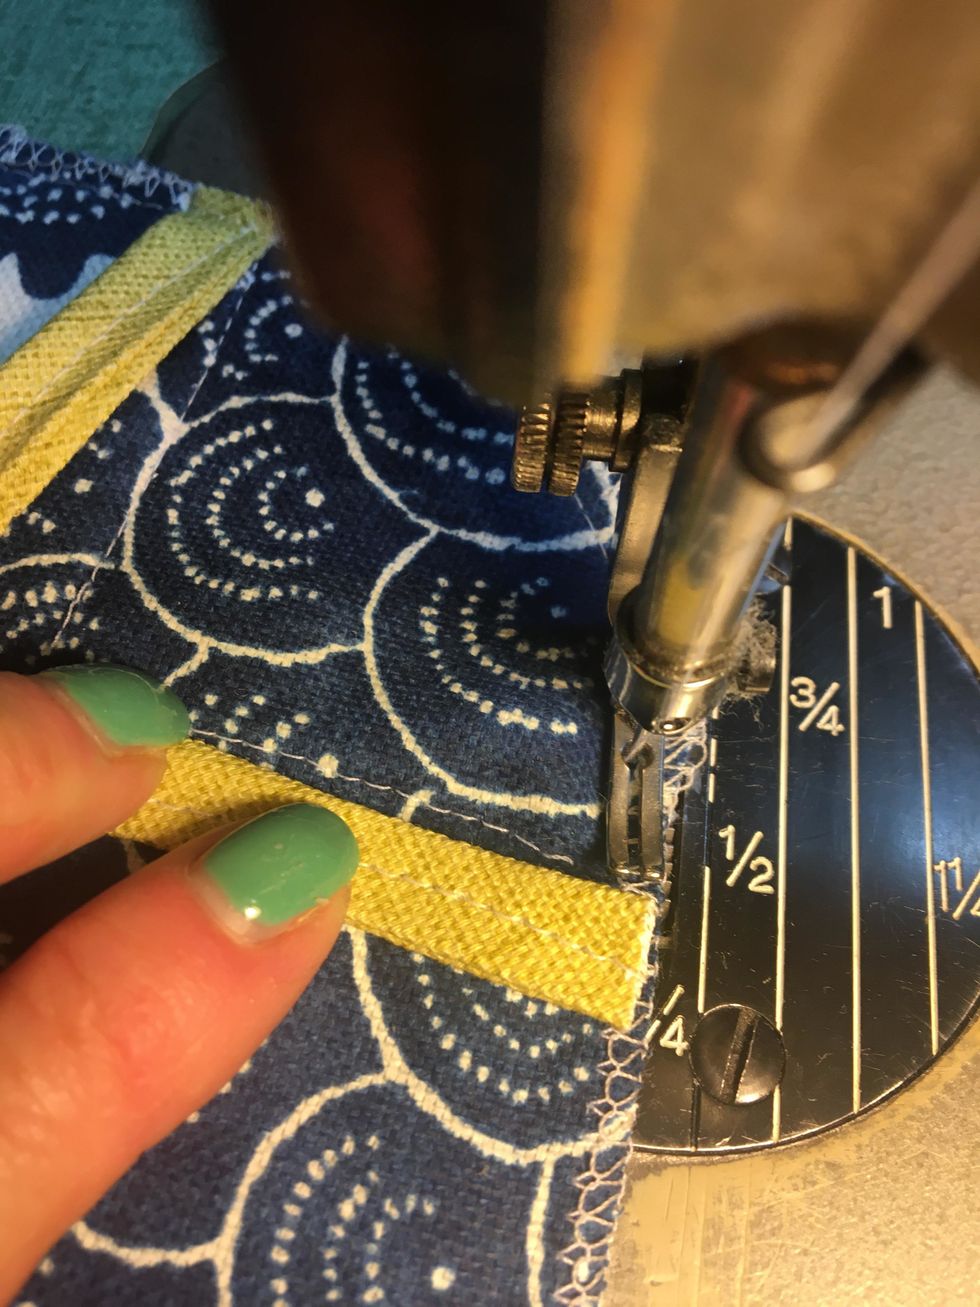
Beginning at the edge of the fabrics, you will need to stitch basket front and back together down the two long stitch lines first then across one of the short stitch lines as shown.
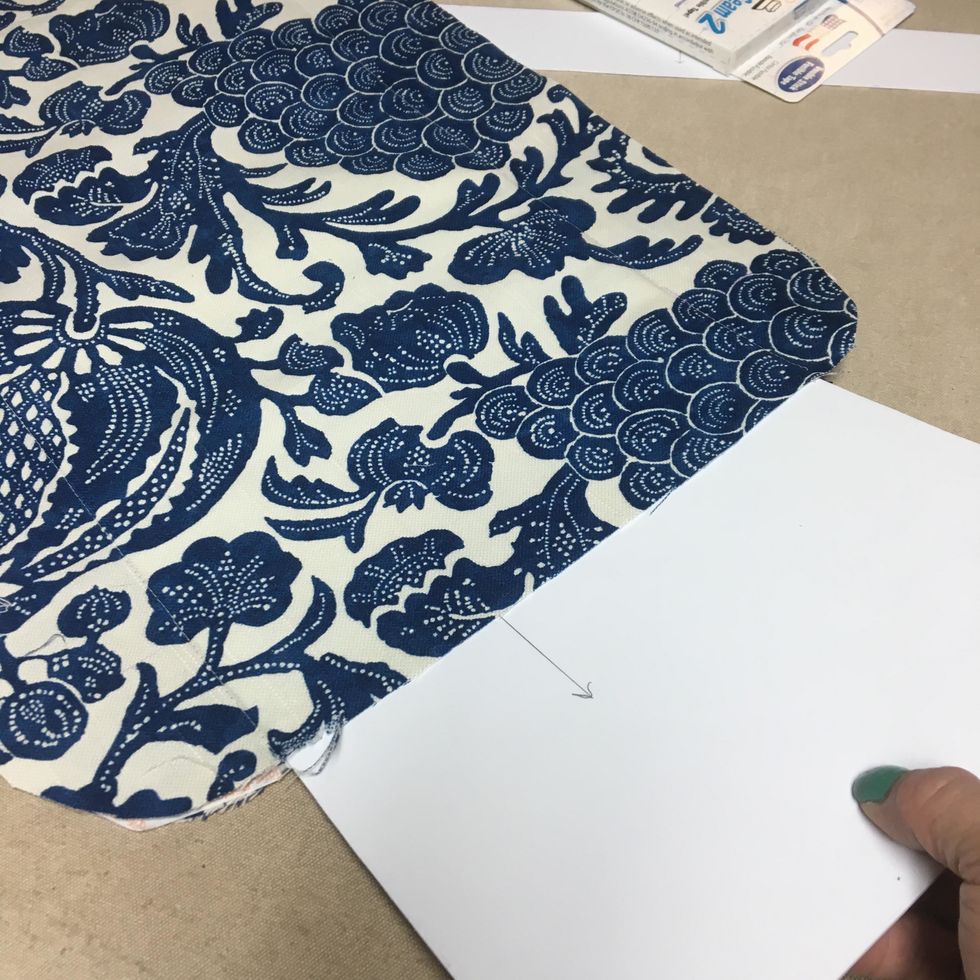
Insert the basket bottom into the pocket.

Take it back to the machine and stitch across the entire side as you have done before, stitching as close to the plastic insert as possible without stitching over it.
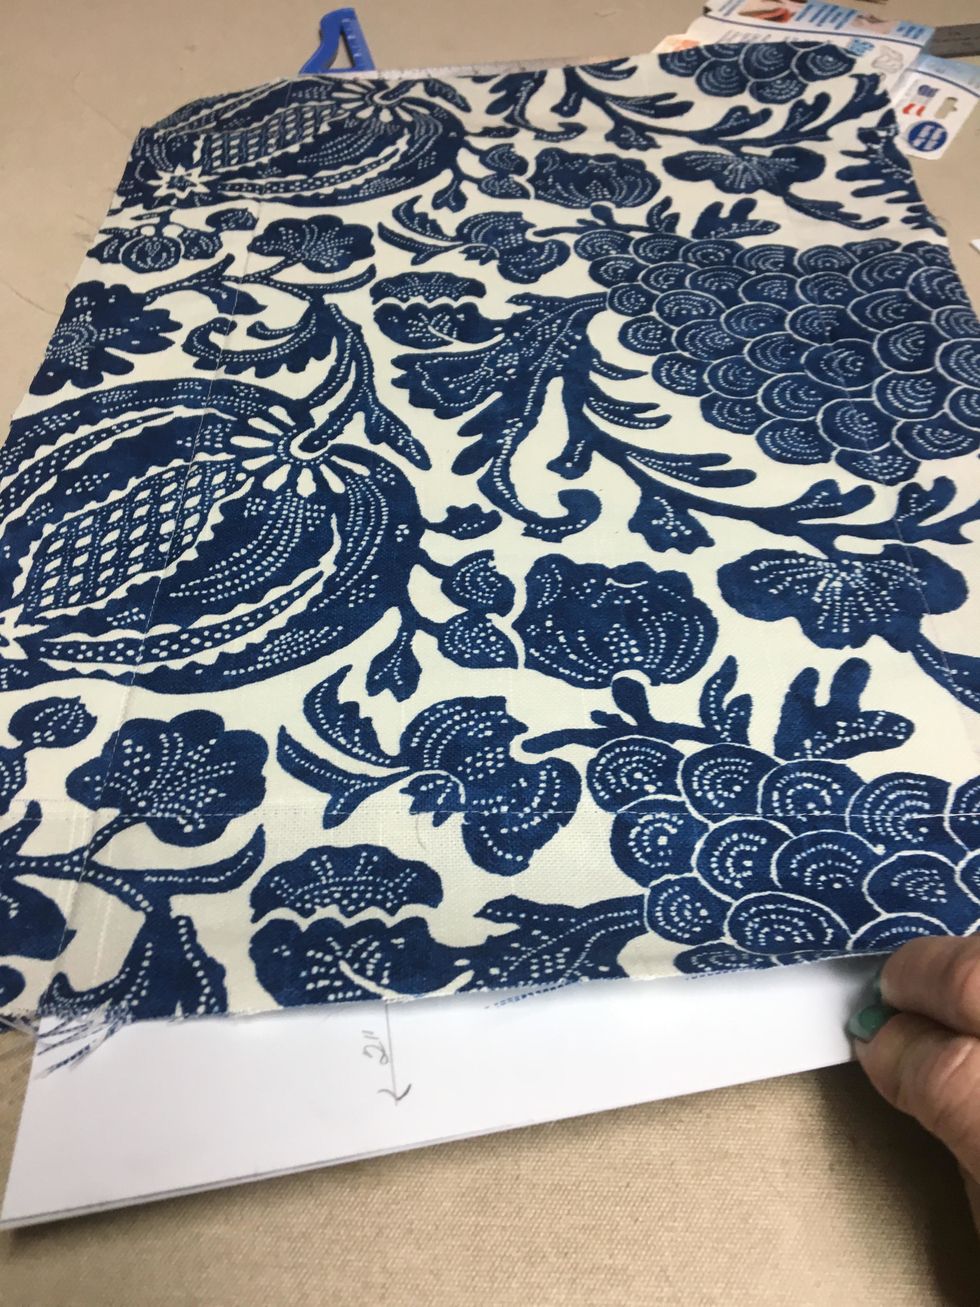
Insert all 4 side pieces as far as you can insert them. The plastic form should be 1/2" narrower than the pocket. We ended up and had to trim our side pieces slightly.
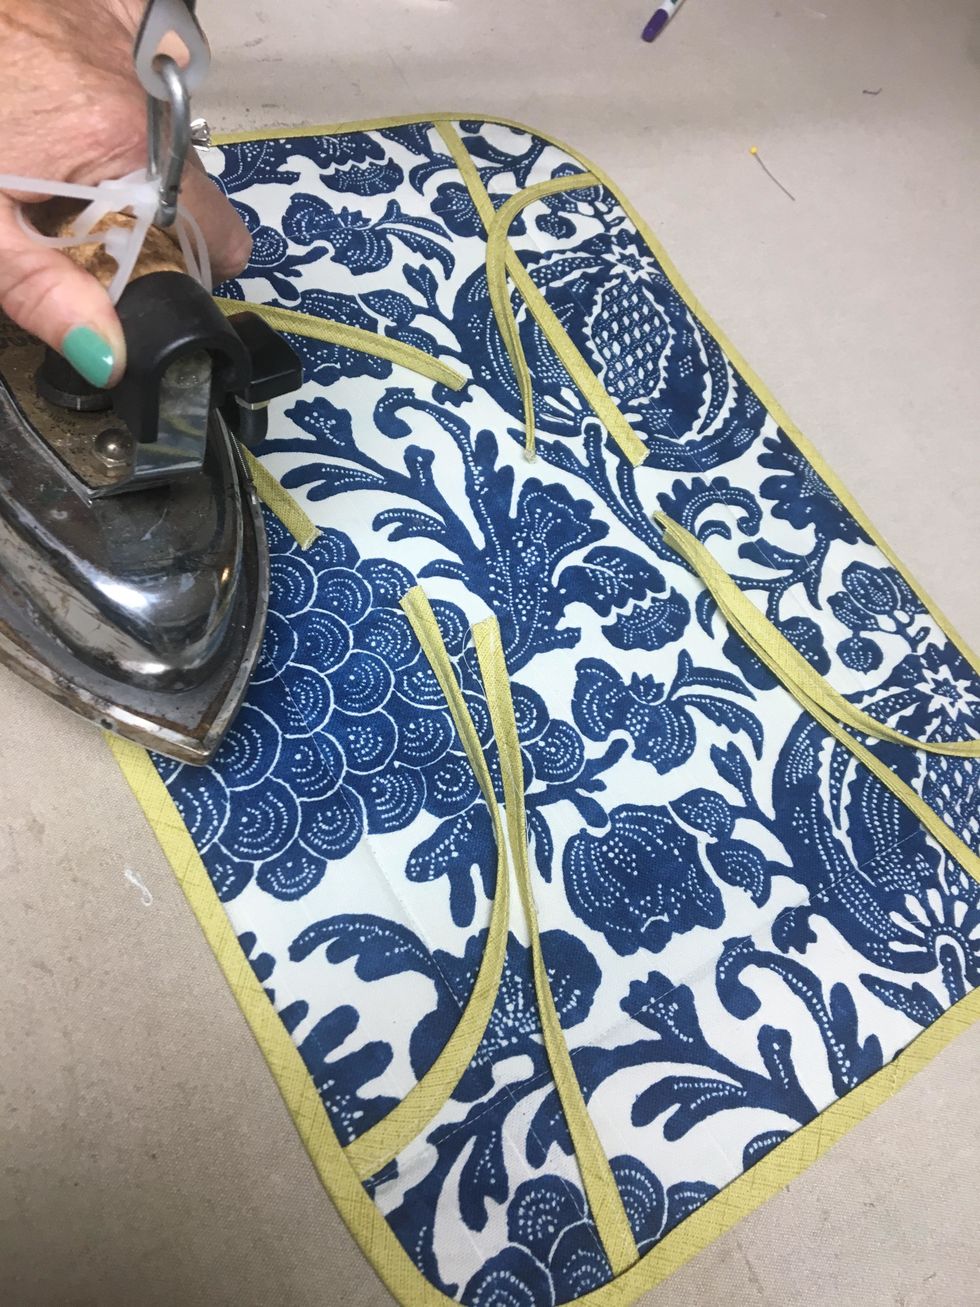
Remove the paper from the SteamASeam2.
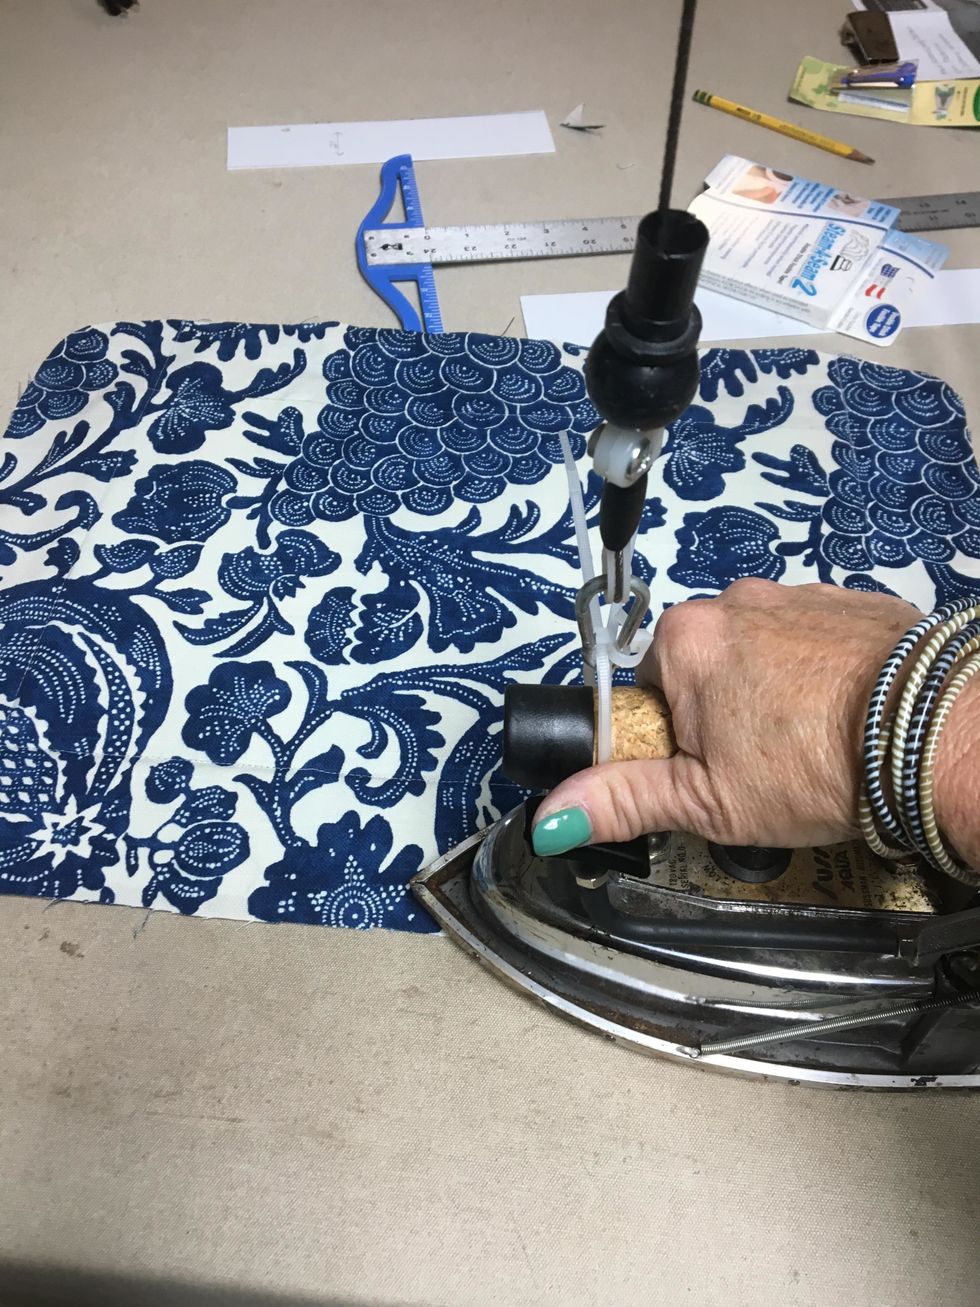
Press around all 4 sides. We serged the edge all the way around on ours but it isn't necessary.
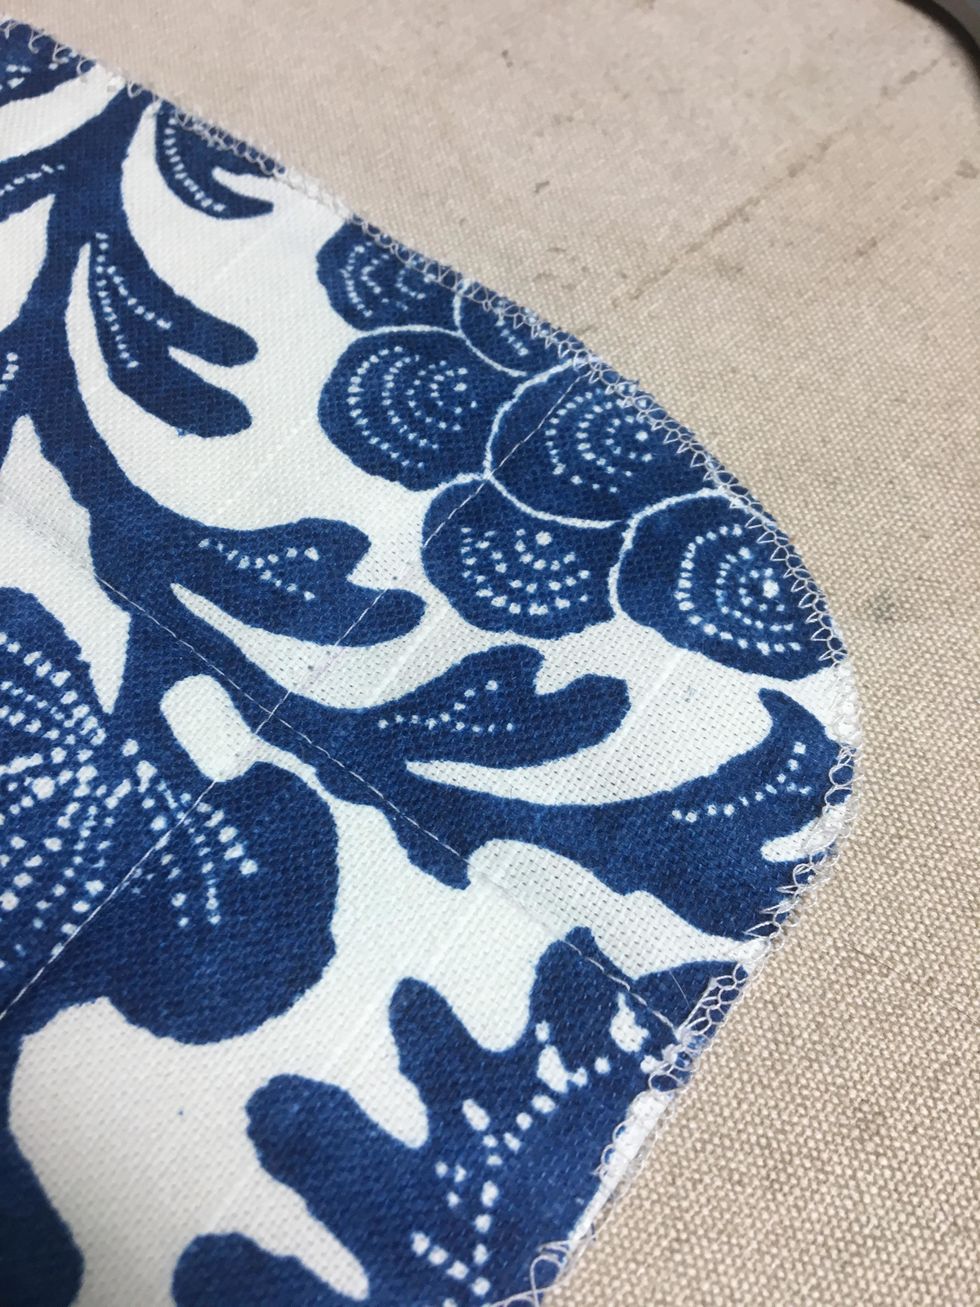
We served around the entire basket just to clean up the edges, although it is not necessary. Set aside.
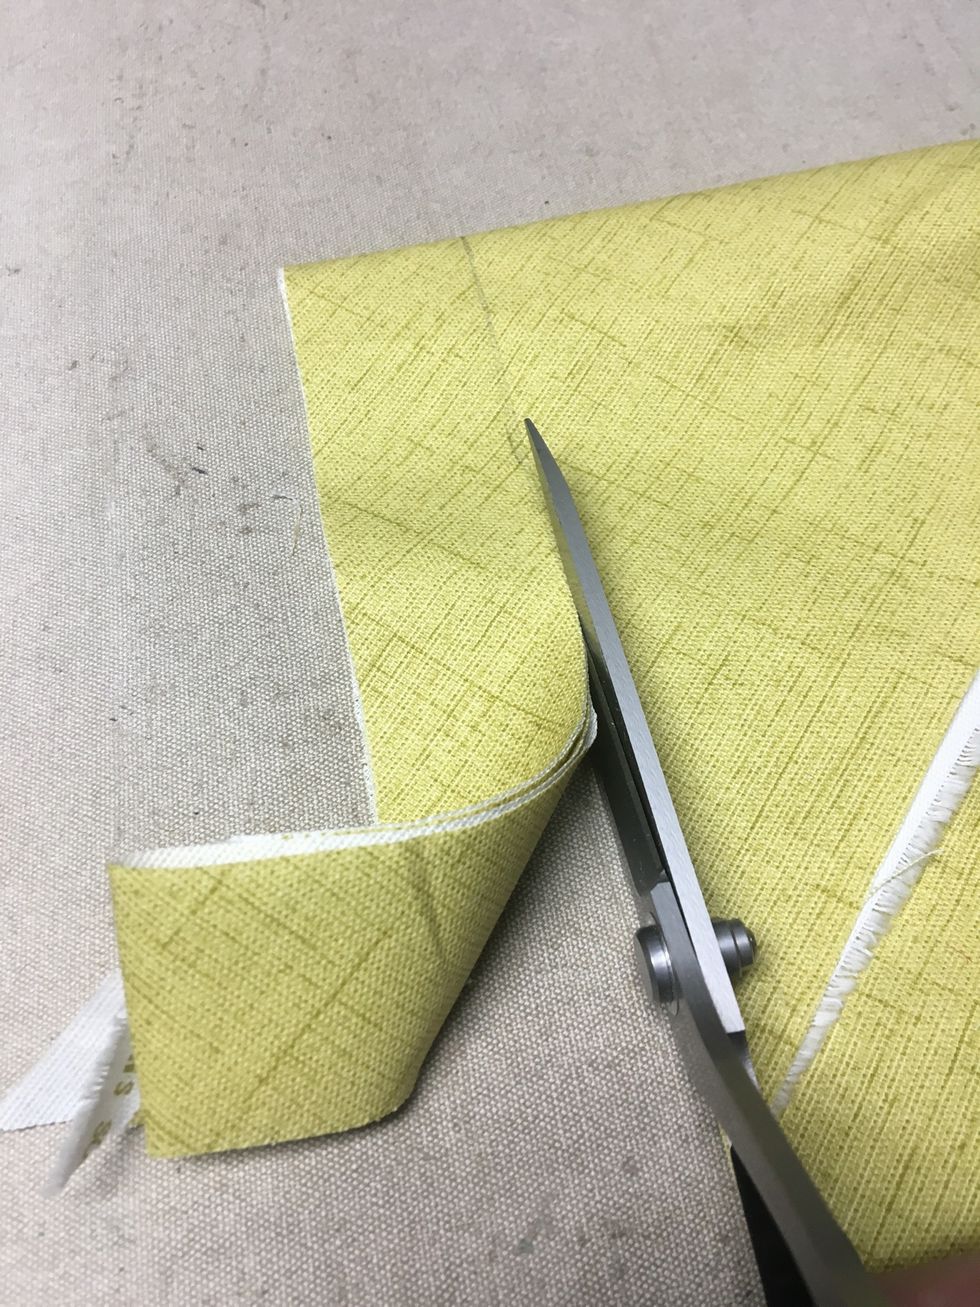
Fold your banding fabric on the diagonal and cut 1 1/2" strips. Cut enough to go around your basket plus 8 - 9" ties. To see how to cut bias banding please visit our website https://bit.ly/2w48YCH
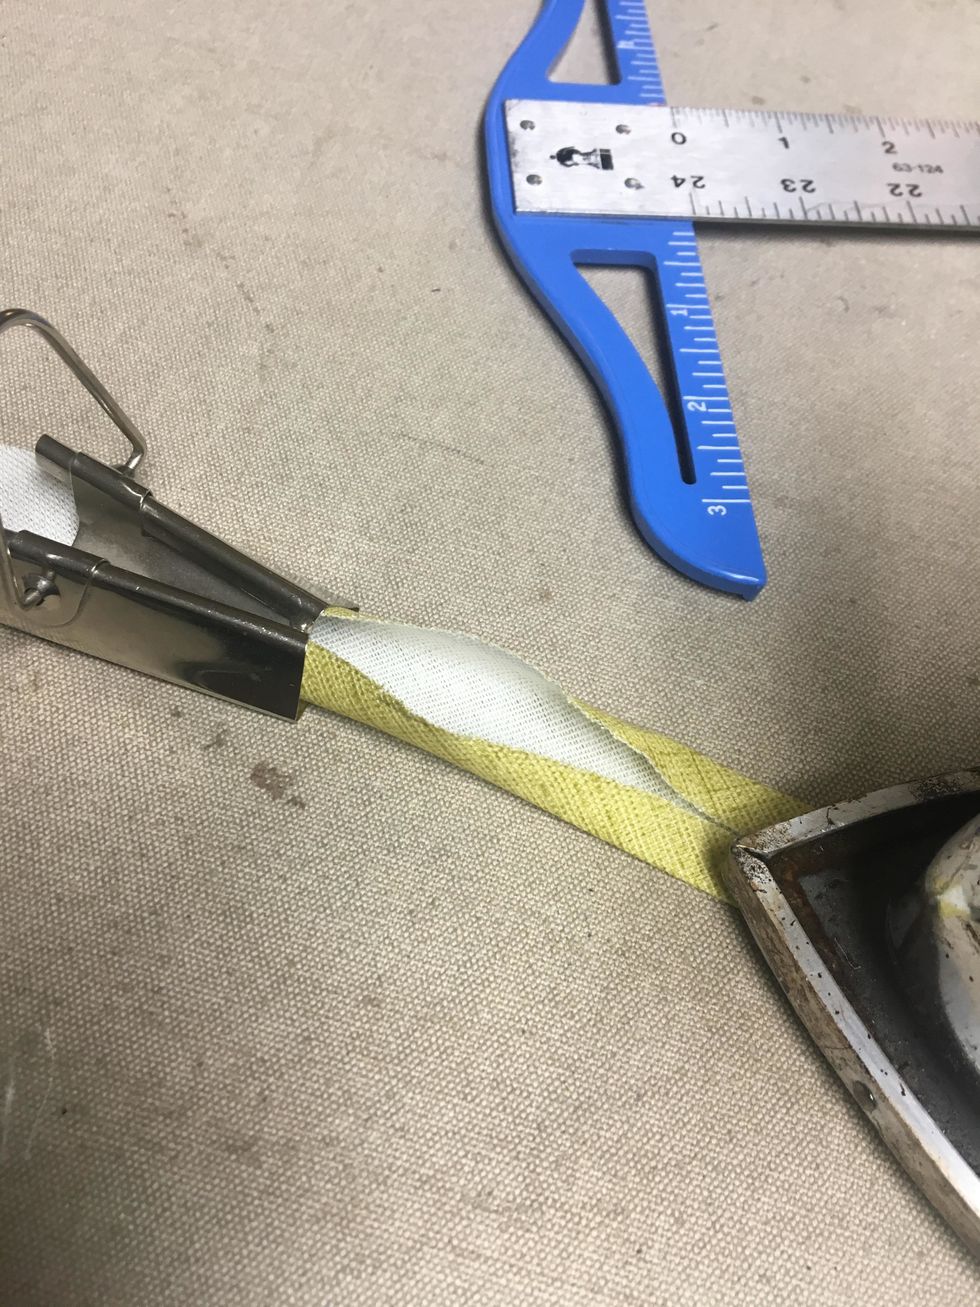
Using the bias tape maker, (available here at our website, https://bit.ly/2VBsxMZ) pull the strips through and carefully press forming the bias banding.

Then fold it in half and press again.
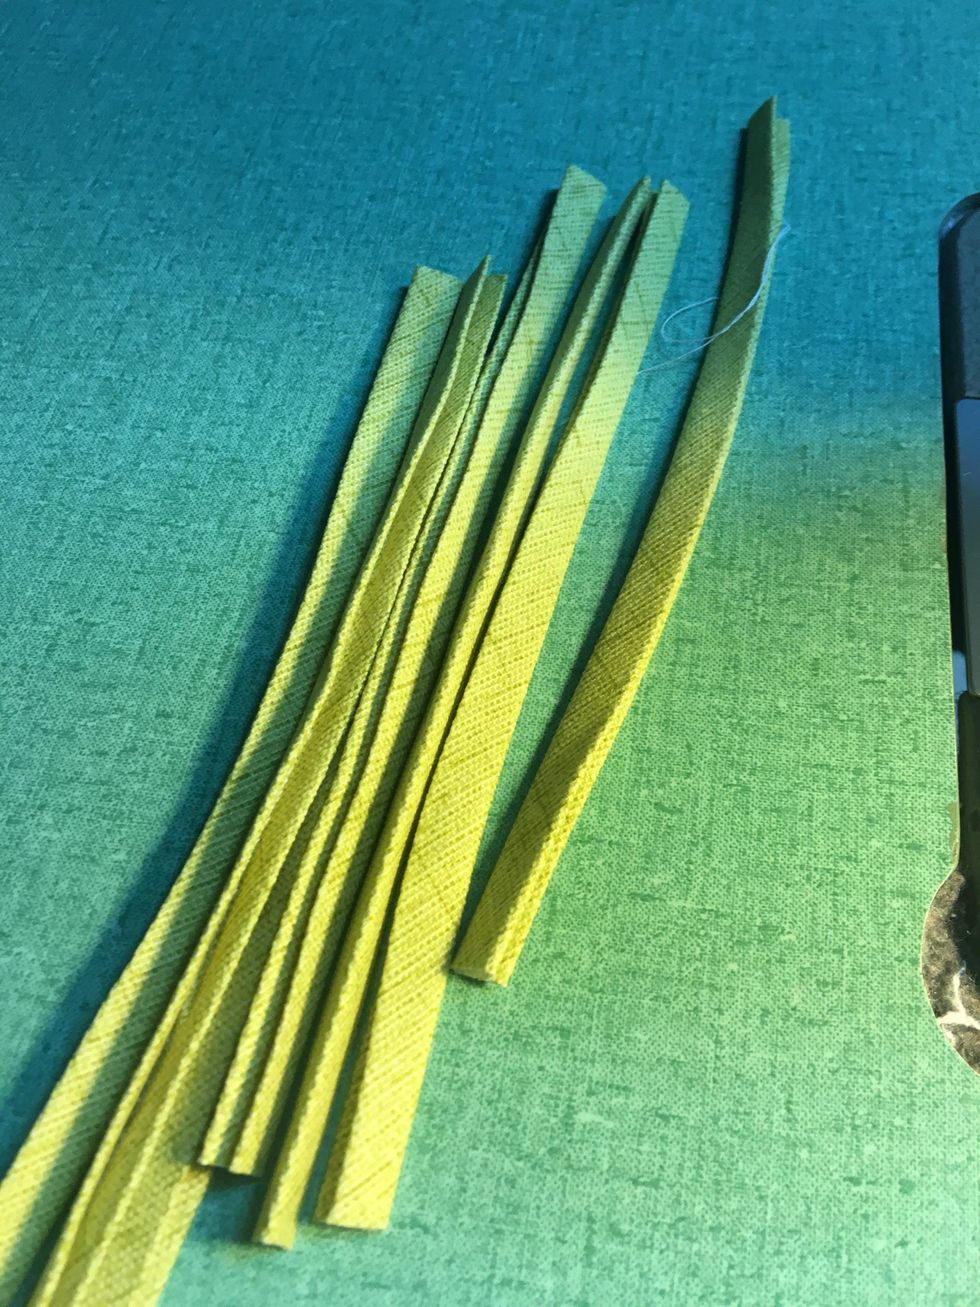
Cut 8 - 9" strips.
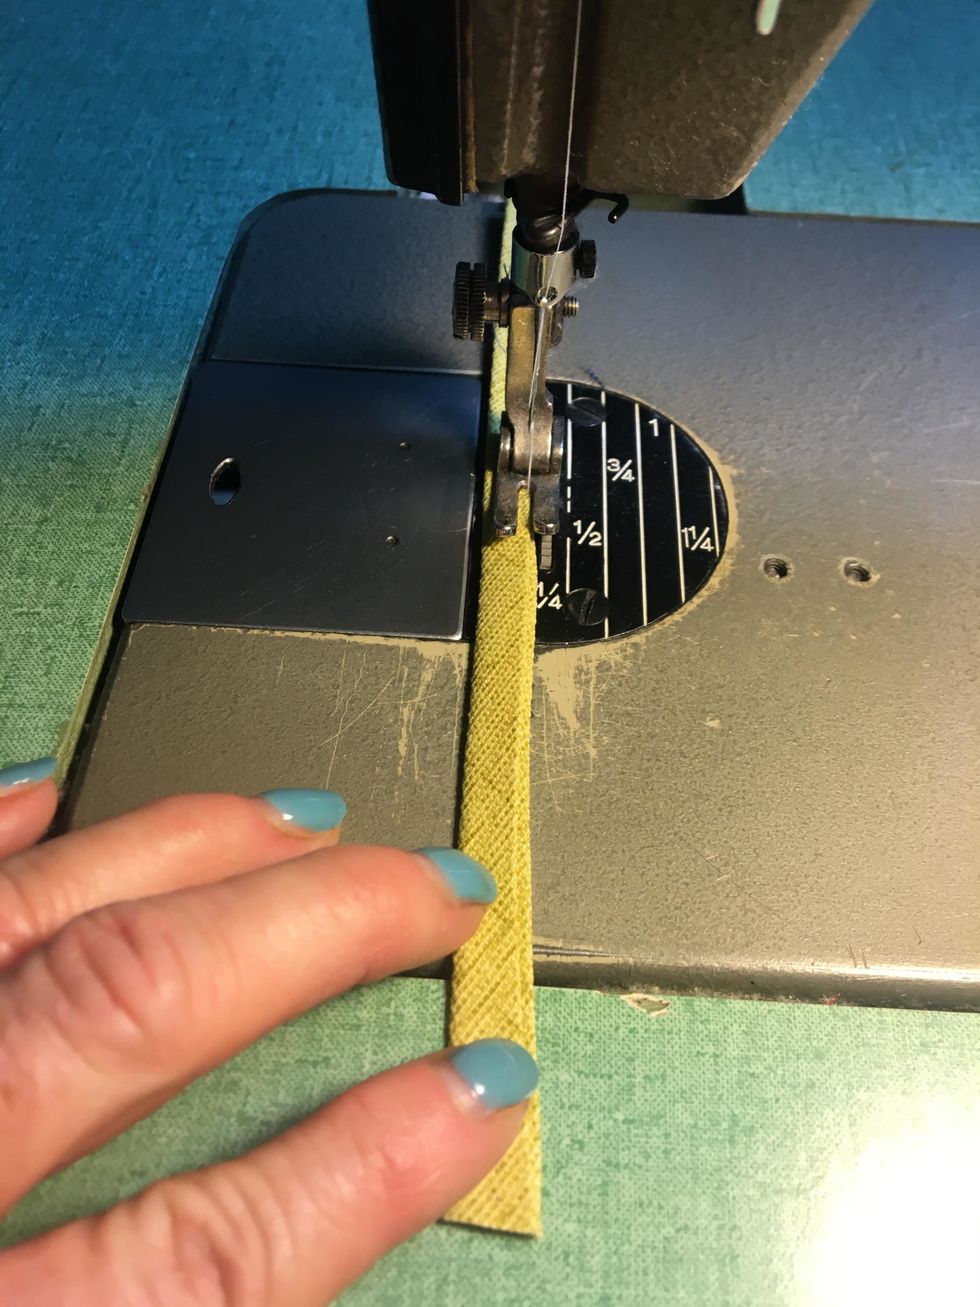
Stitch.
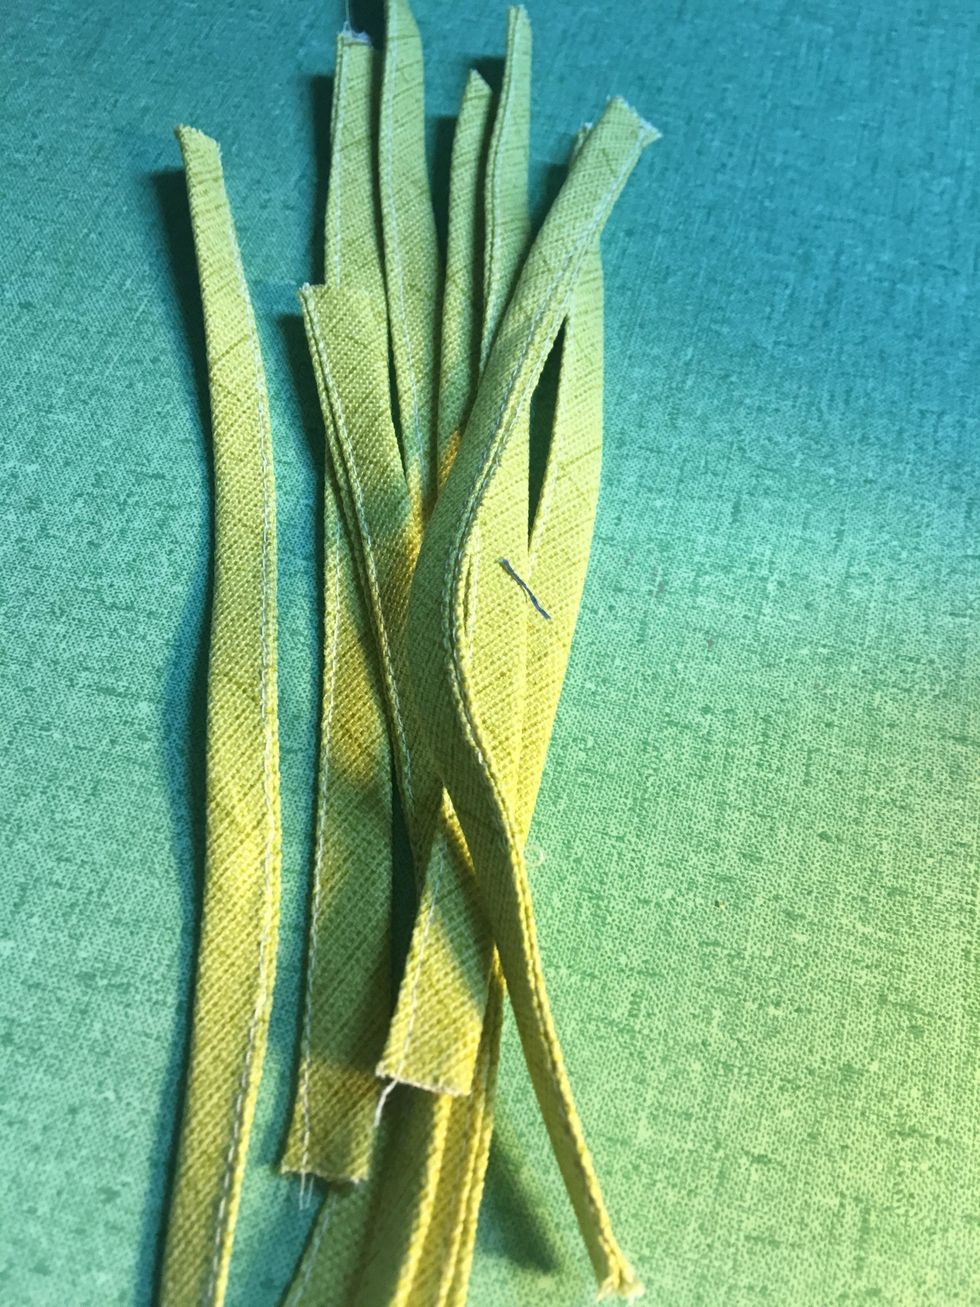

Placing tie along the stitch line of the basket, stitch each tie to the corner of each of the side strips
You will stitch all 8 strips to the corners of the basket.

It should look like this.

Wrap SteamASeam2 around the served edge of the basket.
Carefully wrap the bias banding around the edge and press in place making sure it wraps around evenly.

Overlap the ends as shown.
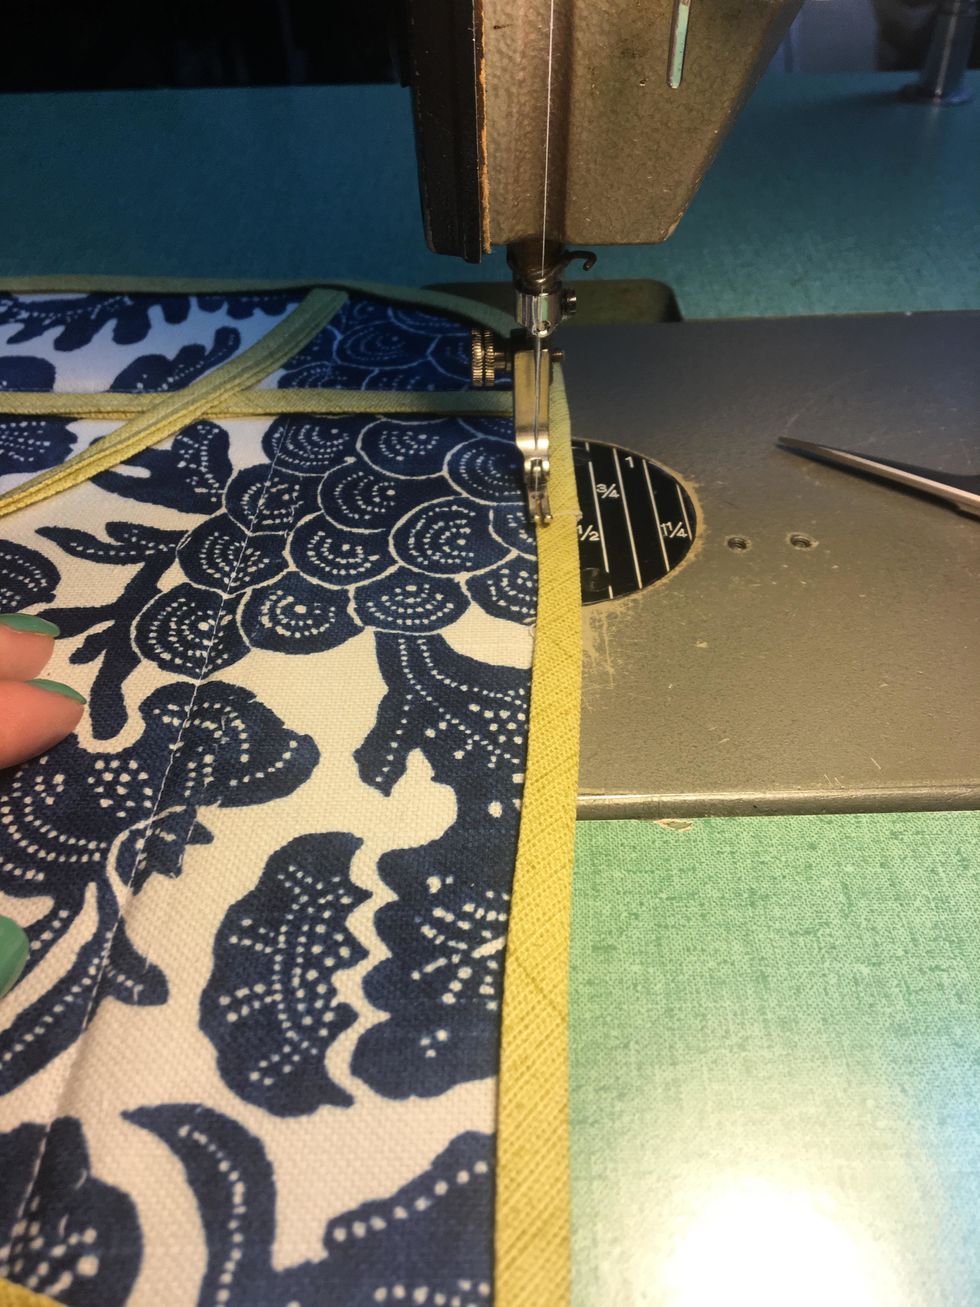
Carefully stitch all the way around.
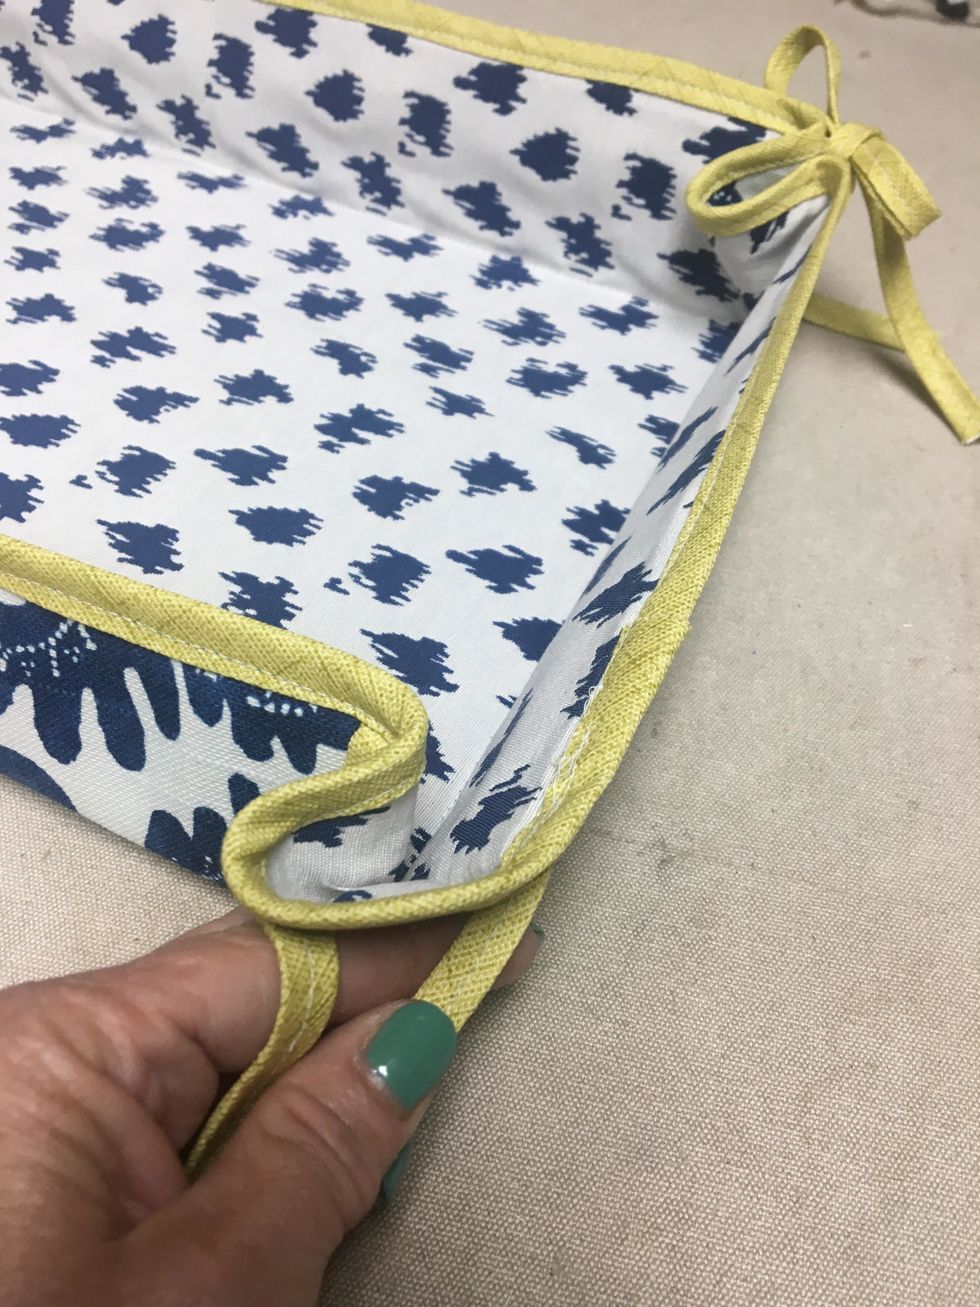
Tie your corners.
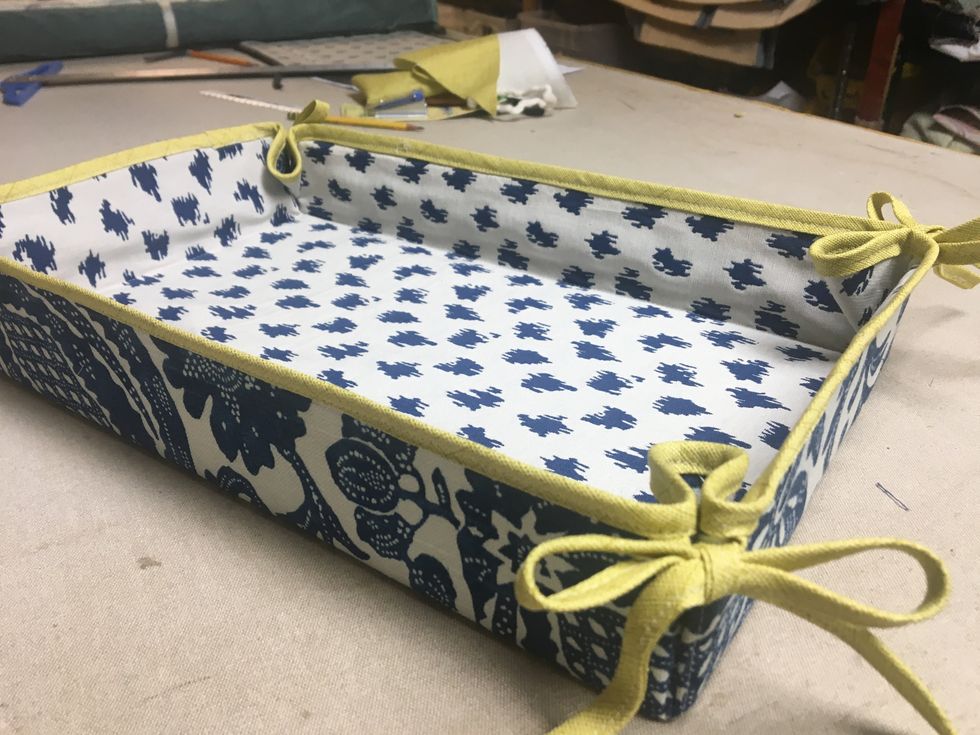
And you're done !!!!
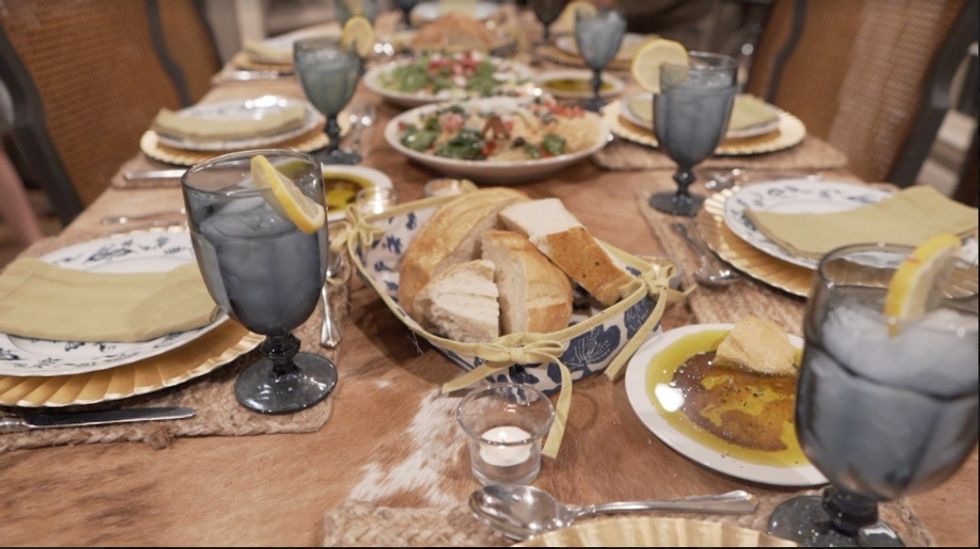
They make such a nice addition to the tablescape!!! For this project and more visit our website under the Tips & Free Patterns here https://www.patemeadows.com/tips.htm

Be sure and subscribe to our YouTube Channel here https://youtube.com/results?search_query=pate+meadows+designs