The Conversation (0)
Sign Up
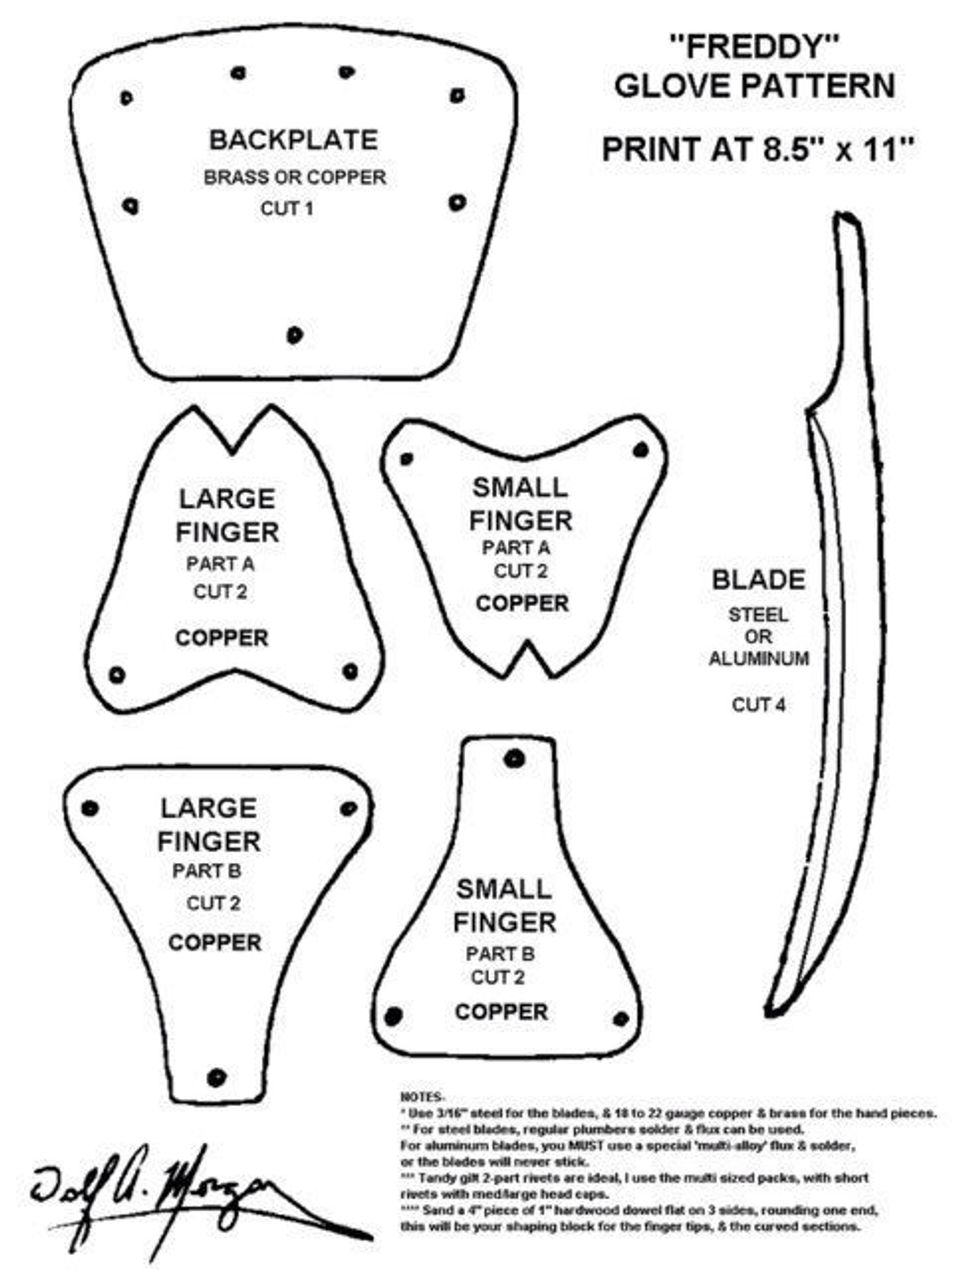
First draw and design a pattern to build your glove. This guide uses pictures from several different gloves I've made. FYI: for each movie there is a different glove. This is just a generic pattern.
You can buy a "do-it-yourself" blade set from www. Knifegloves.com, or make your own as follows.
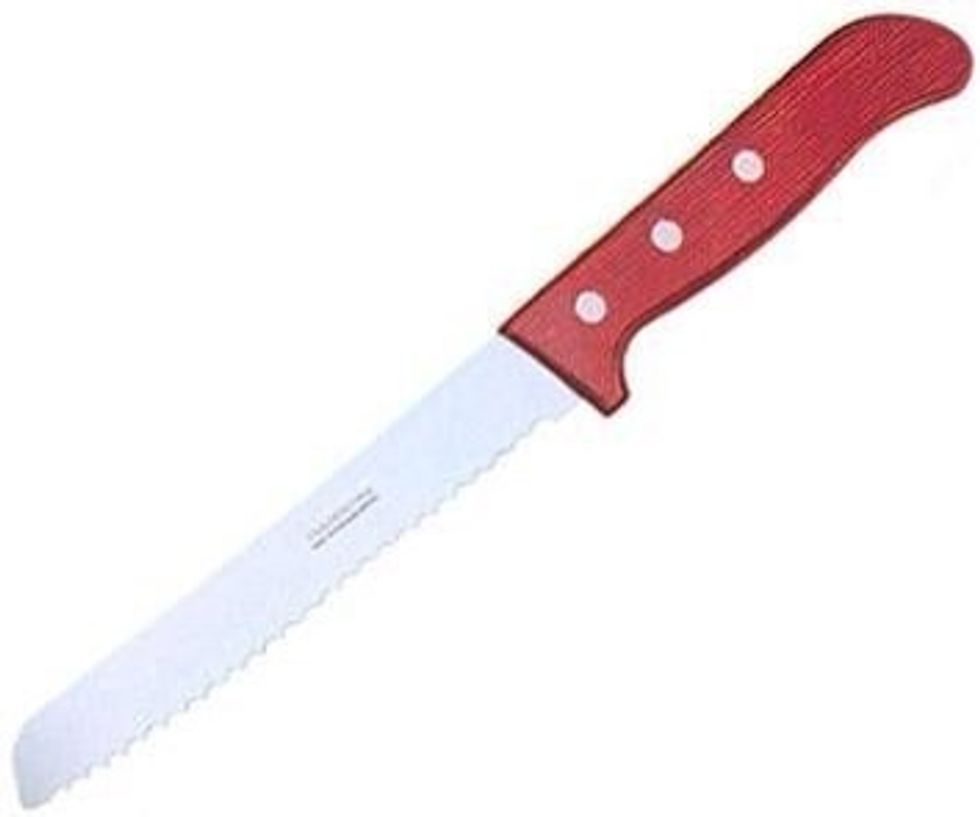
Buy four (4) cheap dollar stainless steel bread knives, use the pattern of the blade to measure it against the knife's blade, so you can be sure you are buying the right one.

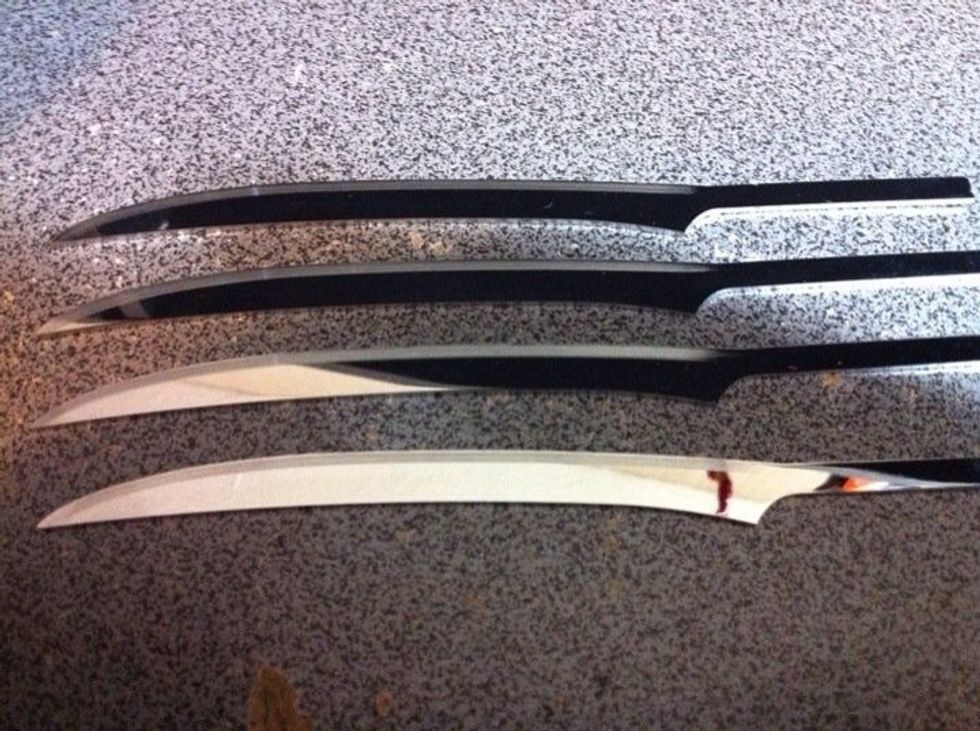
Grind the knives into shape. On every glove I've made I found that this is the hardest step, since it requires a lot of elbow grease.
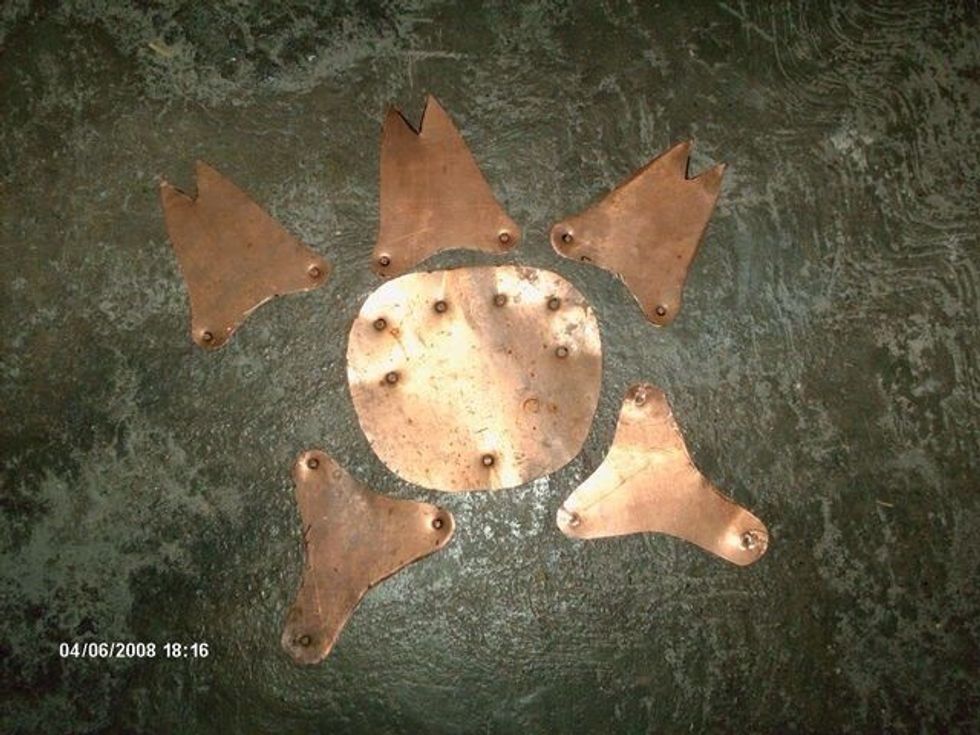
Draw the shape of the finger stalls and backplate on the copper sheet by using the patterns and a sharpie. In the movies, brass was used to make the backplate, but for this guide I used copper.
Shape the stalls by using the broom stick, pressure, and your rubber hammer.
The final shape should fit your fingers inside the leather glove.

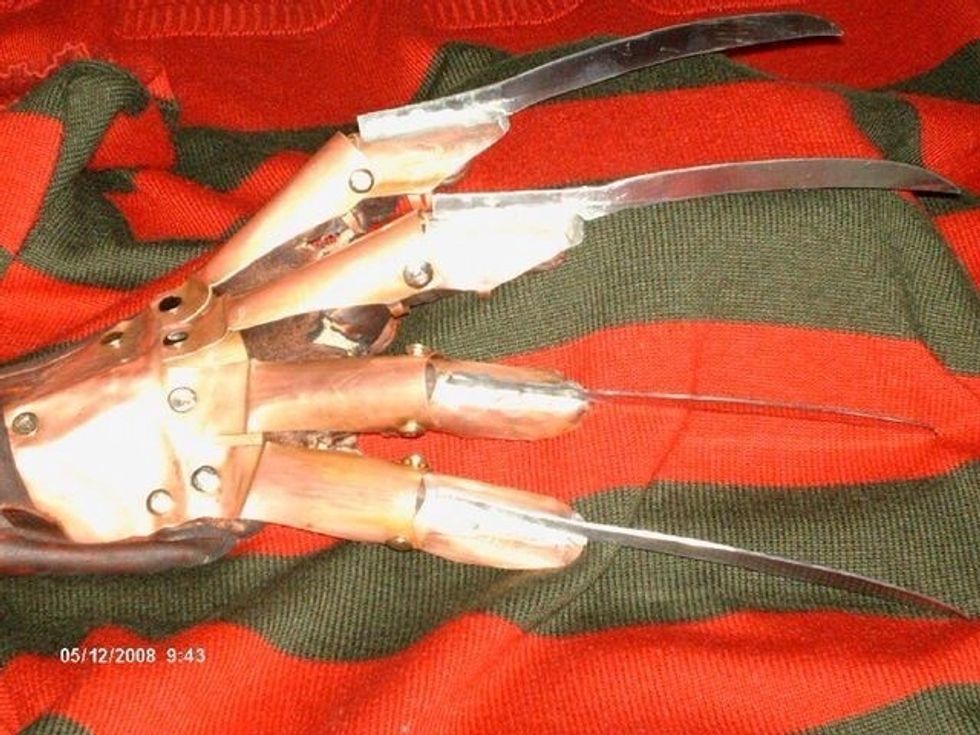
For the shape on the top of the stalls, make sure the tips are rounded (top stall) and not flat and "pointy" (bottom stall)
Once the stalls are shaped and fit correctly, drill the holes on the bottom stalls, then overlap them to the top stall, make sure there is a good hinge for mobility, and mark where to drill.
Drill holes on the bottom of the stalls, then put the whole armature over your hand (inside the leather glove) and adjust the backplate to your comfort, then mark on it where the new holes should go.
Testing the blades, the inner round part should match the shape of the finger tip. You can use scotch tape to hold them and see how they look.
Cut 8 thin stripes of copper, measure them with your fingers inside the glove for comfort, and solder one to the back of each piece of the finger stalls.
Another hard step is soldering the steel to the copper. Here the steel has to be carefully heated with the propane torch. Tip: search on YouTube, there are great tutorials on how to do this.
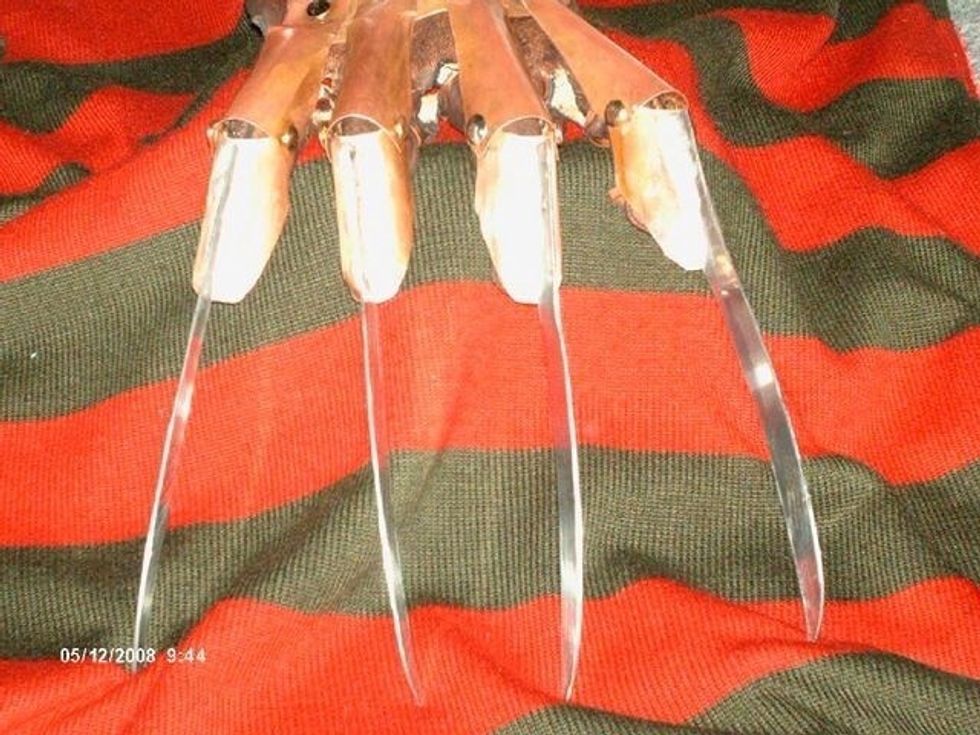
Test the stalls on your hand inside the glove in case any adjustments need to be made.
The solder does not have to be clean and even, remember: a rough look is better; Freddy made these gloves in his dirty basement.
Use the rivets to hold the lower parts of the fingers to the backplate. The backplate can be bent to give it a rougher look, although some bends will be made "naturally" while wearing the armature.
The leather glove can be any color, but I preferred white, to paint it in any color. Use the sand paper to give a rough look to the leather. Tip: In the movie the glove is (dirty) yellow.
To make it look rough, carefully and with rapid movements burn the glove with the propane torch, not too much just give it a crispy look
Rivet the stalls to the backplate, then cut the leather glove to age it, and rivet the whole armature to the glove. Again, test the armature on your hand to see where the holes in the glove go.
You are done! Now go buy a green/red striped sweater, a good fedora, and you are good to go.
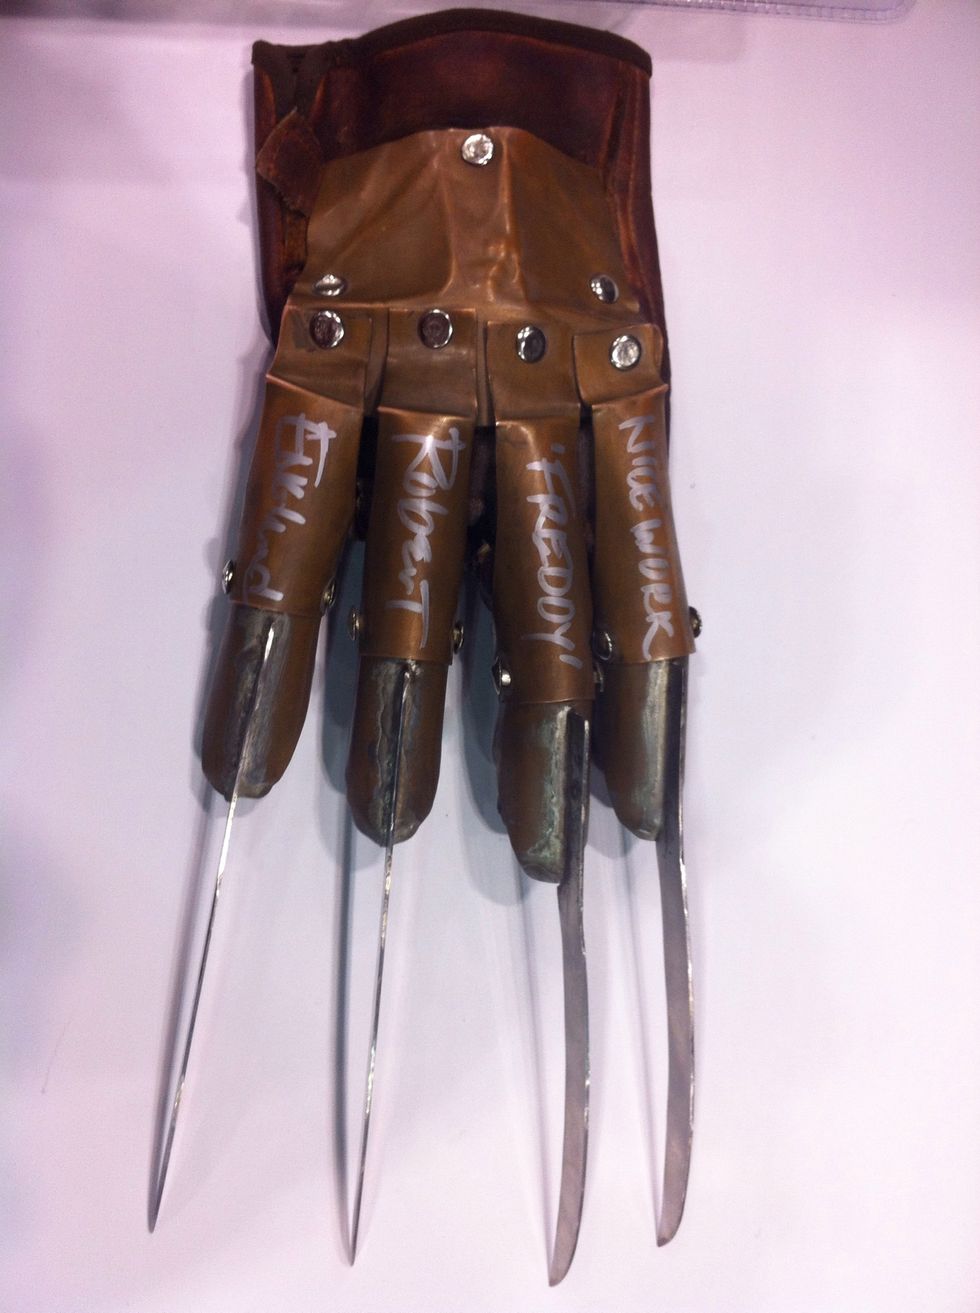
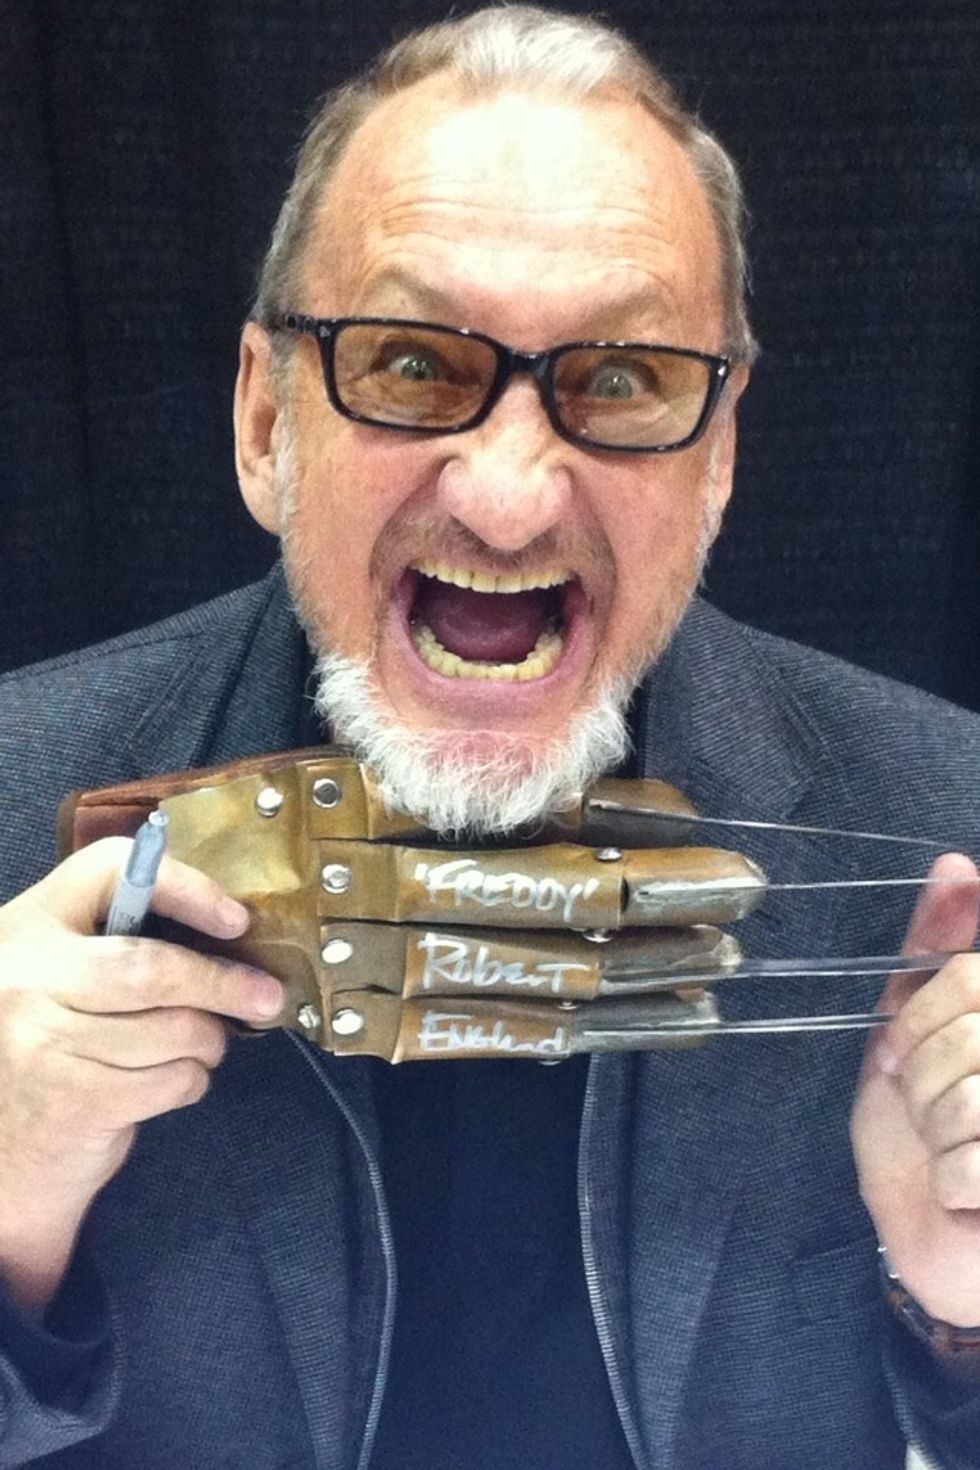
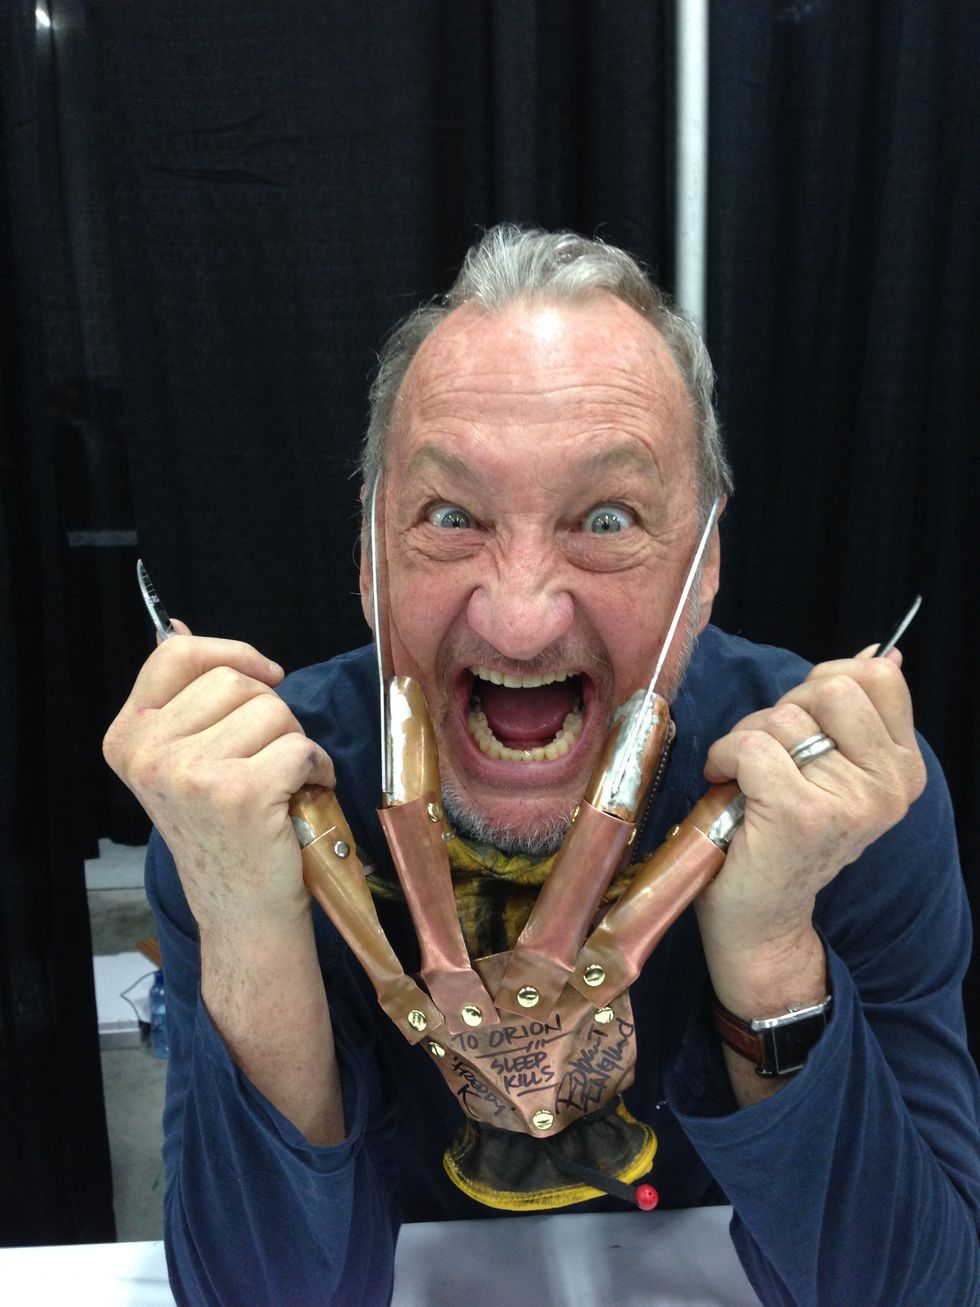
Or you can take it to Robert Englund so he can approve your master piece.
Two gloves where used to make this tutorial, this one an the one shown in the next step.
Happy Halloween!