The Conversation (0)
Sign Up

Find an old fork. A bit of ornament is nice, but not necessary. Mine has a heavily worn silver plate that works with this rustic up-cycling.
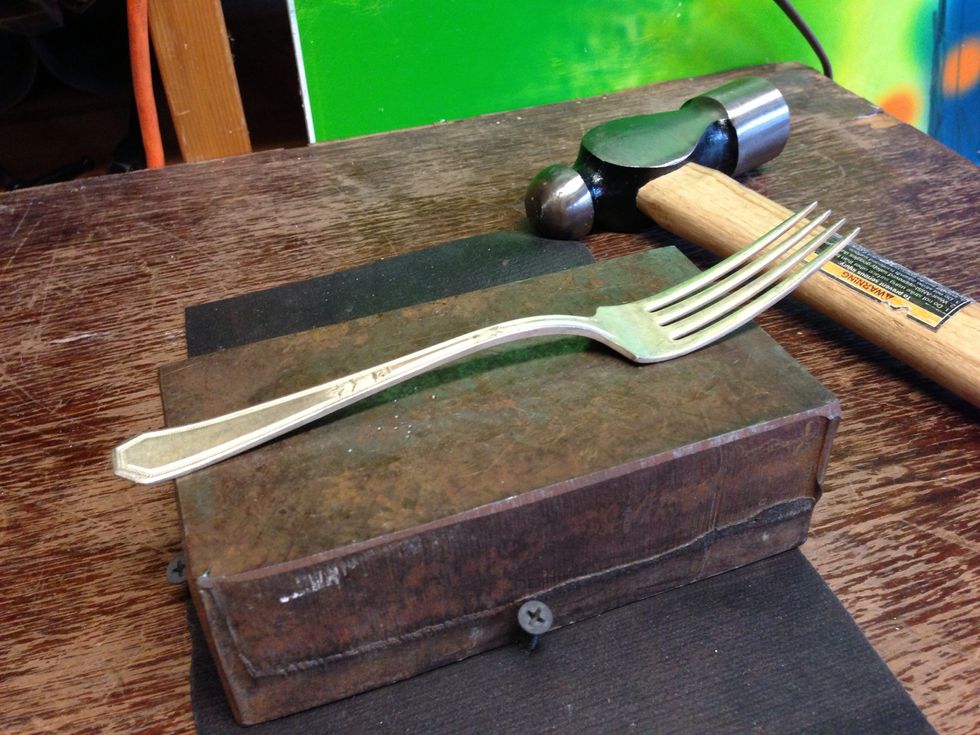
Flatten it with a heavy hammer and a steel block. Avoid dents with flat blows, and concentrate on the arcs. Avoid hammering the handle and tines. It will make them harder to bend.
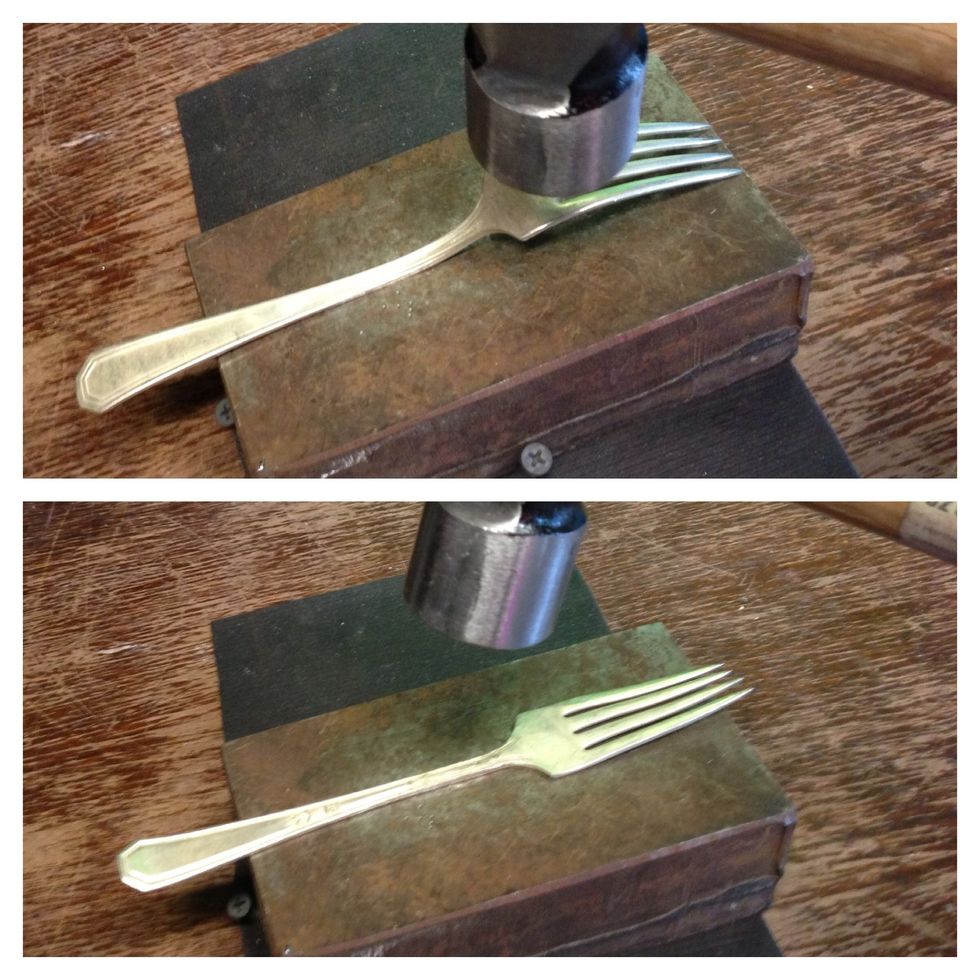
Hammer down on the raised part, flip, repeat.

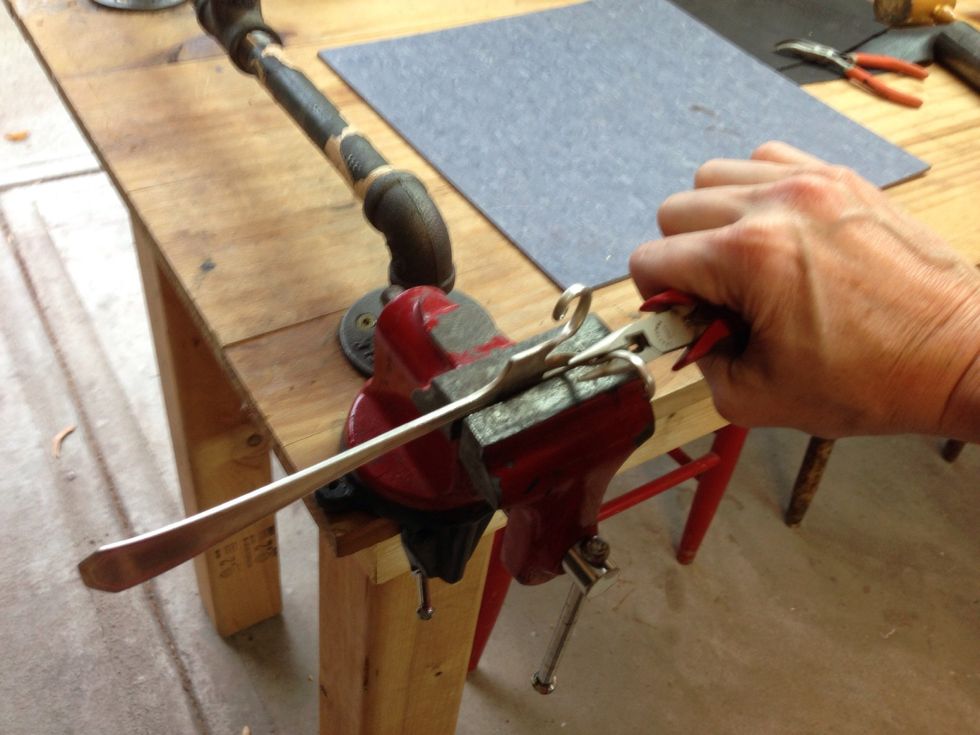
Using a pretty heavy-duty needle nose pliers, curl the right tine forward, bit by bit.
It's pretty hard to bend, don't hurt your wrists!
Put that tine down in your vice and clamp it tight.
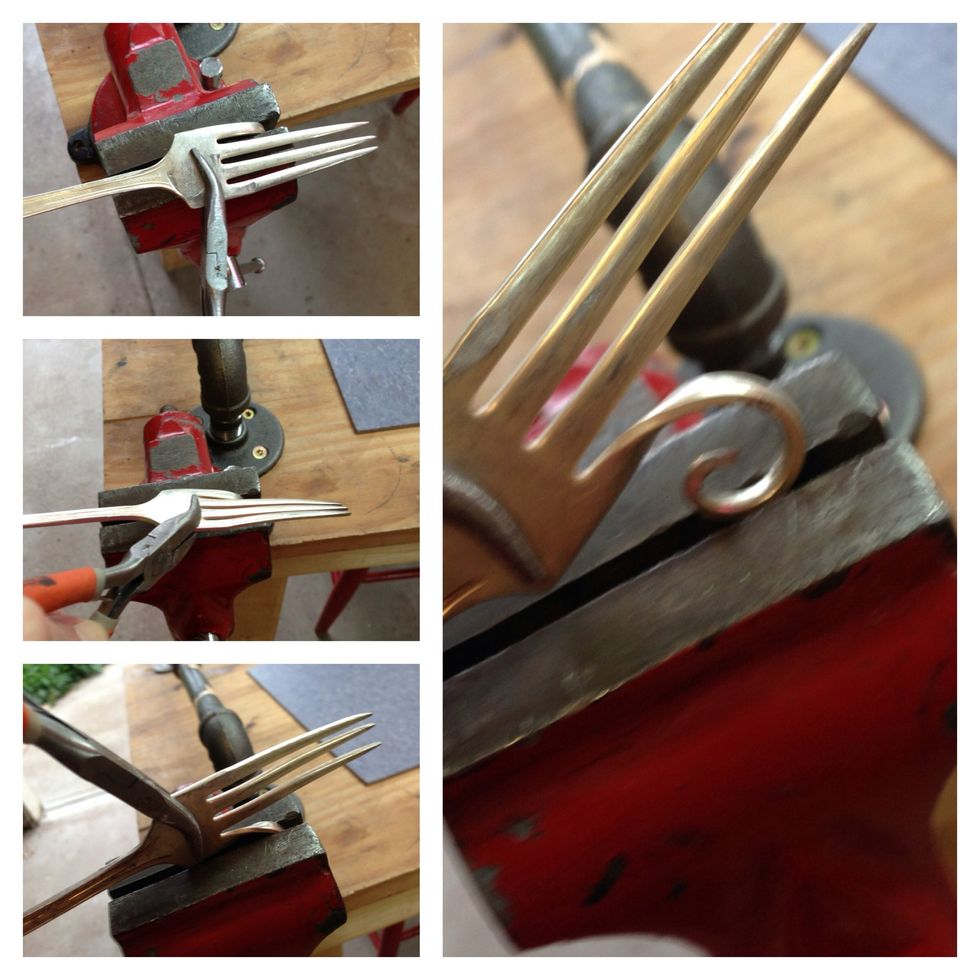
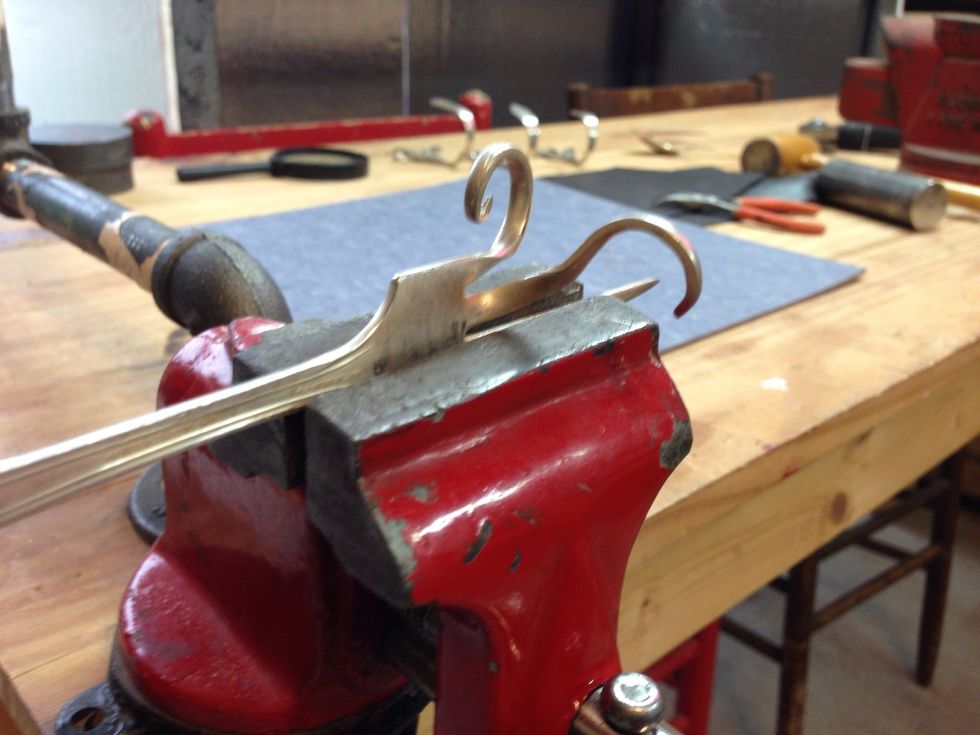
With pliers, grab the opposite side of the fork and raise it off the vice until it is perpendicular to the surface. Remove from vice.
Repeat for the left tine. Curl the left tine and bend it out as in step 7.
These will be your screw holes.
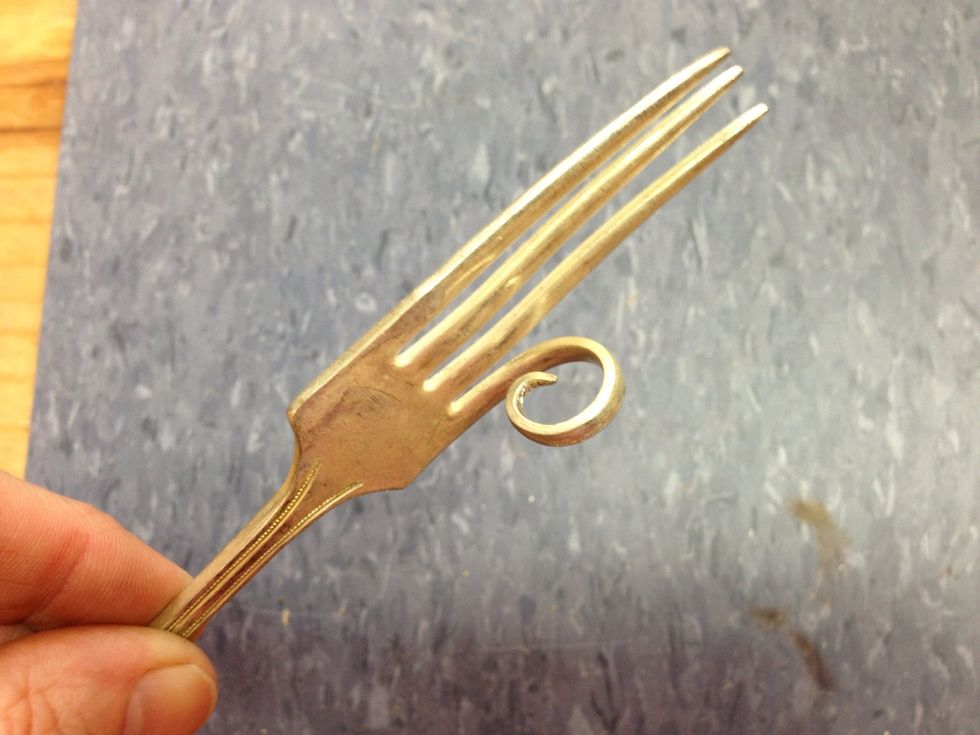
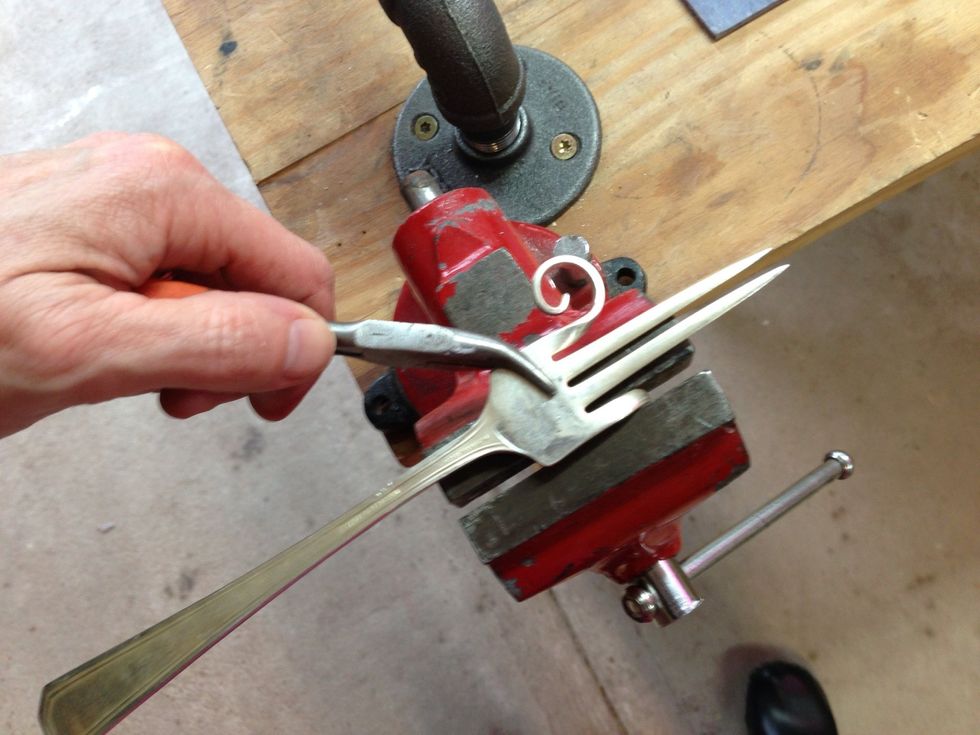
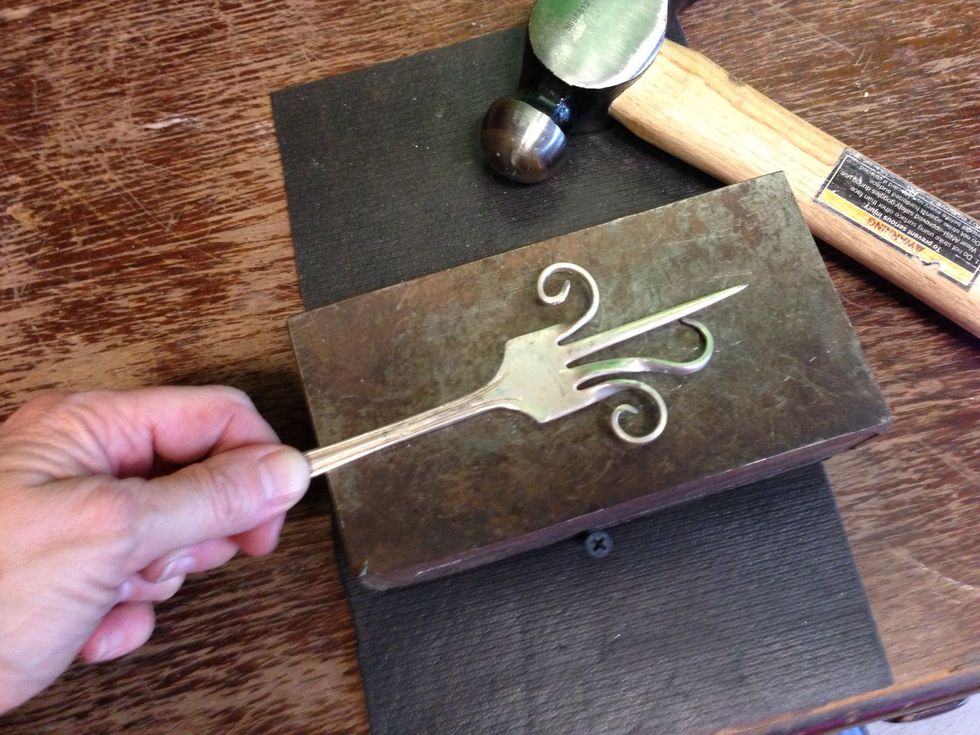
Bend a third tine forward like this, with your pliers.
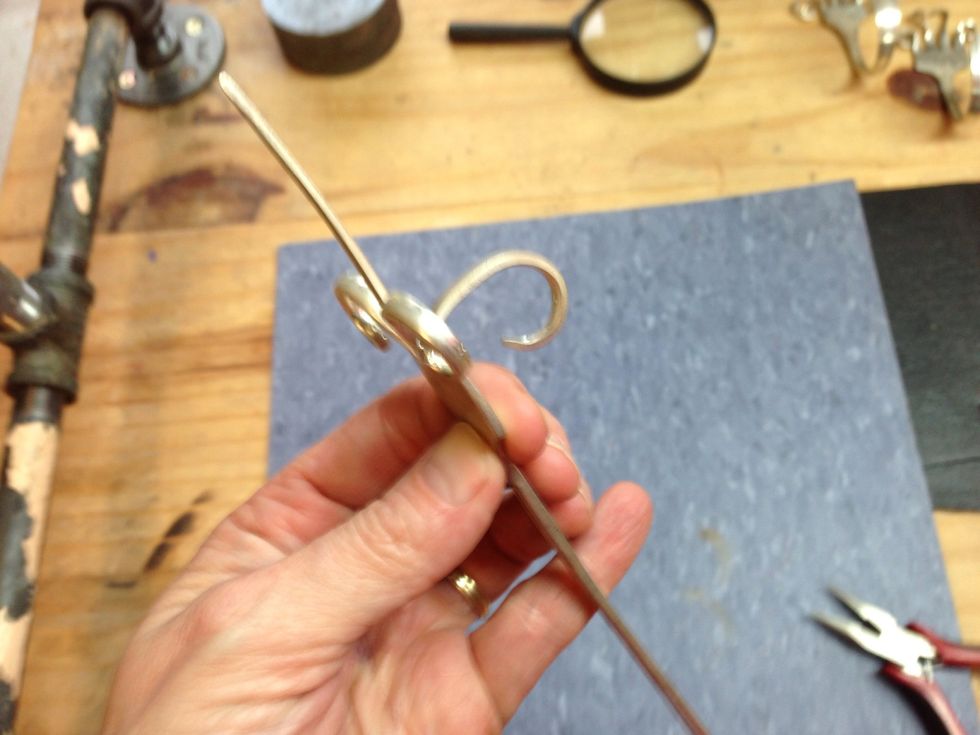
Curve the tine into a gentle curve.
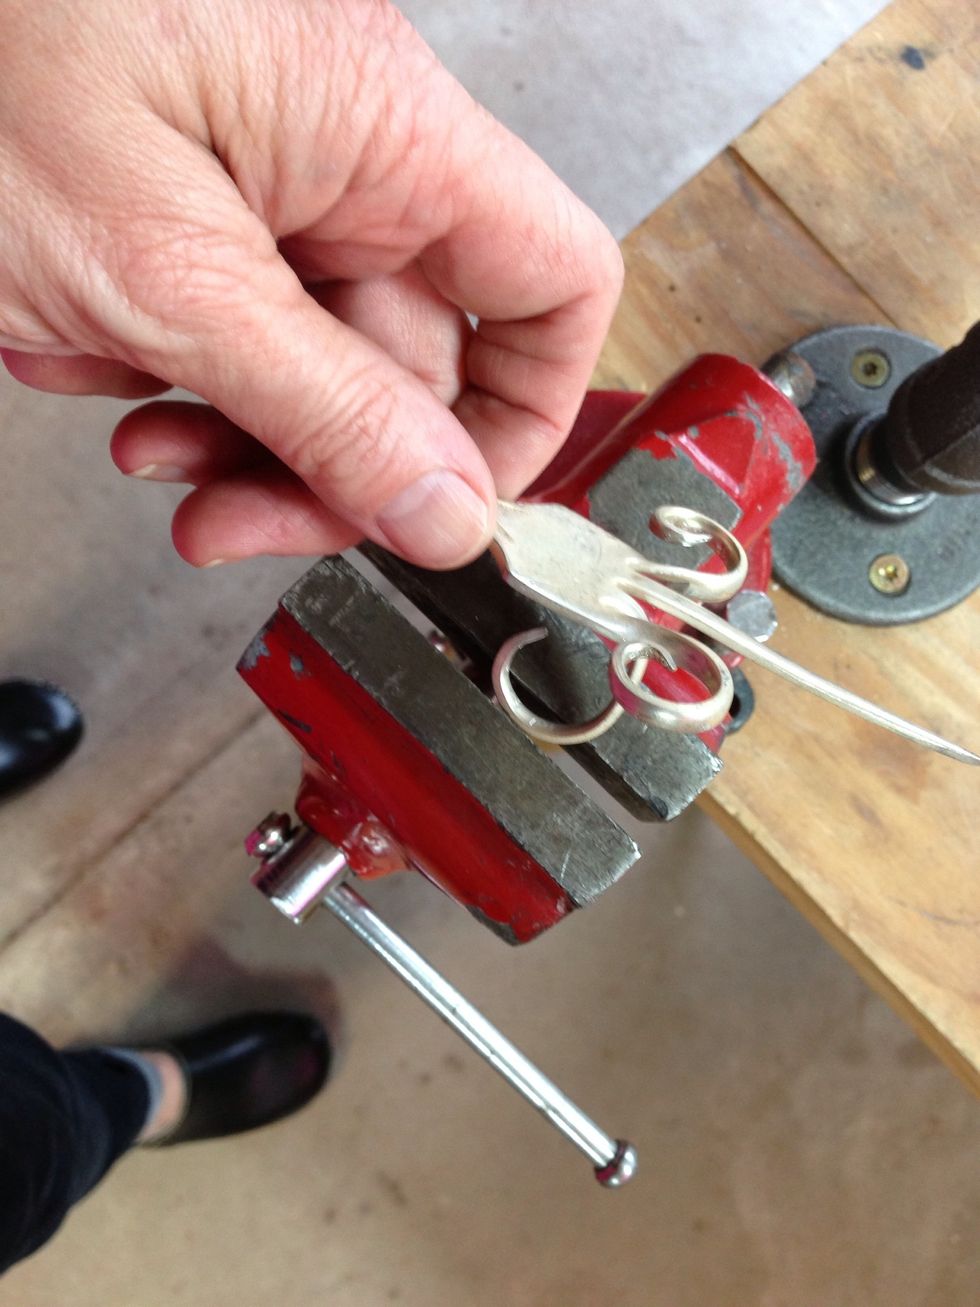
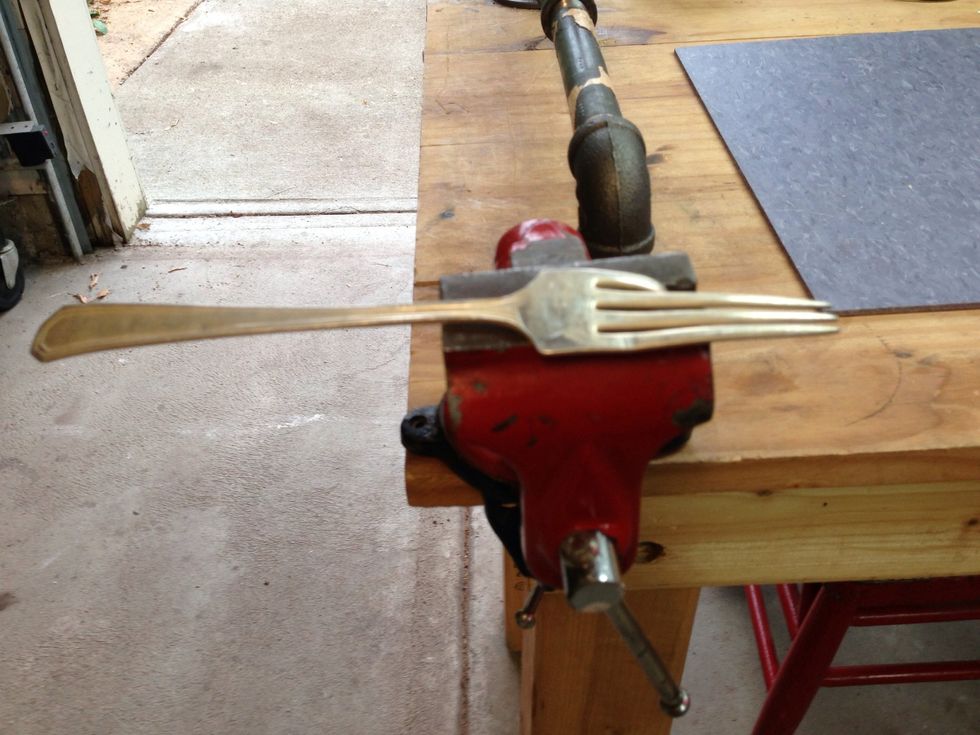
Put that tine in the vice with the handle to the left.
Gently pull the handle towards you.
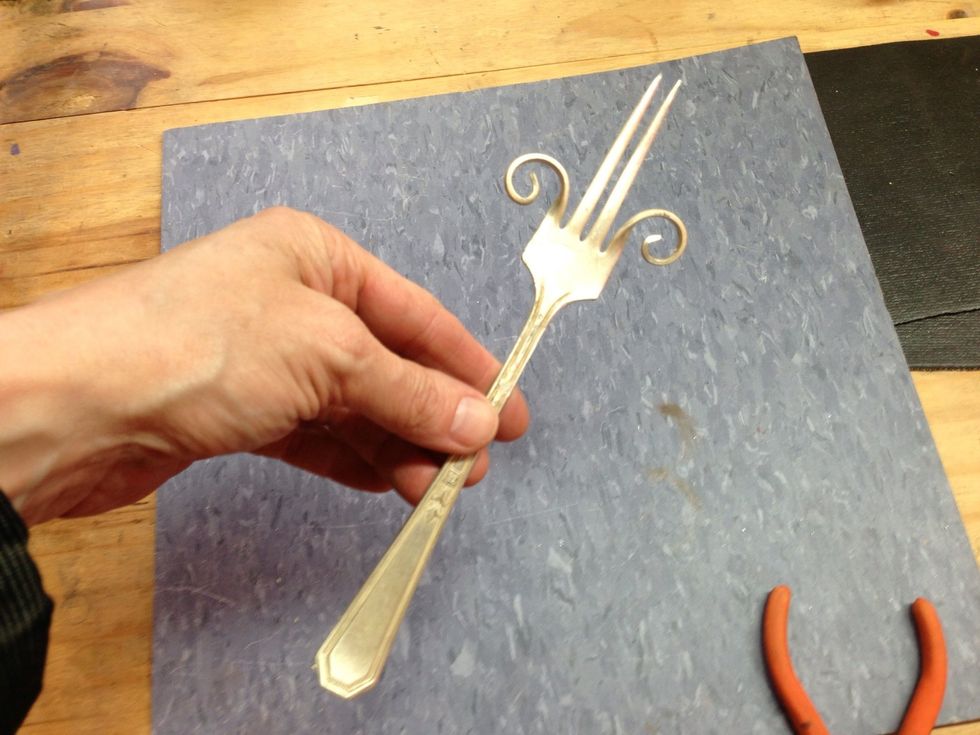
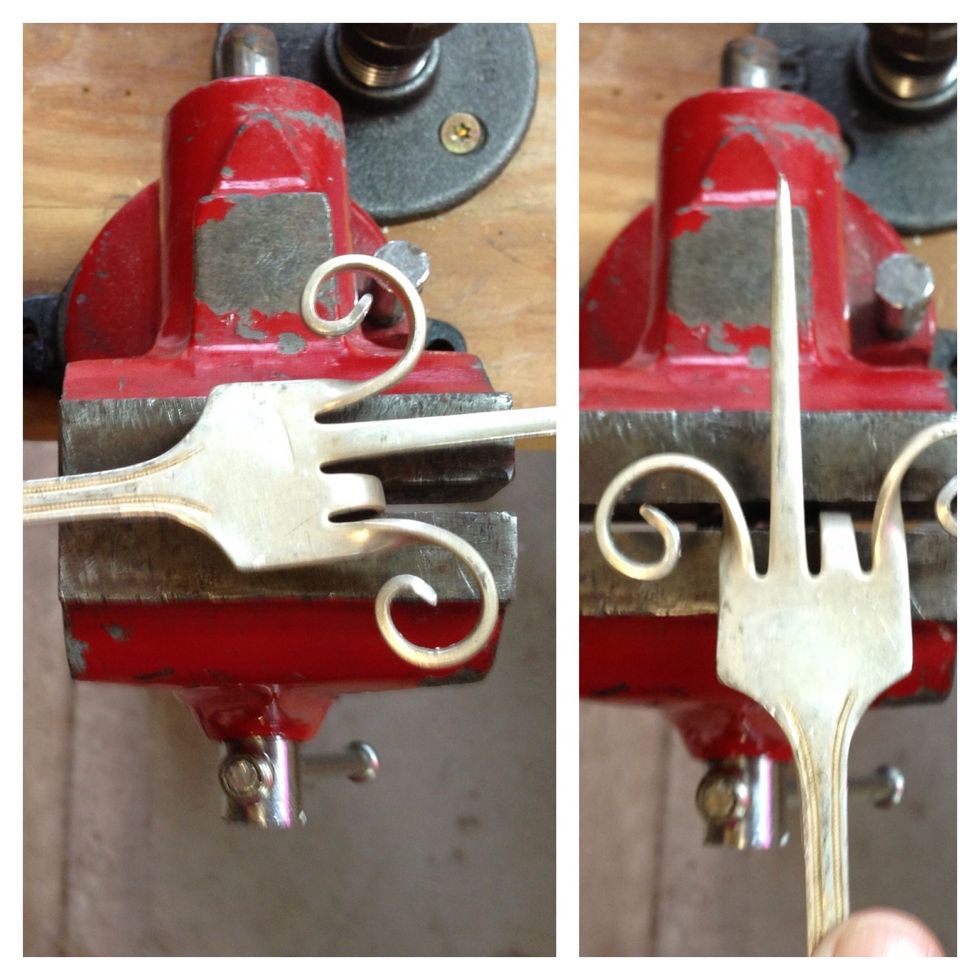
Take your fork out and reposition it so the newly bent tine is coming towards you. (Click the photo to see the full photo.)
Bend it up.
It should look like this.
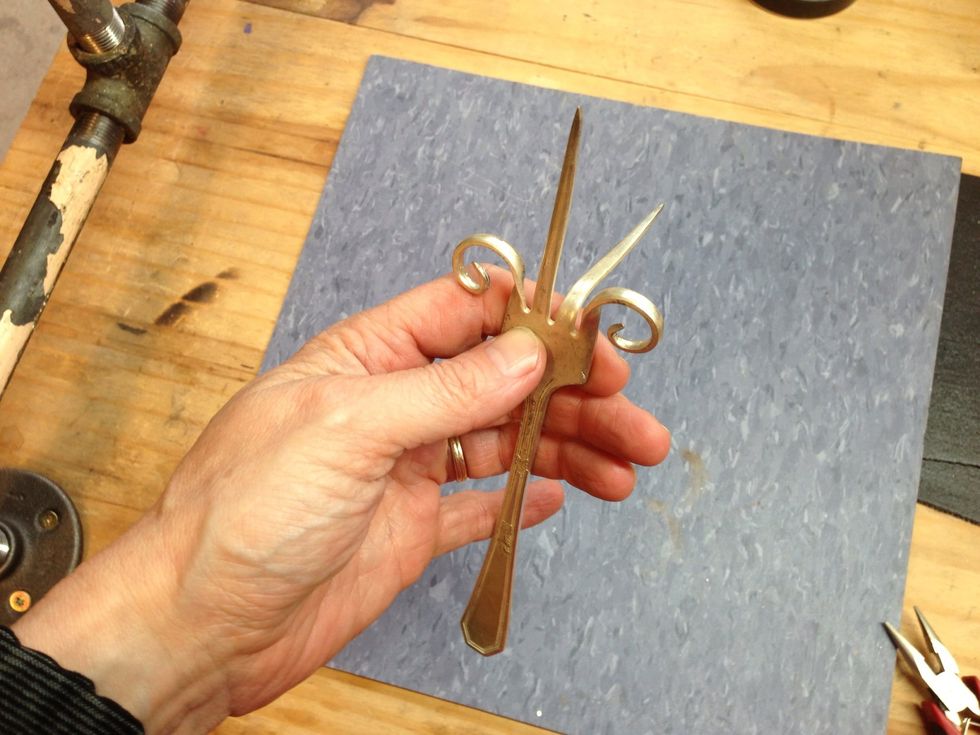
Hammer it flat.

Repeat steps 10-17 for the last tine.
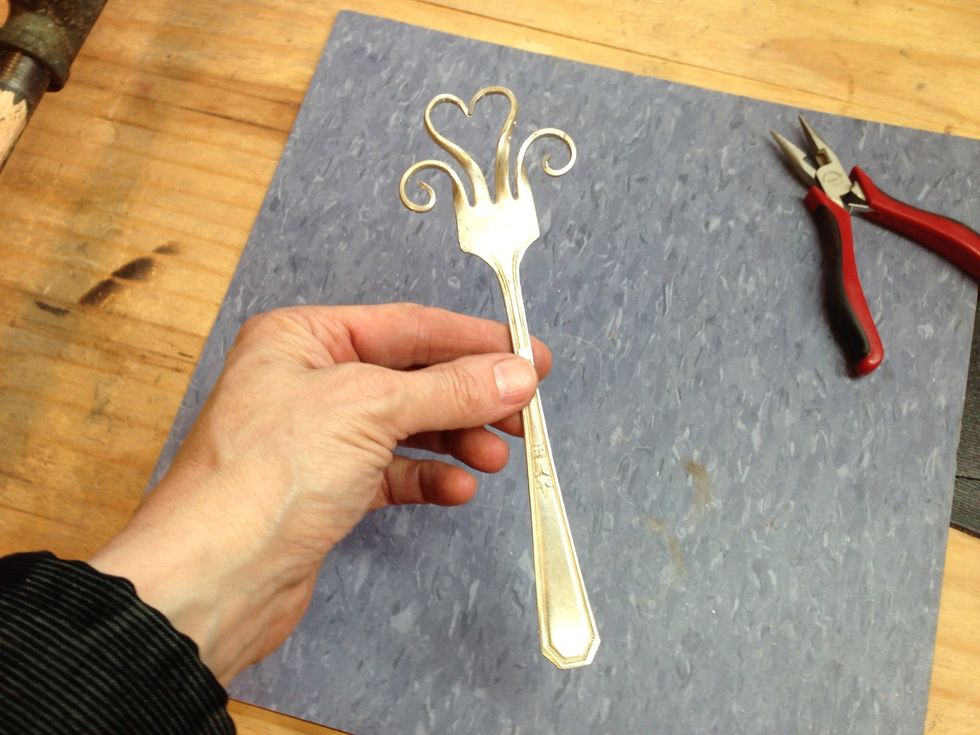
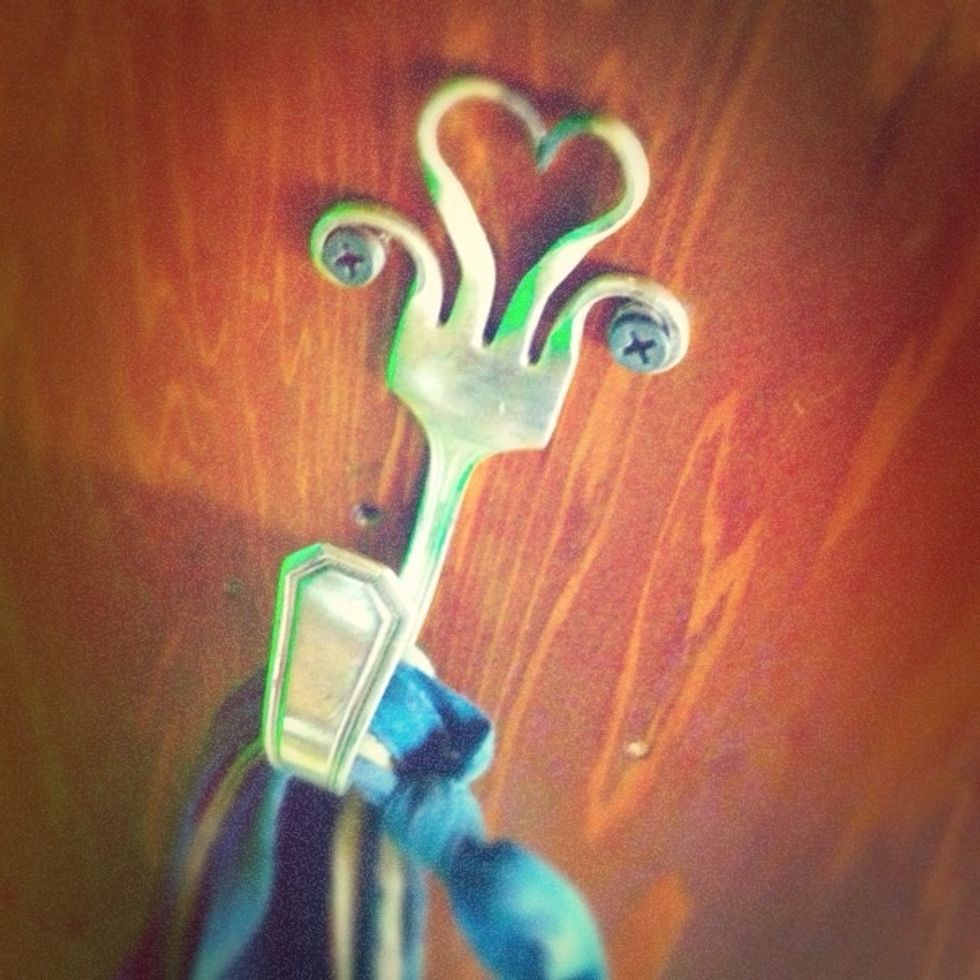
This forms a sweet heart in the middle!
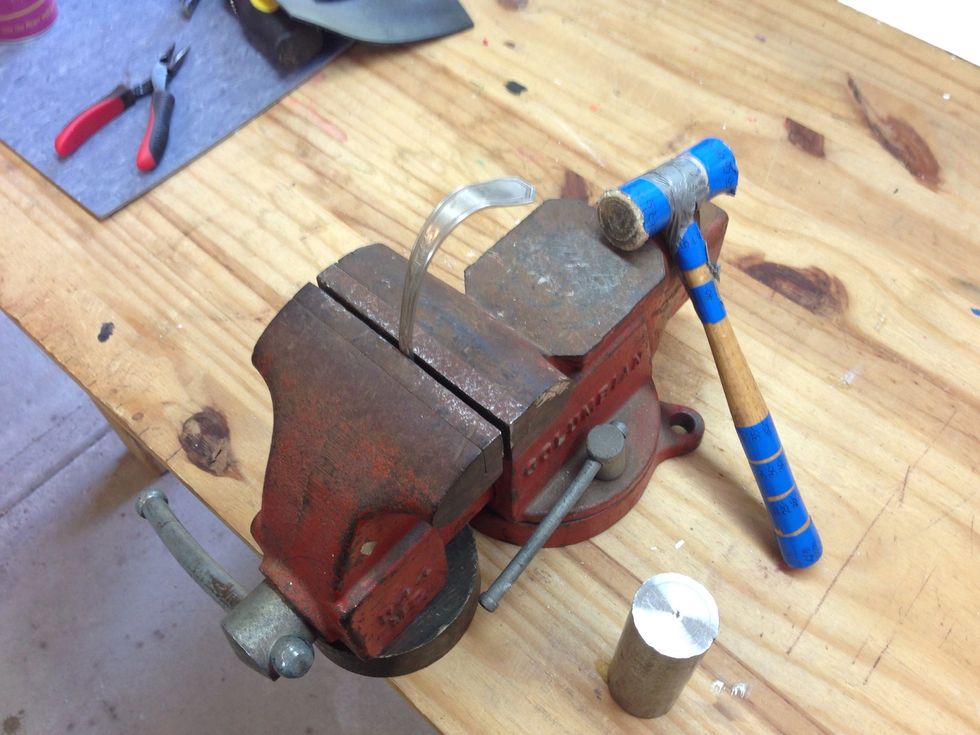
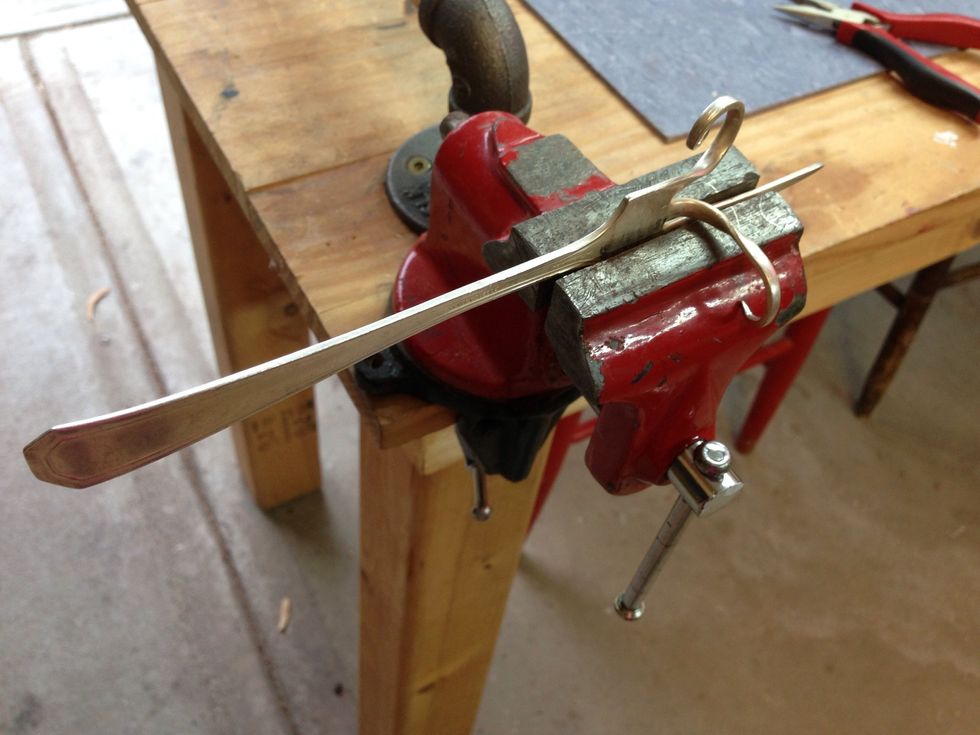
Curl the handle into a hook. Clamp it in a vise and hammer it over something round, so that the pretty part will show when it is hanging on the wall. A rawhide mallet won't leave any marks!
You're done!
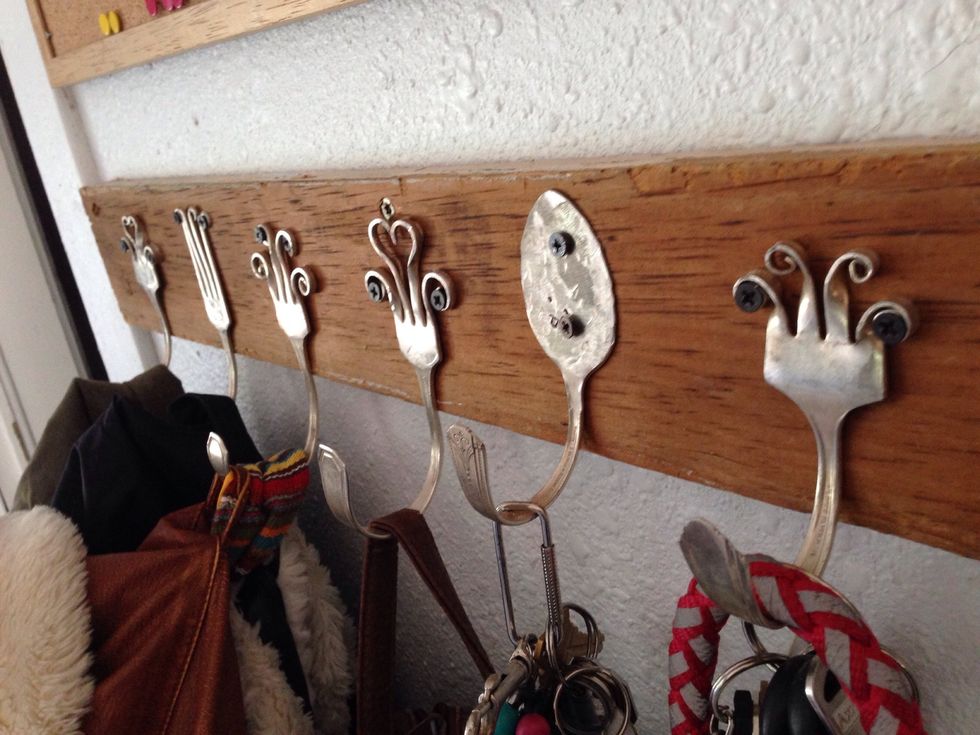
Now screw it into the wall. You're going to love it! Spoons work, too, but you have to drill screw holes. Butter knives just don't bend =[
Thanks for viewing my how-to! This guide has been FEATURED on Snapguide. Please visit me at JoeBobLeigh.com