The Conversation (0)
Sign Up

Download INKPAD by TAPTRIX, INC from the AppStore. ($5)
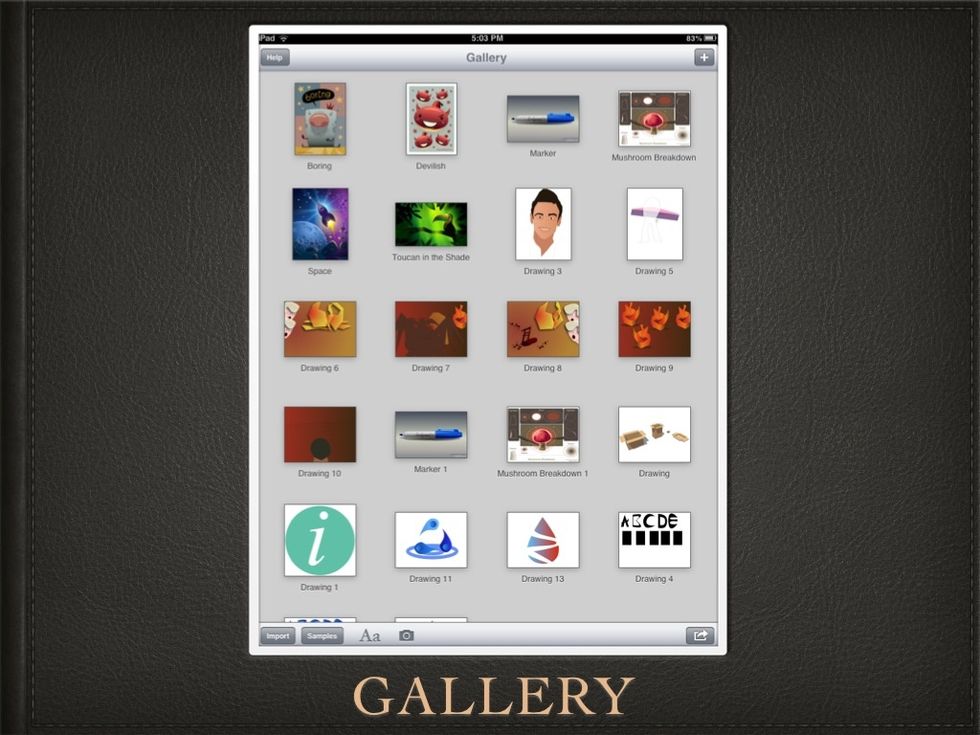
InkPad is a VECTOR ILLUSTRATION app similar to ADOBE ILLUSTRATOR. It is very simple and easy to use. And you can make a lot of cool things with it. So tap the PLUS at the top right of the screen!
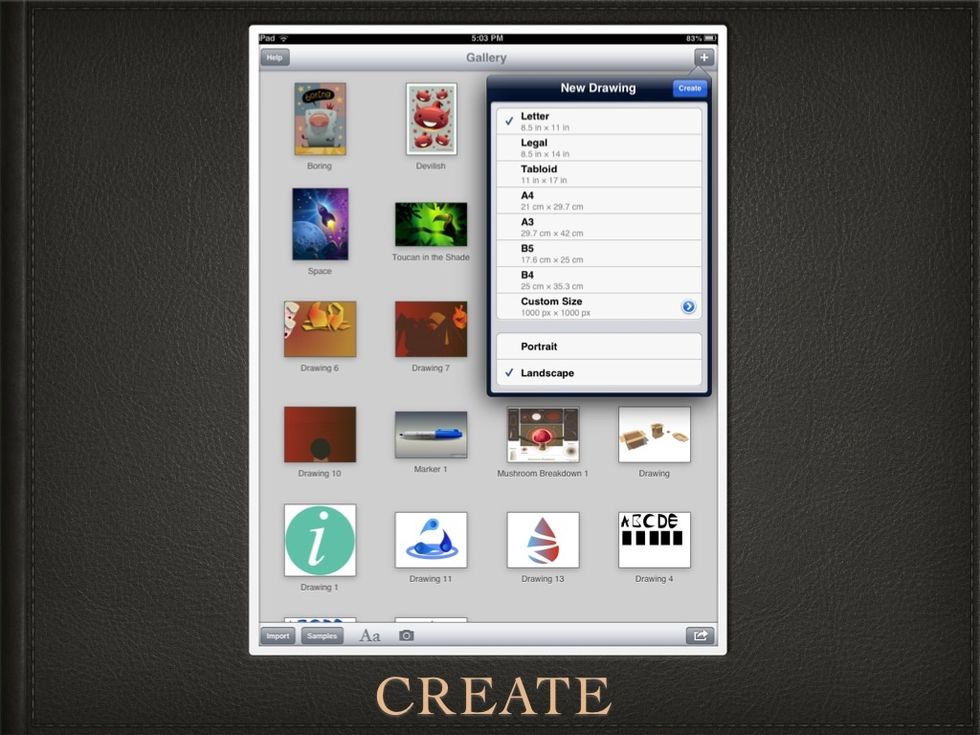
Choose a SIZE then tap CREATE.
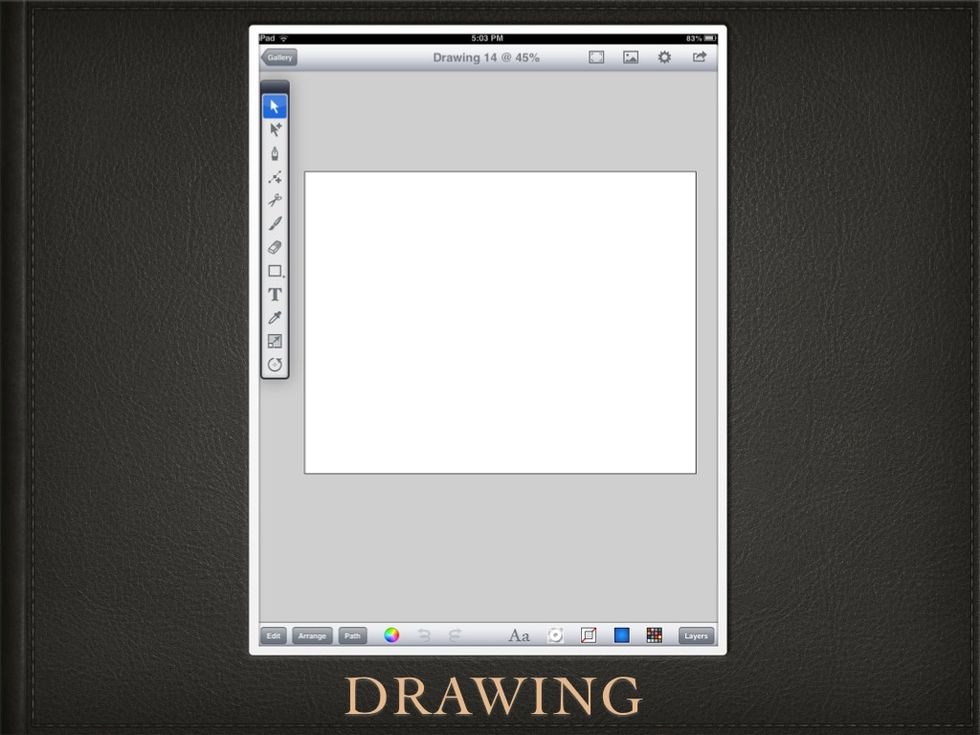
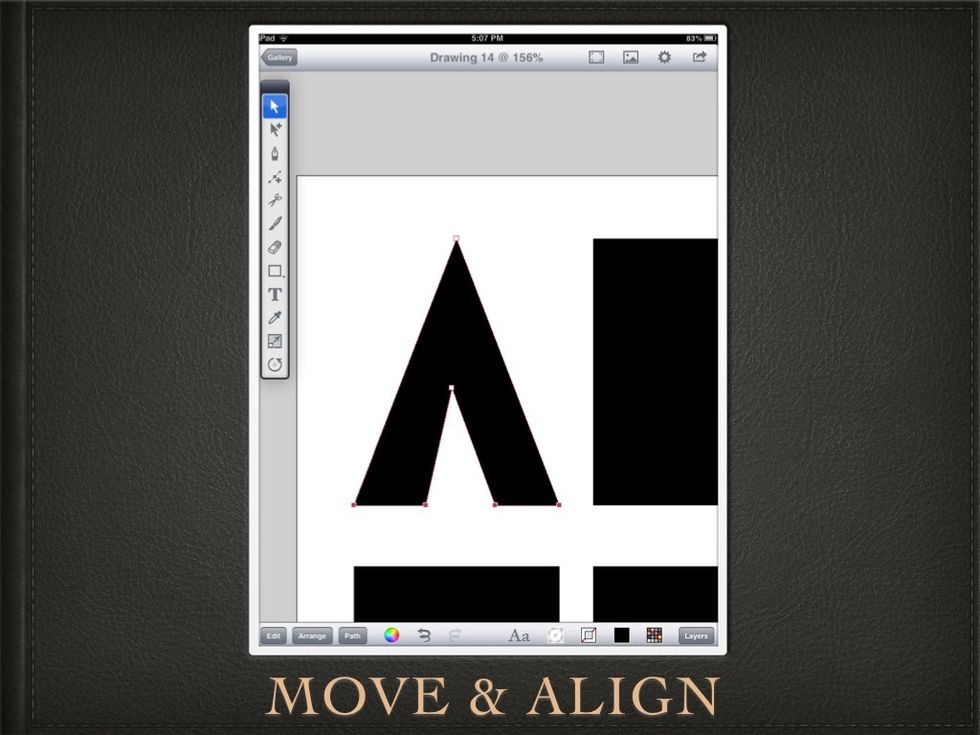
This is your DRAWING. The panel on the left are your tools.
Choose the SHAPES icon (It is under the ERASER icon) and navigate to the SQUARE SHAPE.
At the BOTTOM RIGHT of the screen tap the icon that looks like a colored square. Make sure the COLOR TAB at the top is selected, and choose a BLACK color (Slide all sliders to the left).
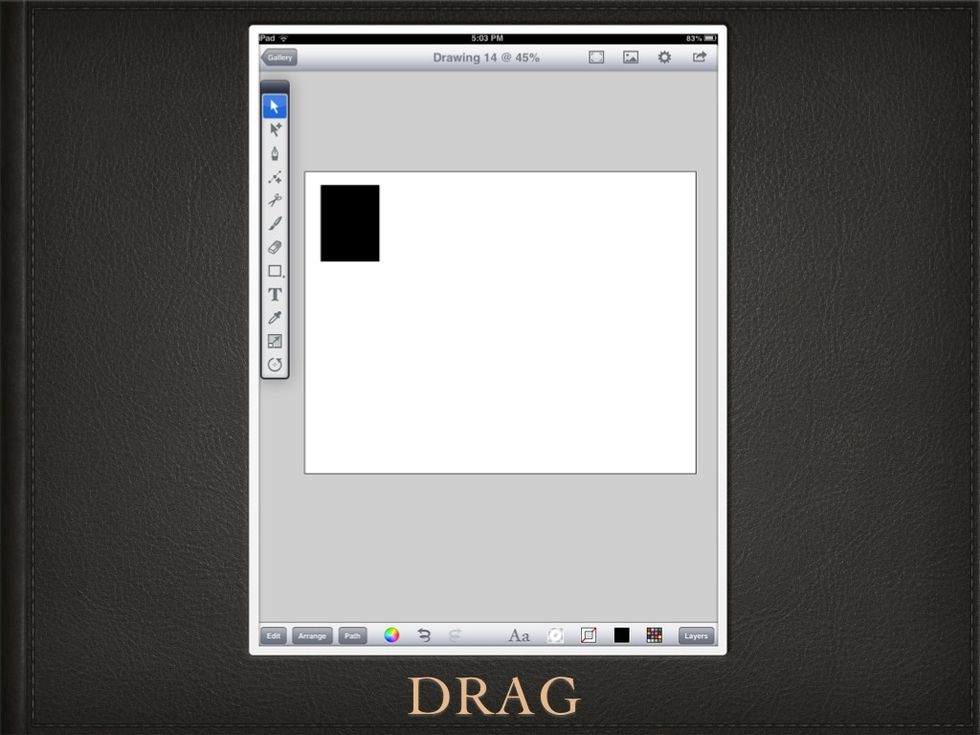
TAP & DRAG on the drawing to create the rectangle.
With the SELECTION ICON selected, (white arrow at the top) tap outside of the rectangle and drag over it to select it. Tap EDIT at the bottom left of the screen and then tap DUPLICATE IN PLACE.

Select the duplicate (It will be right on top of the other rectangle) and move it to the right. Select both of these rectangles and duplicate them again.
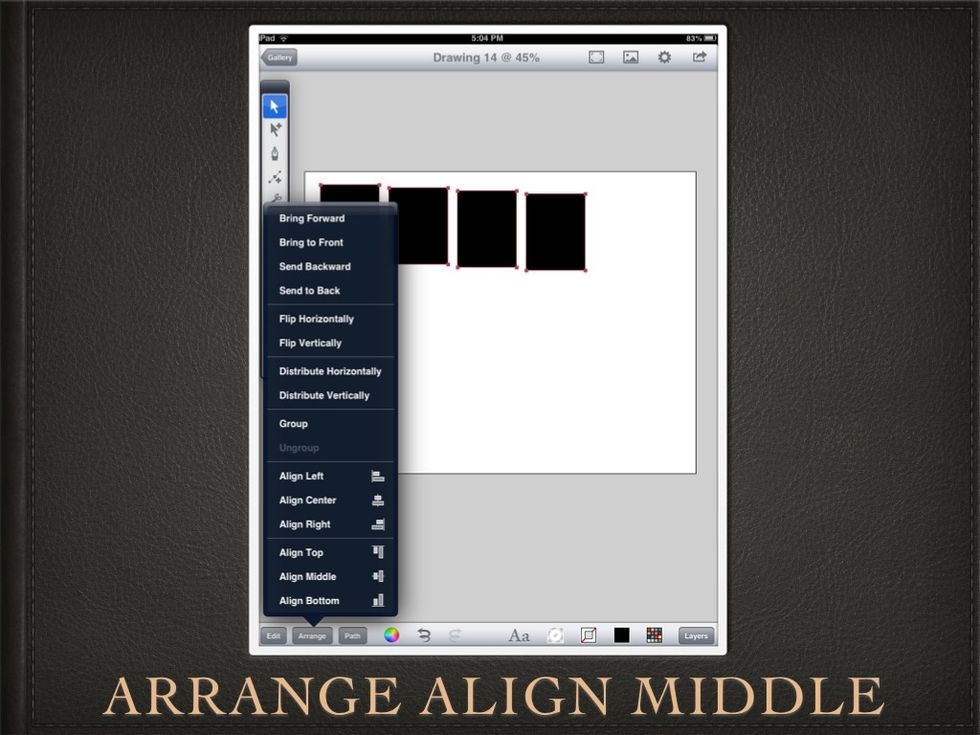
Now we have 4. Select all of these rectangles and where it says ARRANGE at the bottom left of the screen, choose ALIGN MIDDLE.
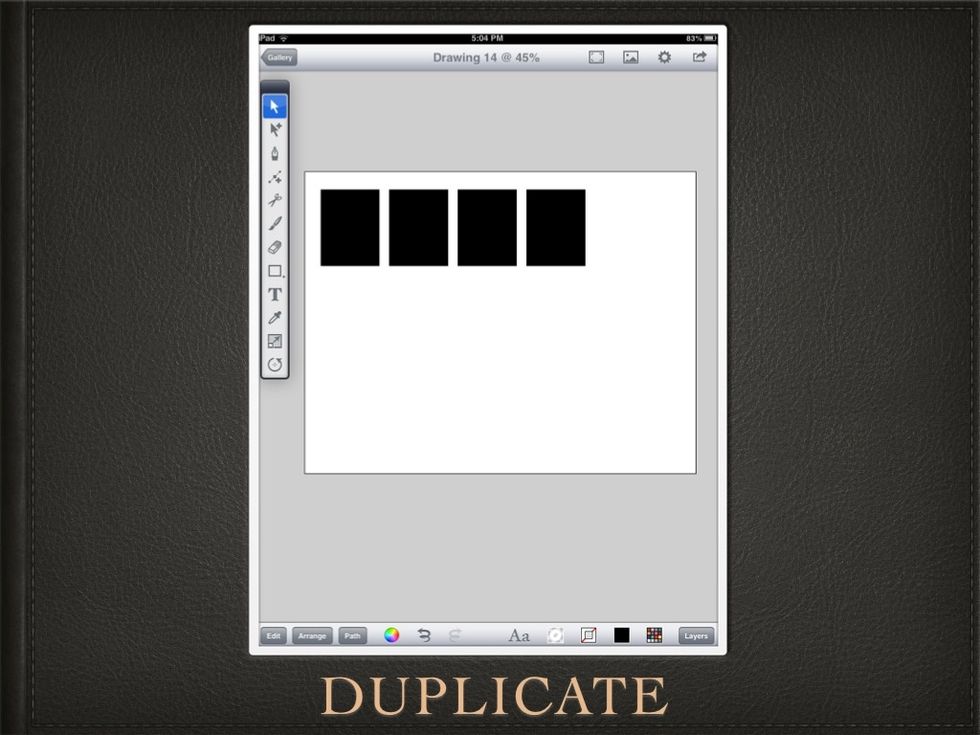
The middle point of the rectangles will be aligned. Now duplicate these 4 squares.
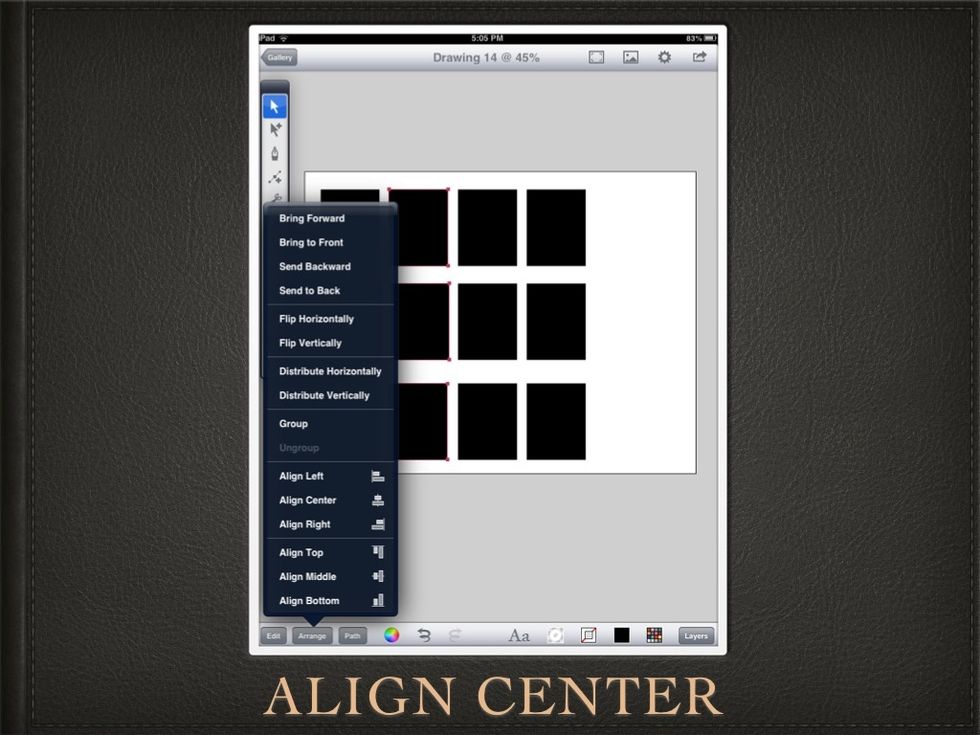
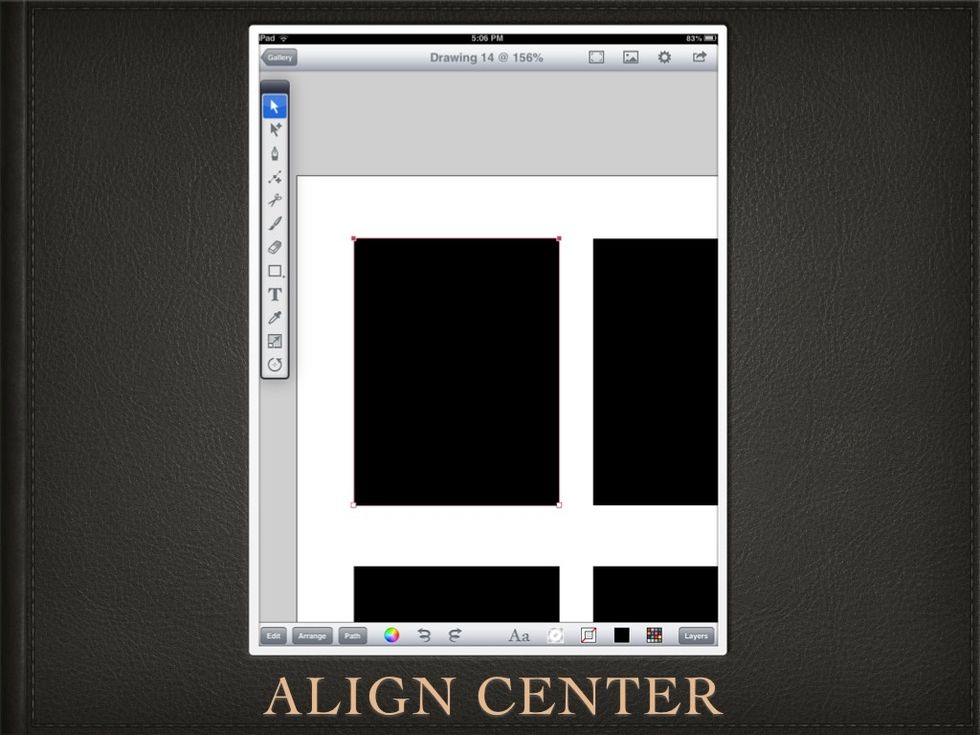
ALIGN the CENTER of EACH column of rectangles.
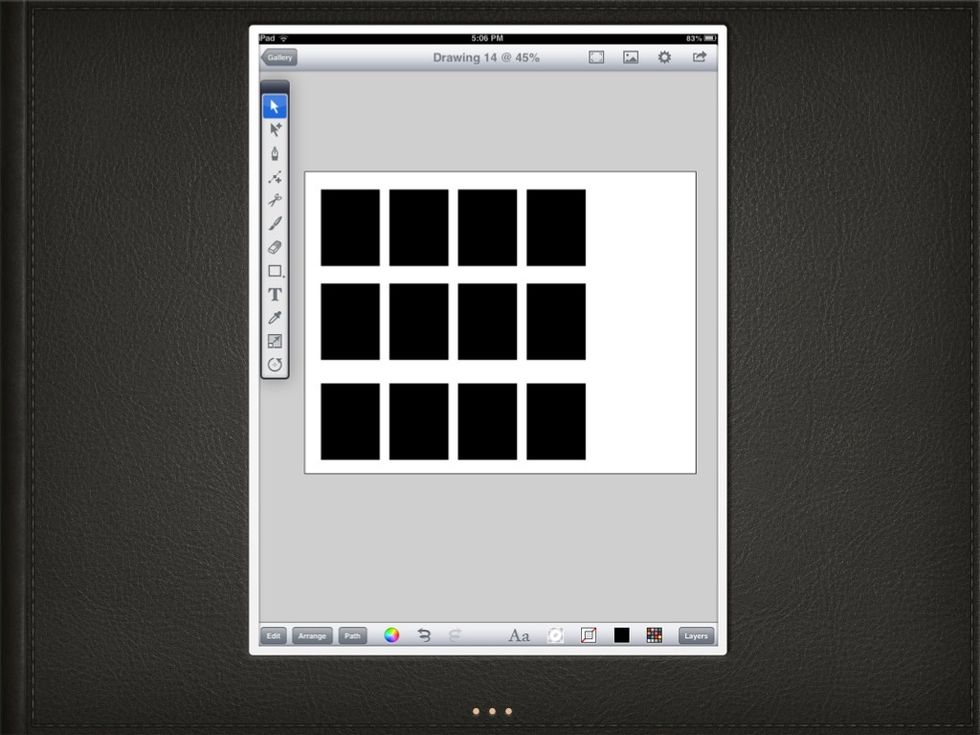
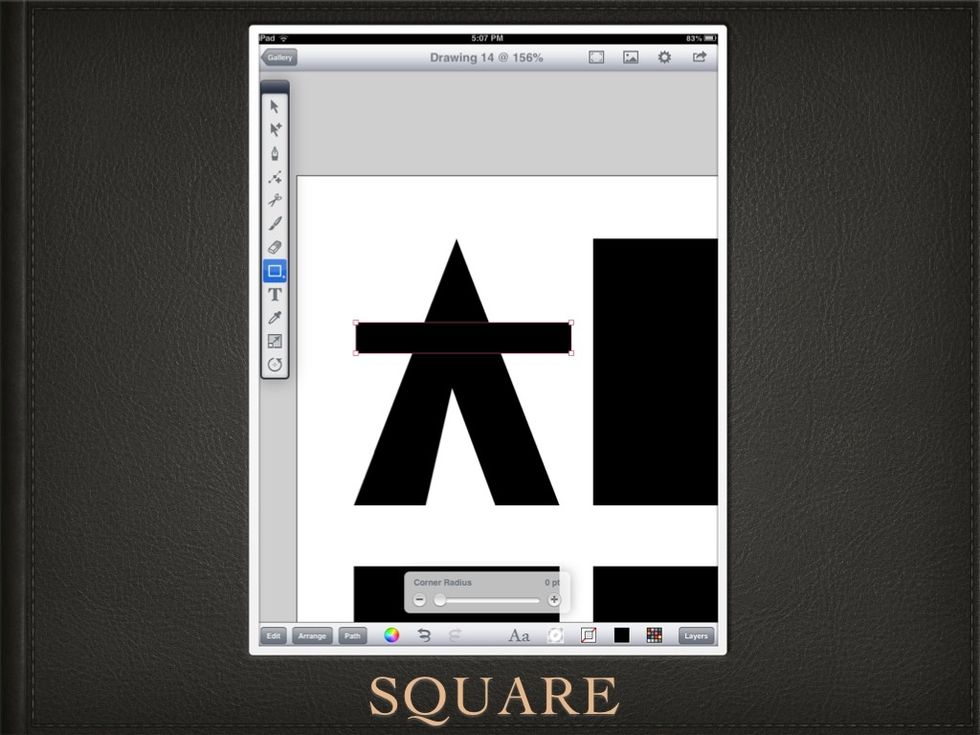
Like SO! These rectangles are going to be manipulated to become our letters and/or numbers. You can also make smaller rectangles for lowercased letters.
To make an "A" I select the topmost ANCHOR POINTS and then choose ALIGN CENTER from the ARRANGE tab.
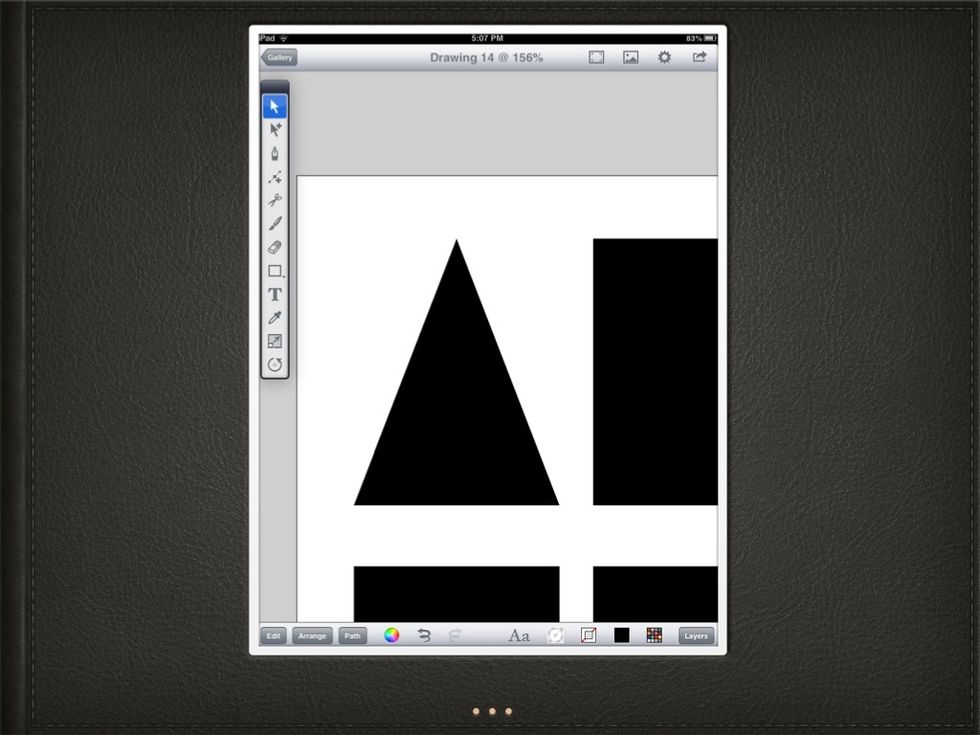
I get this
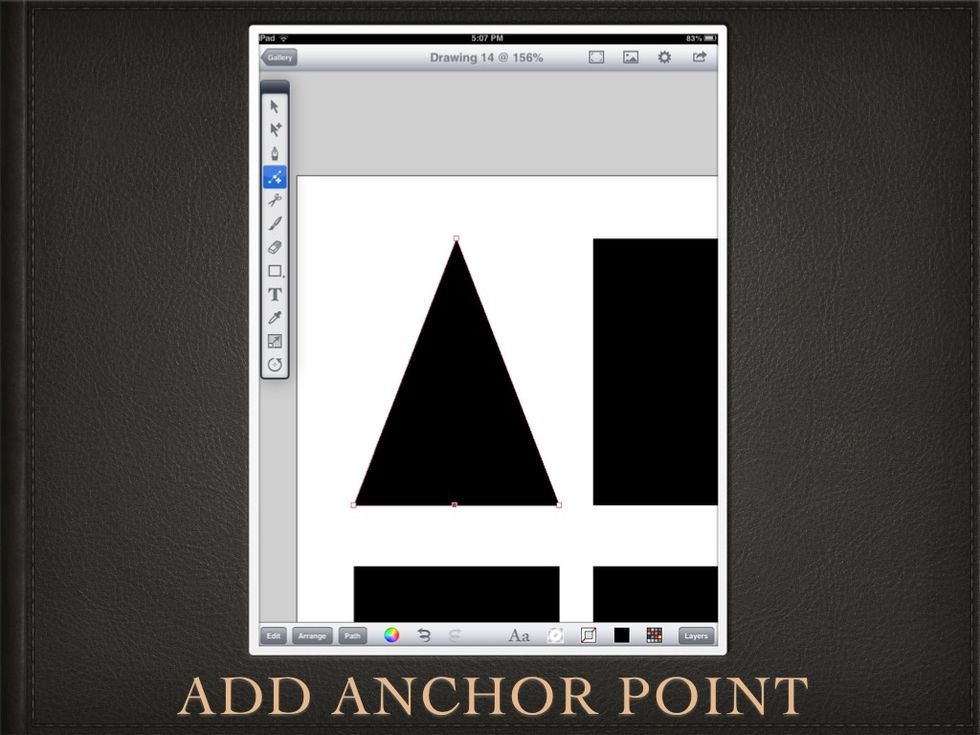
Using the ADD ANCHOR POINT tool, I tap between the bottom two anchor points.
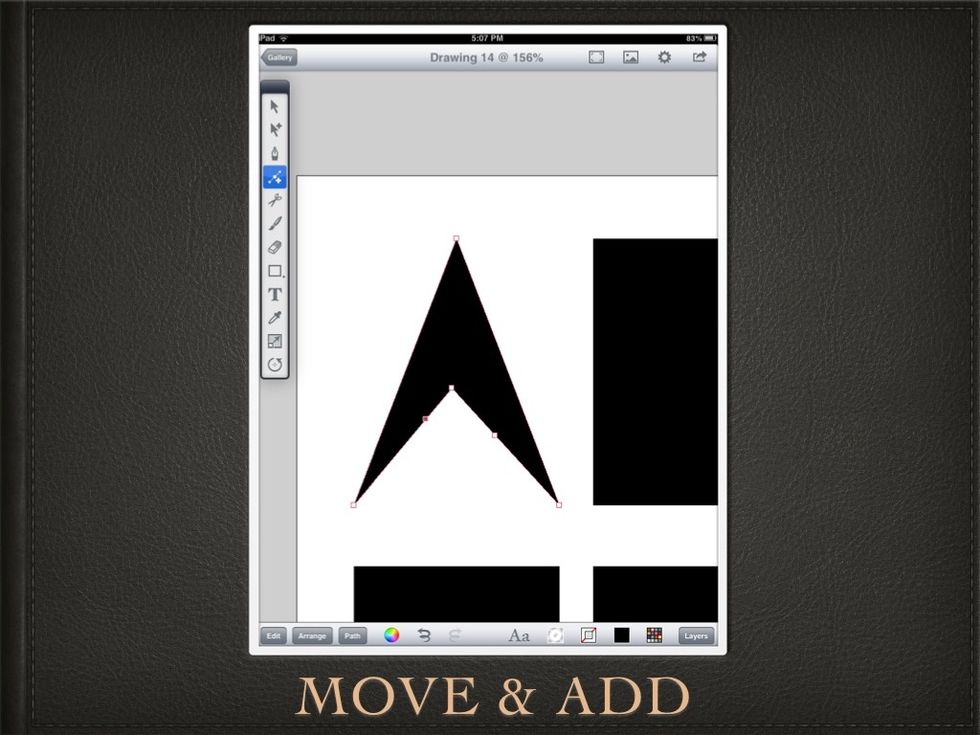
I move it up and add two more anchor points.
Move them down and ALIGN BOTTOM all four anchor points.
I drag out another rectangle.
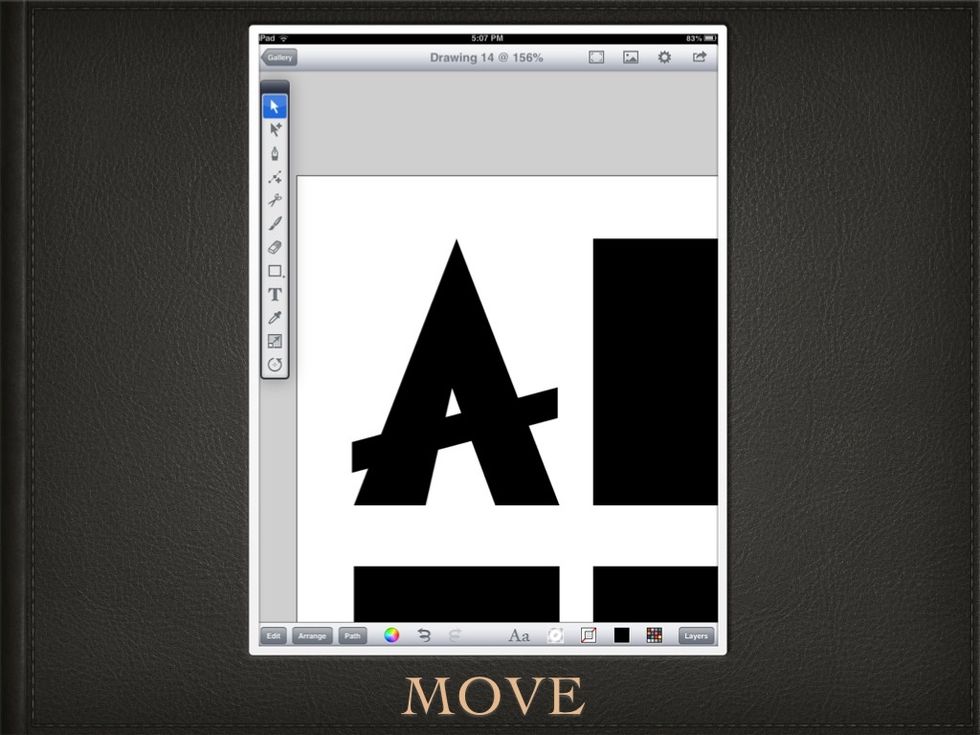
Move the anchor points a bit
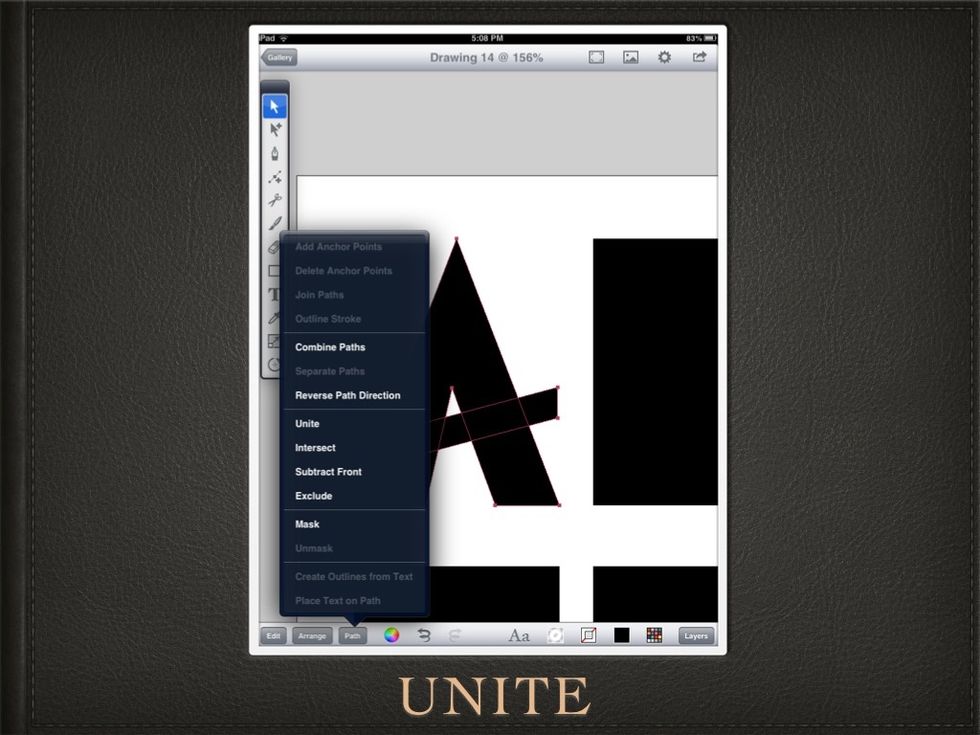
To combine these two shapes I choose PATH at the bottom left of the screen and then tap UNITE.
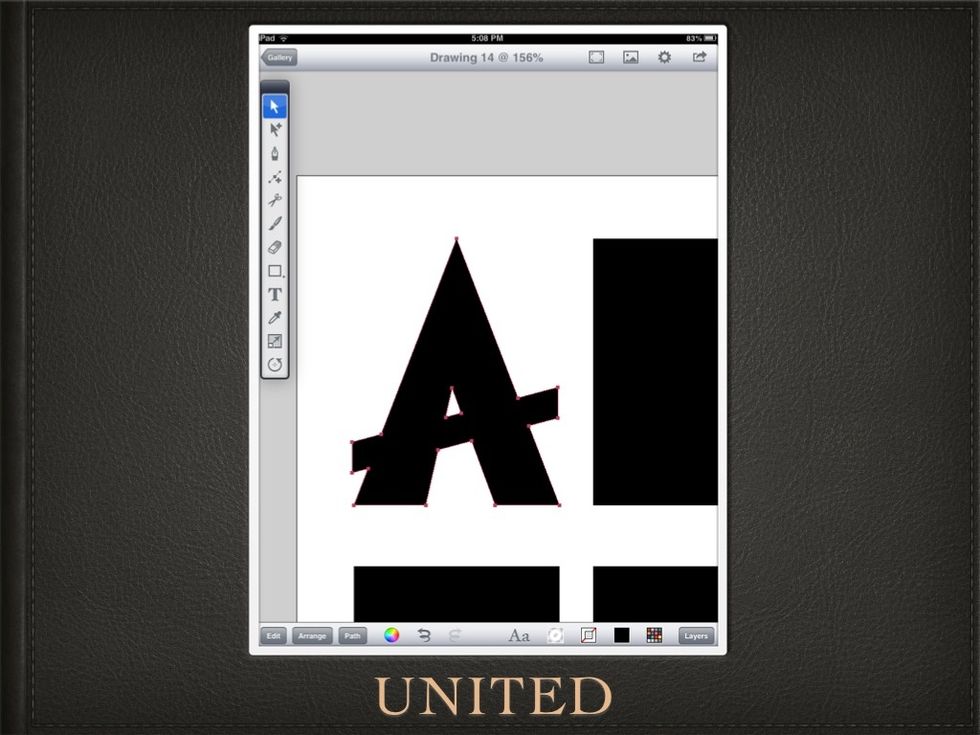
The shapes are UNITED into one shape. Tapping other PATH JOINING options will give different results.
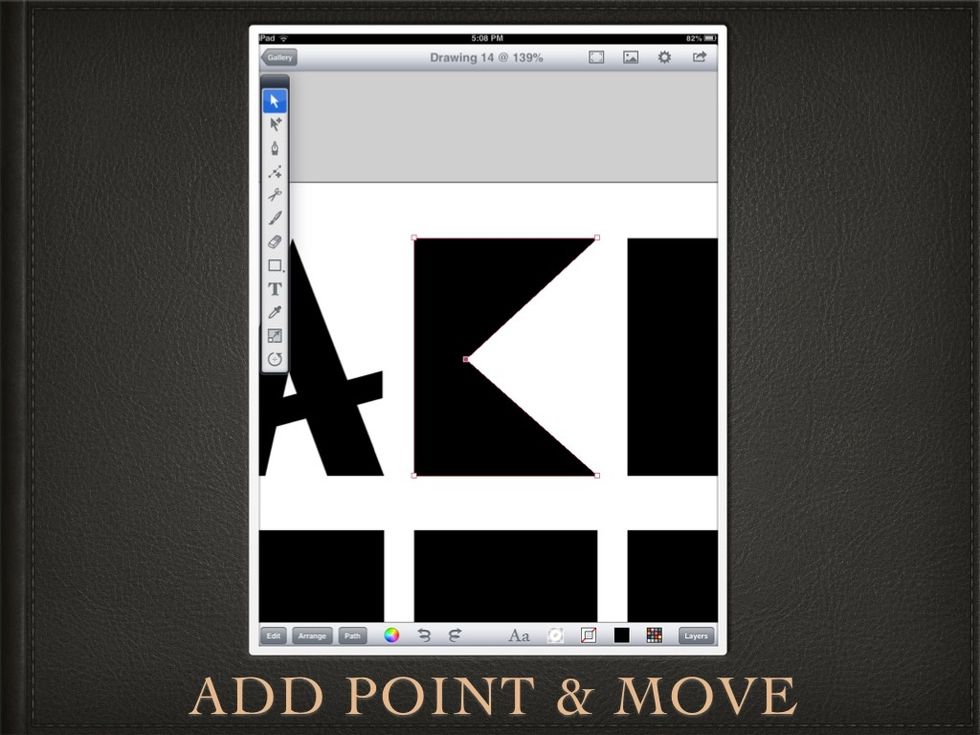
II make a "C" by adding an anchor point to the right side of the rectangle and moving it.
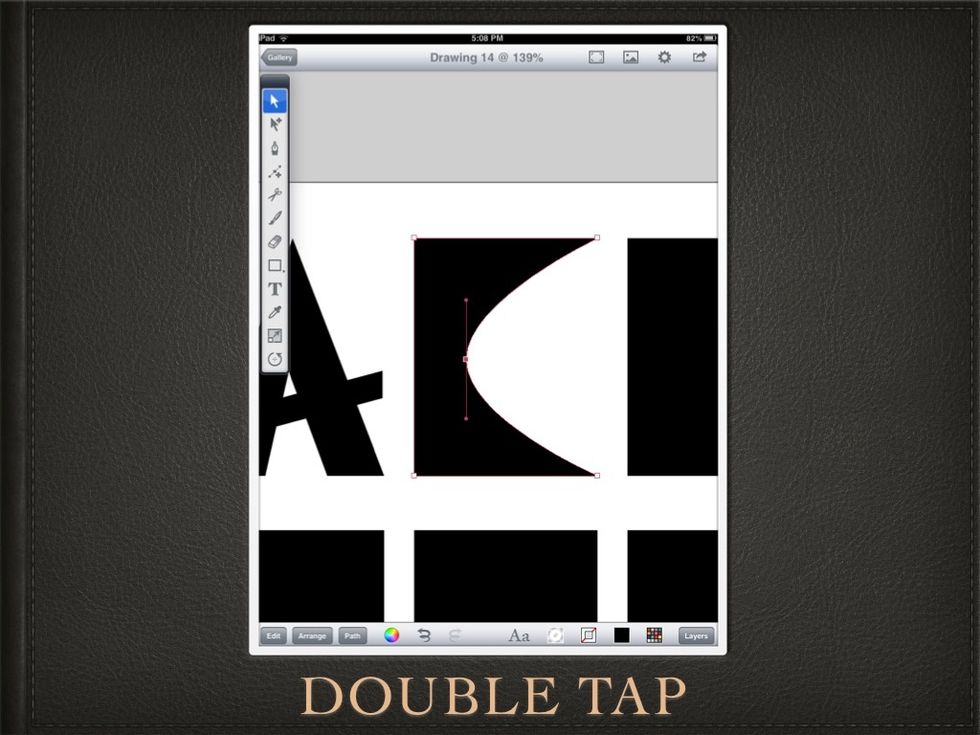
If you DOUBLE TAP an anchor point, it makes a CURVE at that point. The point then gets TWO HANDLES. These handles are used to manipulate the curvature of the curve.
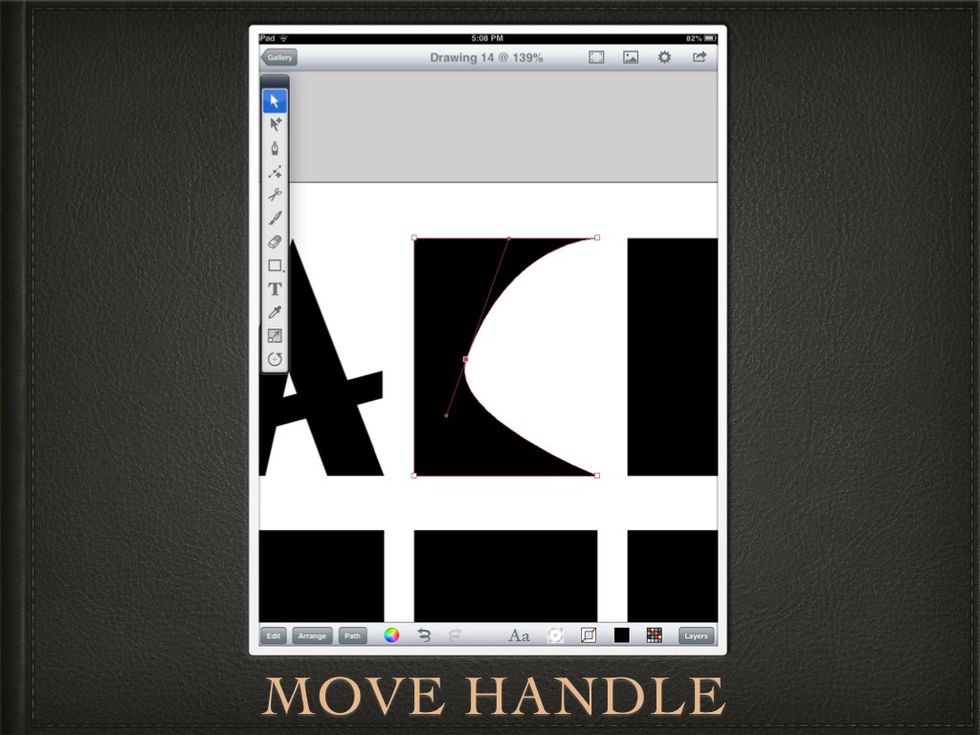
Moving the TOP HANDLE.
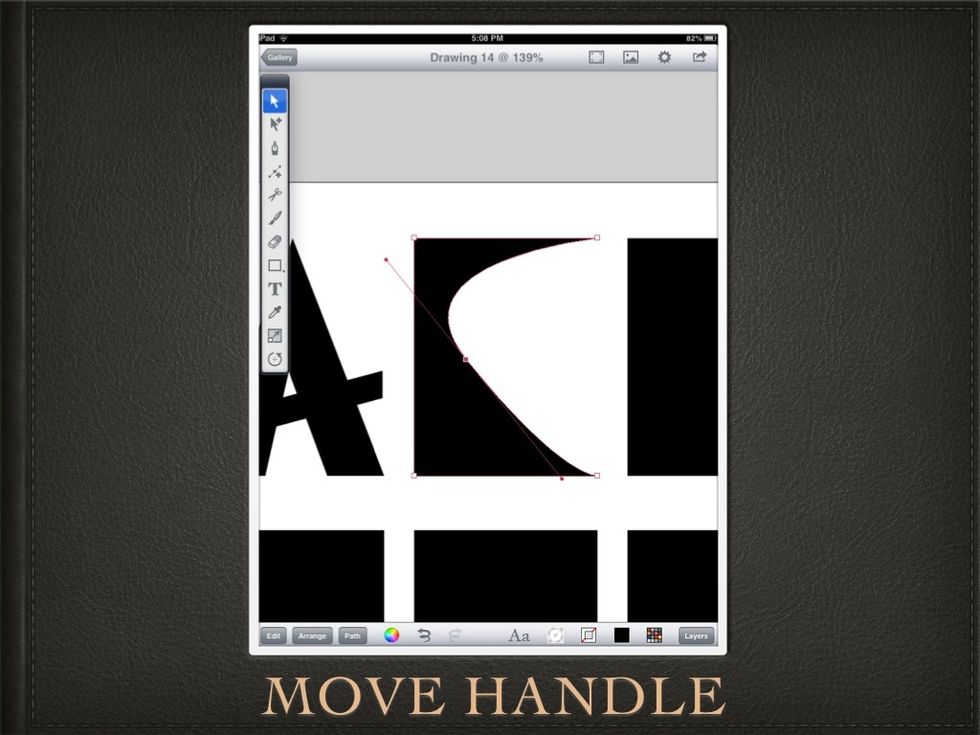
Moving the BOTTOM HANDLE.
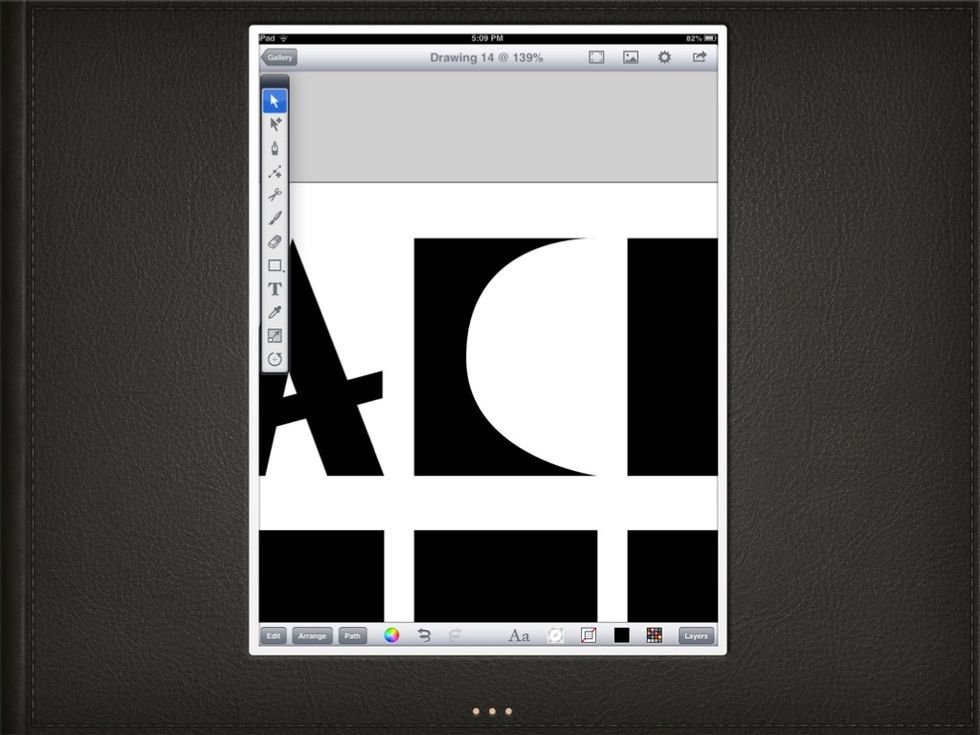
I like this.
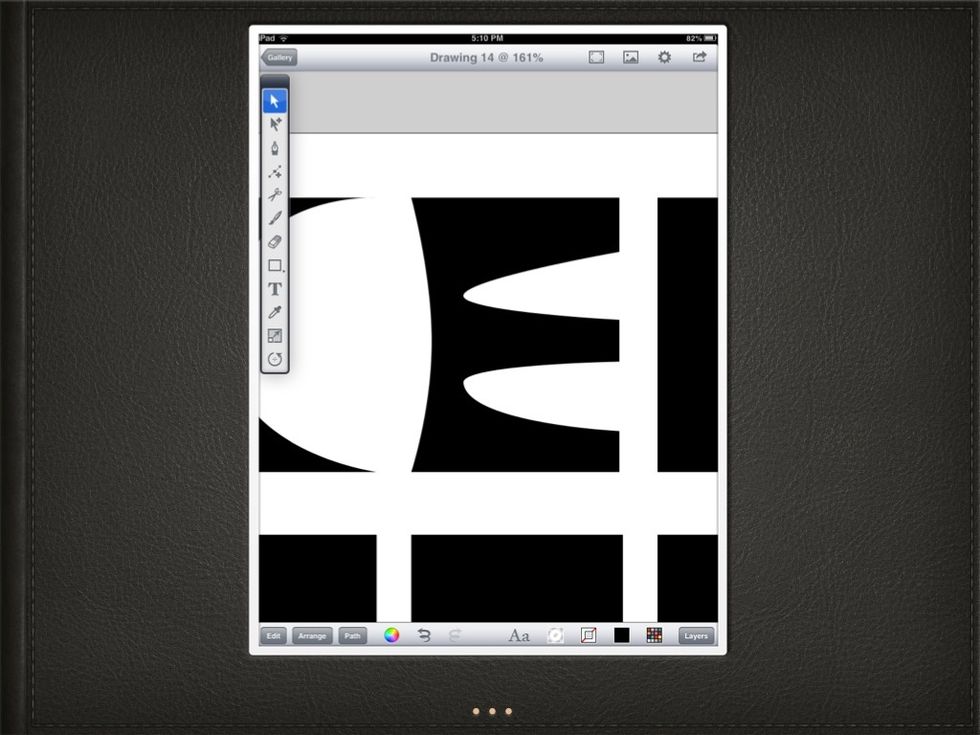
Some more manipulation for an "E".
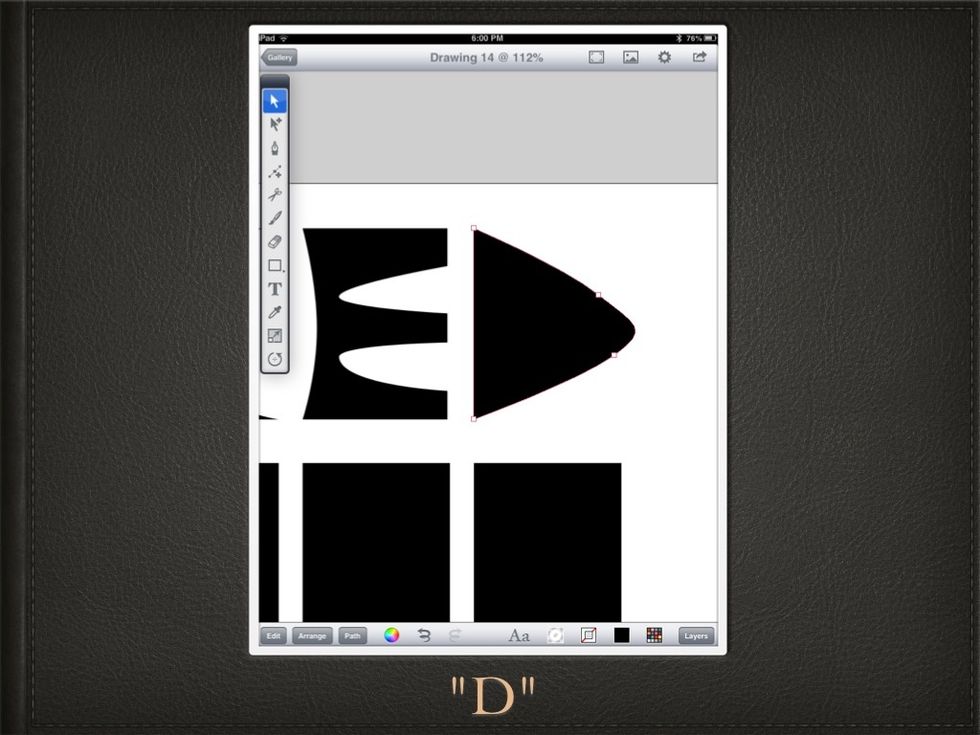
Make a "D"
DUPLICATE IN PLACE and choose the SCALE ICON (looks like a square with a circle and arrow in it).
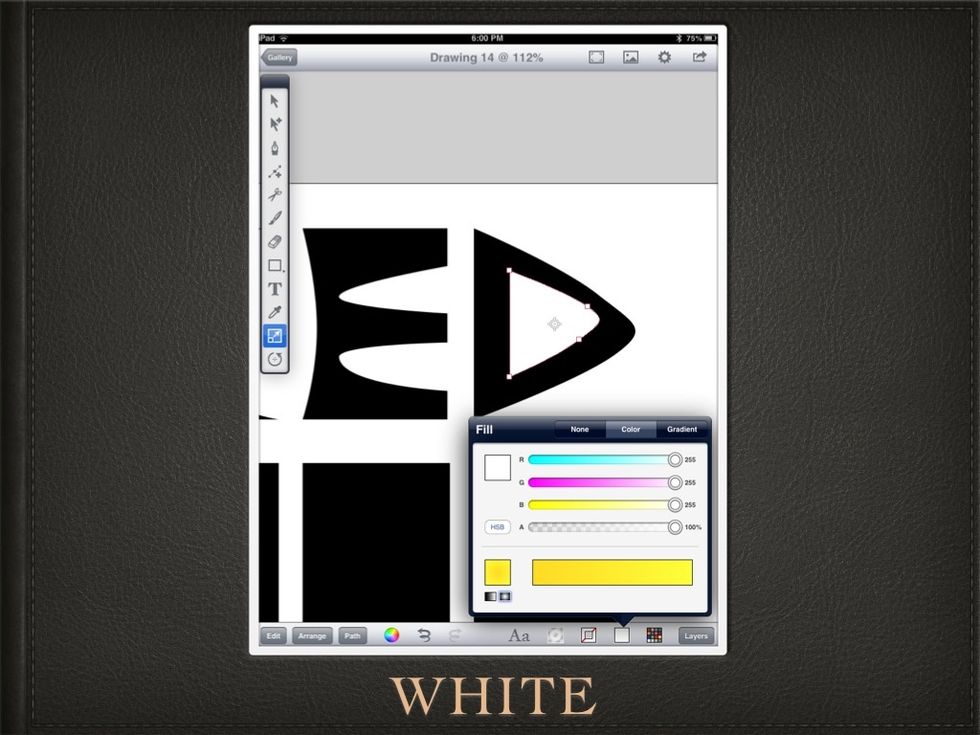
Change the color of the scaled "D" to WHITE (all bars to the right)
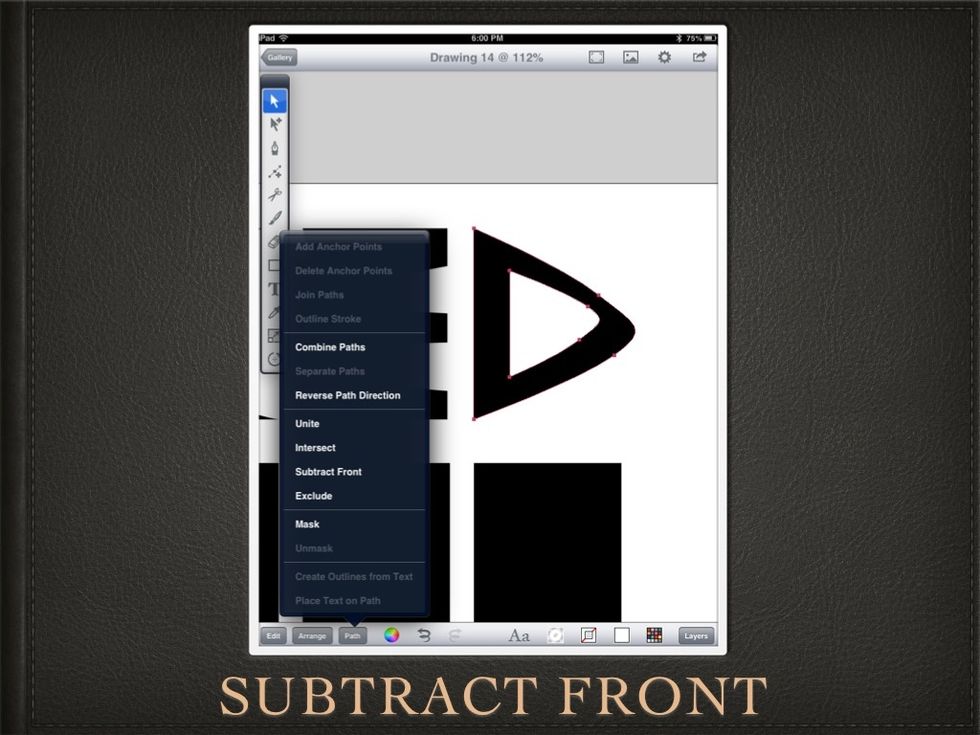
Select BOTH shapes and under PATH choose SUBTRACT FRONT.
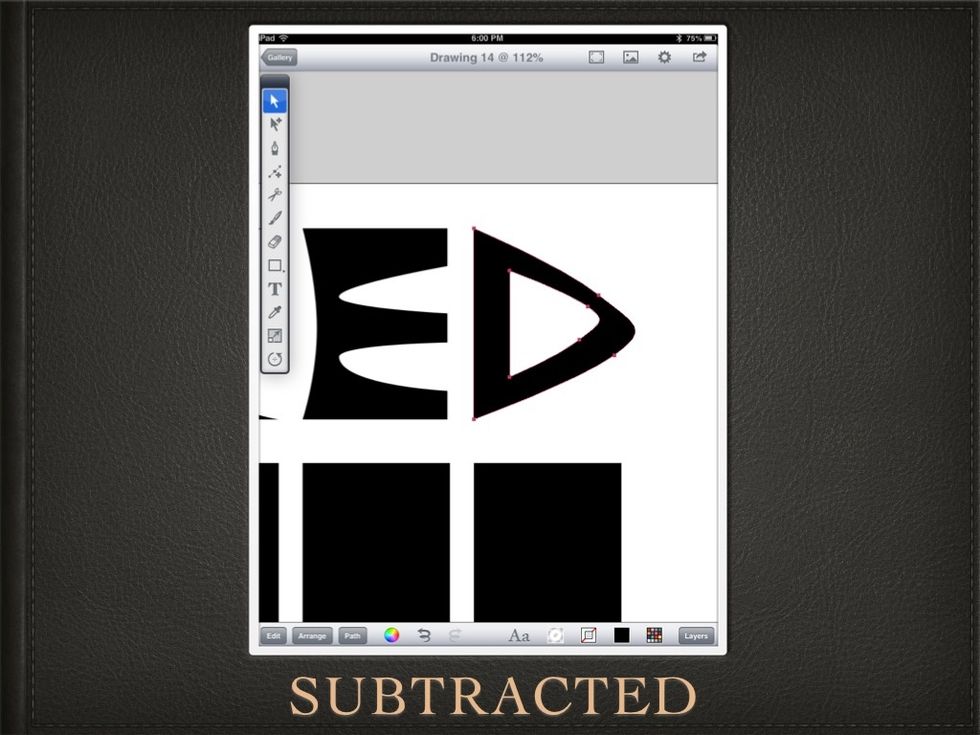
It becomes one shape.
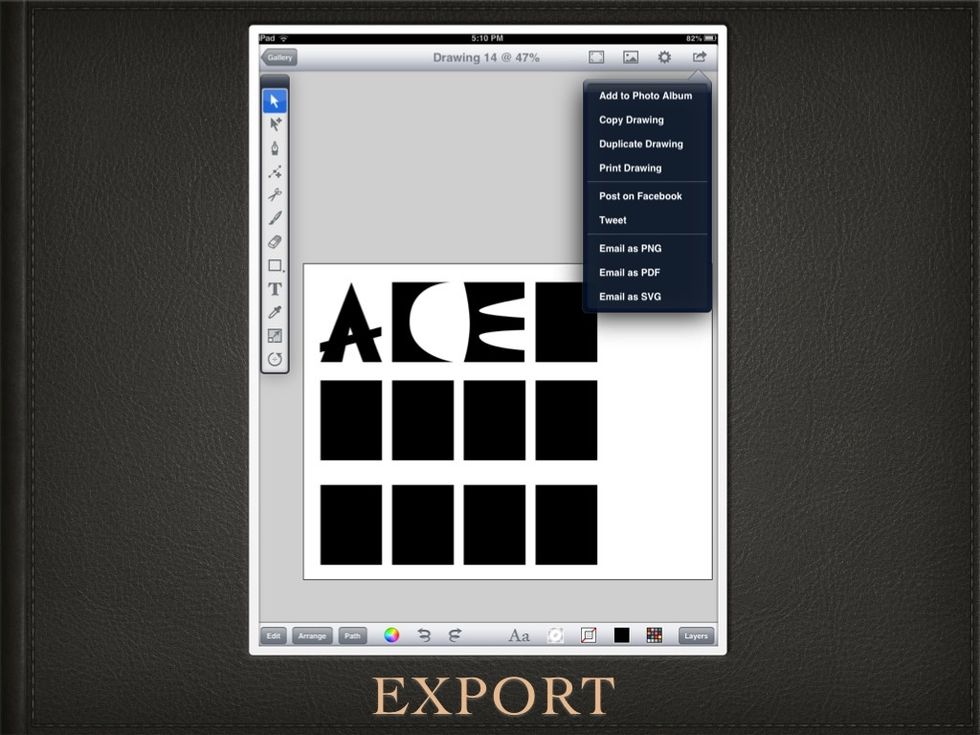
Then EXPORT your fonts out in several different formats (svg stands for SCALABLE VECTOR GRAPHICS, this is the best format to export it in).
End
Examples

