The Conversation (0)
Sign Up
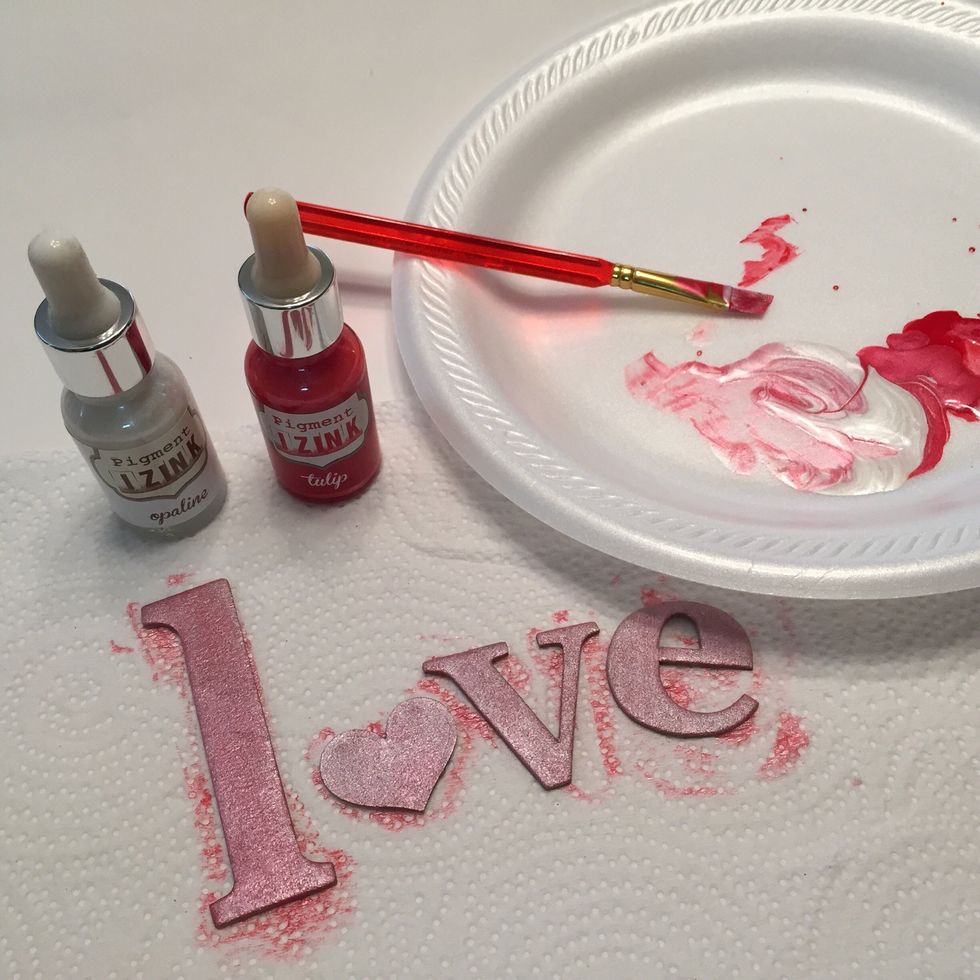
use paintbrush to apply a mix of Opaline Izink with a little bit of Tulip to chipboard letters. set letters aside to dry COMPLETELY.
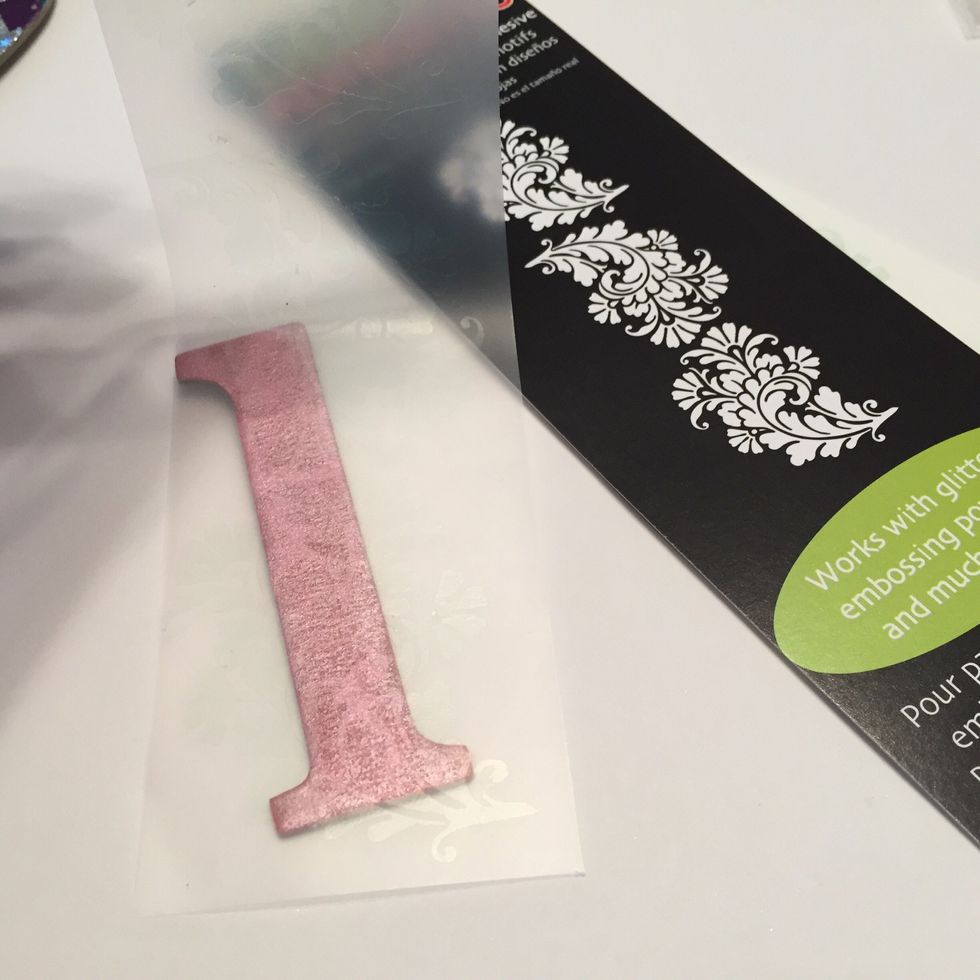
once chipboard letters are dry, apply French Swirl Design Adhesives to them. it's easier if you cut the sheets to approximate size of letter before applying.

apply Plum Crazy Designer Foil over letters and burnish on with your finger or a bone folder. move sheet around letter until the designs have been completely foiled.
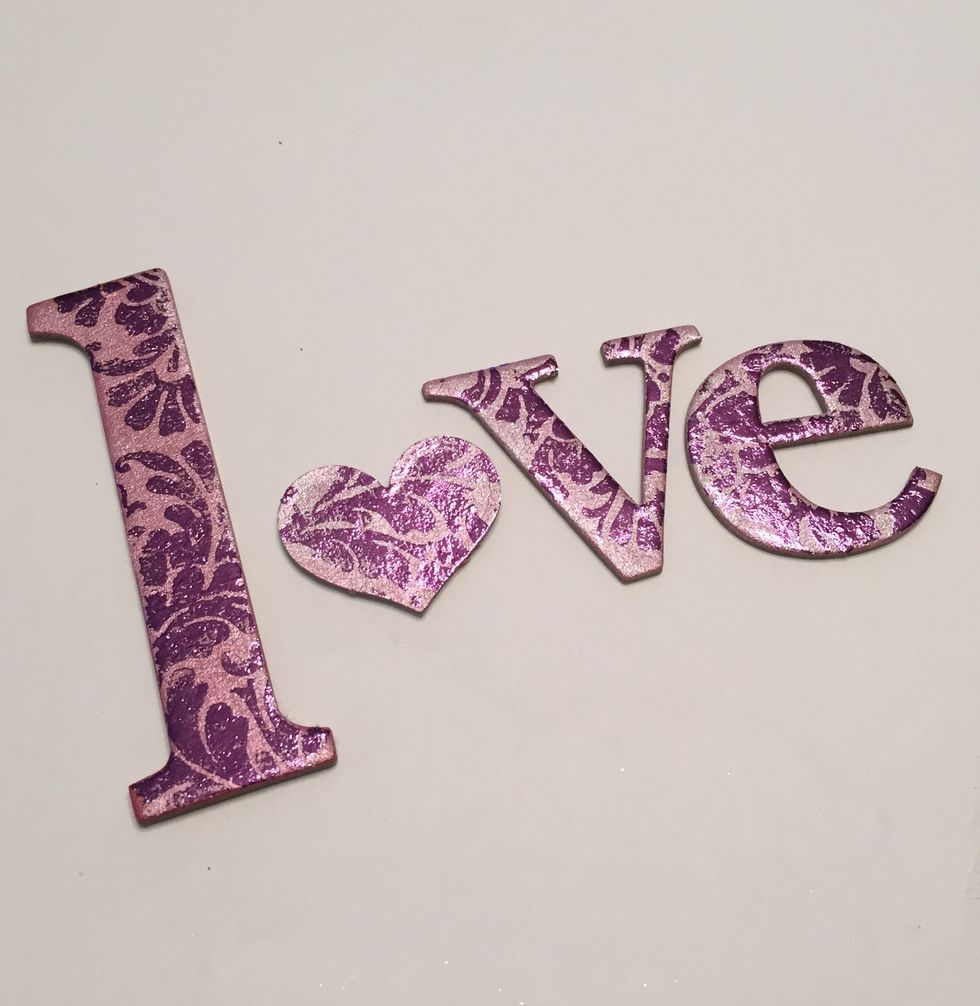
finished letters.
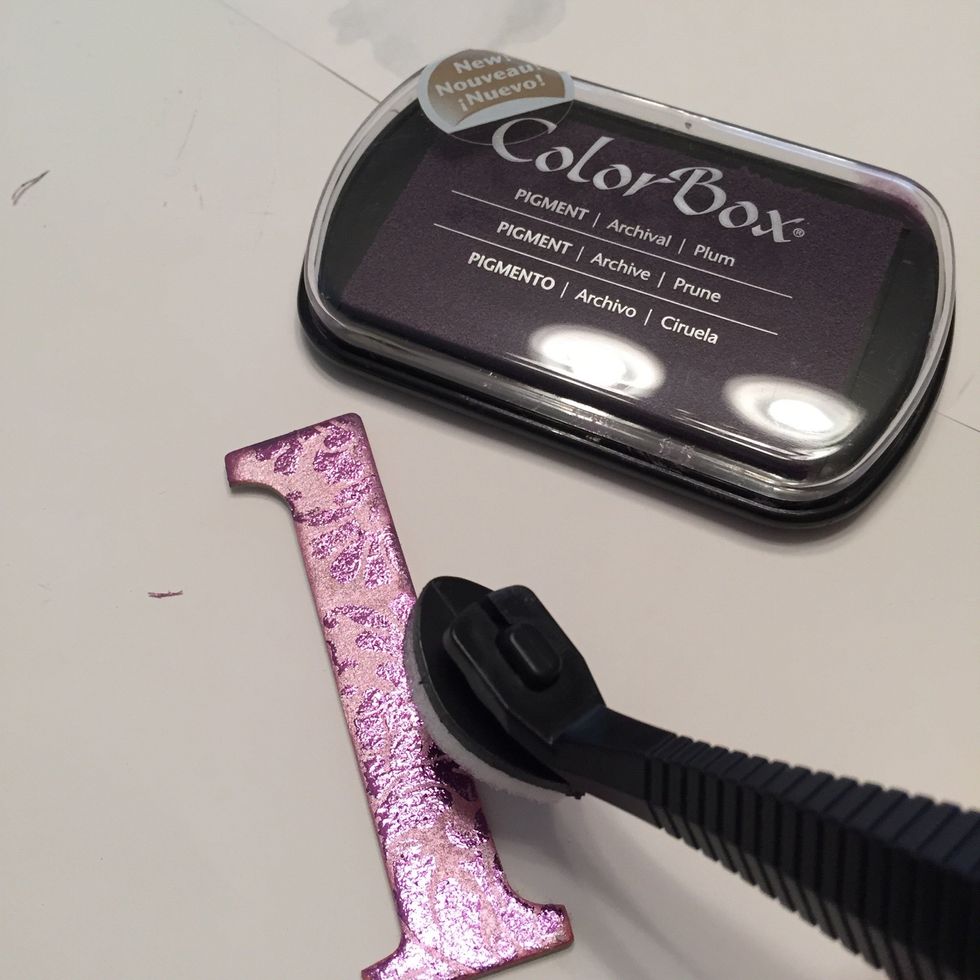
use Plum Pigment ink, applied using Stylus & Tip to distress edge of letters.
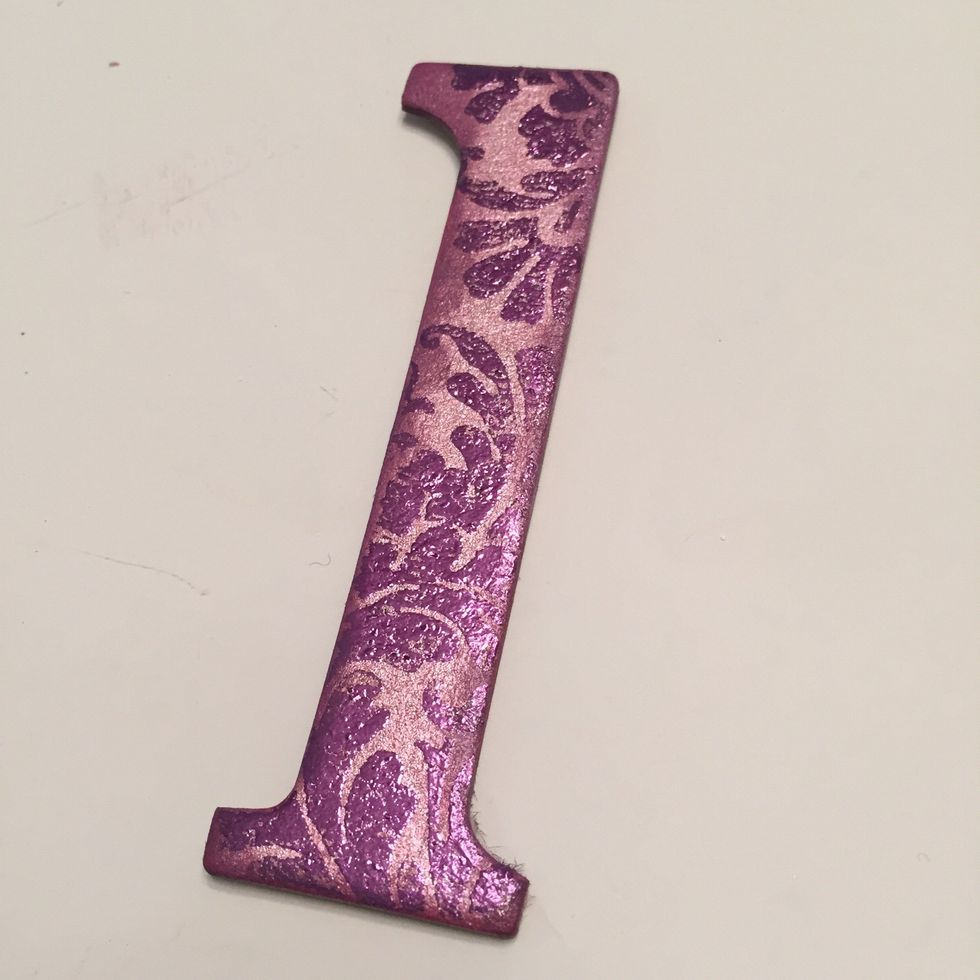
distressed letter.

use Amethyst Izink mixed with a bit of Opaline to paint frame.

then mix a little Opaline with Tulip Izink and apply lightly around frame to add some highlights.
"red" highlights added to frame.
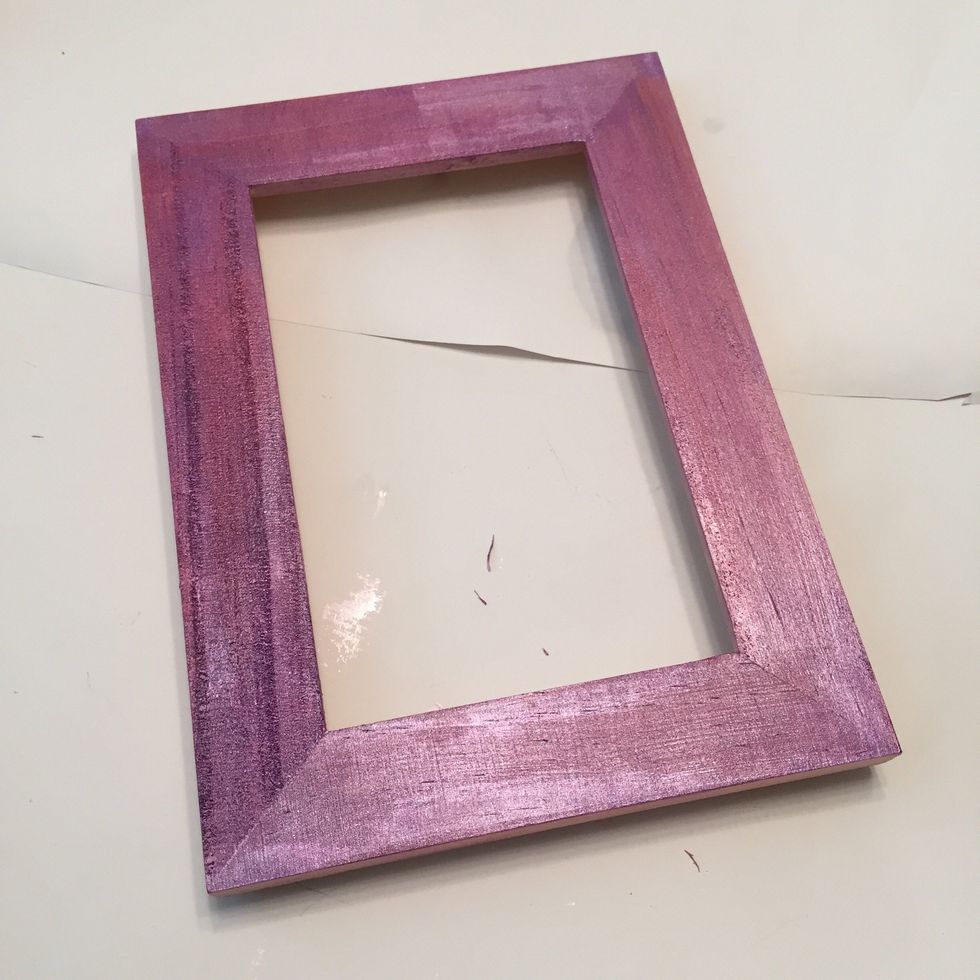
painted frame. set aside to dry.
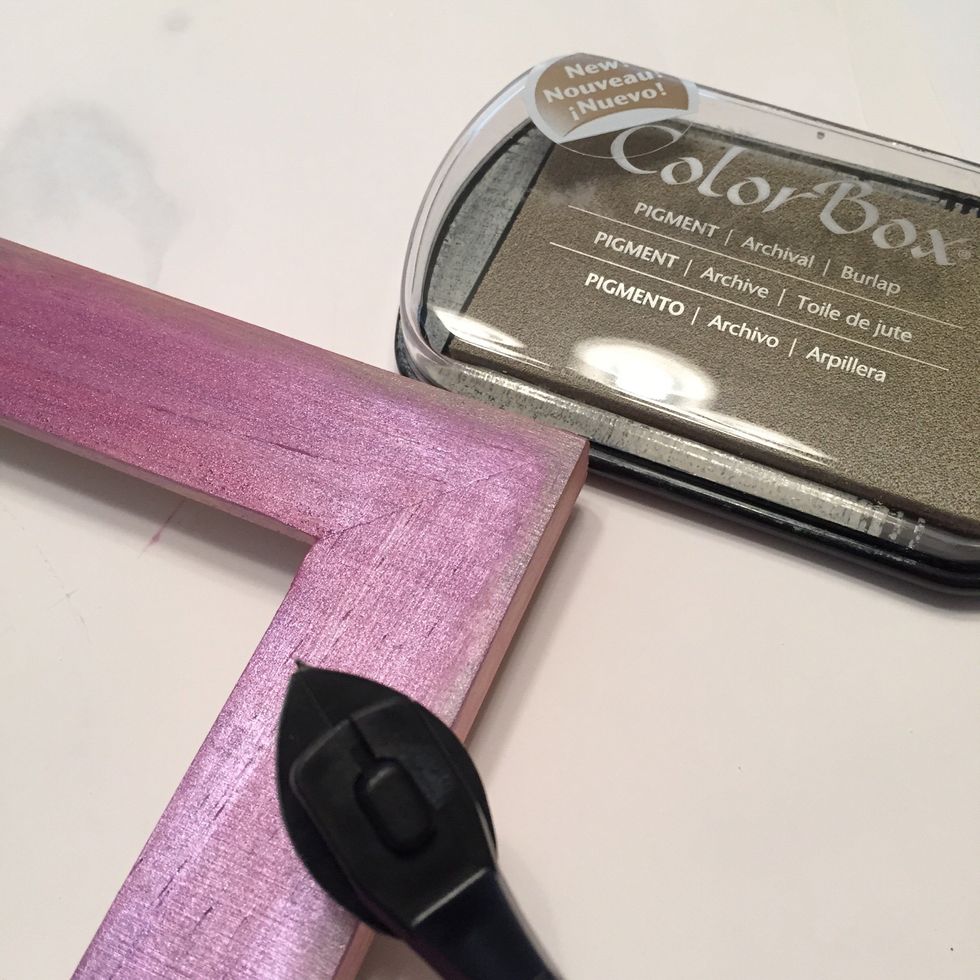
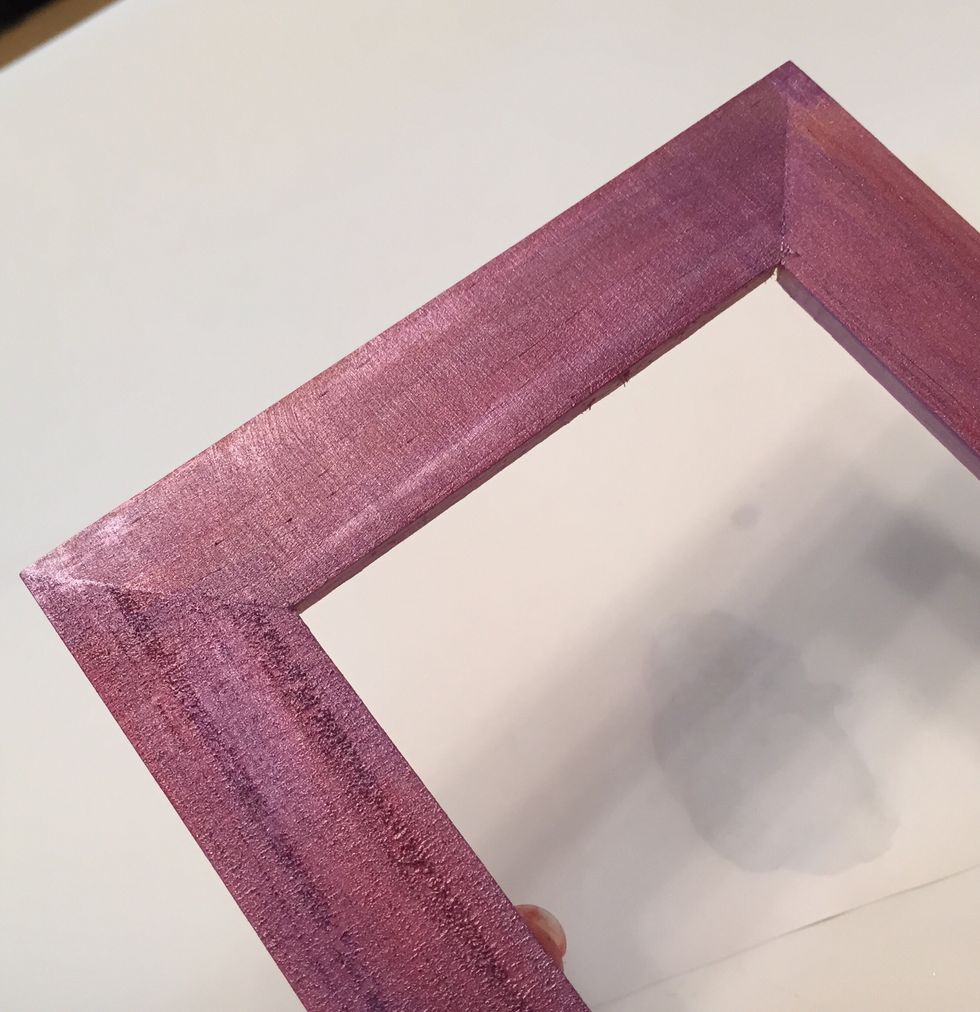
use Burlap Pigment Ink applied using Stylus & Tip to distress edges of frame. set aside to dry COMPLETELY.

closeup of distressed edge of frame.

apply portions of Ornate Border Design Adhesives around frame.
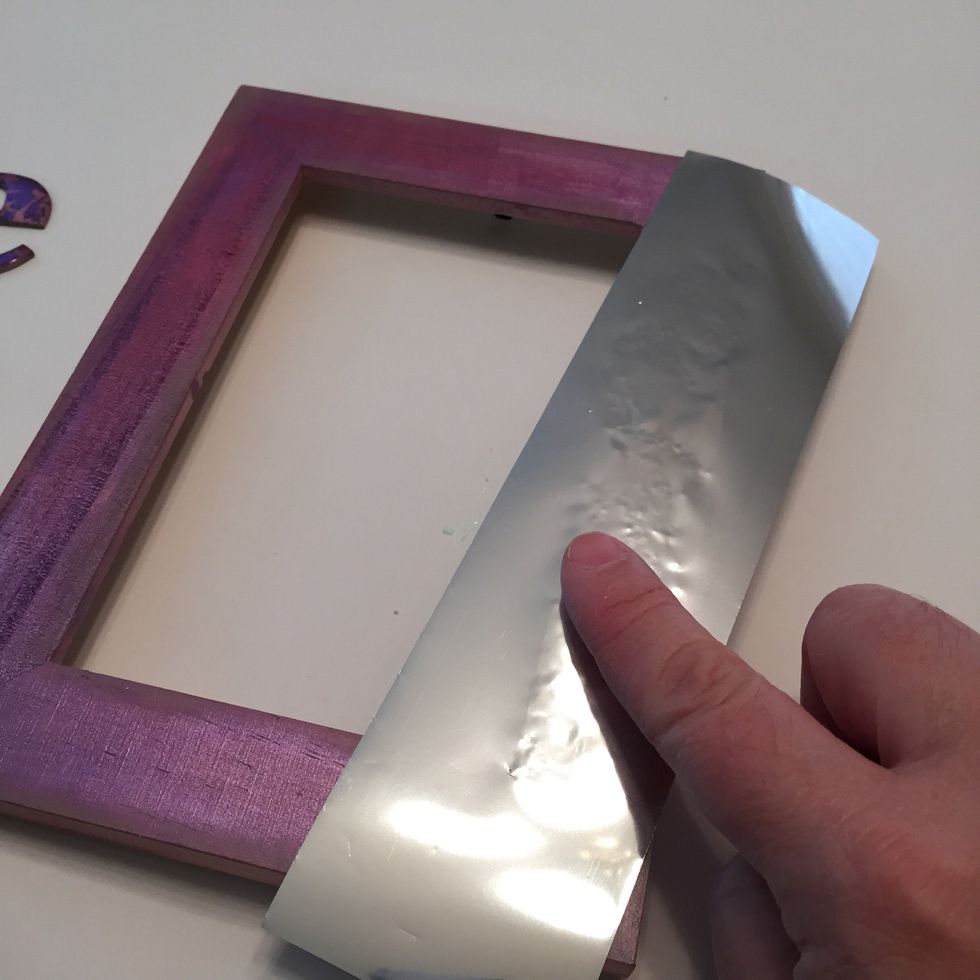
burnish Silver Fog foil over designs.
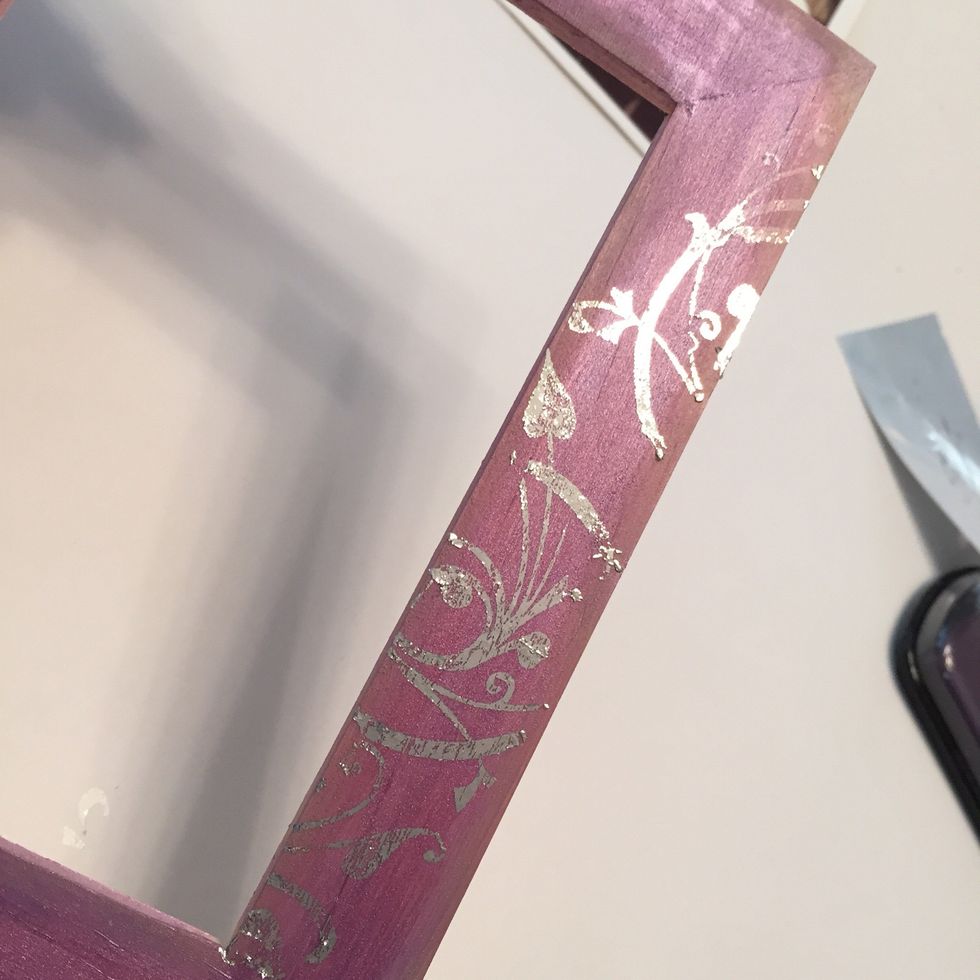
foiled area of frame.
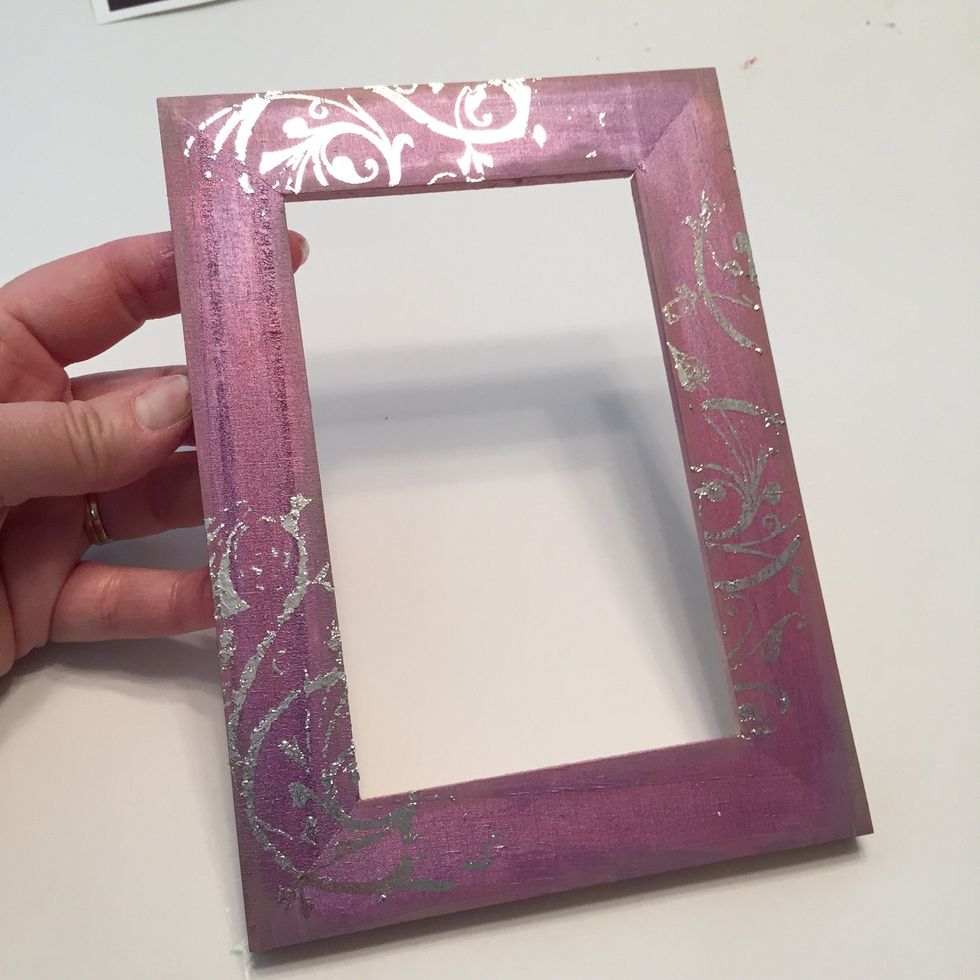
frame with foiling finished.

insert photo in frame and then adhere foiled letters along bottom.
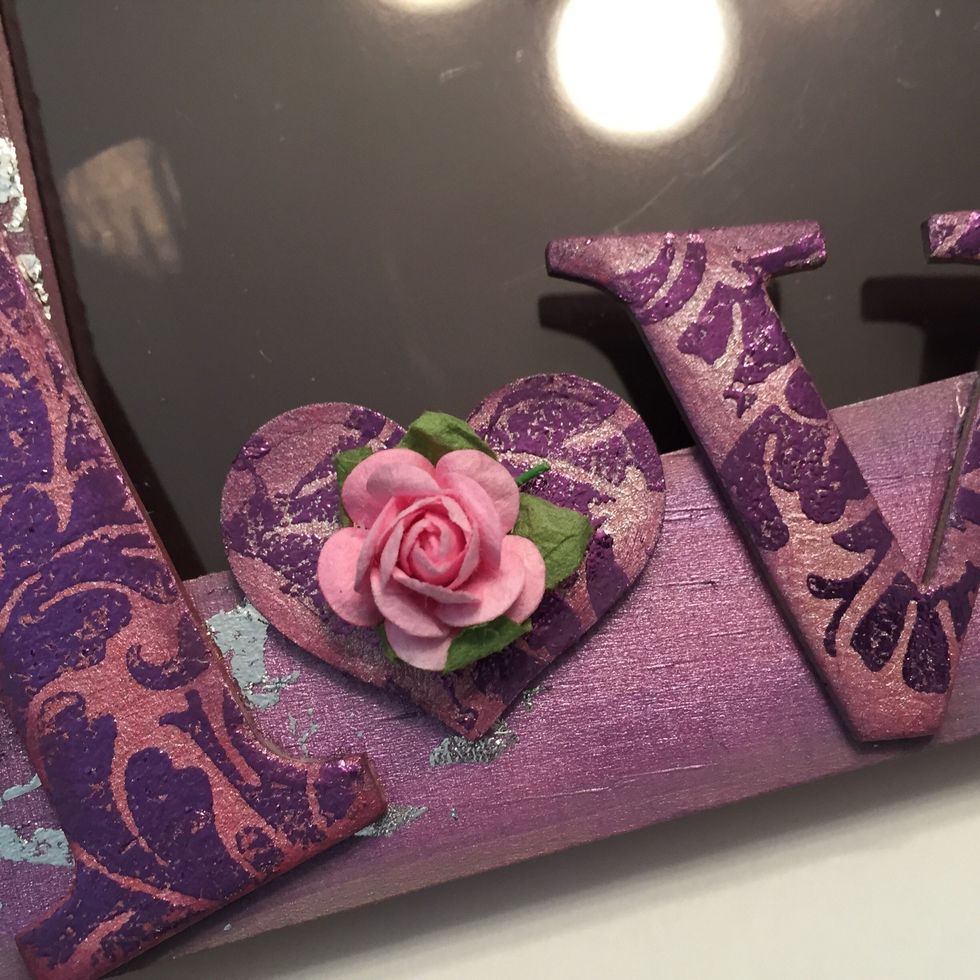
adhere small rose to center of small heart in "love".
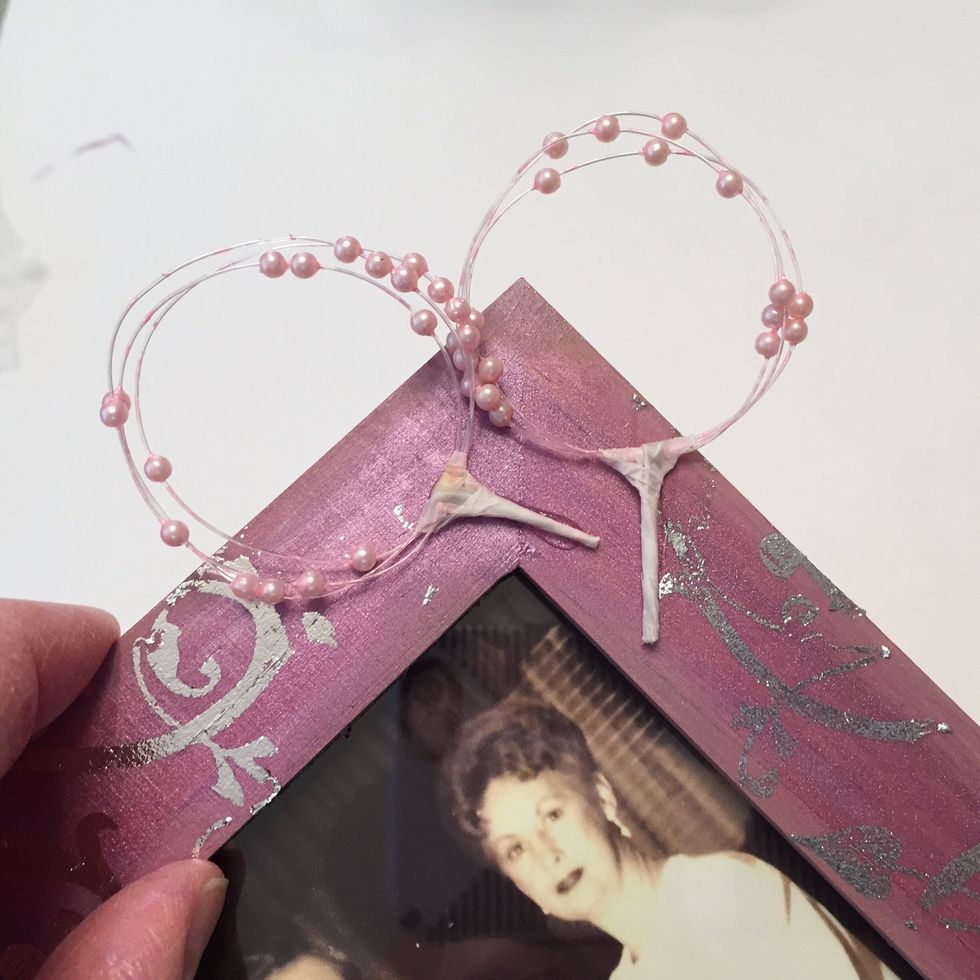
trim ends of beaded hoops, then adhere in upper right corner of frame.
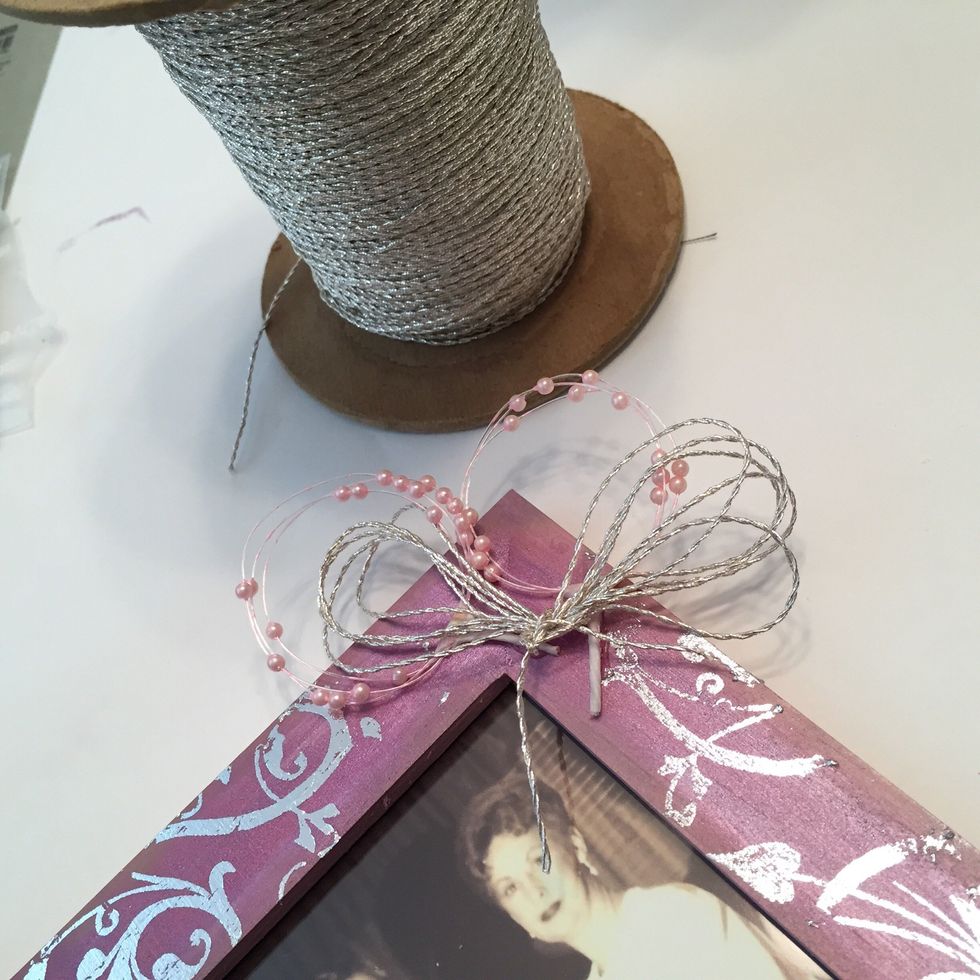
add bow of silver cording.
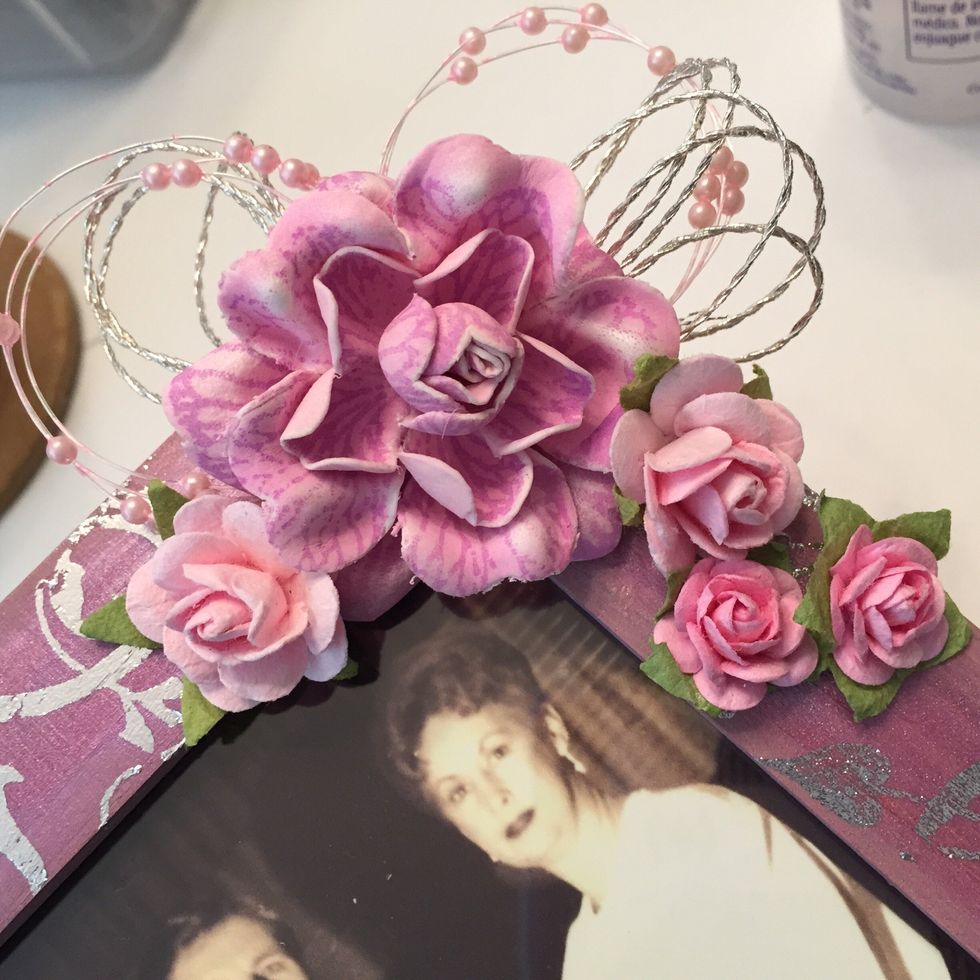
then arrange and adhere flowers.
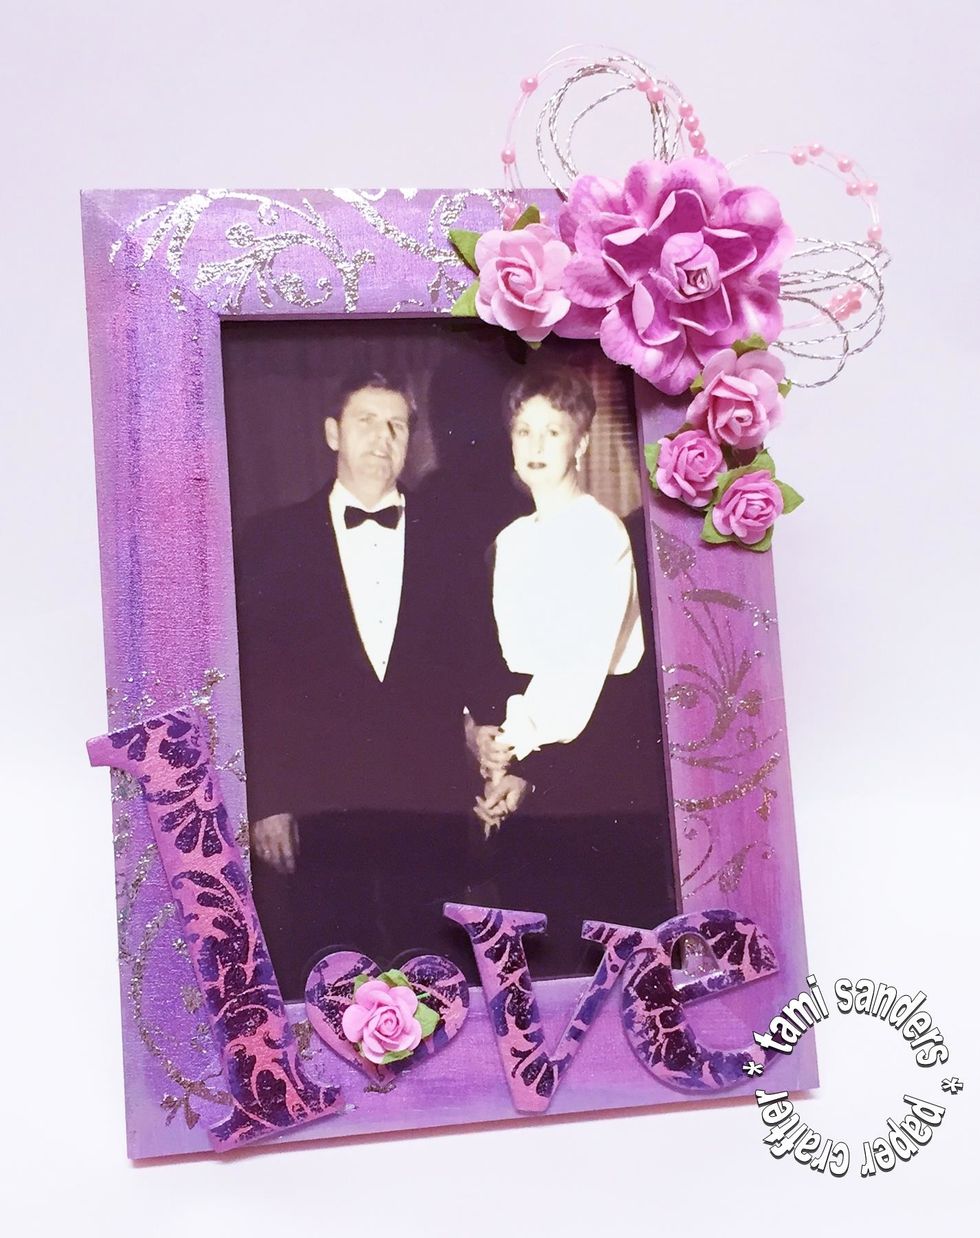
finished frame. *** you can find more inky projects on the Clearsnap Blog: http://blog.clearsnap.com/ *** and find me at tami sanders * paper crafter: http://tamisanders.com/