STEPS
TOOLS
We will start by printing our controller template which you will find in the following slide ^_^
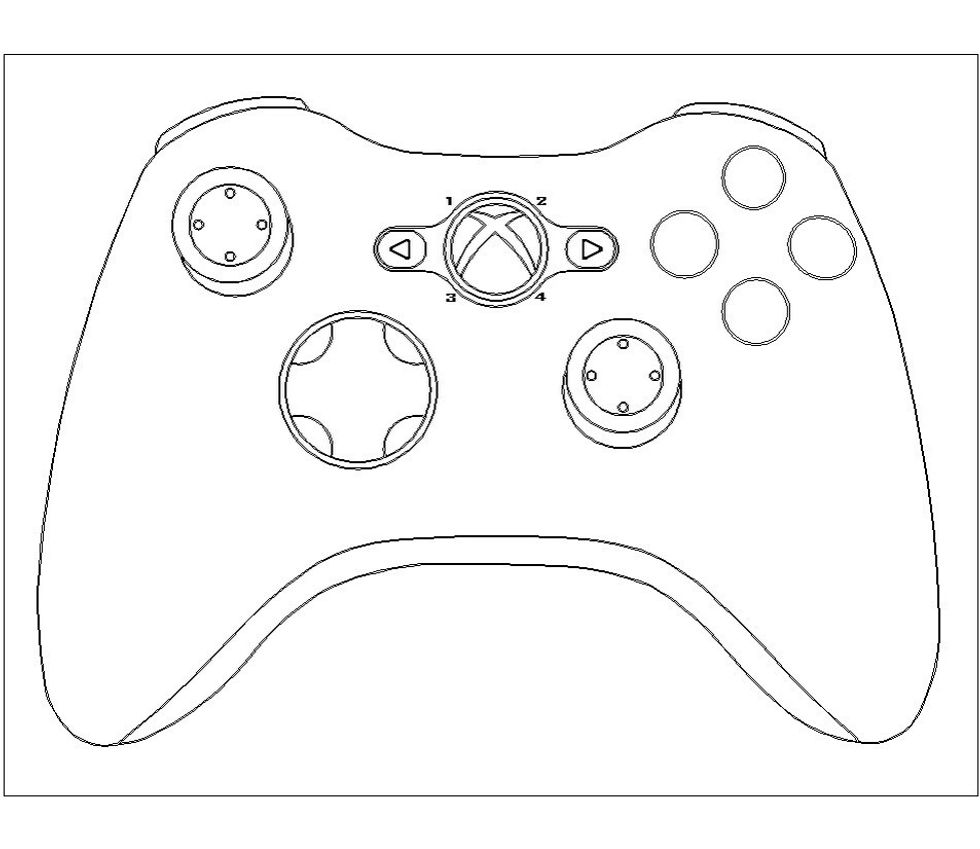
This is the template we will be using as a guide to cut out the foam so just save it and print it
Before you begin please use the gloves and goggles at all times. The materials we will use cause irritation and skin dryness.
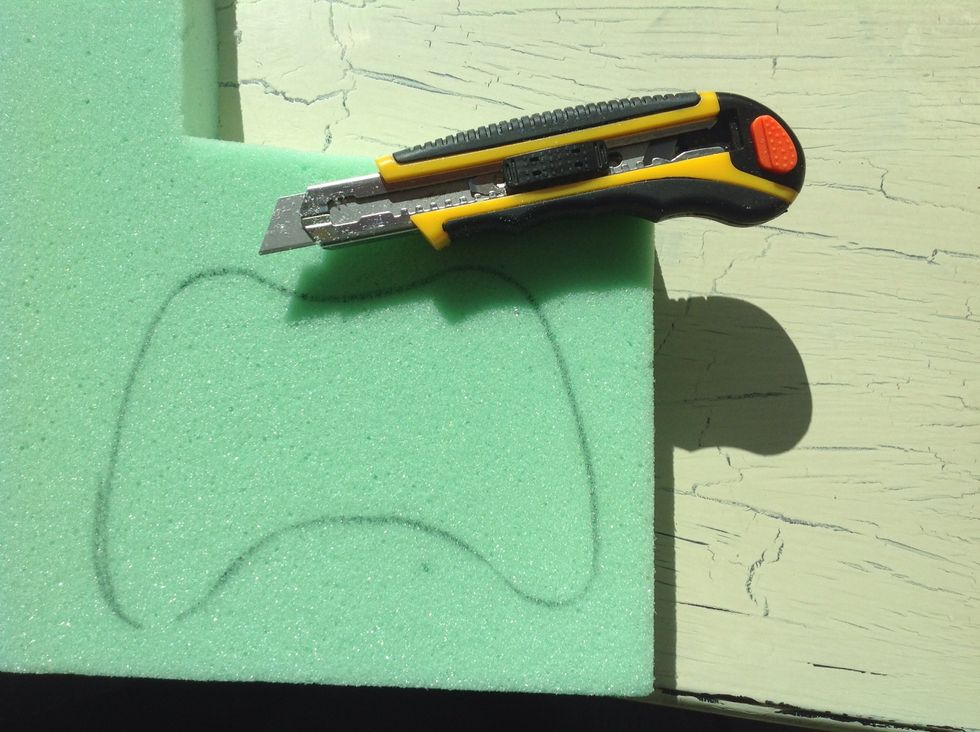
After tracing it, you will now cut out the shape of the controller with the cutter. If the foam is too slim you can cut out two pieces and glue one on top of the other :) using white glue
After cutting it the sanding process begins, it is easier to shape the foam than it looks, the tricky part is keeping the shape as symmetrical as possible. Take into account all the curves and angles.
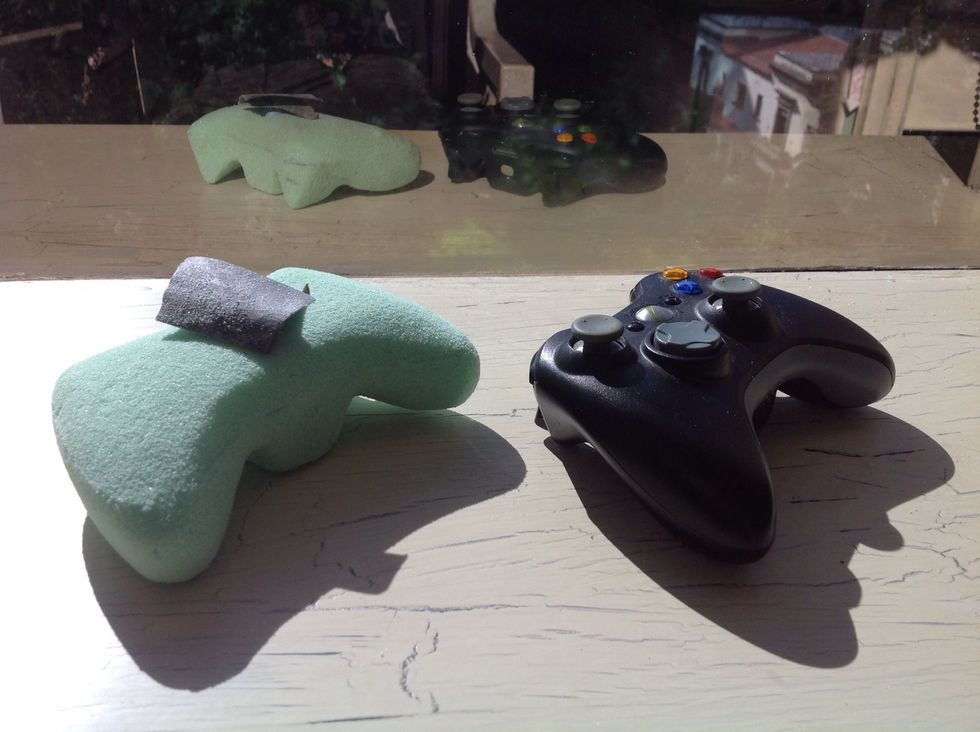
When you're done sanding, your controller will look similar to this one. Use the original controller as a guide for all proportions
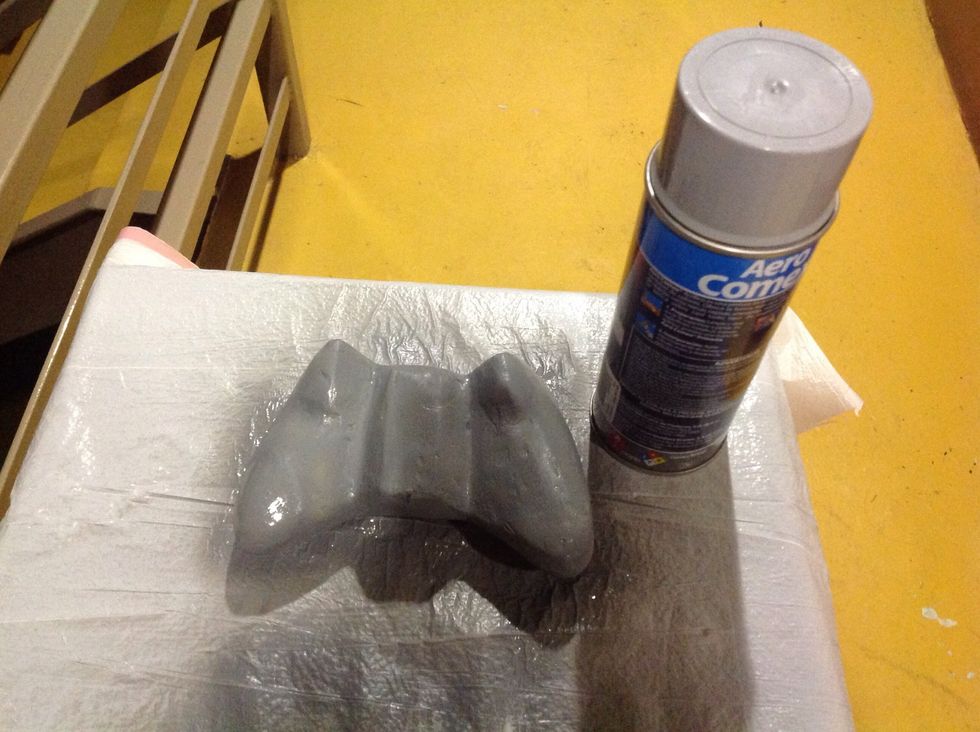
After you're done sanding it's time to begin the painting process. First you need to apply two layers of the spray paint primer. Primers usually come in weird colors, don't worry about it.
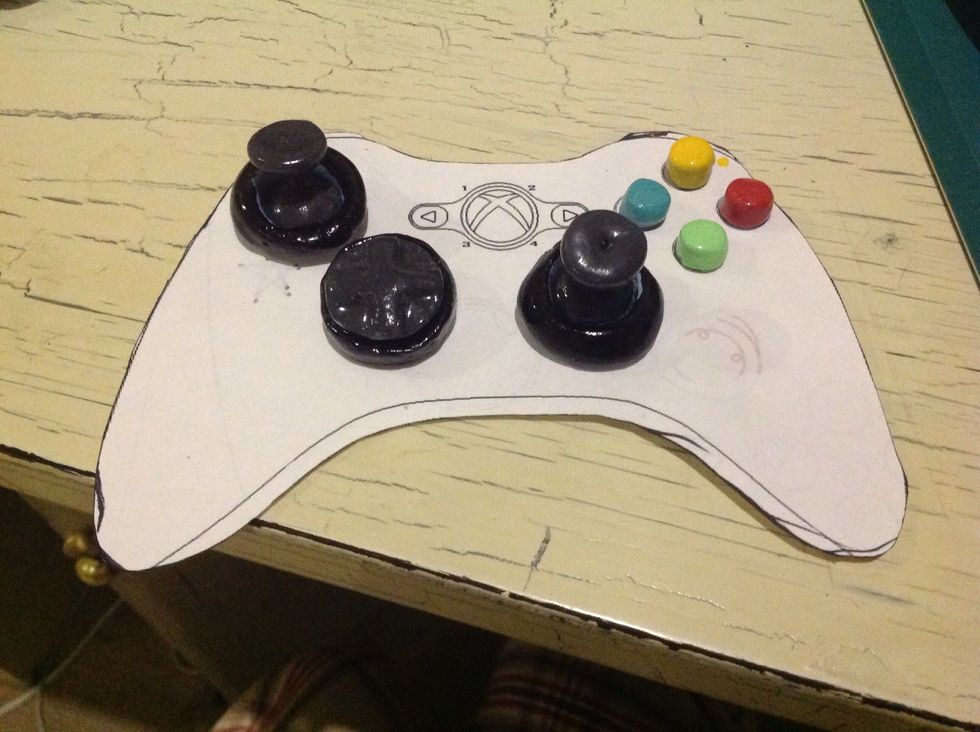
After you have all your pieces painted let them dry. And after this, it is finally time to assemble them to our controller, has to be completely dry as well. ^_^
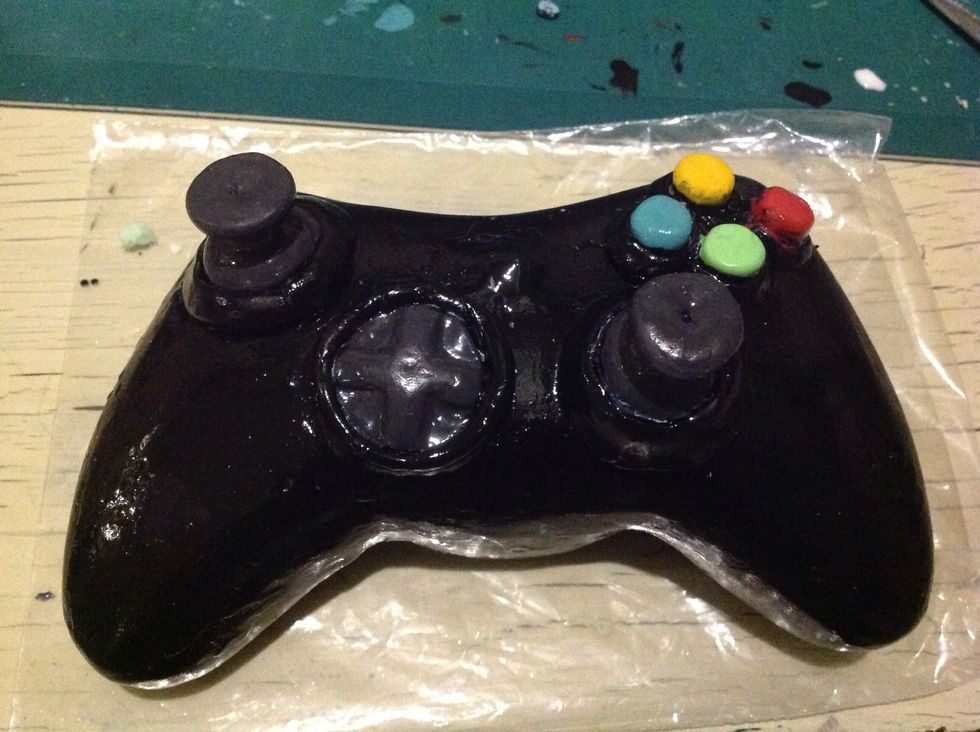
After you paste it with white glue you will most likely need to use more epoxy clay to adhere the parts correctly, then paint over it again to clear any imperfection. And you're done!
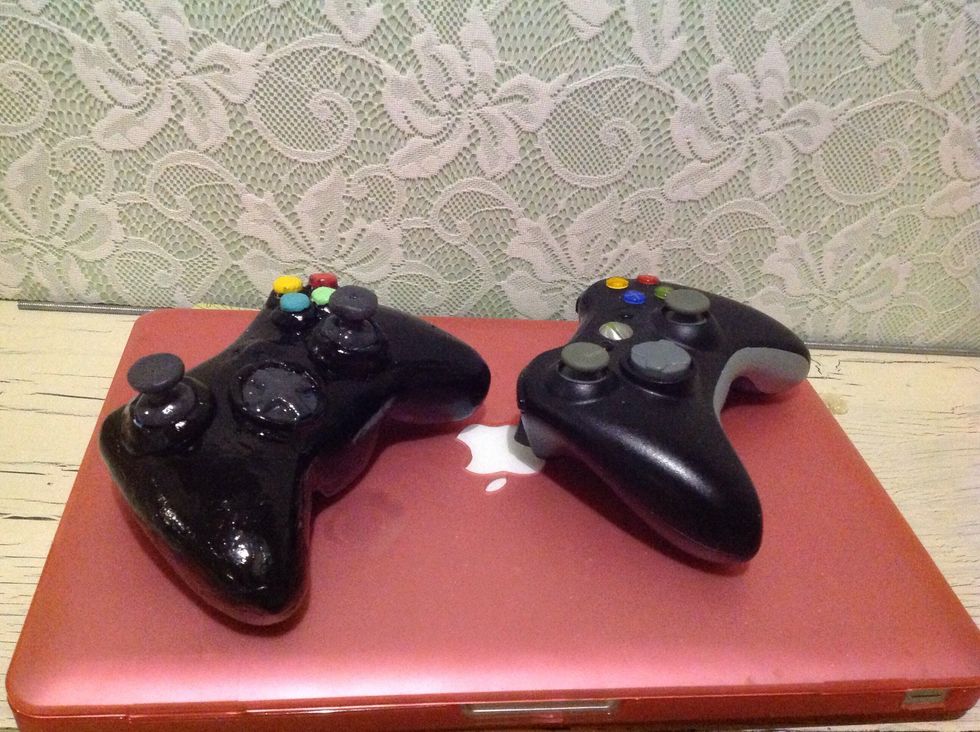
Not that bad for doing it in just a few hours huh? Hope it helped you guys and thanks for watching!
- 2.0 Blocks of molding foam (sold in craft shops)
- 4.0 Small Packets of Epoxy clay (home depot)
- 1.0 Sand paper (80 grain) (home depot)
- Cutter
- Cutting mat
- 1.0l Can of Automotive paste (auto supply shops)
- 1.0 Cream hardener (sold together with the paste)
- 1.0 Construction spatula (preferably metal)
- 1.0 Plastic craft spatula (sold in art supply shops)
- Toothpicks
- Black Acrylic spray paint (aerosol)
- Fine paintbrush for details
- Colored acrylic paint (for buttons and joysticks)
- Spray paint primer
- White glue
- Safety gloves and goggles
- Xbox printed template (included here)
- Original xbox controller to copy
The Conversation (0)
Sign Up