How to make a flower wreath
This can be made into a headband, an ornament to be hung on the door, or for pure enjoyment. It's a great sentimental gift for friends & family 😘
34
STEPS
TOOLS
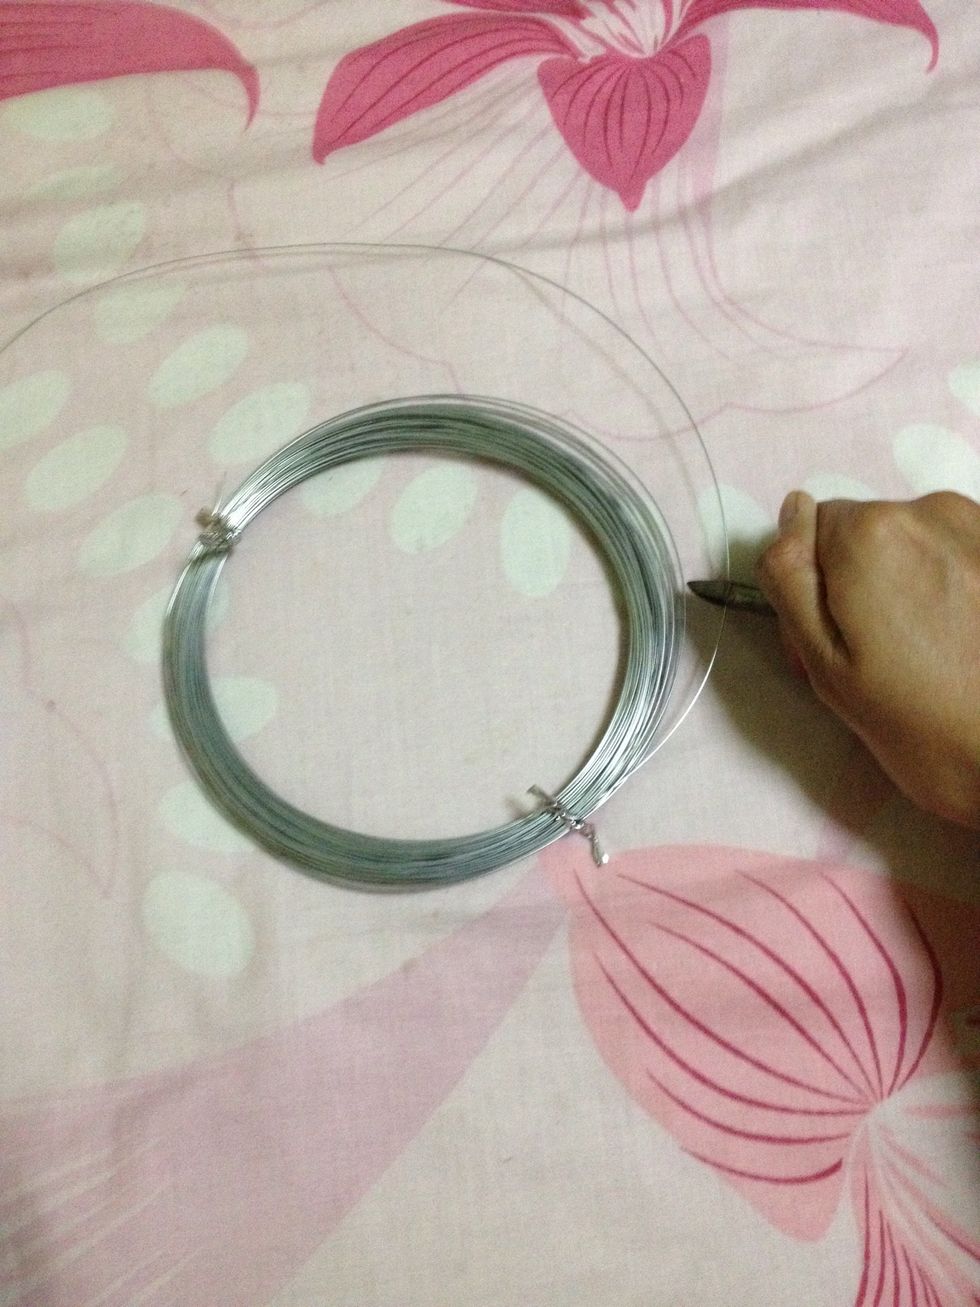
Cut out sufficient wire to make the perimeter of your 5-petaled flower and stem. You may cut a short piece first for trial.
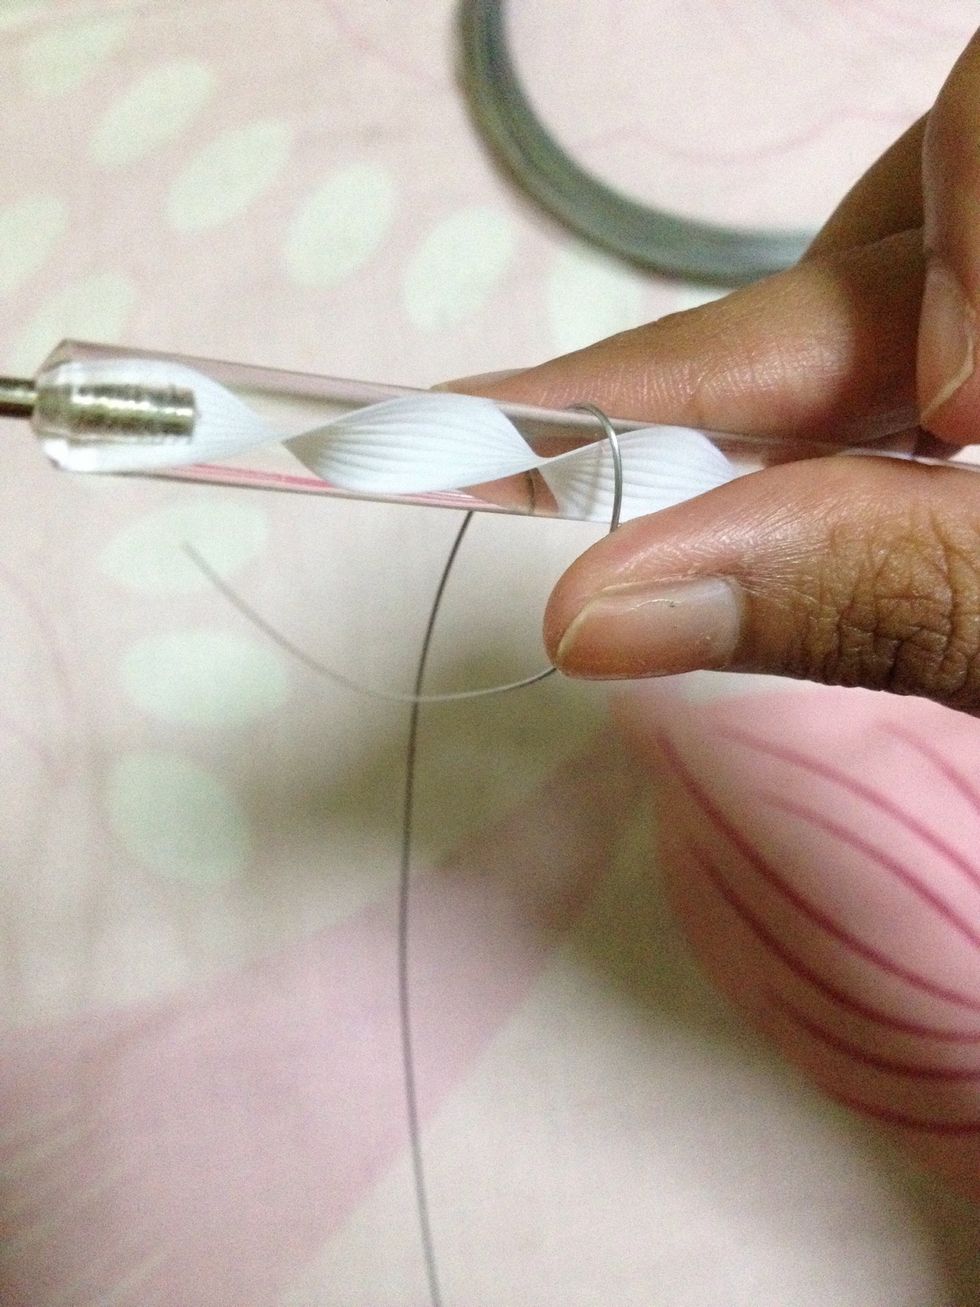
Wrap your wire around a cylindrical surface. This is to create a round surface which will then be shaped into a petal.
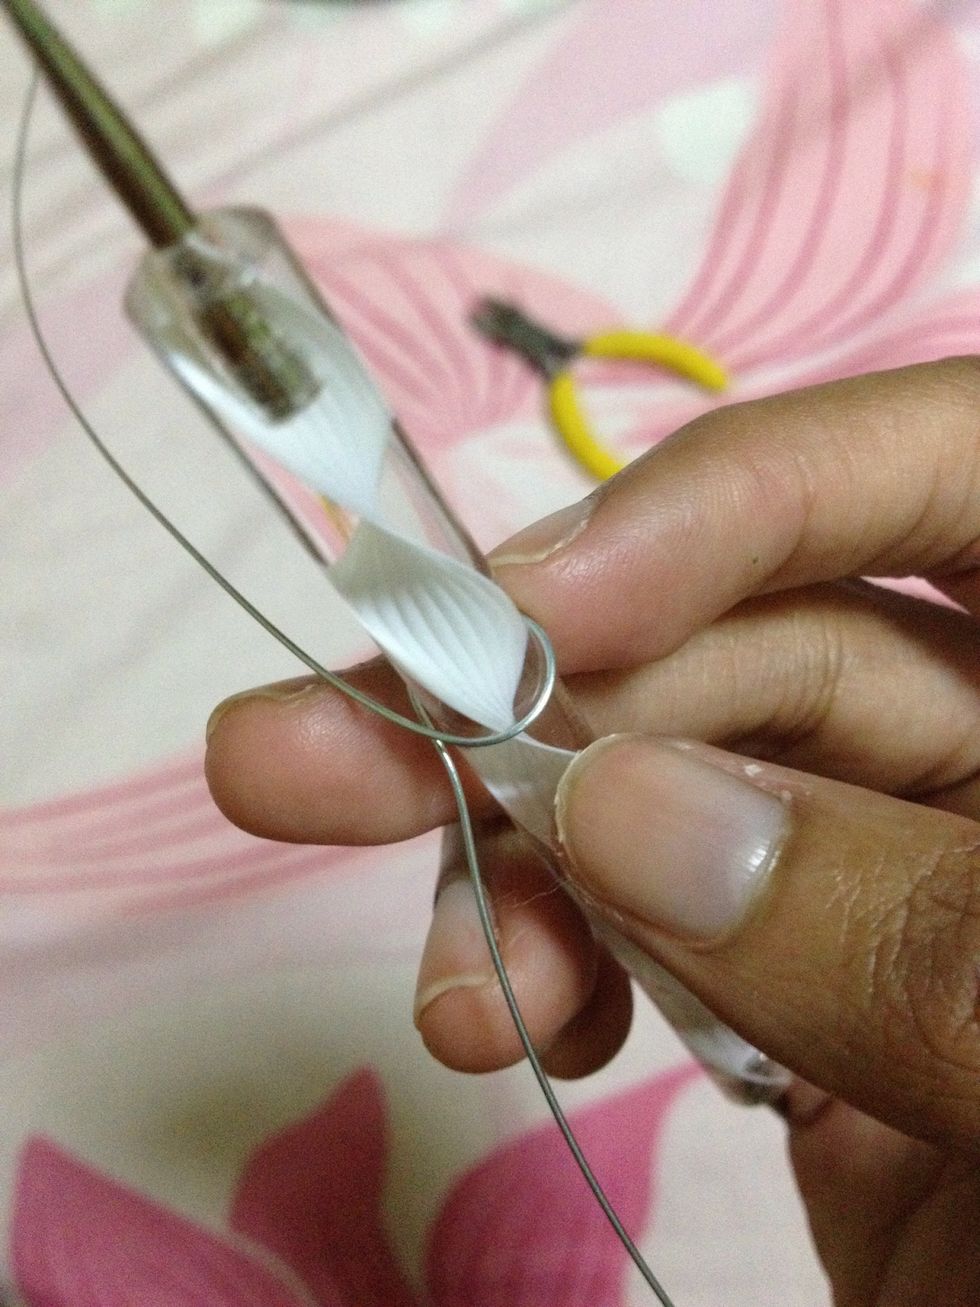
Make both ends of the wrapped wire around the cylinder meet.
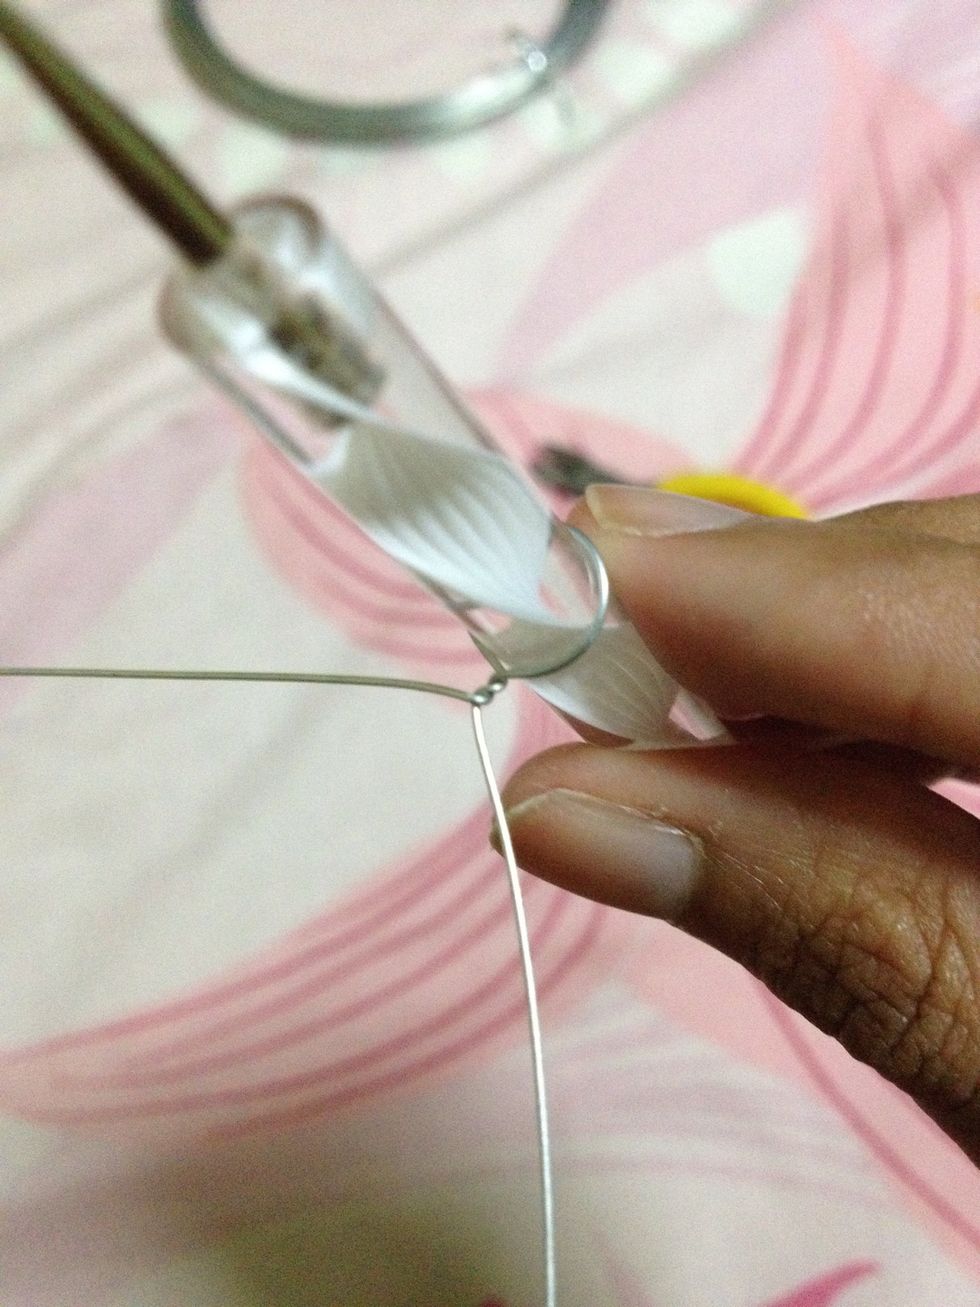
Then twist 2-3 times to secure the round shape. MAKE SURE the stem of the petal is twisted horizontally or else the applying the nail polish later will be difficult.
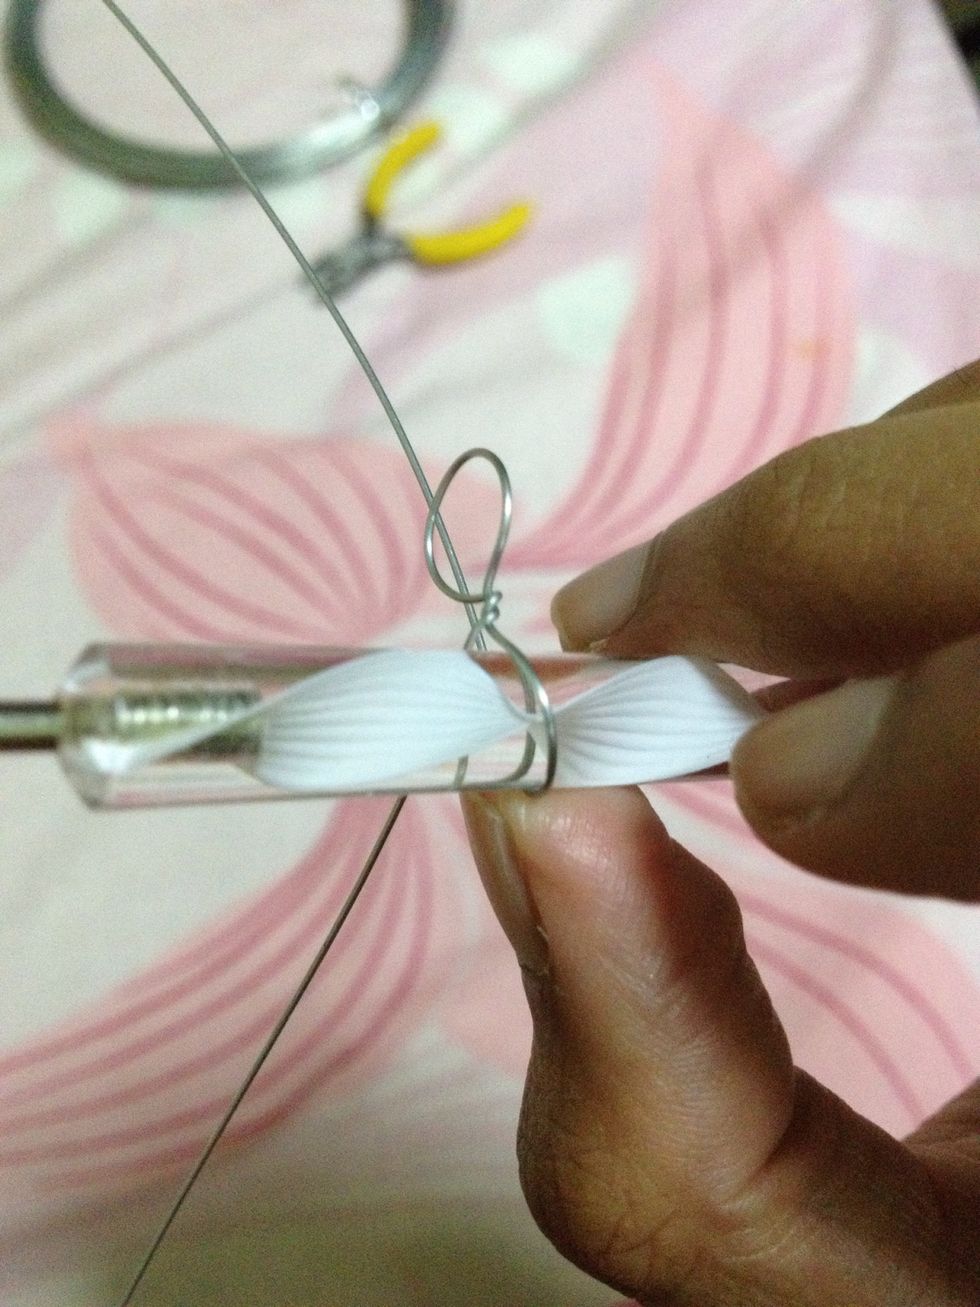
Using wire near to the stem of the completed petal, make the next petal following the previous steps. This is so that the 2 petals are facing the same centre, as should petals of a flower be.
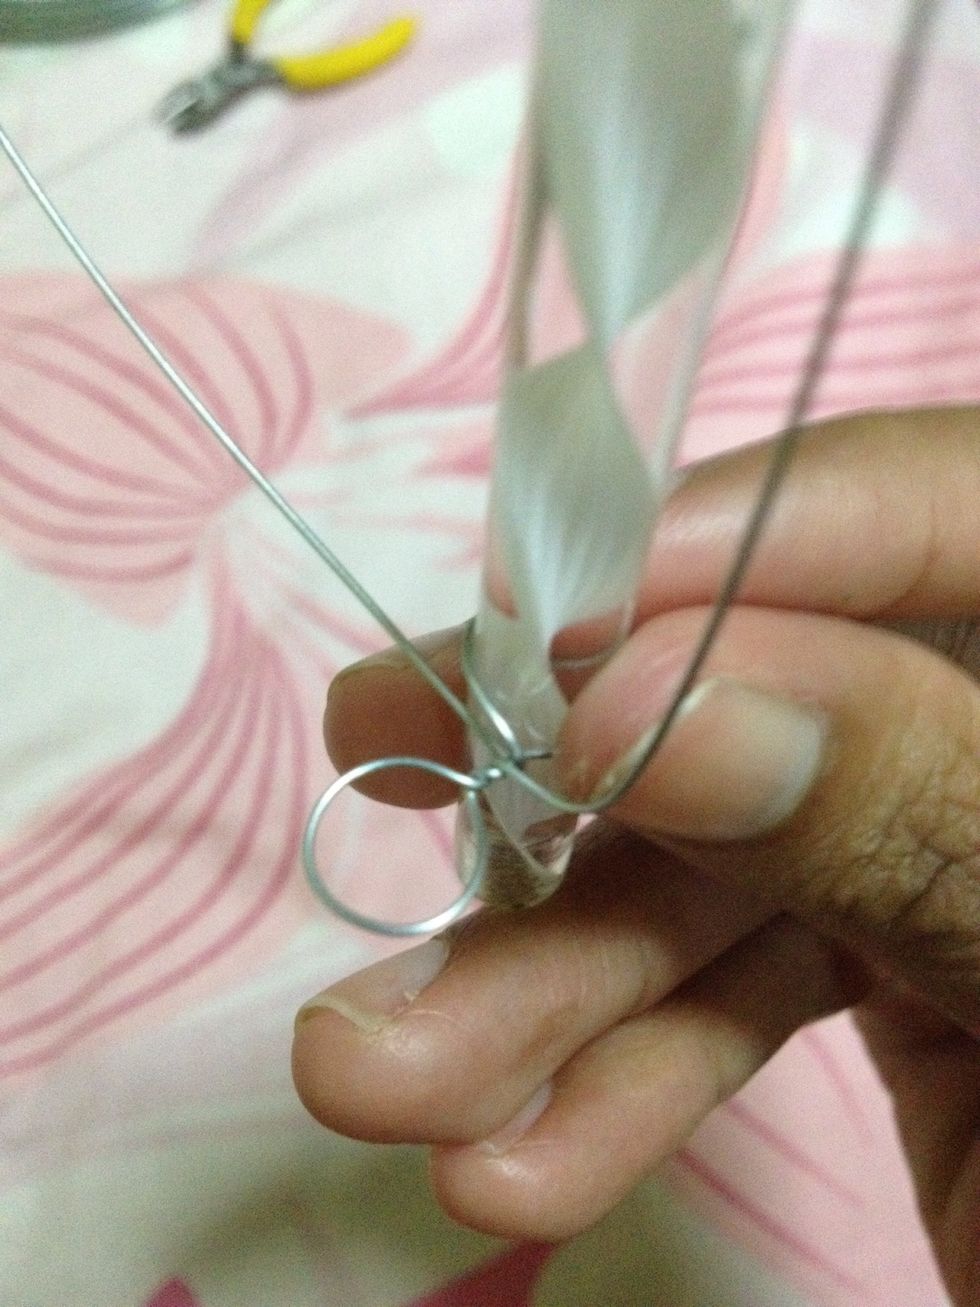
Notice that both petals have their closed ends facing each other.
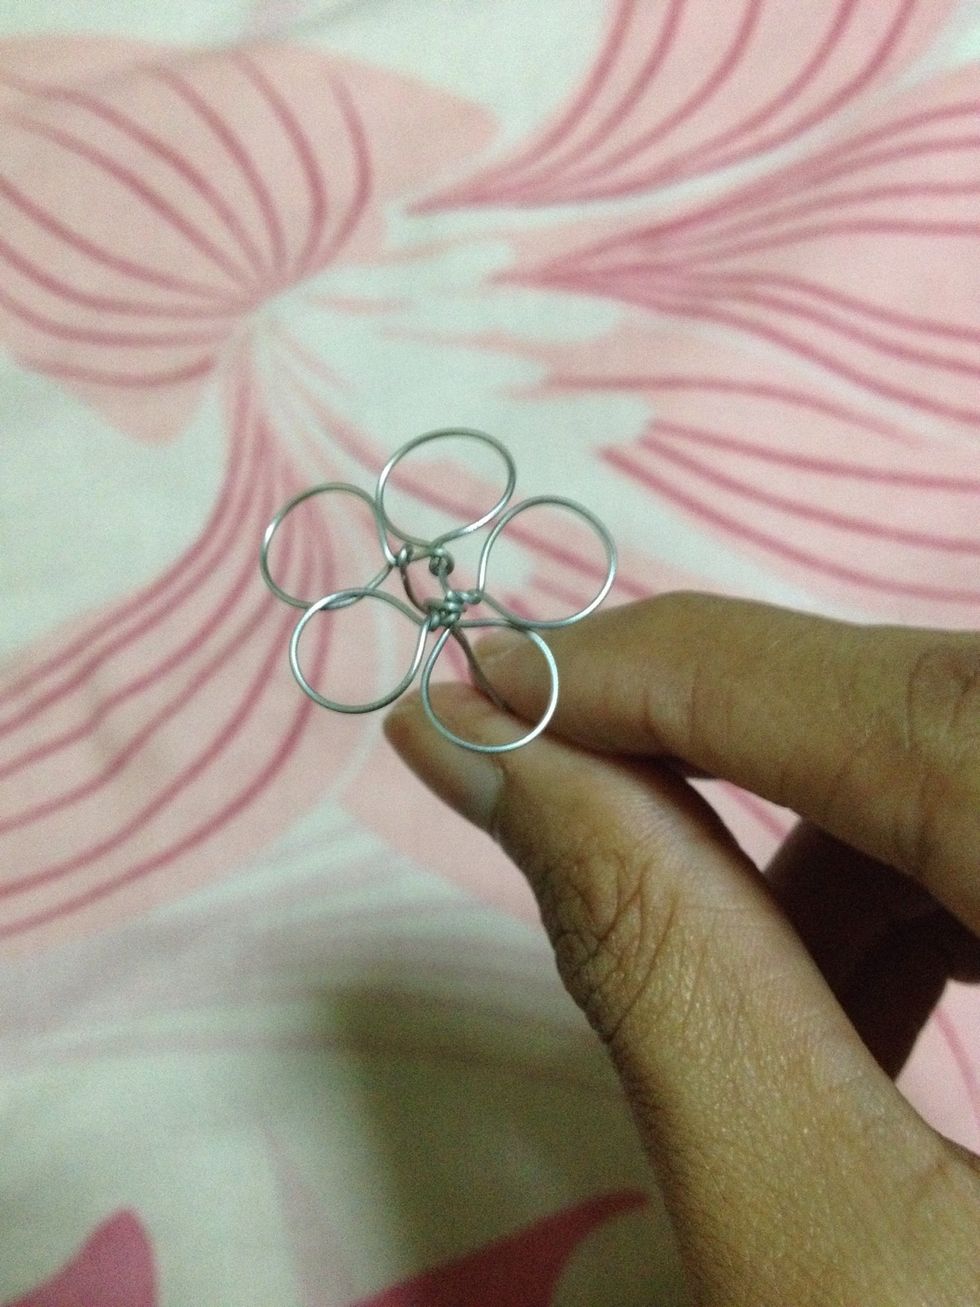
Create more petals, following the previous steps.
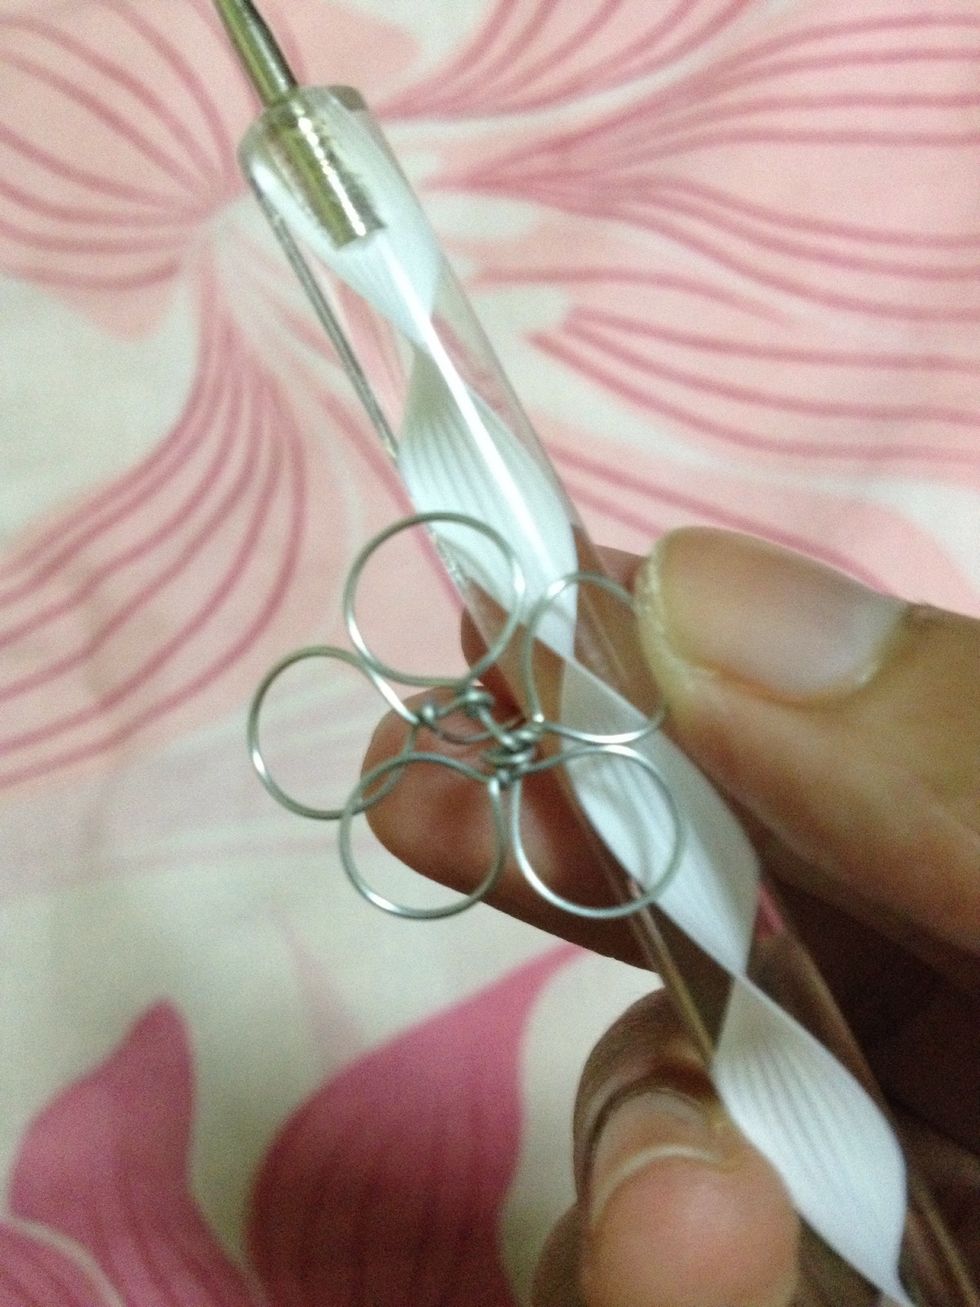
Using the same surface, press the petals down to create the curved, flimsy look of petals.
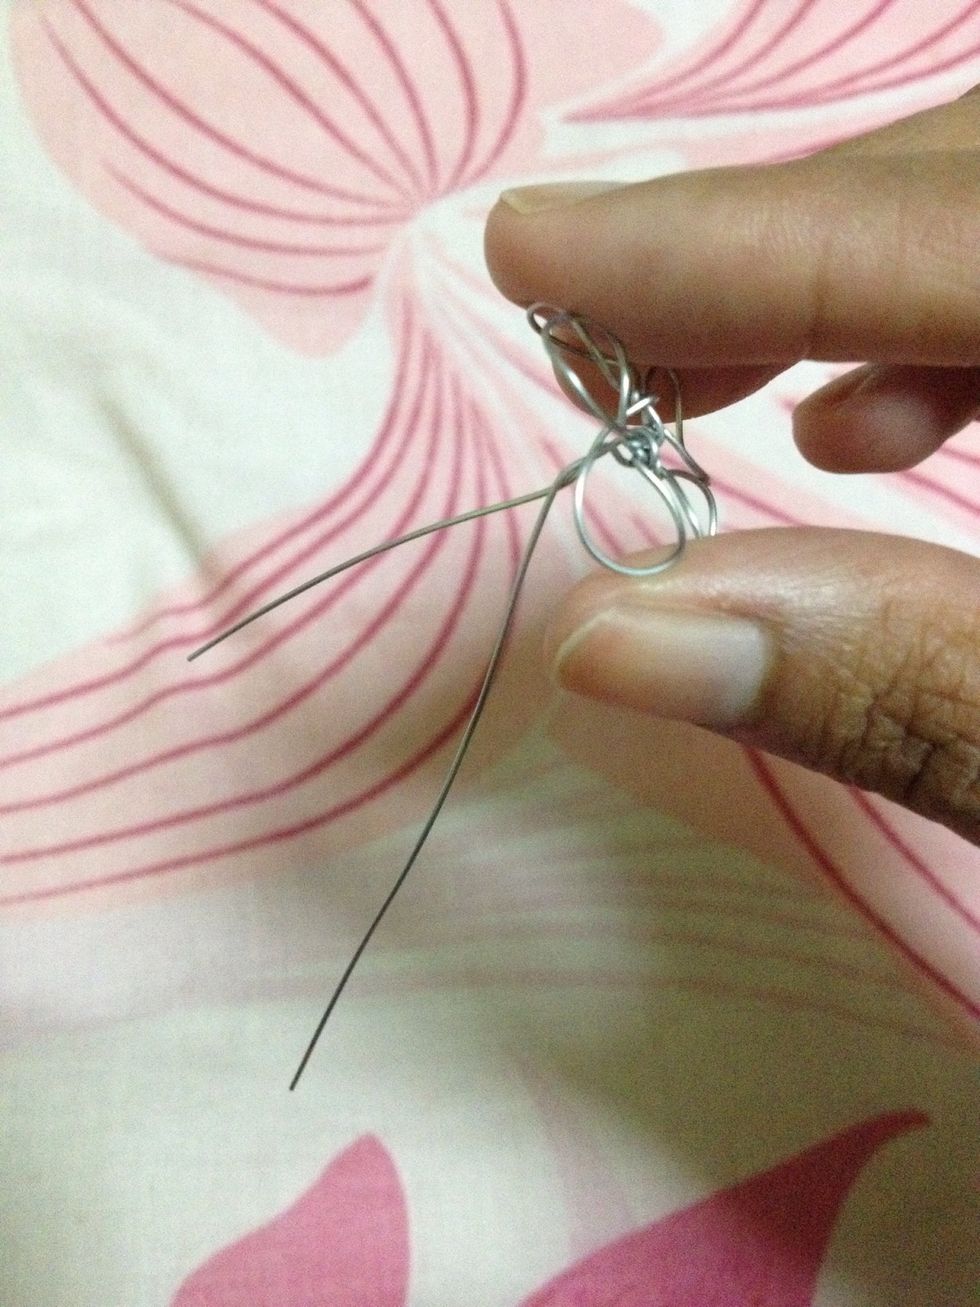
Once shaping of the petals is done, twist the 2 ends of the wire to create a single stem to the flower.
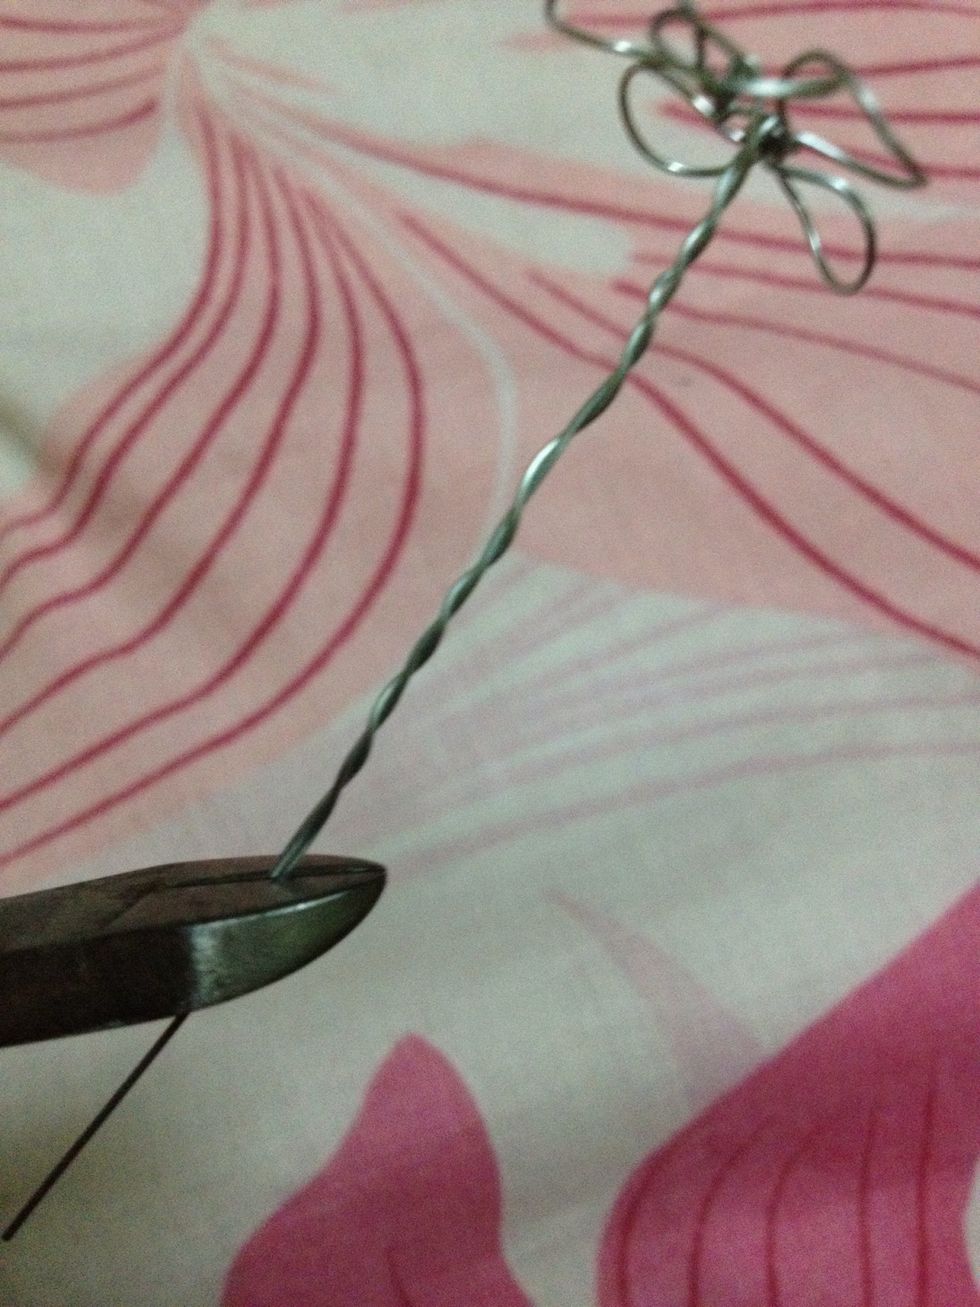
The stem should neither be too short (may not stay on wreath) or too long (thick wreath). Trim off the excess.
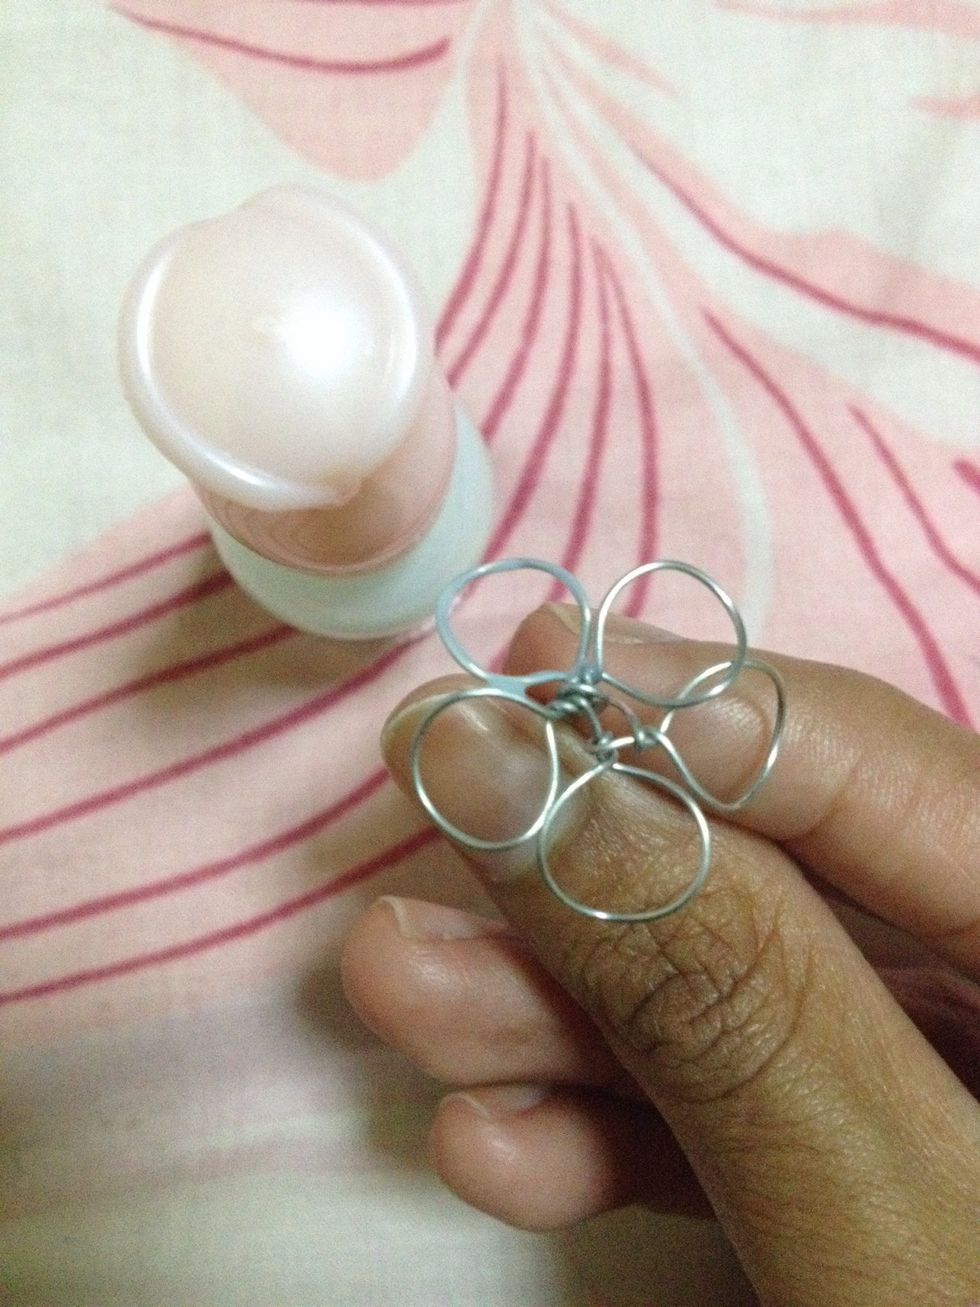
Applying the nail polish requires patience. I suggest using one which is closer to the watery state. Apply the nail polish to the rim of the petals and from there, spread over the whole petal without
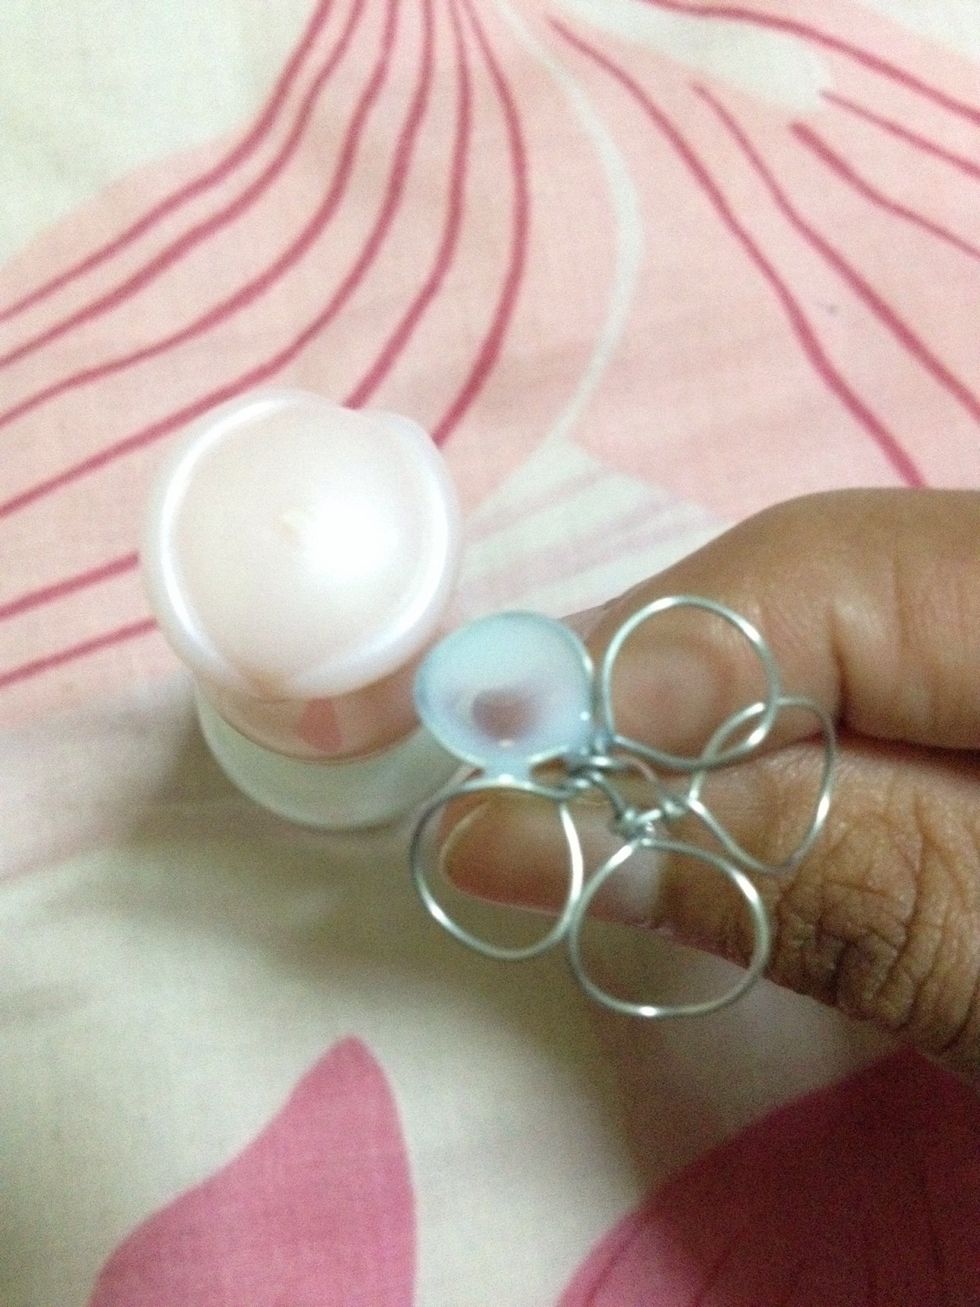
loosing contact of the brush on the wire, just as how you would when taking soap to blow bubbles. Don't fret if there are inconsistencies in spreading, that can be solved once the 1st coat dries.
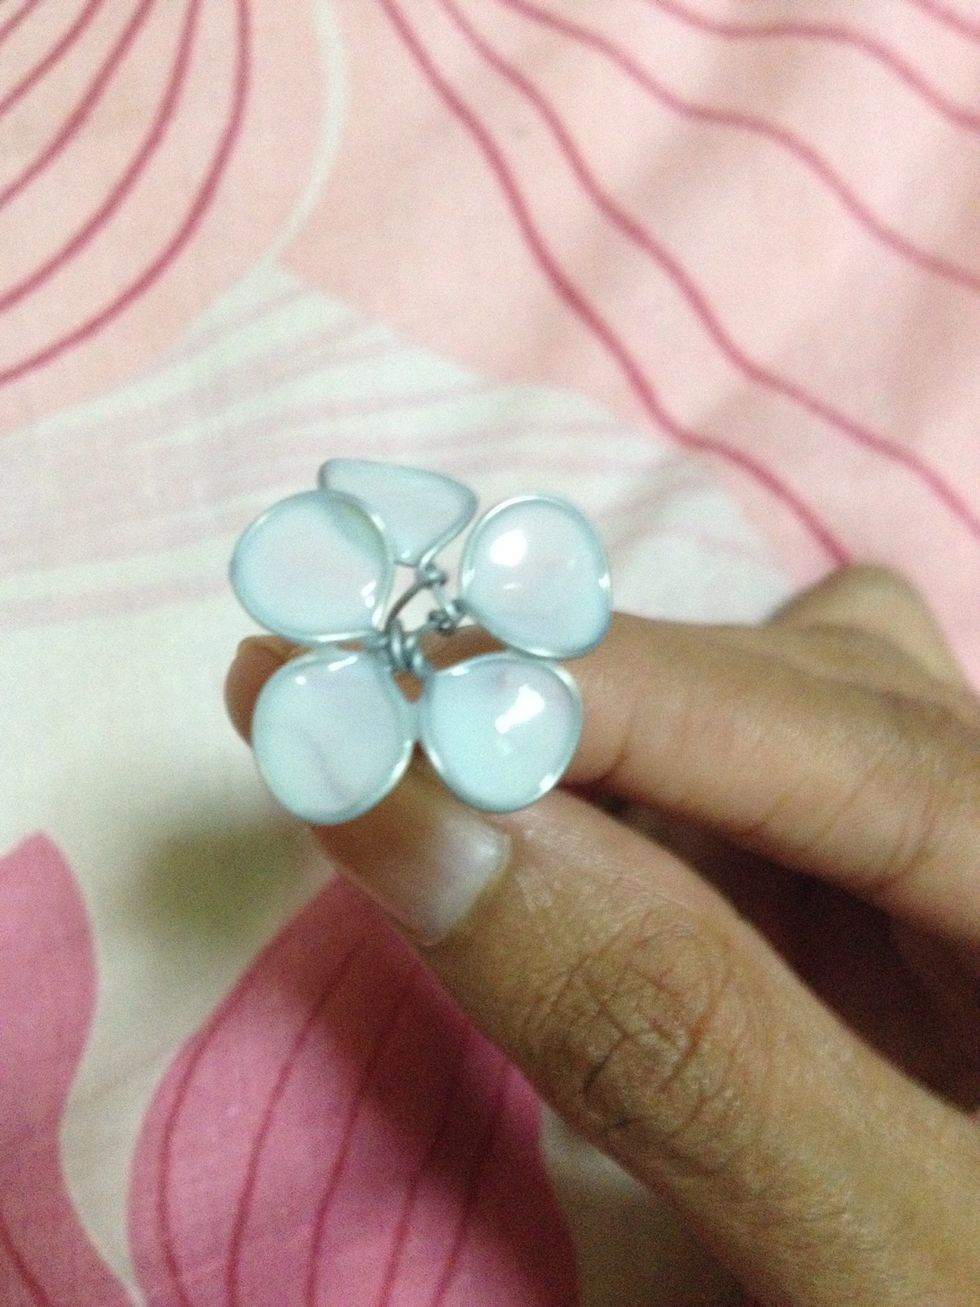
Apply the 2nd coat to cover up the translucent parts. You'll finish with opaque petals. You may choose to leave the petals translucent to create your desired effect.
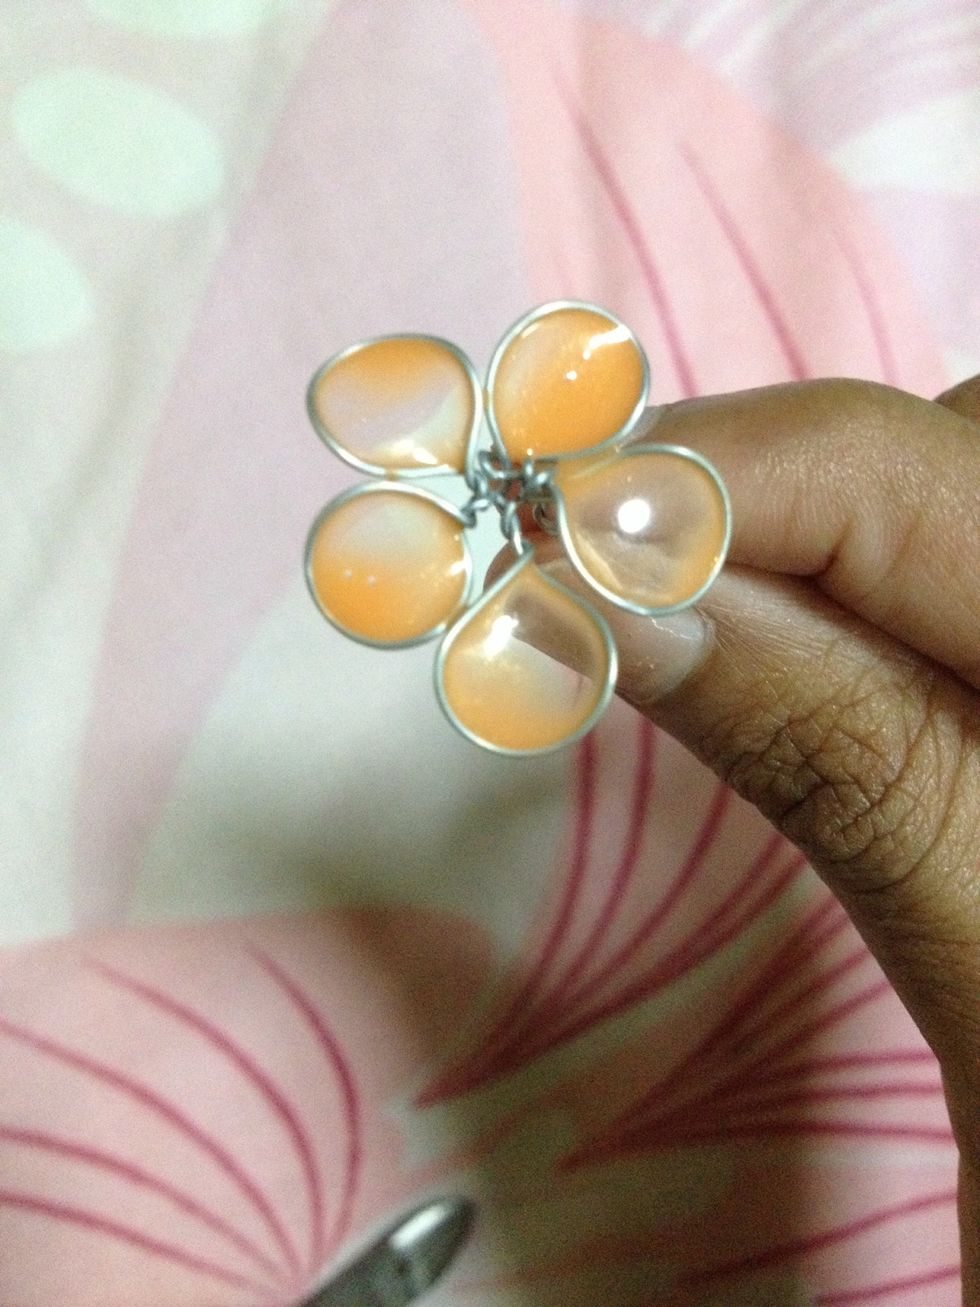
However, as you know the 1st layer is thin (& weak), don't apply the 2nd polish too hard or else you may 'burst' the first layer and in that case you'd
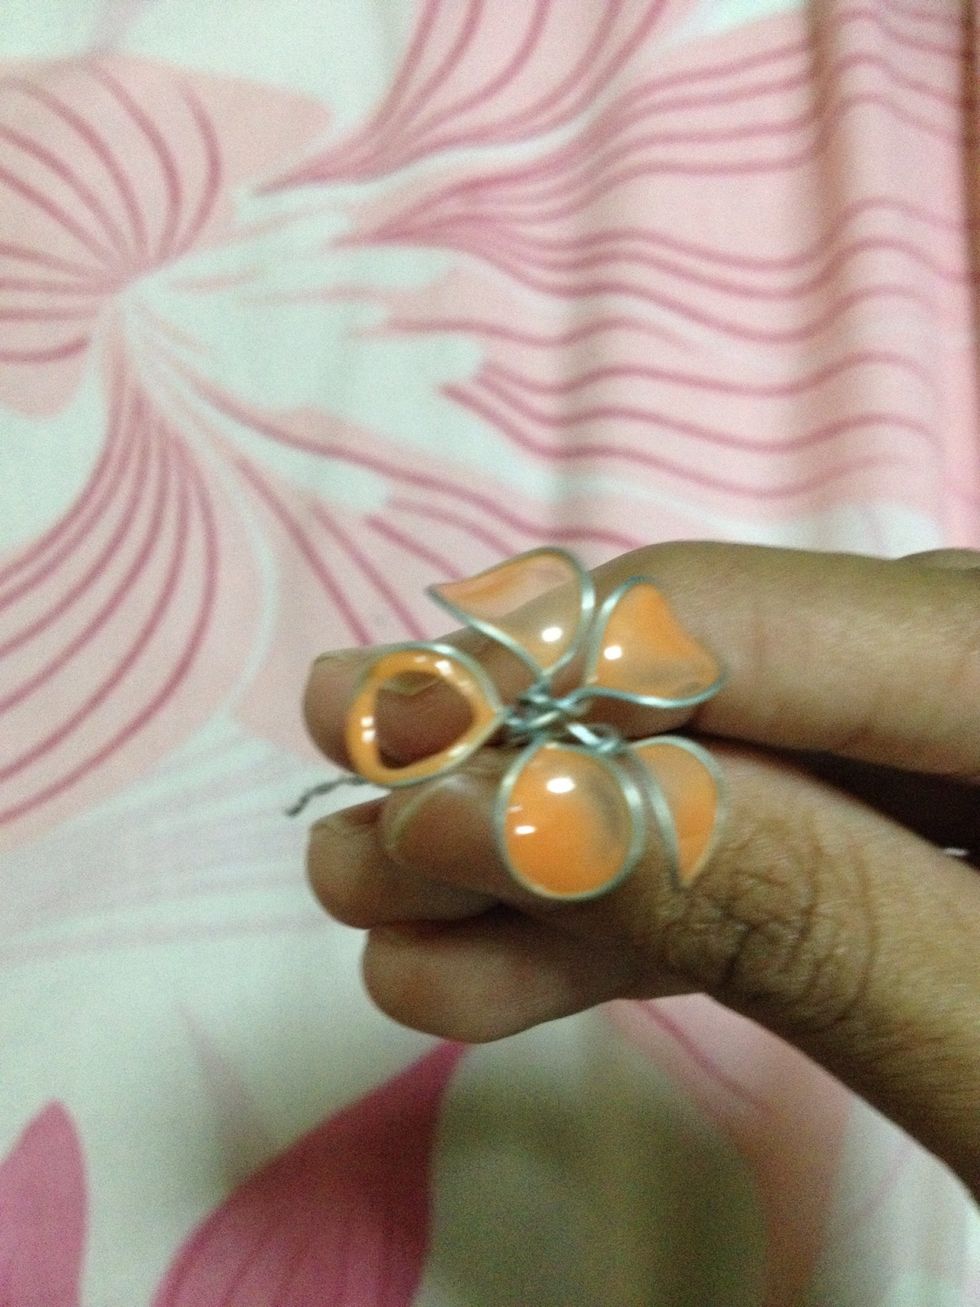
have to start again with creating that initial layer which requires patience to achieve.
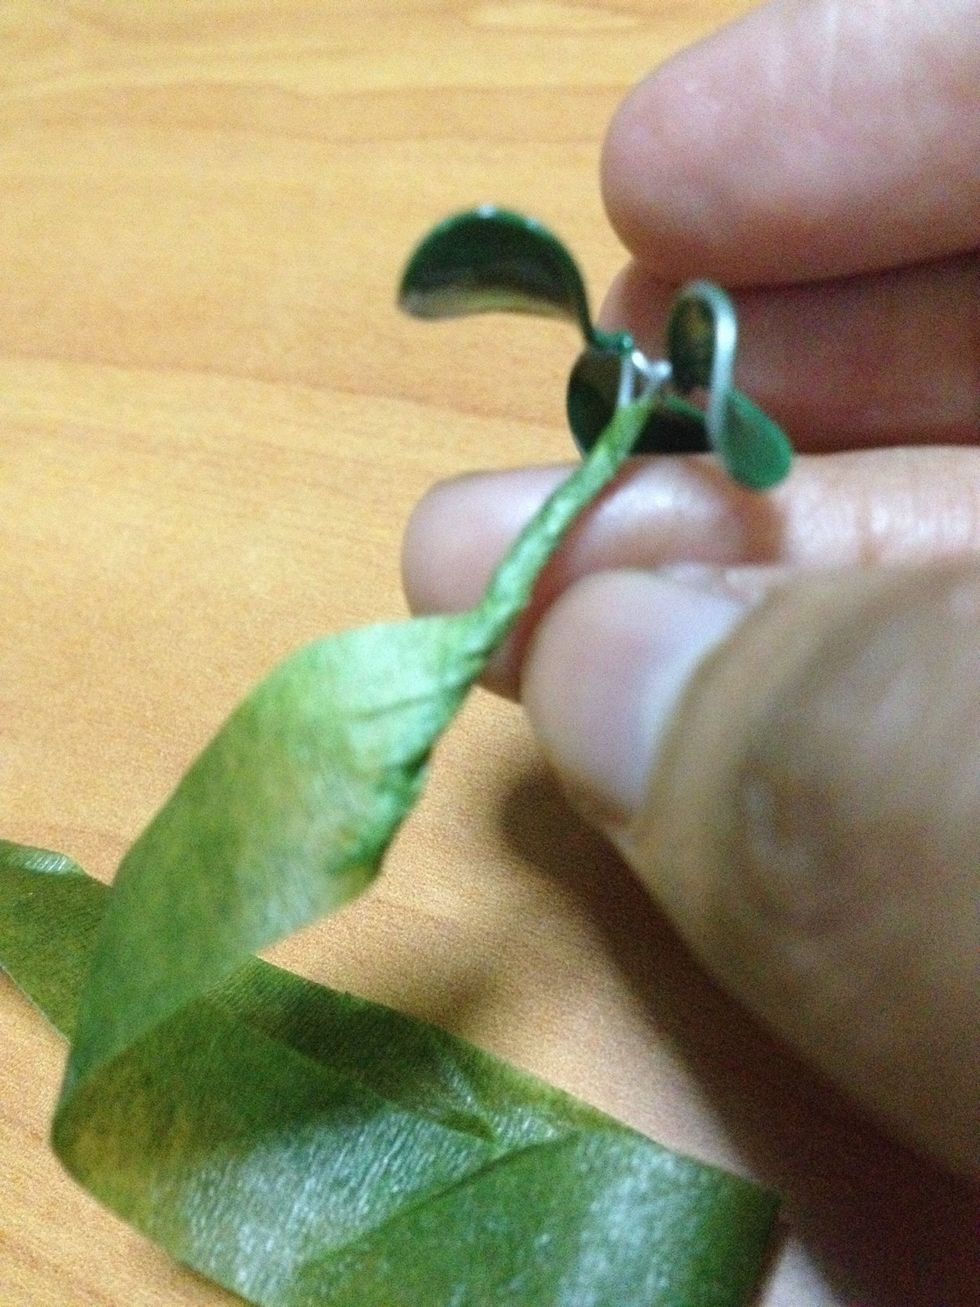
Using green tape, tape along the stem of the flower to cover up the wires. Stretch along diagonally to save tape 😉
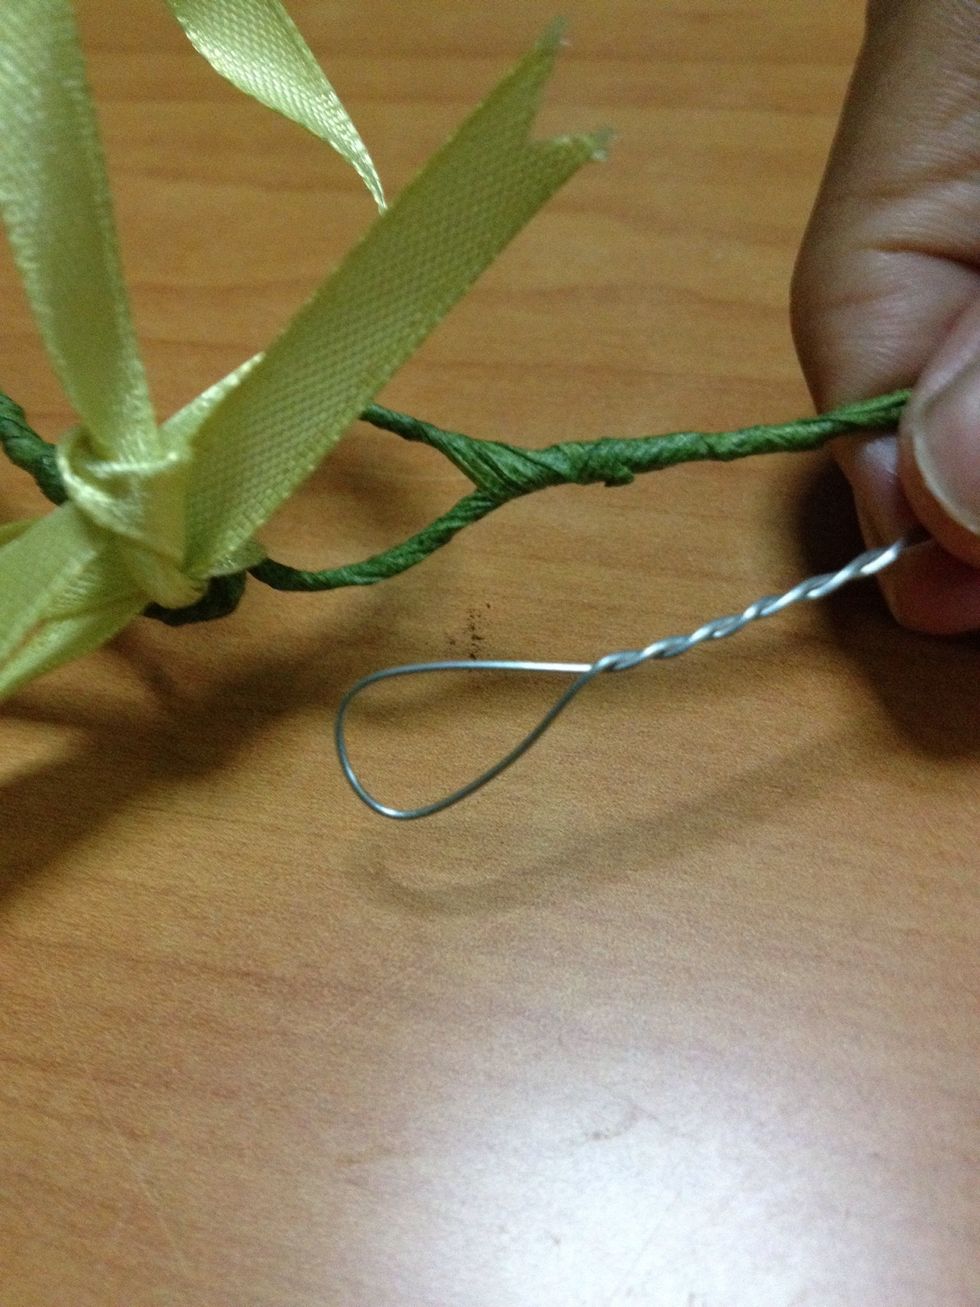
The wreath. Cut wire double the circumference of your head and twist along while keeping 2 loops at both ends. Having it shorter is not a problem and can be solved with
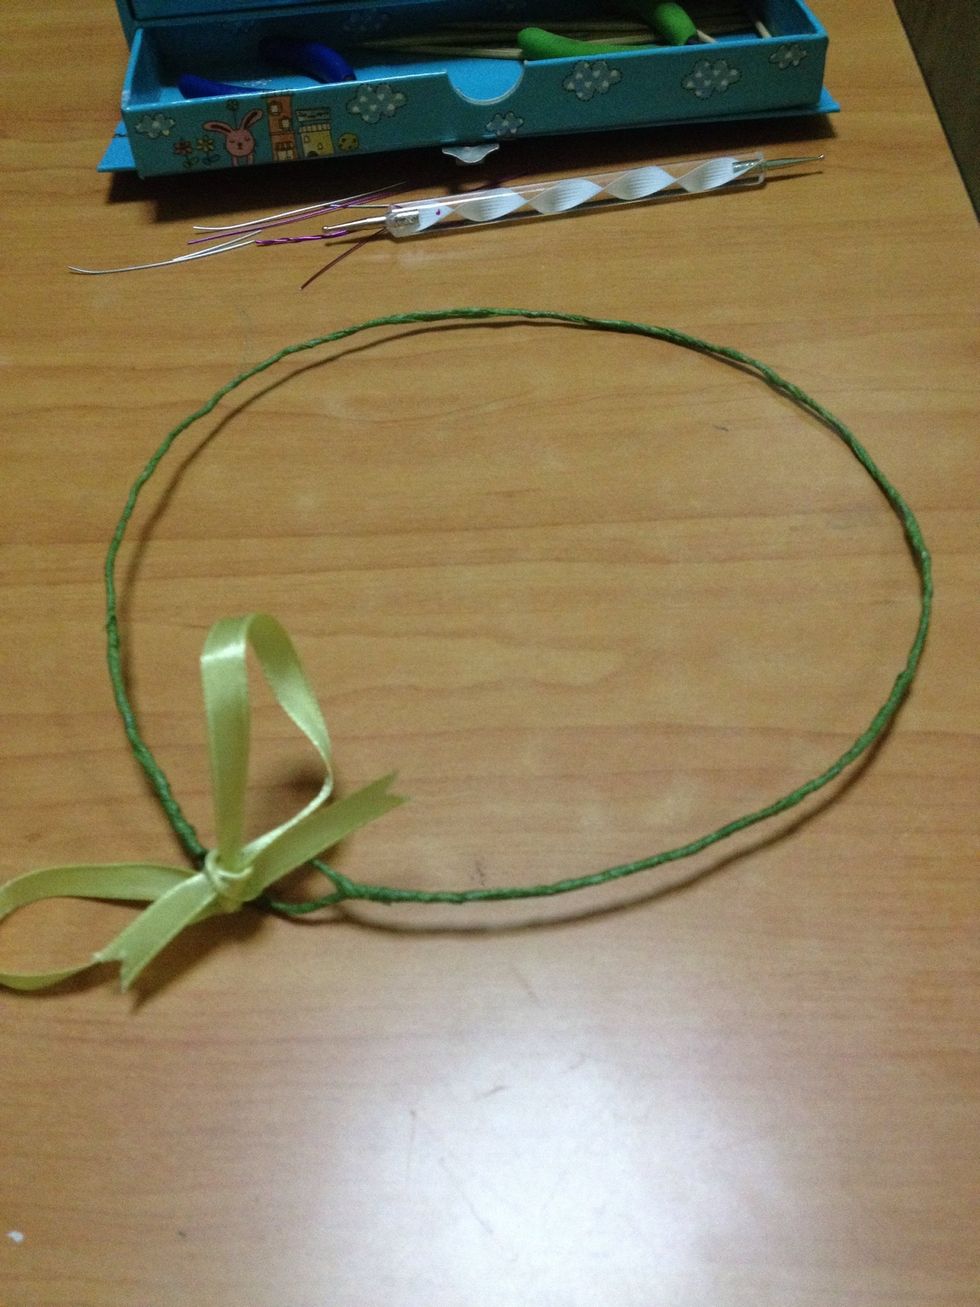
a ribbon which is tied through the loops at both ends. The ribbon can add to the circumference of the wreath. Cover the wreath with green tape as well :)
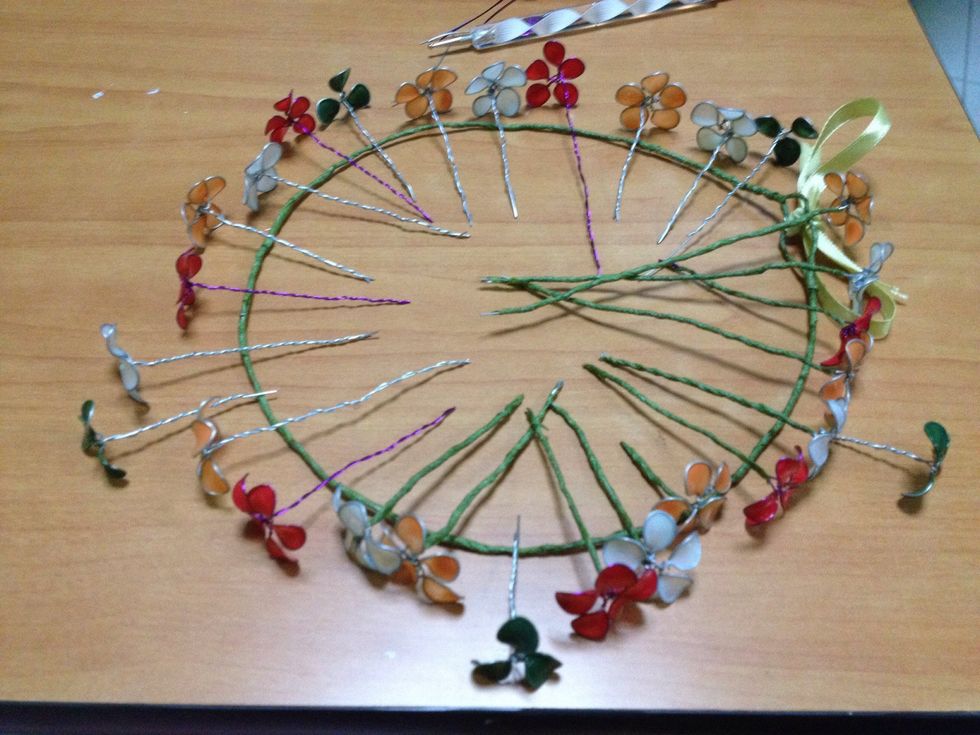
After making flowers of various numbers of petals and colours, line them onto the wreath and gauge how many more is needed. Trust me, you'll need to double the flowers if you bind them closely on the
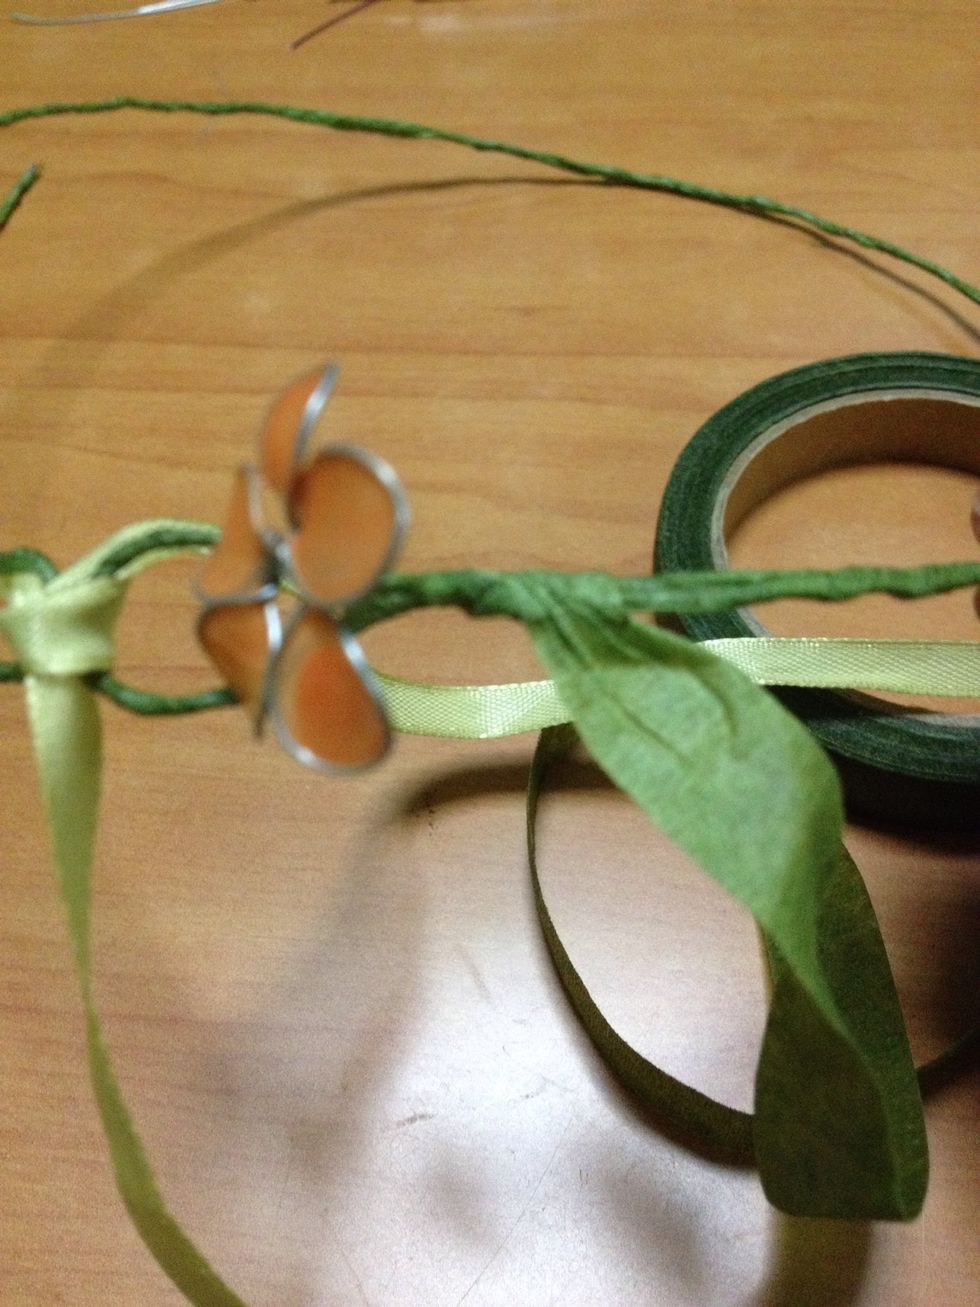
wreath. Attach the flowers from the loops onwards to the centre of the wreath. Place the flower and allow for a short length of the stem to be exposed.
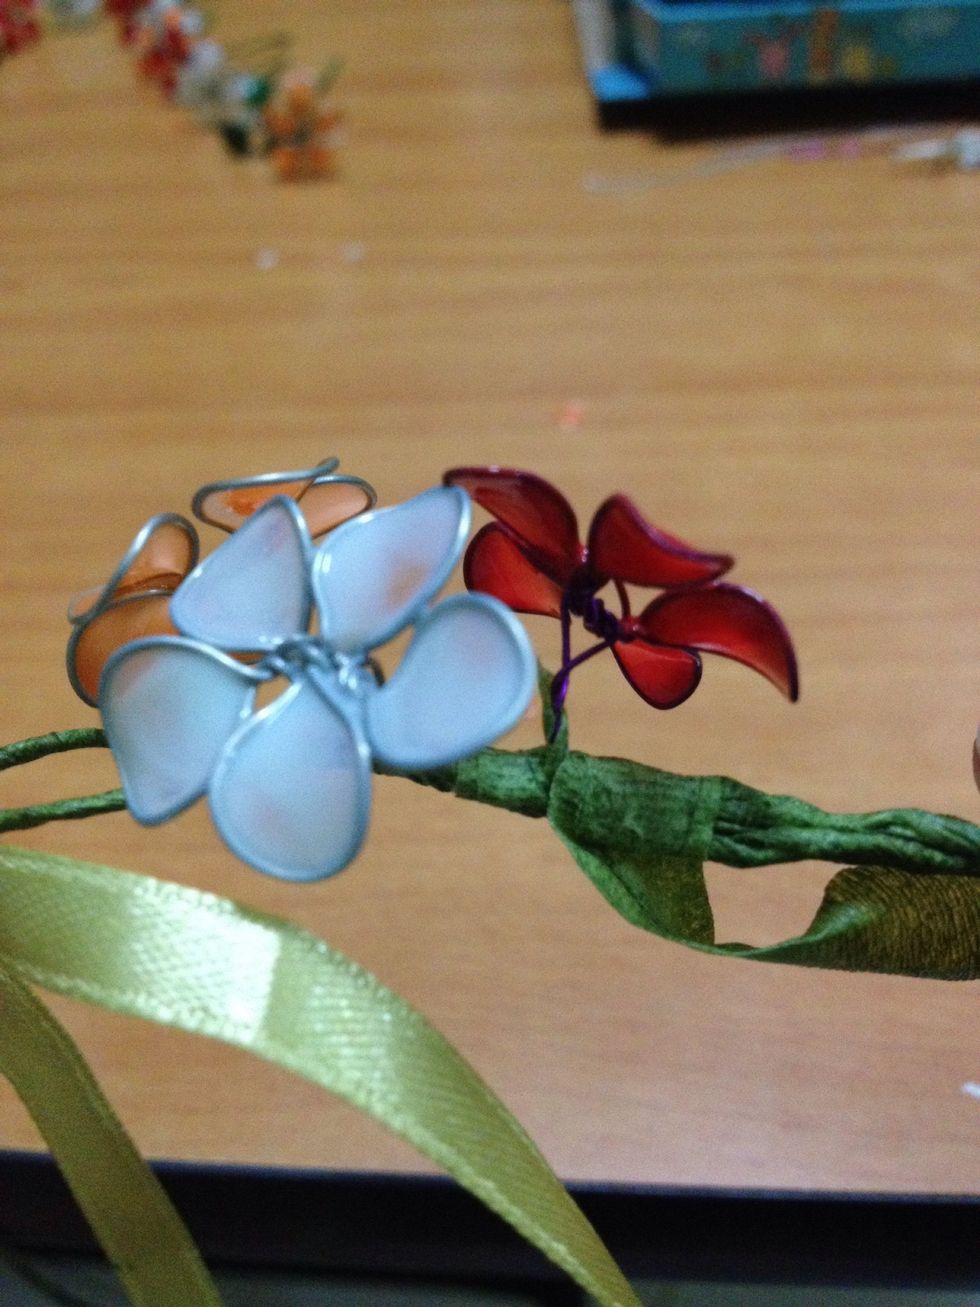
This is to adjust where the flowers would face later on as more will be added. Twist the stems of the flowers around the wreath before taping. Ensure the flowers are TIGHTLY bound to the wreath.
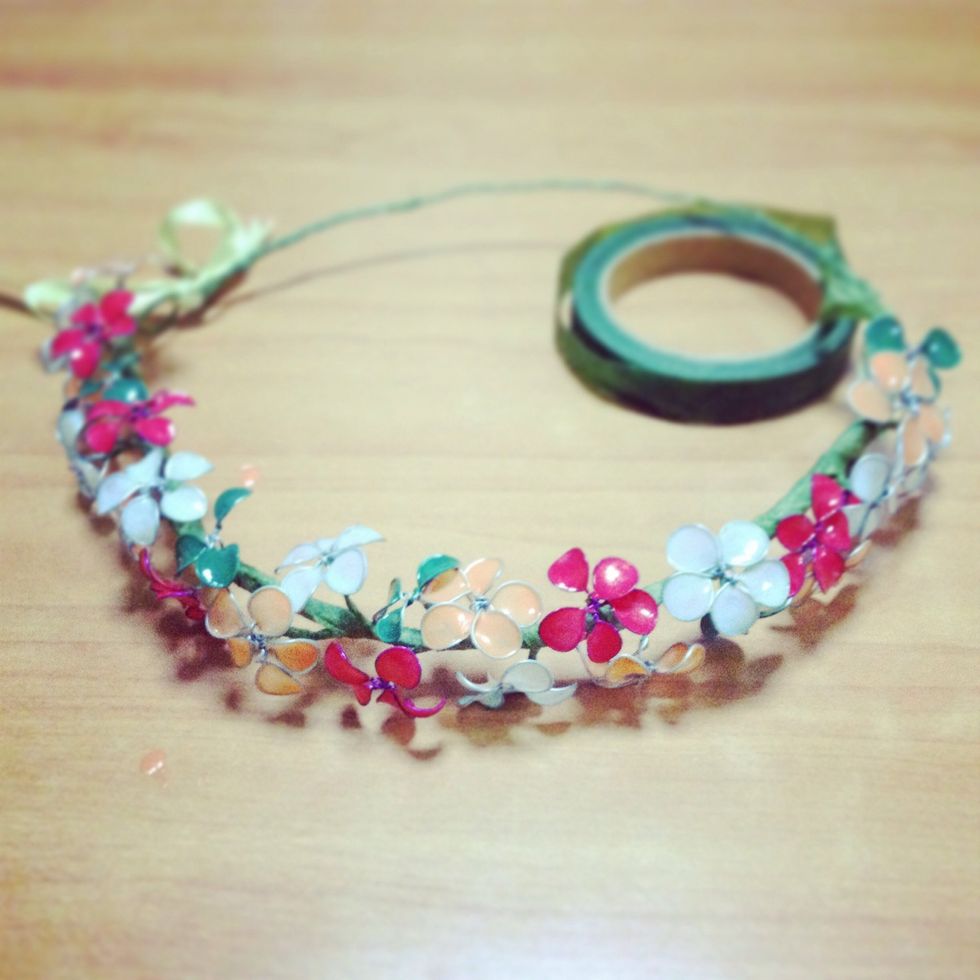
I've completed from one loop downwards to the centre of the wreath and have yet to start on the other loop downwards.
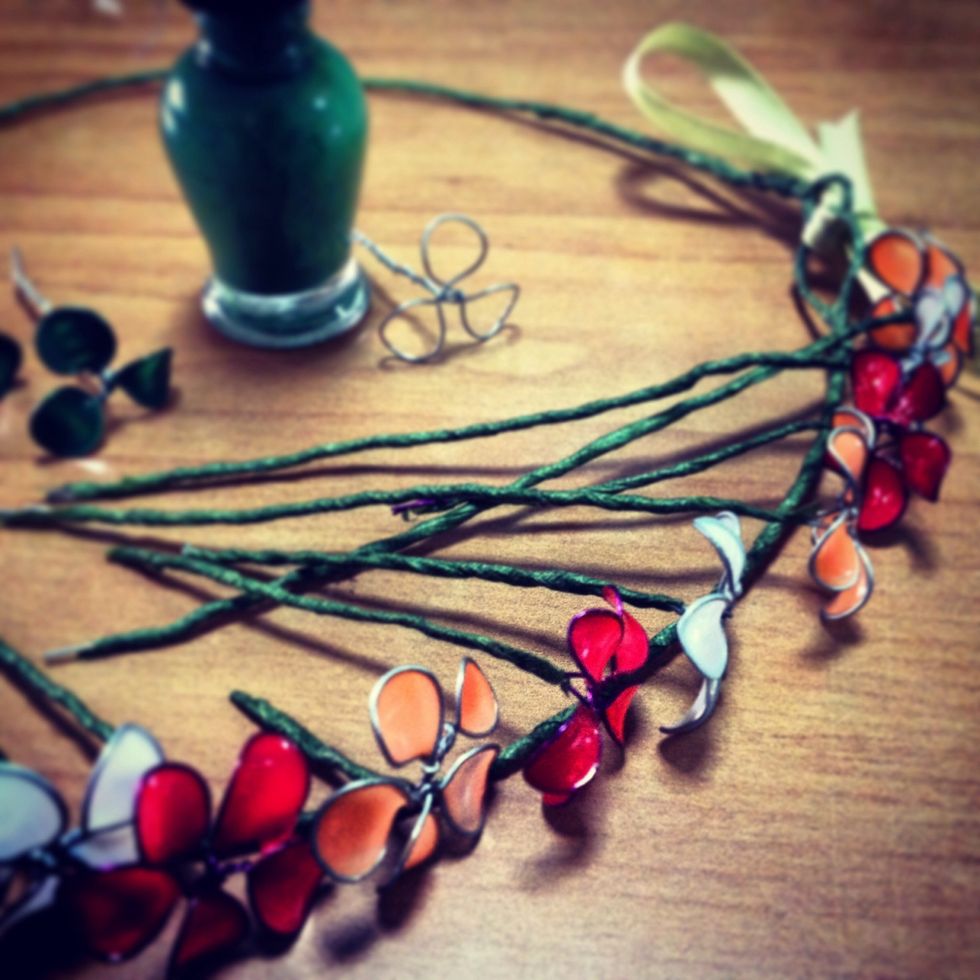
Have fun making this headband wreath. You'll enjoy the process and if you've any doubts or questions, do drop them and I'll try my best at answering them :D
- Patience
- Thin Wire
- 1.0 Wire cutter
- 4.0 Nail Polish
- Green tape
- Scissors
- Ribbon
Singapore
The Conversation (0)
Sign Up