The Conversation (0)
Sign Up

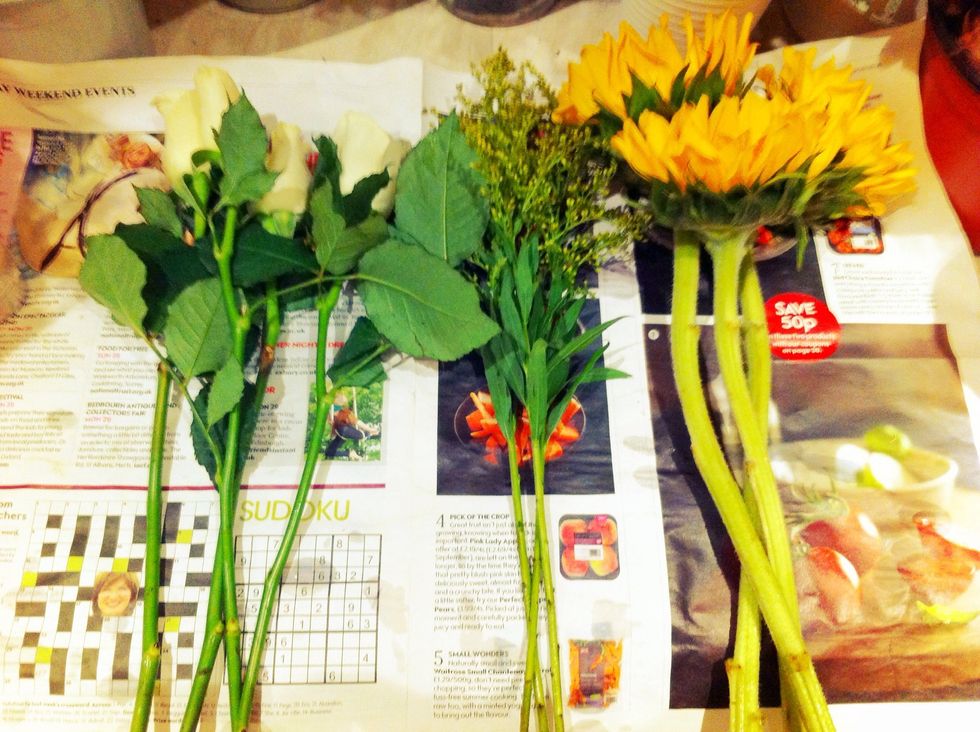
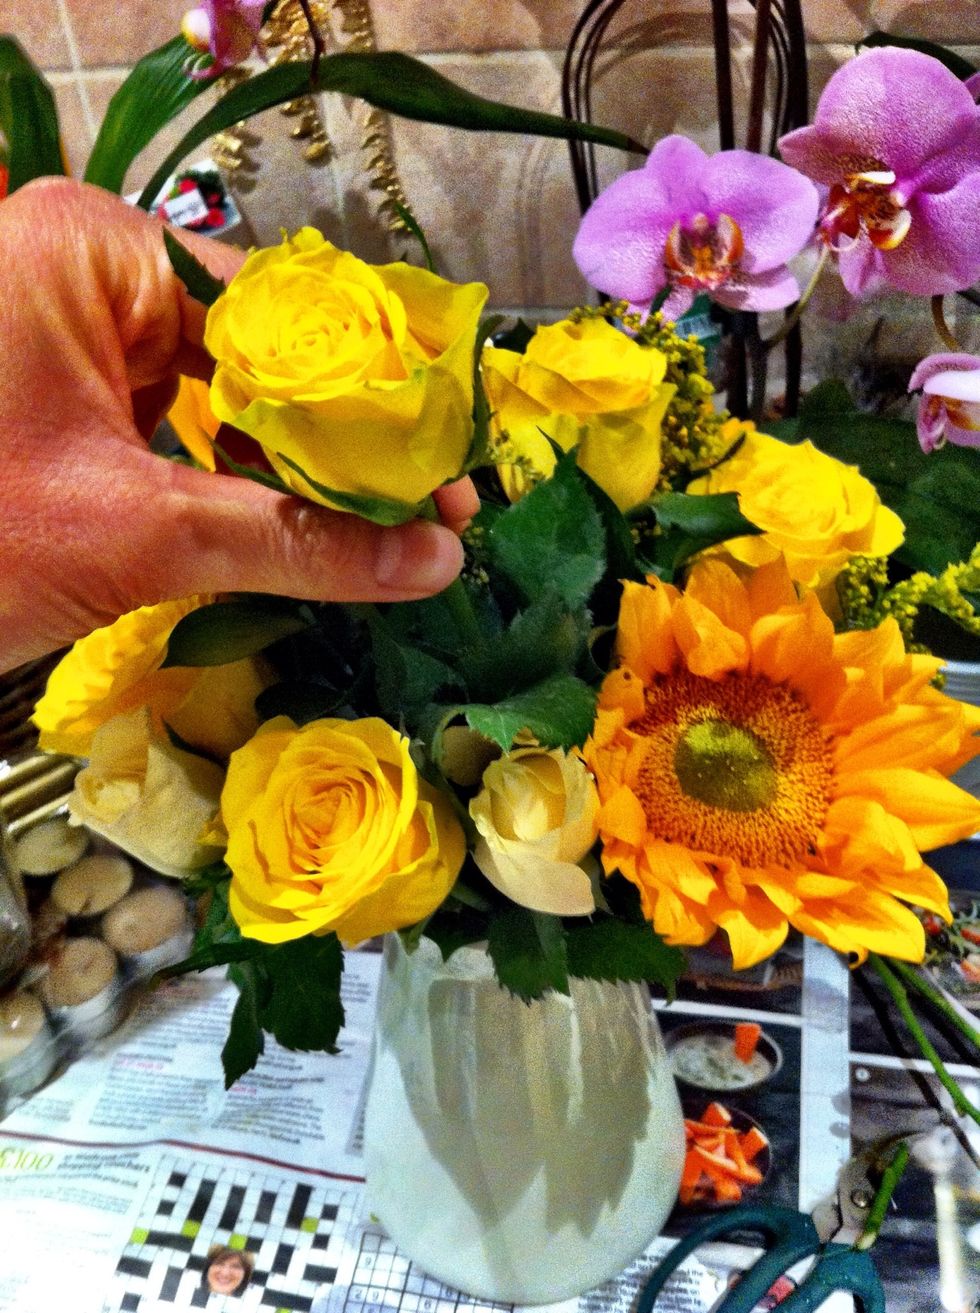
Here are the choice of flowers I am going to be using in this arrangement. It consists of: 3 sunflowers,3 stems of white roses ,7 stems of yellow roses,3 stems of solidago,5 stems of ruscus foliage

Step 1: conditioning the flowers.

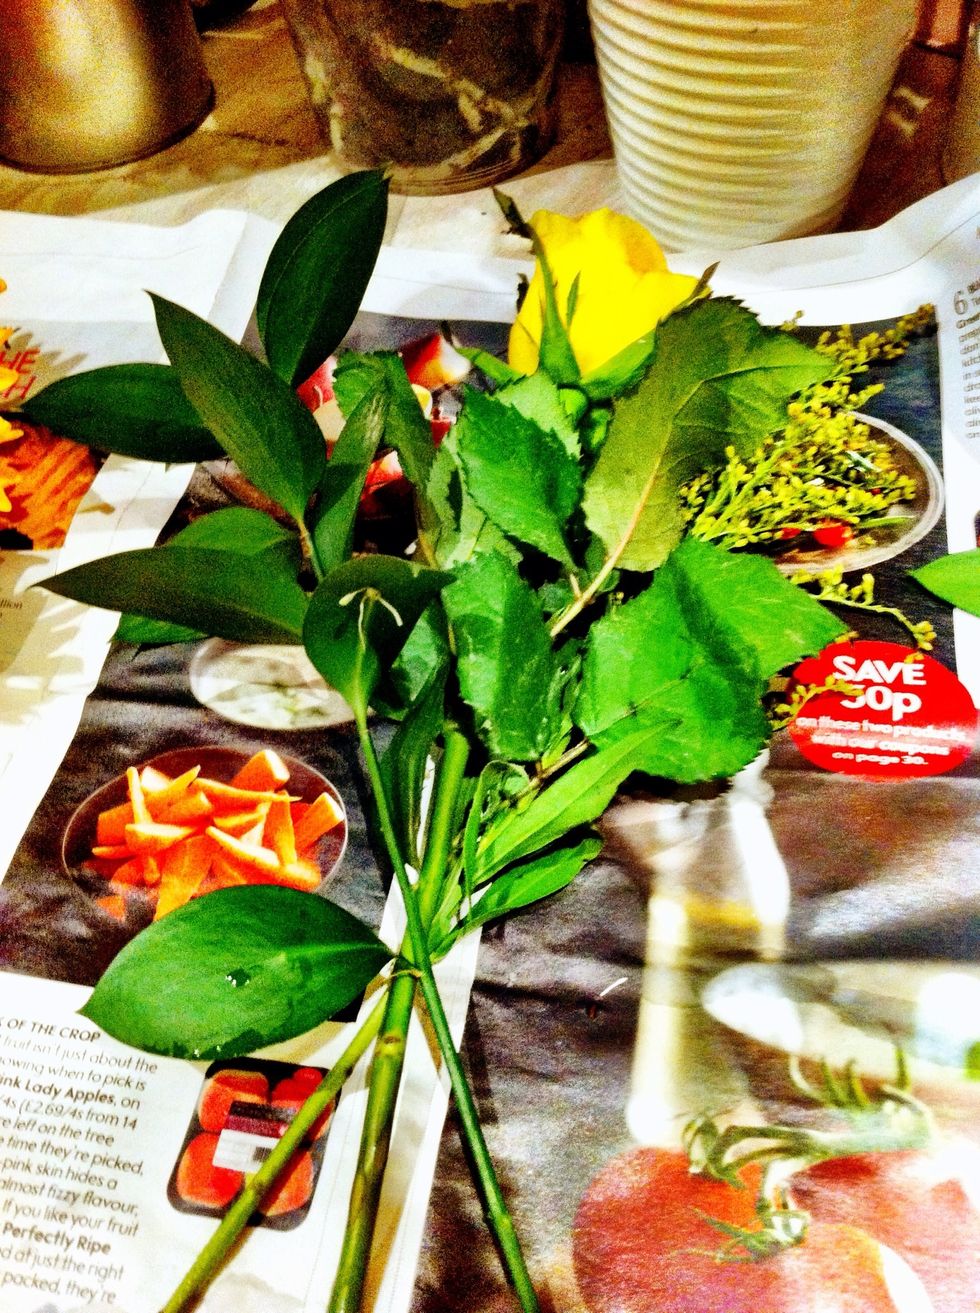
With the flowers selected of your choice prepare them.

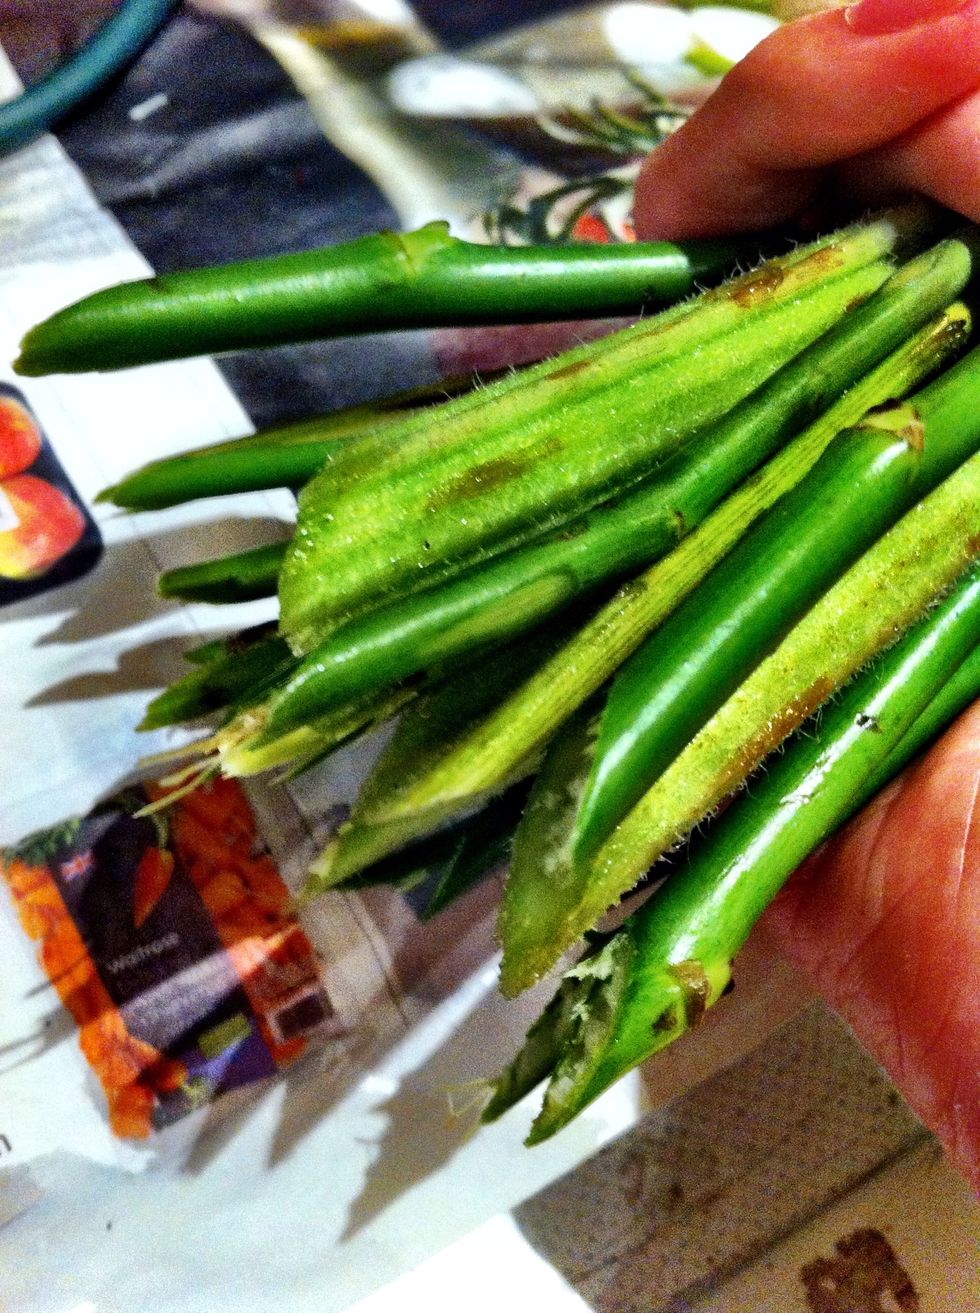
Take off any leaves that may get underneath the waterline when they are in your vessel. This stops the formation of bacteria and makes them easier to handle with when arranging them in your hand.

Tip: Remember, when dealing with roses, it is recommended that the first cut should always be done underwater. This prevents the trapping of air bubbles which causes the flower head to droop.

A pile for the compost heap.
Prepare the rest of your flowers.

Step 2 : Selecting a vase/container

I chose this vintage enamel jug. I thought it went well with the impression the flowers gave (countryside style). I have also conditioned the water with flower food.

Step 3: Creating the arrangement .I like having all my flowers in one vessel before arranging and it is easier for me to pick up what I need.

Take your first stem and with another cross the stems diagonally.

Like so the stems should meet at one point.
Continue with the next piece, I have chosen a filler flower. Make sure all stems move only in one direction ( clockwise or anticlockwise) to get a neat rounded form.

Alternate between flower and foliage.

The flower in the centre should be the highest point with the flowers around descending in height as they reach further out of the middle.

All flowers will form a round dome effect when the stems all intersect at one central binding point. The stems going clockwise or anticlockwise will not alter the form.

Progress...

Above

Place your vase at the edge of the countertop and align the bouquet next to the vase to know how much to cut off.

Cut your stems.
Remember to cut the stems at an angle to ensure full water absorption.
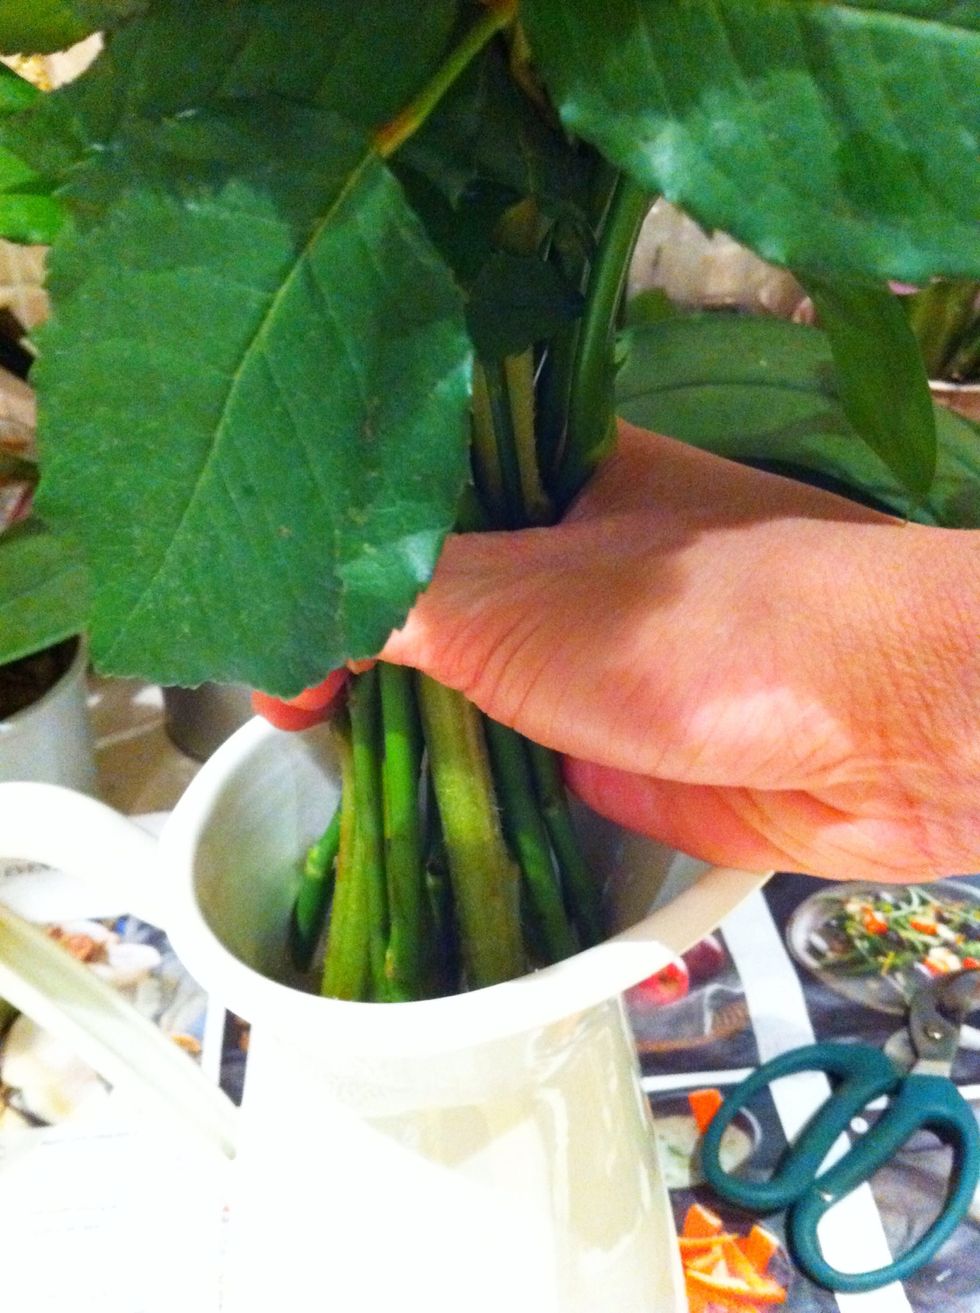
Holding the stems, drop the whole bouquet of flowers into your vessel.

With your remaining flowers, you can retouch any area of your arrangement.
Add the roses into the missing spaces between the arrangement.

One here...

And one over here.

This is what the product looks like so far after all flowers have been assembled.
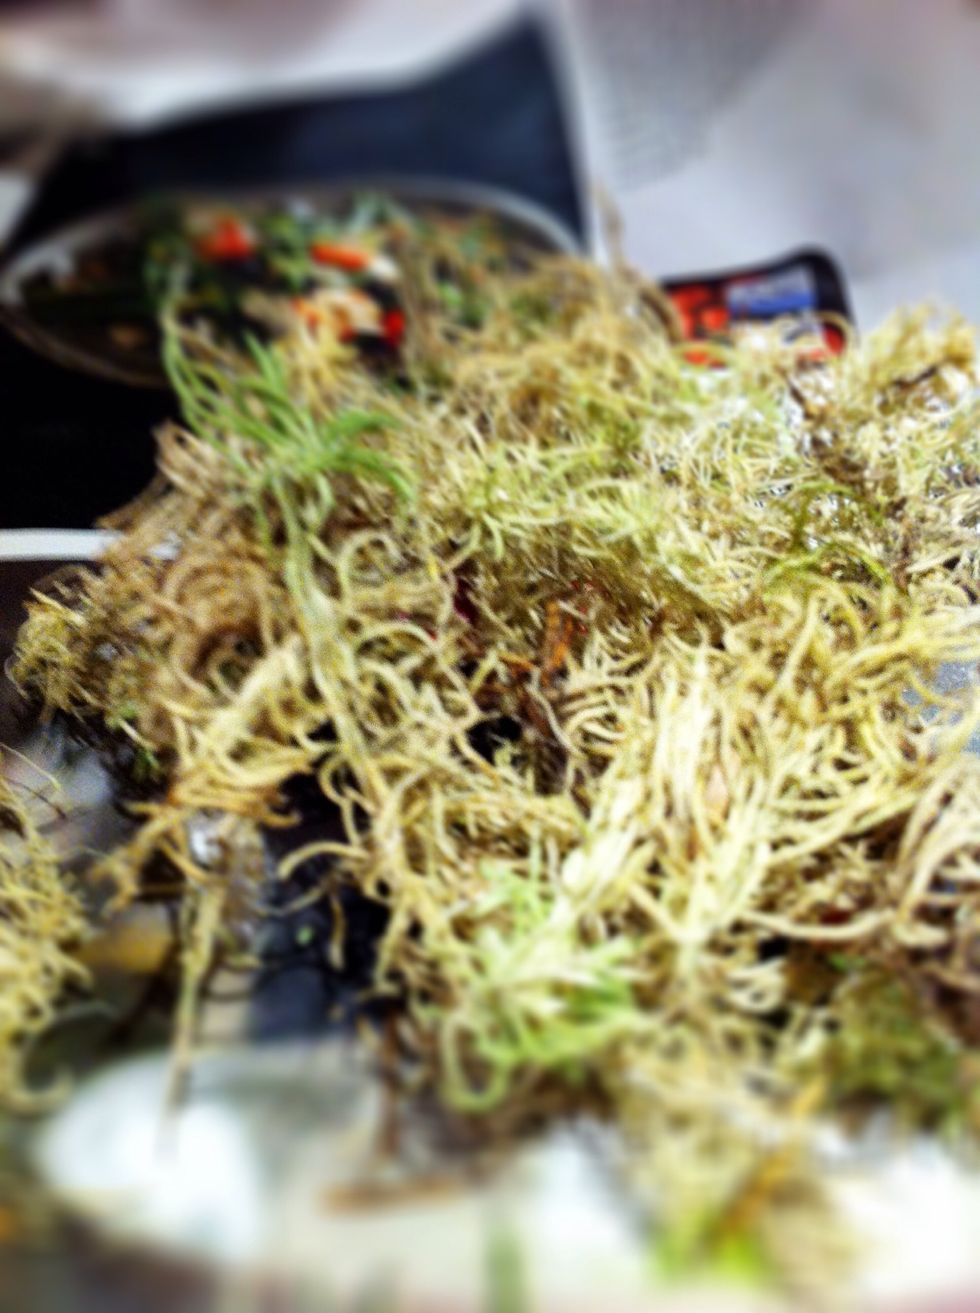
Step 4 : Finishing touches. As I decided to do a countryside theme, I thought adding sphagnum moss around the rim of the jug would be a nice touch.

Place the moss like so.

The finish product.