STEPS
TOOLS
There are different ways to start and finish your bracelets. I used a loop and button. You can also braid the ends, make an adjustable knot, a loop and two braids, a buckle...
Decide what kind of "clasp" you want to use before you start. I made a guide about different ways to start and end your friendship bracelets.
Cut your strings, you can have up to 6 colors, I chose 4. I already started this bracelet.
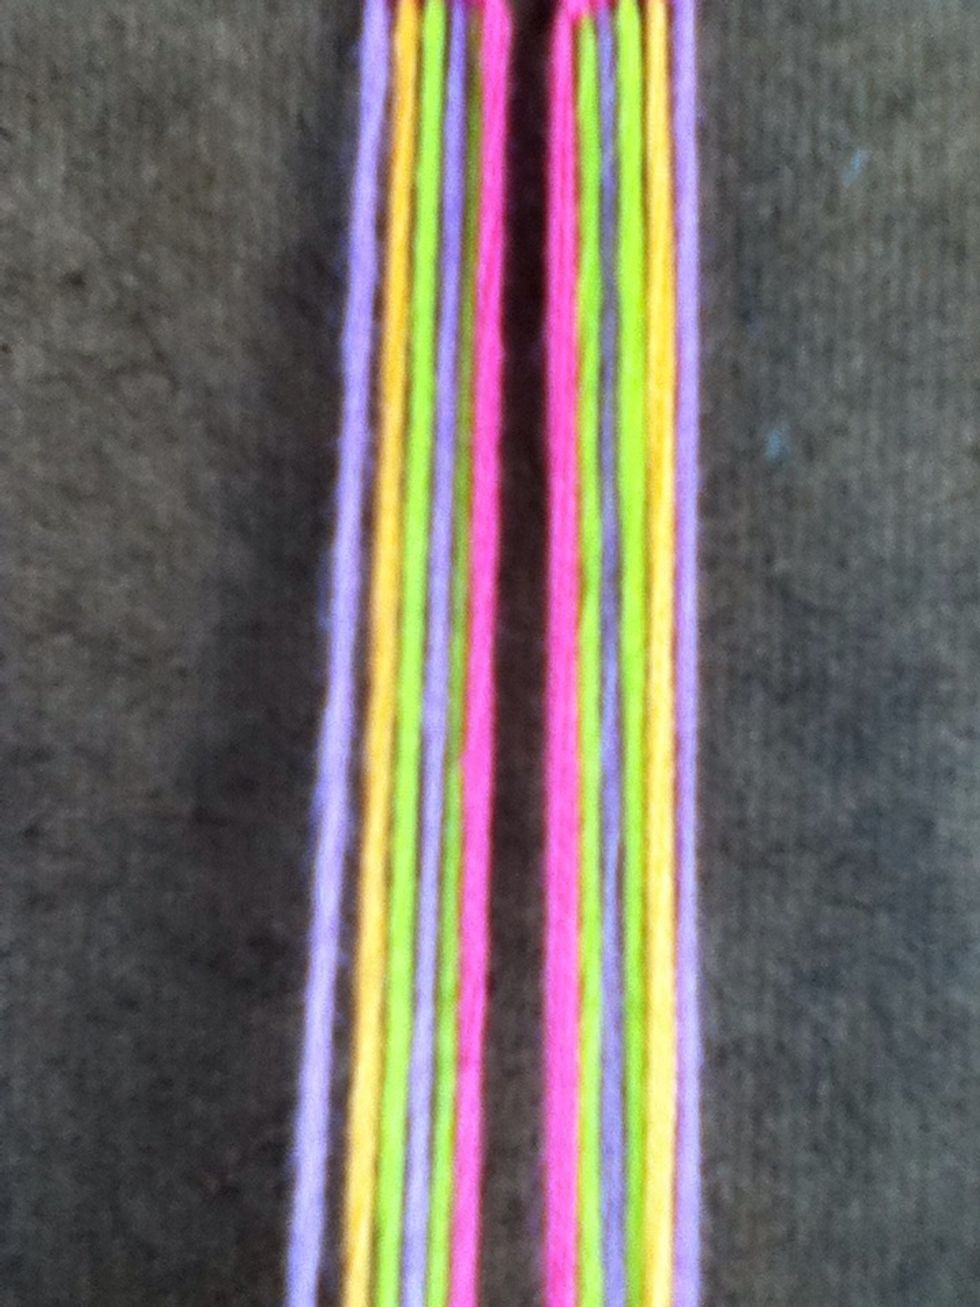
Order your strings 123456654321. 1 will be the first color down, 2 will be the second down and so on...
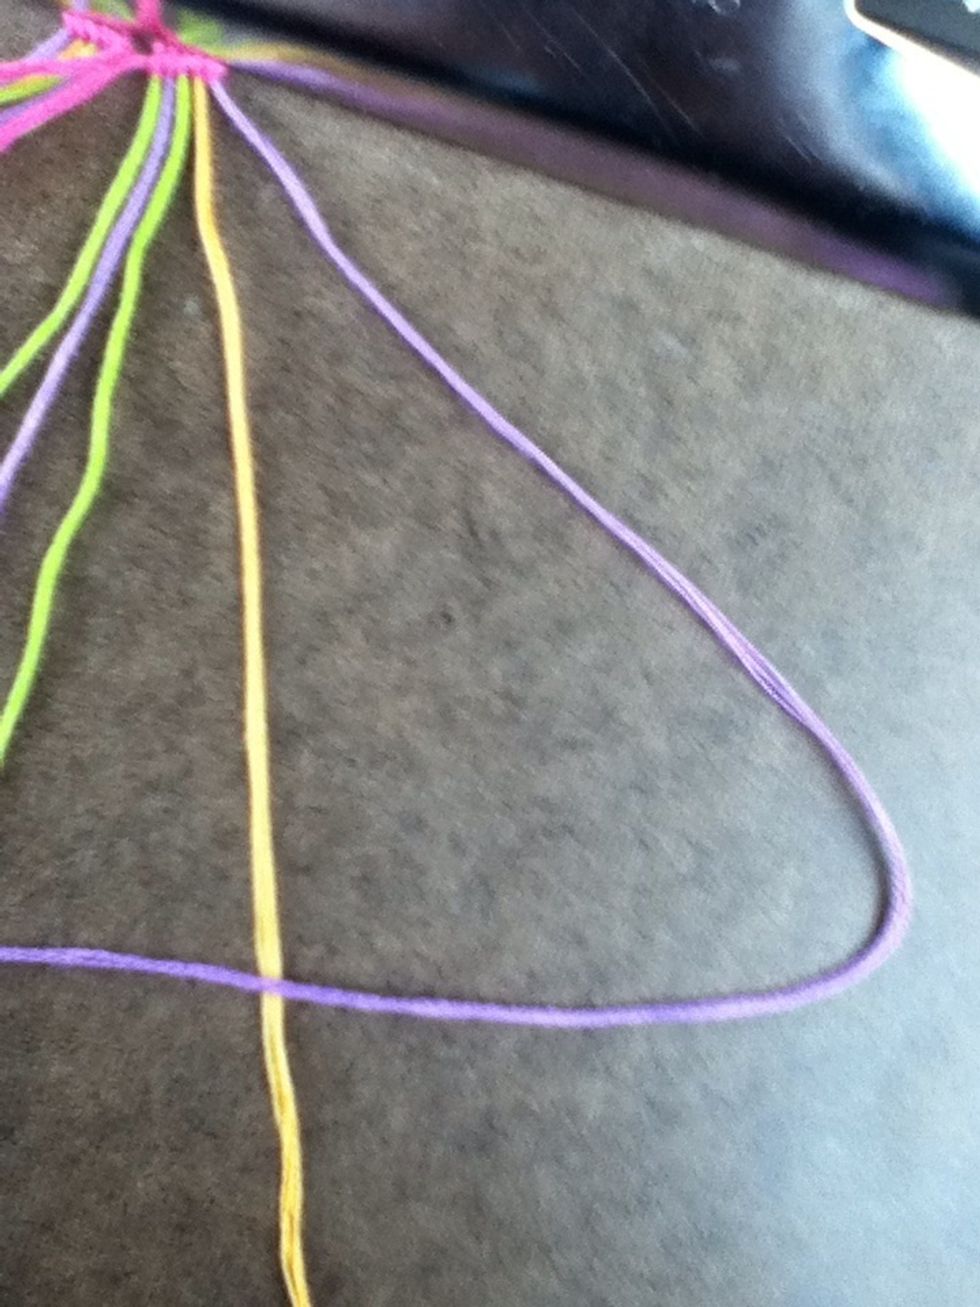
With your last 2 strings, make a backward 4.
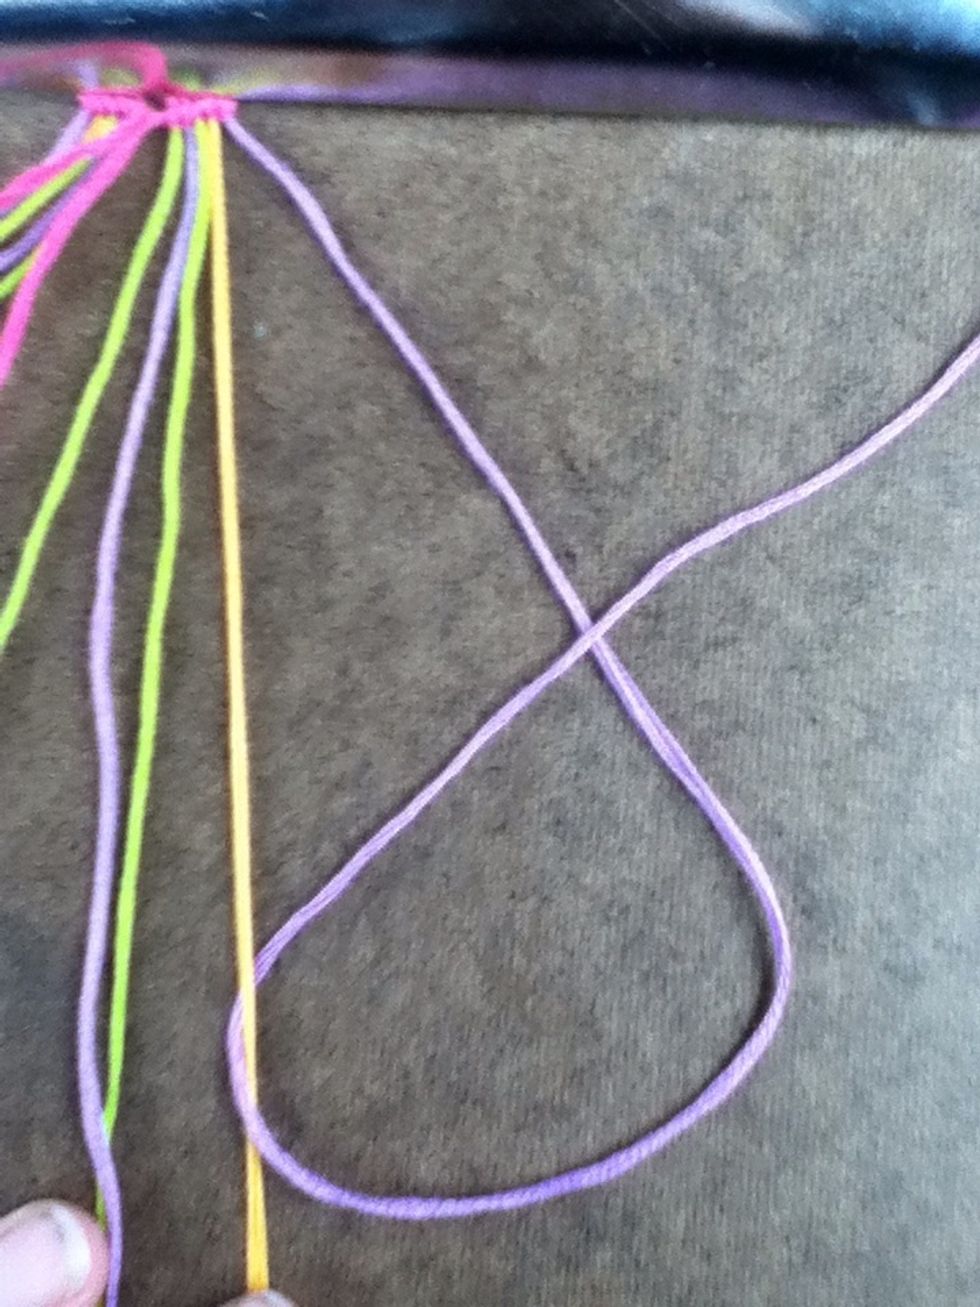
Pull the string under the base string (orange in this case), over and up.
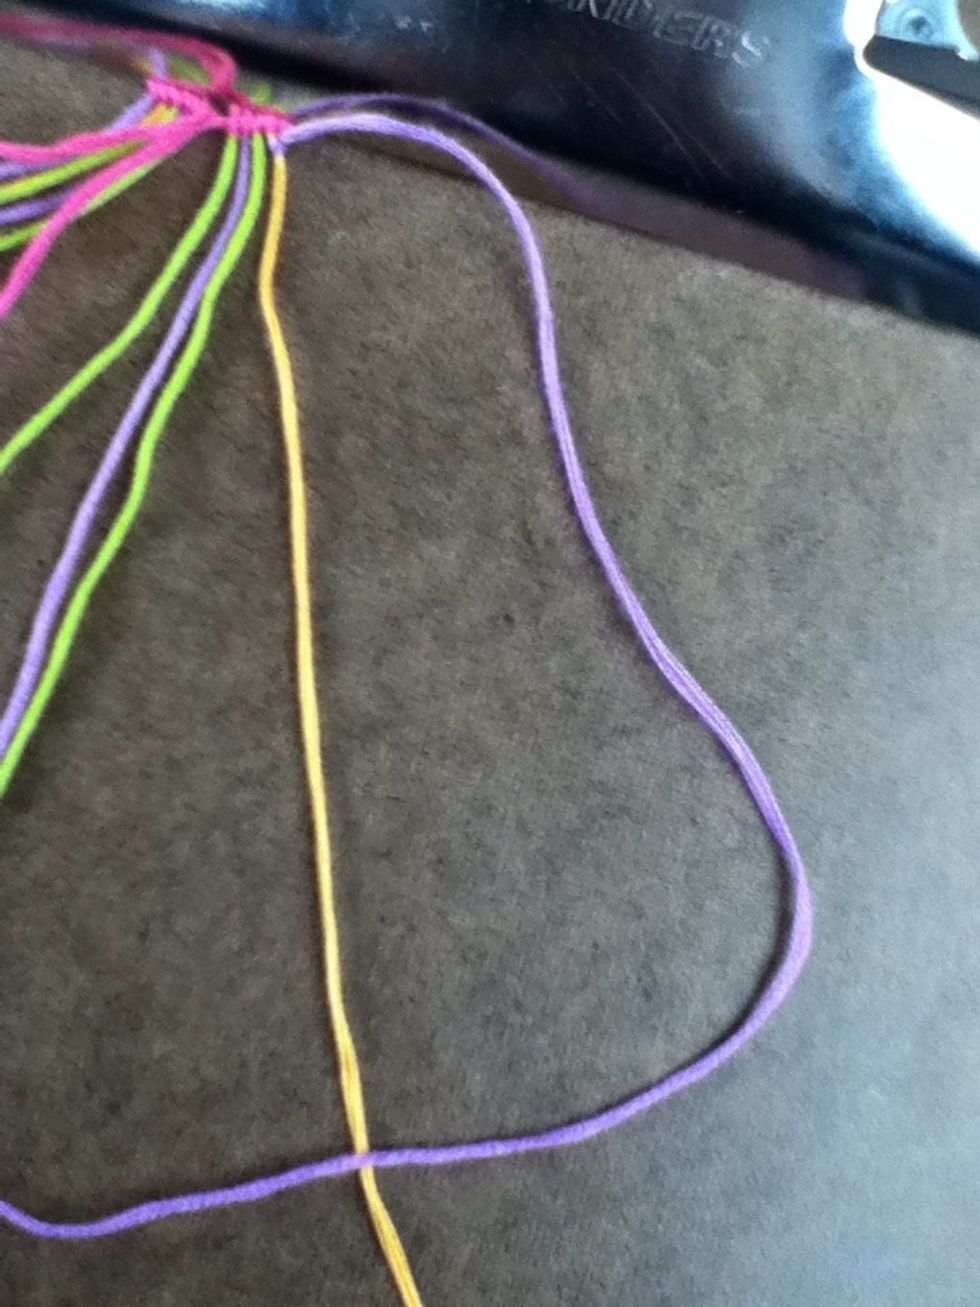
Backward 4.
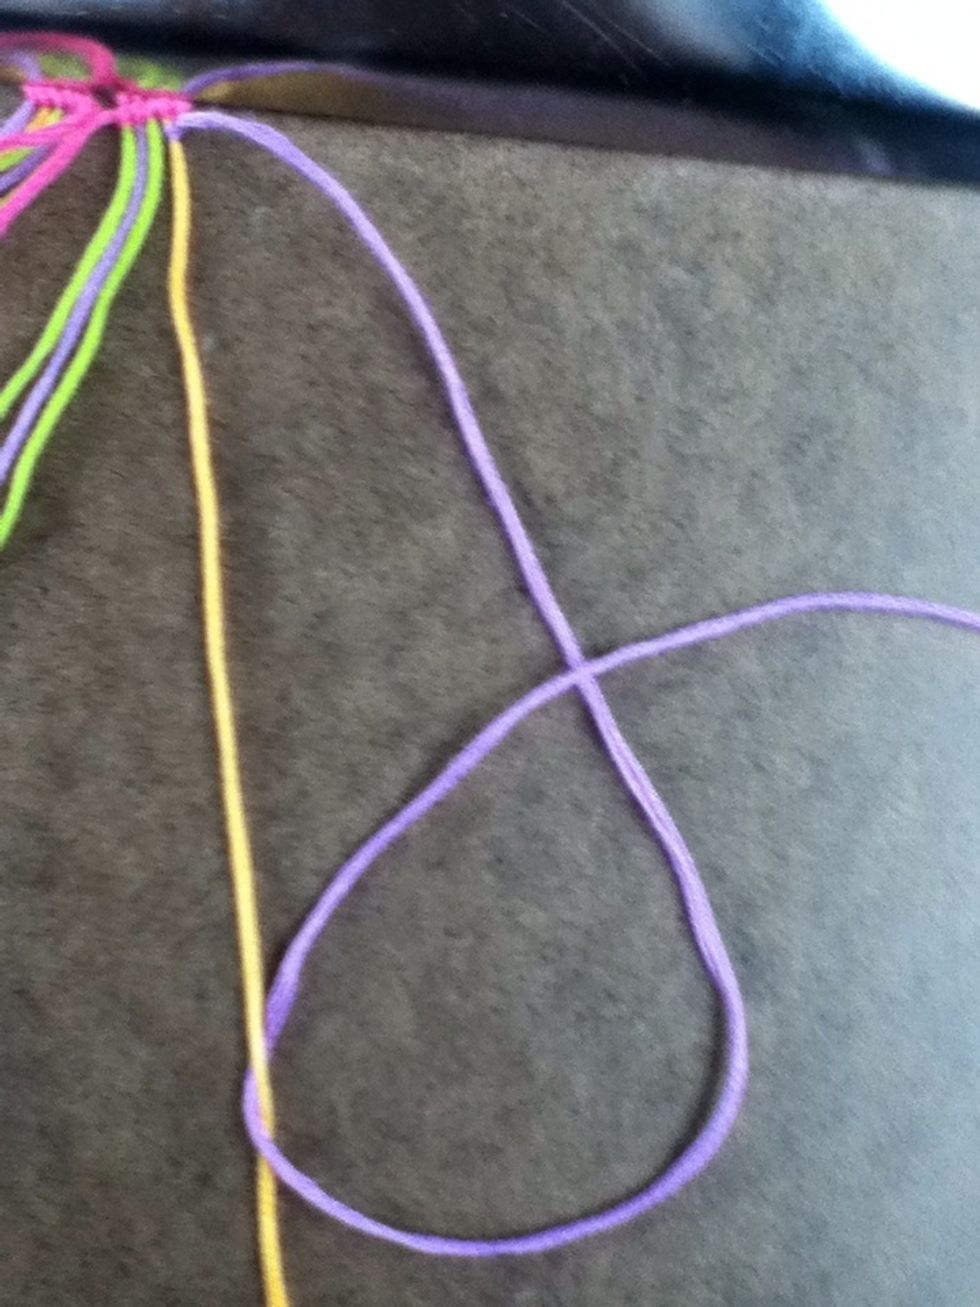
Through and up. That's one left knot.
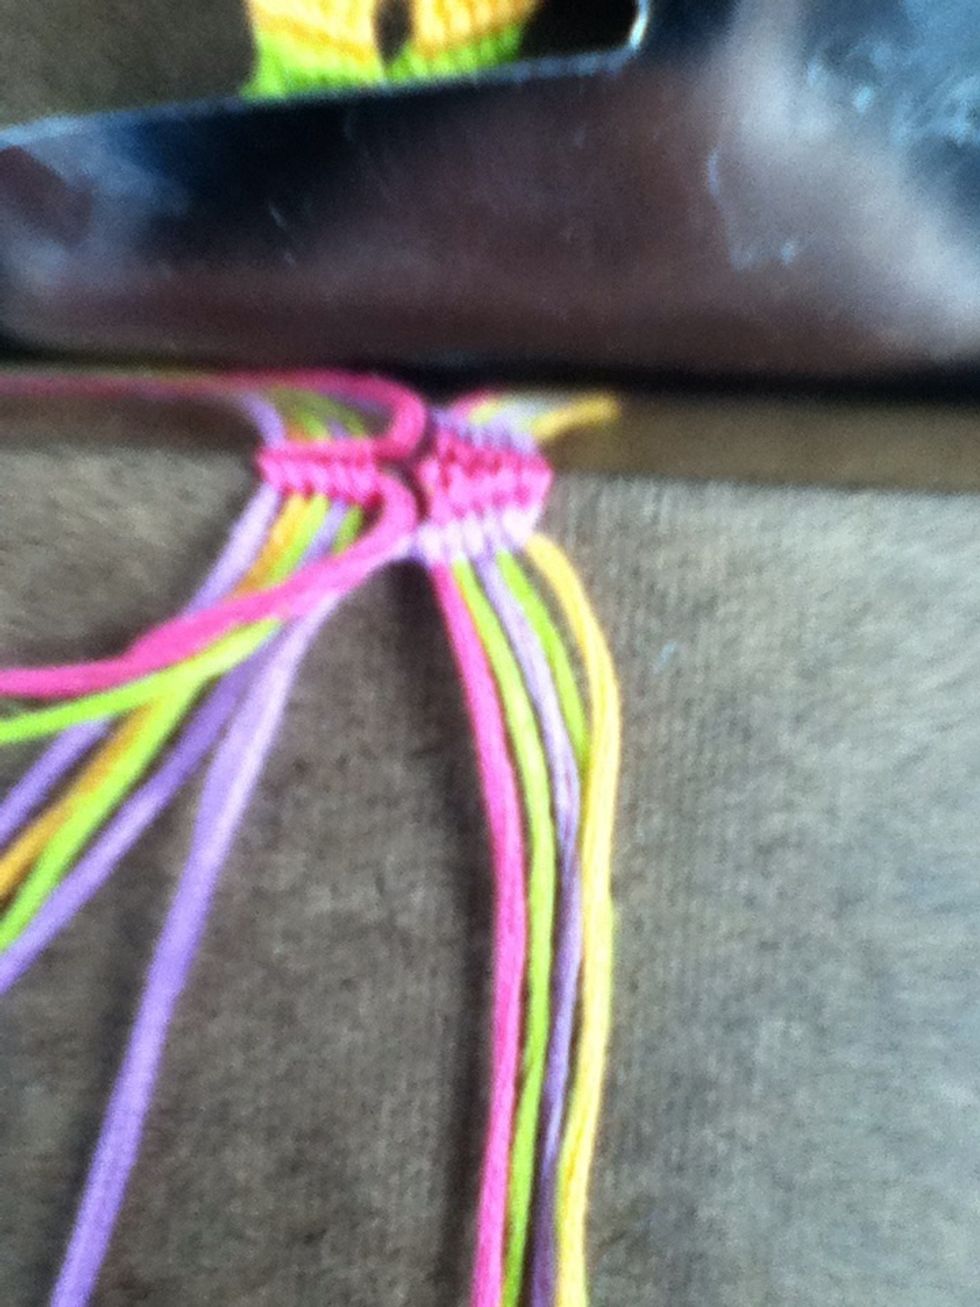
Make left knots on the 4 strings to the right.
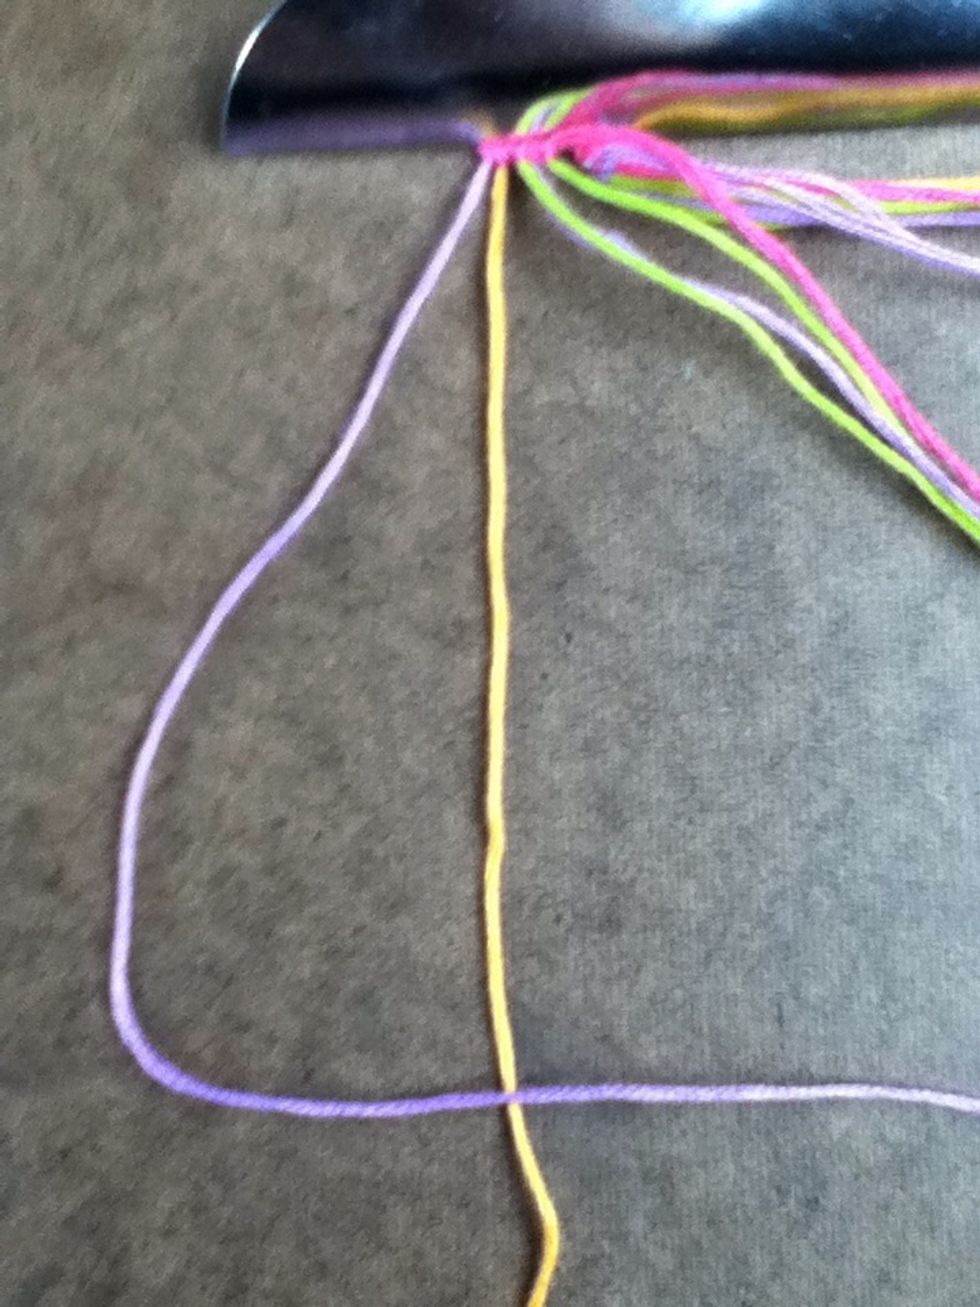
Go to far left side and make a normal 4.
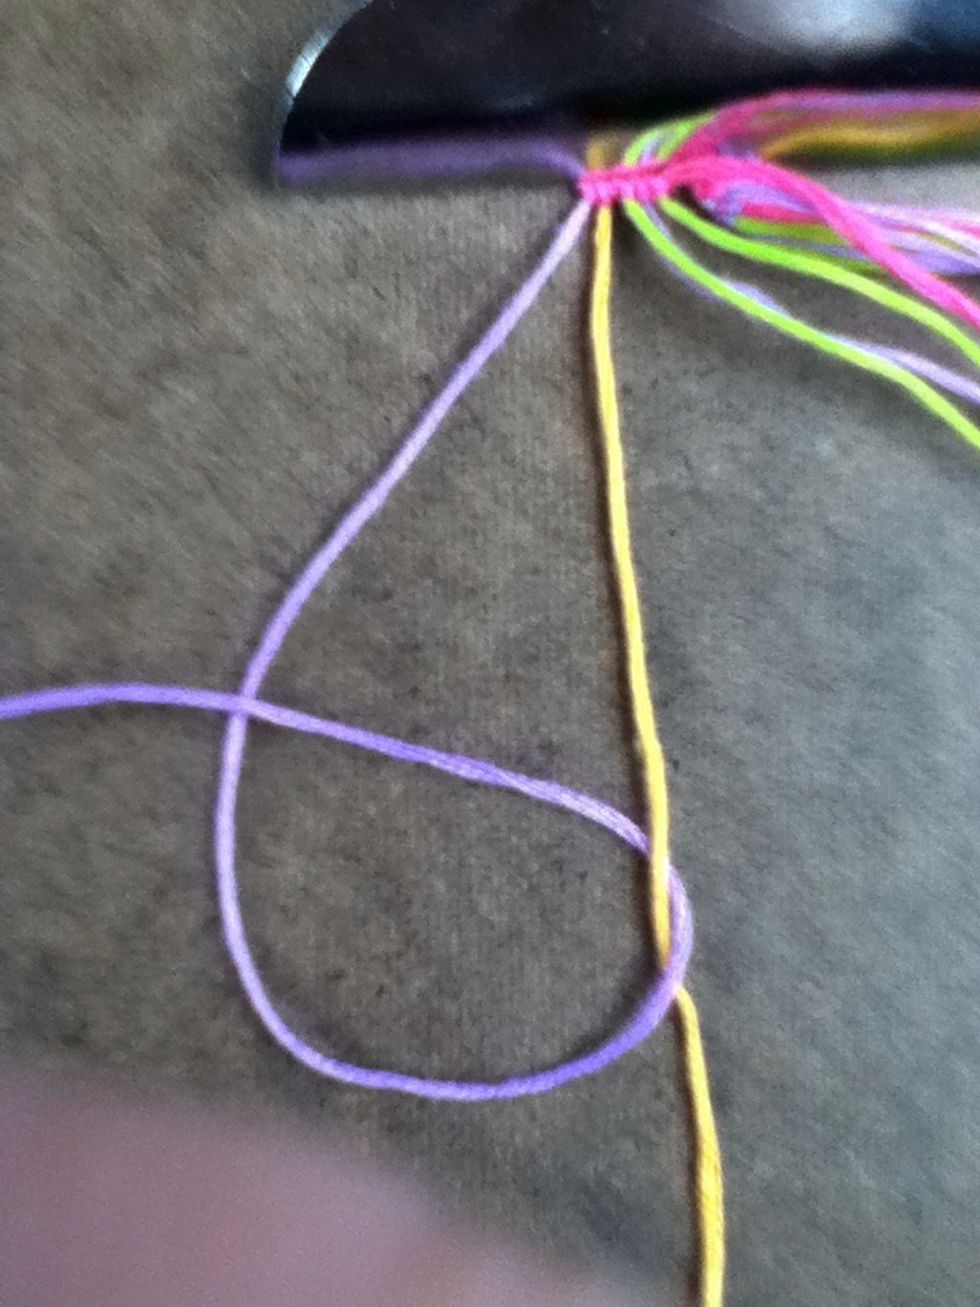
Through and up.
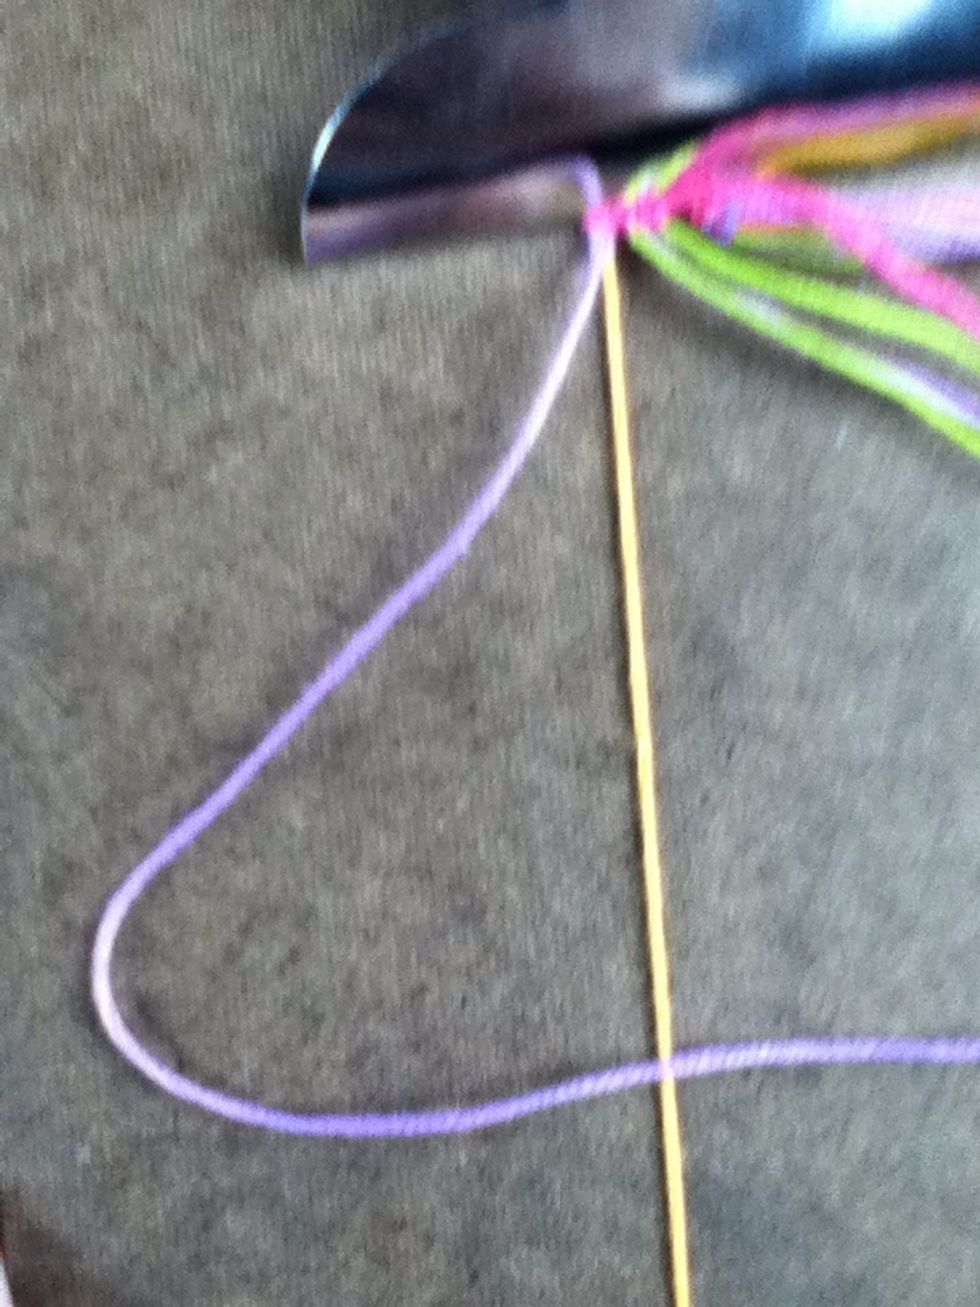
4
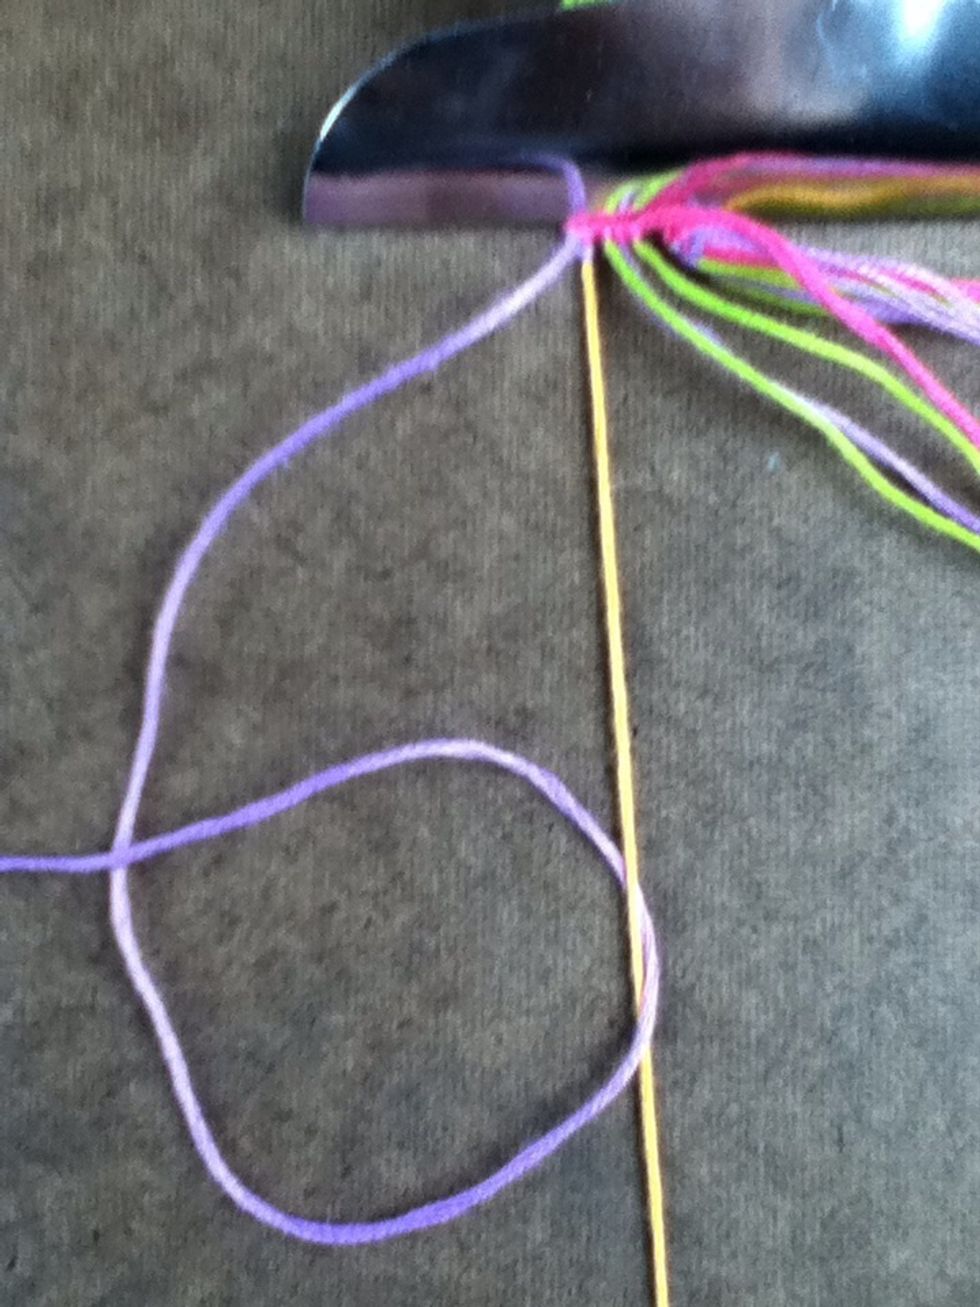
Over and up.
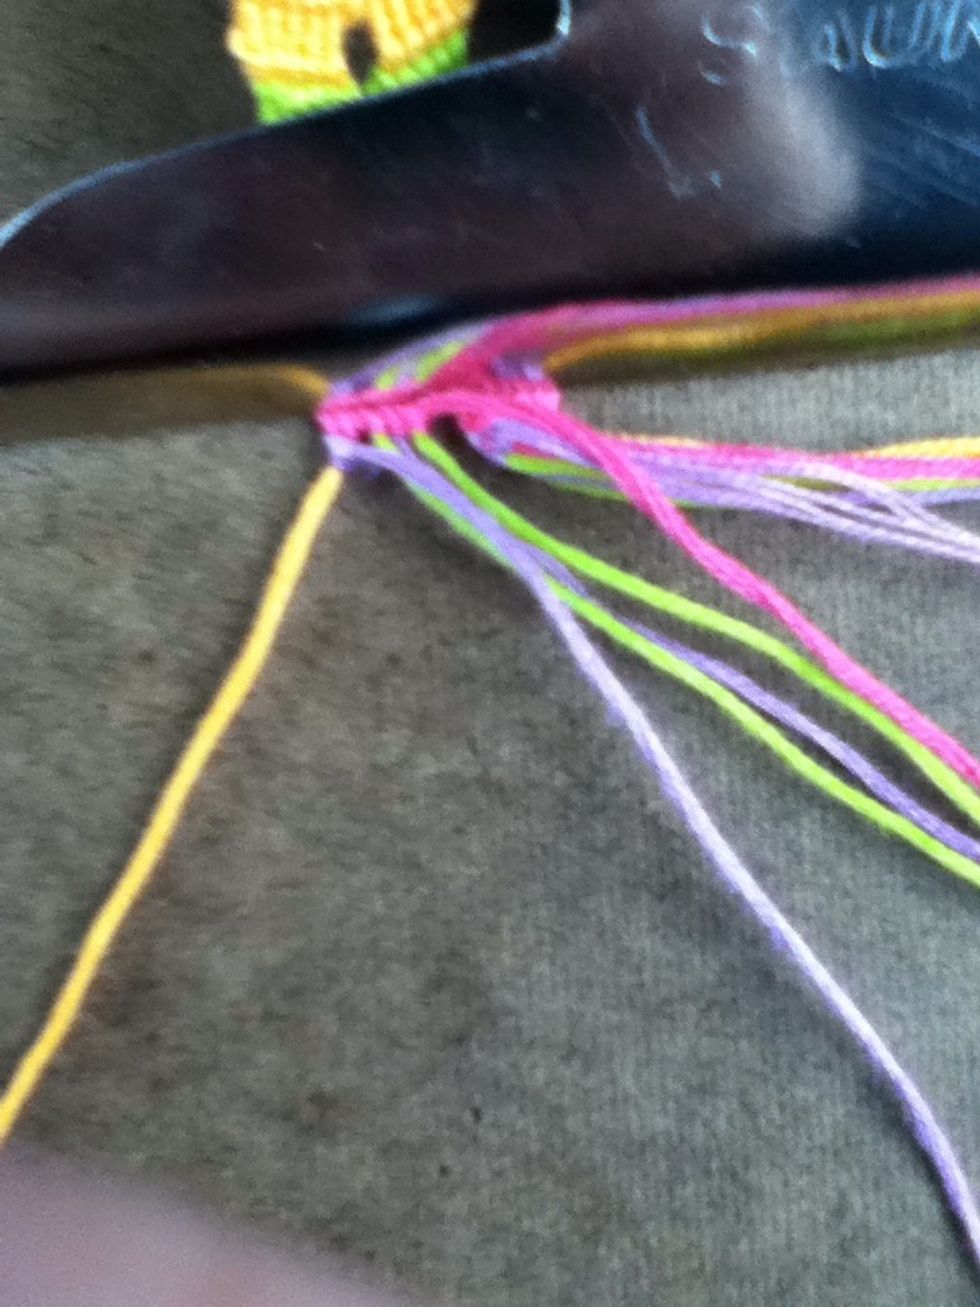
Right knot!
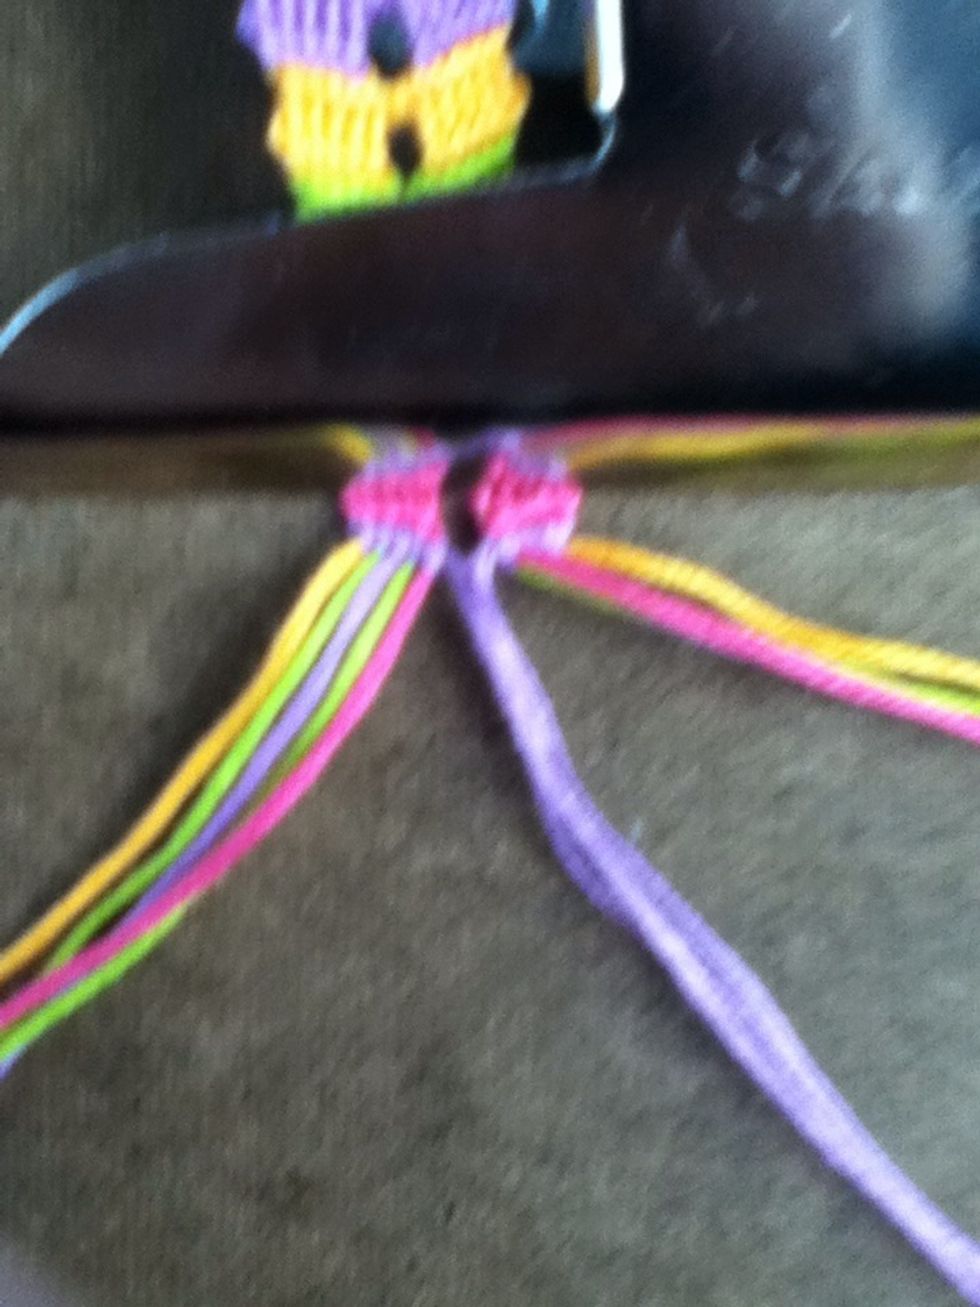
Make right knots on the next 4 strings.
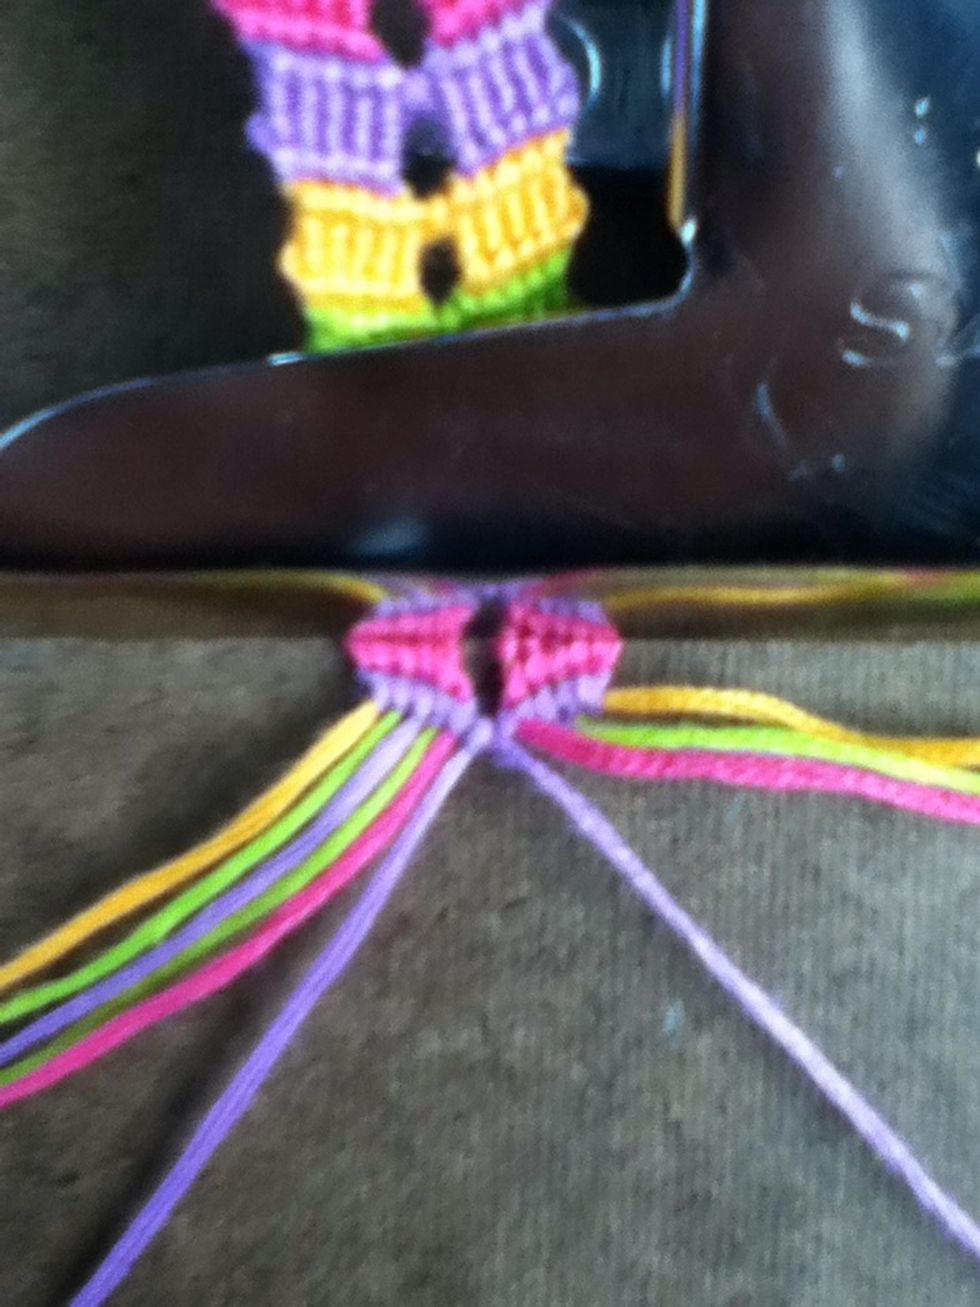
Using the 2 center strings (the purples) make a right knot.
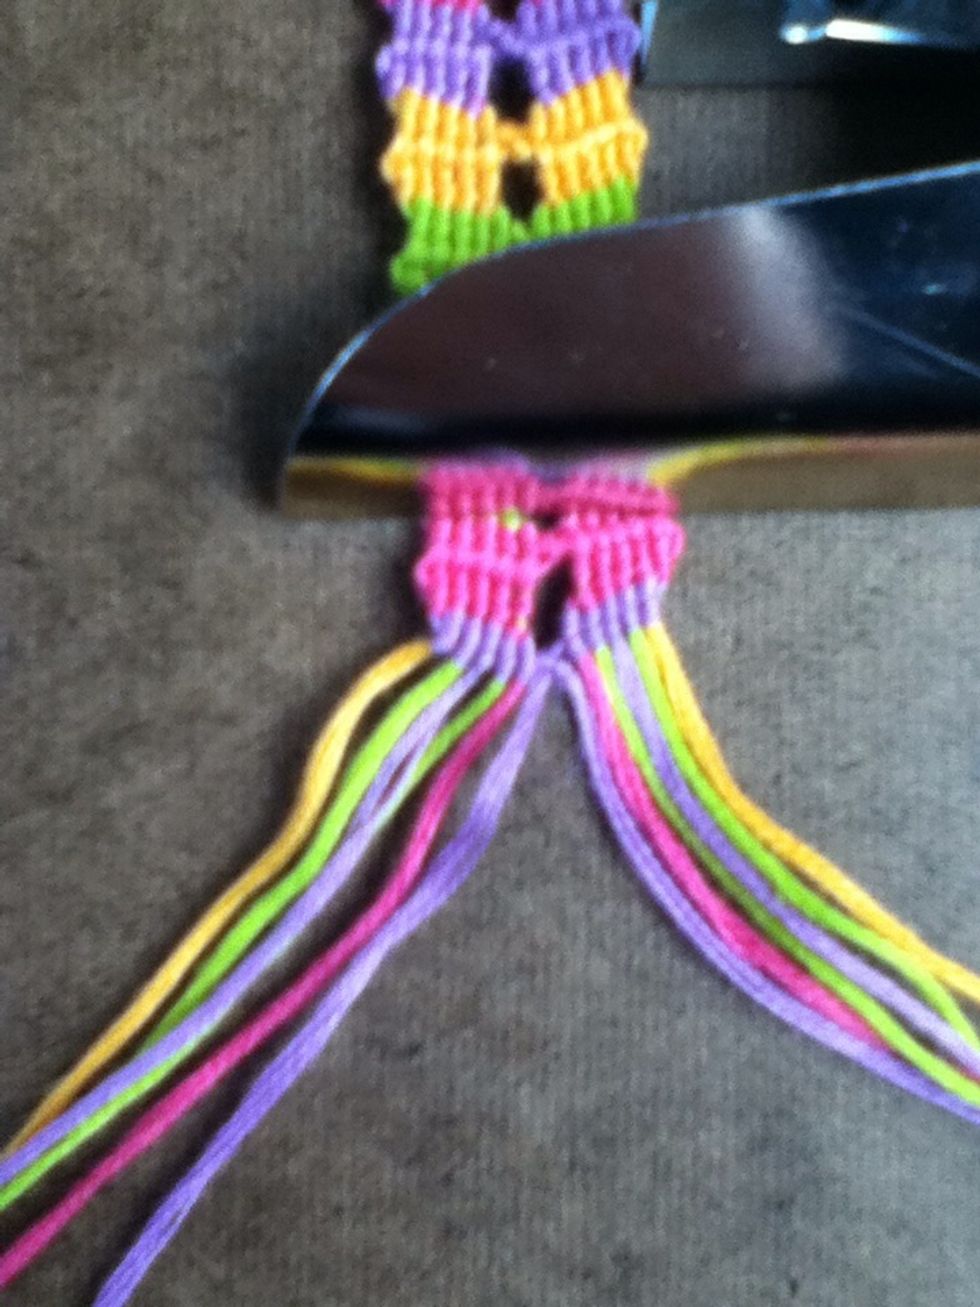
Flip the bracelet over.
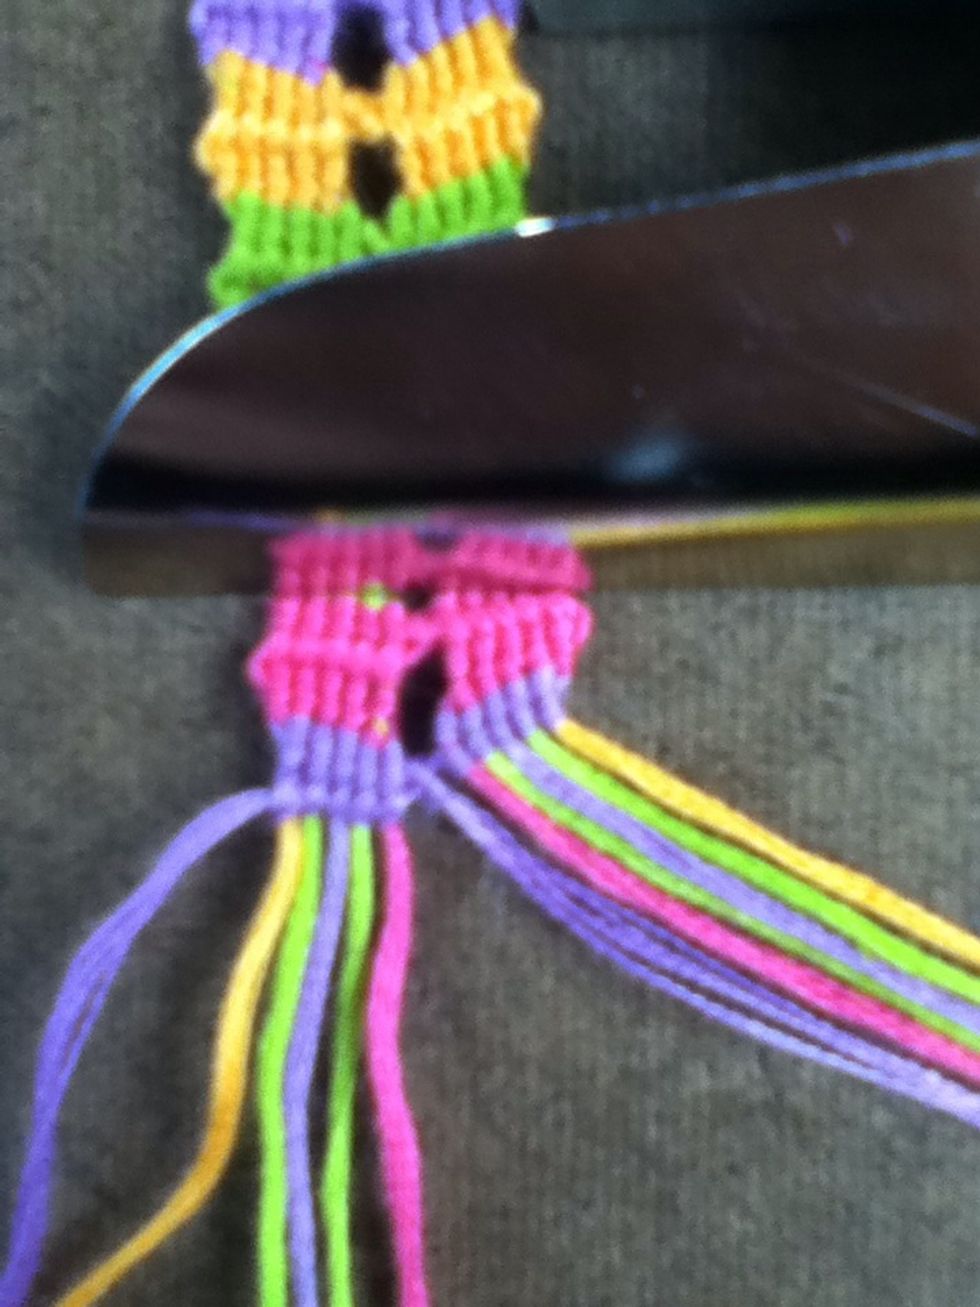
Make 5 left knots to the left.
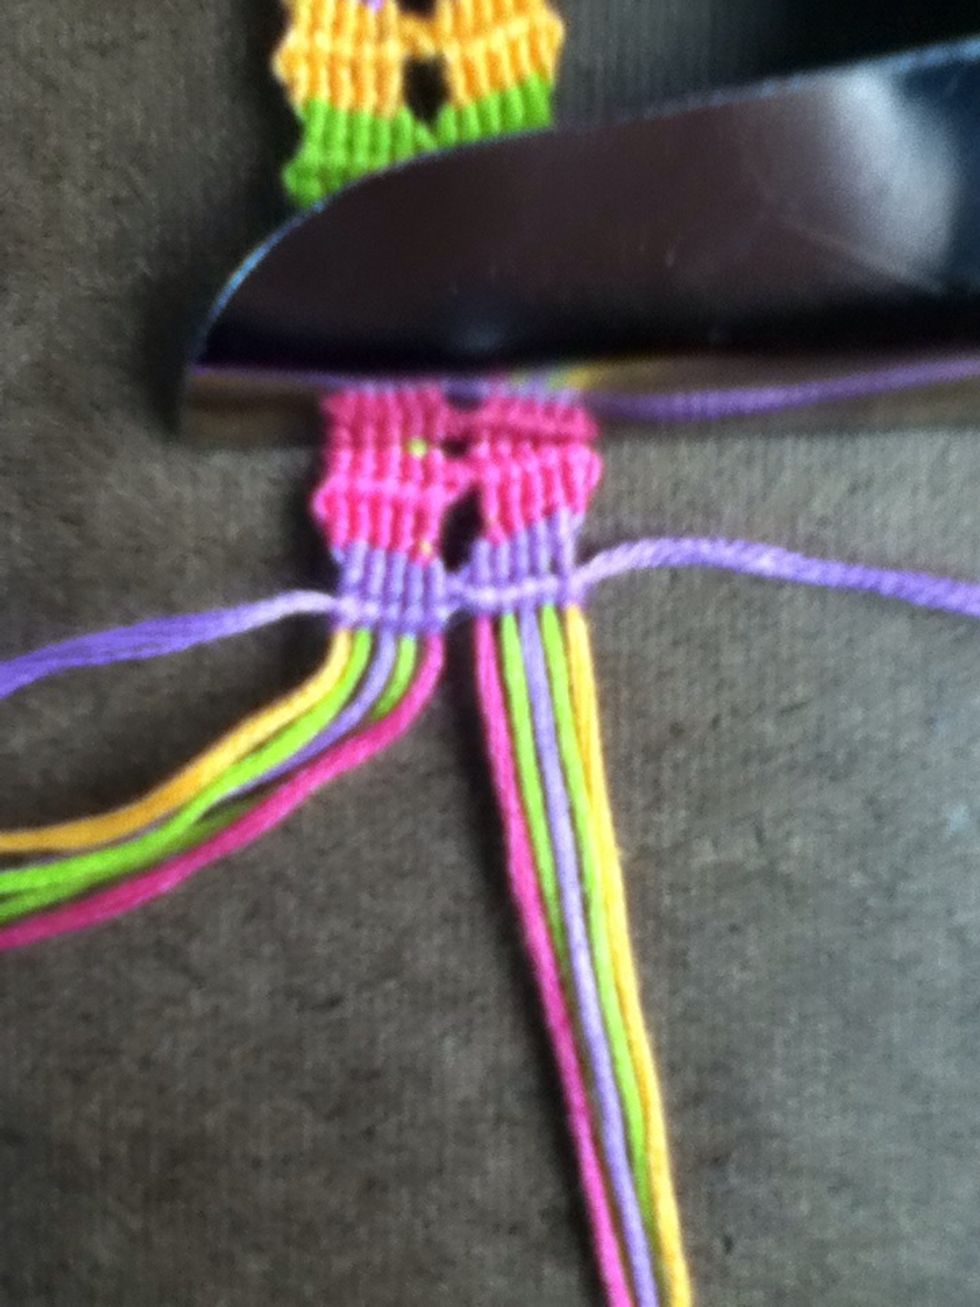
Make 5 right knots to the right.
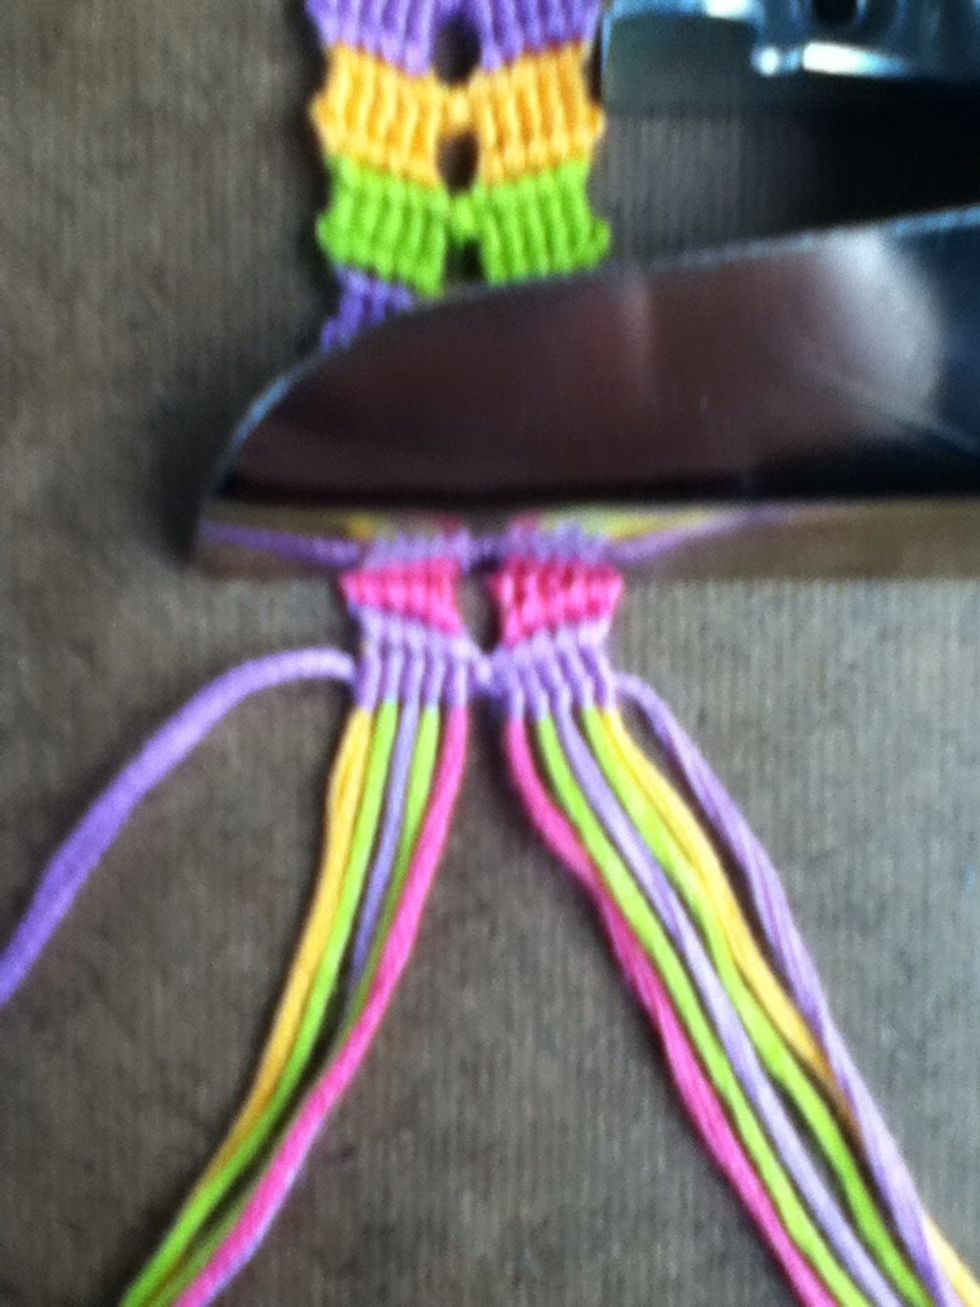
Flip the bracelet over.
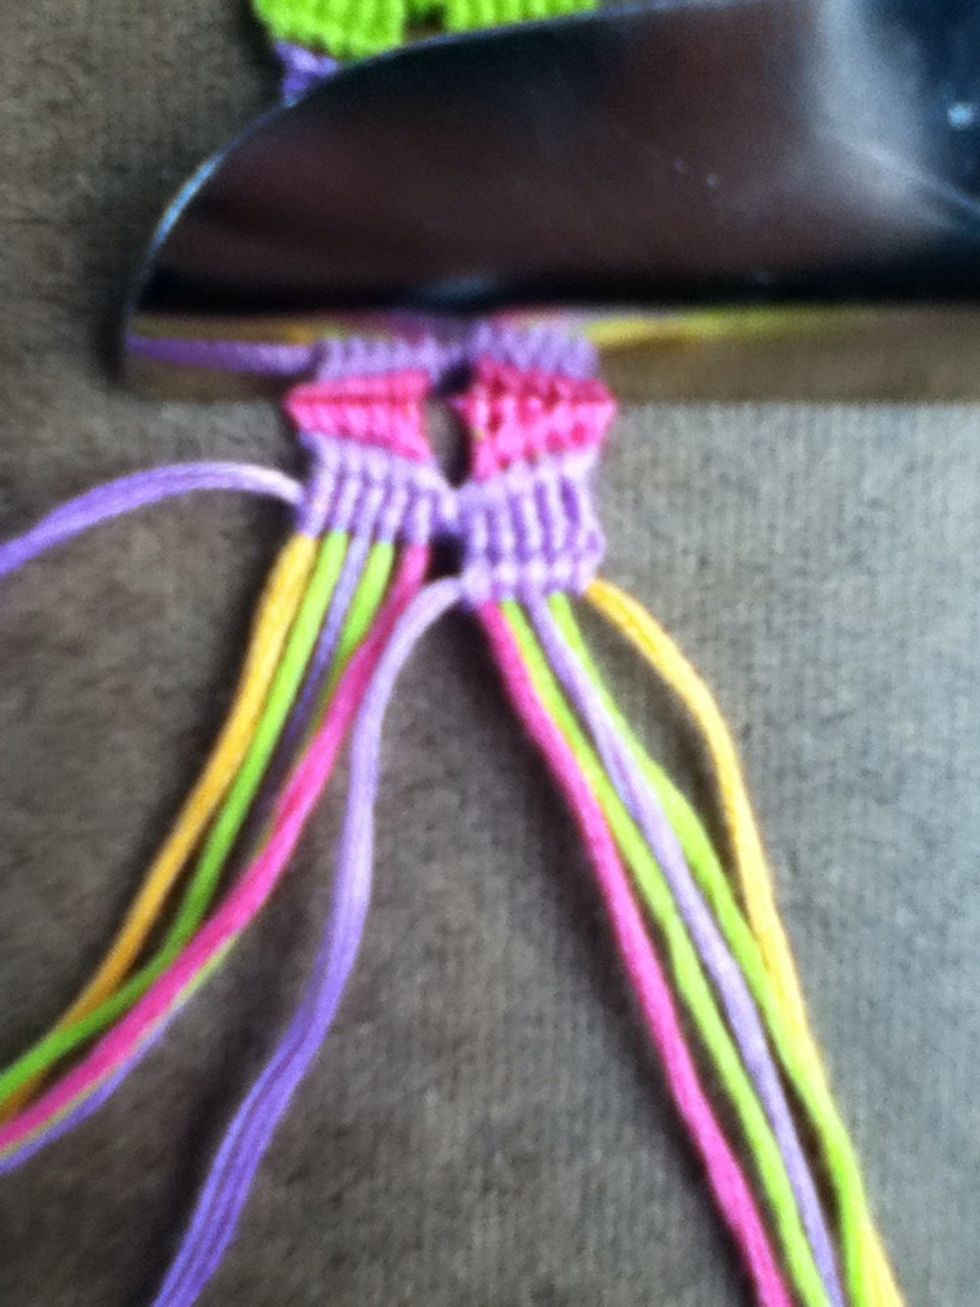
Make five left knot to the left.
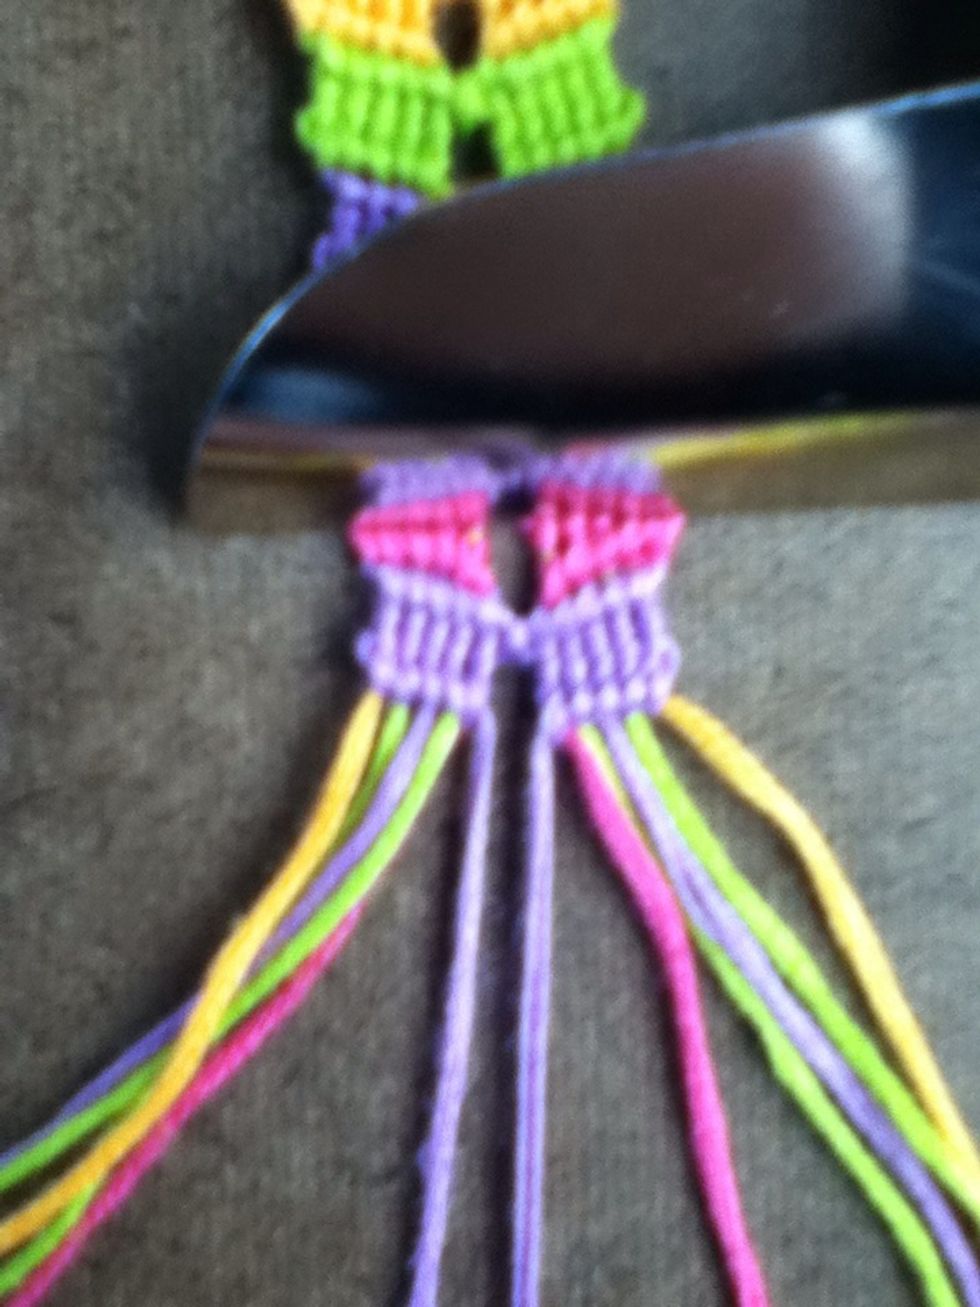
Make 5 right knots to the right.
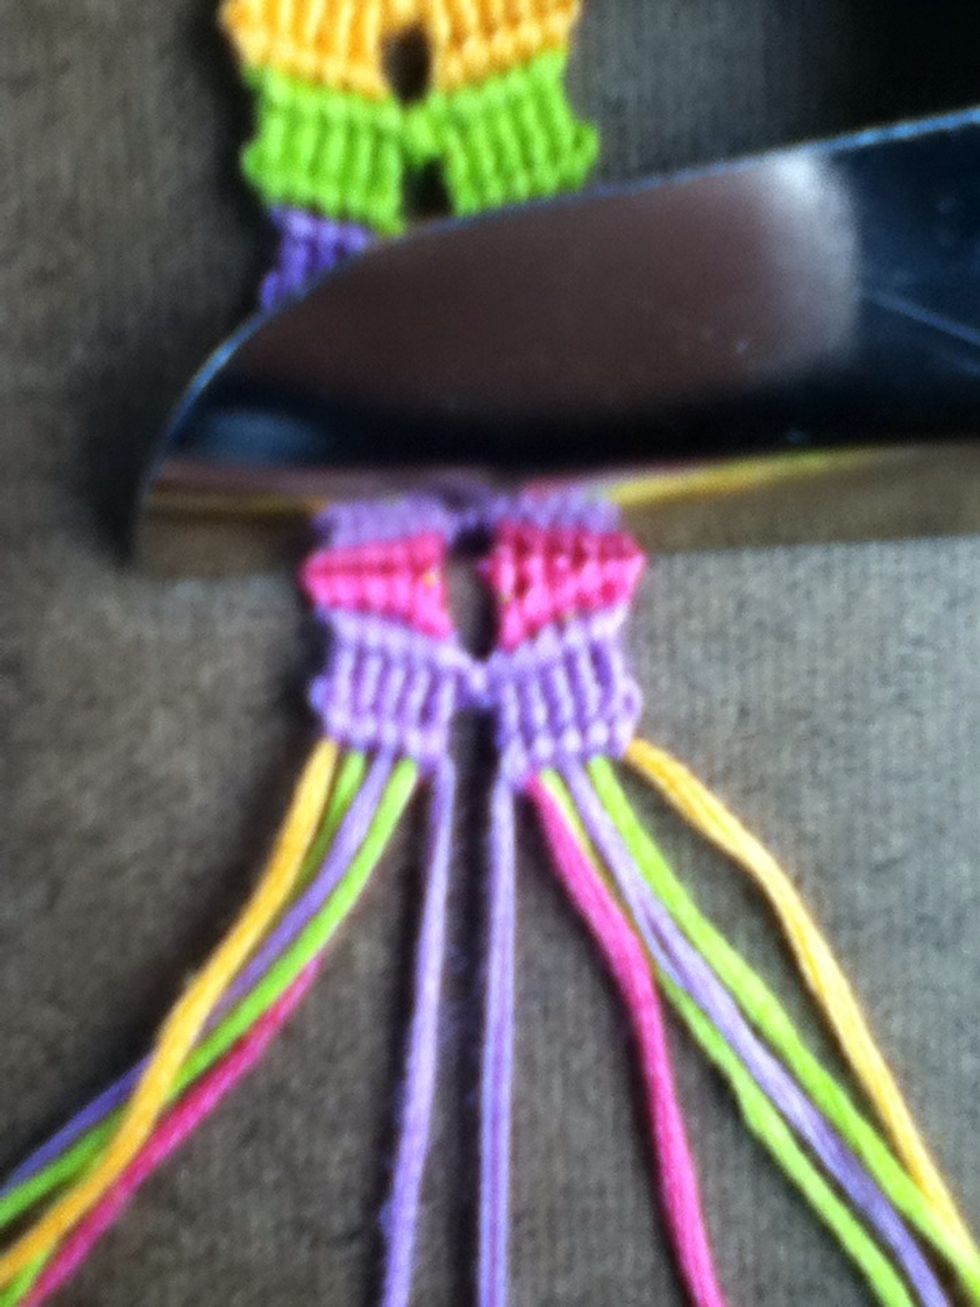
DON'T TIE THE CENTER STRINGS!!! It's the orange strings turn now.
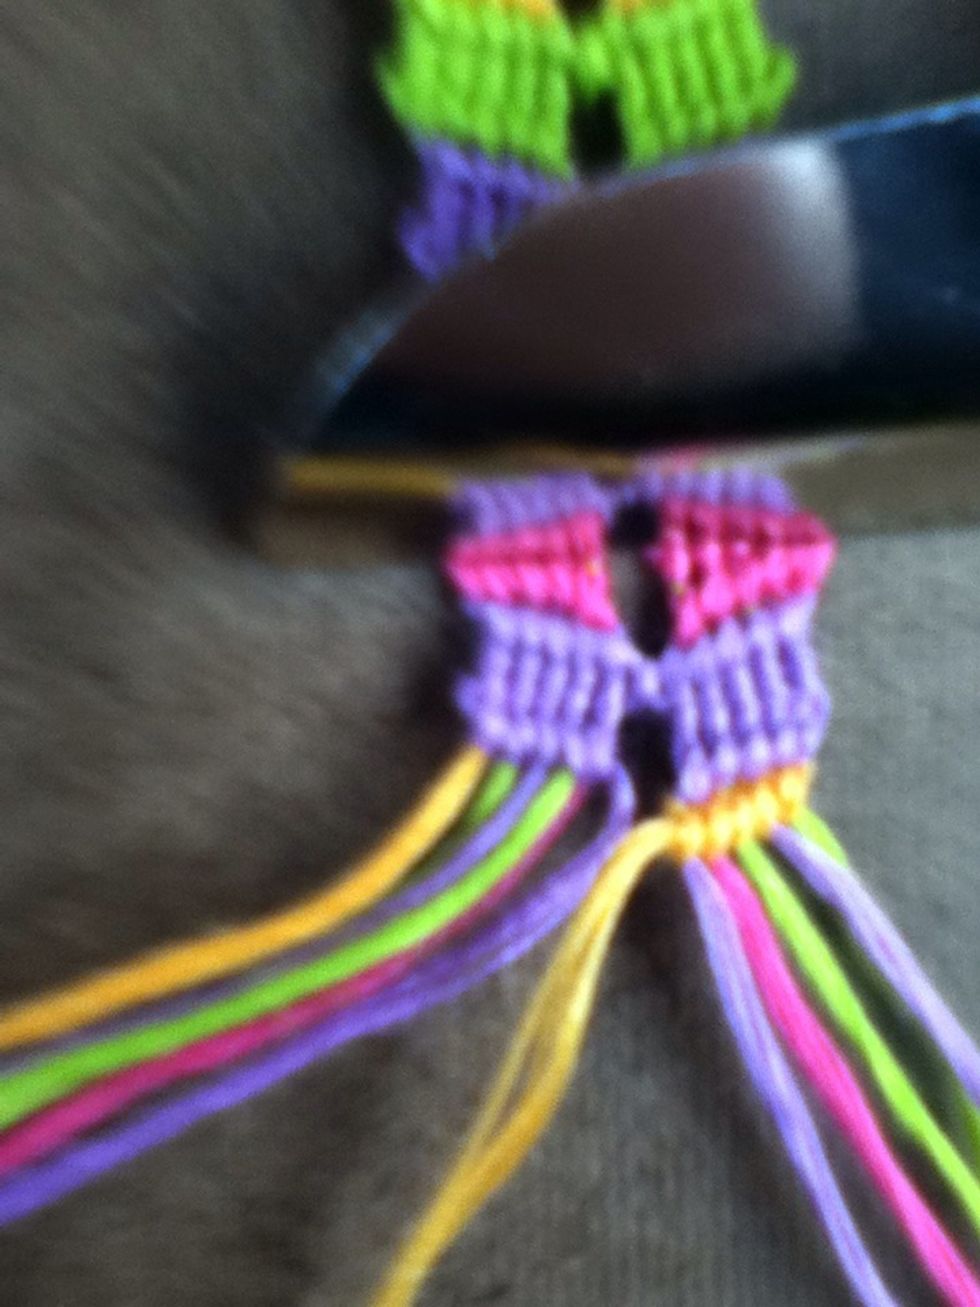
Make 5 left knots to the left...
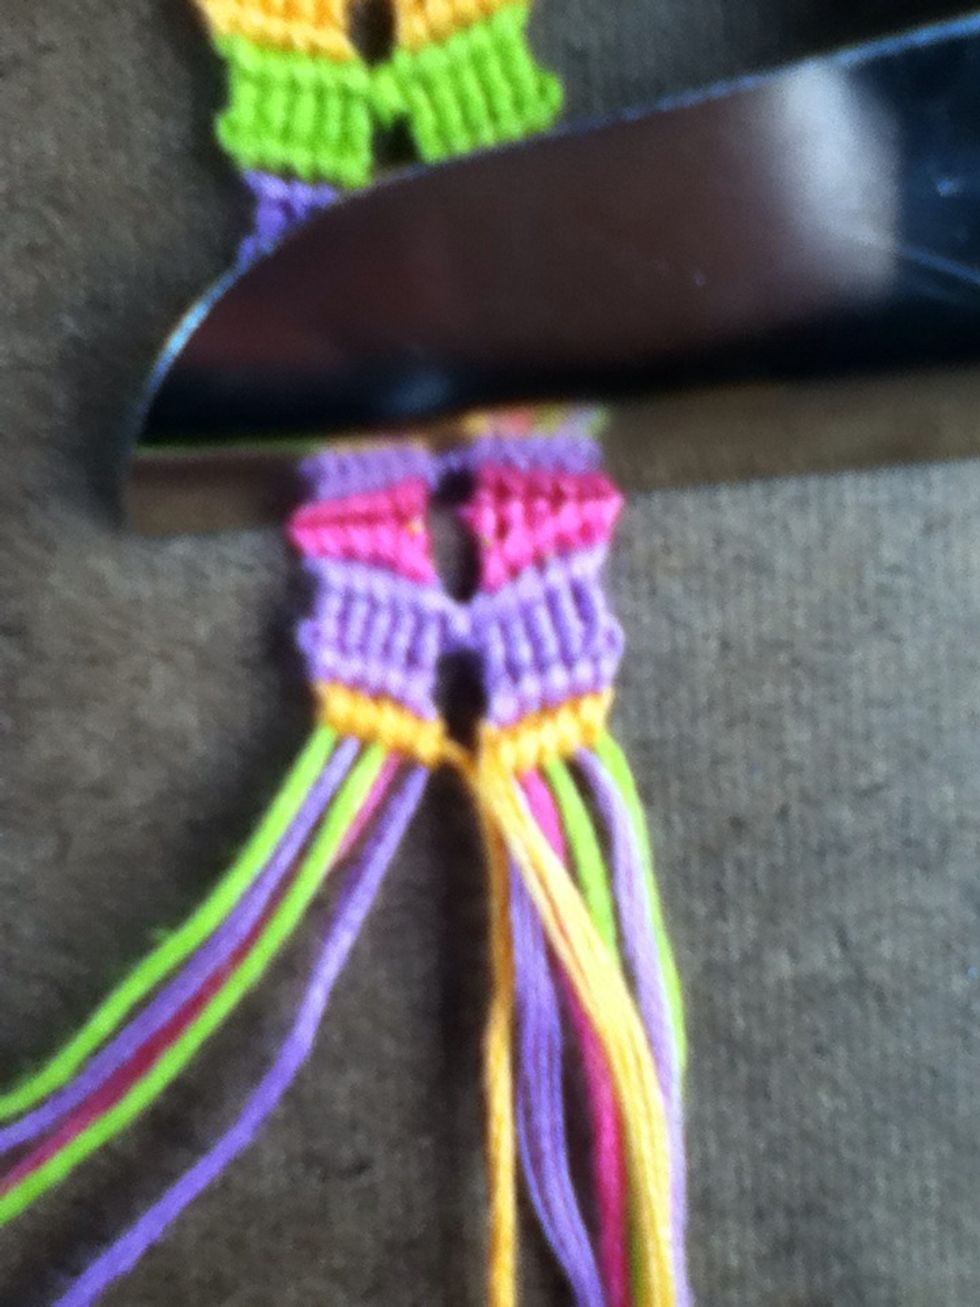
Make 5 right knots to the right...
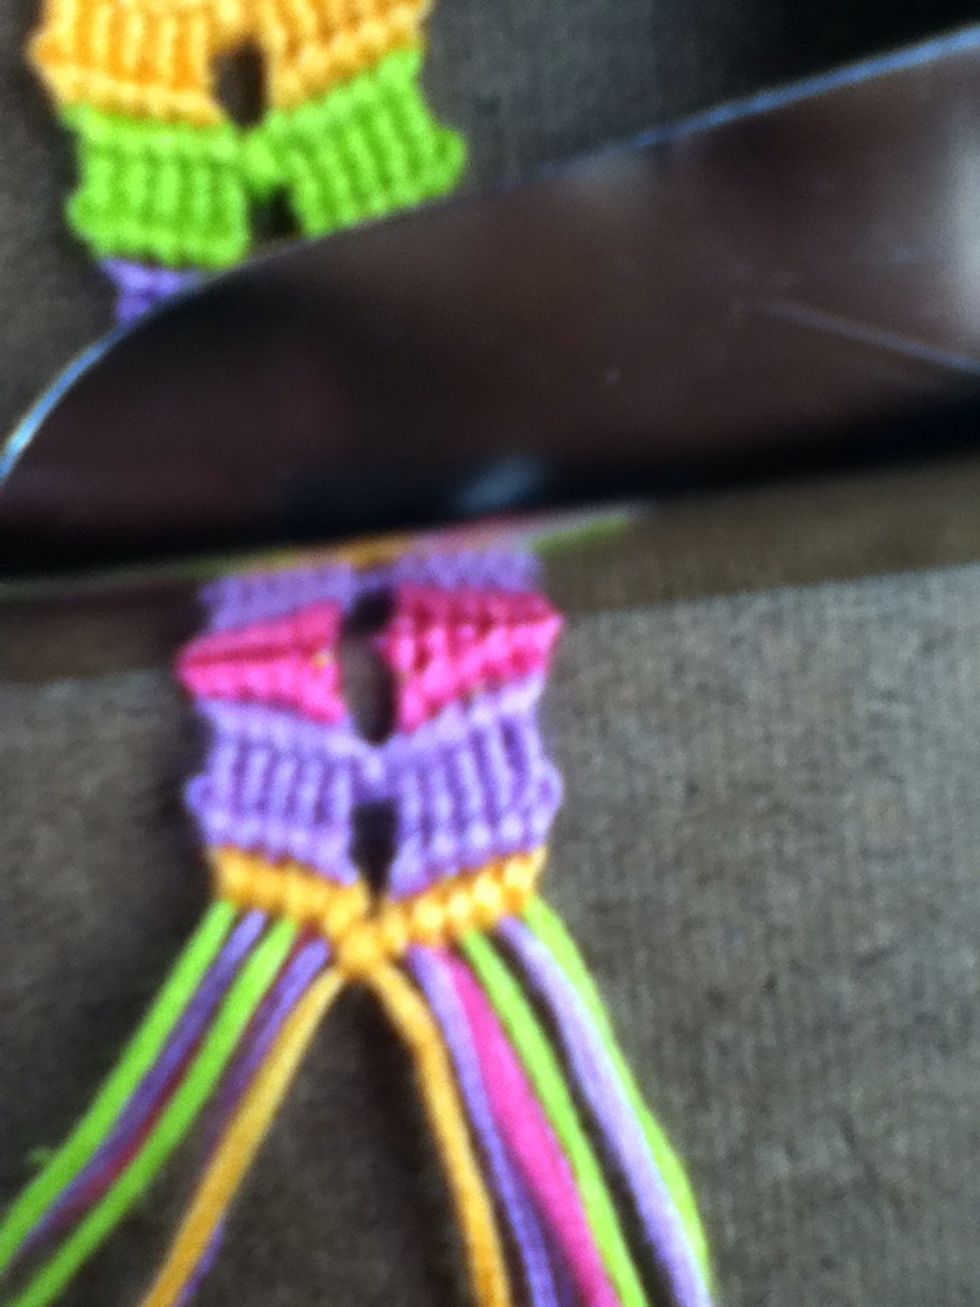
Now you can tie the center strings with a right knot. Just continue from step 16 until your bracelets long enough.
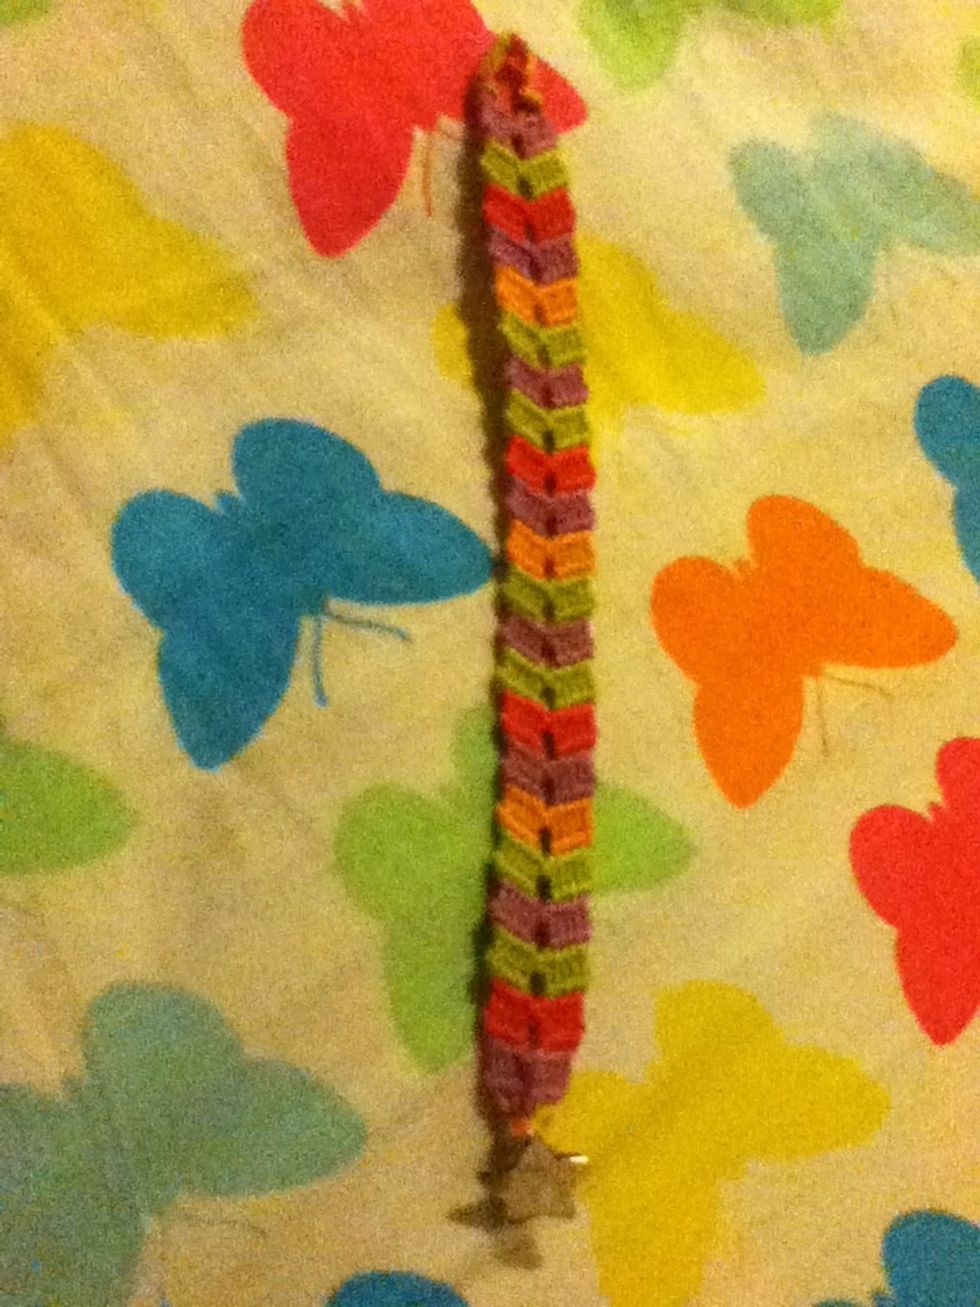
- 100.0in Six strings