The Conversation (0)
Sign Up
Things to know before you start- * Some of the embellishments are made out of vellum. Use a very thin layer of bonding memories glue to adhere these to pages to prevent showing through.
Cut off all zip strips before cutting any paper. You will be using some of them to embellish. A zip strip is the top piece of the paper with the design on it.
The mats are cut out of left over paper from the paper you use to cover the album. That is why I recommend cutting and covering the chipboard first so you can use your scraps for embellishing!
The first step is to cover all your cardboard pages first. Trace design on back of your paper. Make sure you pay attention and do not glue the wrong pattern to the wrong side of album.
All of my pages are outlined with a thin link and a little doodling- bow like doodles. I do this to make design pop. Freehand it using your CTMH journaling pen.
Attach all heavy items such as the flamingo's eye, bow, etc with Liquid glass. Liquid glass is can be used as a strong glue. It takes about 20 minutes to dry.

The cover is a frame glued to the first piece of your book. FIrst we will decorate the frame. Cover the outside with green leaf paper. Then lay flamingo washi tape around all four edges making a box

The top part of the flamingo is covered with pink paper from Calypso pack. Trace and cut out. Optional step- cover in glue or contact paper and sprinkle with prisma glitter. Let dry really well.
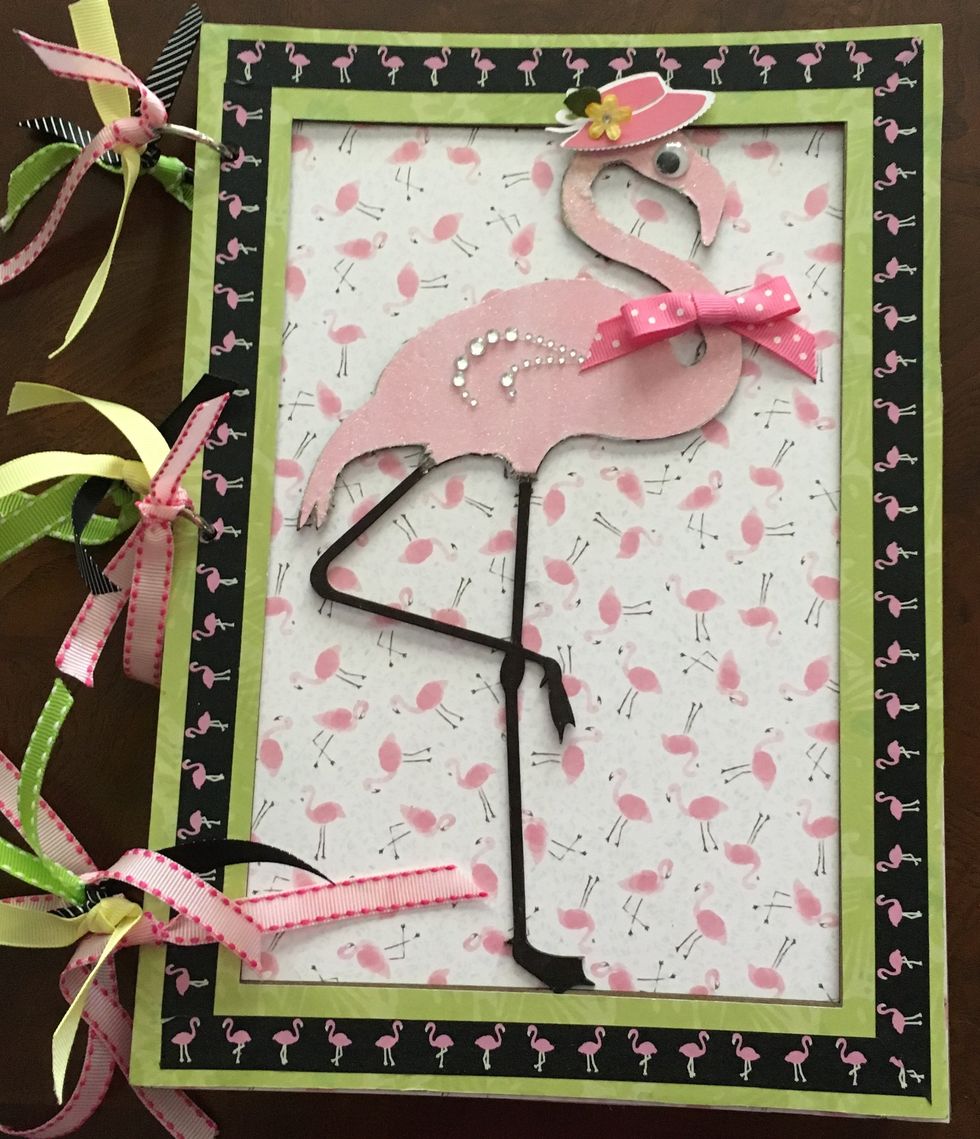
Color legs with a black sharpie pen or paint with black acrylix paint. Add an wiggly eye and hat. Add a flower to the hat with a sparkle in the middle. If desired, add sparkles for wings!
The hat is attached with 3 d tape to make it pop up and give it dimension.

Next, take the first rectangle sheet in your album and glue the flamingo paper on it. Be sure to use a lot of bonding memories glue. Once dry, use Liquid Glass to adhere the Flamingo Frame to the
first page of your book. The flamingo frame will now be attached and will not be separate. Be sure to use enough liquid glass. This will take about 30 minutes to dry.
Cover the back of the cover page in polka dot paper. Embellish as shown. The mat sizes are 4 x 6". The blue polka dot border is a zip strip. Good Times is a sticker that is popped up with 3 D tape.

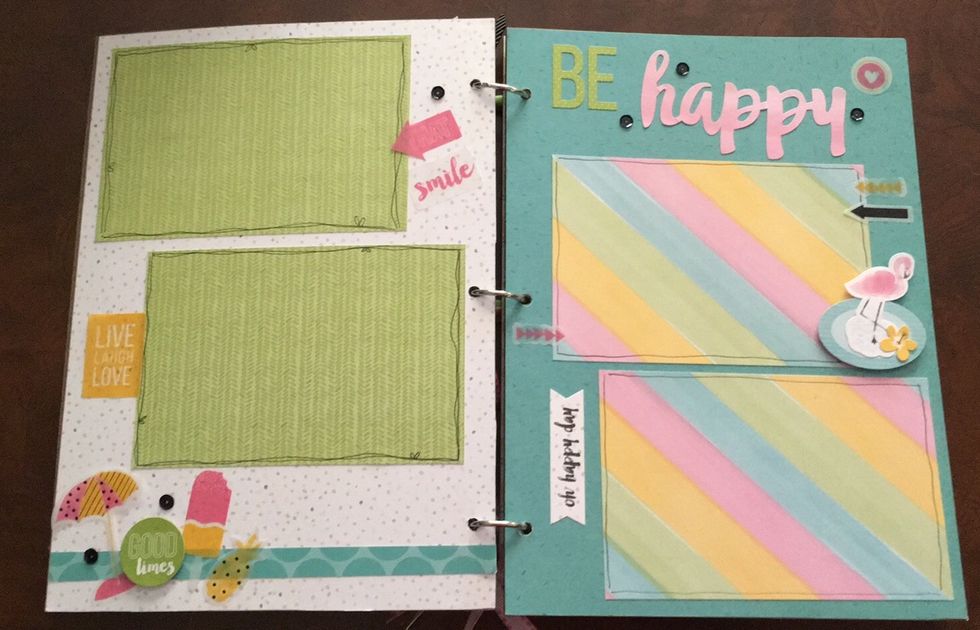
Cover the blue page in blue polka dot paper. Mat sizes are 4 x 6". The flamingo cluster is several stickers put together. IT is popped with 3 d tape to allow for photo to be inserted under it.
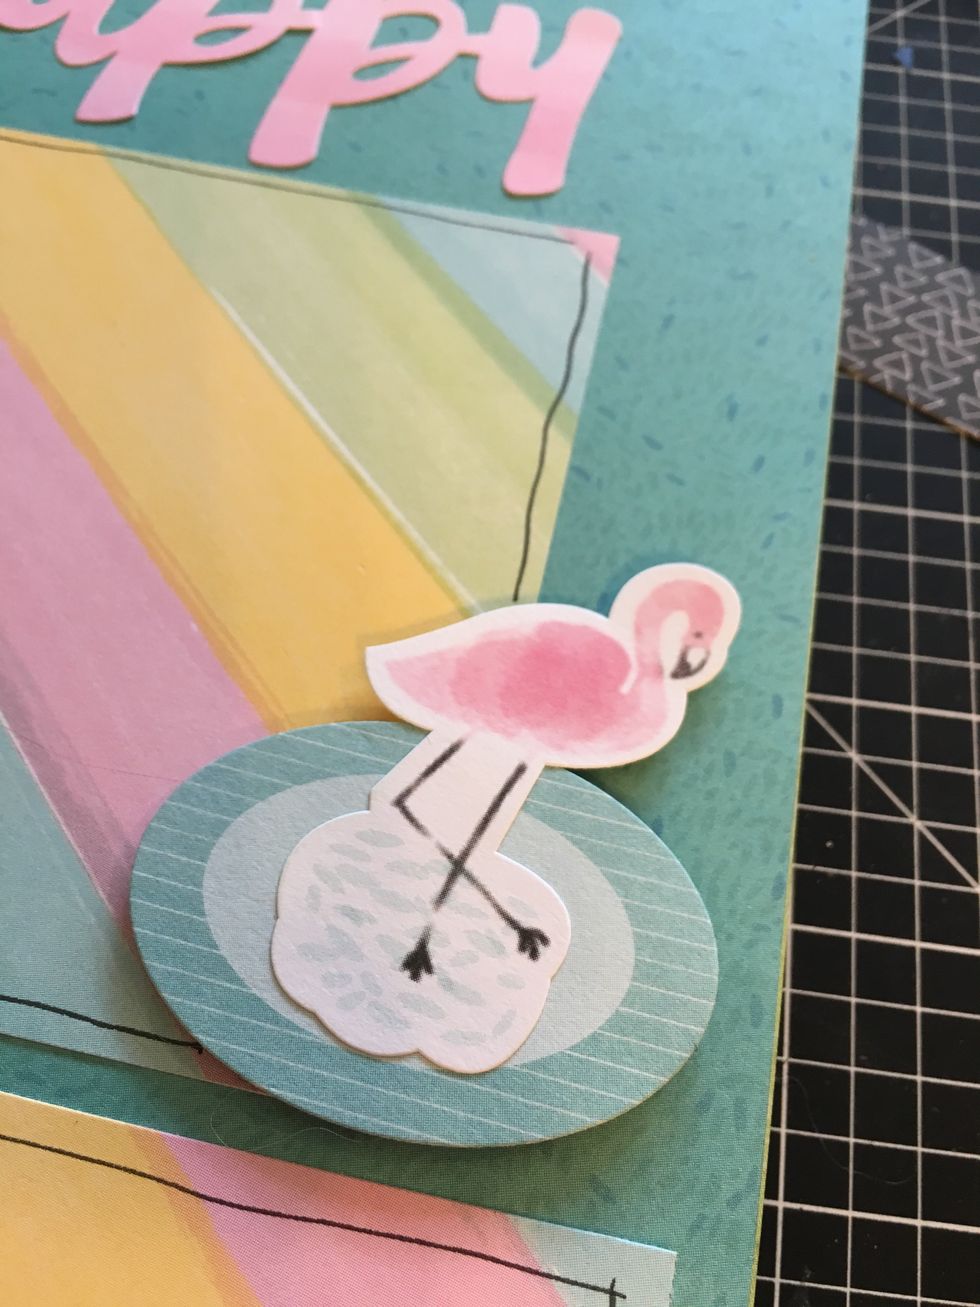
Here is a detailed photo of the flamingo cluster.
Cover the left page in green arrow paper. Embelish as shown. The mat sizes are 4 x 4". The bottom photo has a flip flap on it. The flamingo is a card from your kit cut down. It is plain. I added
a strip of the black triangle paper that was cut 1 x 4". I glued that down. Then I added a piece of flamingo washi tape across bottom. See next photo for the inside of flip flap.
This is the inside of the flip flap- this is what the flip flap will look like when lifted.
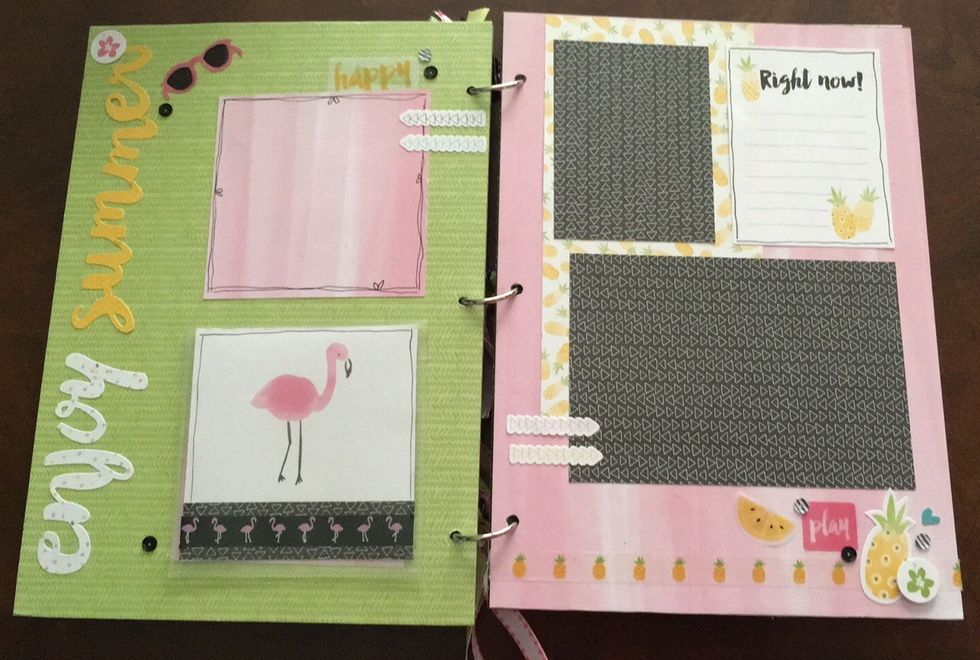
Cover right page with pink paper. The black triangle mat sizes are- 3 x 4" and 4 x 6". The pineapple journaling block is a card from kit. Decorate everything else as shown.

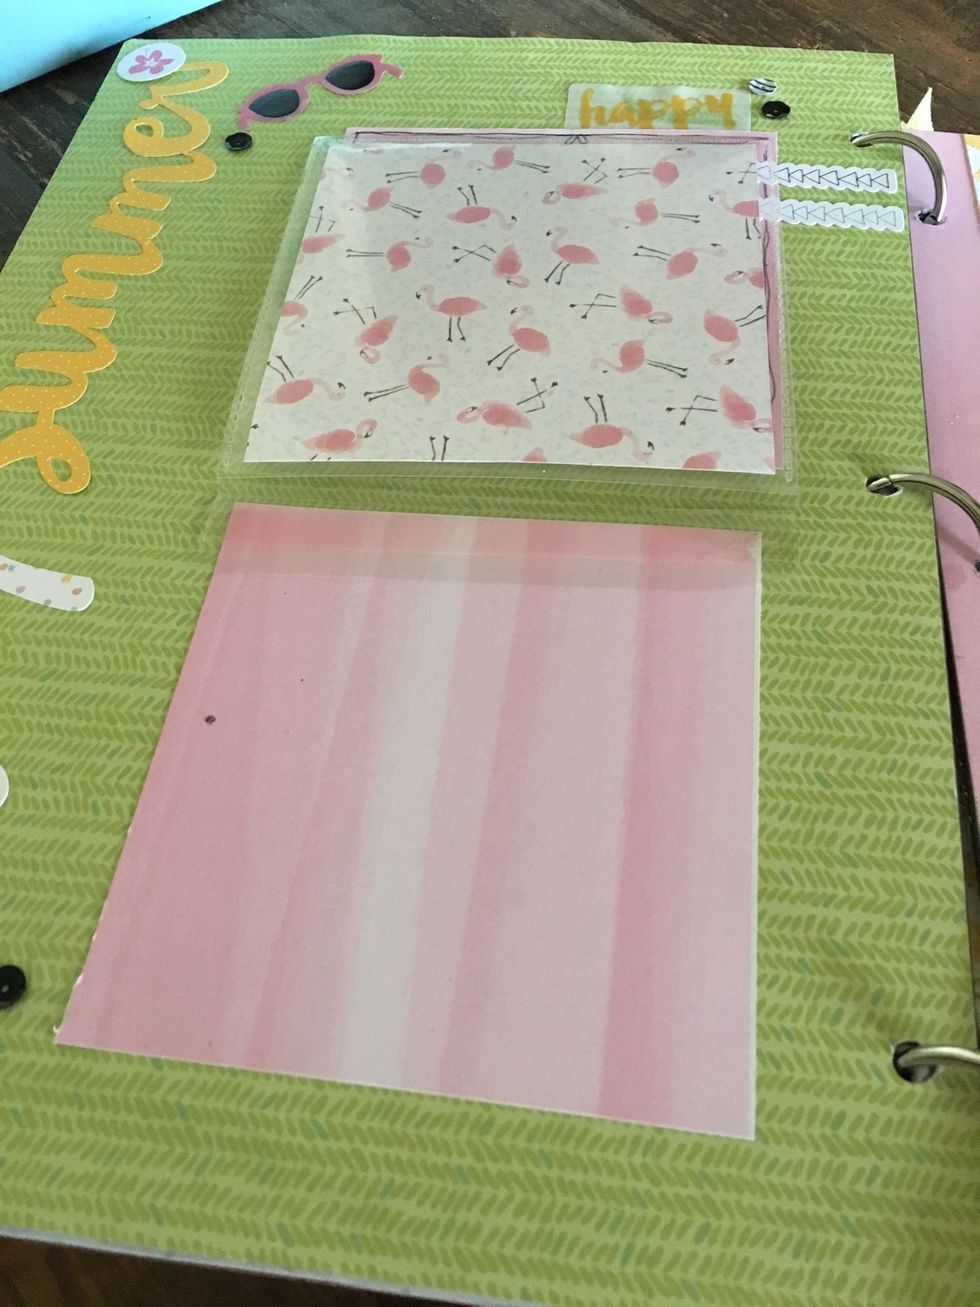
Cover the left page with yellow stripe paper. I cut a piece of blue speckled paper the size of 4 x 7" and glued it vertically 1" from the bottom of the page. Then attached a zip strip across bottom.

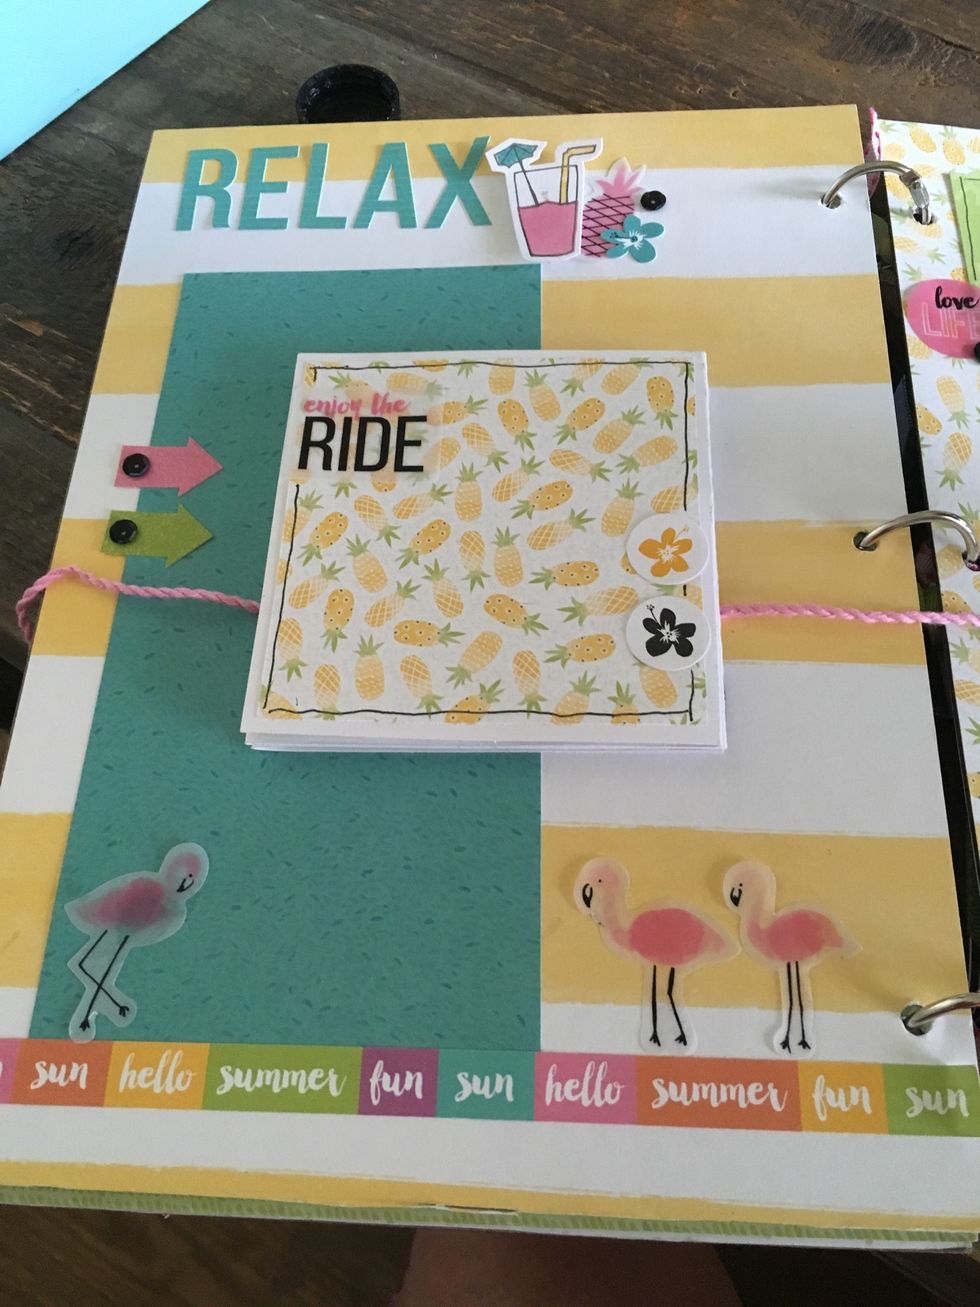
Decorate as shown. This page has an accordion album on it. I will give directions on that in a minute. Decorate everything else. The lemonade is popped with 3 d tape.
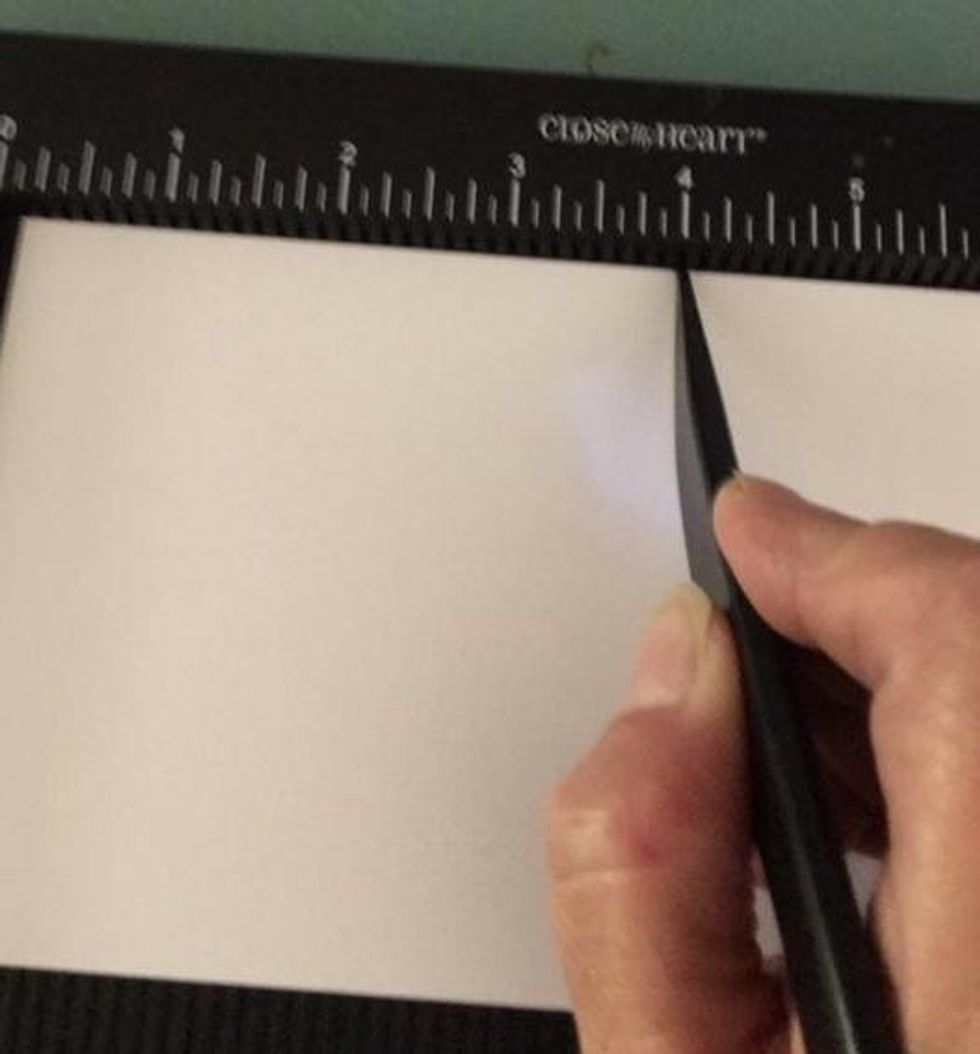
To make accordion album cut two pieces of white cardstock 4 x 12". Score both pieces at 4" and 8" using your CTMH scoring board.
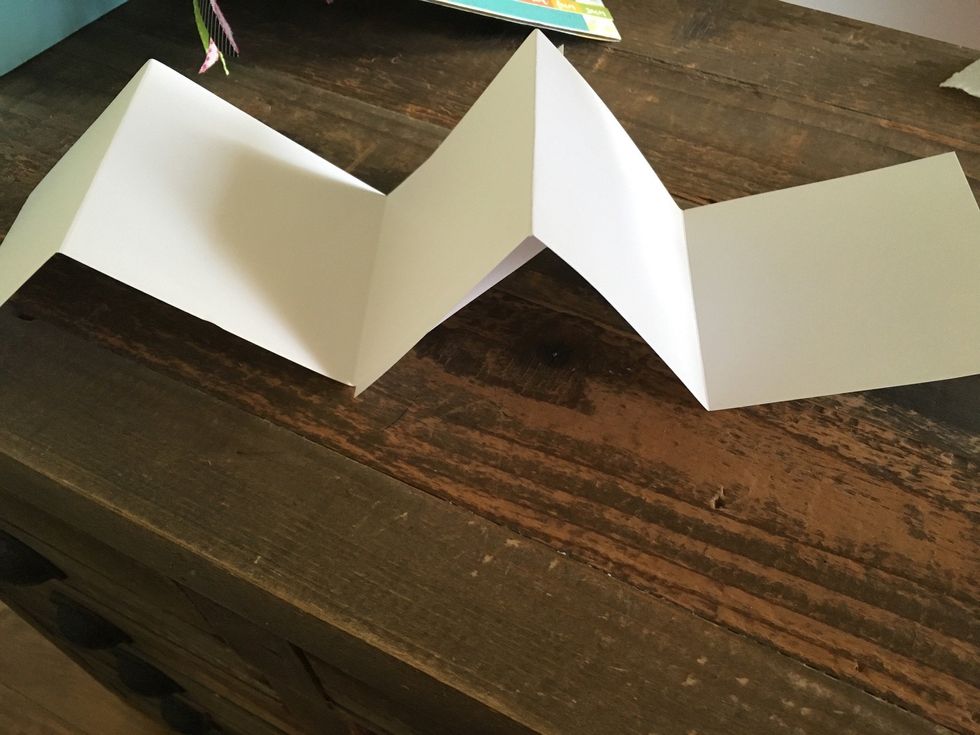
Attach the scored 4" x 12' pieces of paper by overlapping one of the pieces. Use a strong adhesive. I use bonding memories glue. I dab- not streak it all over one of the 4 x 12" panels and attach.
This photo shows the accordion book folded. Next glue this accordion page down. Glue pink stripe down under the bottom page. Your book will be blank. See next photo.
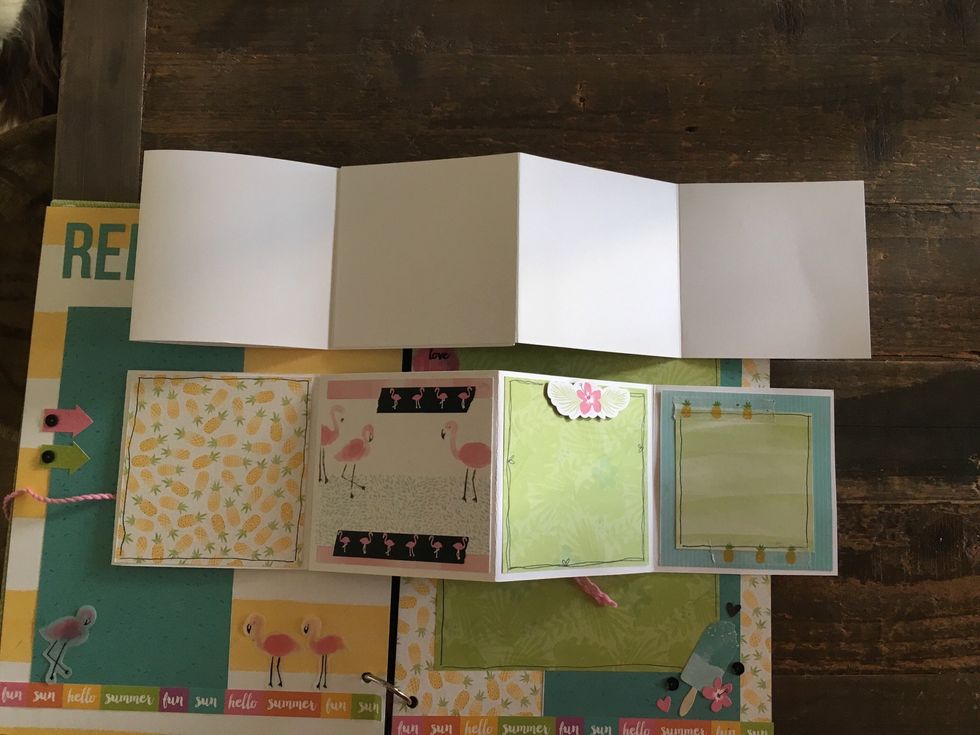
When pulled open, this is how your book will look. Decorate as shown. All mats are cut 3 3/4" x 3 3/4". The second square is a pink mat with a flamingo card cut3 x 3 3/4" taped with washi.
The third square has a sticker that is raised. The fourth square has a green 3 x 3 mat glued and accented with pineapple washi tape.
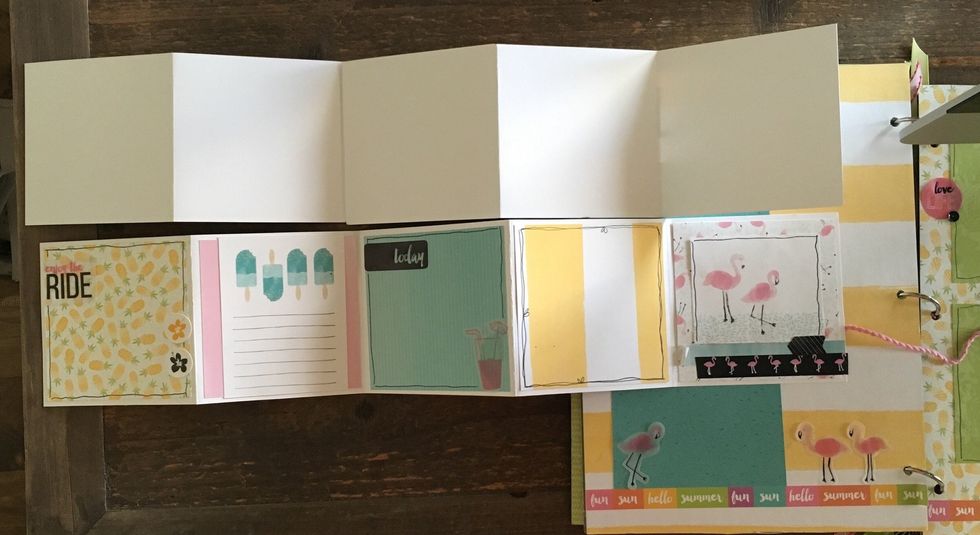
This will be how your accordion book will look when it is pulled to the left Decorate as shown. When finished, add journaling, photos, keepsakes, etc and then fold and tie with pink twine. CUTENESS!
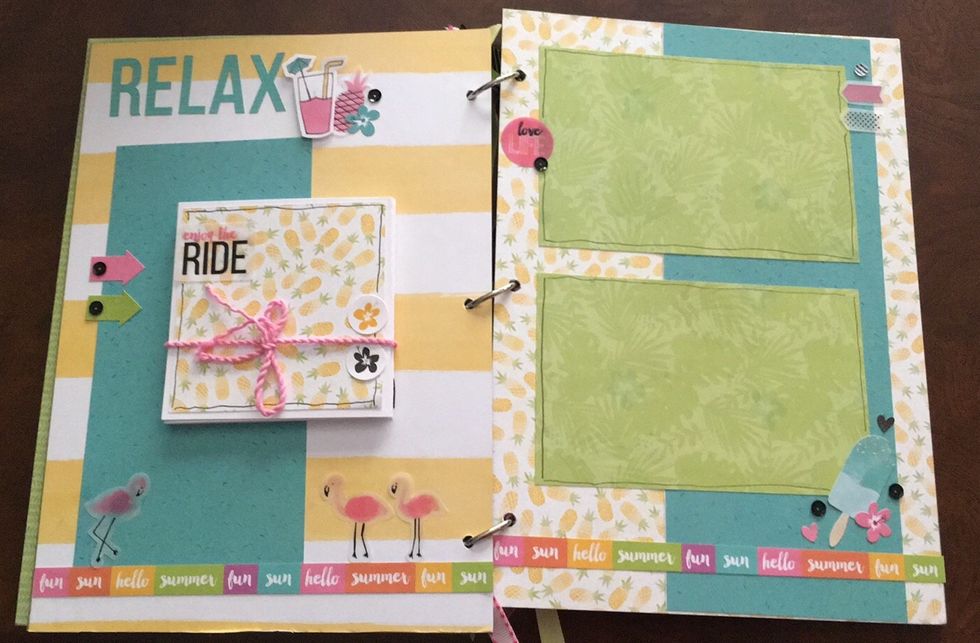
Right page- cover with pineapple paper. Glue a strip of blue speckled paper that is 4 x 12" - 3/4" from right edge of book. Green mats are 4 x 6". Add color block zip strip to bottom. Embellish.
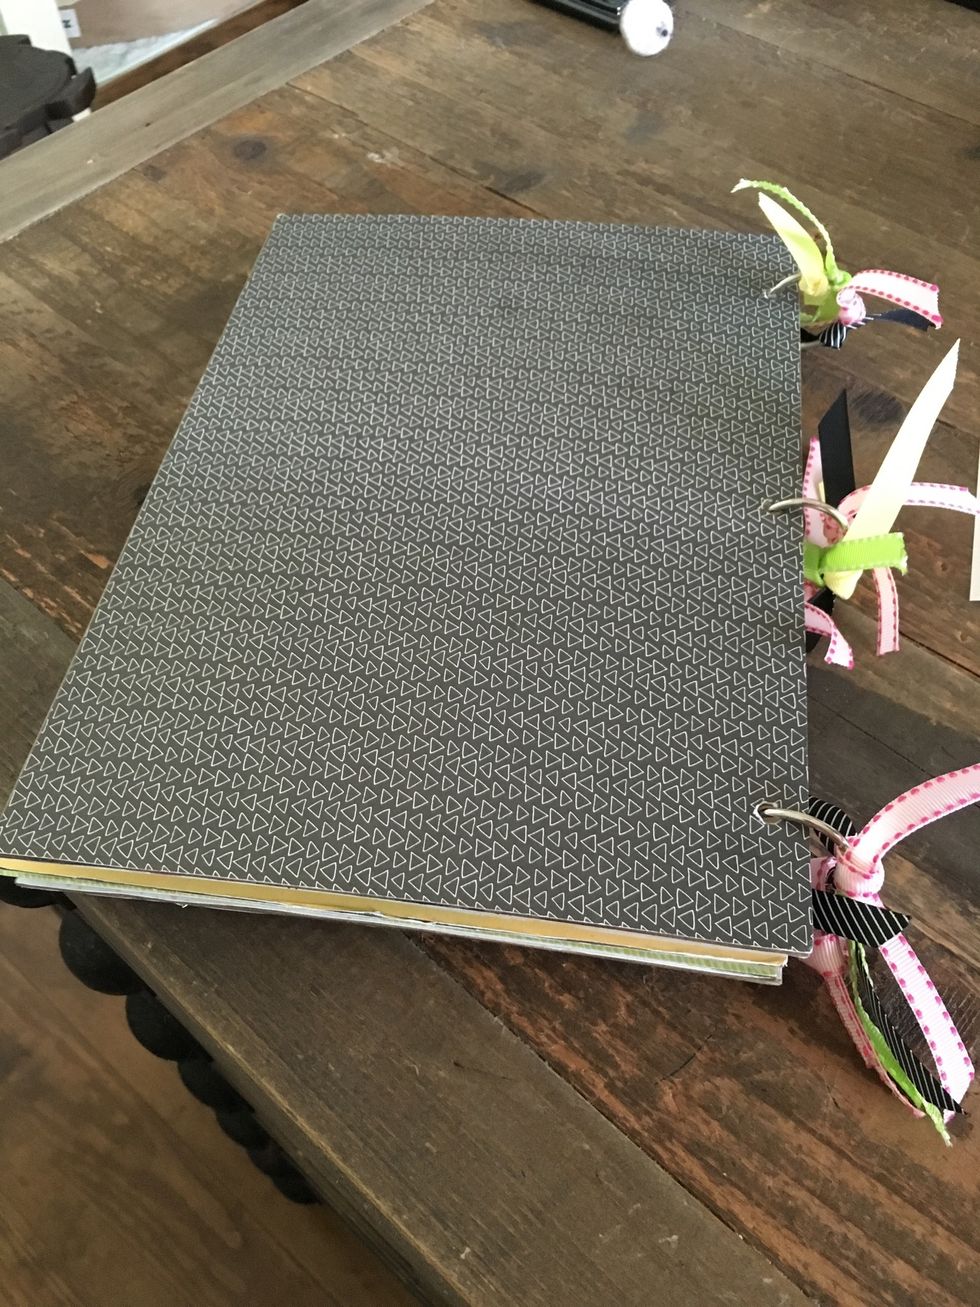
Back of book. Add ribbon to key rings if desired.
I hope you enjoy your book. All supplies can be ordered WHILE SUPPLIES LAST from Tina Sutton- www.missgingerdots.com. Email- Missgingerdots@me.com