The Conversation (0)
Sign Up

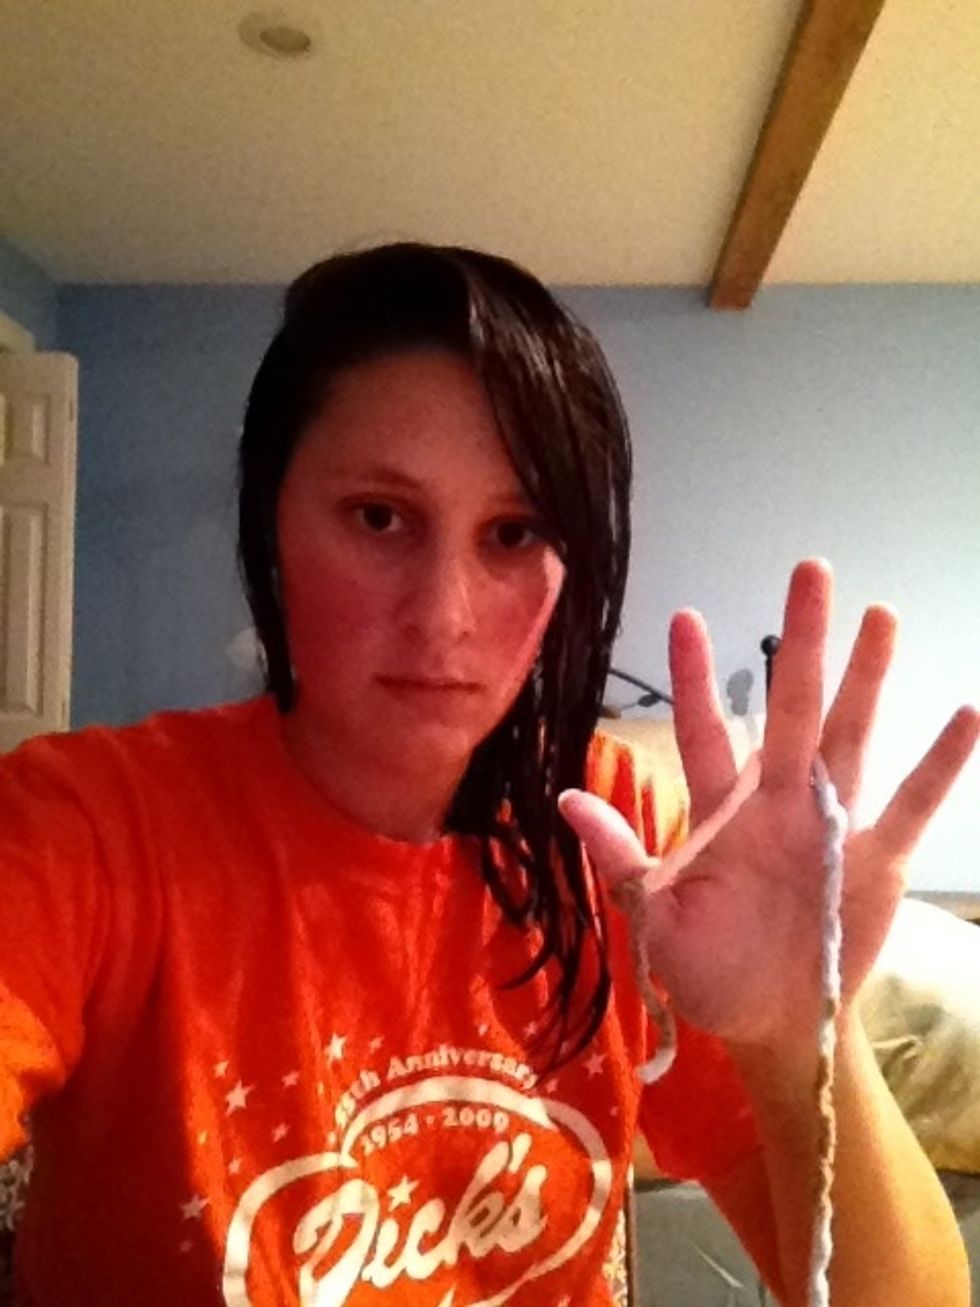
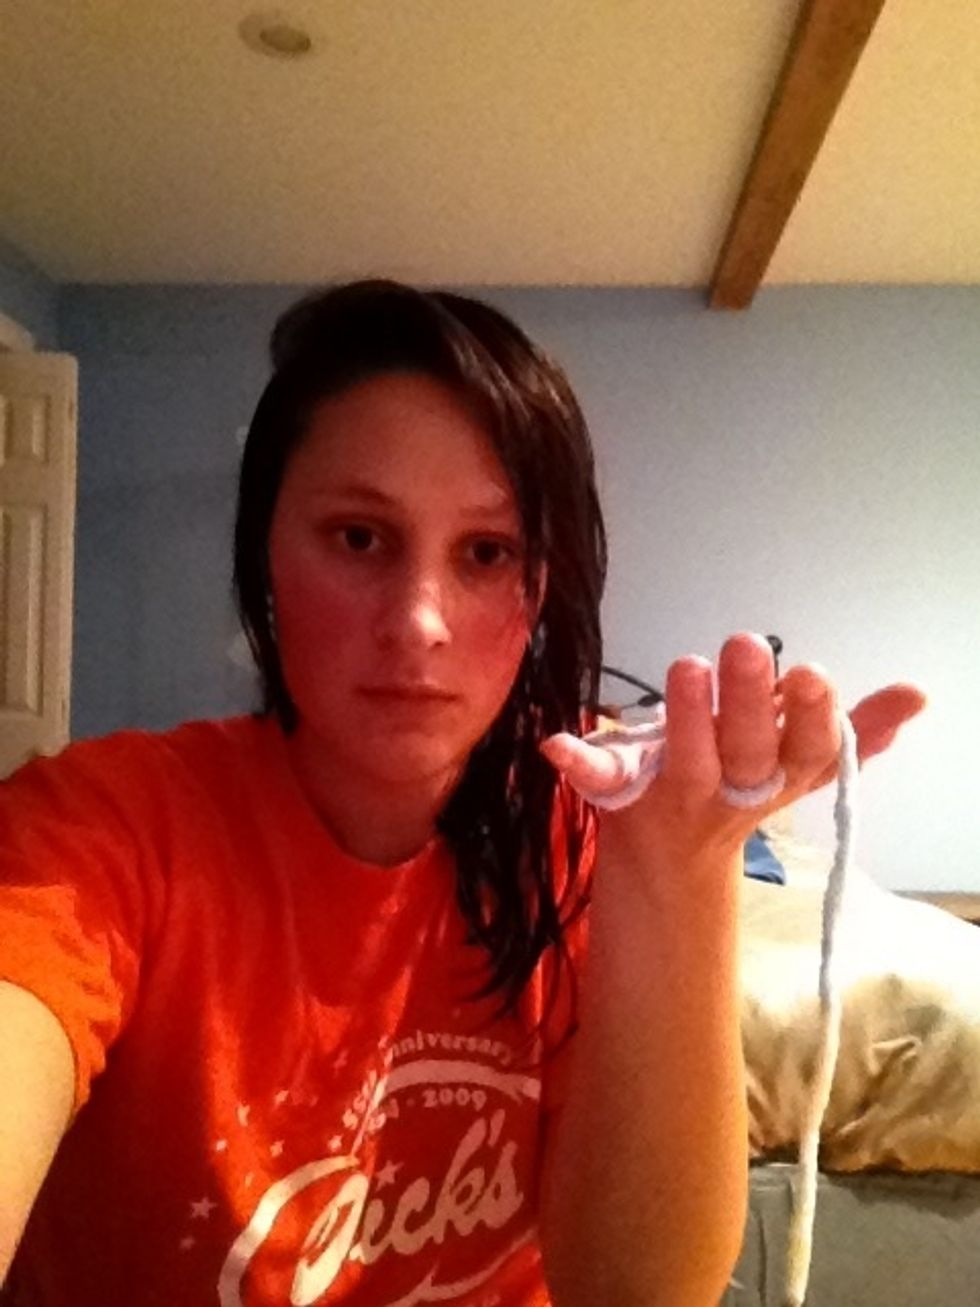
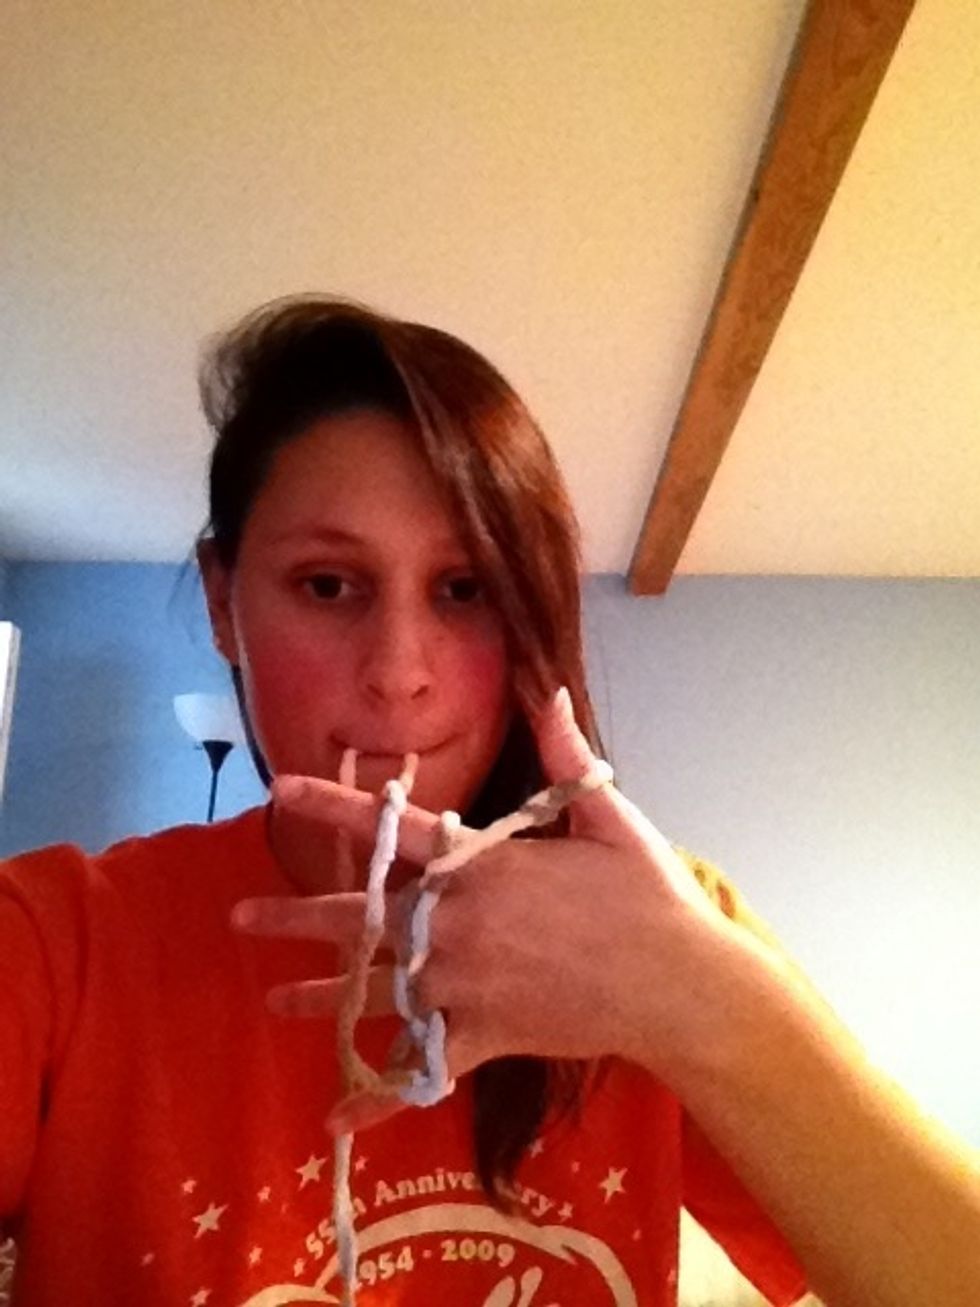
First take the open end of the yarn and make a knot around your thumb.
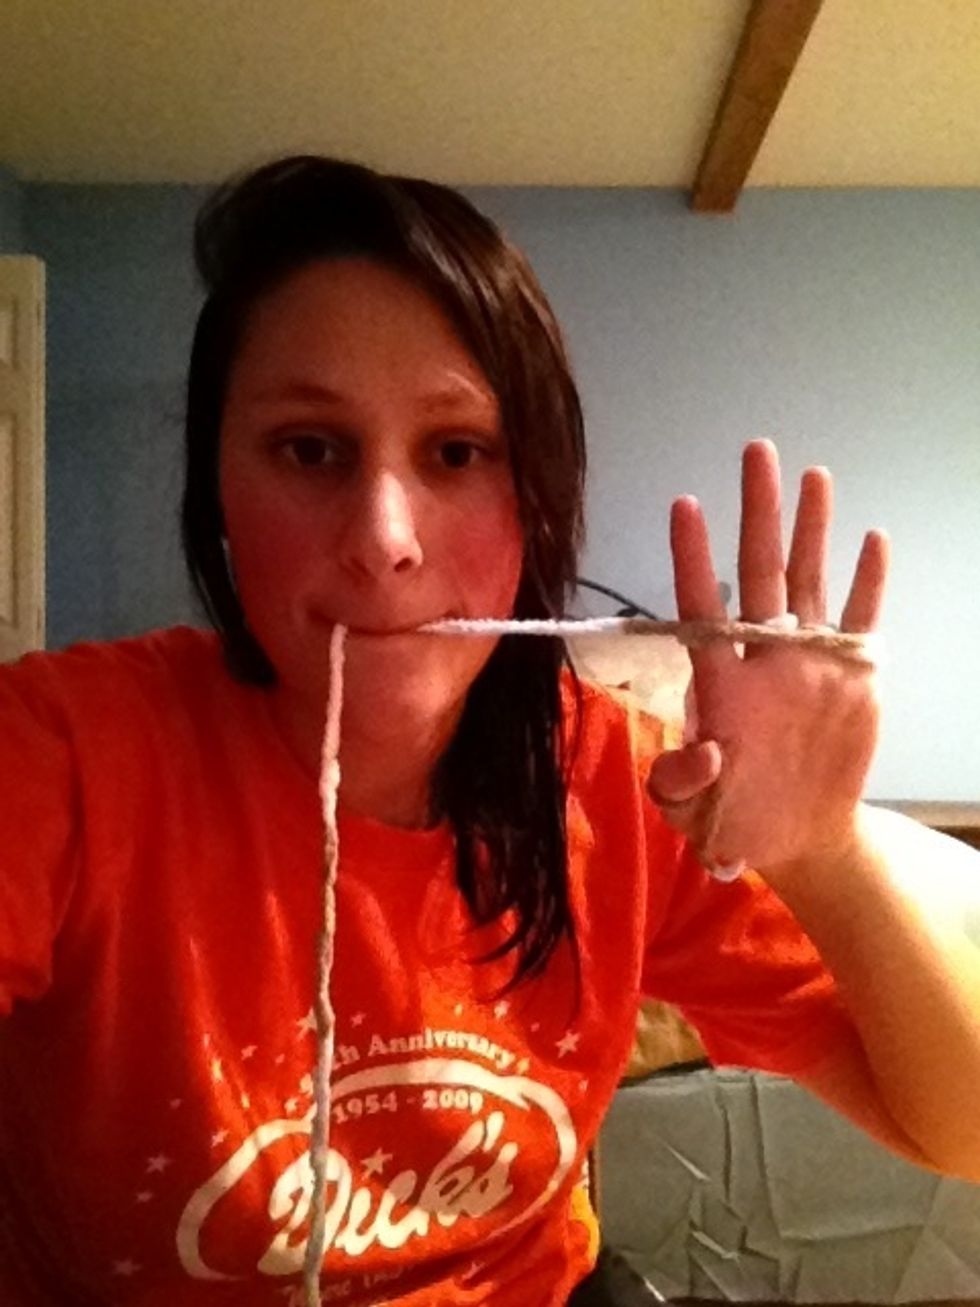
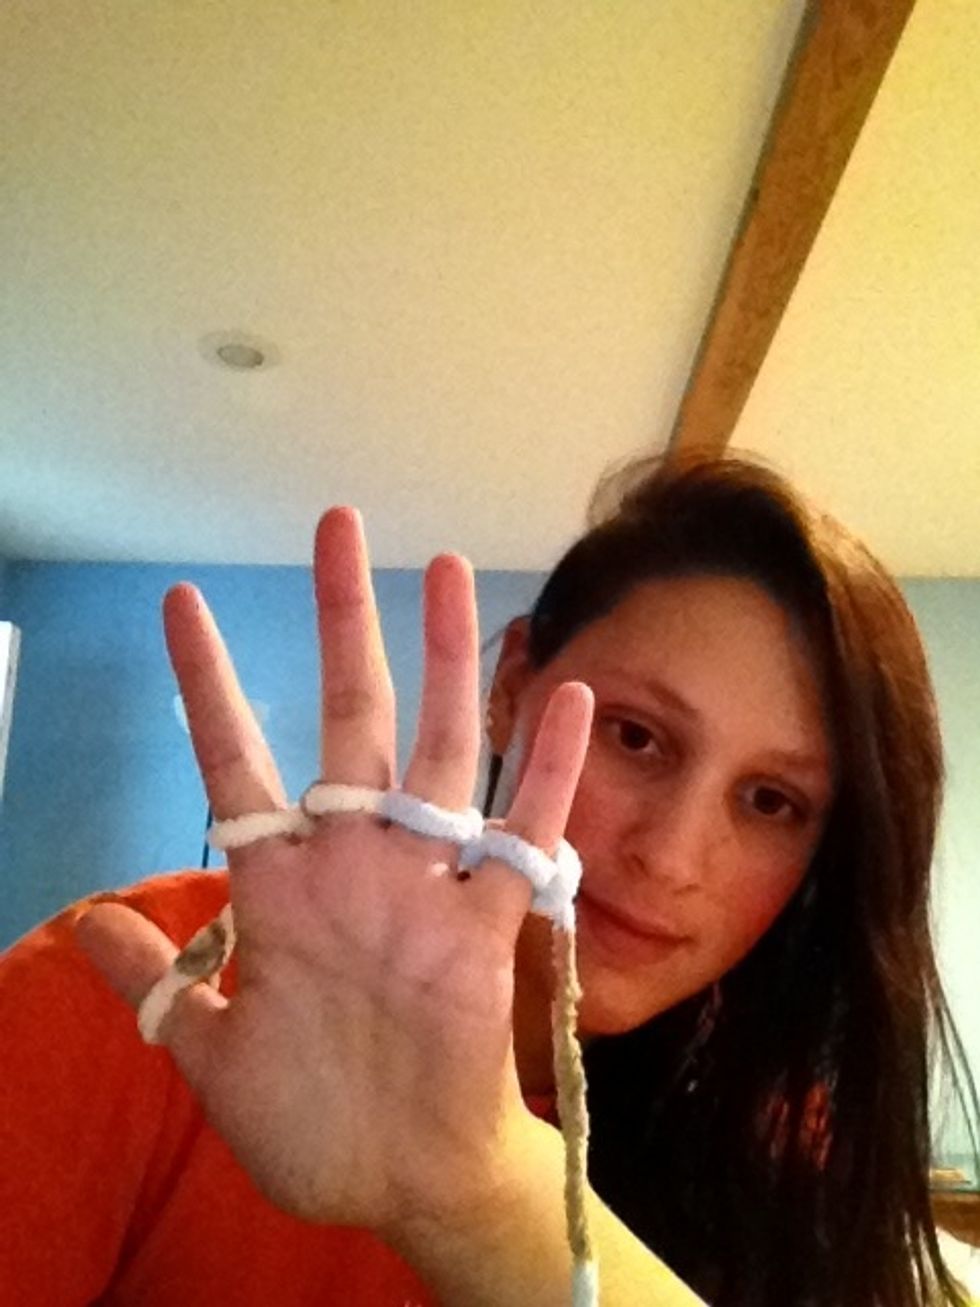
Then begin weaving the yarn around each finger.
After weaving the yarn around each of your fingers, the yarn should end by your pointer finger (just for the first part).
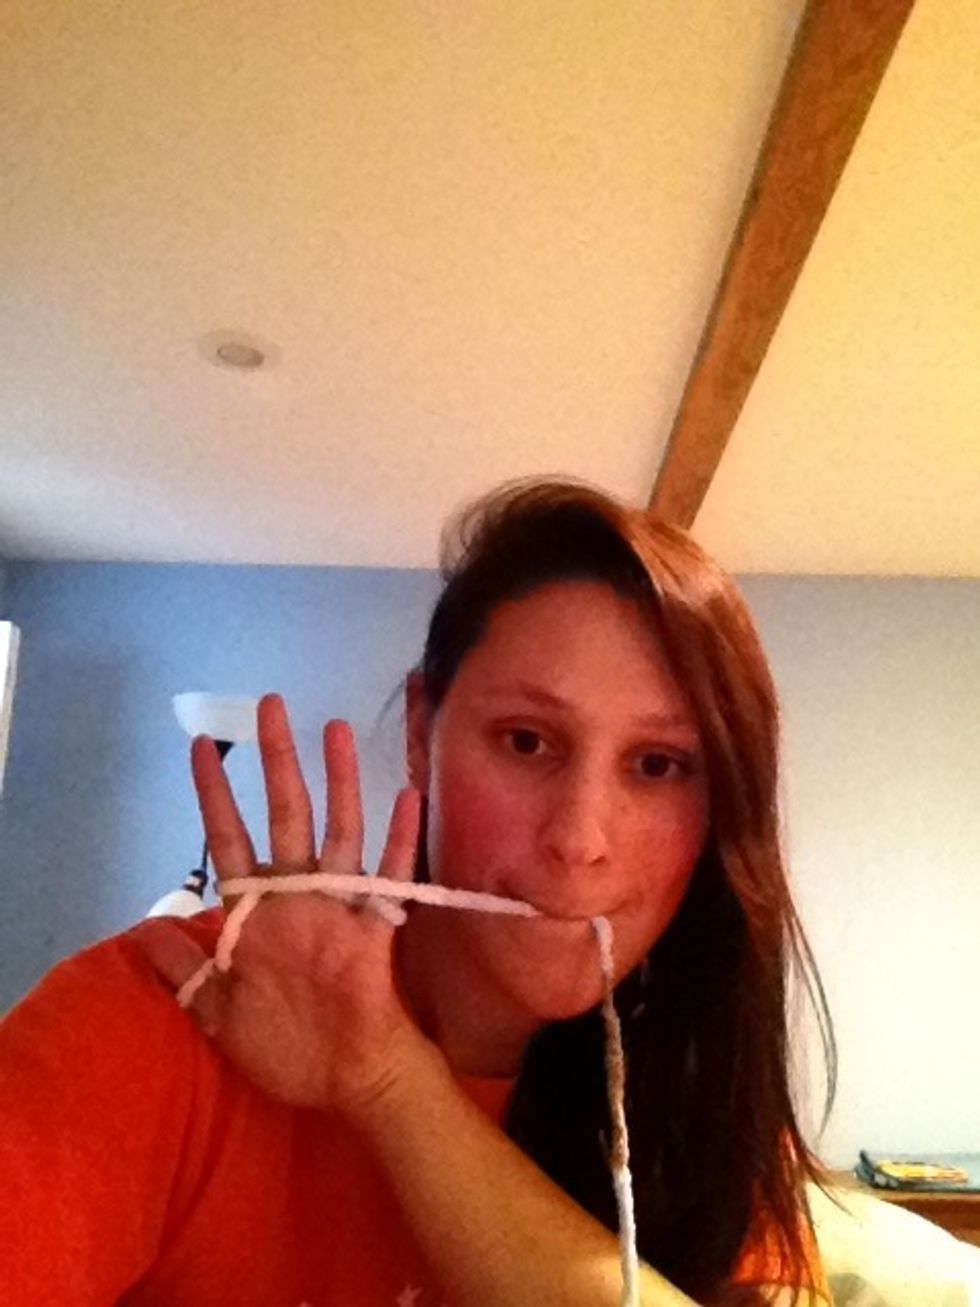
Take the open end of the yarn and let it rest across your fingers, this is the beginning of making rows.
At the end of each row, the yarn should hang by your pinkie finger.
Bring the yarn from your pinkie around your knuckles...
...and wrap the yarn back around the palm side of your hand, so it looks like this.
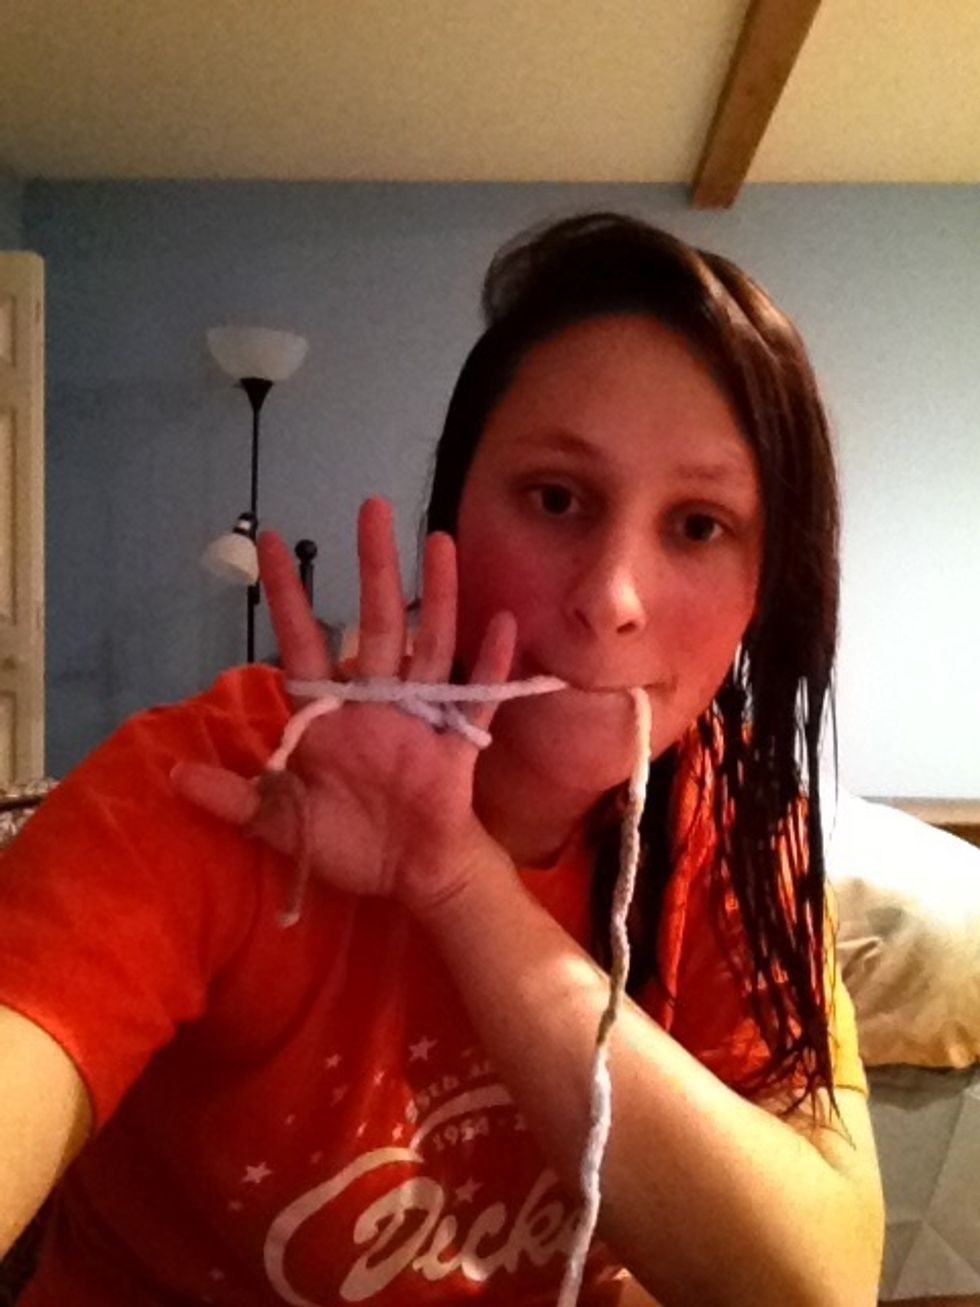
The yarn should run across your four fingers and hang by your pinkie finger again.
Then you can start bringing the loops over each finger again (like you saw on video).

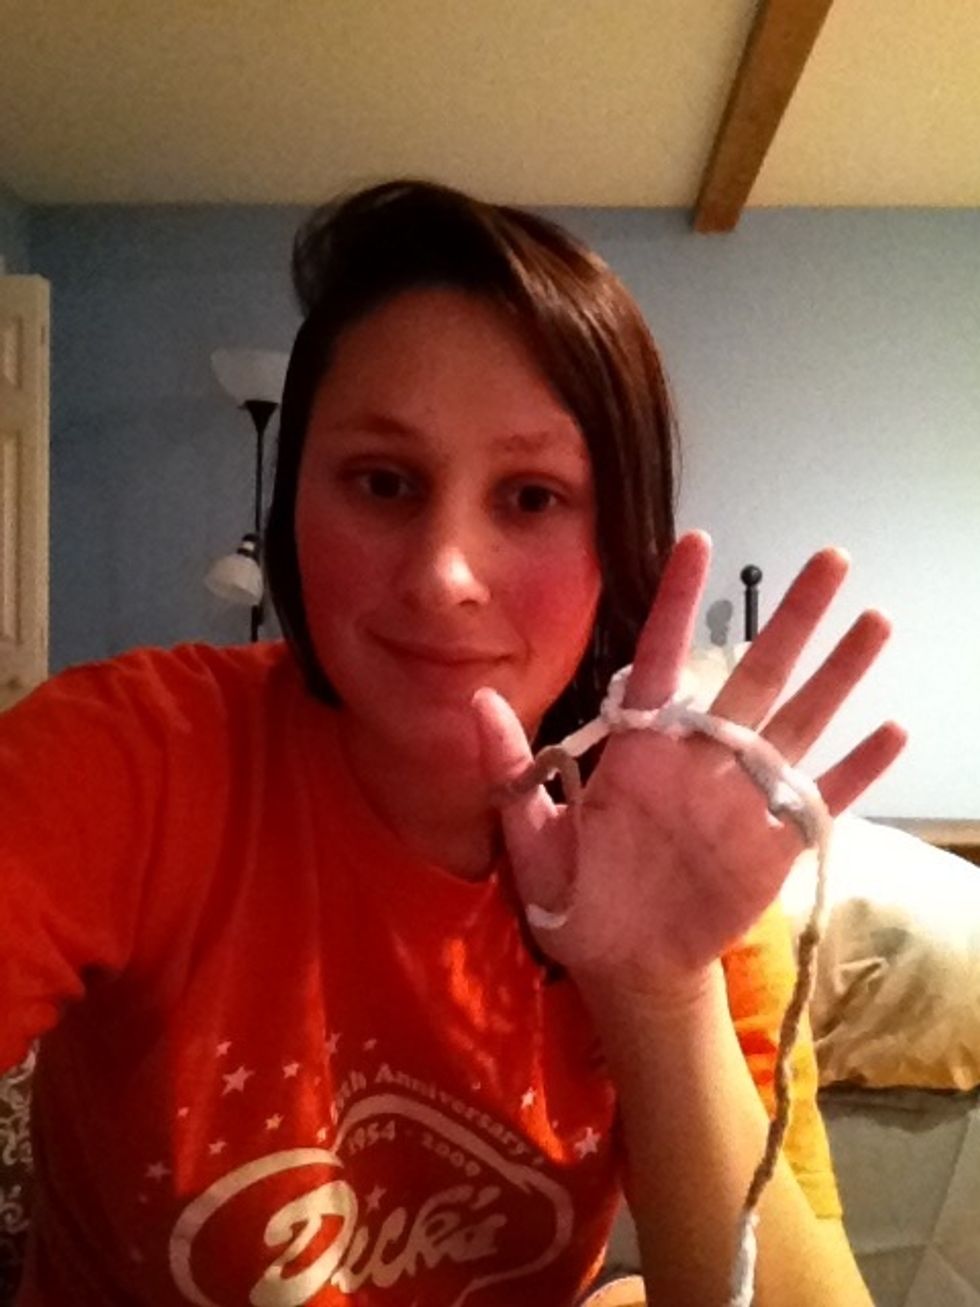
When the scarf starts getting longer in the back, unhook you thumb knot (this will be one end of your scarf).

The back should look like this after you unhook your thumb.
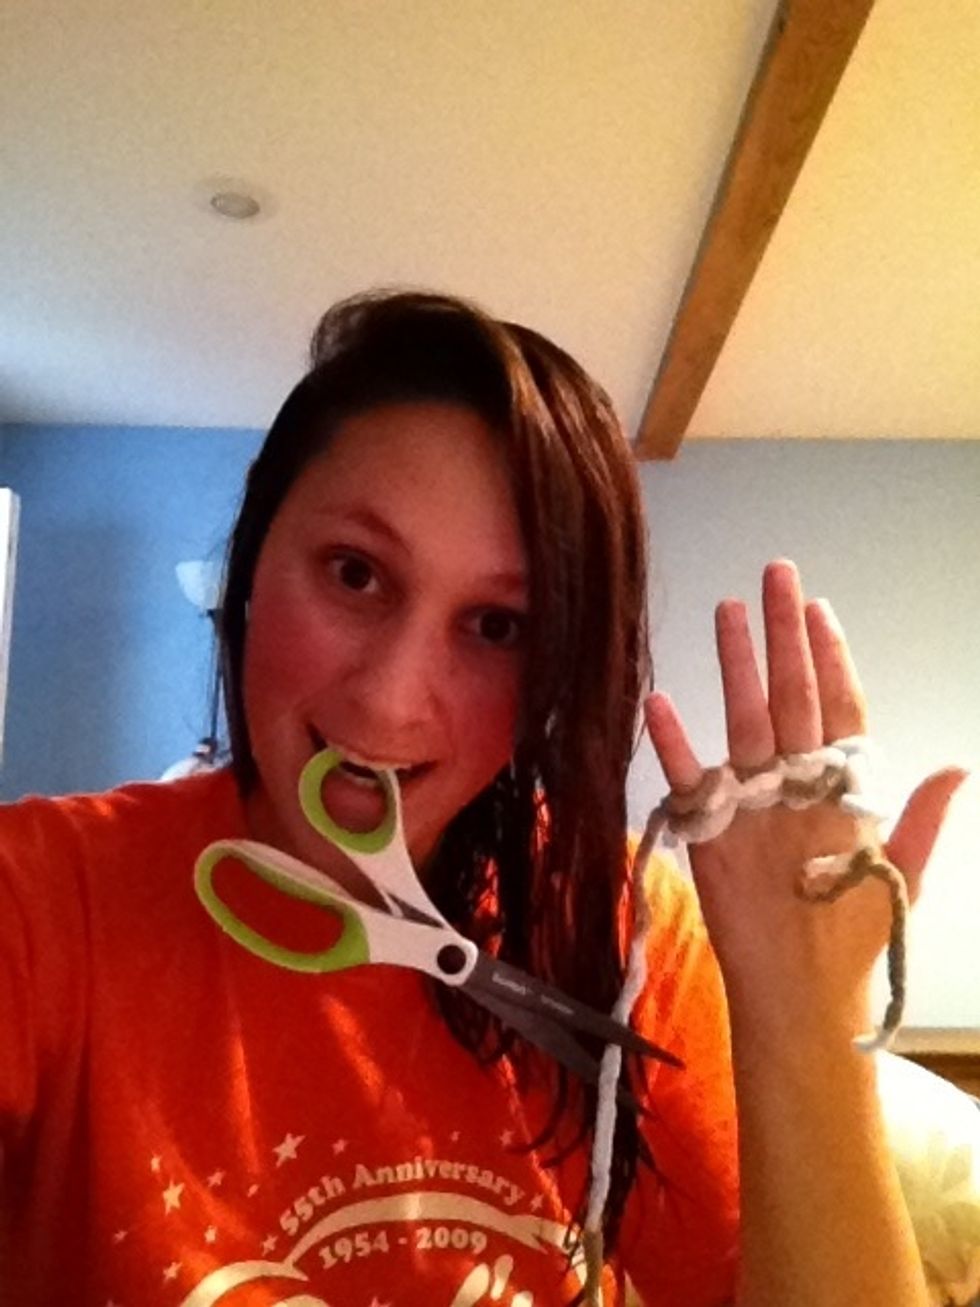
When you are happy with the length of your scarf, cut the yarn several inches down... don't actually use your teeth to grip the scissors!!
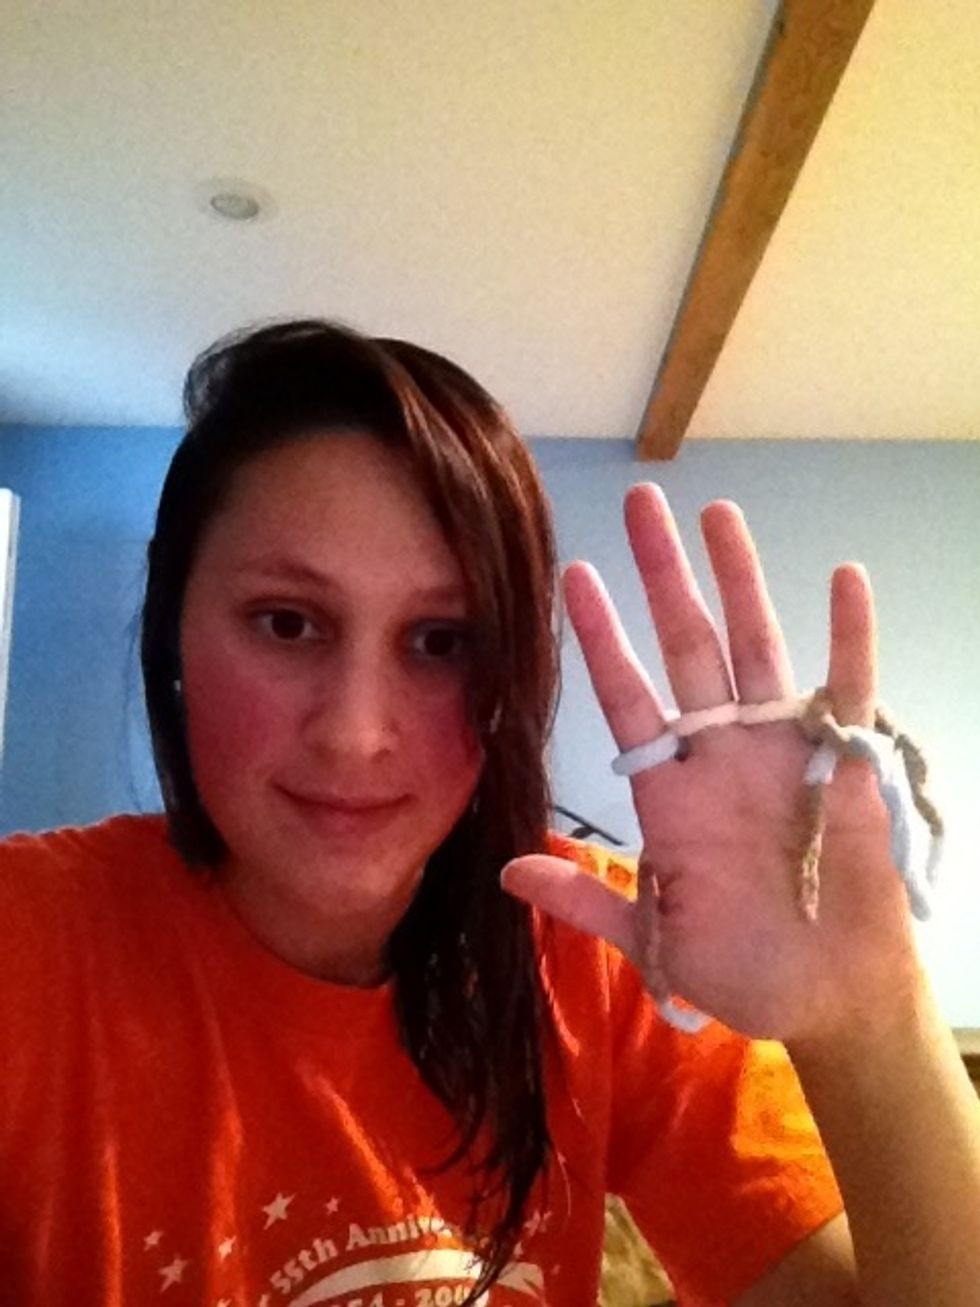
Then feed the cut end of the yarn through each finger loop.
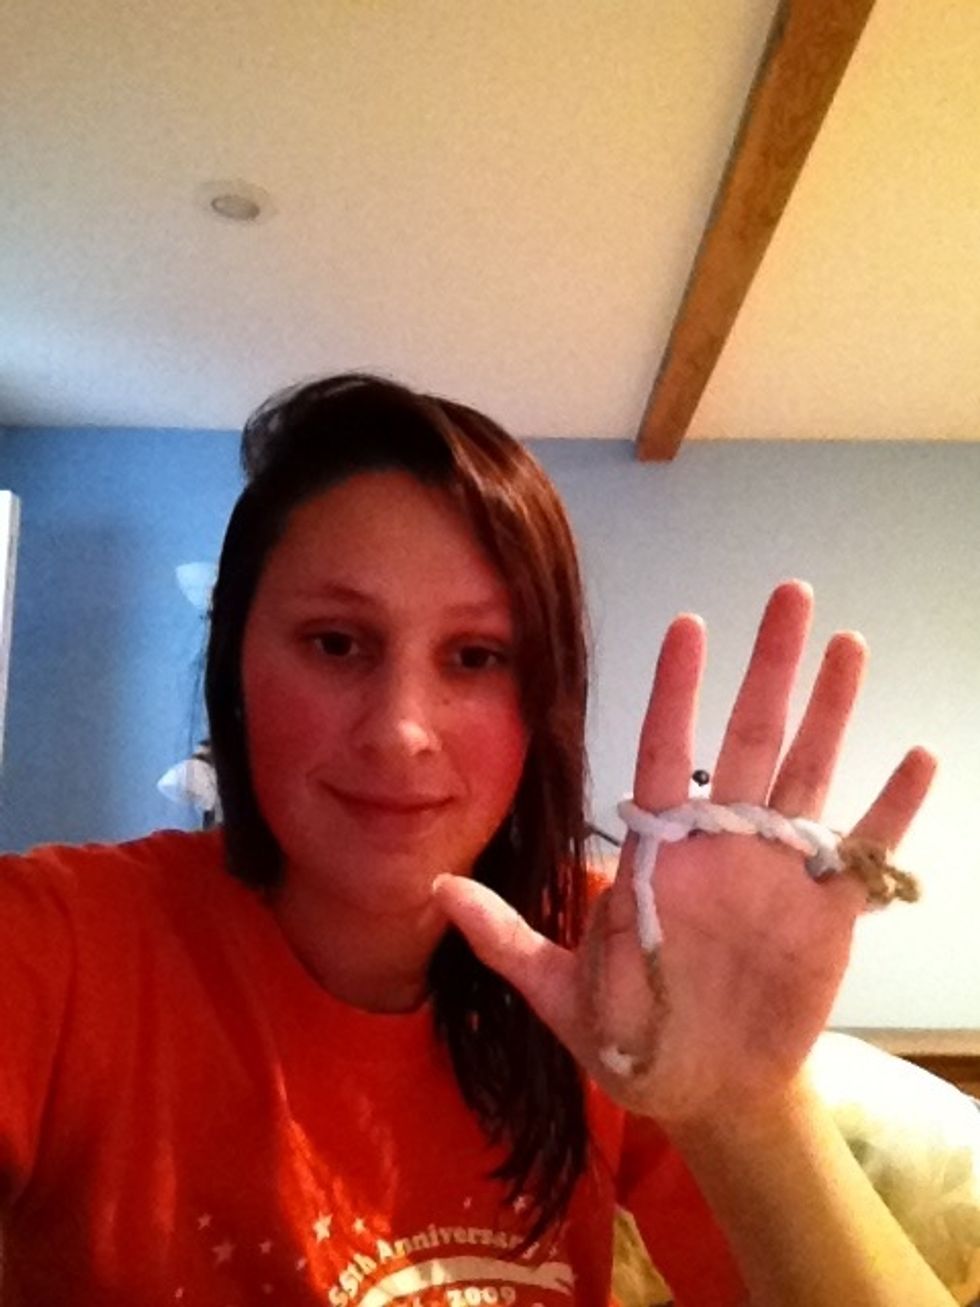
It should look something like this!
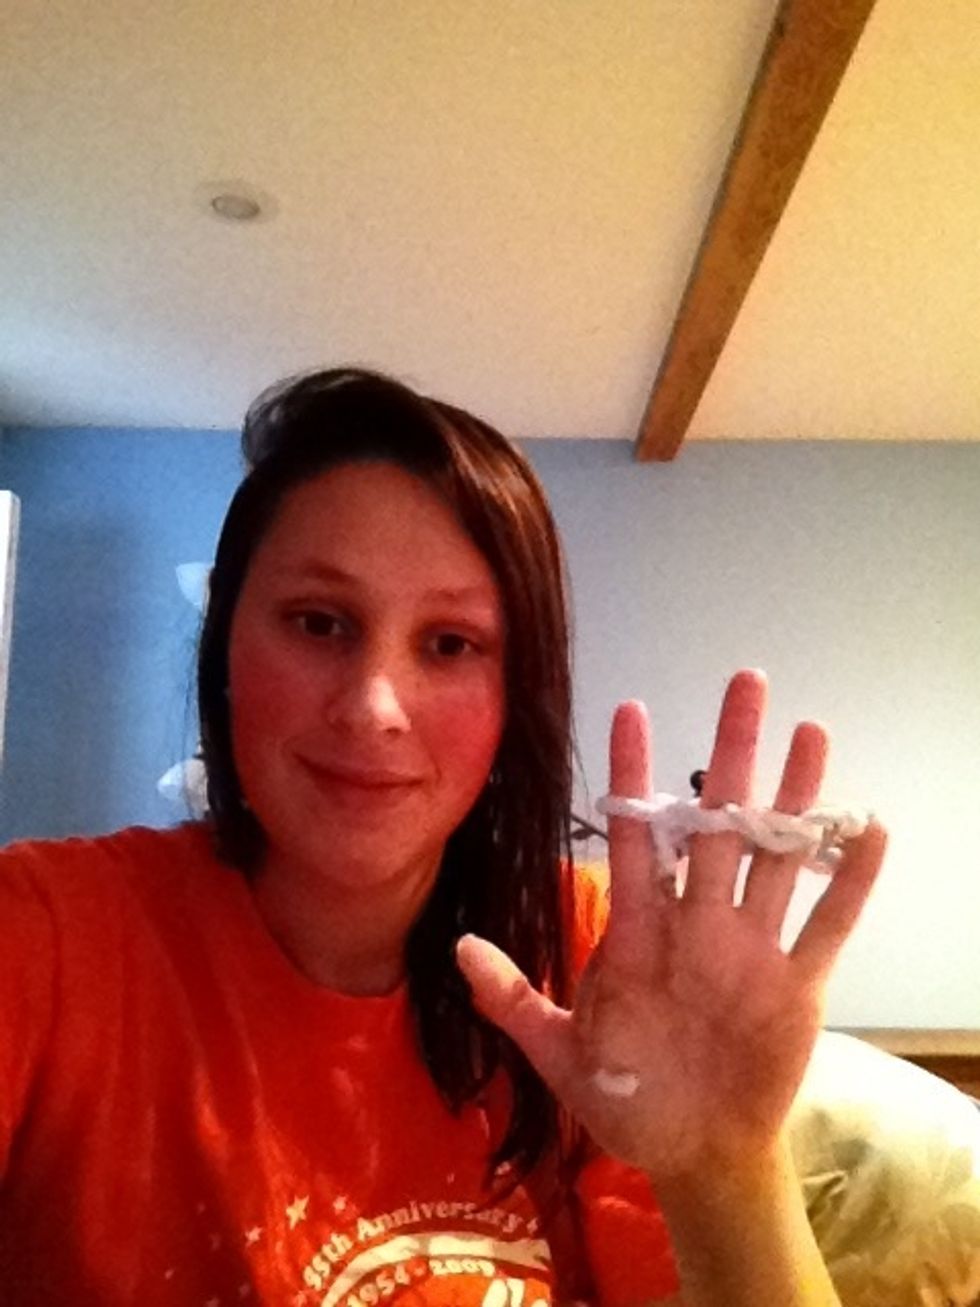
Now you can remove the loops from your fingers.
And your scarf should have two open ends, like this!