The Conversation (0)
Sign Up
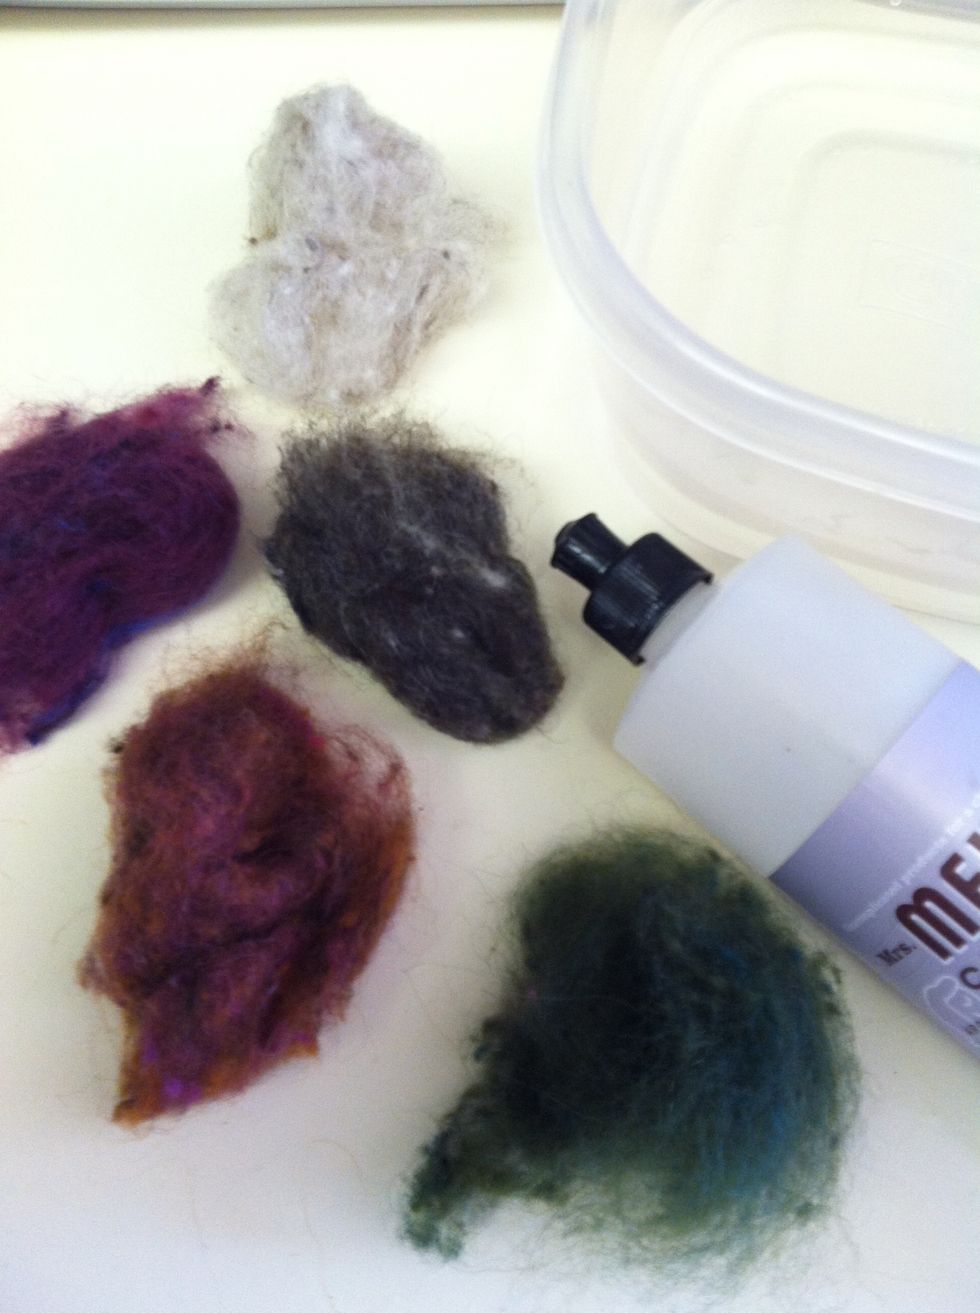
Wool roving is needed for the felted beads. Roving can be found at yarn shops or anywhere that carries spinning supplies. .
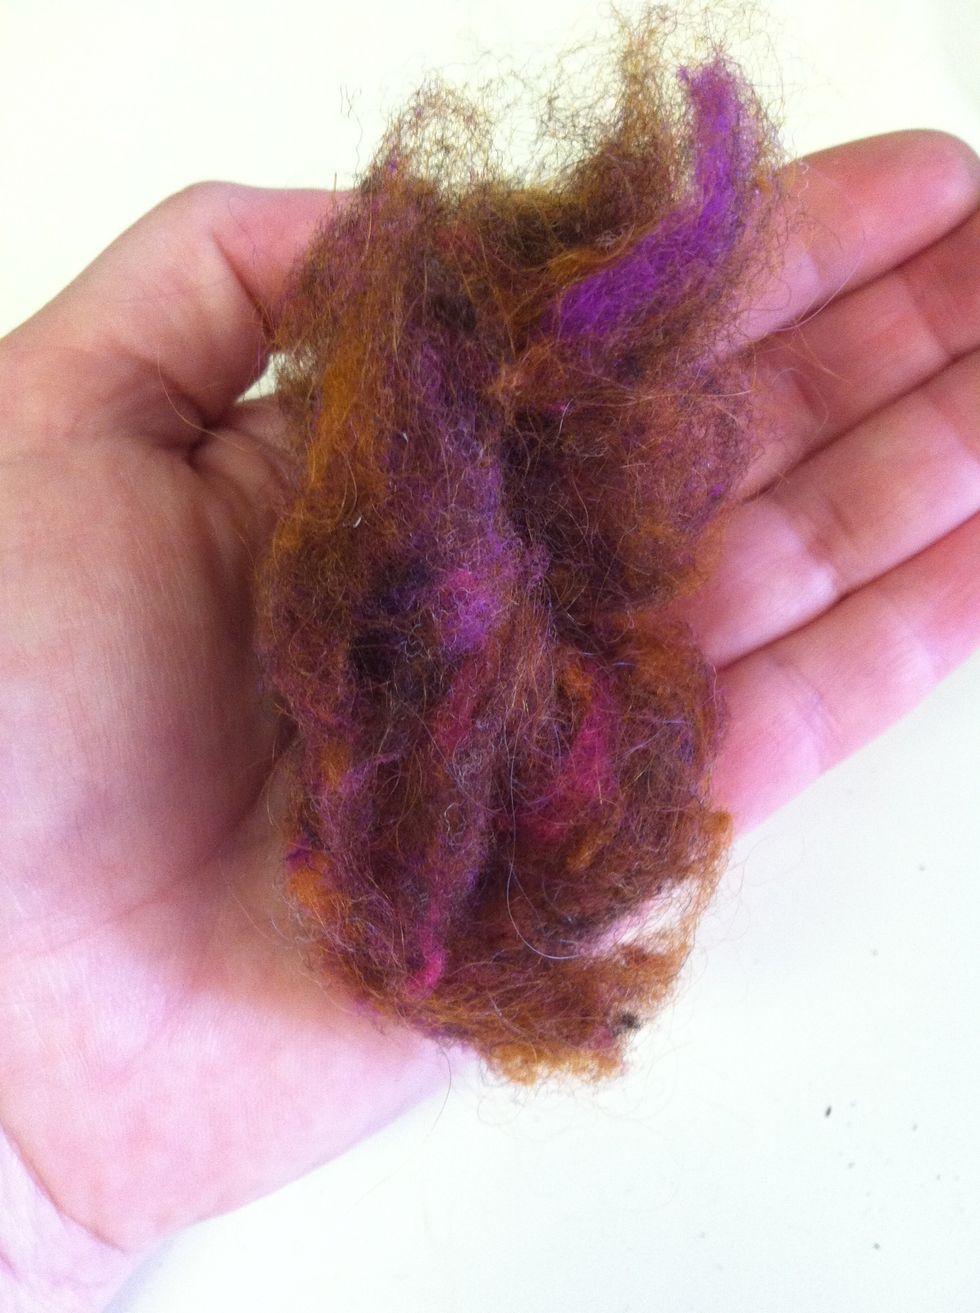
Each bead takes a piece of roving that fits in the palm of your hand
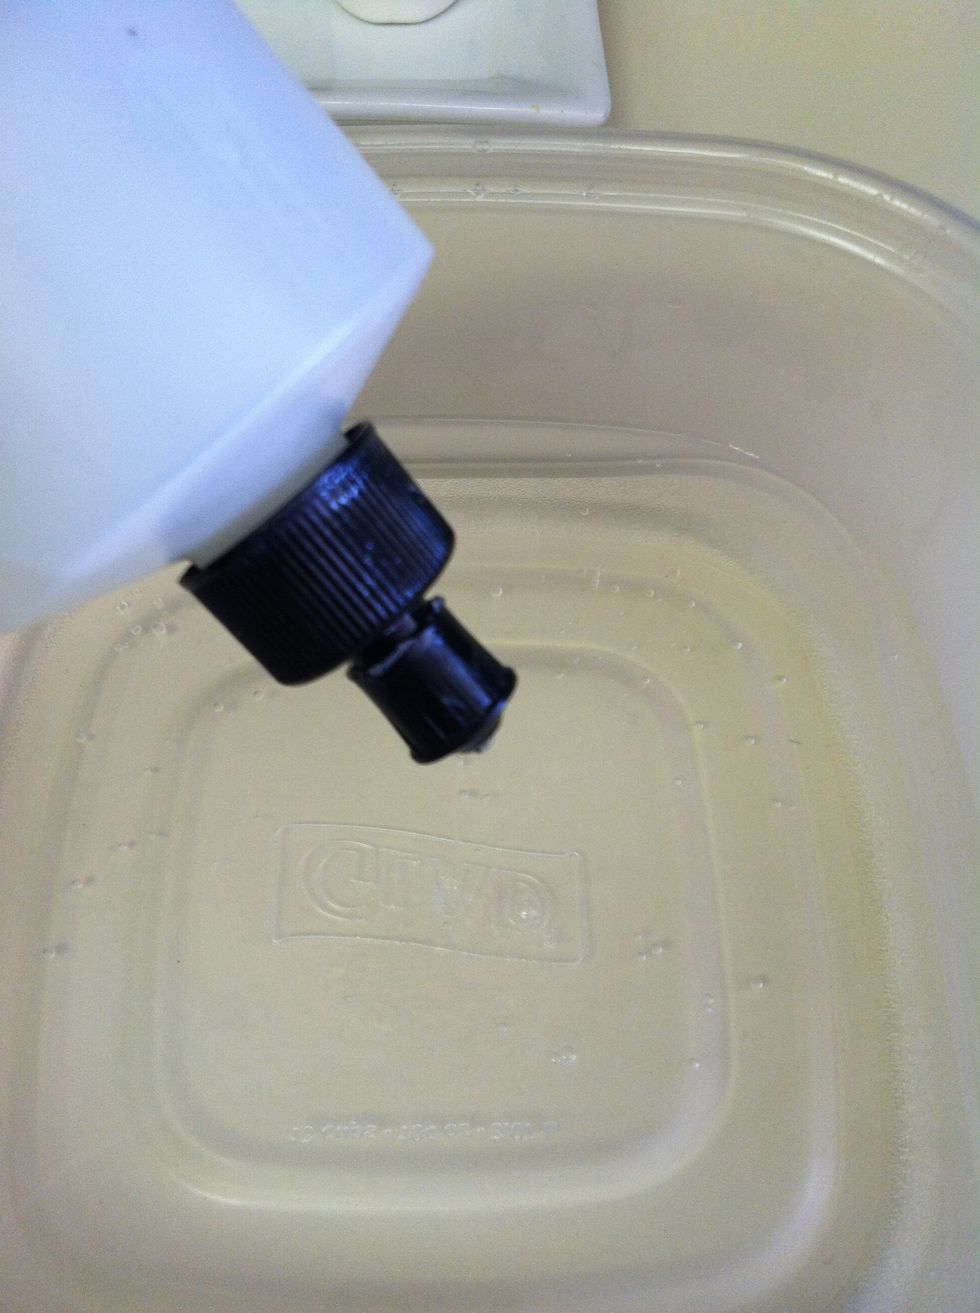
Add water in the plastic container. Make it as hot as your hands can stand and add a few drops of dish soap.
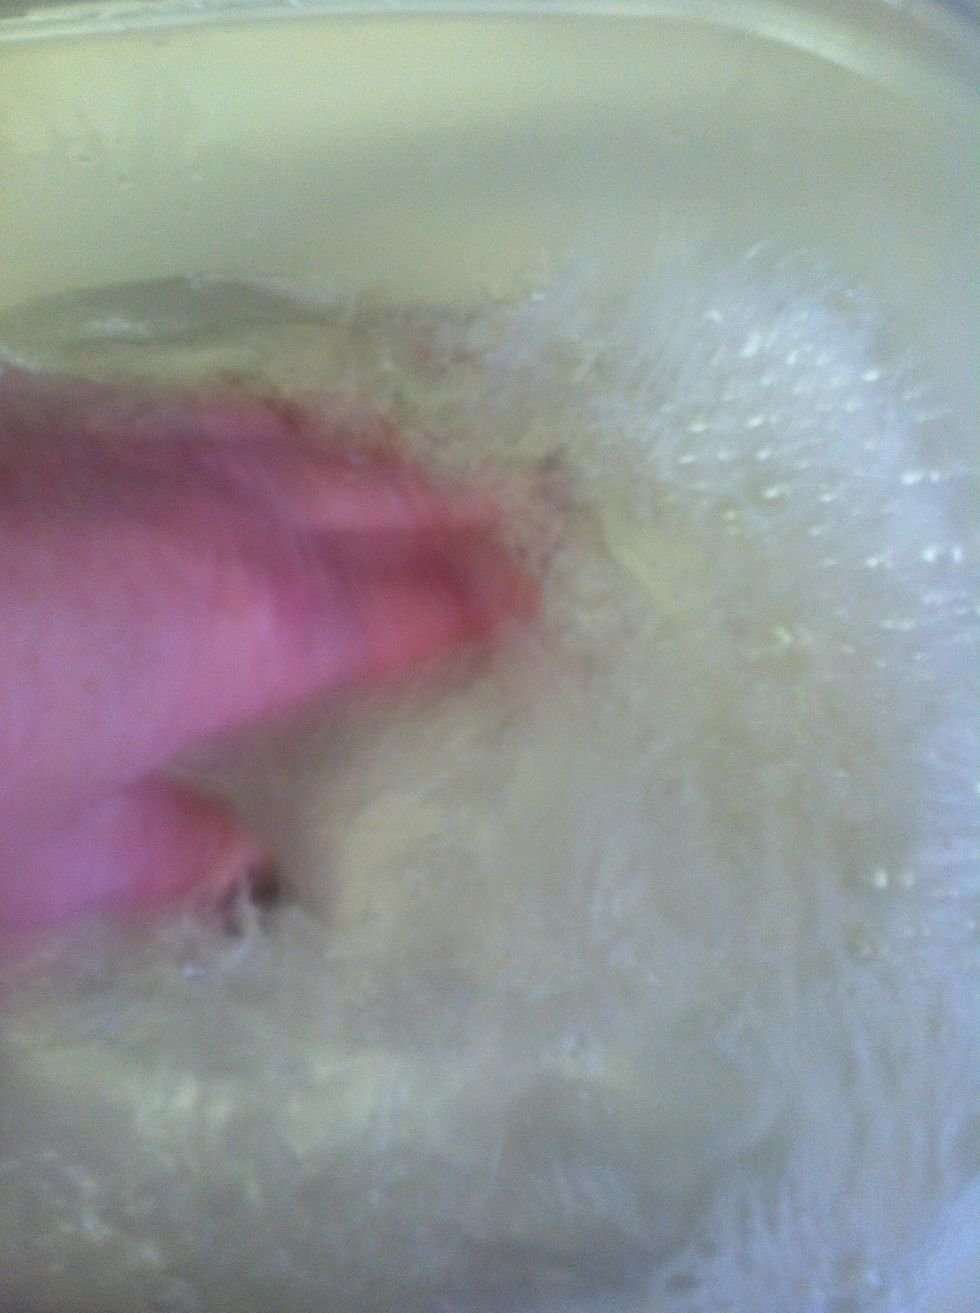
Agitate the water to make it sudsy.
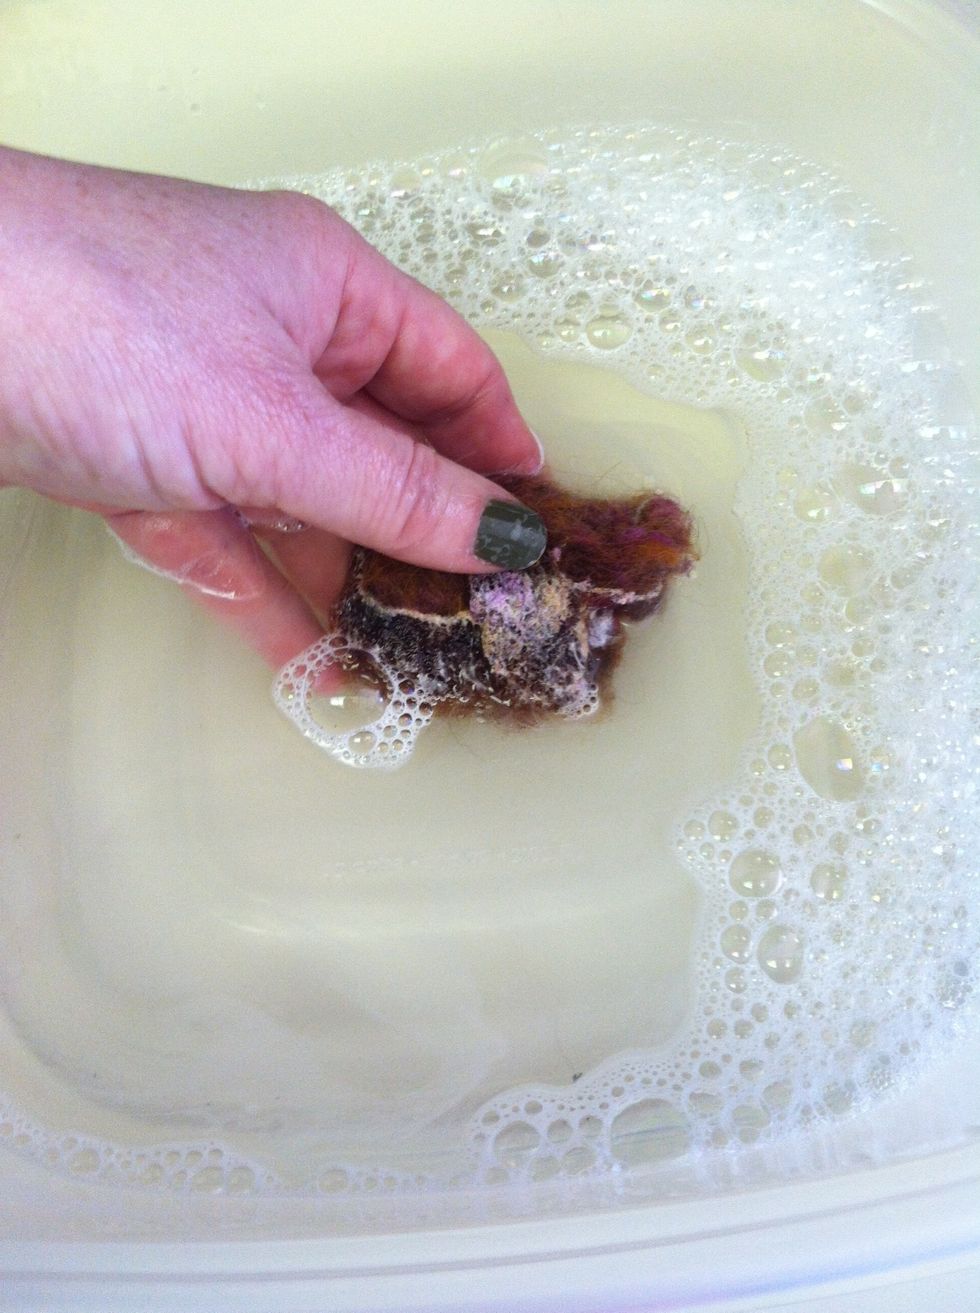
Dip the roving in the water to soak it through.
Add a couple of drops of soap to the roving and roll it into a ball between your palms.
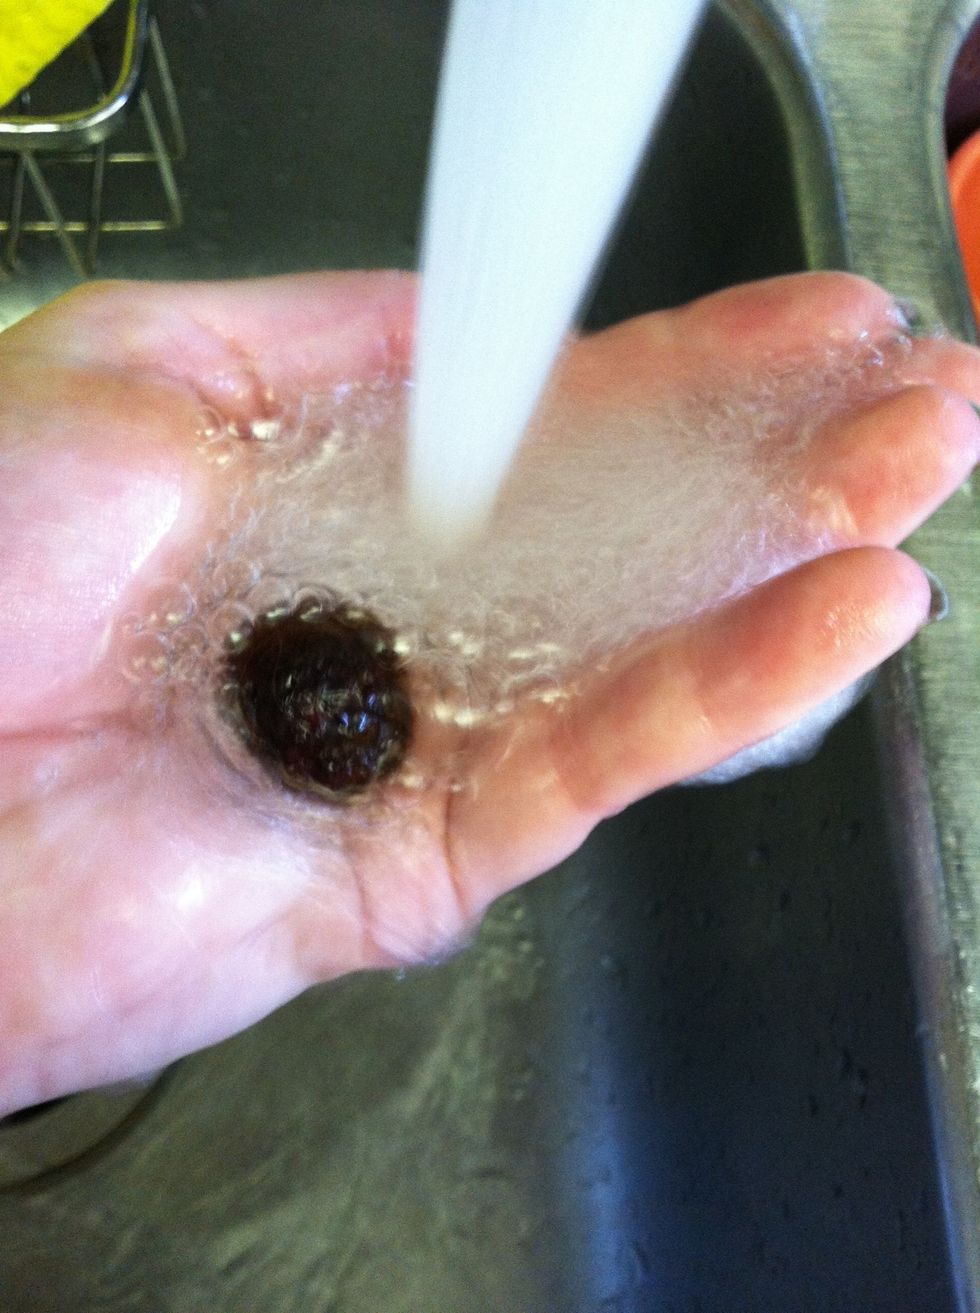
Agitation really builds up a lot of suds. The soapy roving may seem super slippery so go ahead and rinse it to remove the suds. Add another drop of soap and continue rolling the bead.
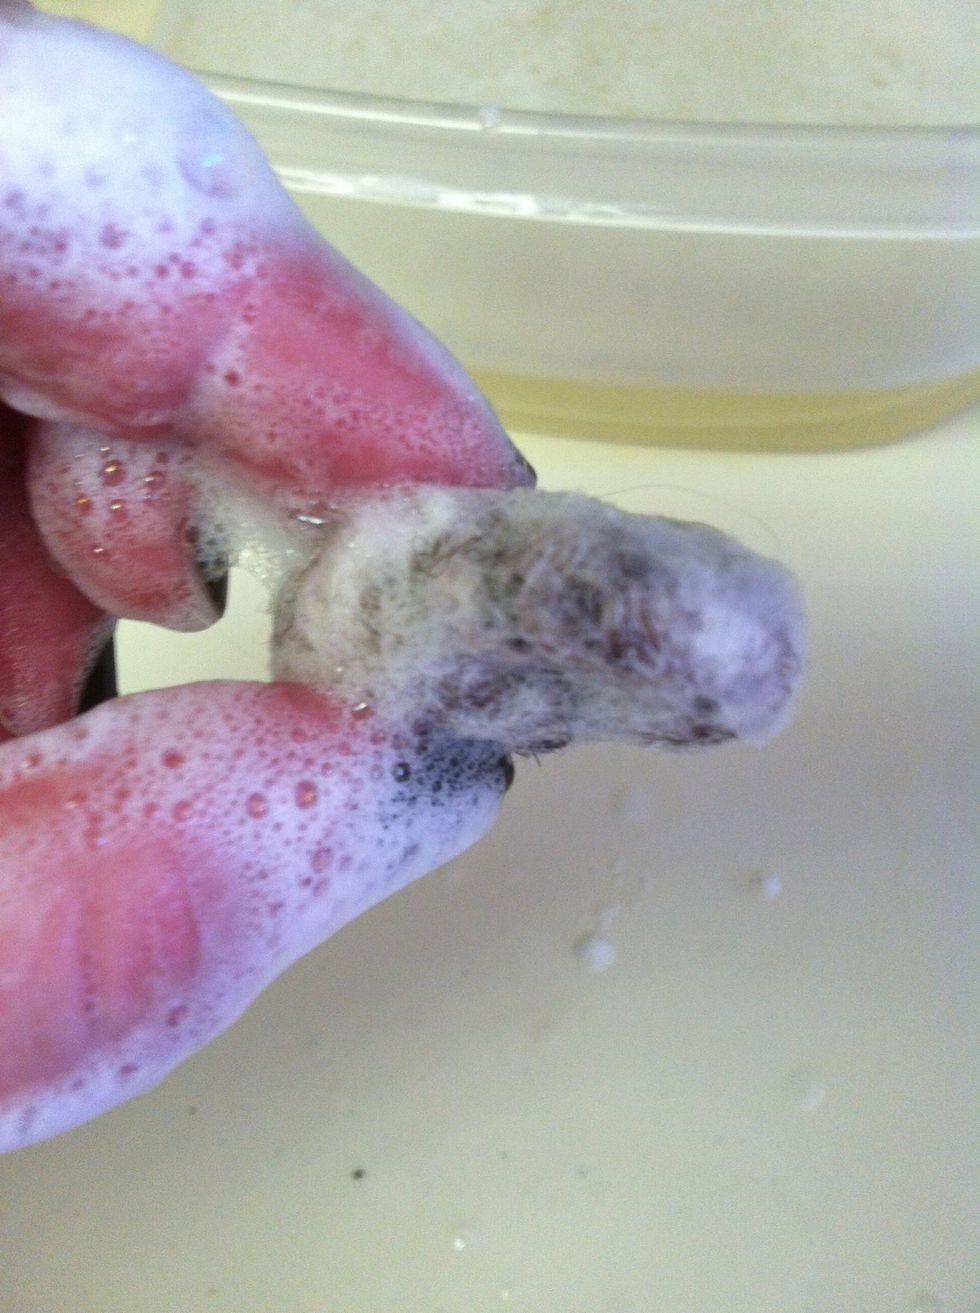
This is a partially felted bead. Don't get discouraged of your bead looks like this. Just add more soap and keep rolling.
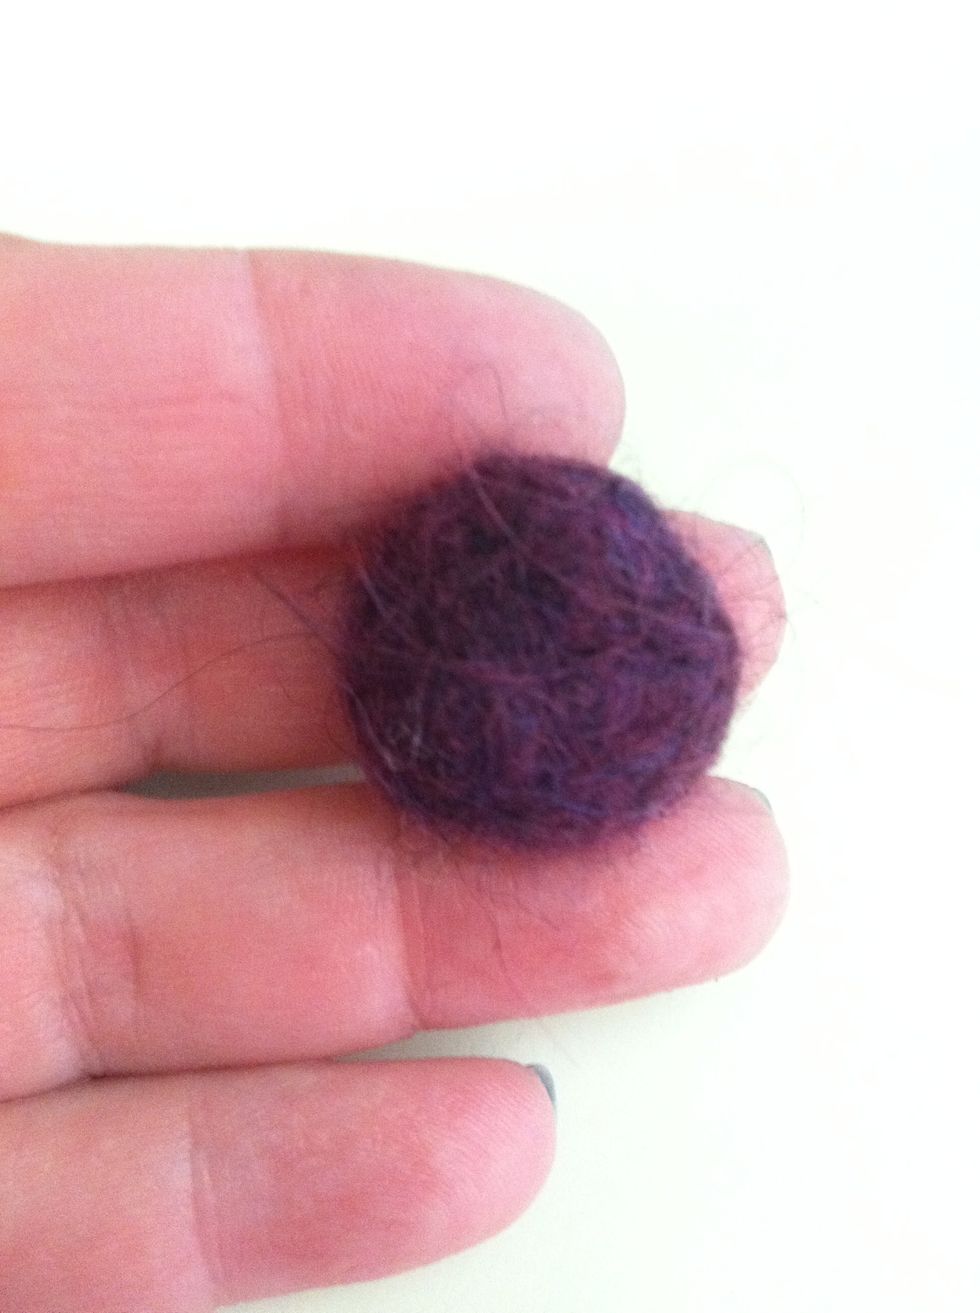
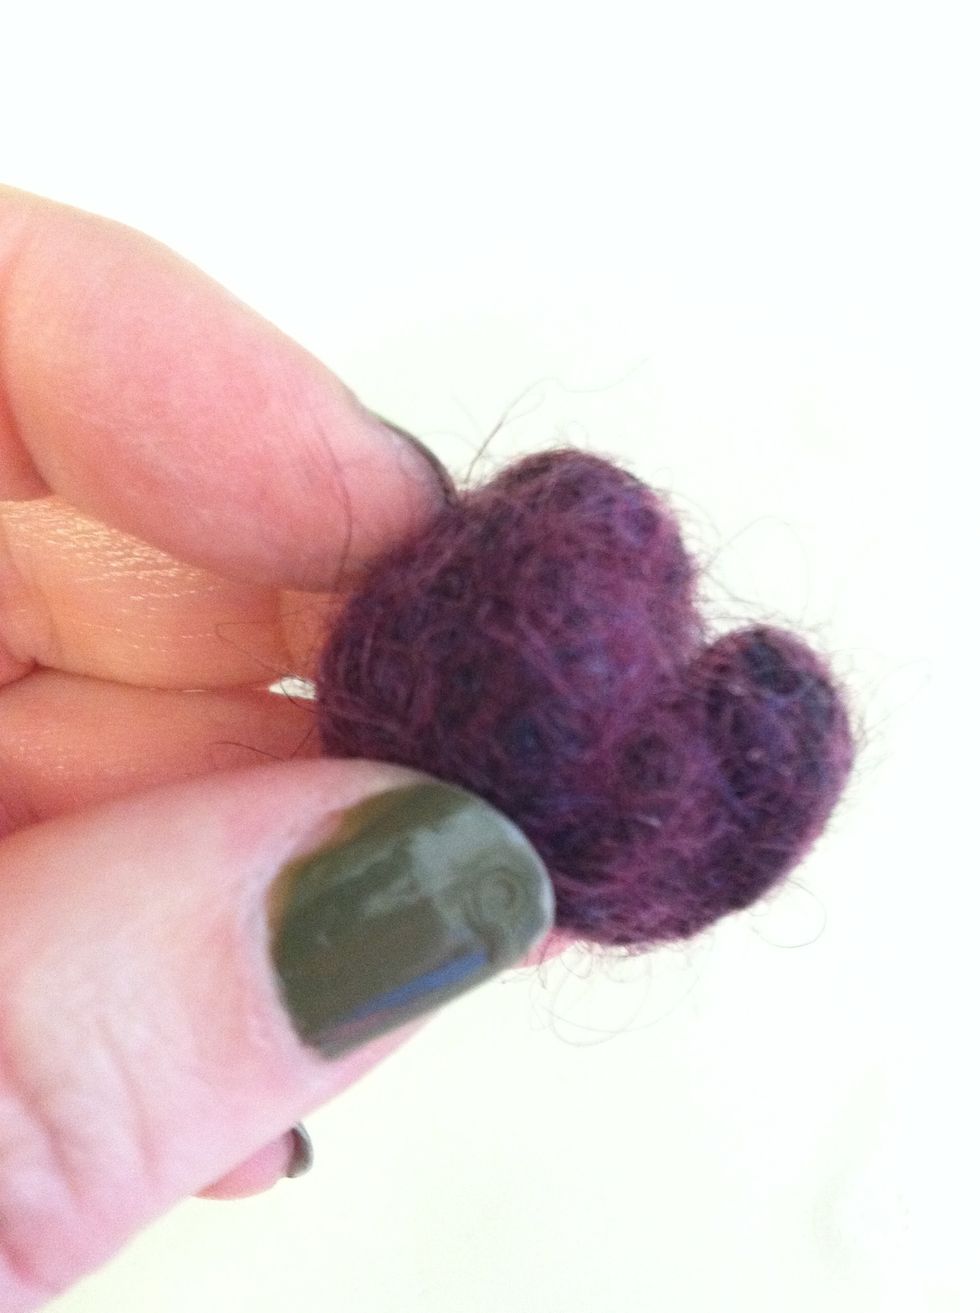
See. It works. Keep rinsing, adding soap and rolling.
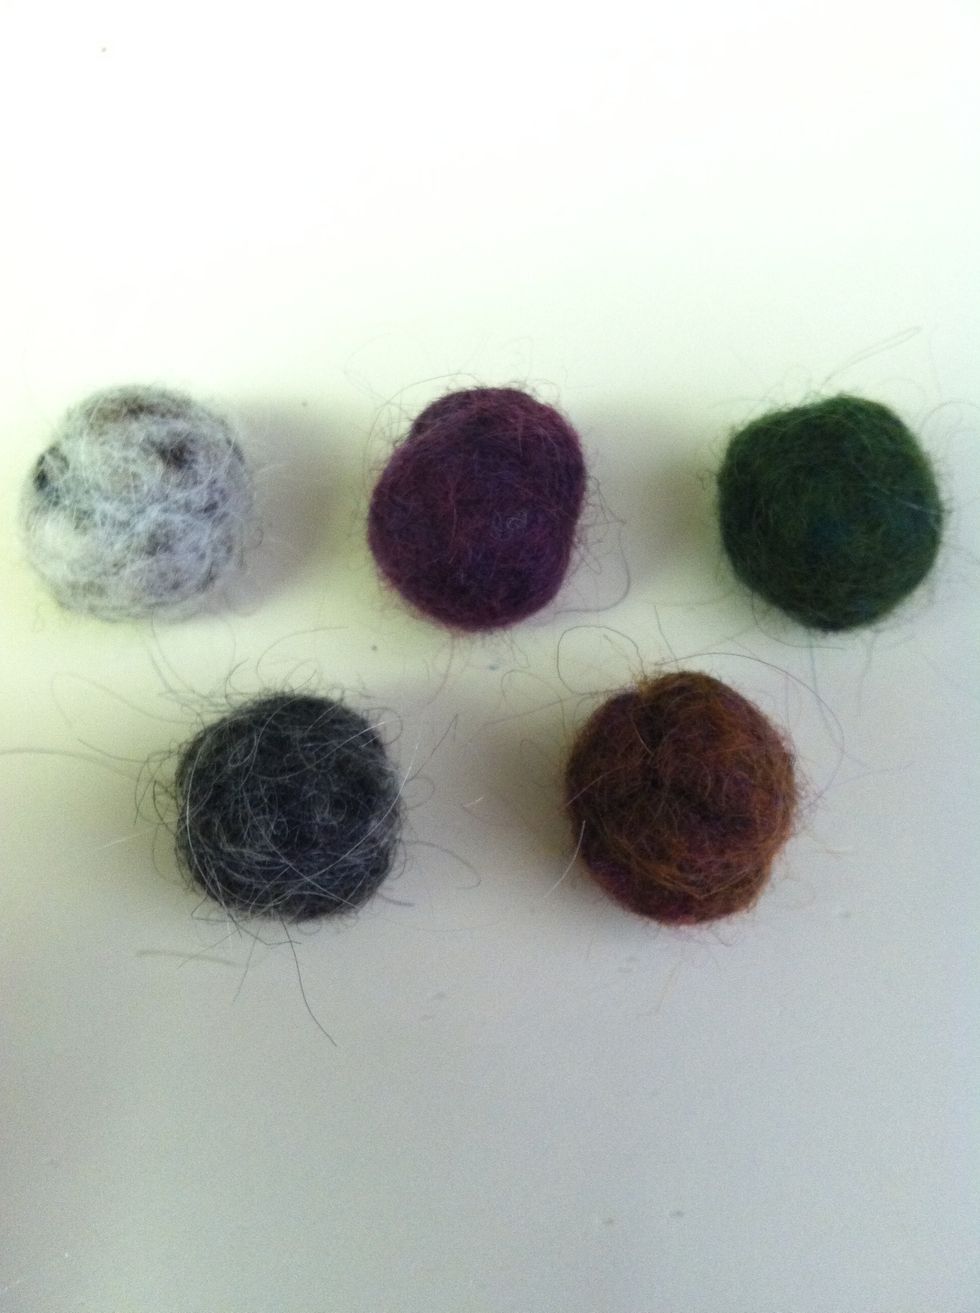
Make a bunch of beads and let them dry overnight.
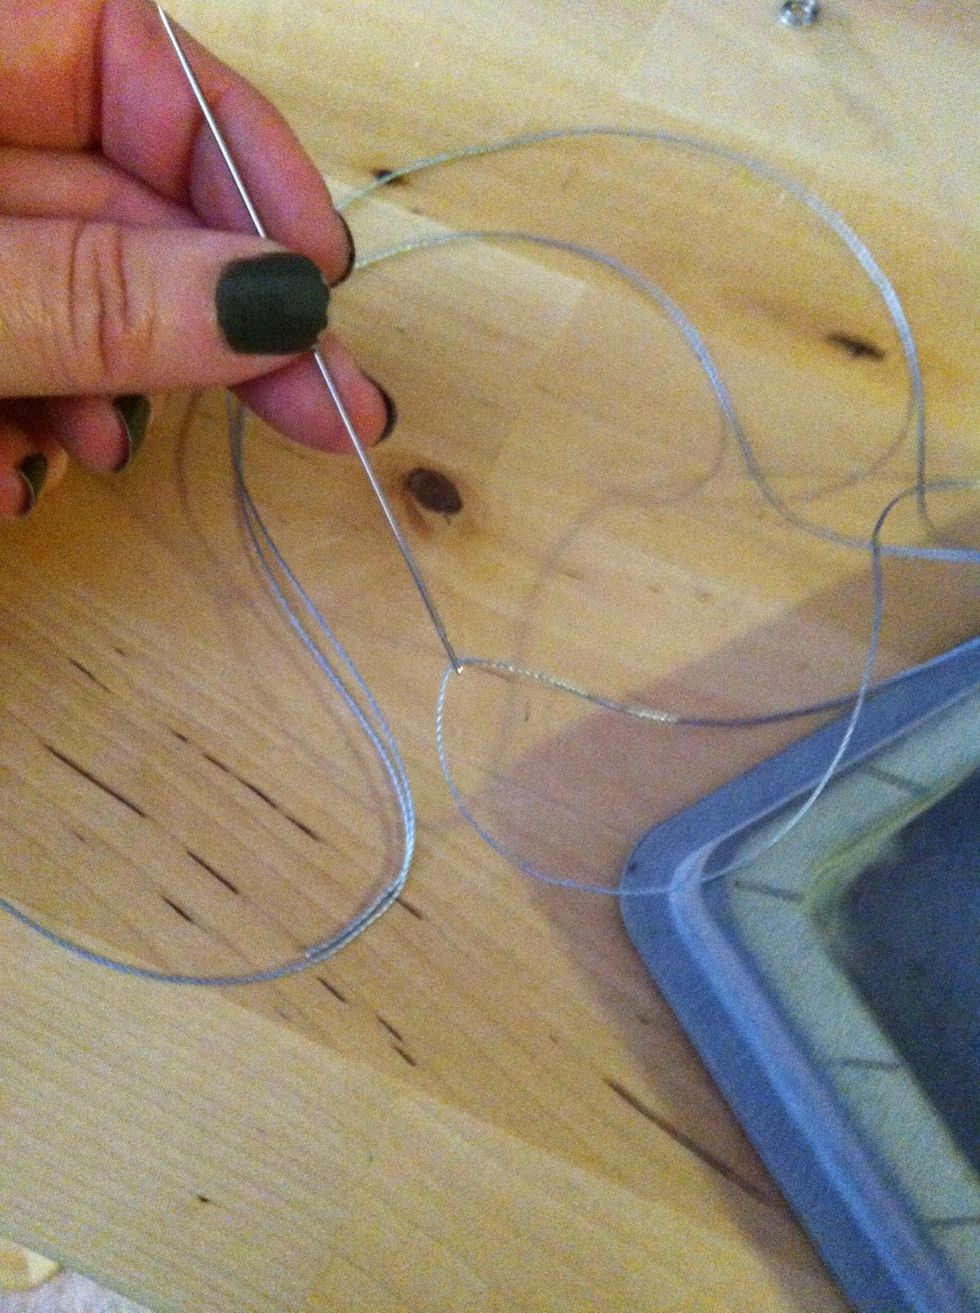
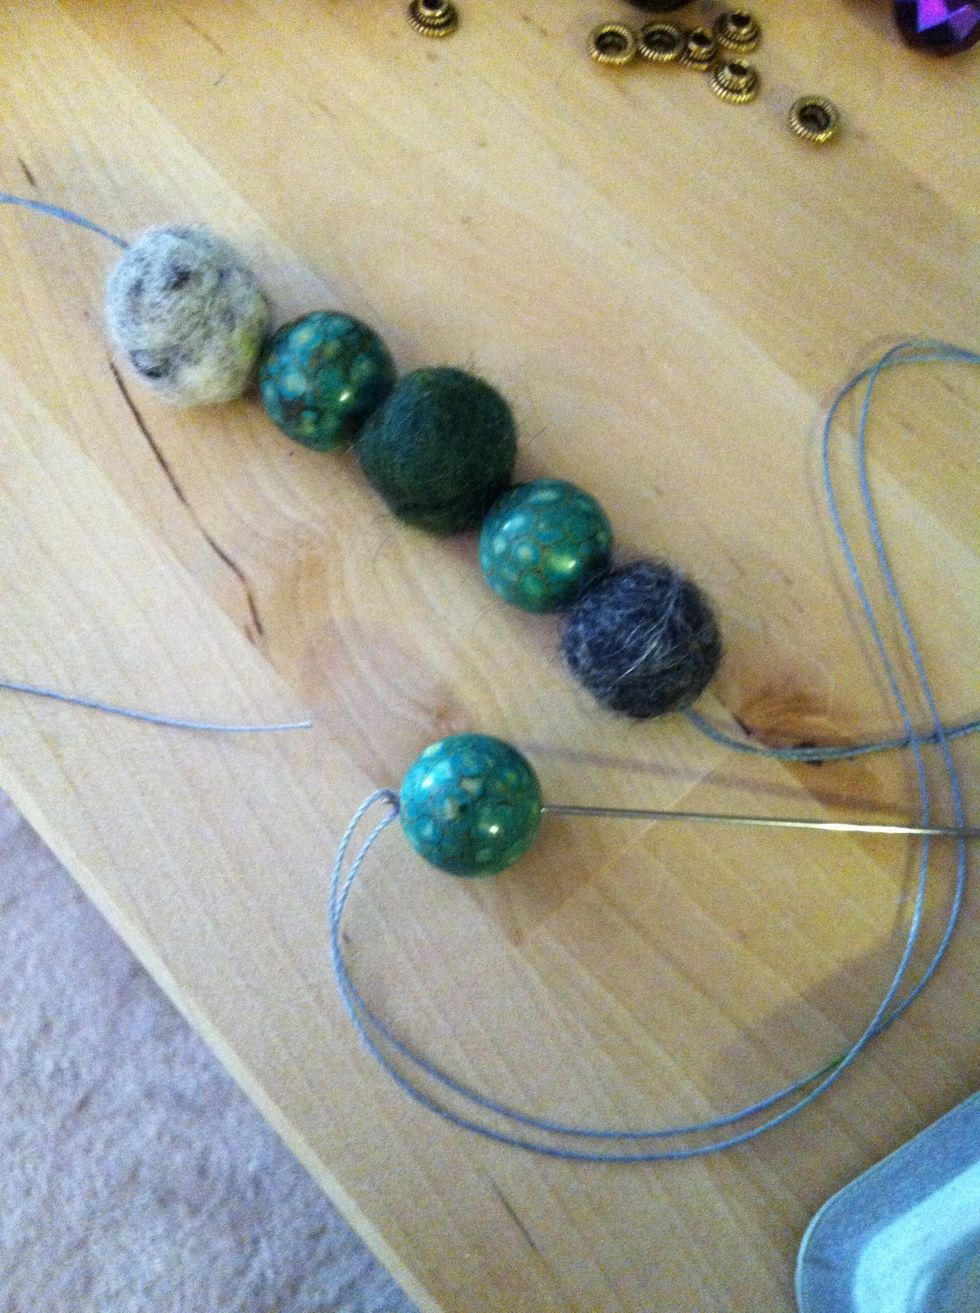
To string the beads into a bracelet, cut about 24" of heavy-duty thread and thread it through a long needle.
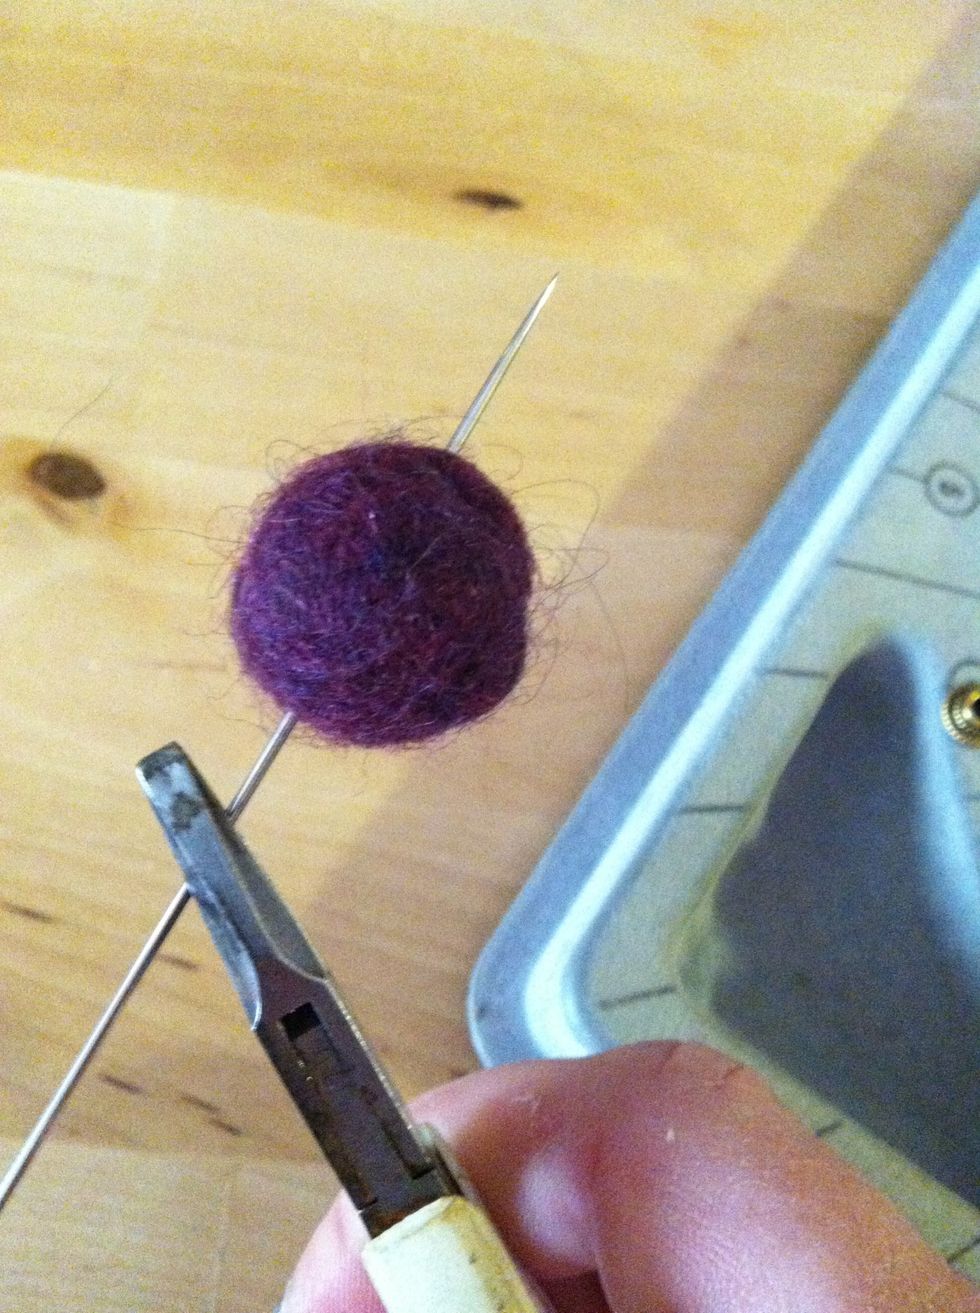
You may need to use a pliers to help get the needle through the bead.
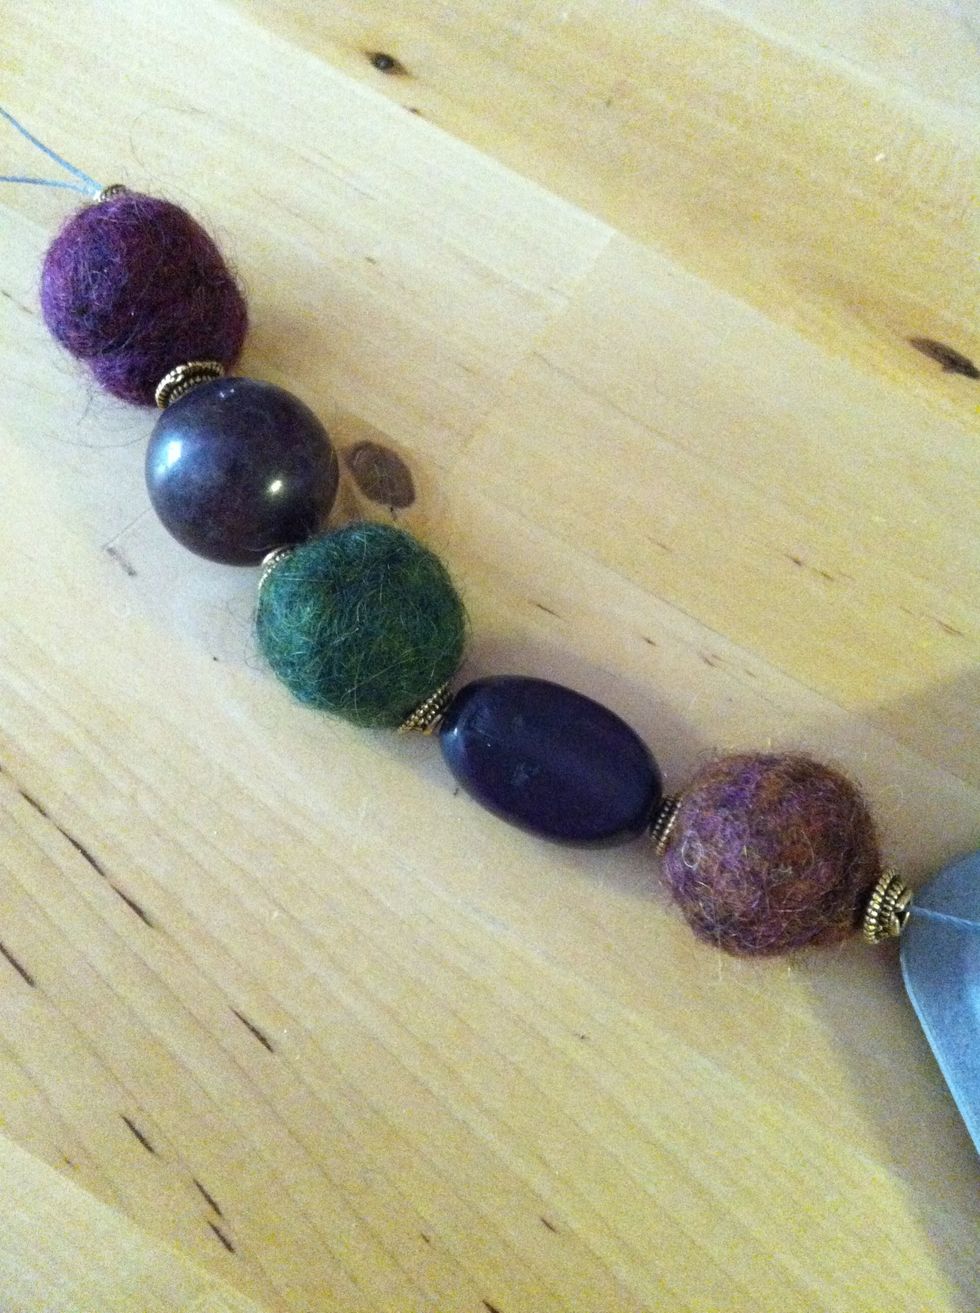
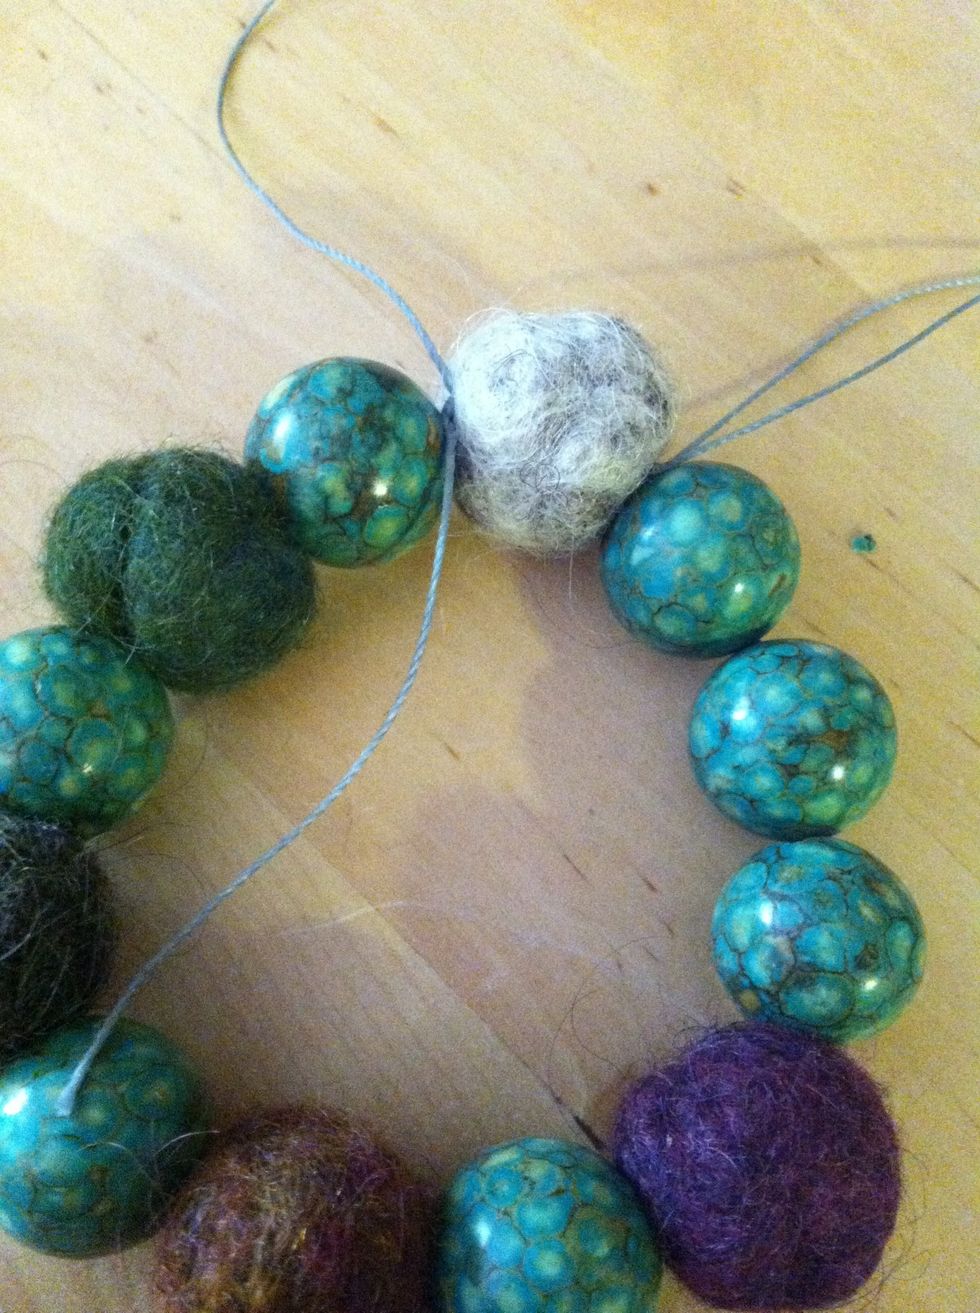
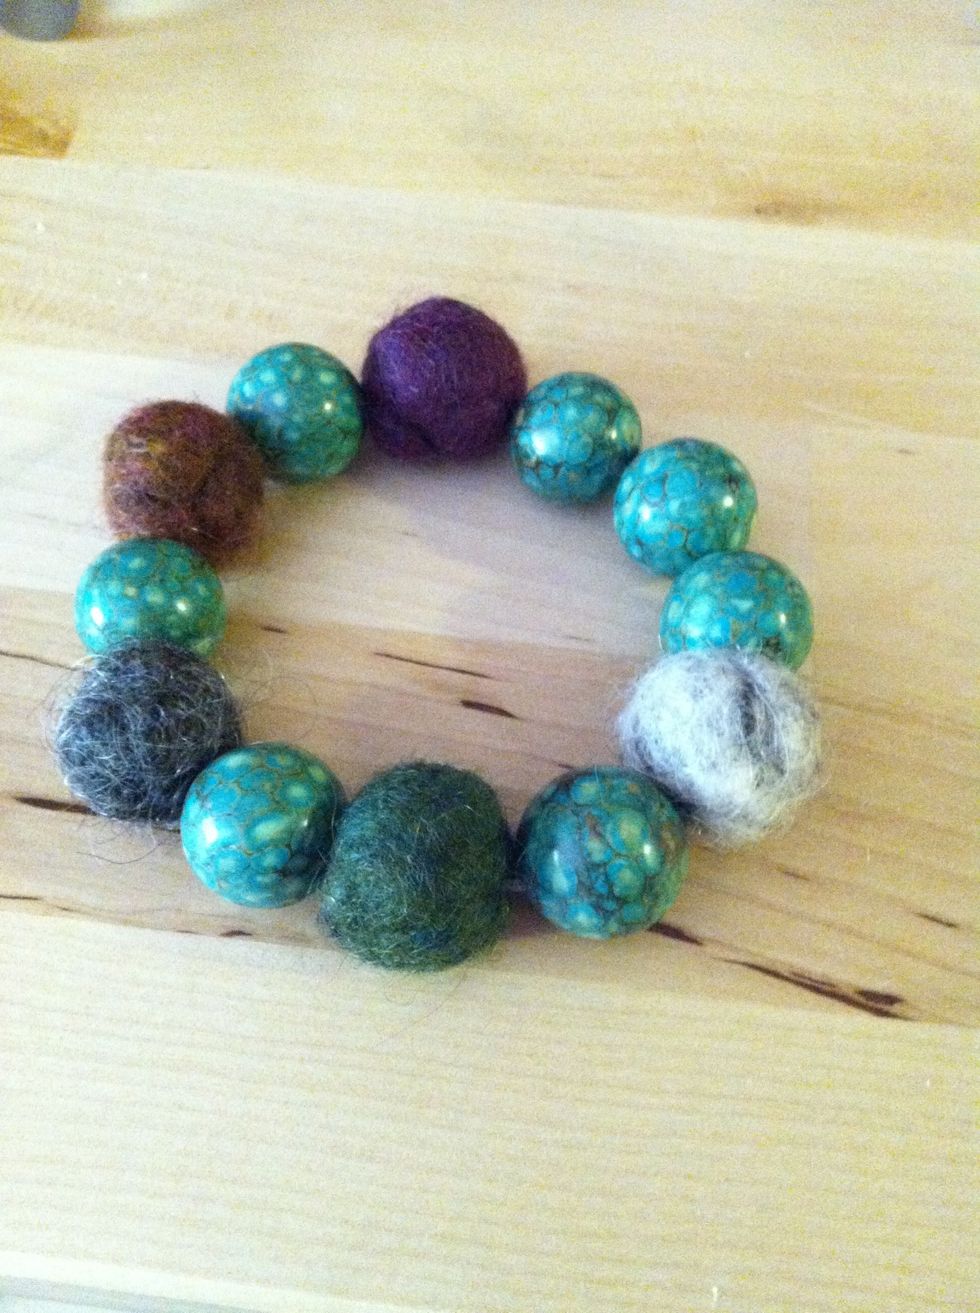
Try out a few different designs.
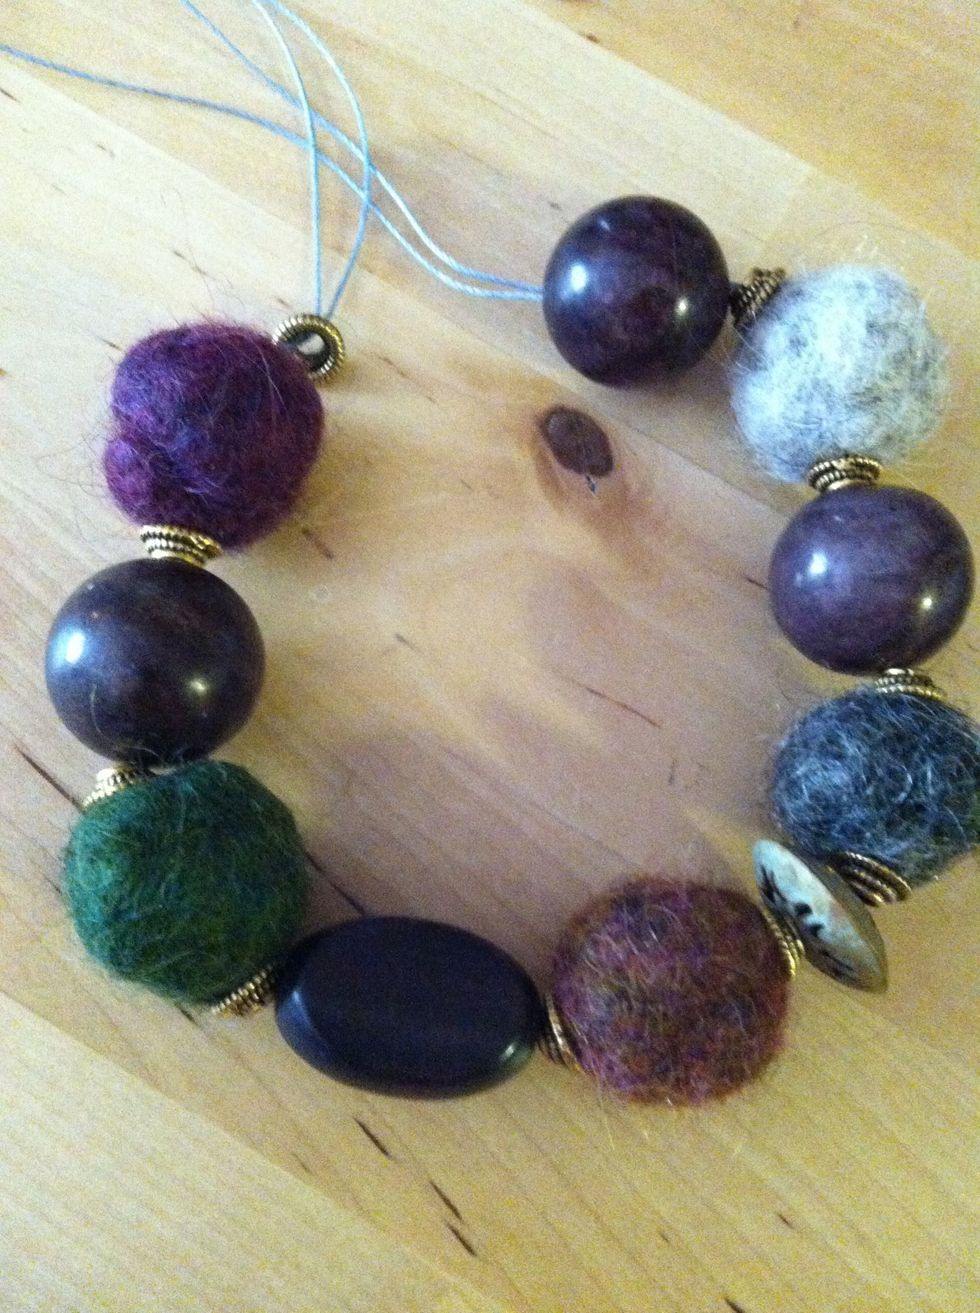
Keep designing...
Until you find a combination you like.
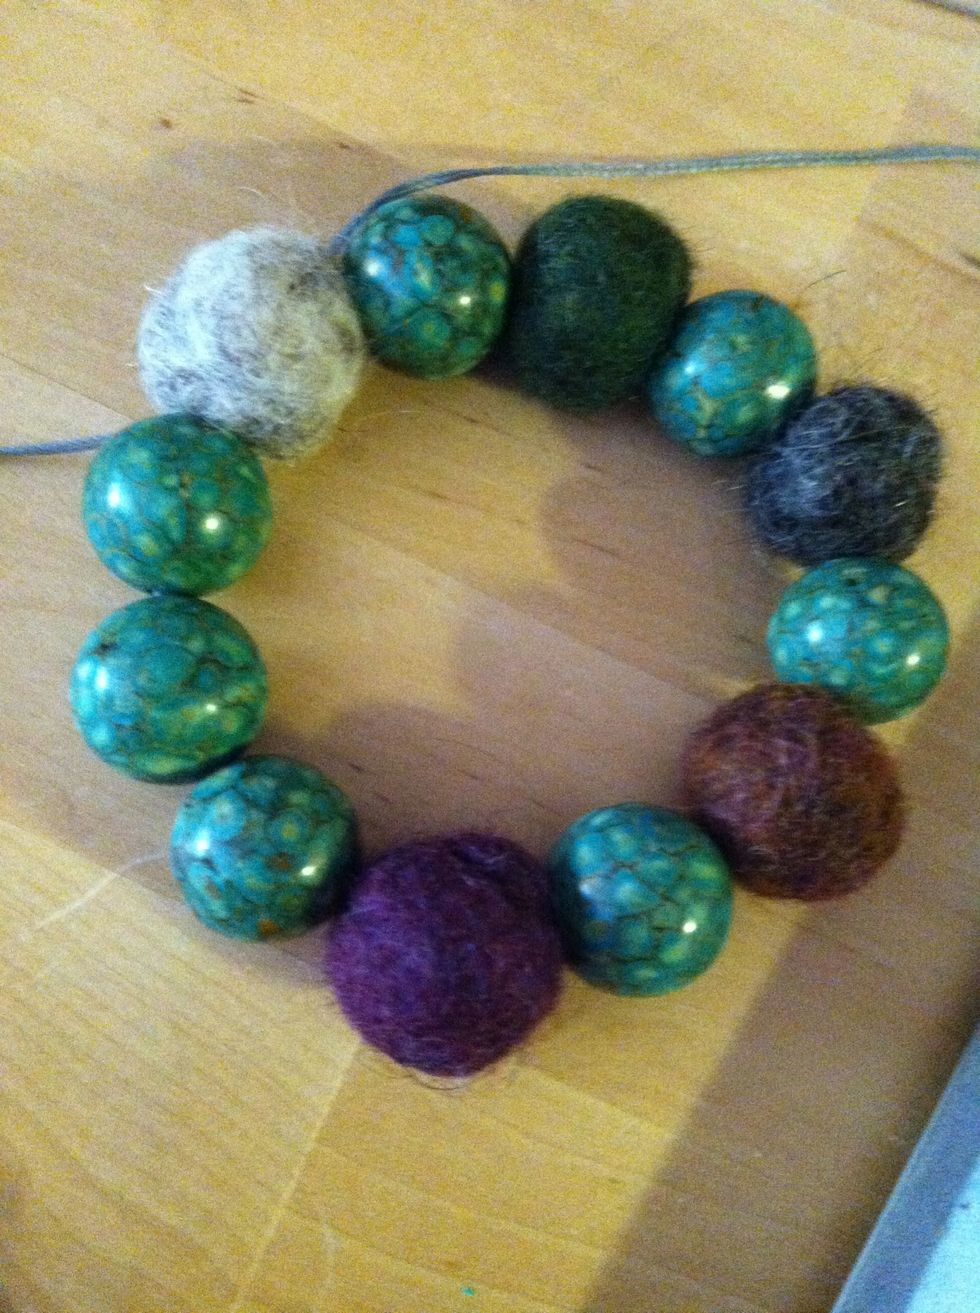
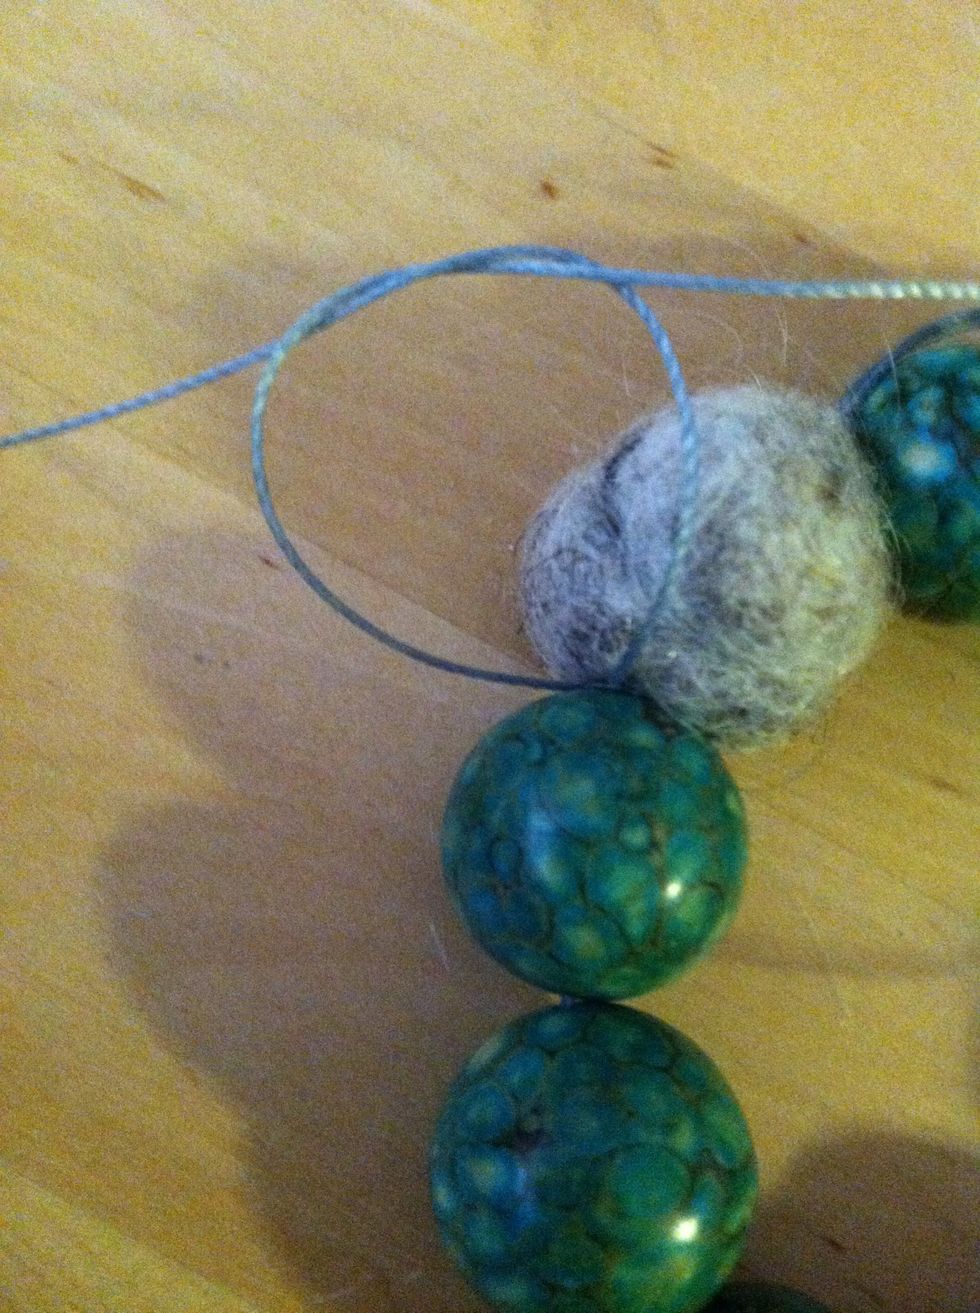
When all of the beads are strung, thread the needle through the first felt bead that you strung. Check to see that the bracelet fits your wrist by rolling it on.
Tie the tails in an overhand knot.
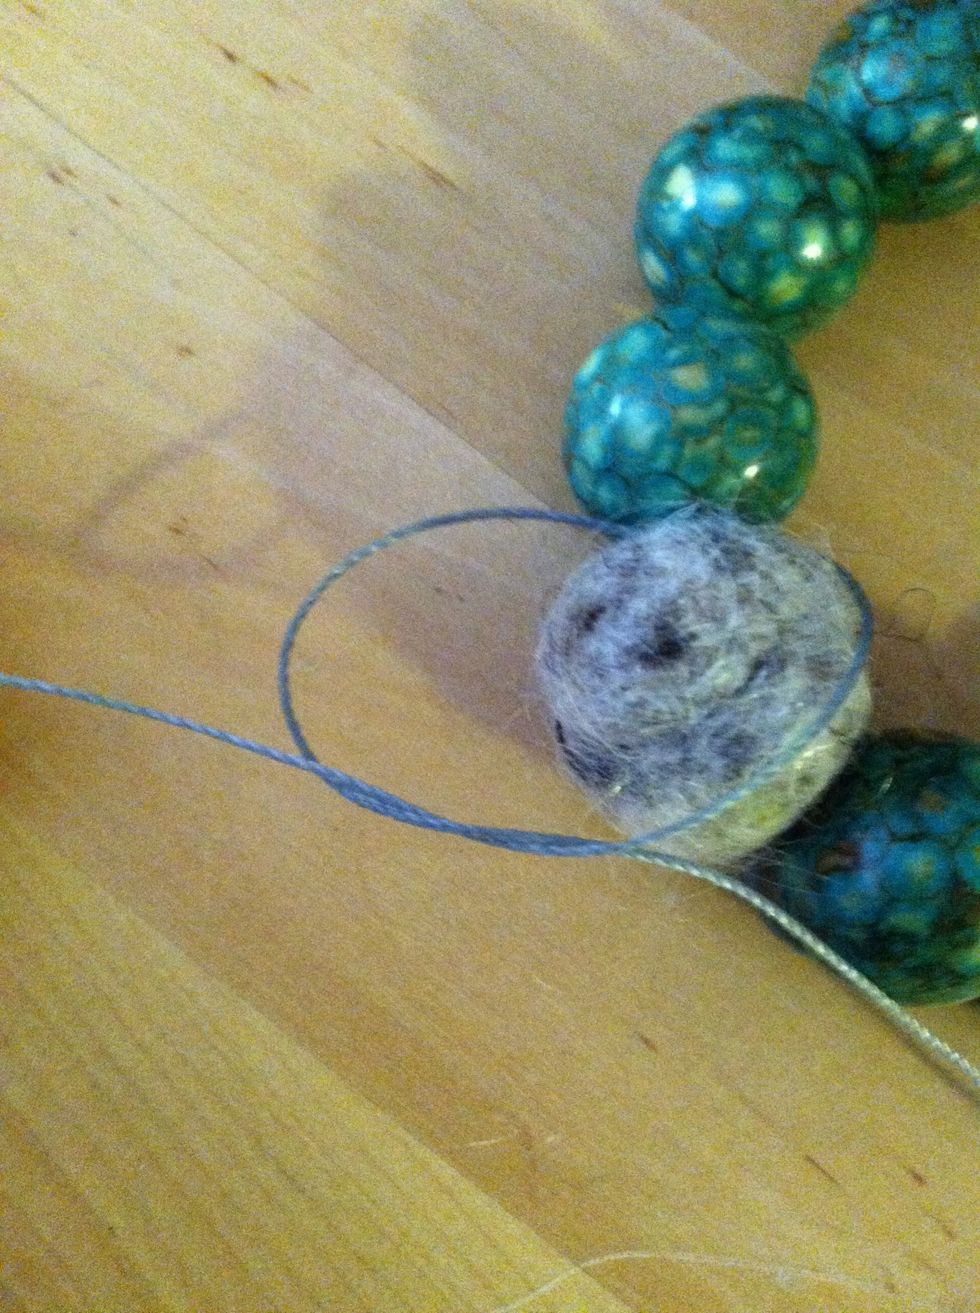
Flip the bracelet over and tie the tails in a square knot. (Right tail over left. Then left over right. Like the first knot you make when you are tying your shoe. )
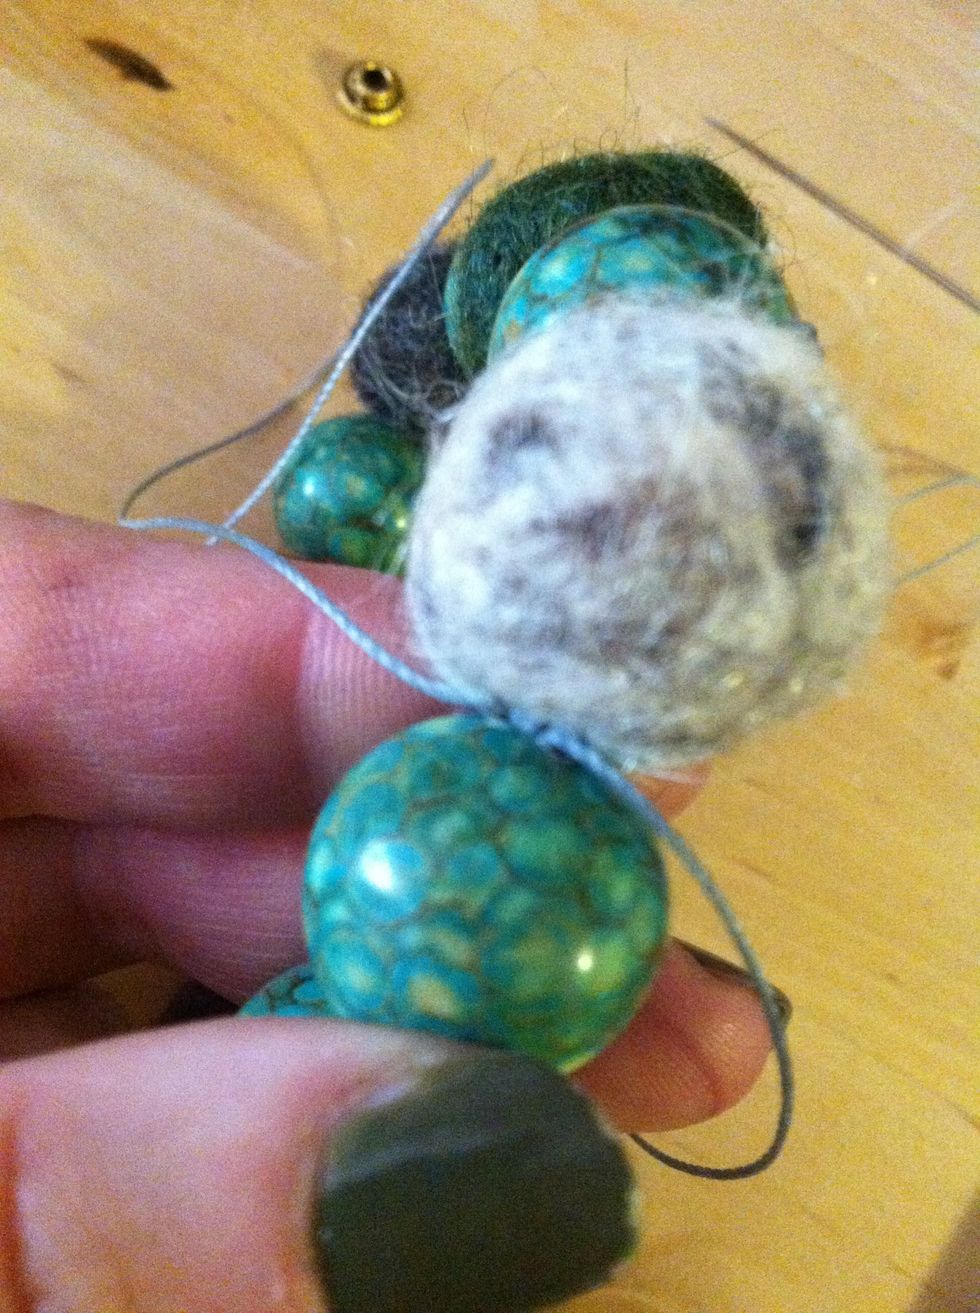
The knot nestles between the beads.
Cut the thread and remove the needle and repeat the knots on the other side.
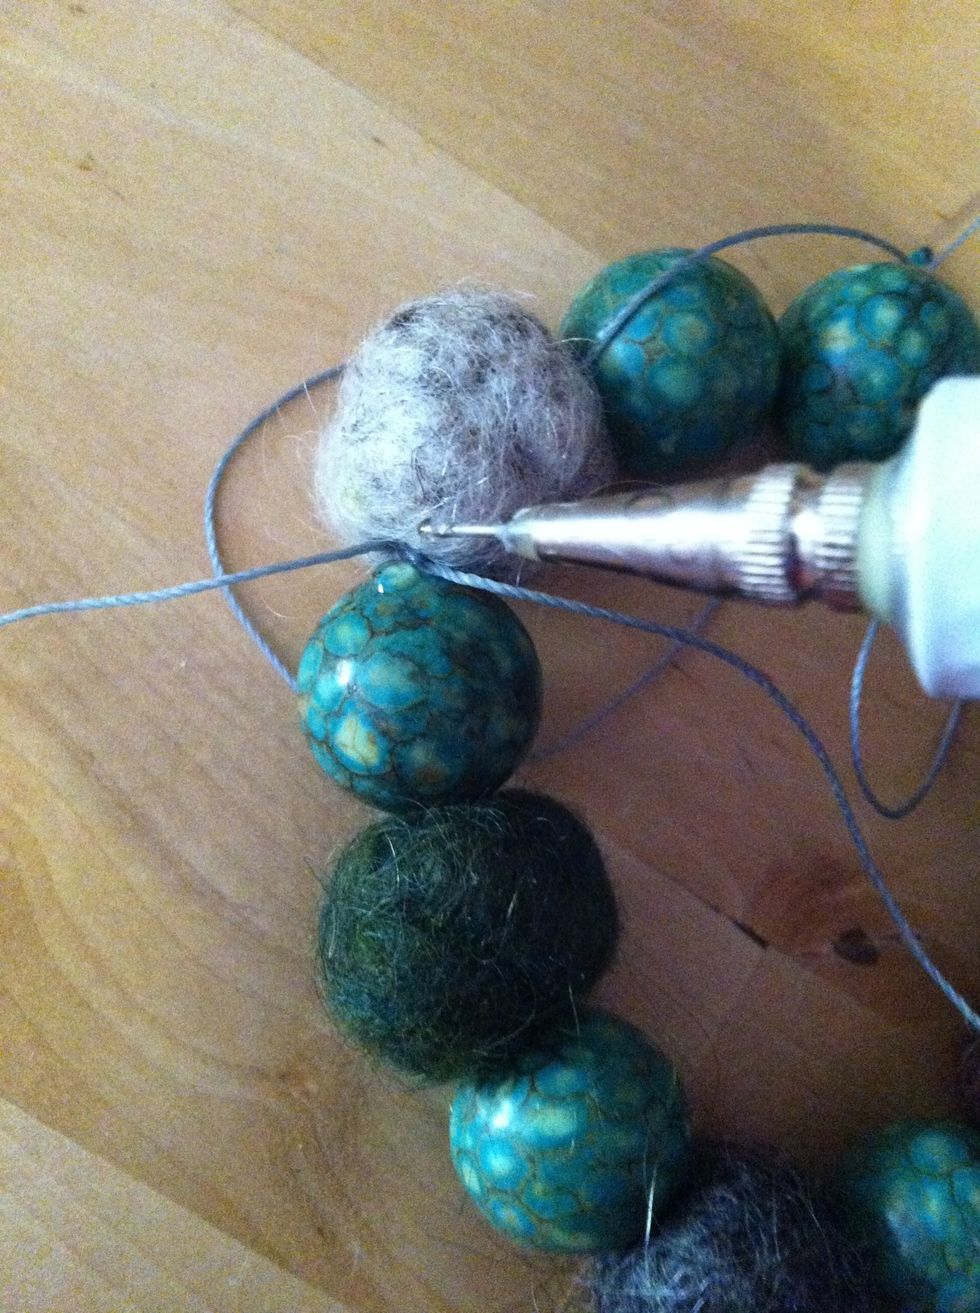
Add a drop of glue or clear nail polish to seal the knots. Let dry.
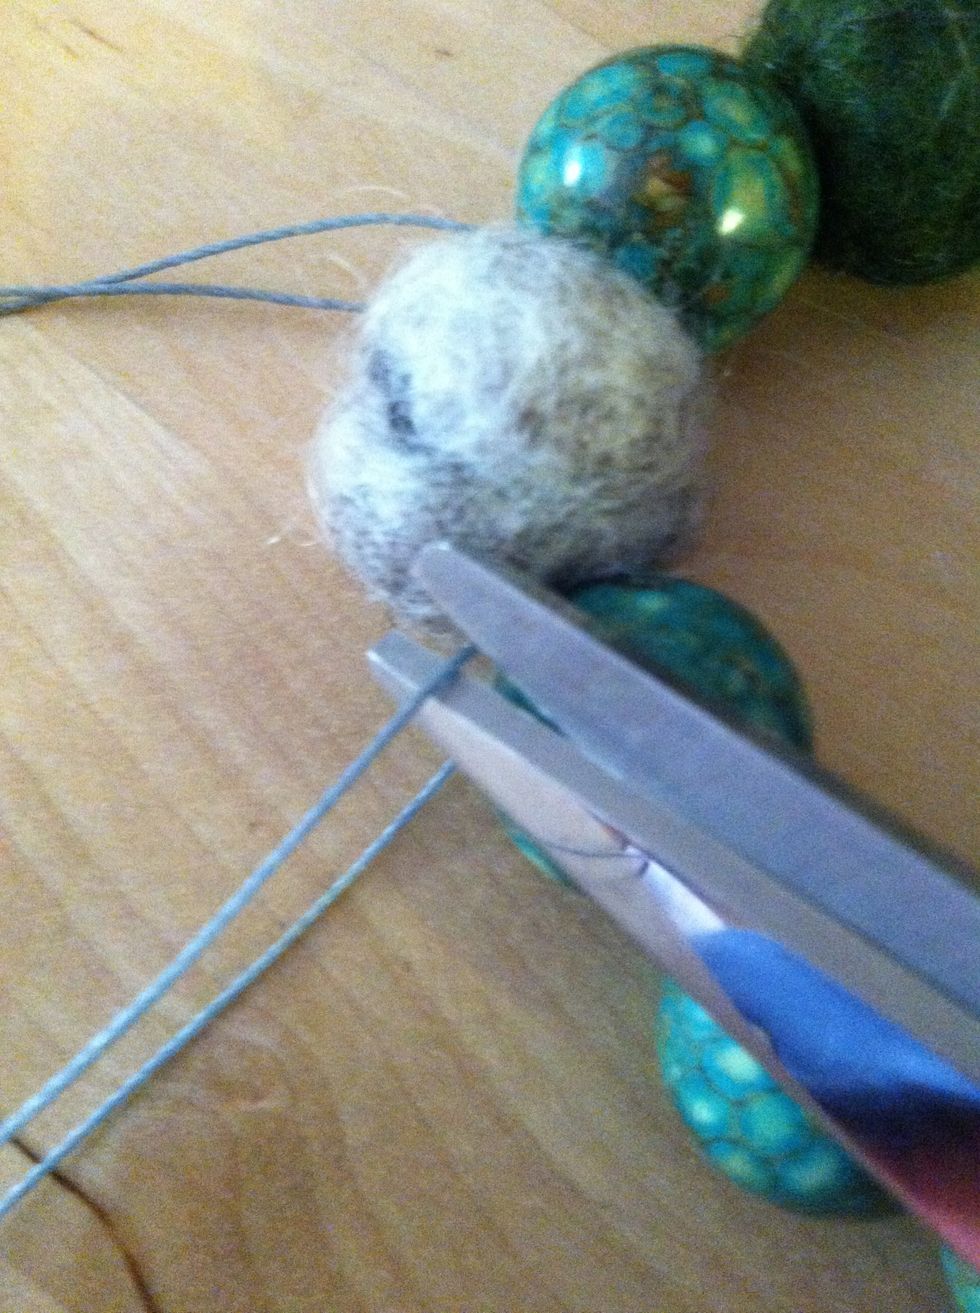
Cut away the tails.
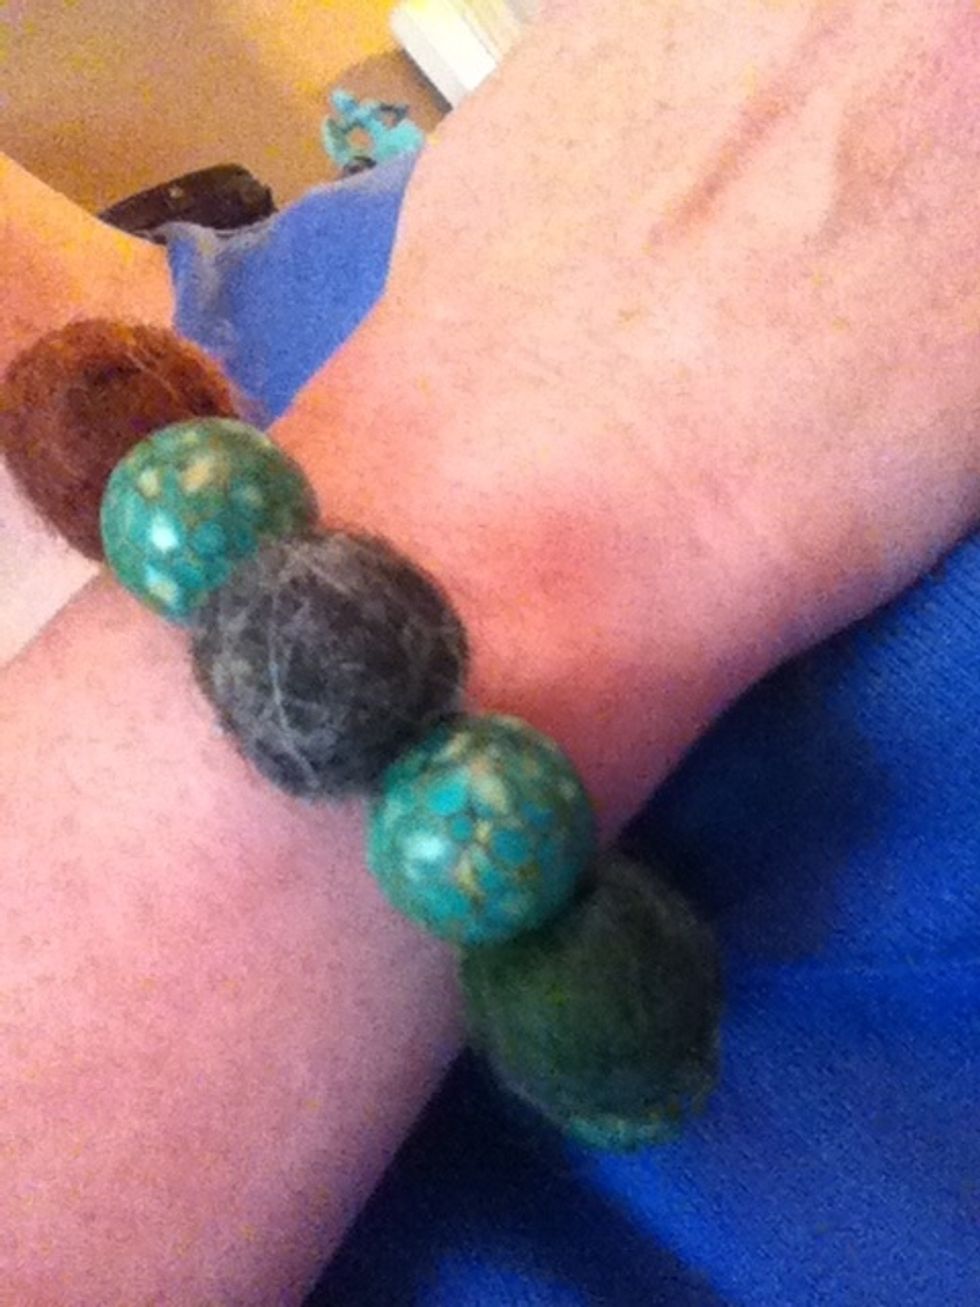
Slide it on your wrist!
You have a pretty new bracelet.