The Conversation (0)
Sign Up
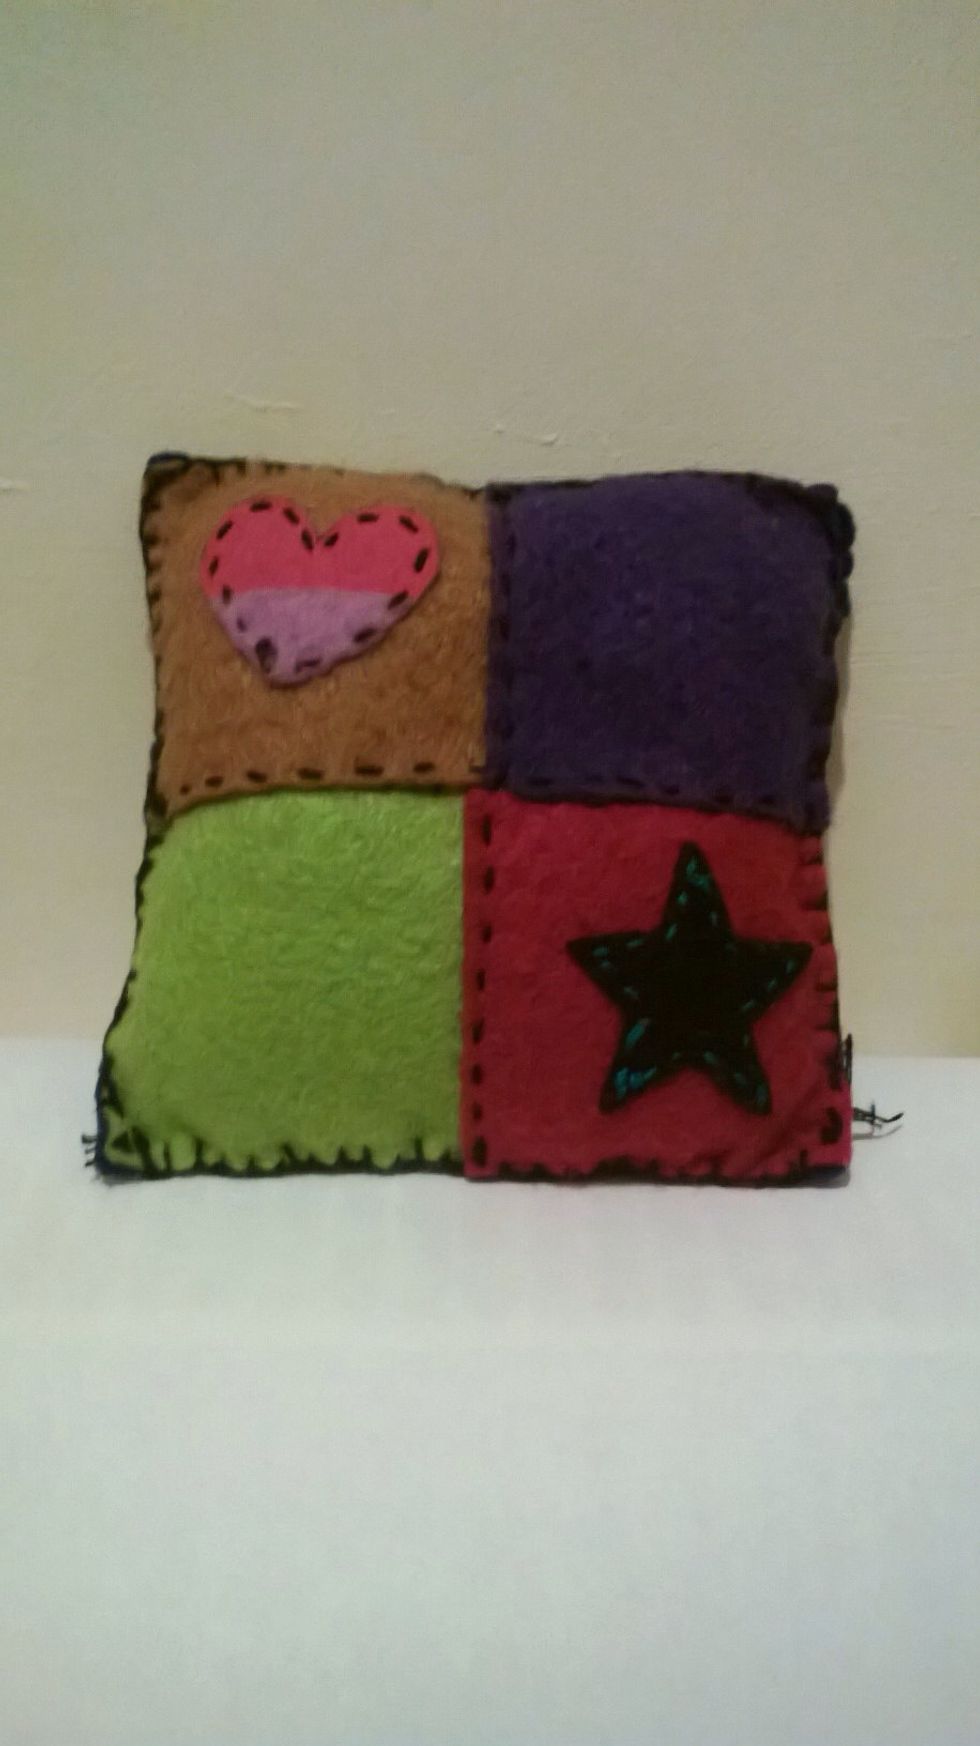
This is a cushion I made a few months ago. It has a dark blue backing and I used black thread for most of it (except the star, which uses cyan). This is an idea for a colour scheme if you need it.
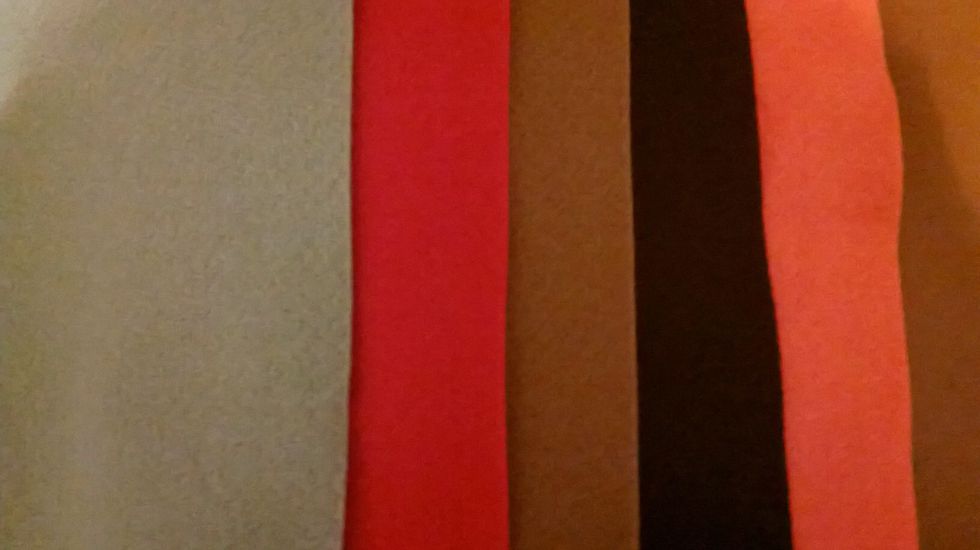
Ideally you should have 5 differently coloured sheets of felt - one of which should be big enough to cut out a 14.5 by 14.5cm square. (The orange sheet is just out of this photo).
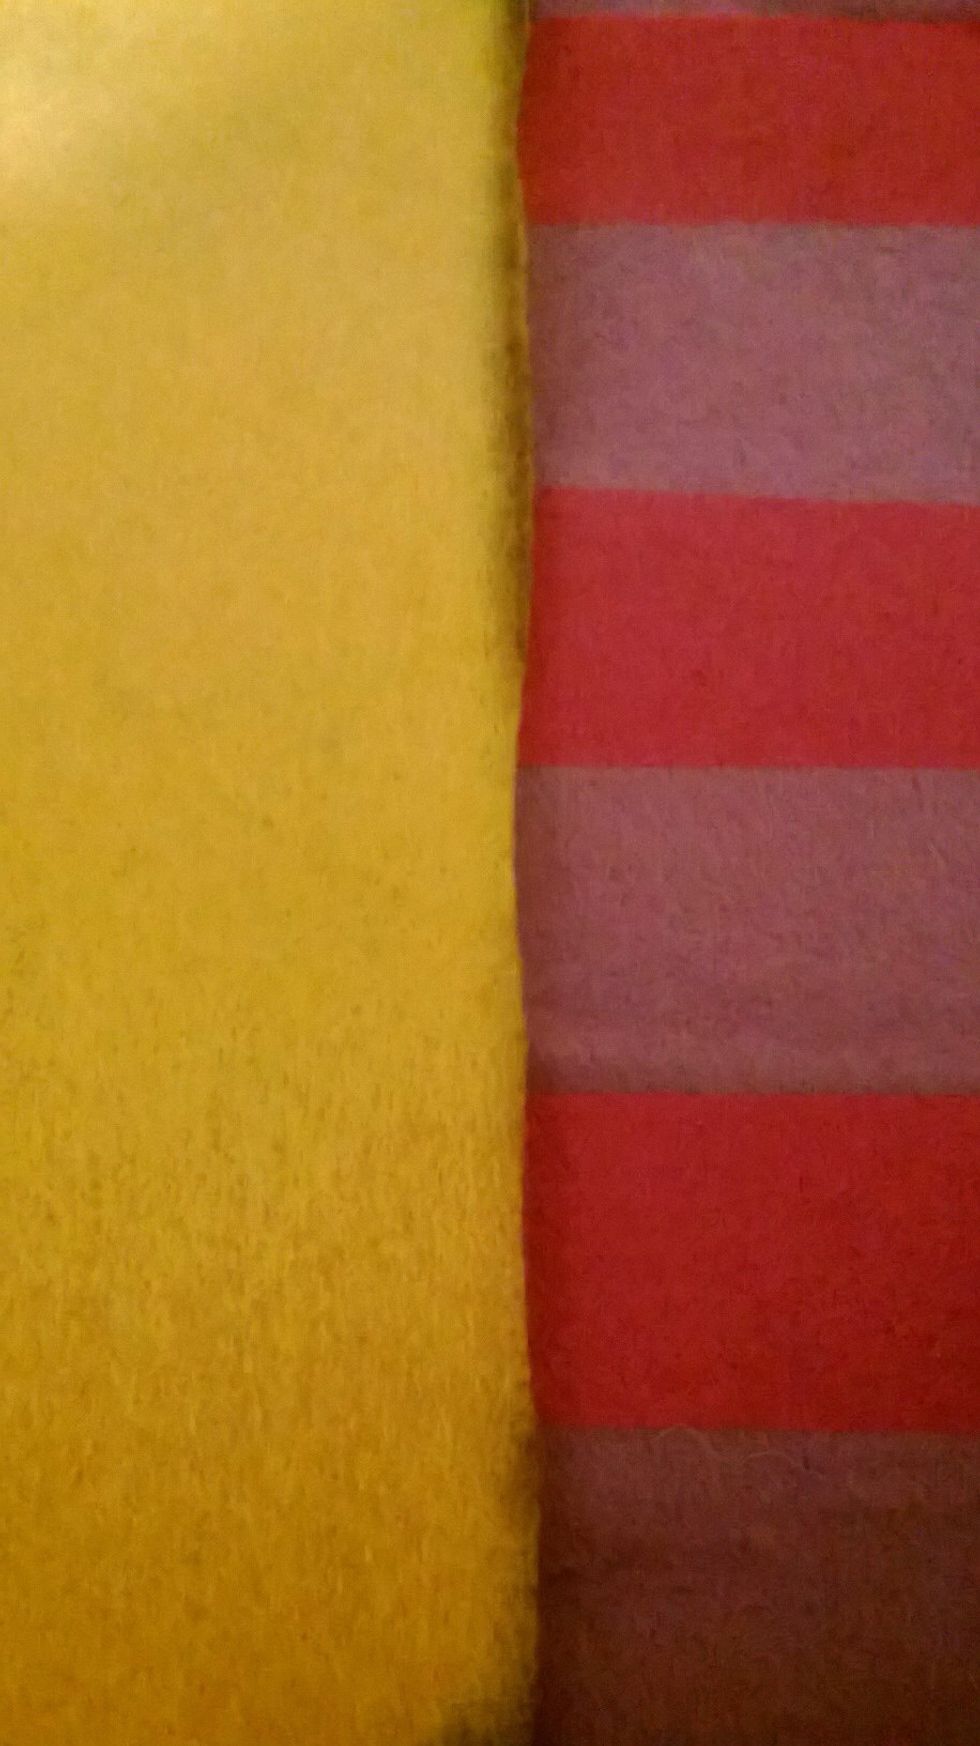
In addition, you can add 2 more differently coloured felt sheets from which you can make emblems. You can get patterned felts like the one on the right at John Lewis, these felts have lovely colours.
Cut out 7.5 by 7.5 cm squares from 4 of the felt sheets and cut out a bigger 14.5 by 14.5 square from the final sheet; this will be used as the backing for the cushion (the grey felt).
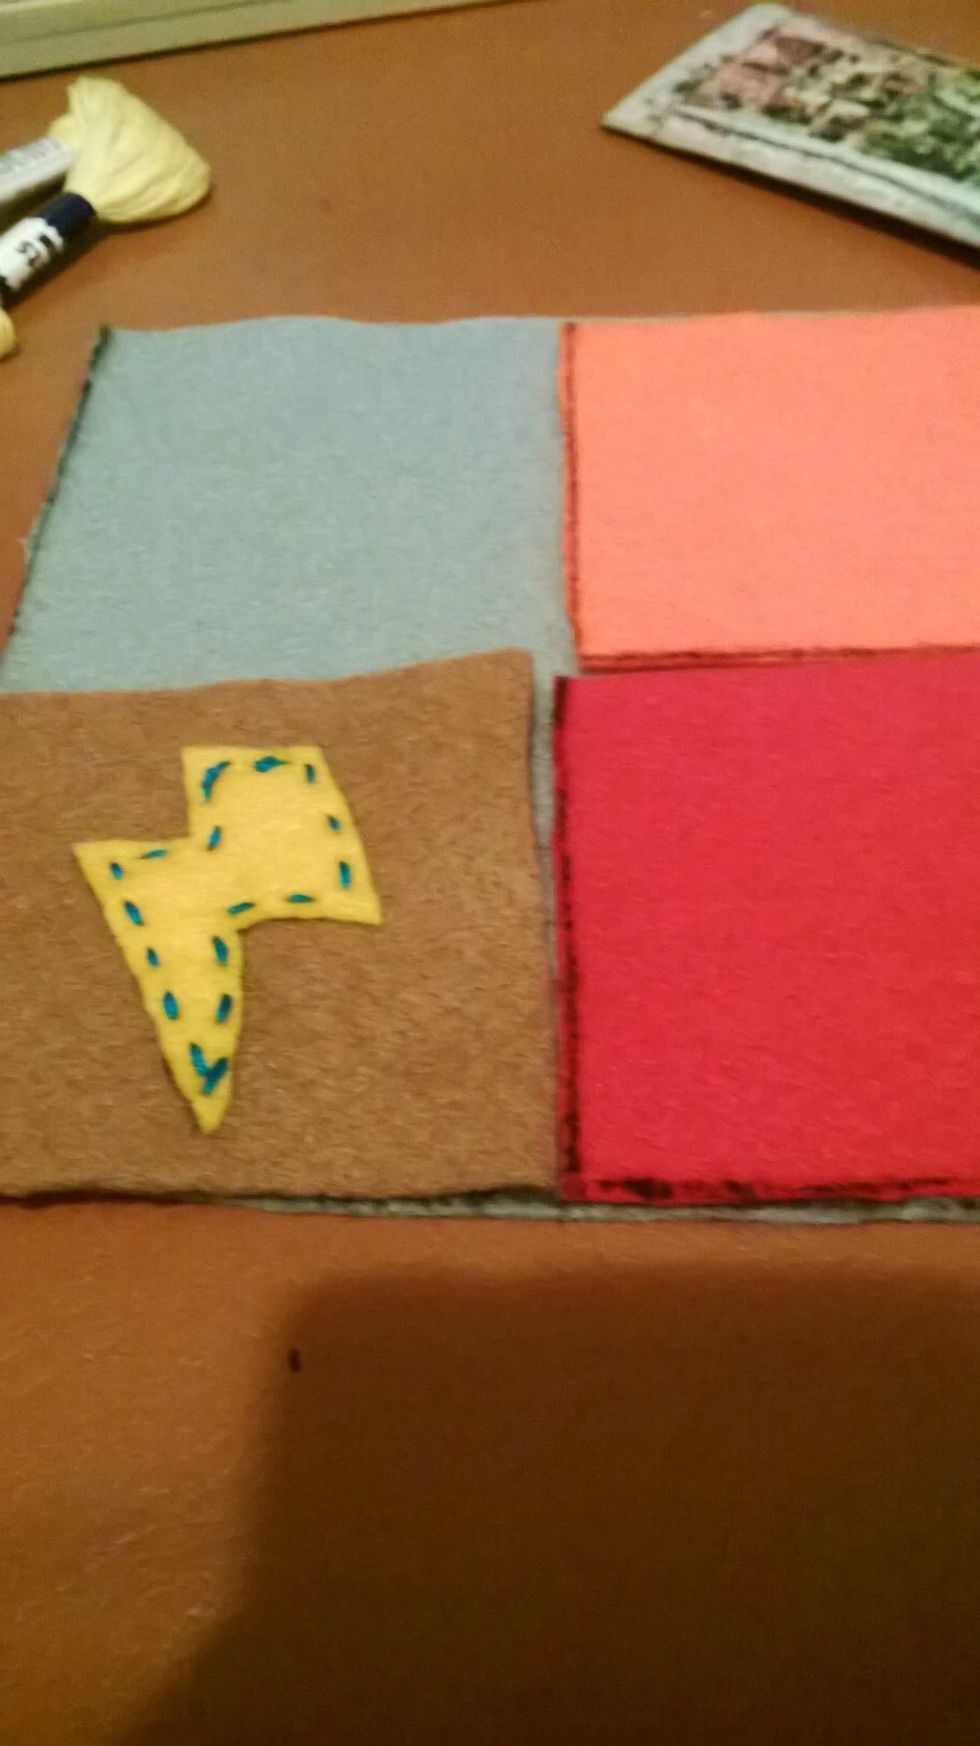
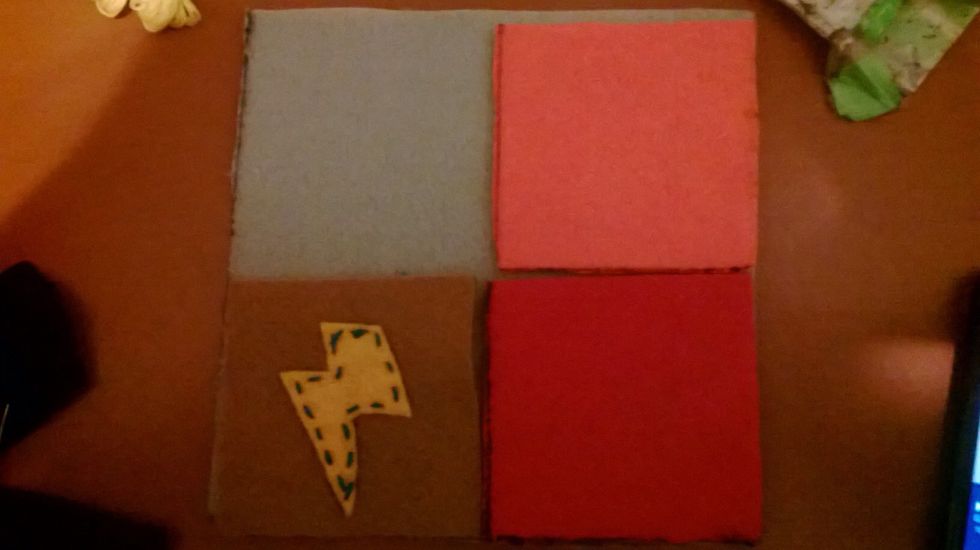
Draw emblems on the extra felt pieces and sew them onto the squares of felt. It is a good idea to use vivid colours for the thread - I used yellow and blue (yay IKEA! Only kidding :D)

This is an example of sewing on an emblem - use whatever stitch you would like. Blanket is pretty but if you want a simple touch just go for a running stitch like I did. Guess what - no glue needed!
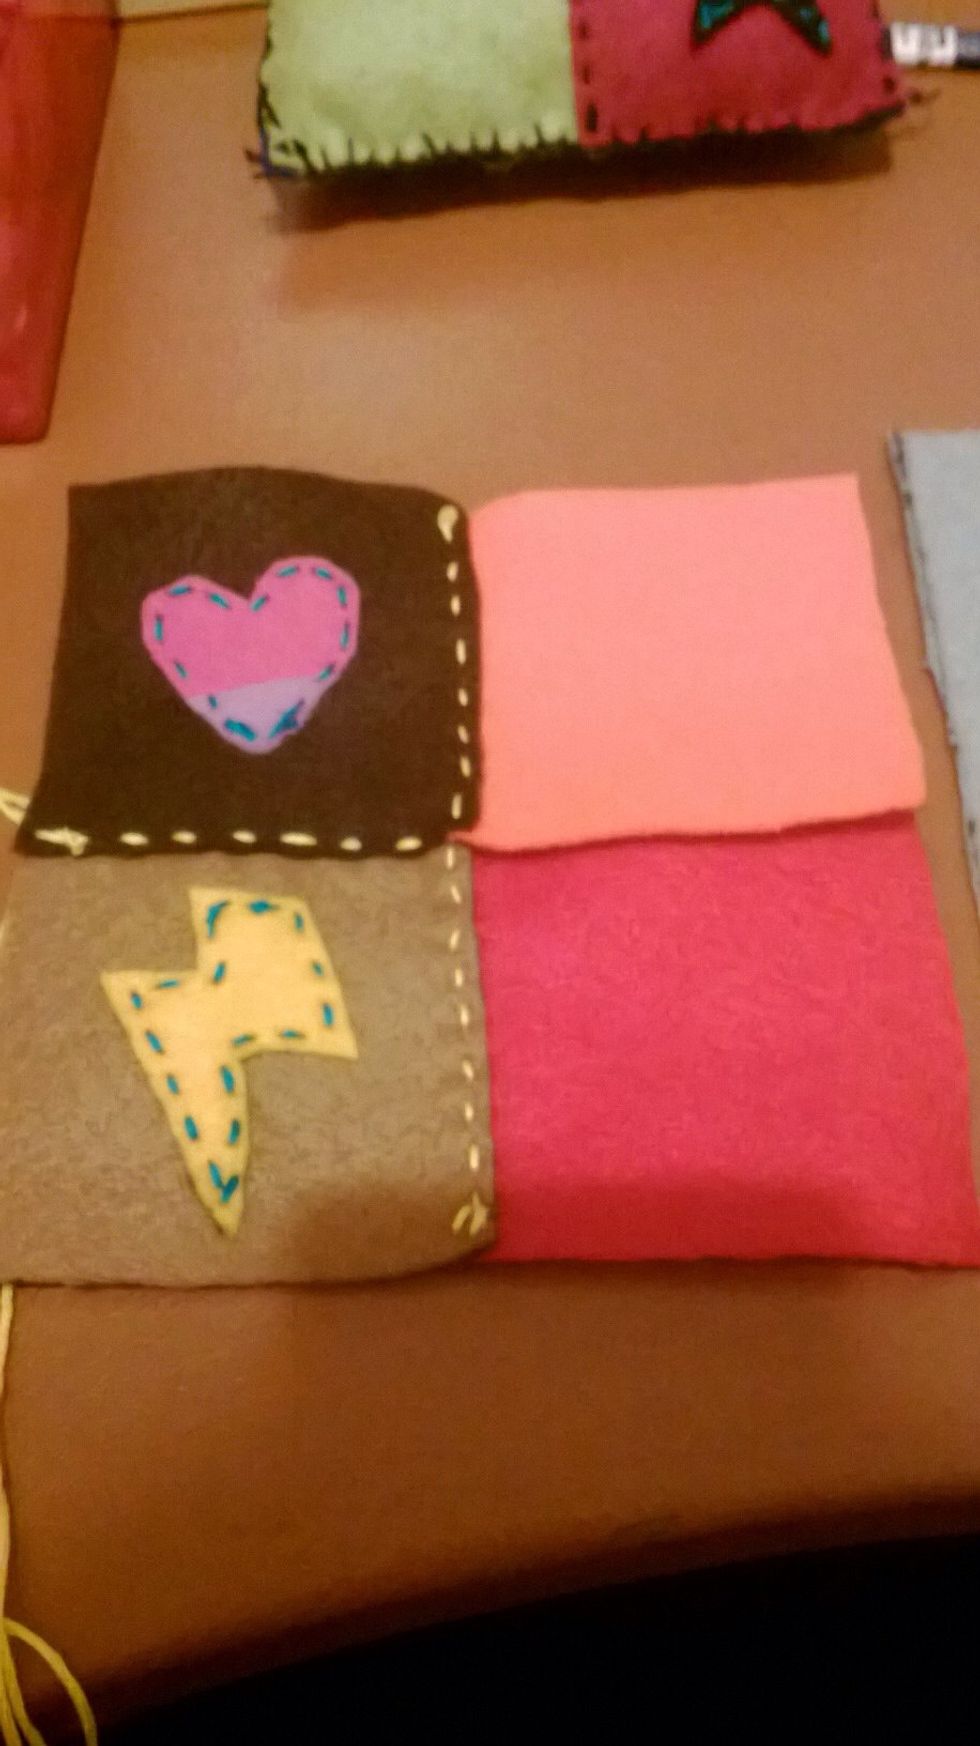
Now here's the tricky bit. All of the squares must be stitched together - once again I recommend a running stitch. The squares must be aligned evenly or you might get a wonky cushion.
To avoid wonkiness, stitch together 2 squares at a time. Then stitch both pairs of squares together. Allow for some space between the edge of the felt and the stitch itself.

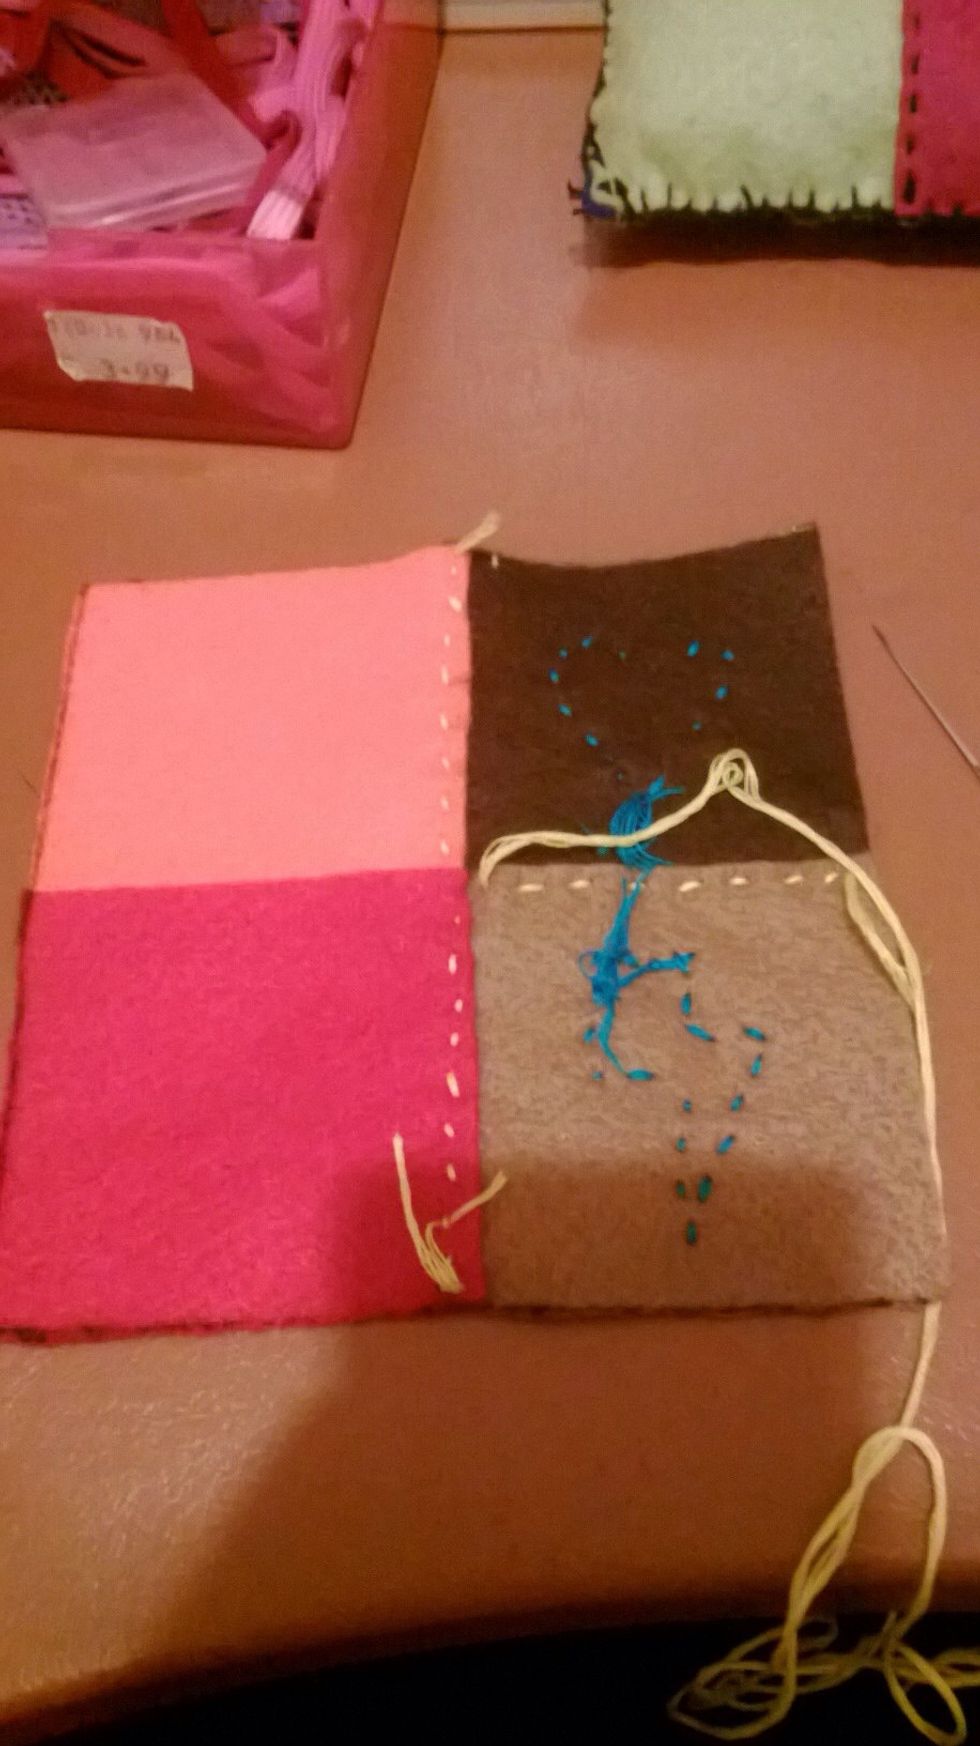
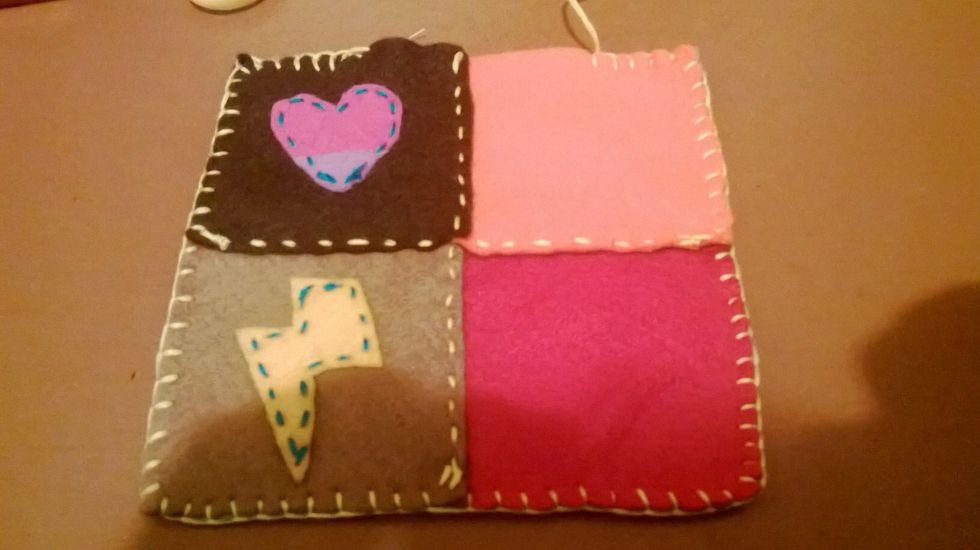
Ok, it's done. The 4 four squares of the apocalypse are ready. Now they must be attached to the backing, which is a simple step really.

Clouds, lots of 'em. No, this is toy stuffing, if your cushion is intended for children get the washable kind. You can get a giant bag for £4 or £5 in Hobbycraft or John Lewis.

Break it up slightly so that it makes the cushion feel fluffier when after stuffing.

At this point it is crucial to check that the backing has dimensions that are only 1/2 mm bigger than that of the squares. That way, everything fits accordingly. Trim the edges if it is too big.

Show off your blanket skills, sew the squares onto the backing. Running stitch does not seem to be such a good idea now.
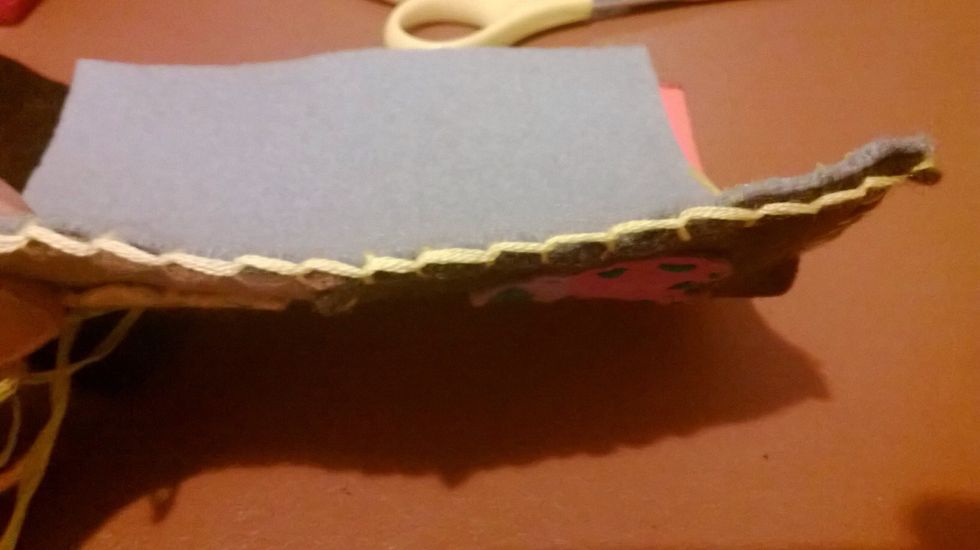
A blanket stitch should sit quite comfortable on the edges. Make it neat, people.
Almost done! Now get ready to STUFF the stuffing. Use a pen to get to the corners. Only begin stuffing when you have stitched nearly the whole way round - like in the picture.
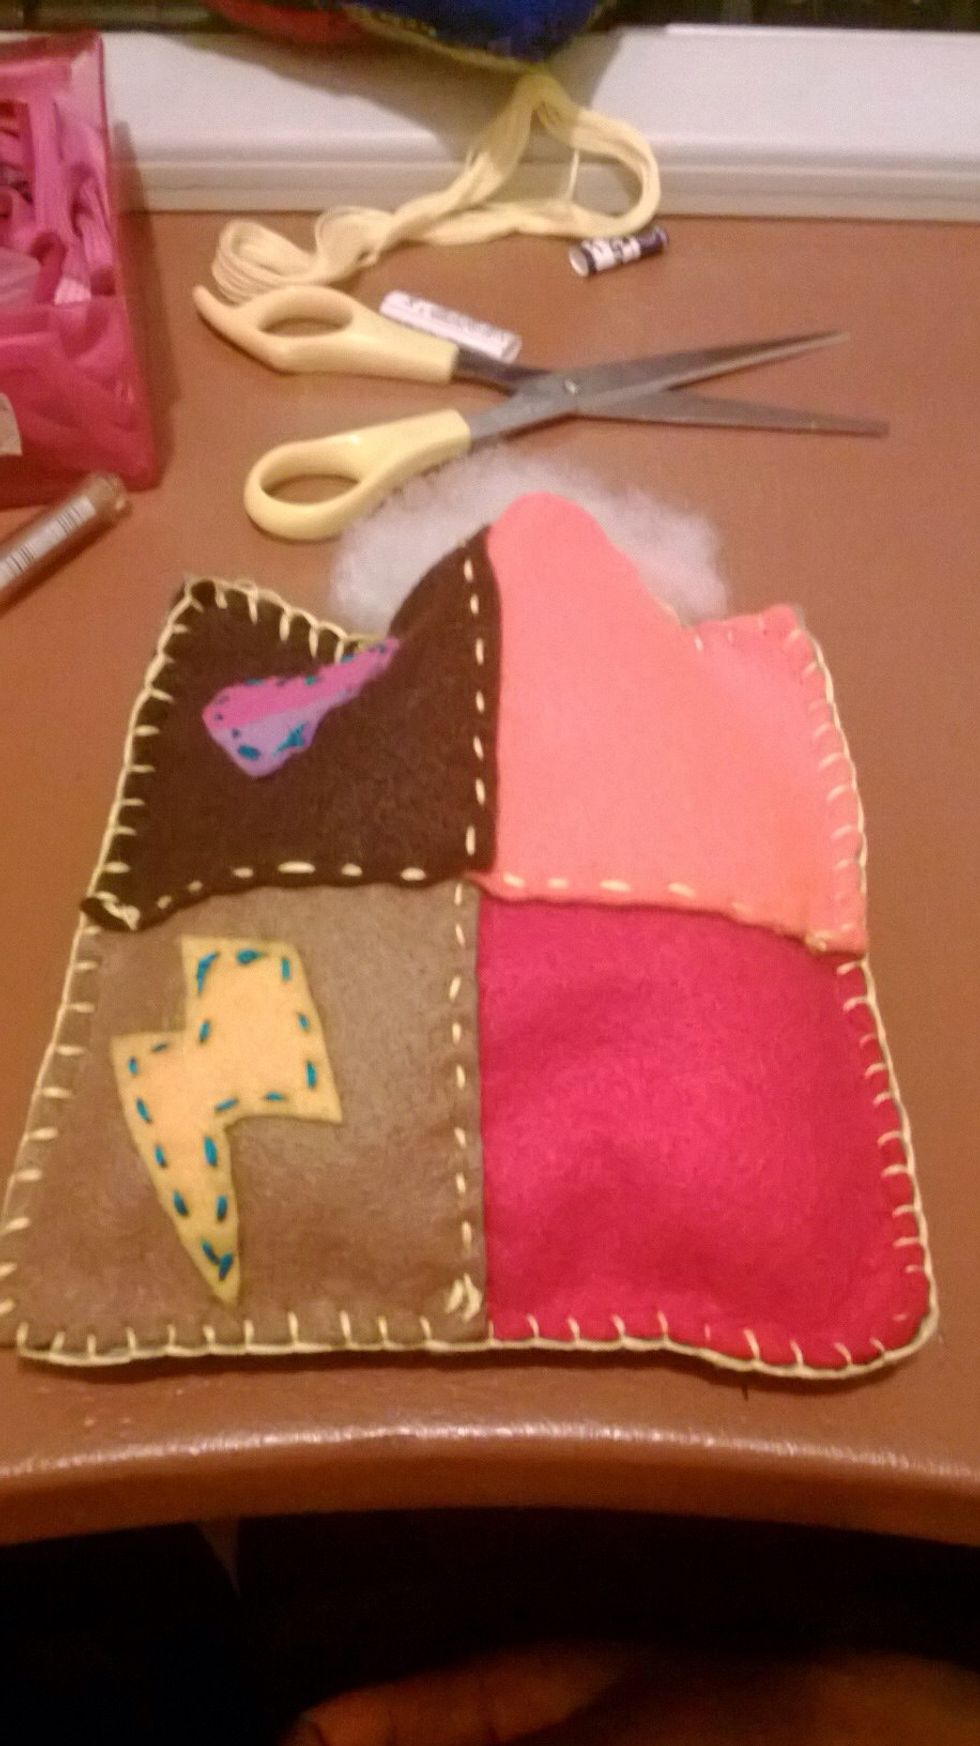
Just ram it in there, be careful of the stitches though. STUFF, STUFF, STUFF, STUFF, STUFFING.
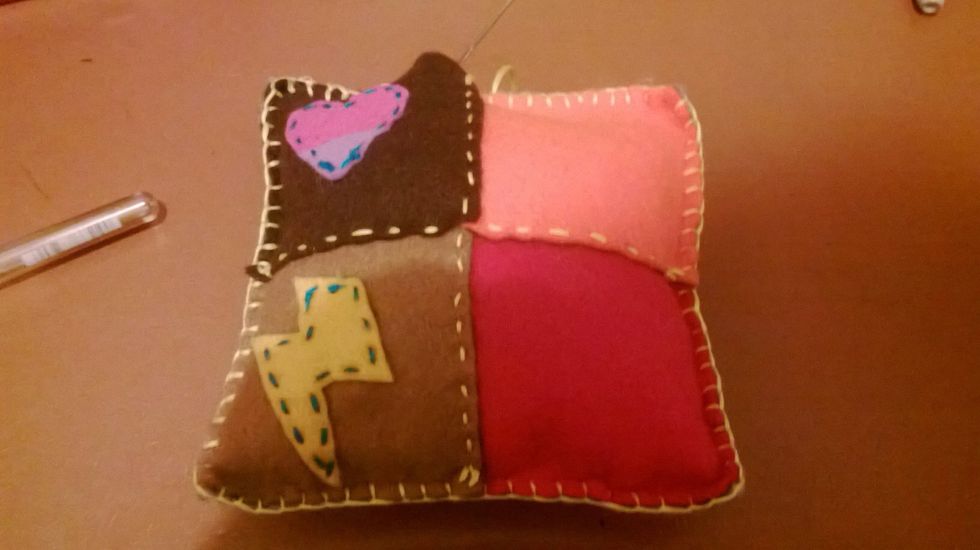
The stuffing is over so the opening must be closed. Continue with your beautiful blanket and then tie off.
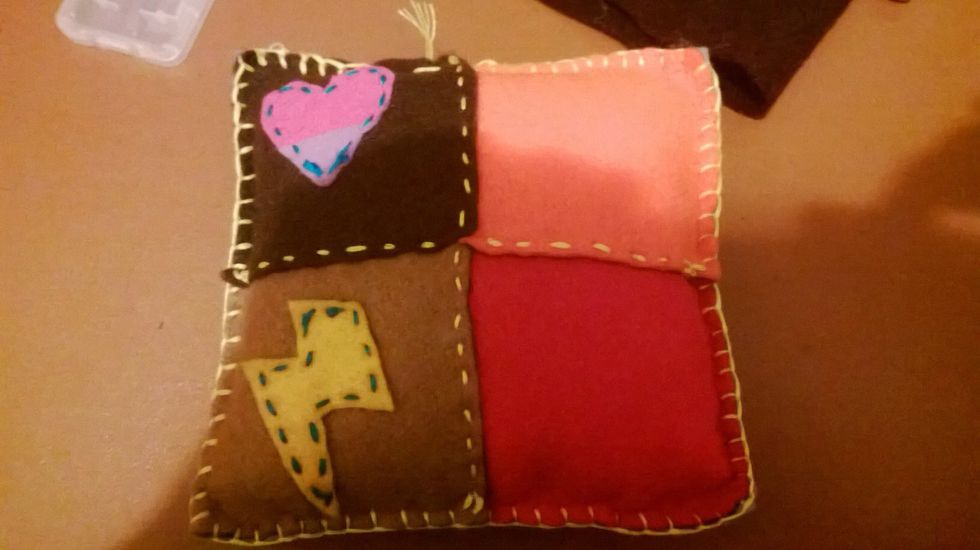
The finished product. The fruit of your woes. All's well that ends well. Need I go on?
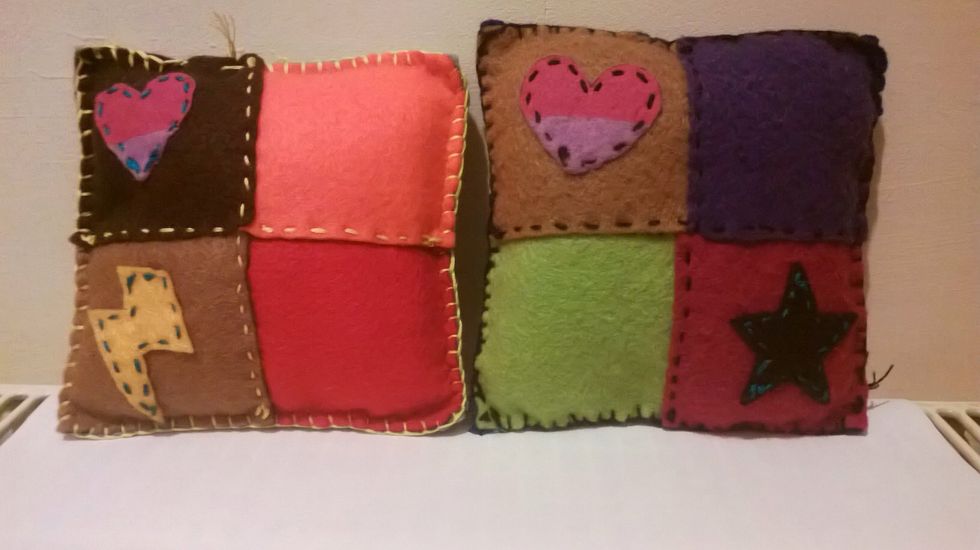
Old and new cushions united. The hearts are in the same place for both - I only just realised.