The Conversation (0)
Sign Up
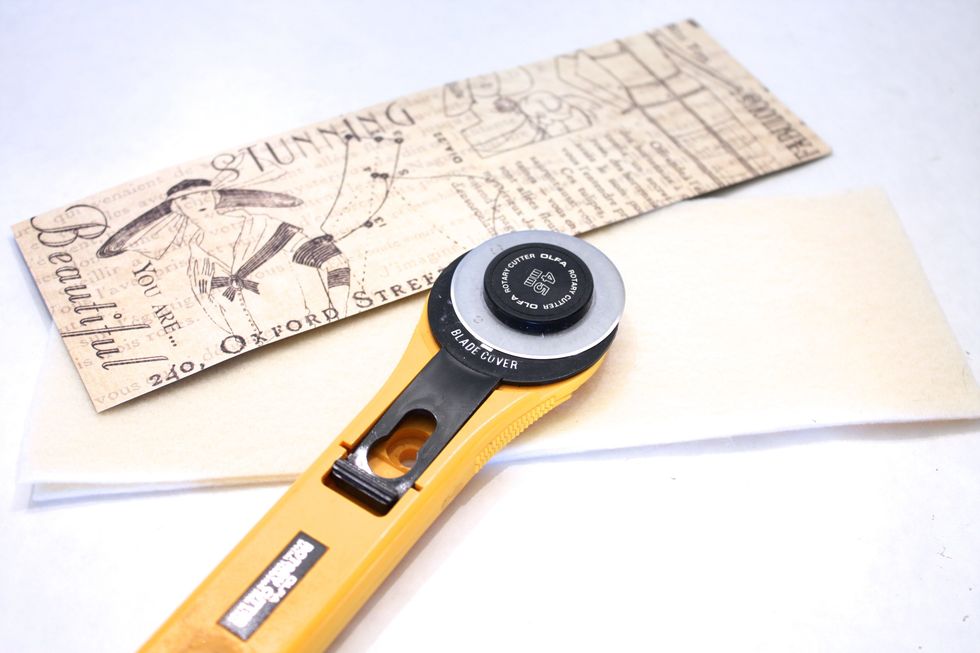
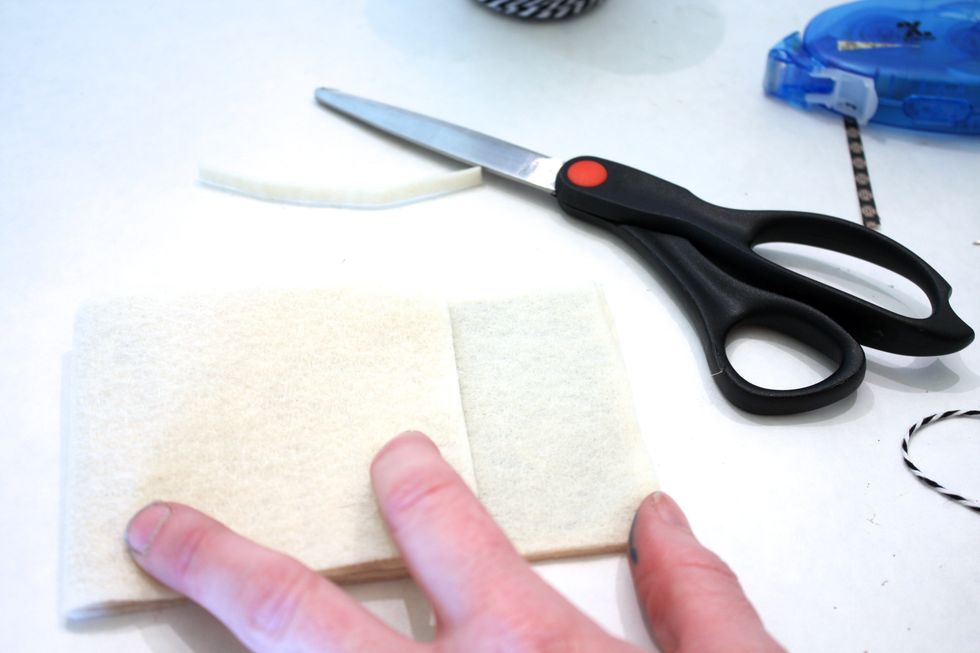
cut a piece of cardstock or thick paper 3 inches by 9 inches, use it a template to cut our your felt giving it an extra 1/8 inch around all sides- double up the felt. A rotary cutter works best
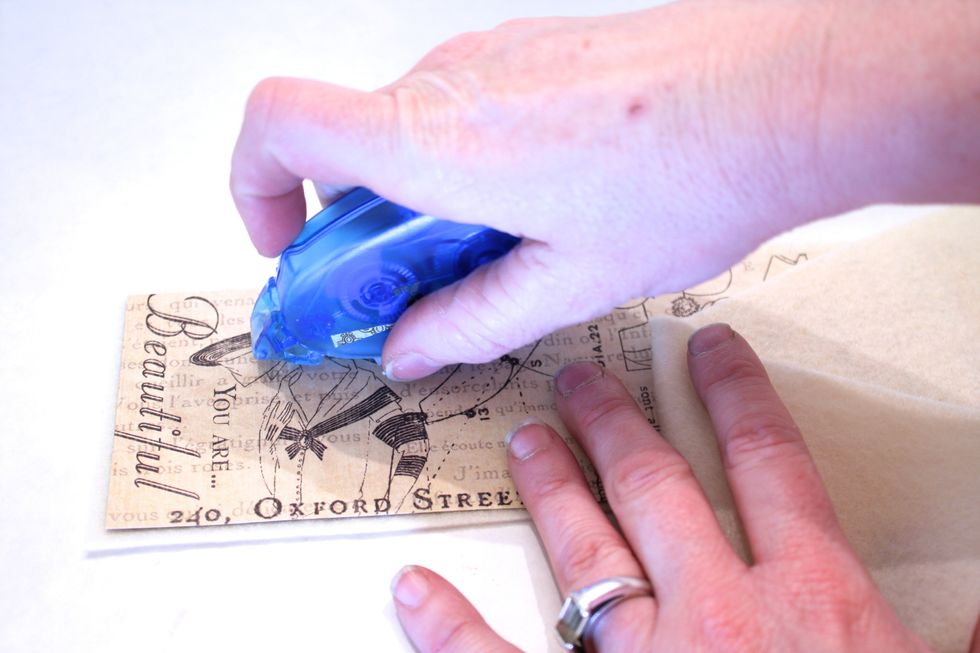
Fold it in to about 1.5 inches away from other edge

then fold that edge over the top- press firmly- if you find any of your paper sticks out or felt hangs over just trim it- no biggie
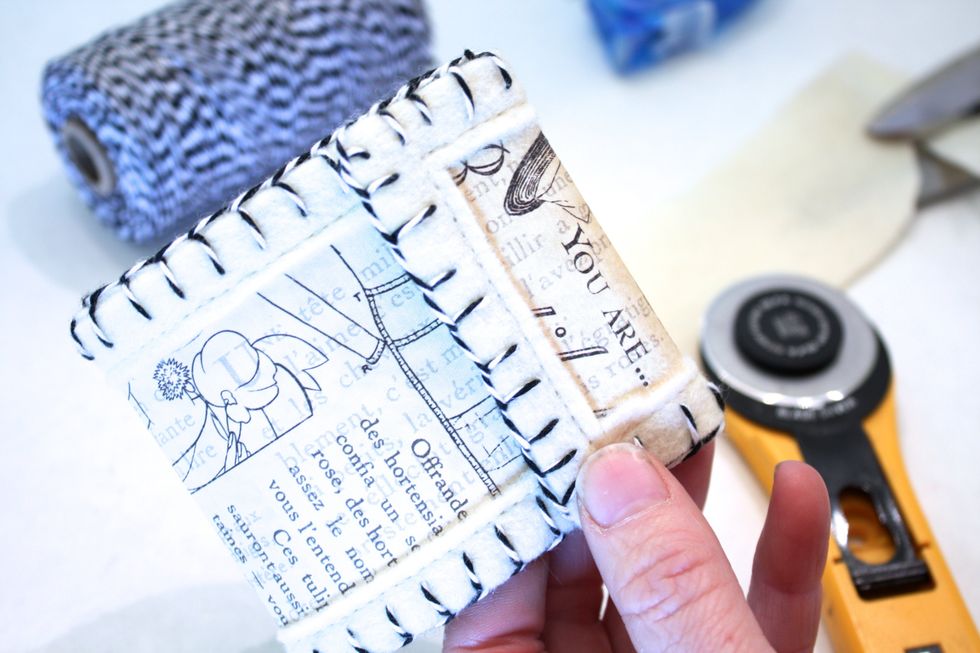
Now start your blanket stitch around the edge. here is a Snapguide on how to sew a blanket stitch! http://snapguide.com/guides/sew-a-blanket-stitch/
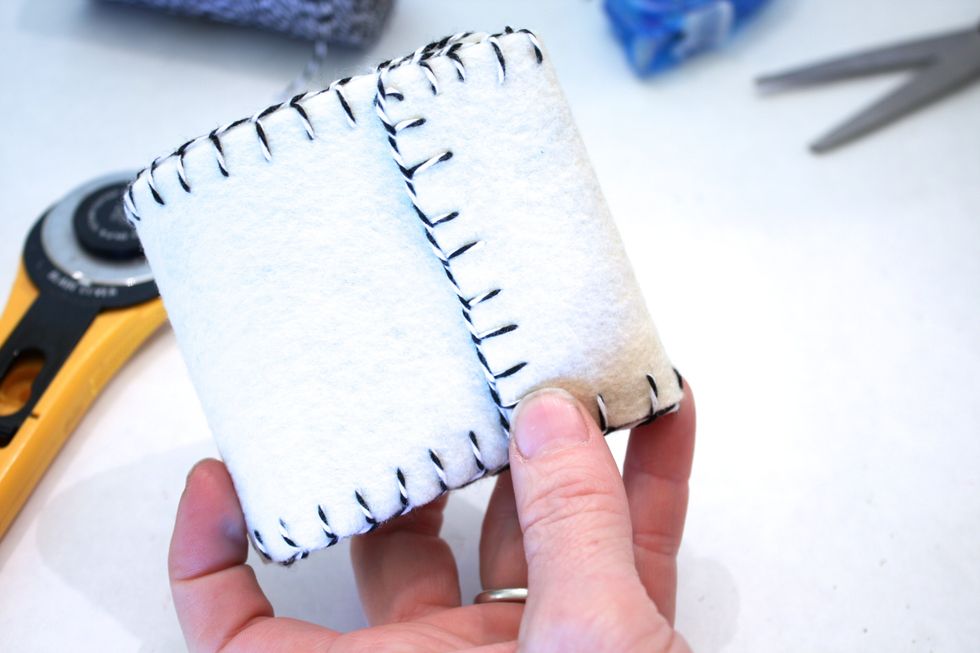
Go all the way around. I used a tapestry needle.
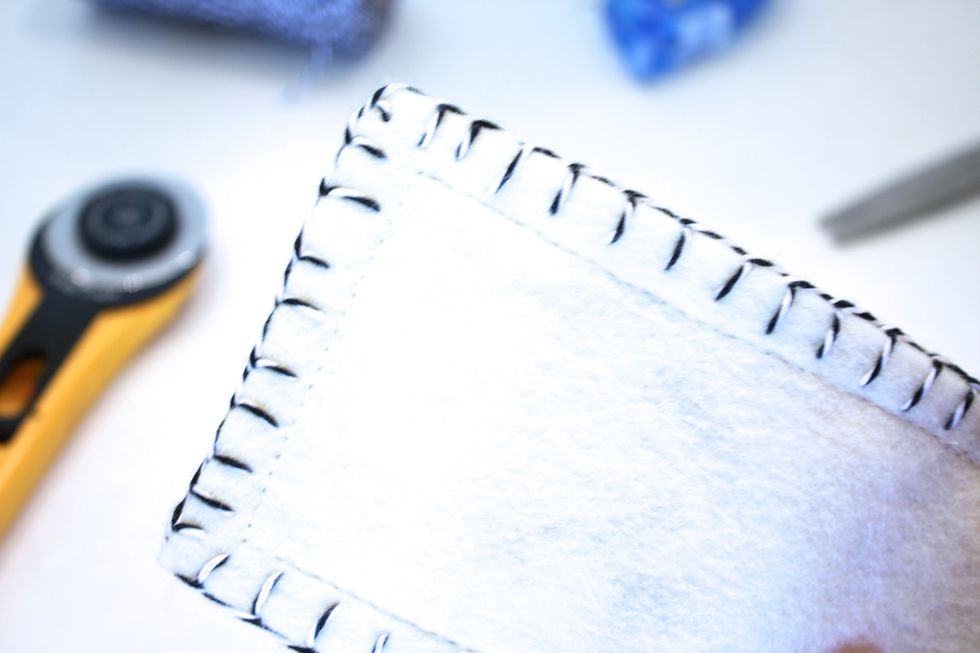
Next I did a machine straight stitch on the very inside of my blanket stitch- sorry my pic is overexposed!
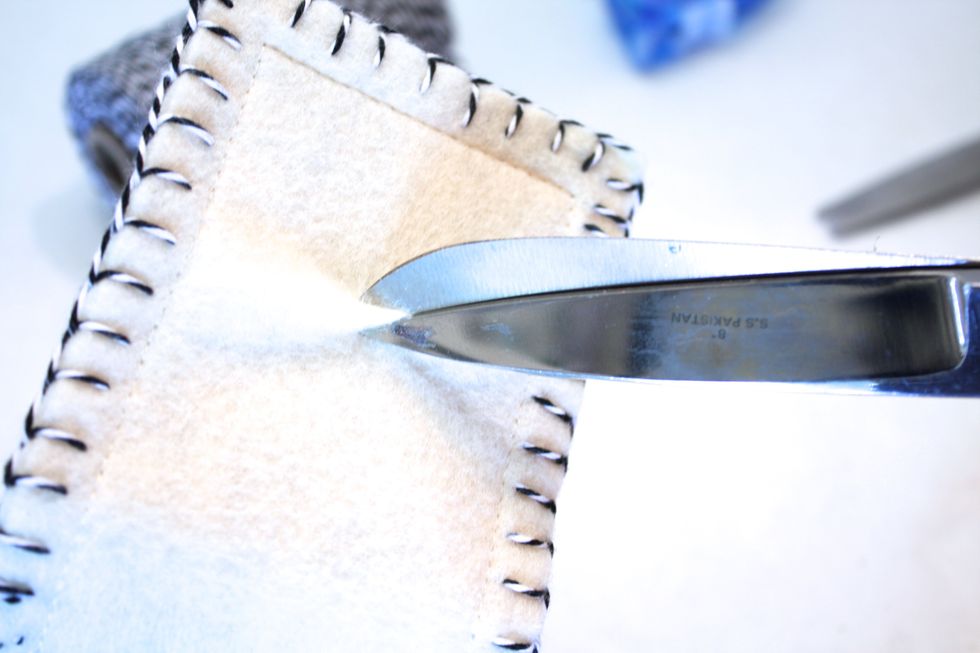
Use your scissors to make a little snip on the outside of your needle holder- dont snip the paper!
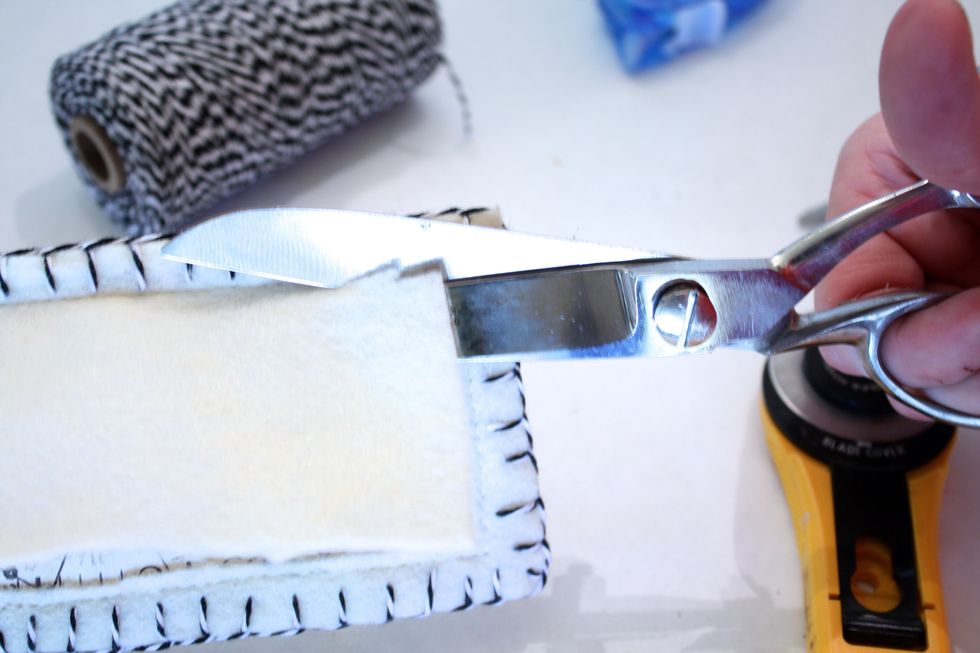
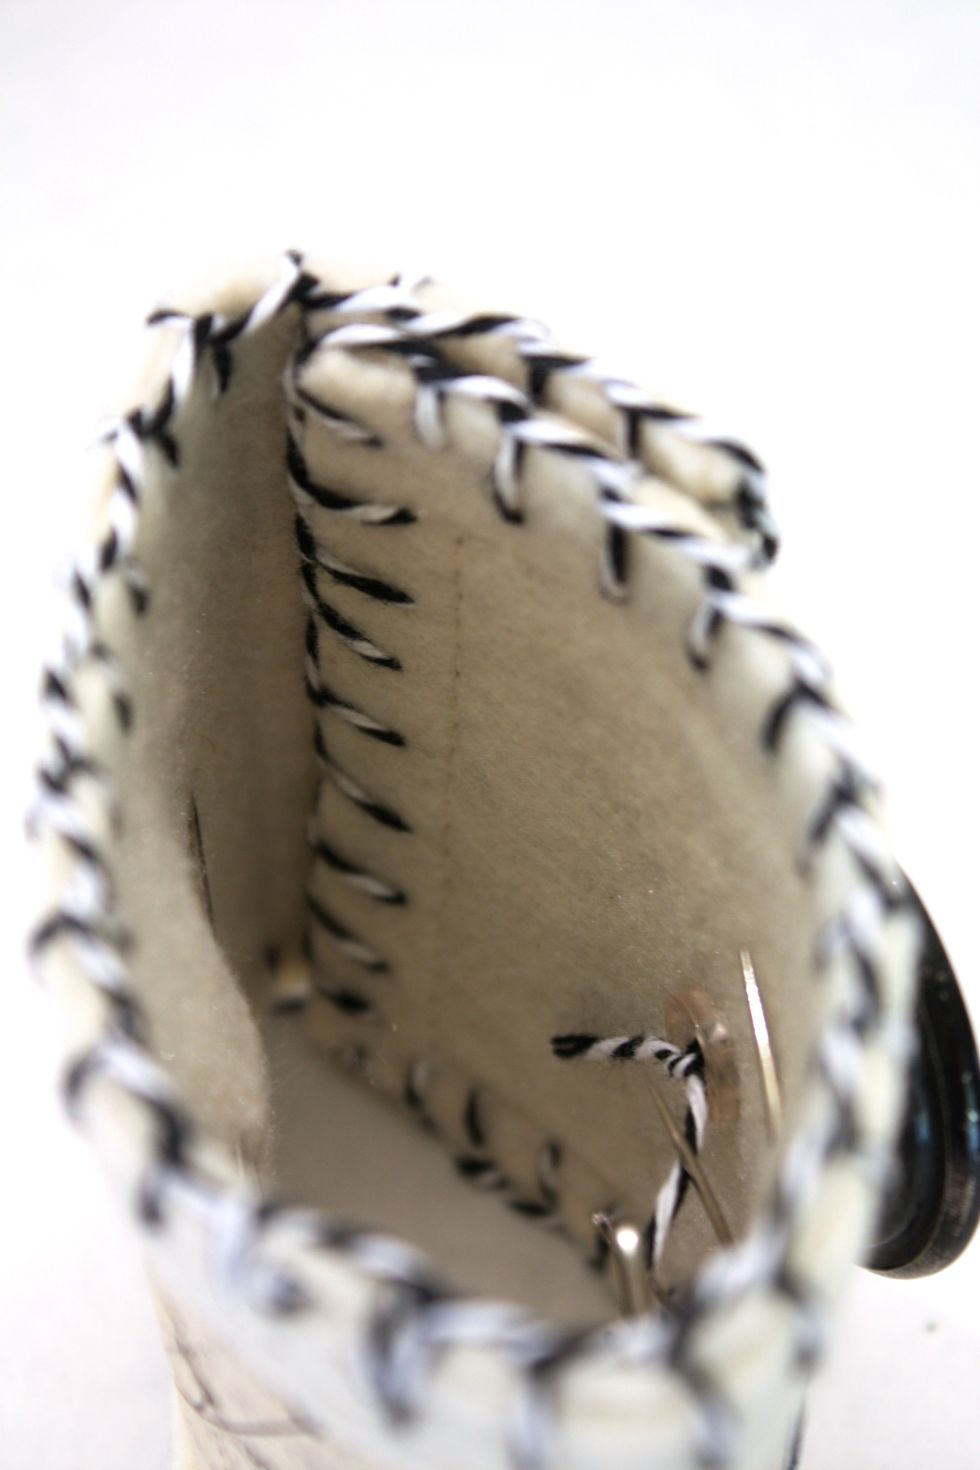
use the hole you cut to now trim close to the edge of your machine stitch, exposing your pretty paper underneath! (The paper also makes it easier to slip in your neeldes on the inside
Now fold it back up again!

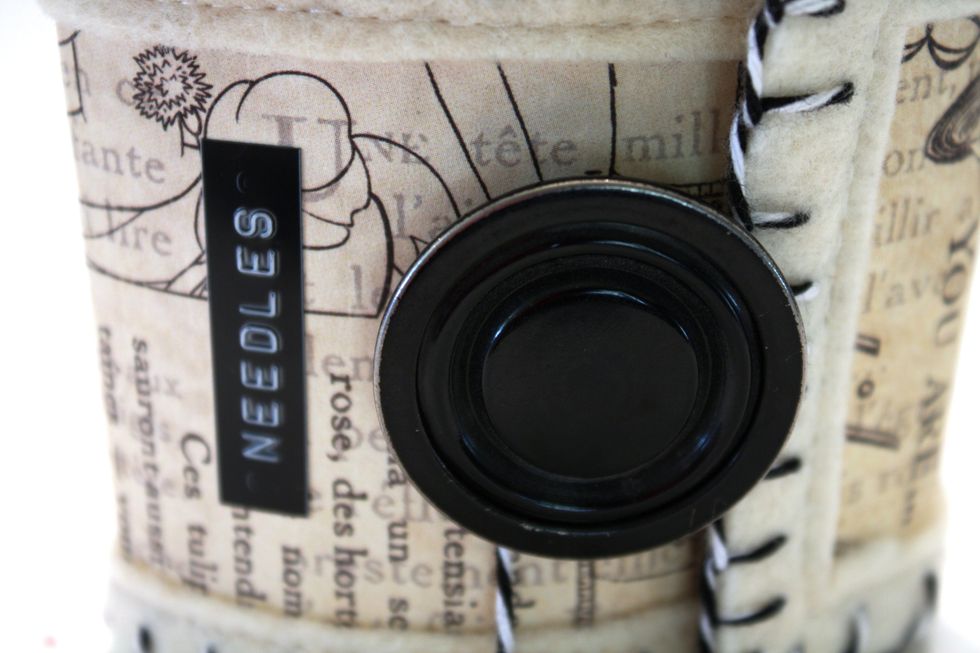
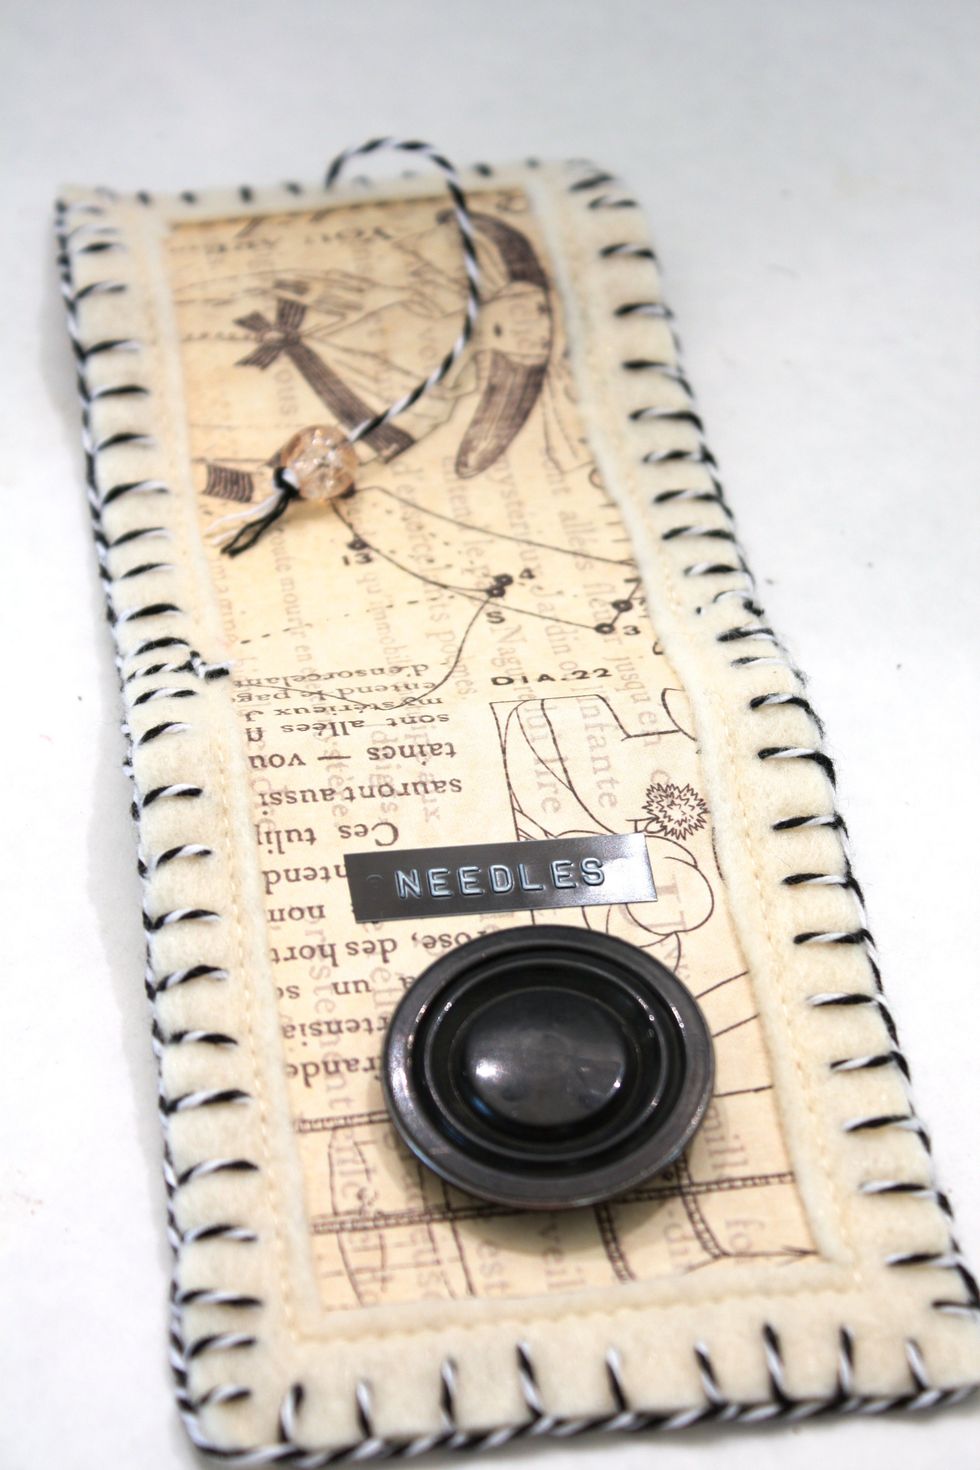
add a vintage button with more twine
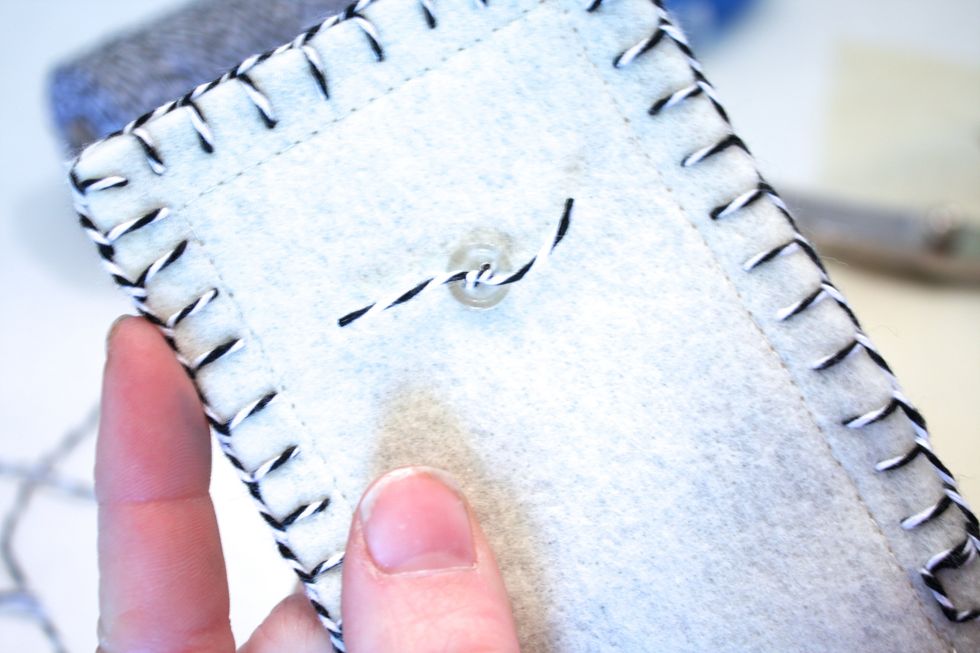
I just ran it through once, then through a smaller button on the inside to help secure it. Then tied my twine in a knot
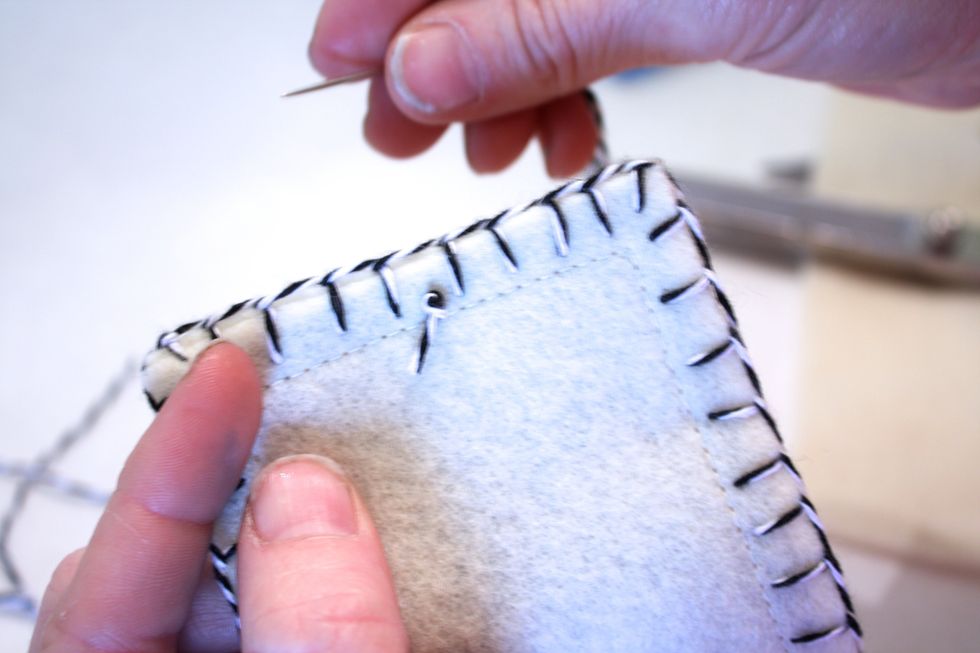
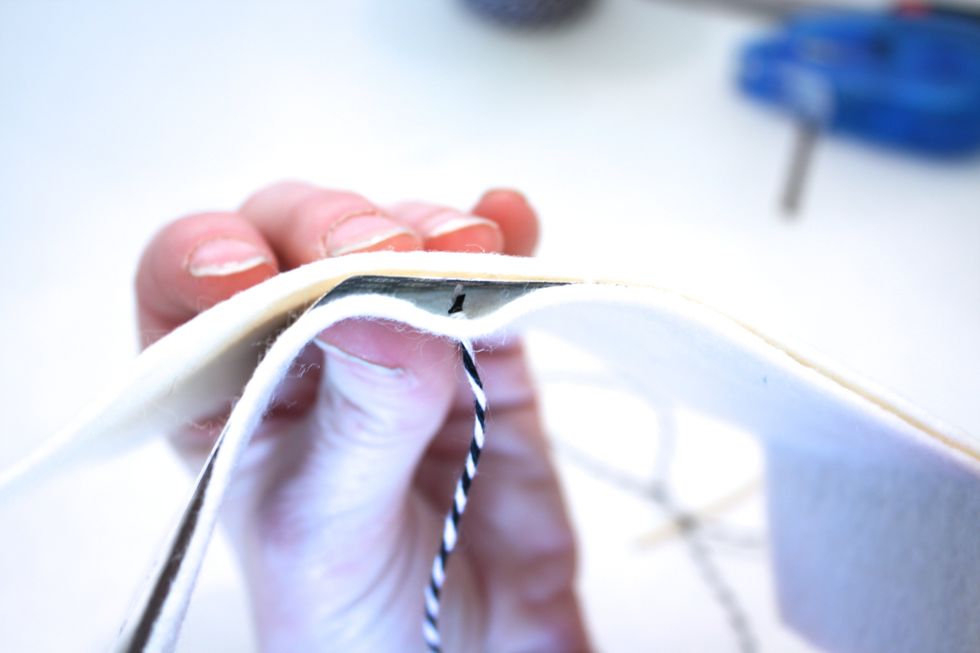
Then take about 10 inches of twine and make a double knot on the inside. Do one stitch in
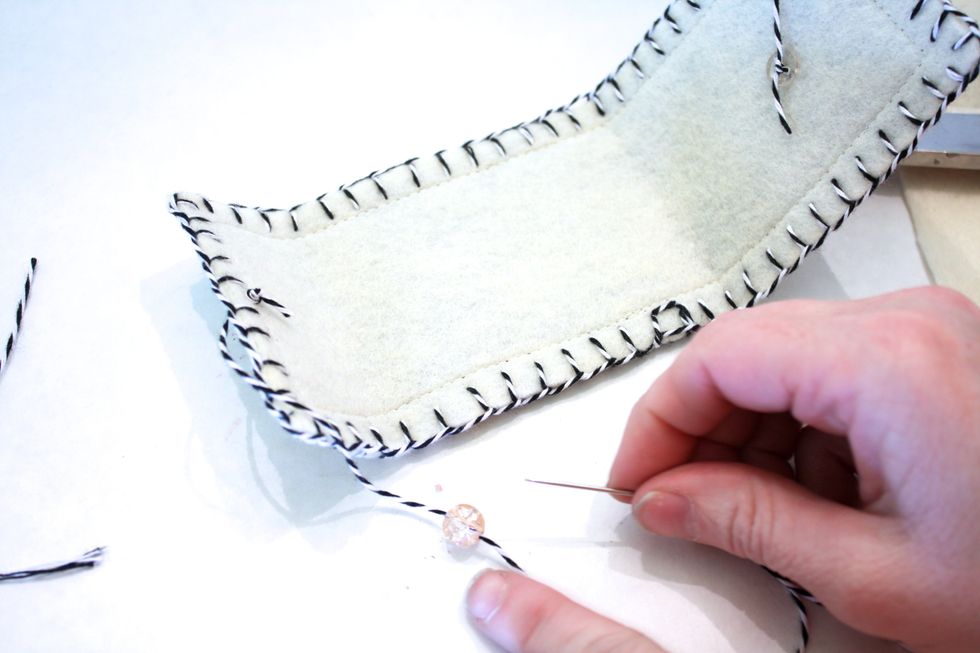
Now add a little decorative bead- close up your needle holder first to judge how much excess twine you need and where to tie the bead
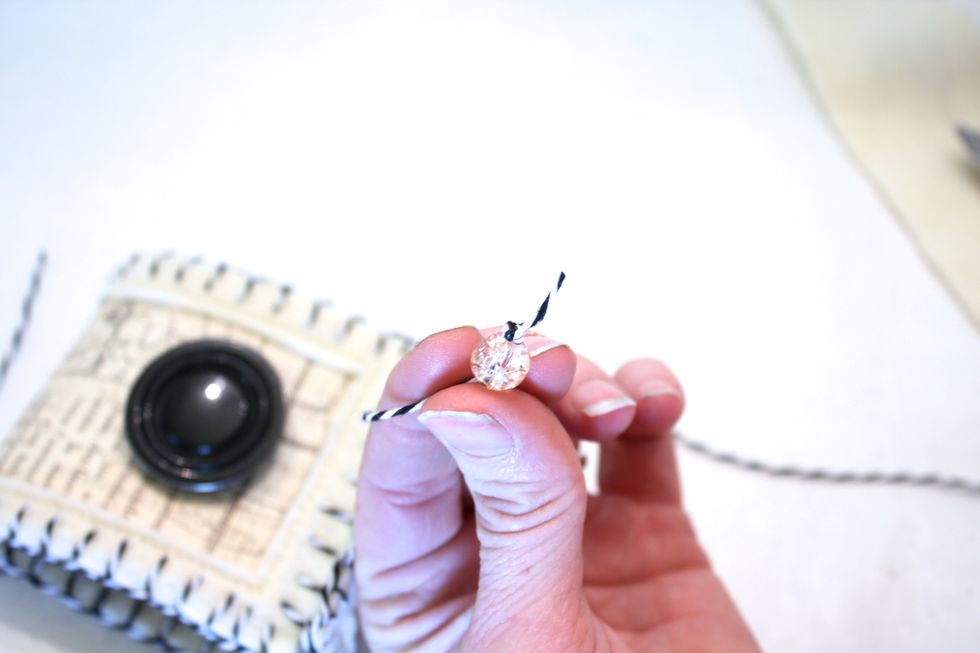
then make a double knot again
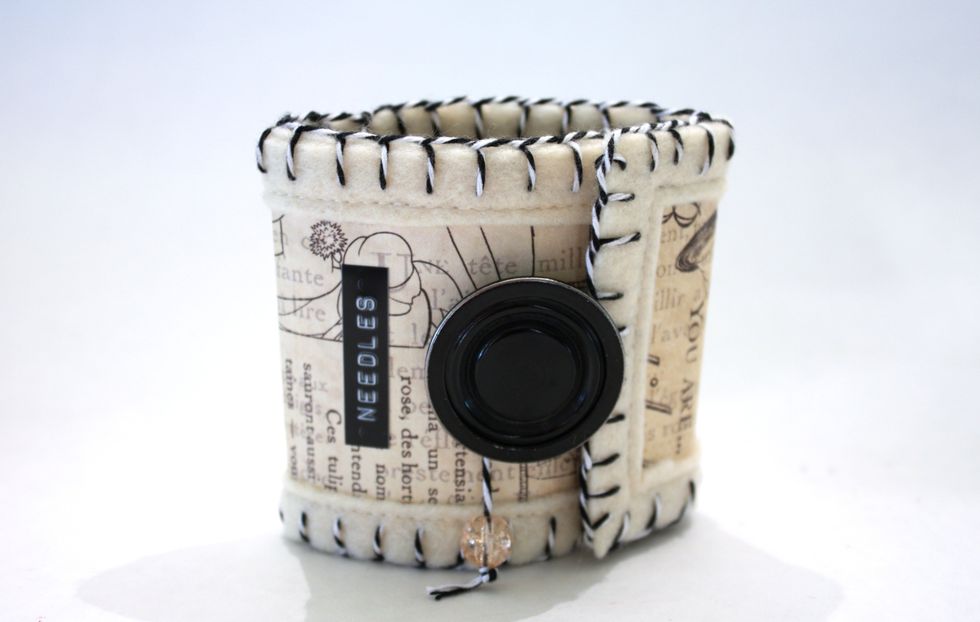
I added a little dymo tape
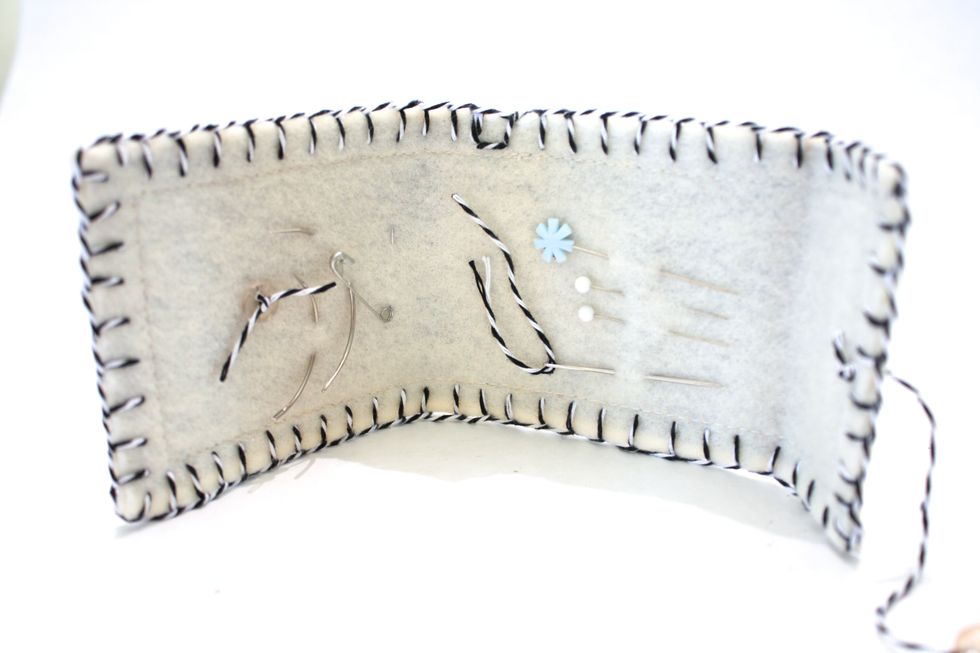
and added my needles!
You don't have to do the extra machine stitich and cut out- but make sure you put the cardstock inside as it make a big difference on how easy it is to put your needles in
hope you have fun making yours! -Denise visit me at http://inmyblueroom.blogspot.com/ I am a designer for the Twinery you can visit them athttp://thetwinery.com/blog