The Conversation (0)
Sign Up
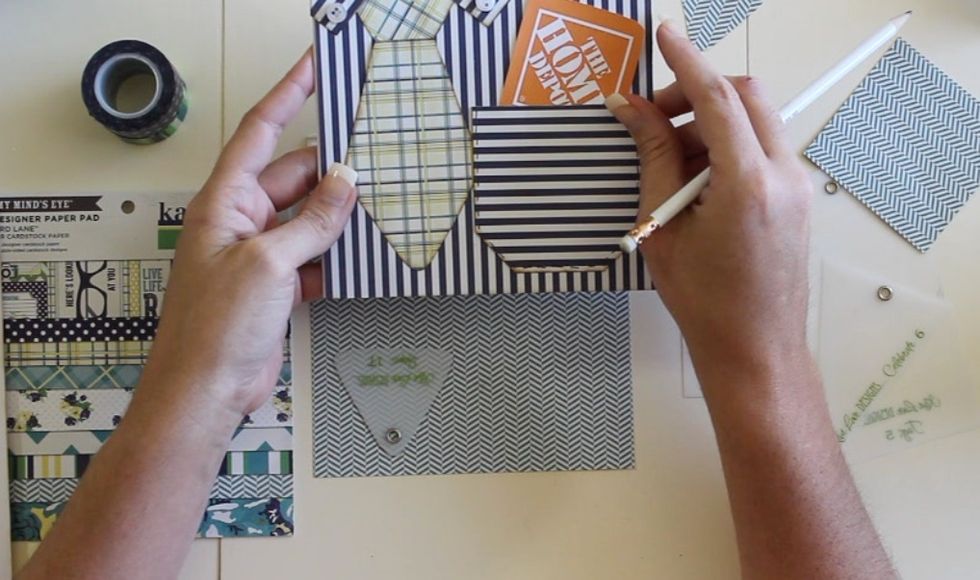
A handsome card to go along with any gift card. To start with you will need a 6x6 inch square for the base of the card.
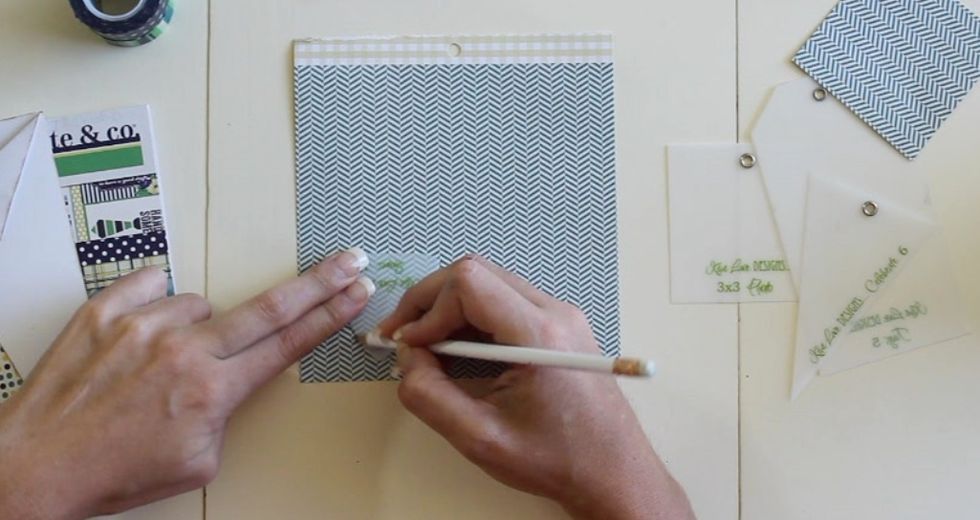
Start by tracing a small triangle onto your coordinating paper, or you can use KLD Tiny Shapes #1T as a template.
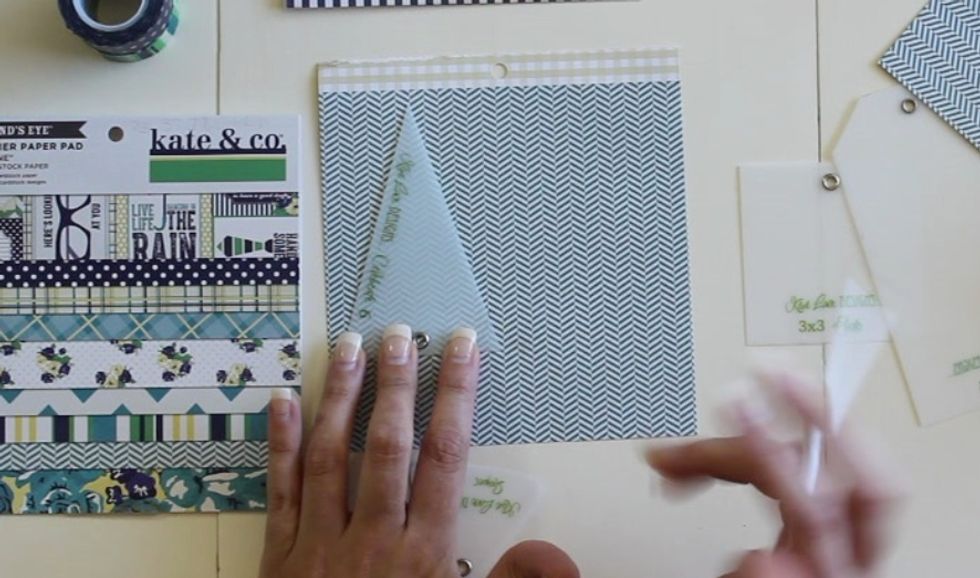
Then trace a bigger triangle at the base of the small triangle, turning the two shapes into one design for the bottom of the tie. I used KLD Celebrate 6 template.
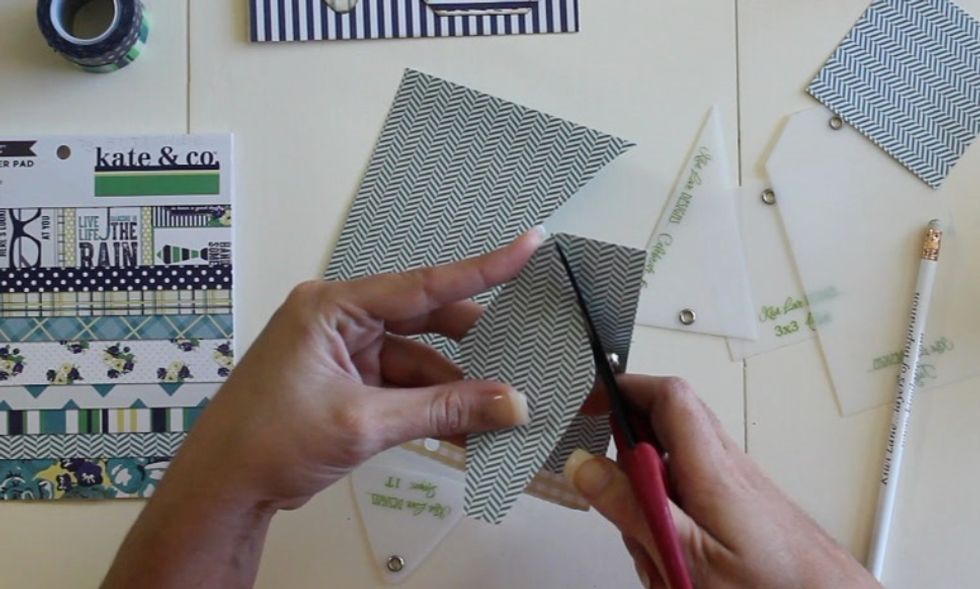
Cut the two triangles out as one whole piece. I always Ink the edges of all the pieces after I cut them out with Distress Ink.
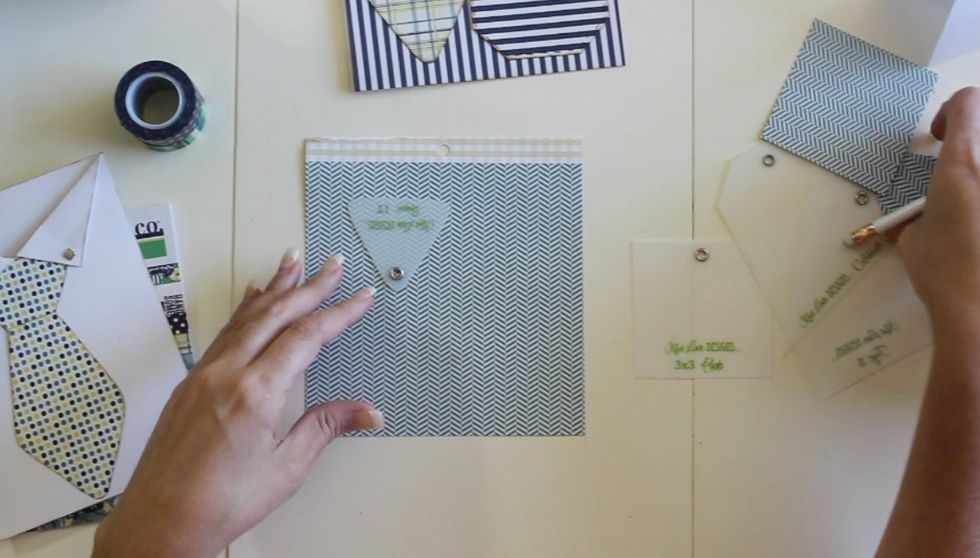
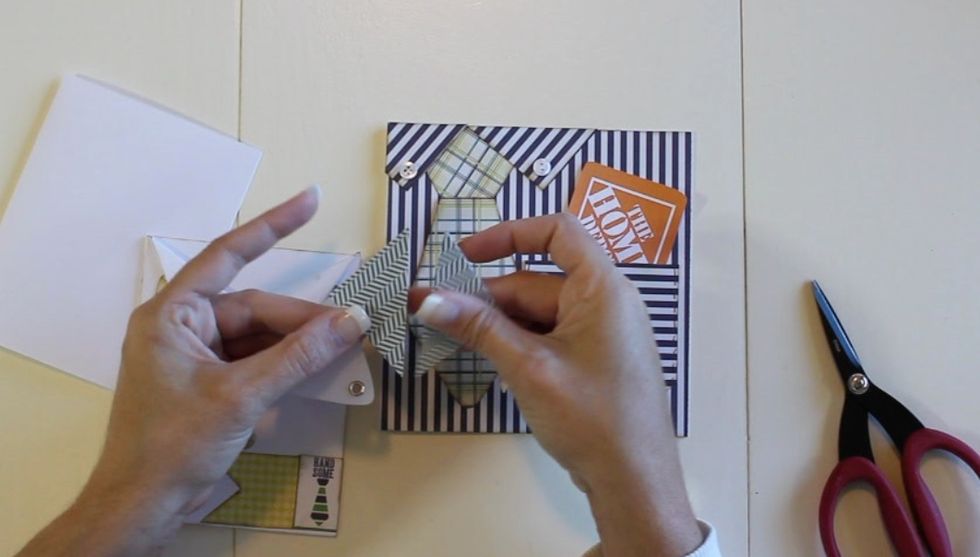
Trace and cut out one more small triangle by itself for the knot of the tie. (Tiny shapes 1T)
You can snip off the tip of the triangle or leave it as a whole, depending on what look you like.

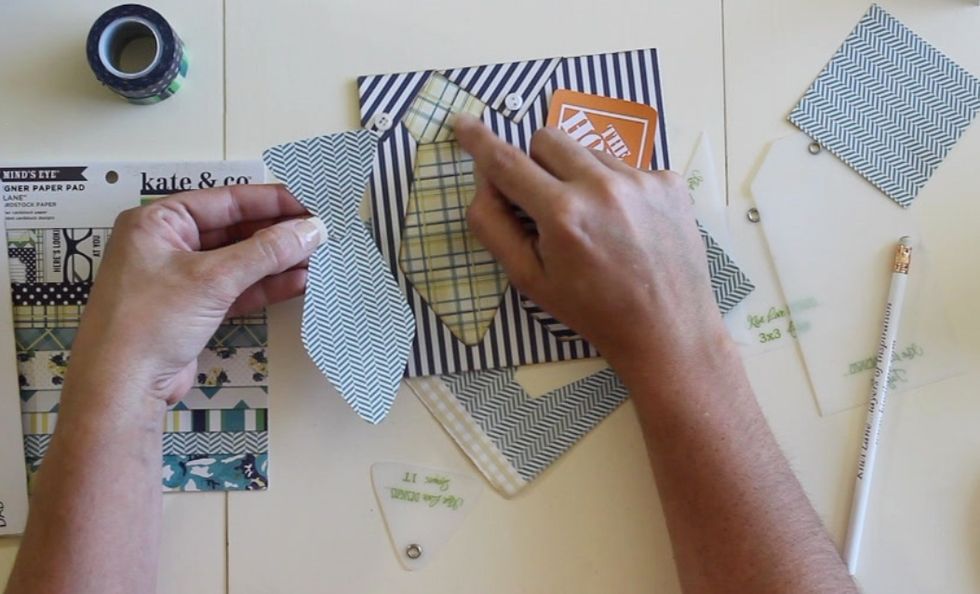
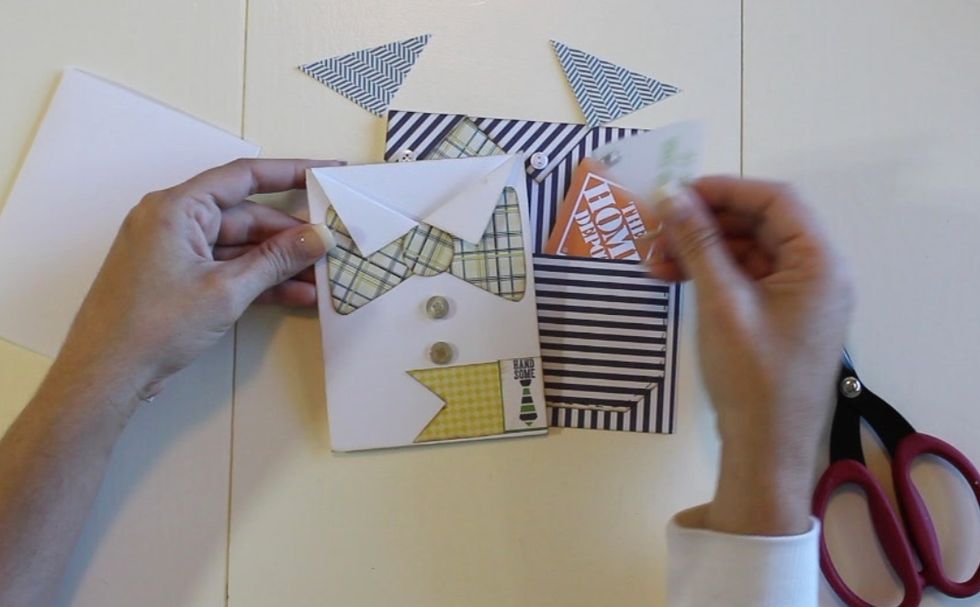
To make the pocket, cut out a 3x3 inch square.
I used the KLD Tag #5 to trace the bottom of my pocket, or you can just simply trim off the bottom corners of the square like you see above.
Trim off the corners.
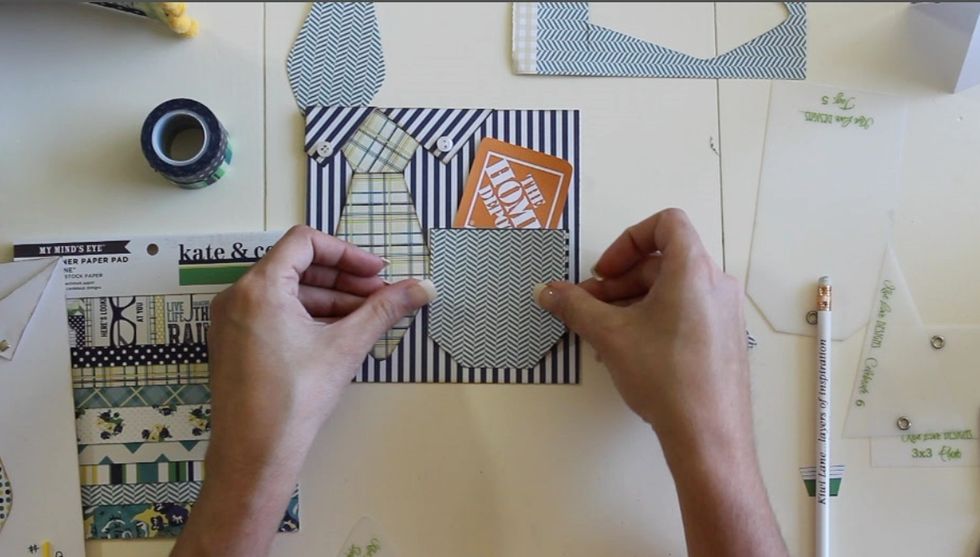
I always Ink all my edges after I cut them out with Tim Holtz Distress Ink.
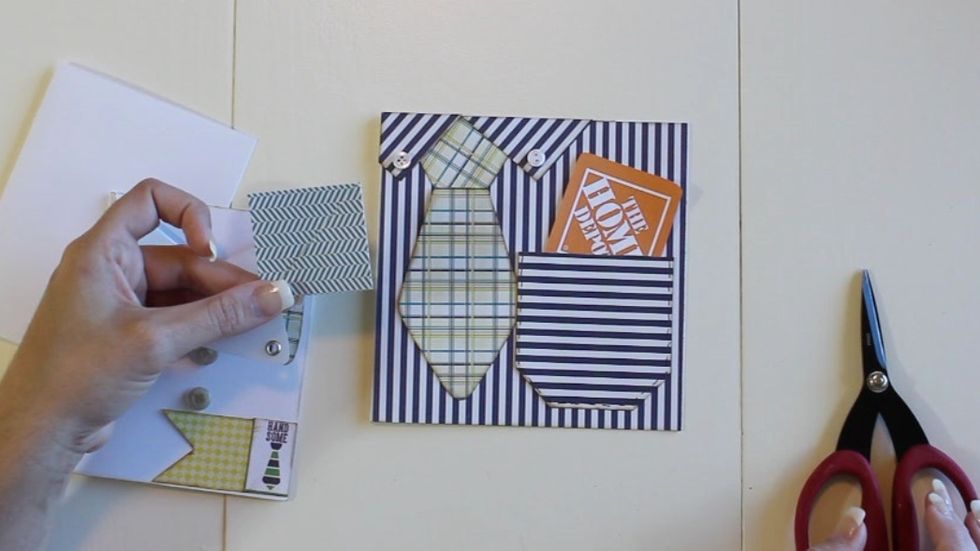
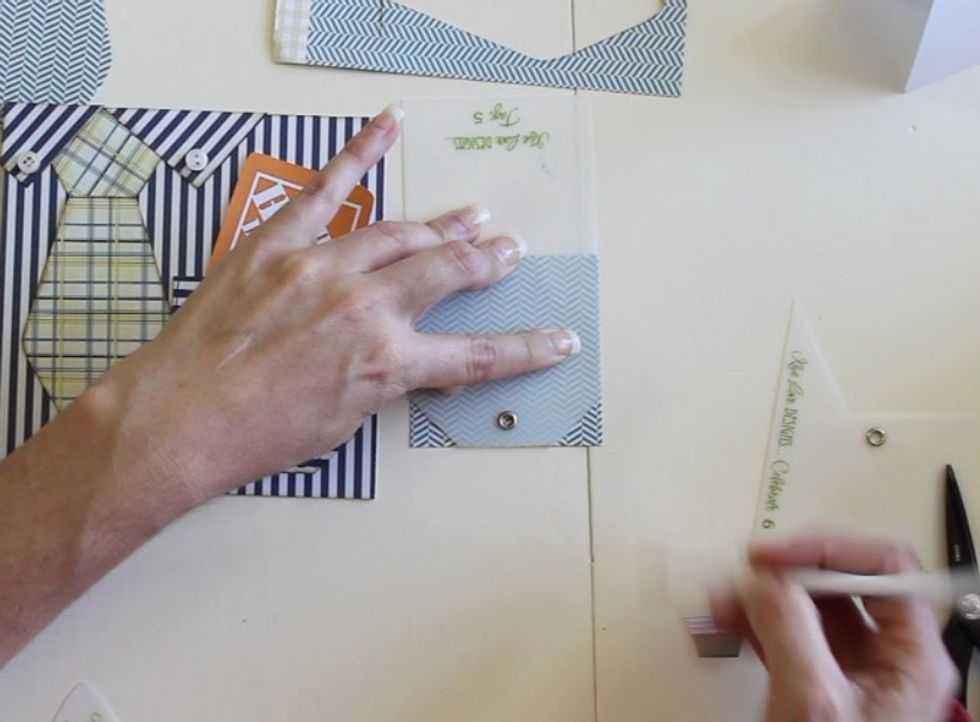
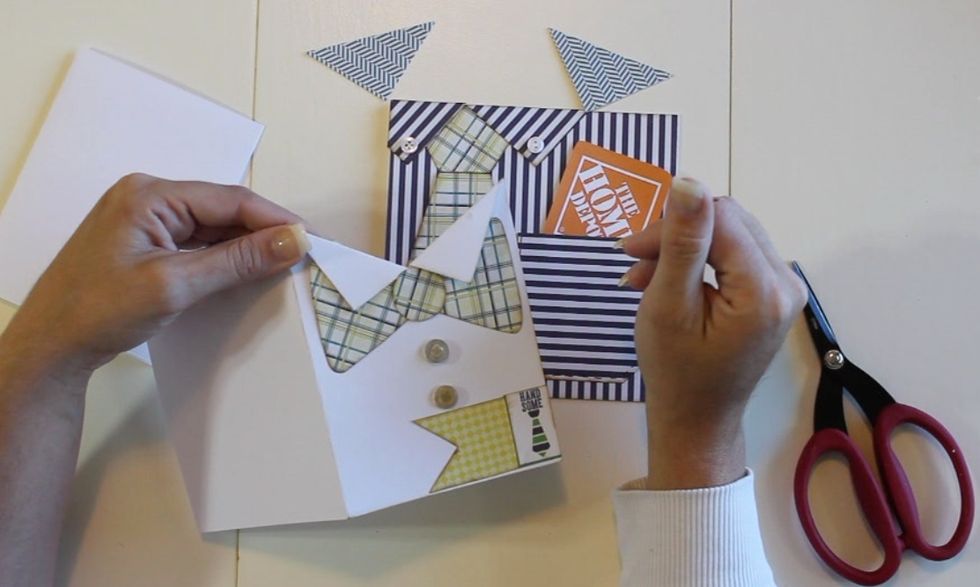
To create the collar, take a 2x2 inch square....
Cut it in half.... diagonally.
Then trim the excess off the collar, depending on the placement of your card.

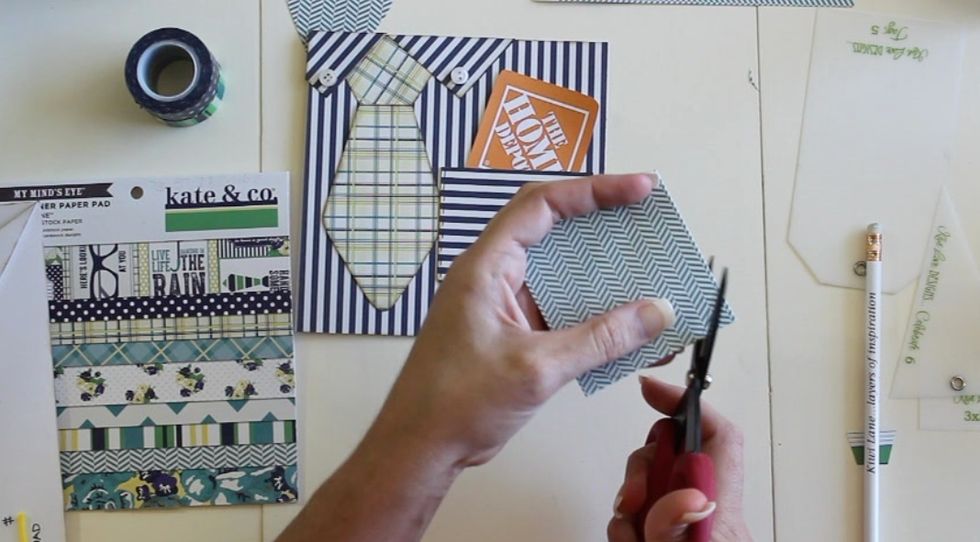
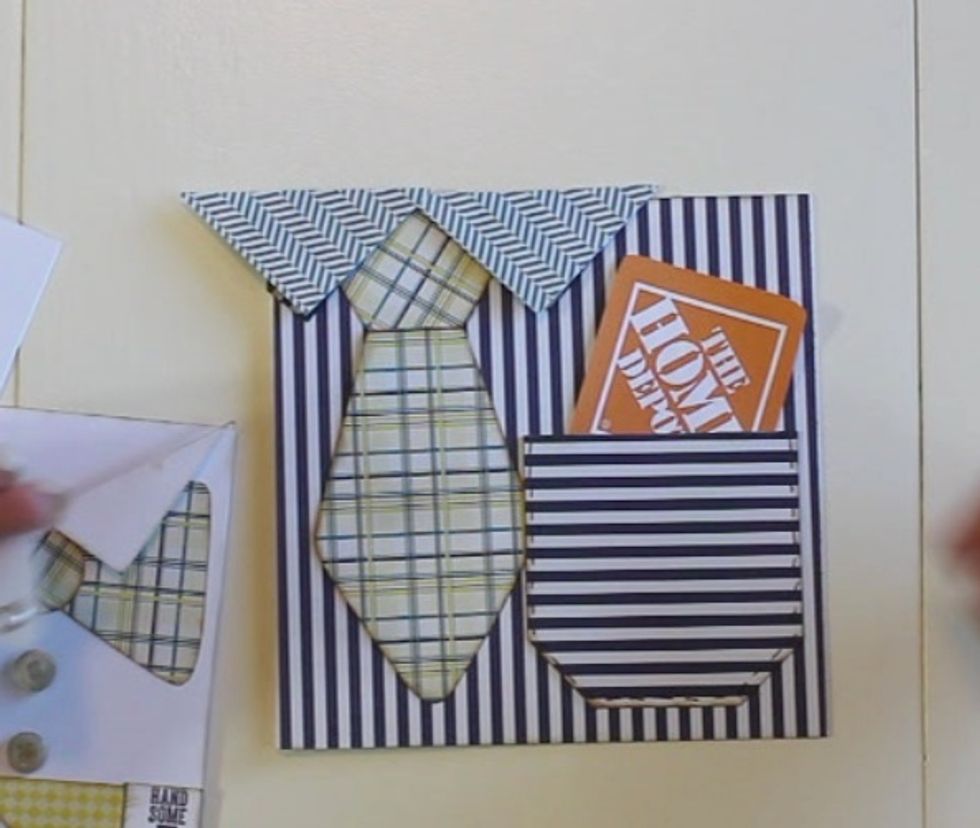
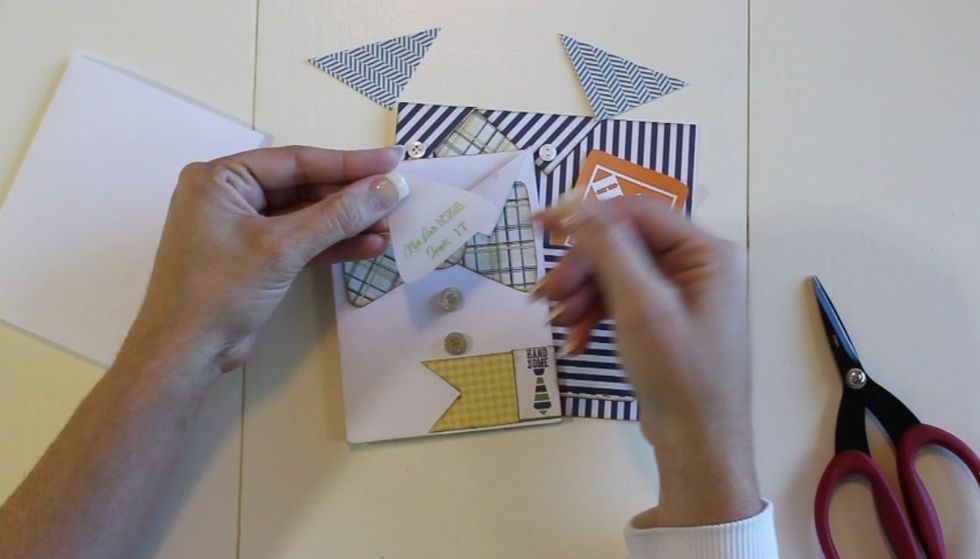
This is a great way to spice up a gift card. Give it with a handmade card and a personal note!
You can also make a bow tie card using 2 small triangles.
Cut two small triangles. ( I used KLD Tiny Shapes 1T)
Then cut a slit in the middle of the card at the top about 2" down. Fold over the flaps to create the collar.
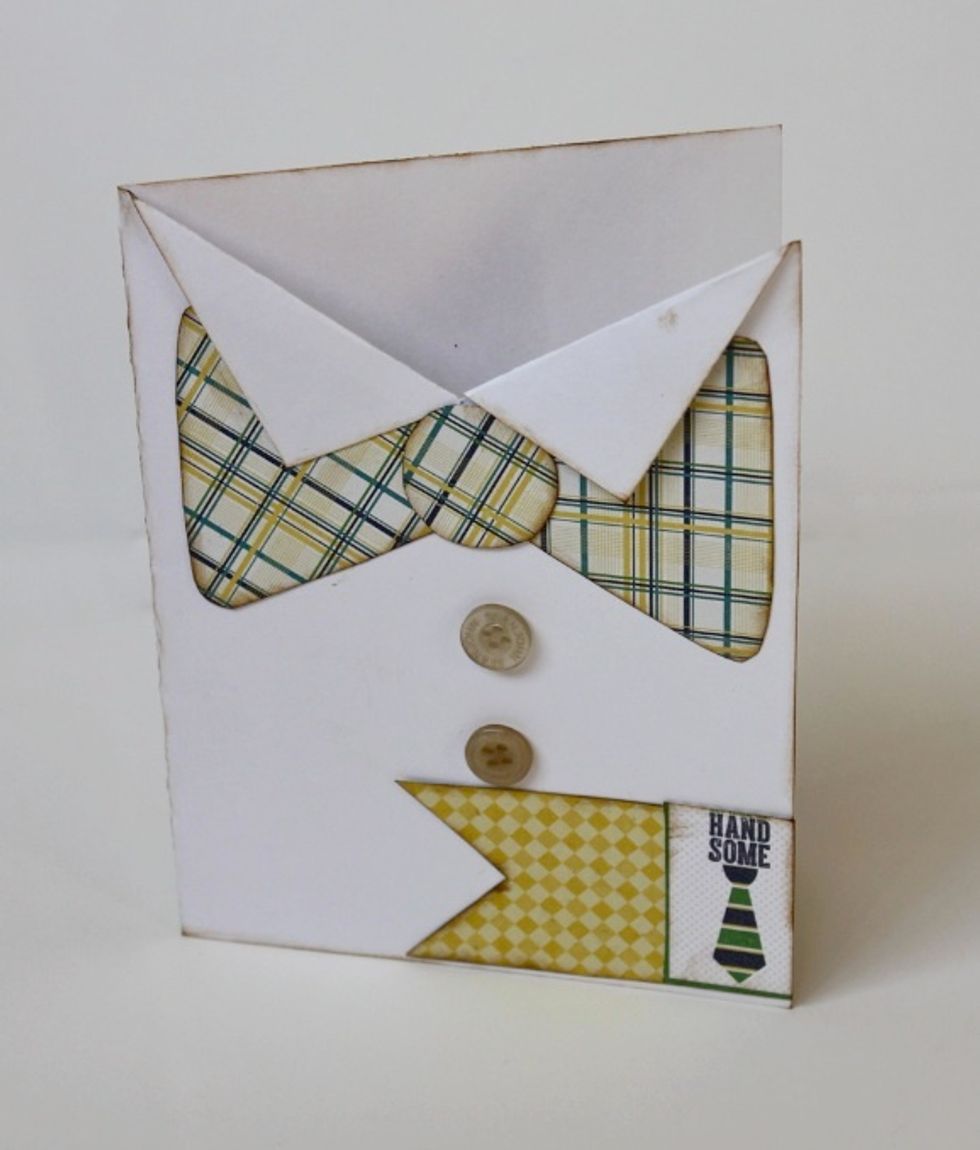
The perfect card for any guy in your life!

www.kiwilane.com