The Conversation (0)
Sign Up

First of all you need white and black paper, watercolor crayons, brushes and a pen.
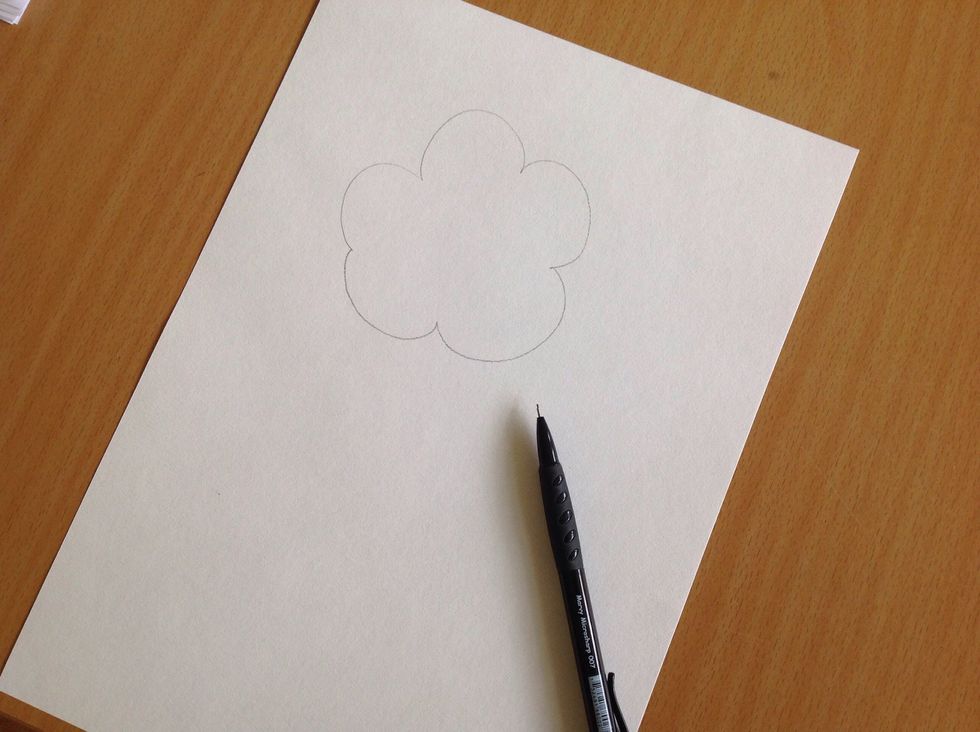
Start with drawing your tree, I didn't add a lot of details but that's entirely up to you!
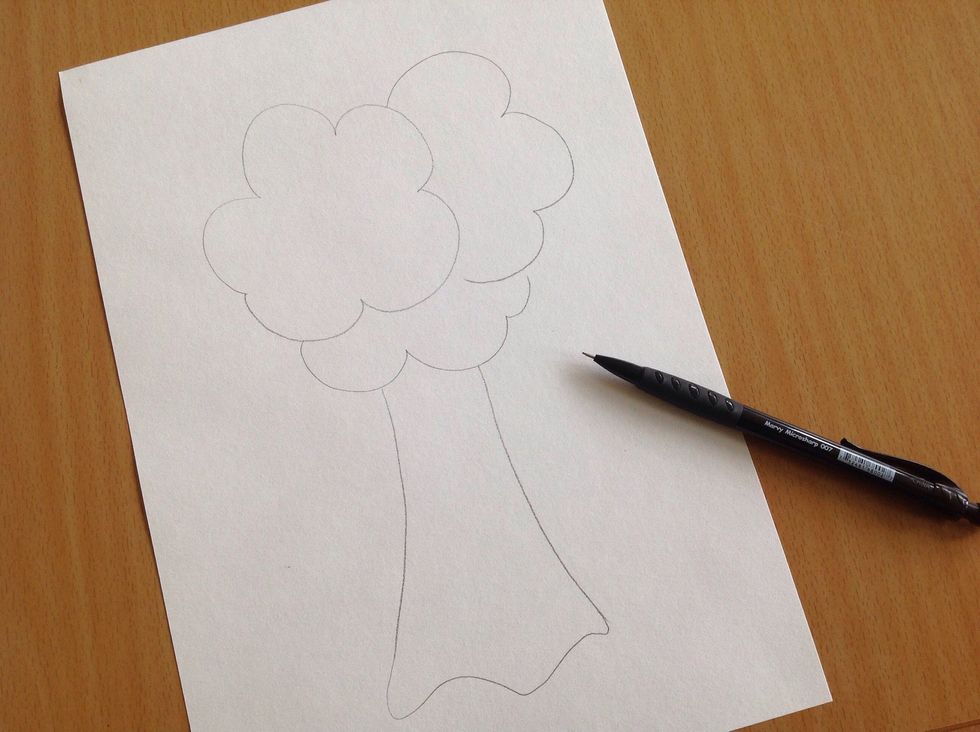
Finish the tree!
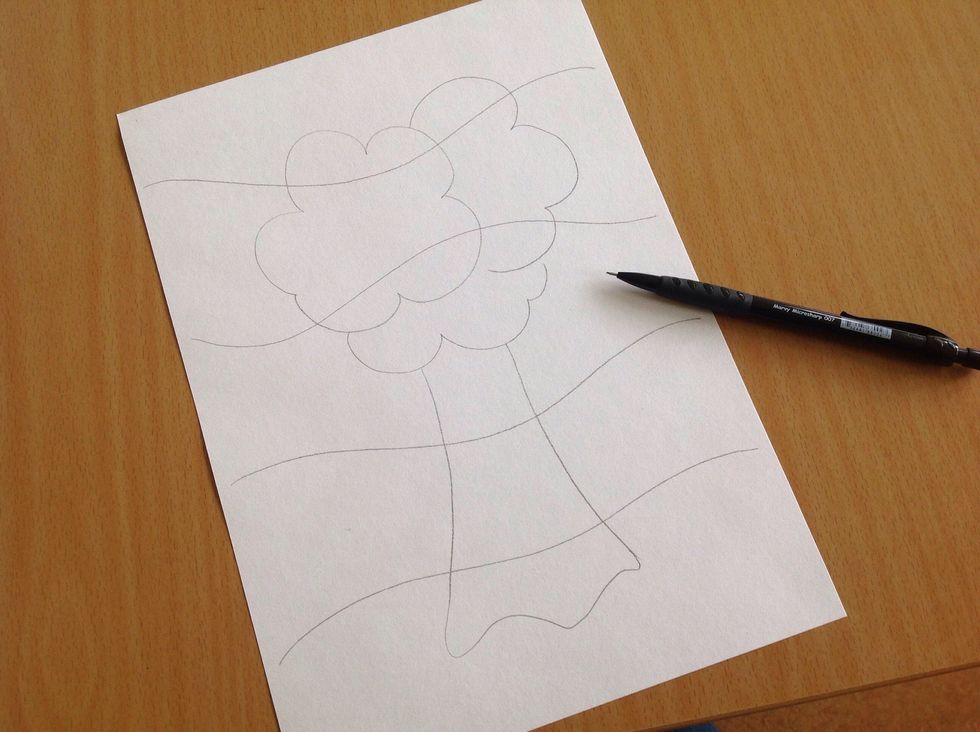
Add som wavy lines across the drawing.
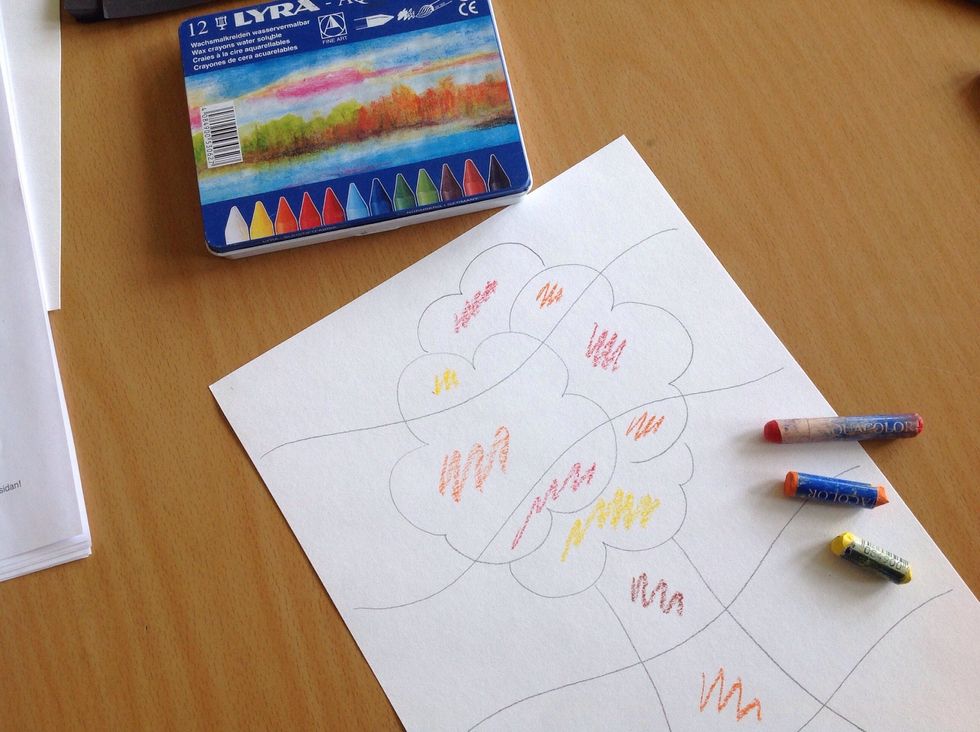
Use warm colors inside the tree. Be careful not to put the same colors next to each other.
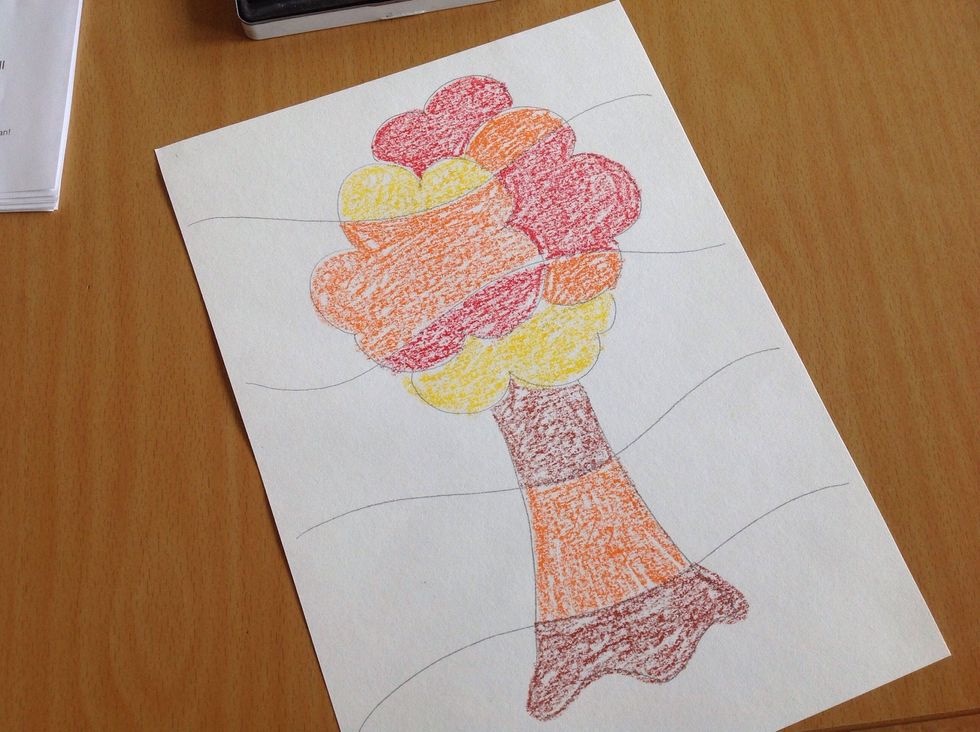
Fill in the spaces!
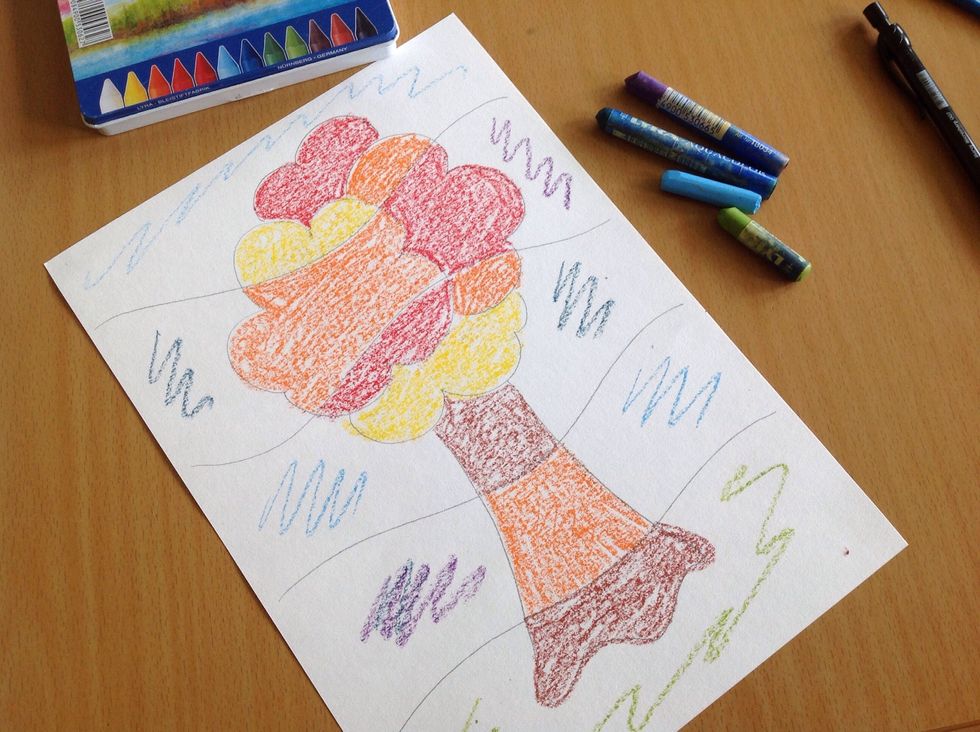
Use cold colors outside the tree.
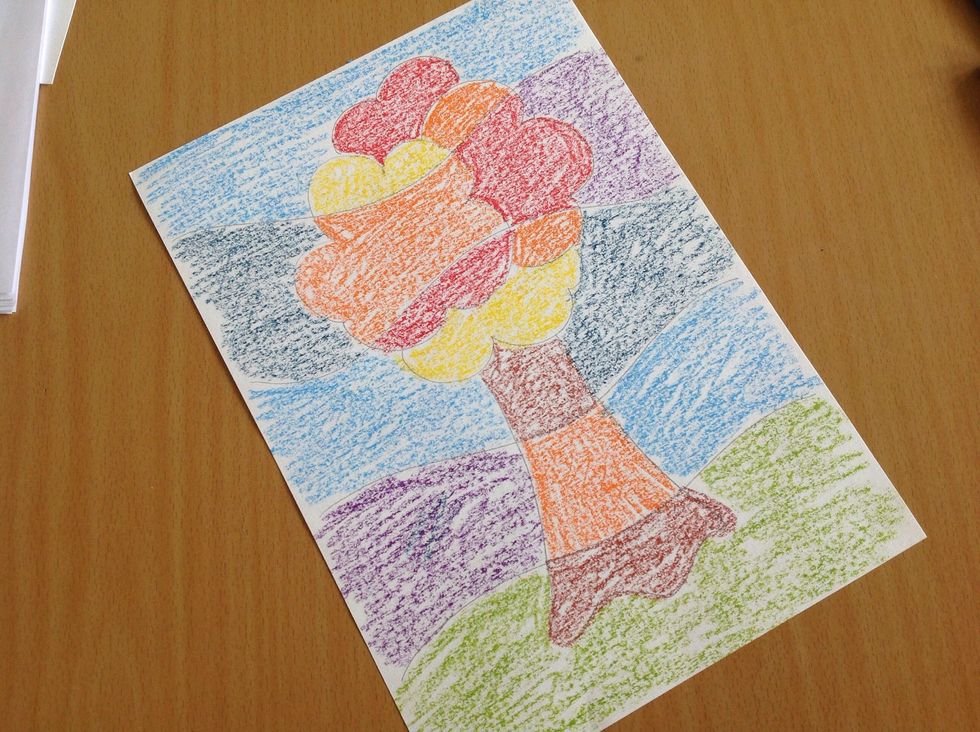
And fill in the spaces :-)

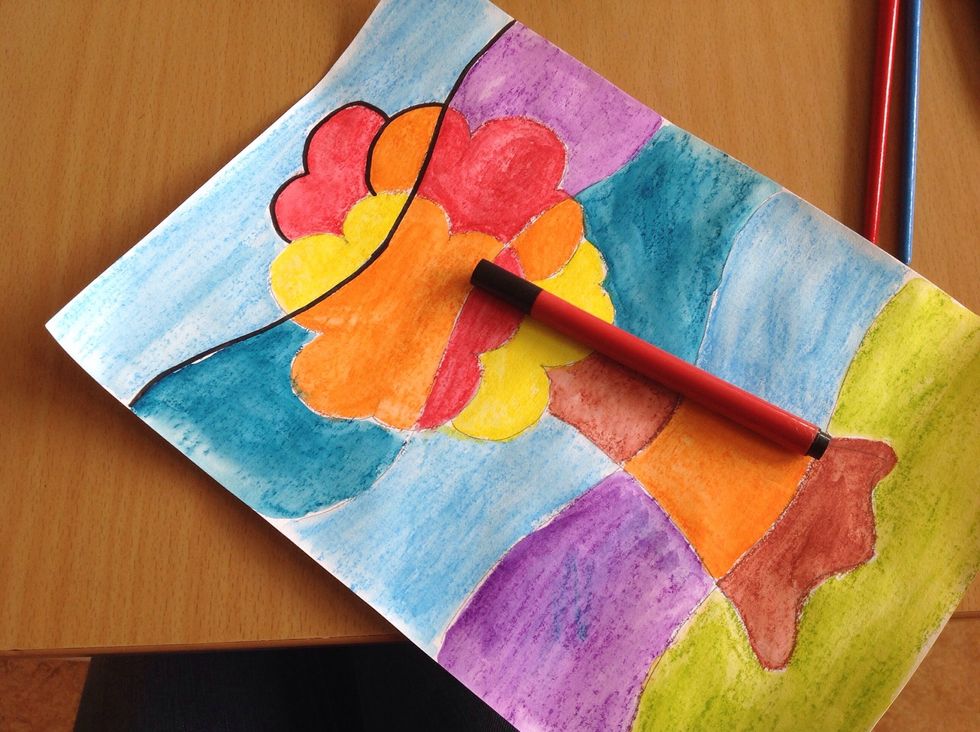
Use a watercolor brush and some water to spread out the colour!

Keep going! It's a smart strategy to not paint spaces next to each other, just to stop the paint from bleeding into one another!
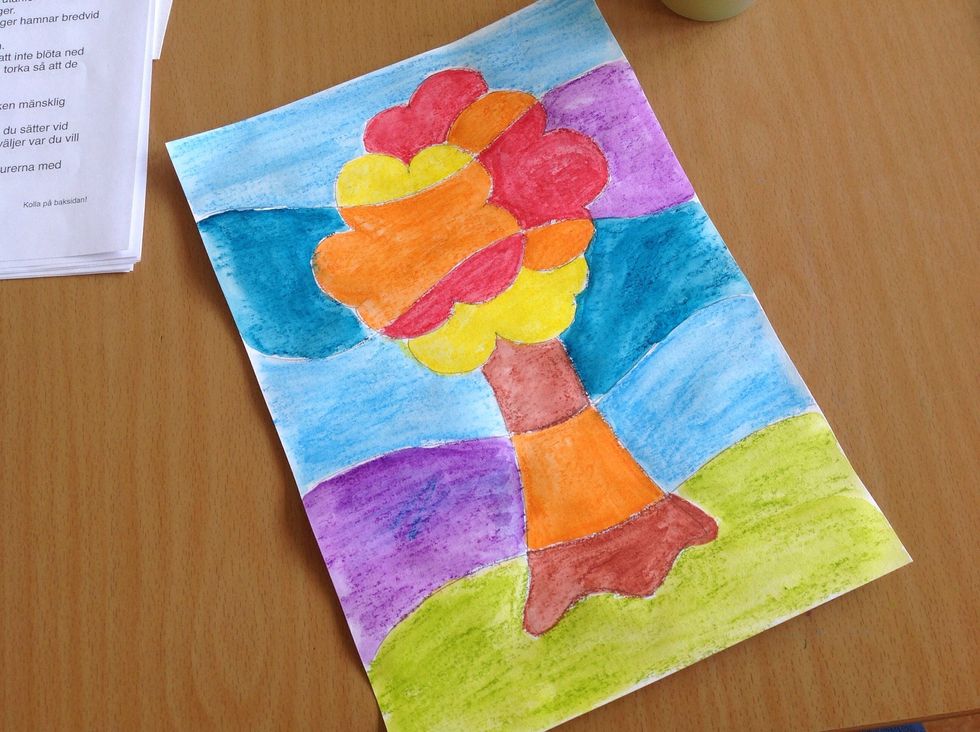
Almost finished!
Mark the contours with a black pen.
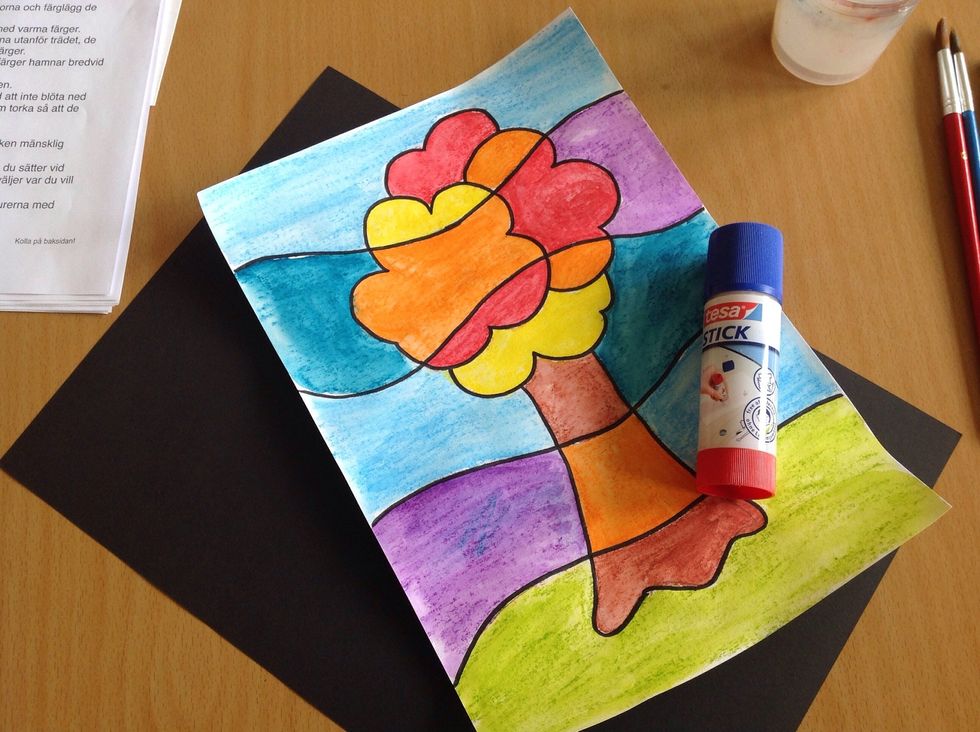
Go get some glue!
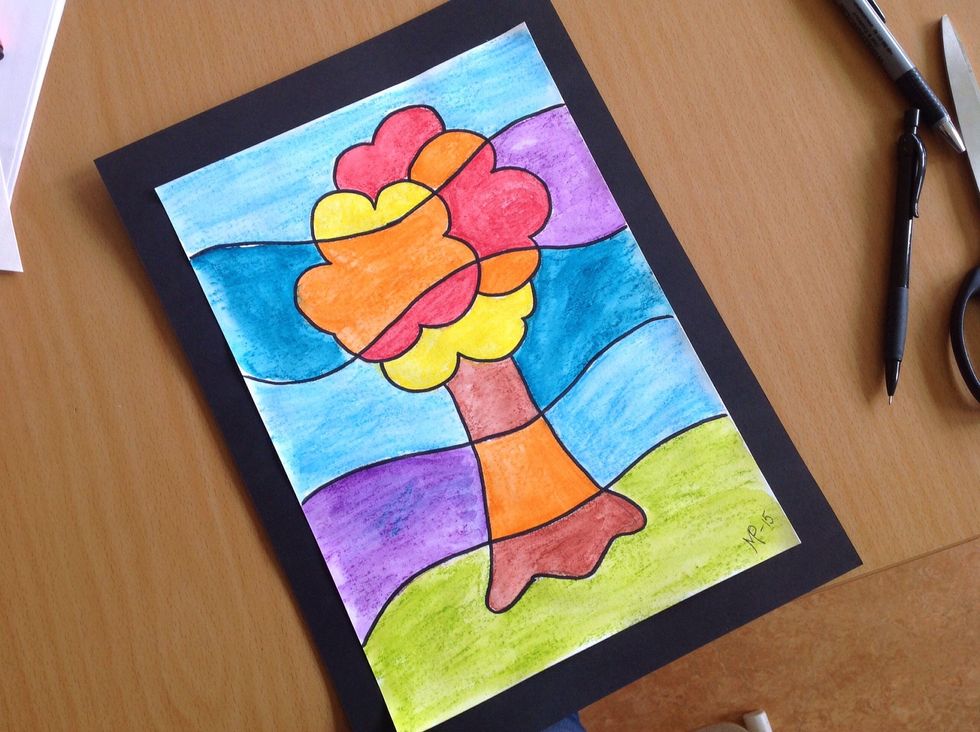
Glue your tree to a black paper, it's the nicest way to make it pop out!
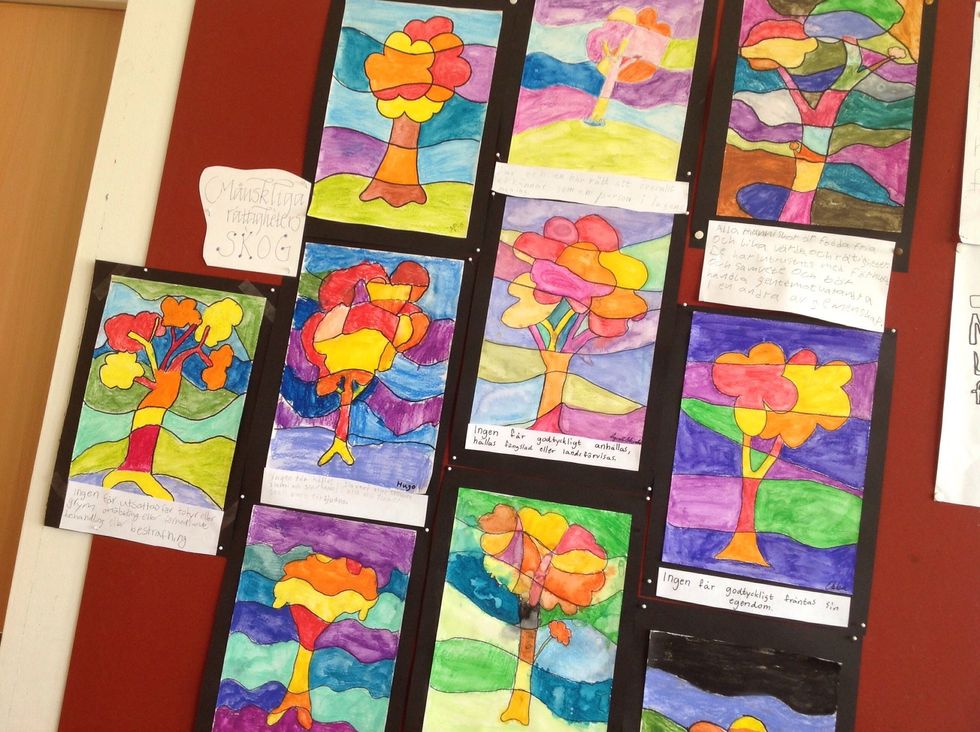
All our trees! Nice - Right!!