The Conversation (0)
Sign Up
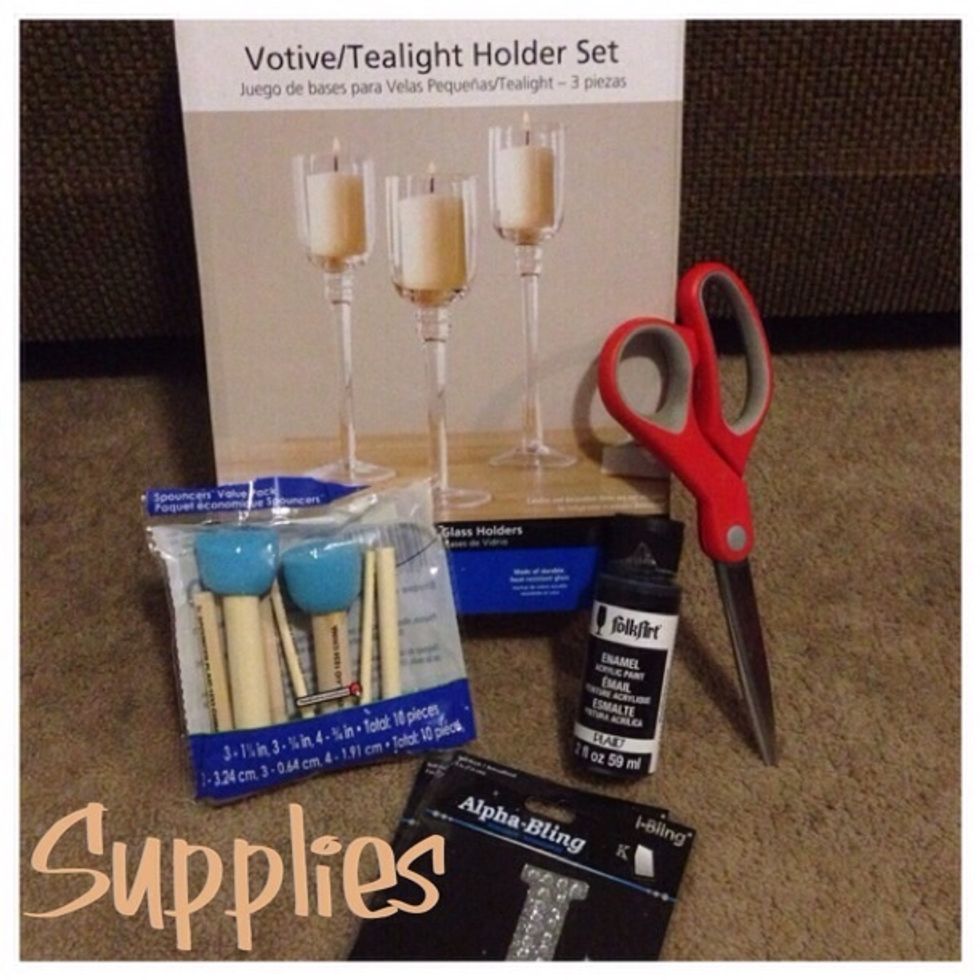
Supplies ✂️
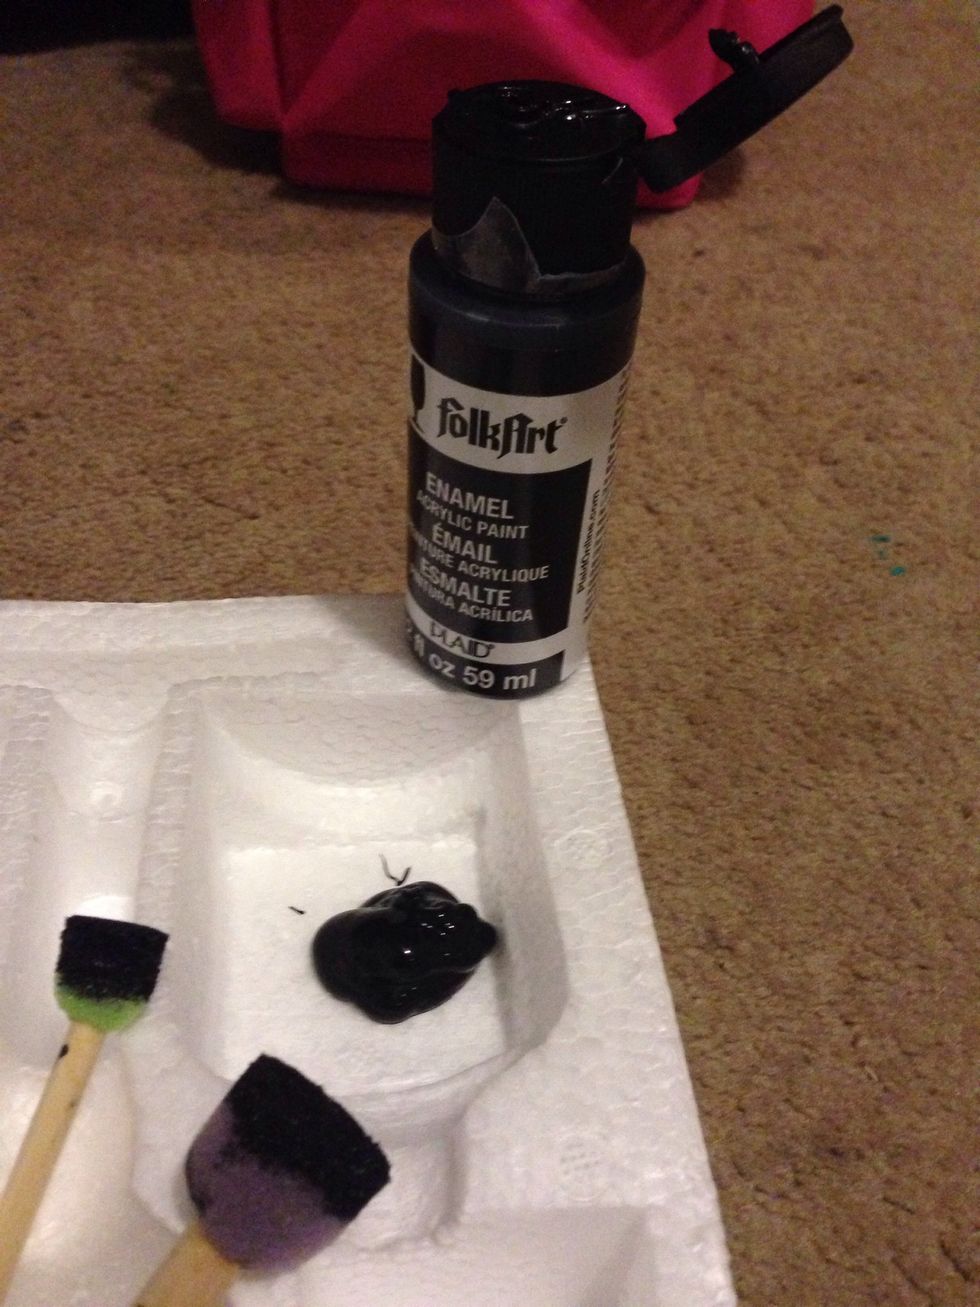
Enamel paint and two sponge applicators
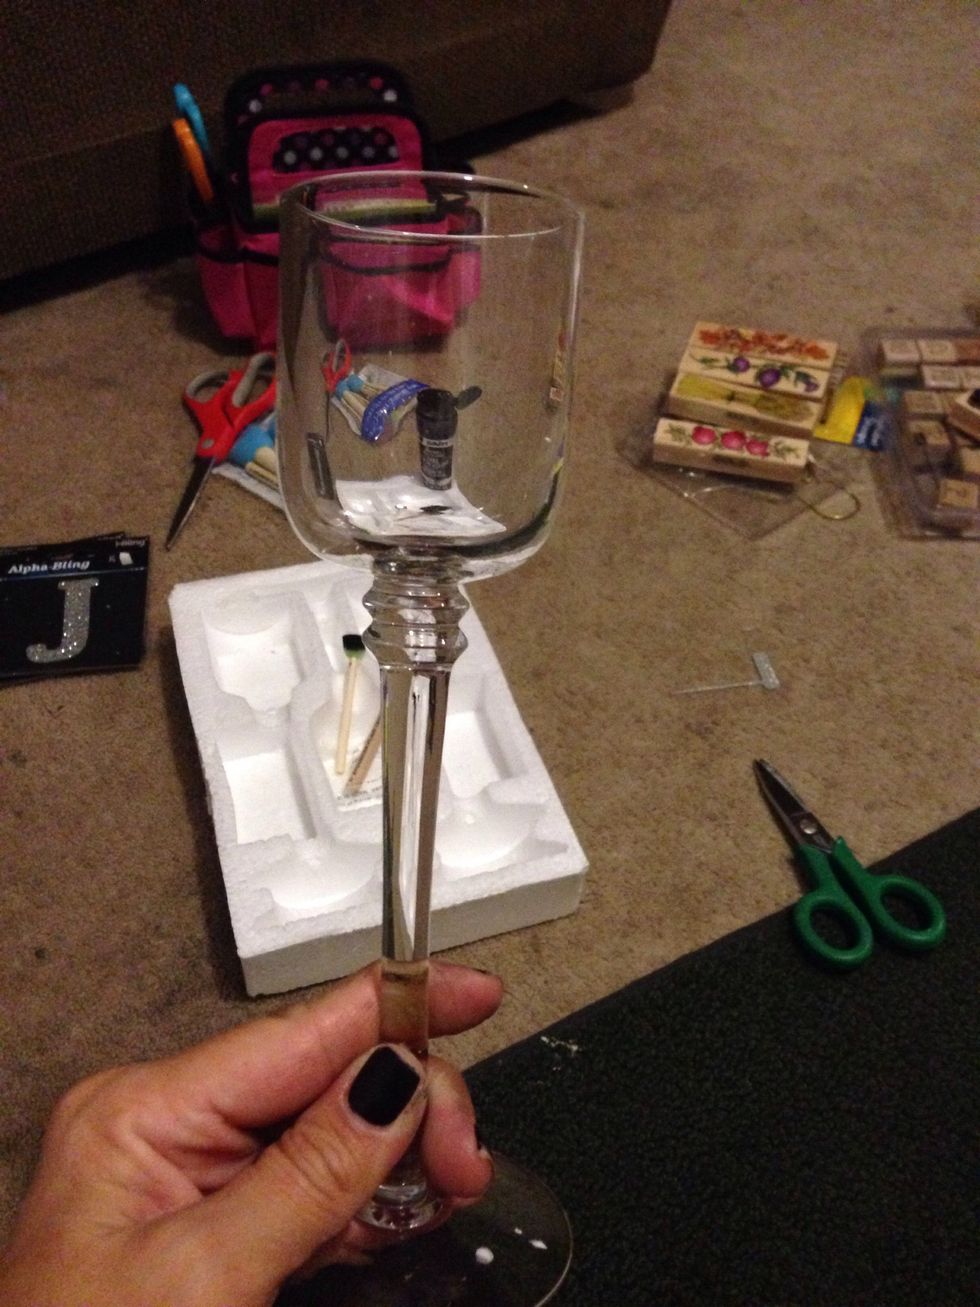
Glass votive/tealight holder before
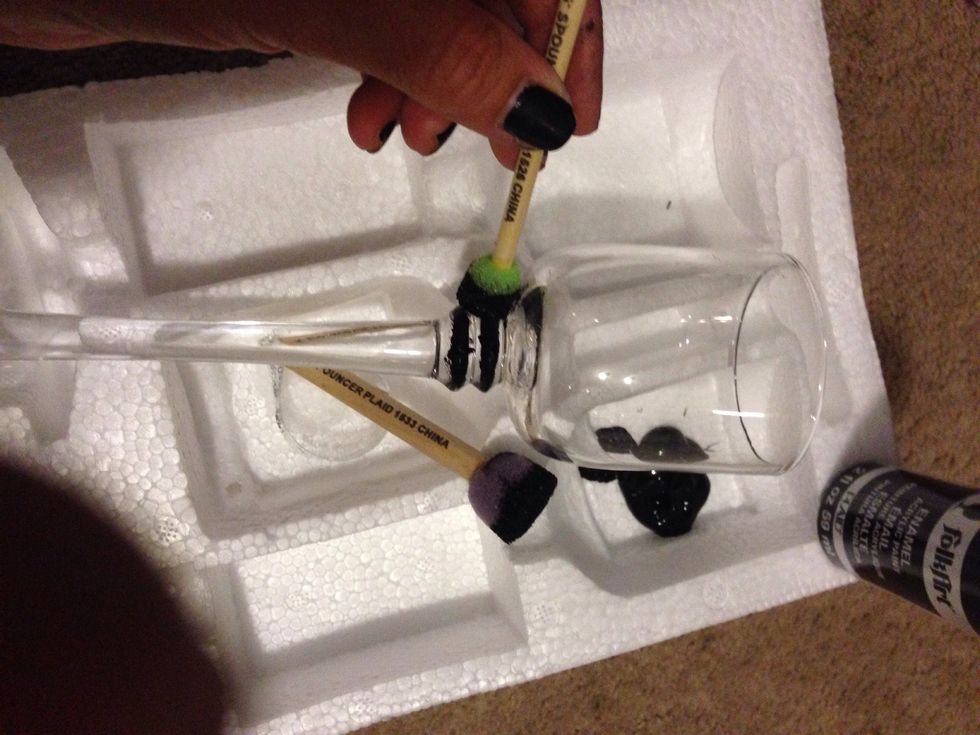
Starting at the base with the smaller sponge applicator
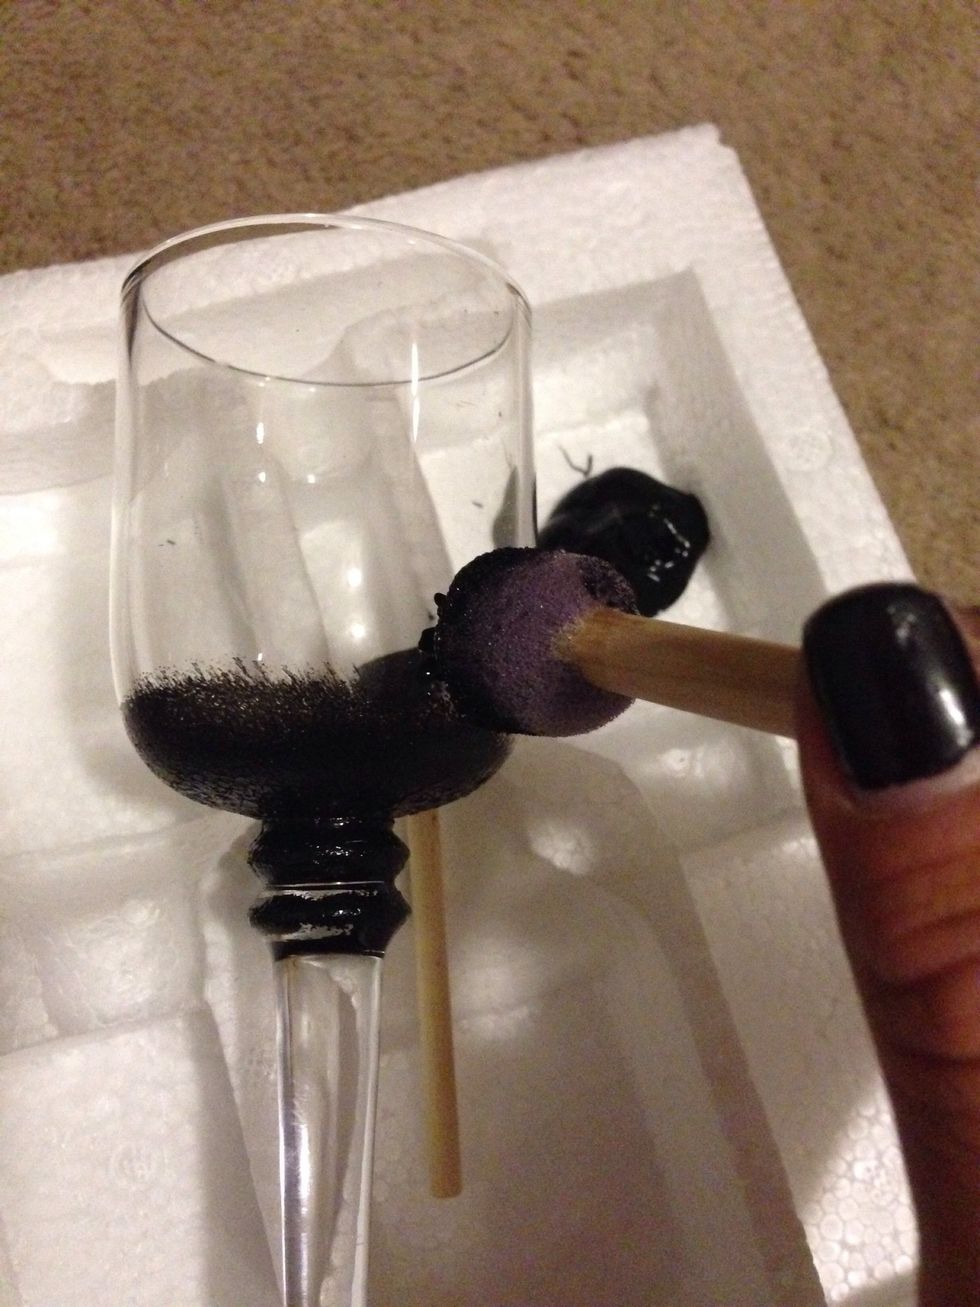
Working my way up I switch off to the larger sponge applicator
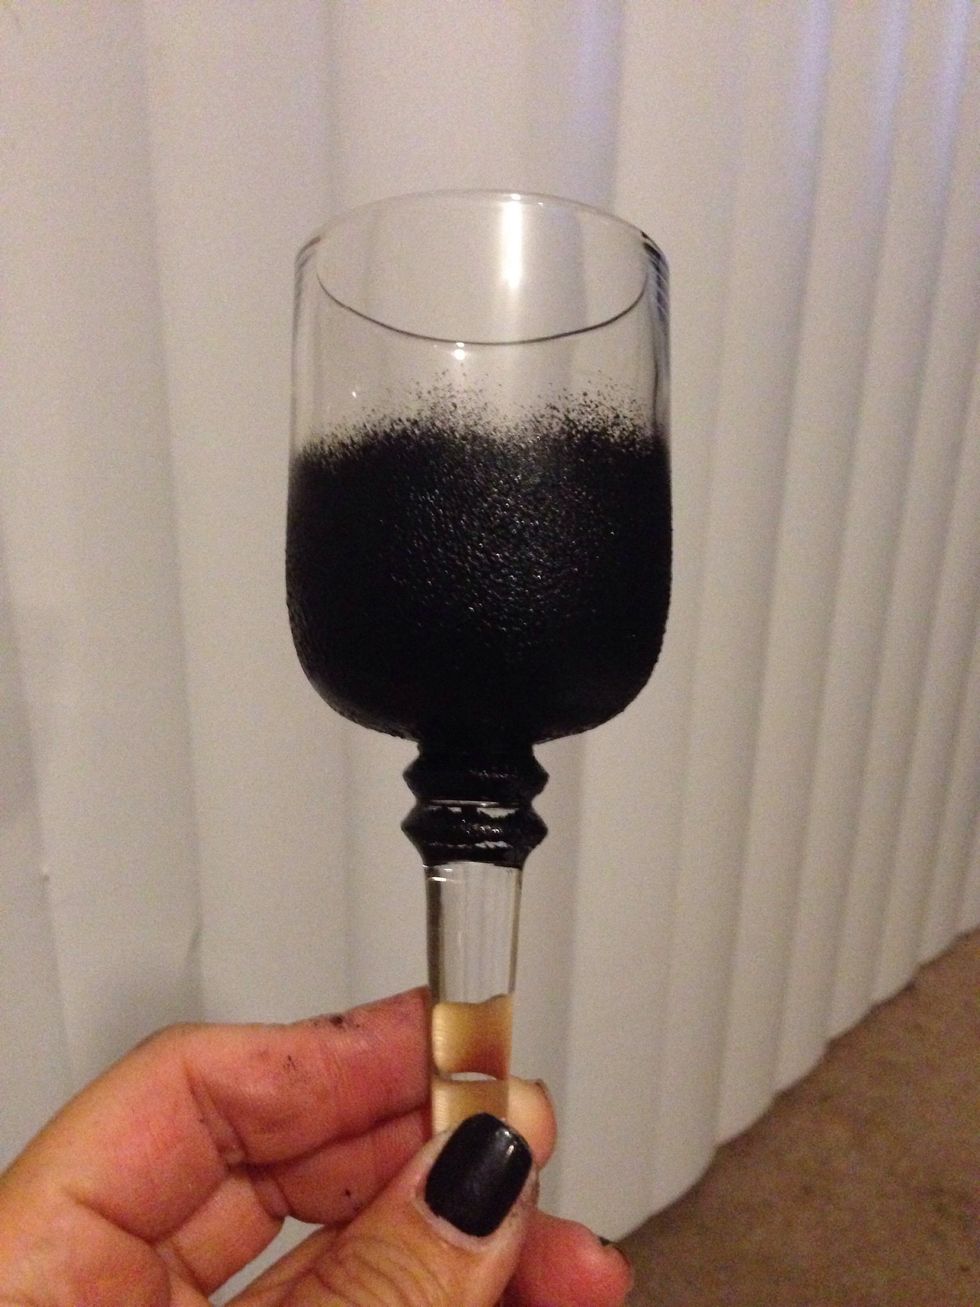
Finish applying the enamel paint in an upward motion tapping the sponge lightly to give a faded effect
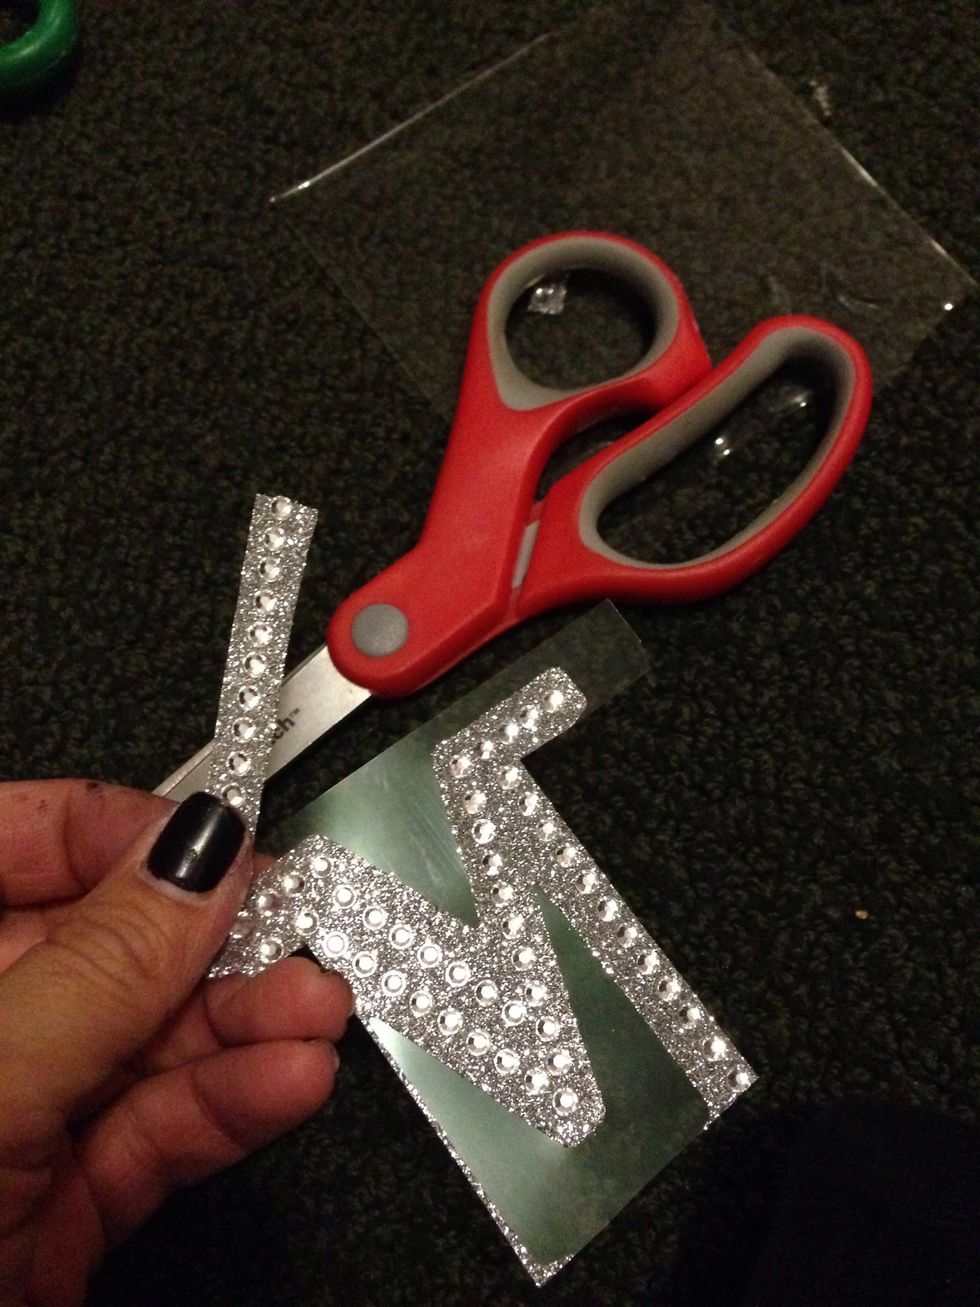
I purchased the alpha bling at the 99 cent store and cut it to my liking which allowed me to create a fancy yet affordable tealight
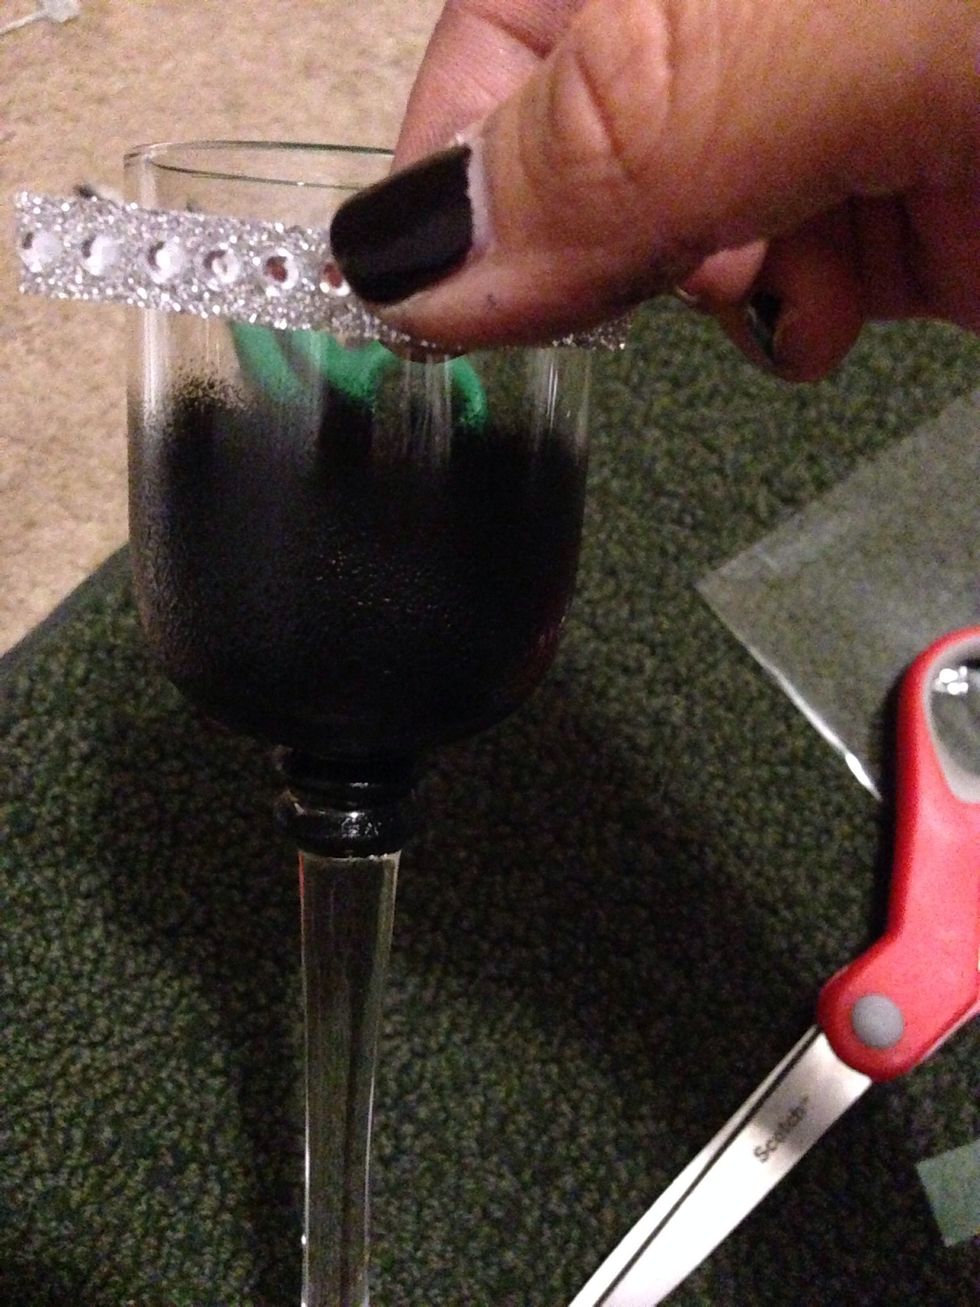
After cutting my "bling" I place it as close to the rim of the tealight as possible
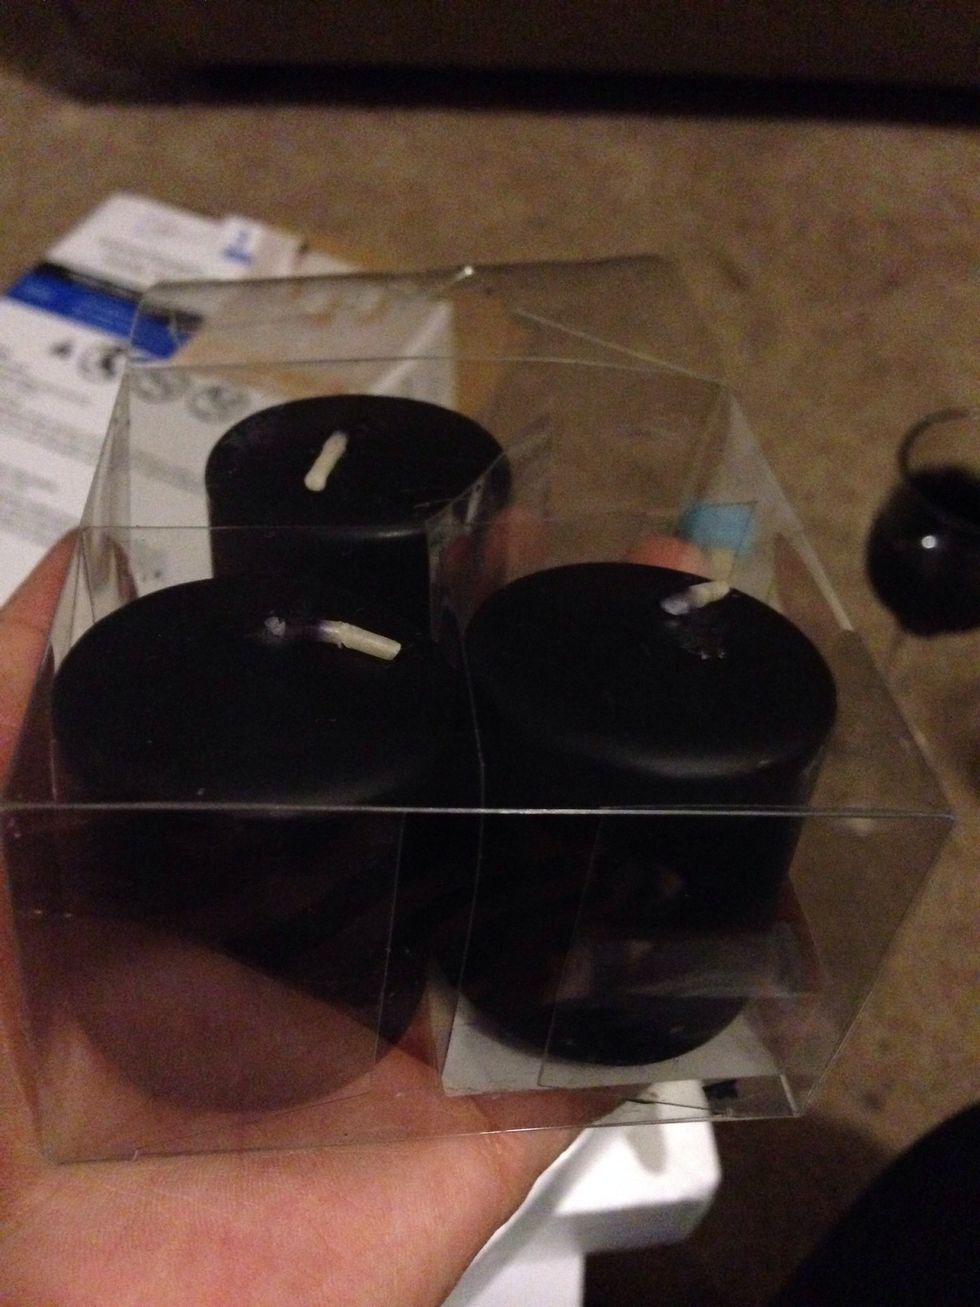
I chose black votive candles
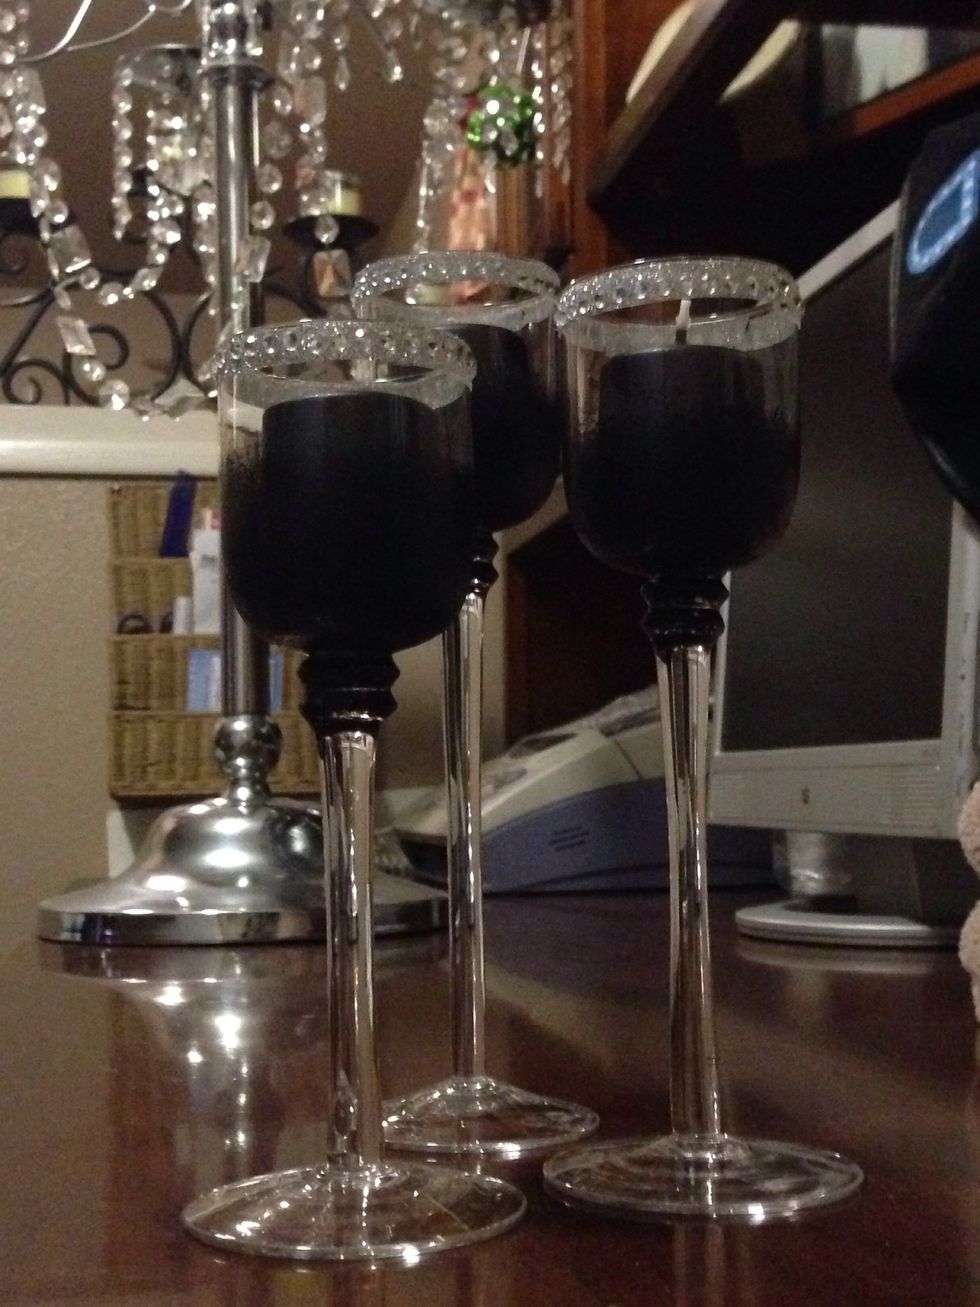
All done!!! This will be a beautiful addition to my wedding centerpiece EXTRAVAGANZA!!!! 💍