The Conversation (0)
Sign Up
We are making a clamping fan with rubber sealing grommets. Read through this guide carefully before building this unit
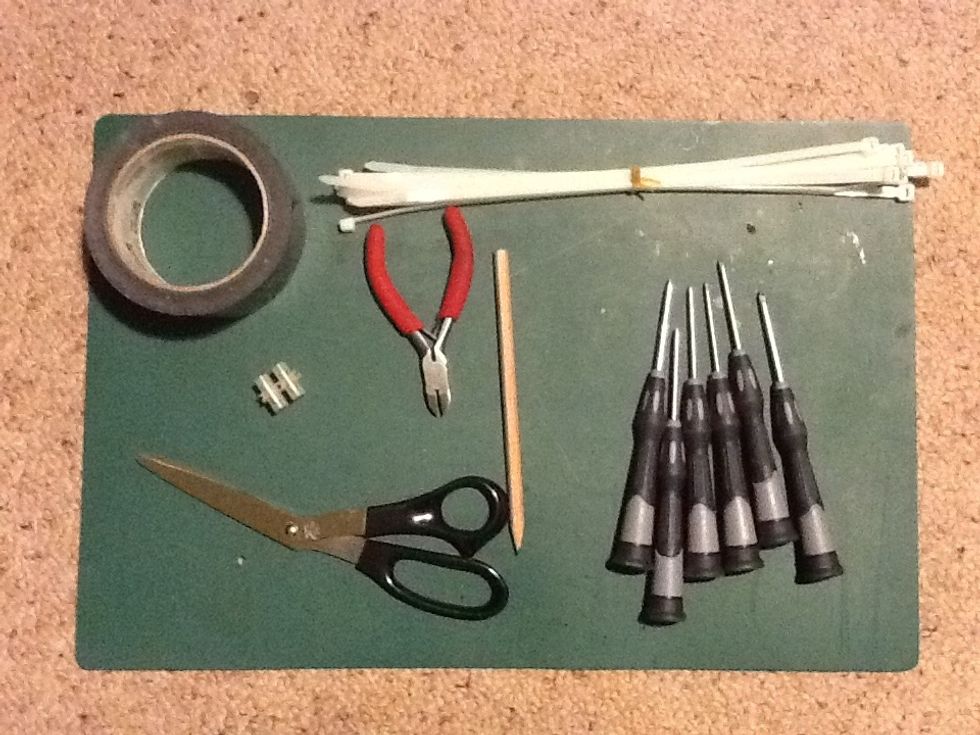
Gather your tools. Most of these can be found around a workshop.
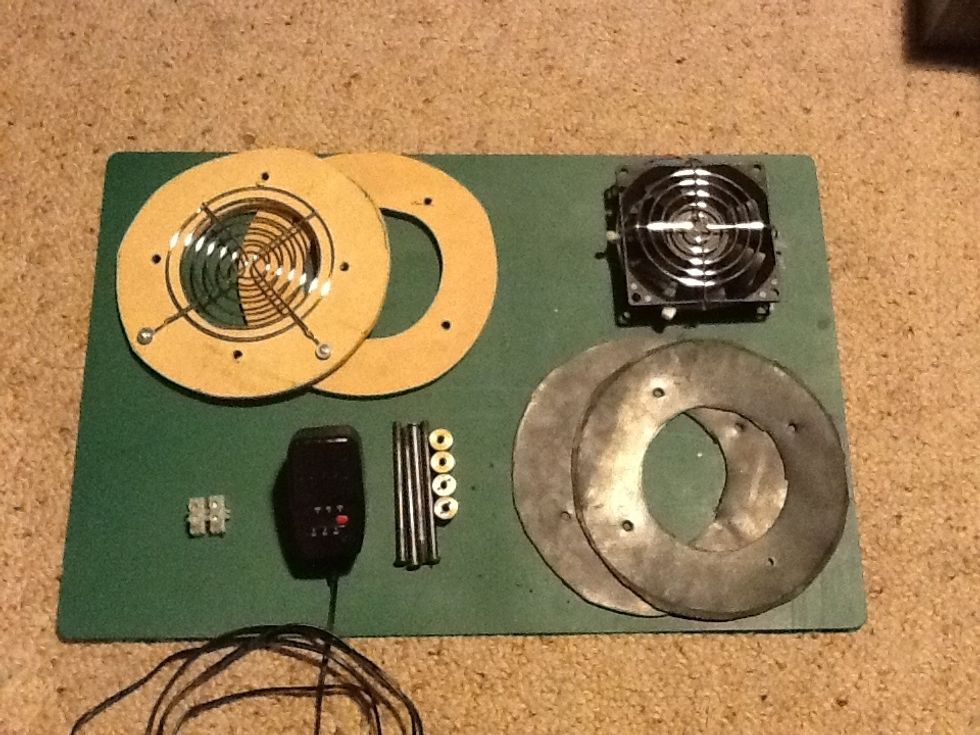
You will need to buy a small fan, MDF, bolts, electrical screw terminals, a switchable power trnasformer that does 9v and 12v at 1.5 amps and rubber sheeting
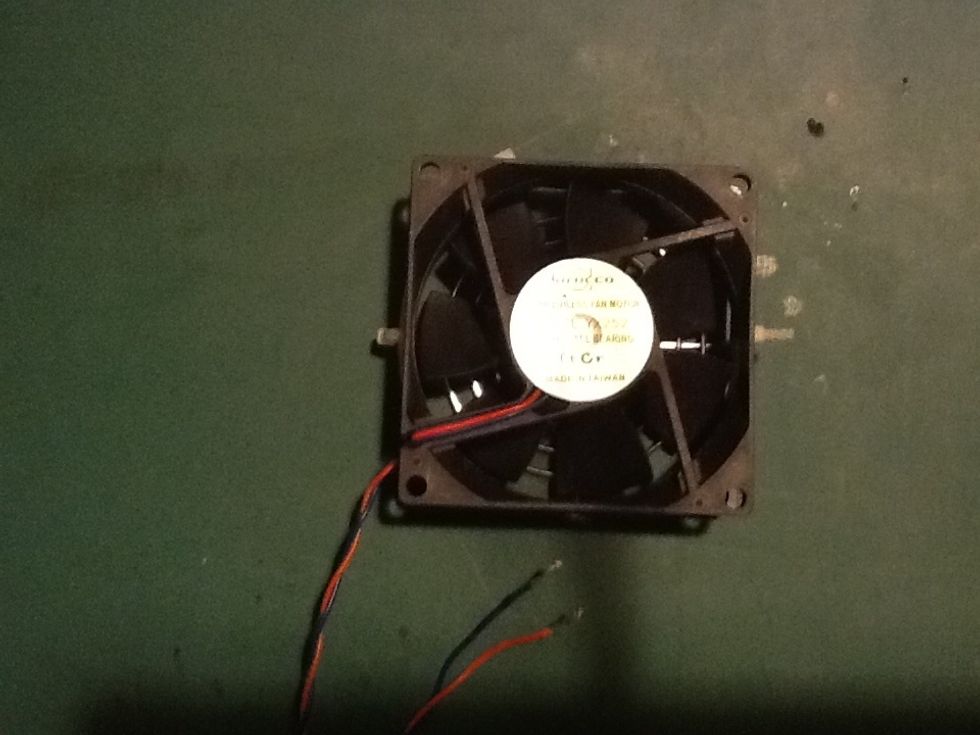
Start with your fan. You can find the voltage generally written on the back or side. Also note the direction of the fan from an arrow written on the side. Brushless fans are prefered
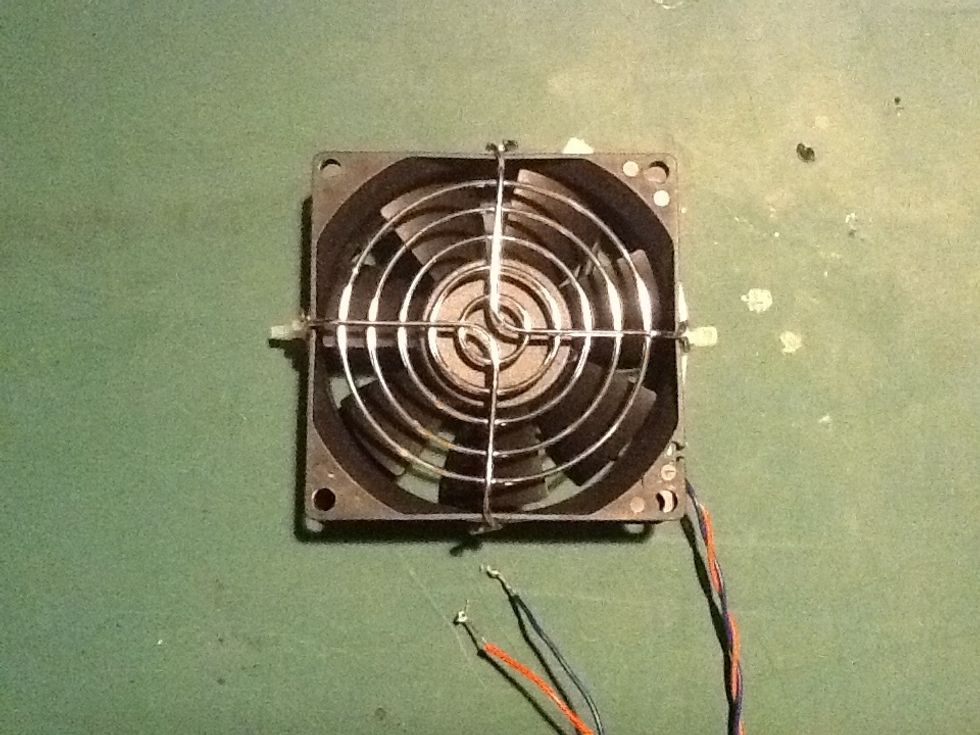
Using cable ties, attach the rear fan guard to the unit. Bend the attachement points down over the fan and using a large cable tie around the circumfrance of the unit to hold the guard in place
Fan guards are essential for this unit to protect your fingers and your inflatable material from being shredded by the fan accidently
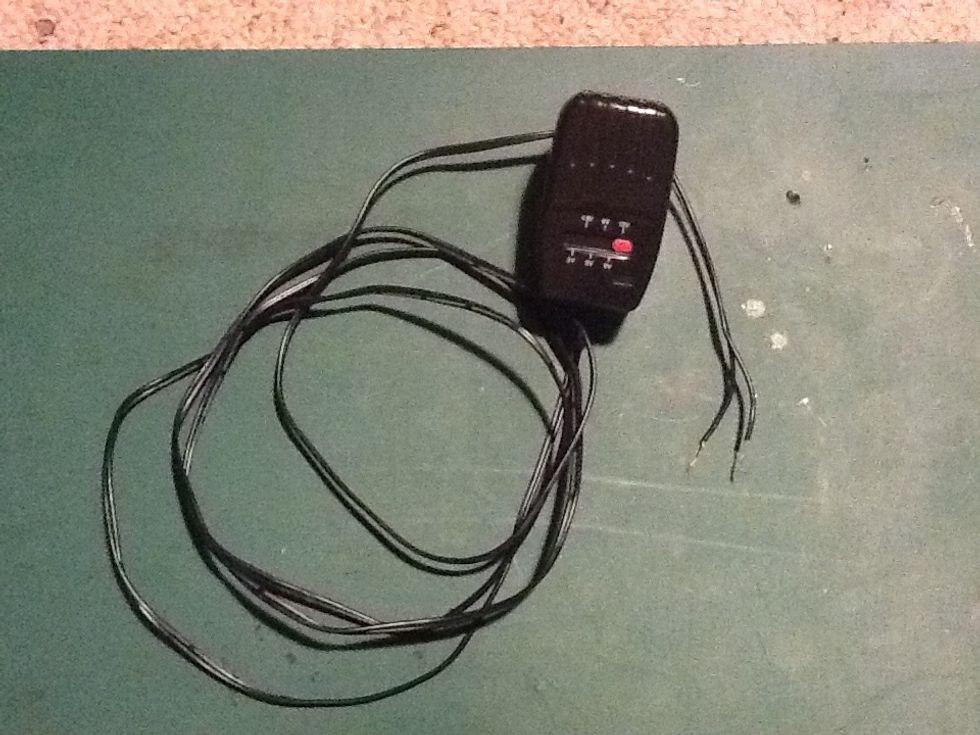
Once tou have determined your fans voltage switch your power supply to the appropriate voltage. Strip the wire ends bare with your cable cutters. Eensure your supply is a low ampage - bellow 1.5 amps
A larger ampage will risk burning out your fan unit
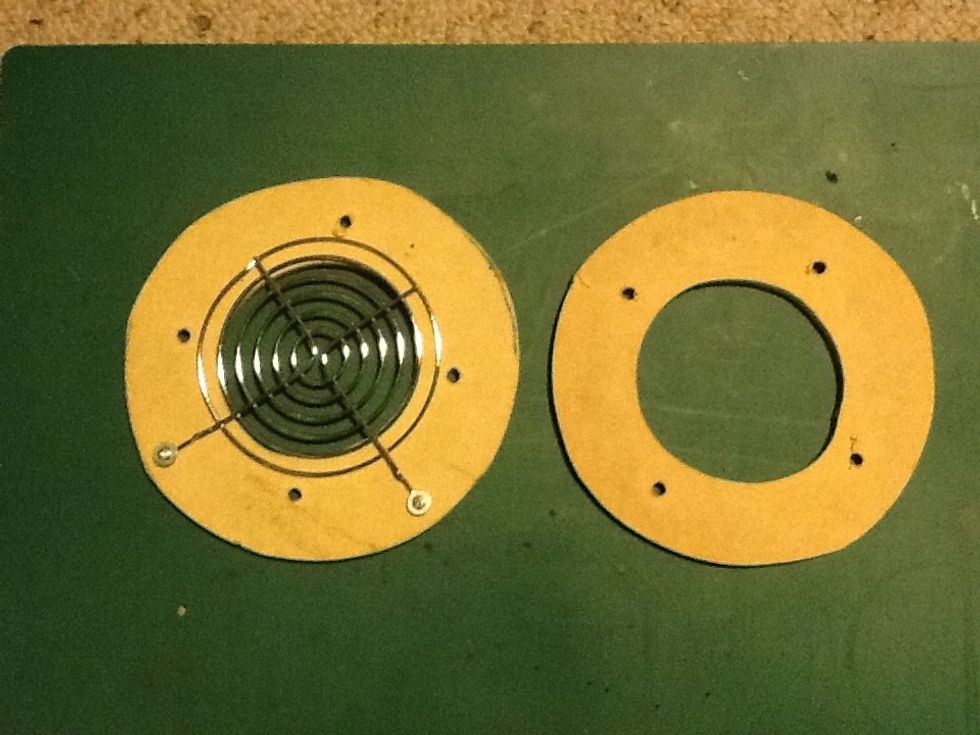
Using your fan as a template cut two rings in MDF (or similar material) with screw holes where the fans mounting points are located. On one of these rings attach the second fan guard
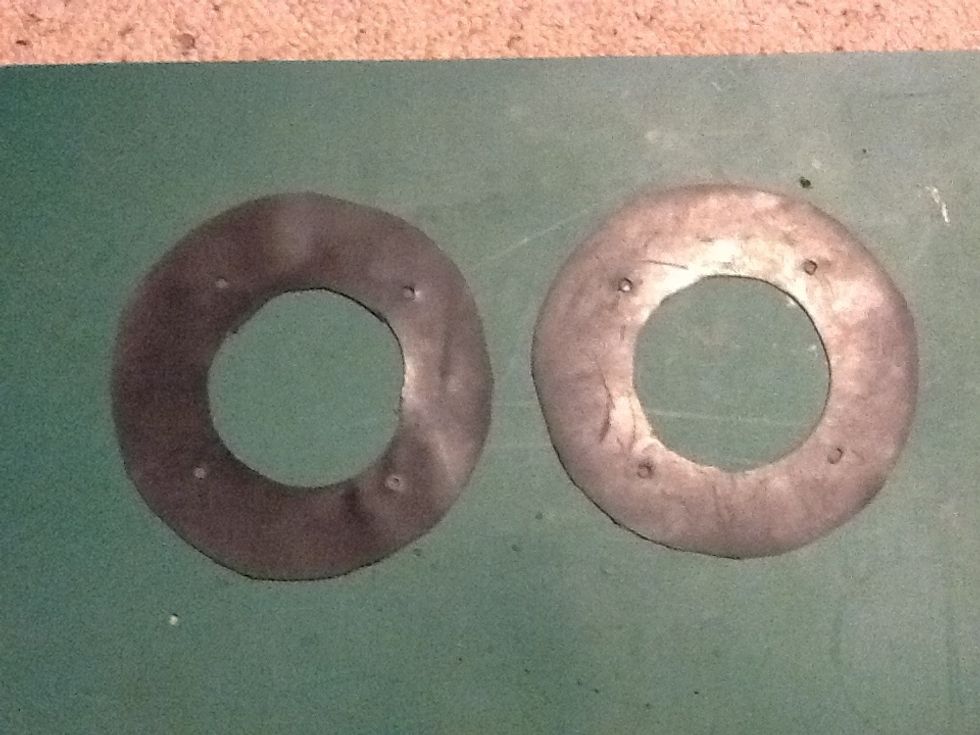
Using the MDF rings as a guide, mark and cutout two rubber rings to the same size. Add bolt holes as well using a drill or scissors. These are your fan seals
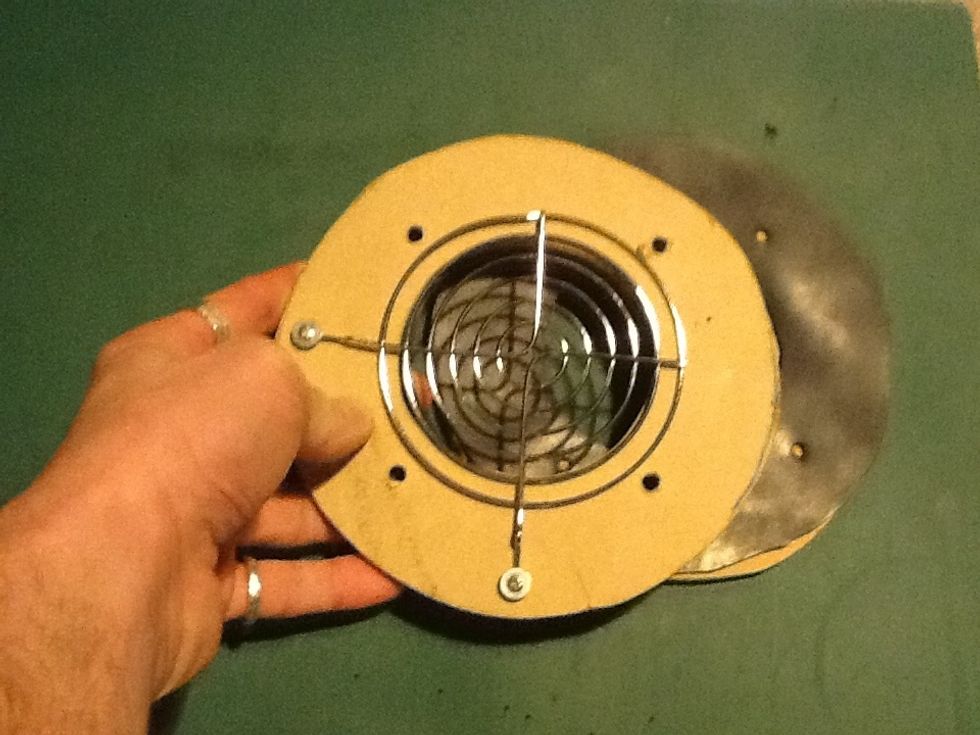
Sandwich your rubber rings between the MDF ones with the fan guard from one piece facing outwards
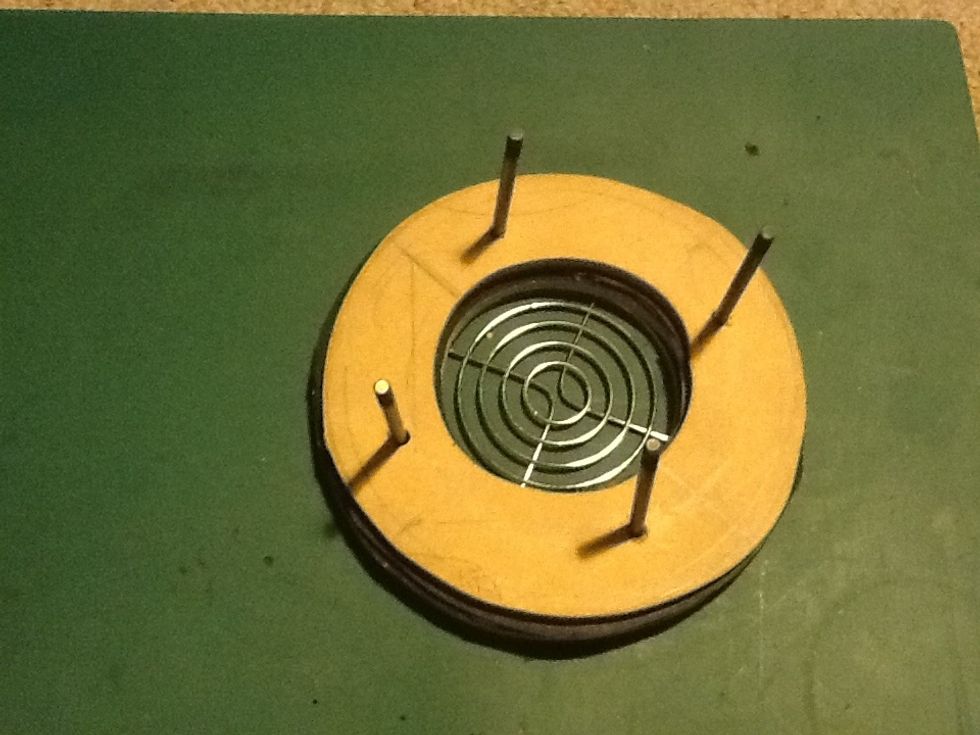
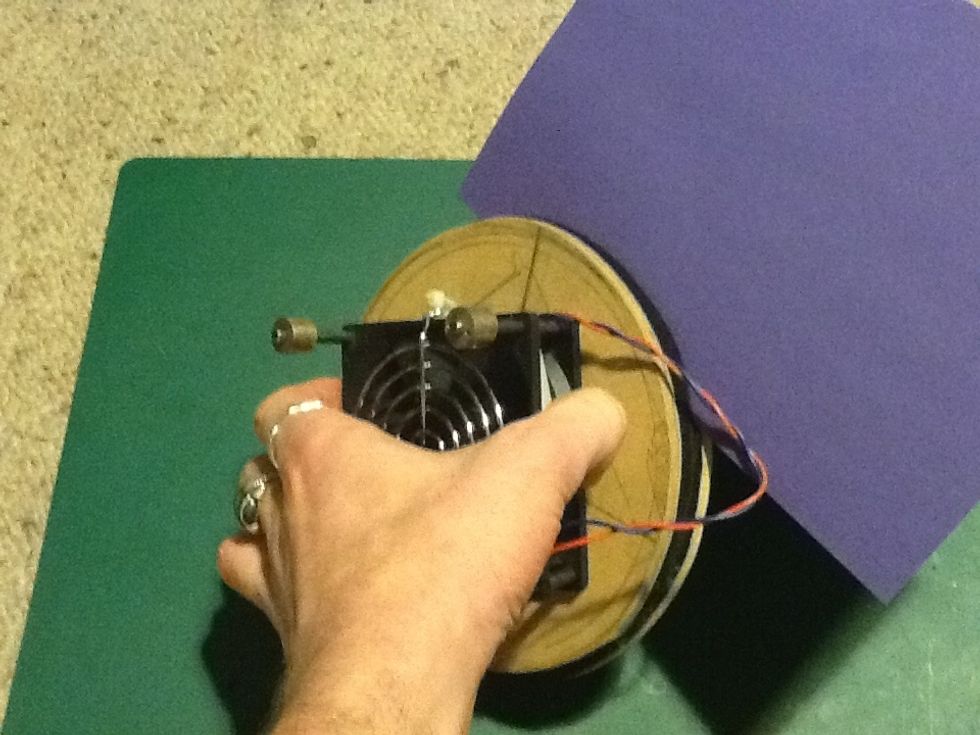
From the side of the guard push thru the four longbolts. These should be longer than the assembly of the whole fan unit to allow the fan to slide up and down to create a clamp.
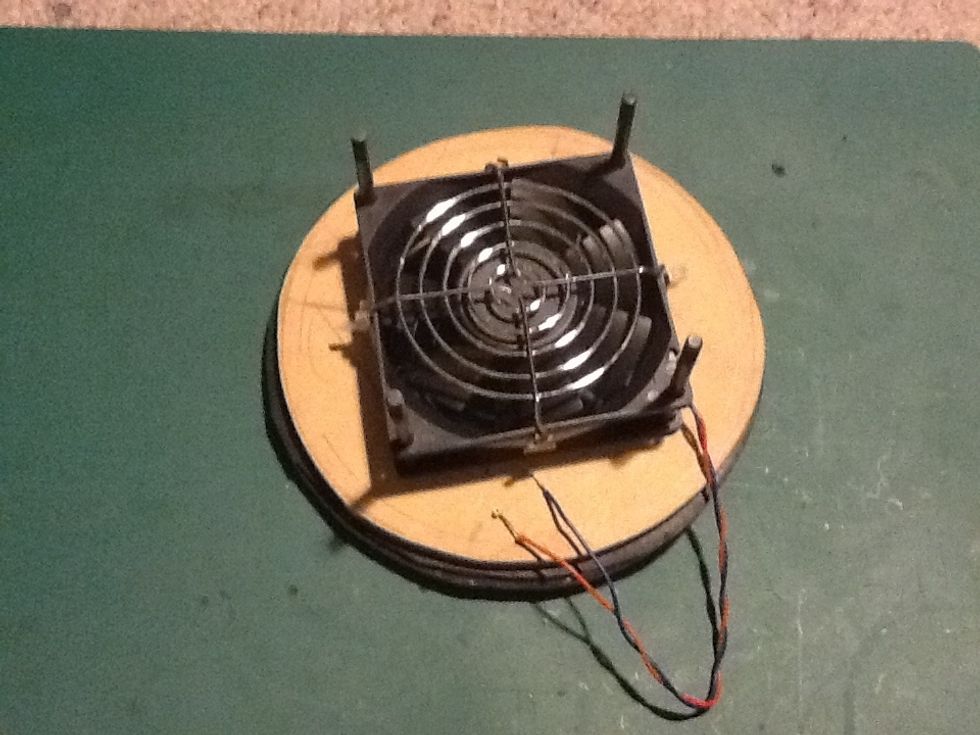
Slide the fan over and down onto the four bolts with the first fan guard facing up. Your fan should be pushing air through the rings ( in the above image that would be down)
The fan should slide up and down om the bolts easily enough. If it does not you will need to drill out the mounting points on the fan a bit more or get thinner bolts
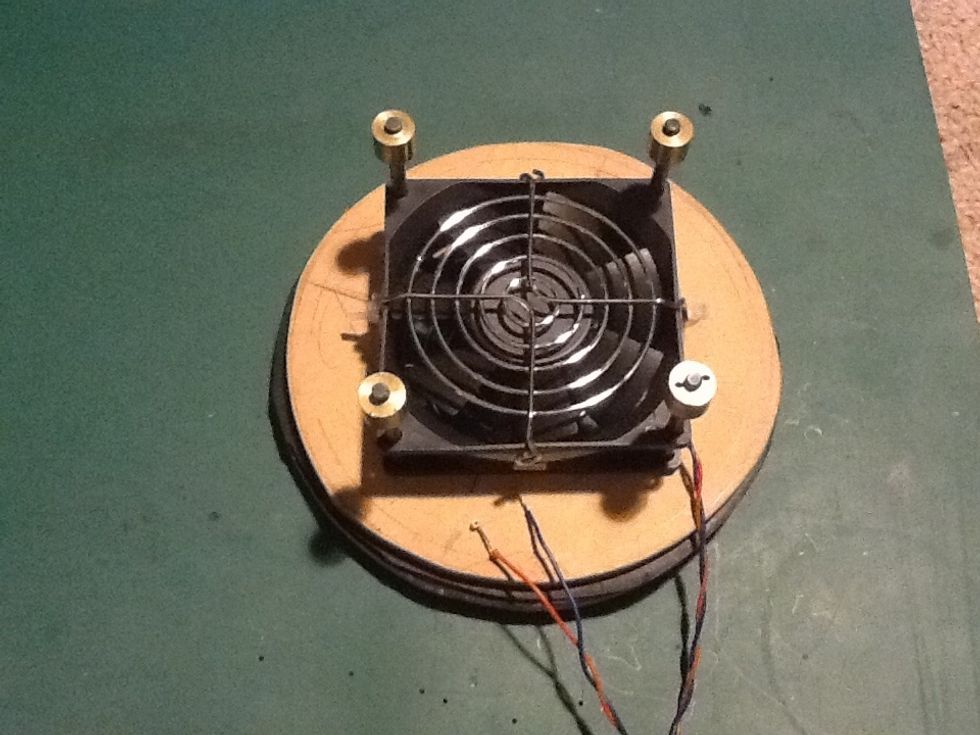
Secure the fan with the bolts
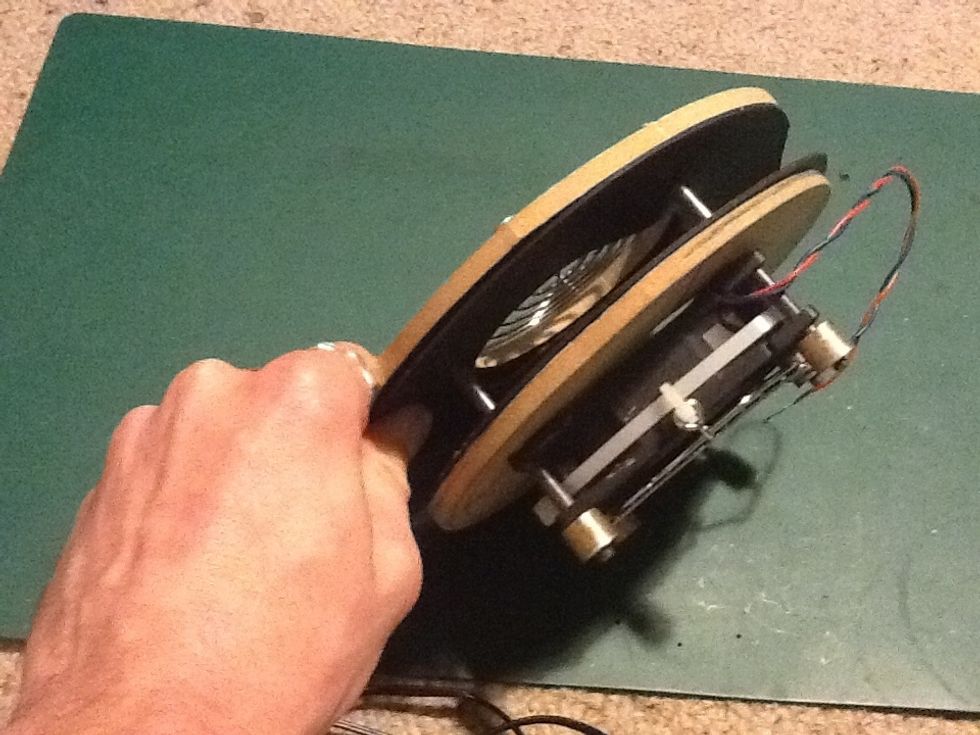
At this stage you fan is almost done. The clmping action as above is in order to wrap around and "tuck in" the inflation tube into the clamp assembly
The fabric for your inflation tube will sit around the rim of the clamp mechanism as above
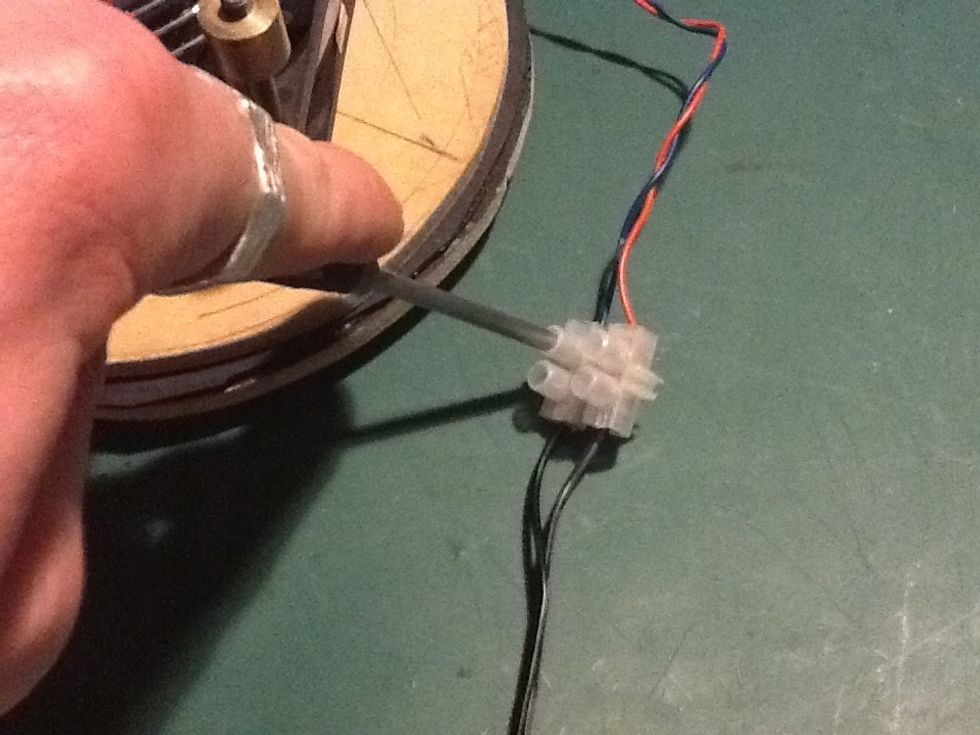
Attach your power transformer using the screw terminals. Ensure that you have the polarity of the fan correct. Make sure the screw are fully tight IMPORTANT - dont use tape to join the cables
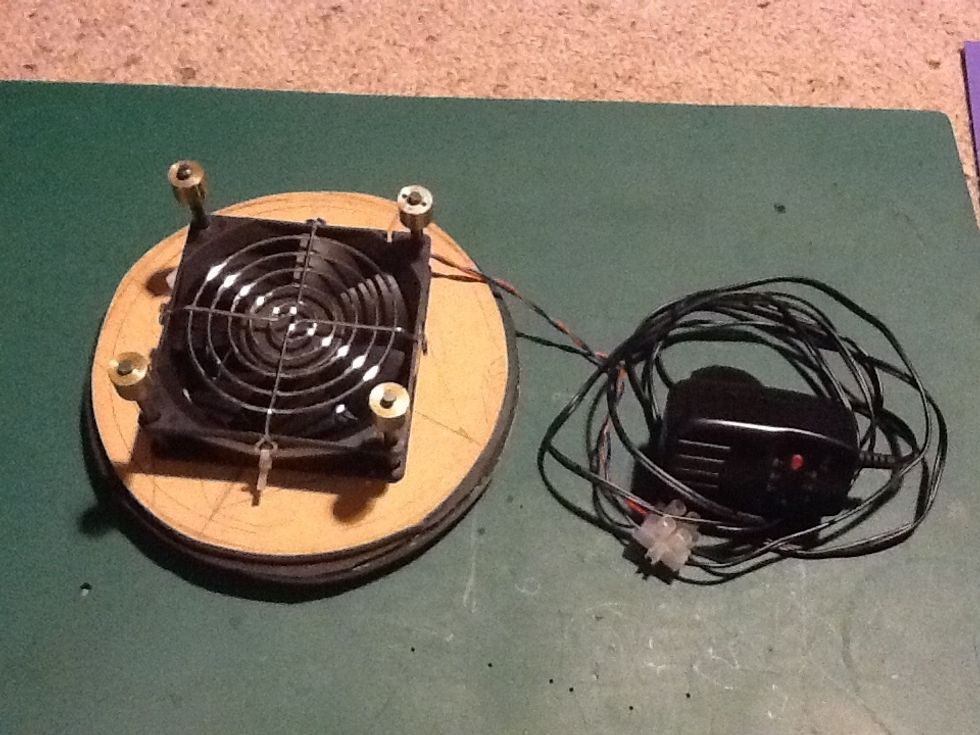
Your fanis done. IMPORTANT - Ensure that your inflation tube is a little larger than the diamater of your clamp assembly. Also dont OVER STUFF material into your fan clamp unit.